My friend Nick has asked me to write a post on ramification (also, to explain the triangle). I told him I would try. The triangle is a mystery to men the world over. Ramification is basically this: we have the main branch and it splits and splits until we have a system of smaller and smaller twigs. This “twigginess” is evocative of a mature tree.
There are several steps involved and, as far as some of the literature I’ve seen, the last steps are never covered.
Let’s quickly go over the basics.
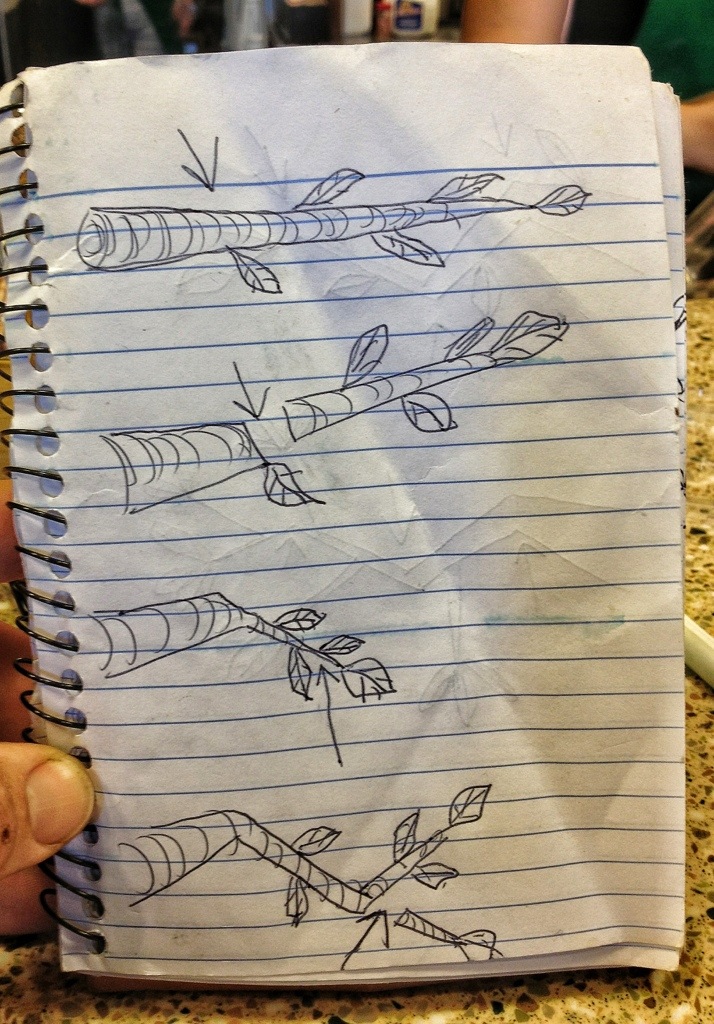
The top pic is the unadulterated branch.
We cut at one of the first nodes in the next pic (at the arrows)
Pic 3 shows the branch grown out. Cut at the arrow again and we have pic 4. This is how we trim for movement and taper.
Next

Technically, we would like branches to grow at the arrows (pic 1) but, as in pic two, they will tend to grow where the leaves are. And also where the arrows in pic two are. Growth in the inside curve is not desirable; it causes a weakness in the branch and interferes with the artistic “line” one is striving for.
So remove any growth there.
This shows branching. The terms are: primary, secondary and tertiary.
So far this is all according to dogma.
But

If we follow this line of technique we get, as the artist has so aptly put it, flat branch pads.
One remedy is to use wire.
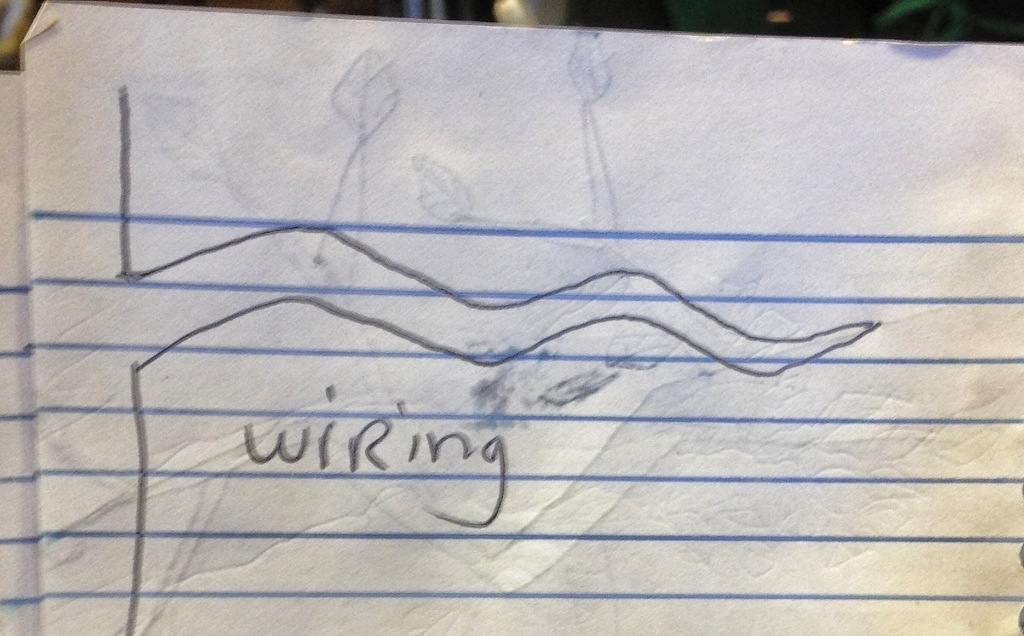
Before we begin the process we put up and down moment in the branch. Using wire.
Then

When the secondary branches grow in, they grow in a different plane of existence, uh…plane of the ecliptic …. No ummmm. The branch on the tree goes “up and down” the branches go “round and round, round and round”. You get the idea.
And we now have a 3d branch pad. Almost.
This is all basic and intermediate.
Now for the advanced class.

Next, we allow a branch, that is growing up, to thicken.

Wire it.
And bring it down over the top of the branch.
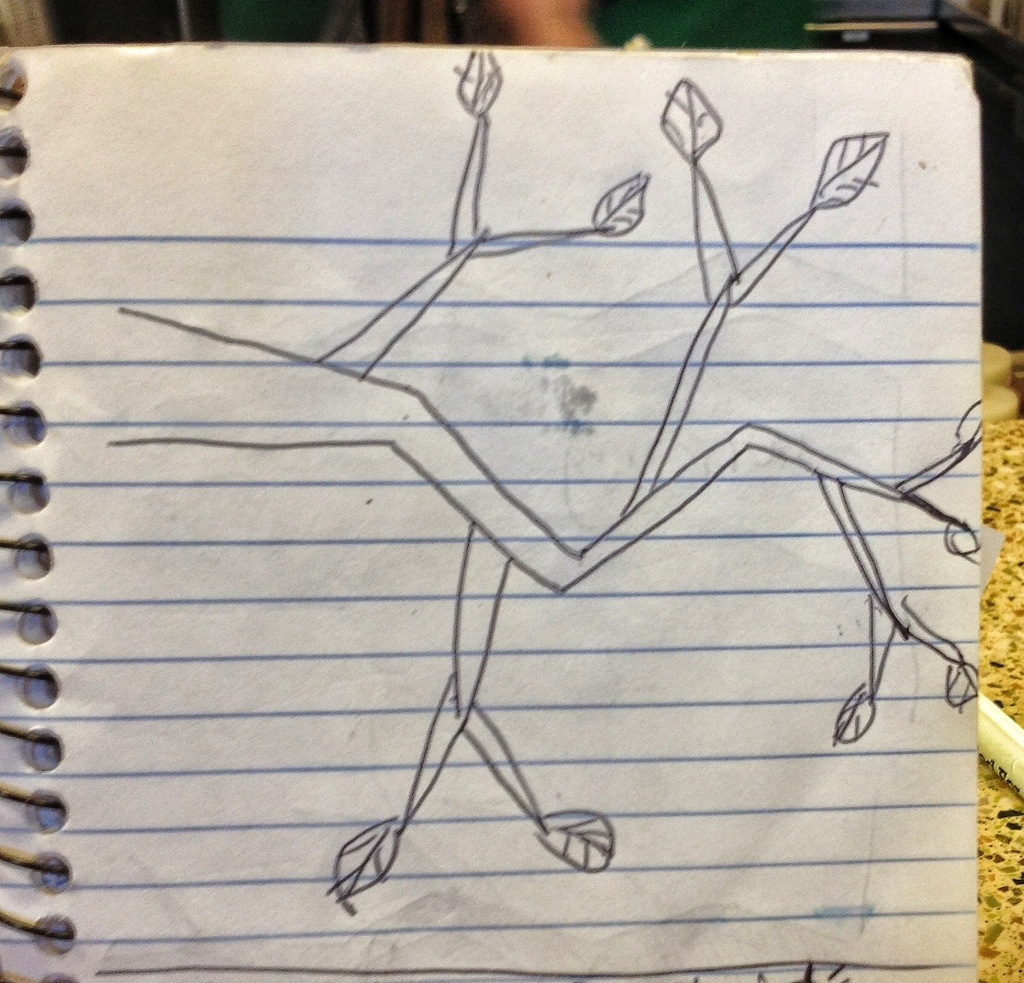
Let me bring in my new hand model to perhaps clarify.

This hand is representing a branch with secondary branches.
Next
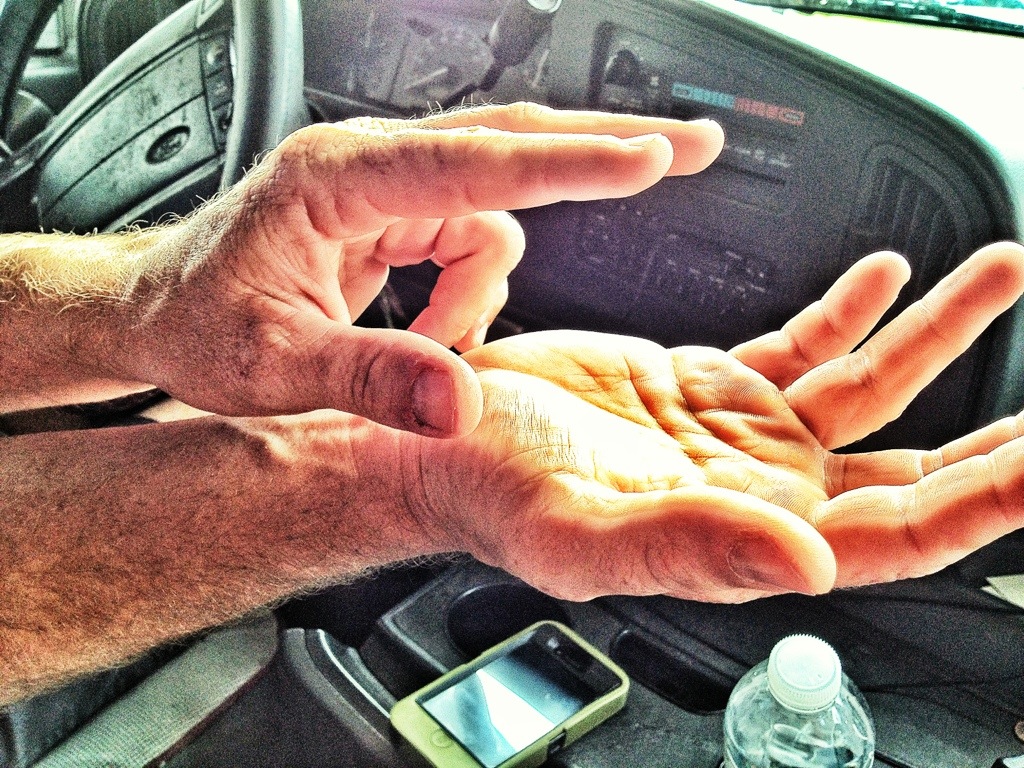
The second hand is that upward growing branch, bent down and filling in the flat bare spot that is represented by the palm.
(Big thanks to Fast Eddie, professional hand model. He’s available for hire lady’s)
Make sure you use that top branch to fill in spaces and not shade out the bottom

This shows a top view. The top branch fills in the empty space below it.
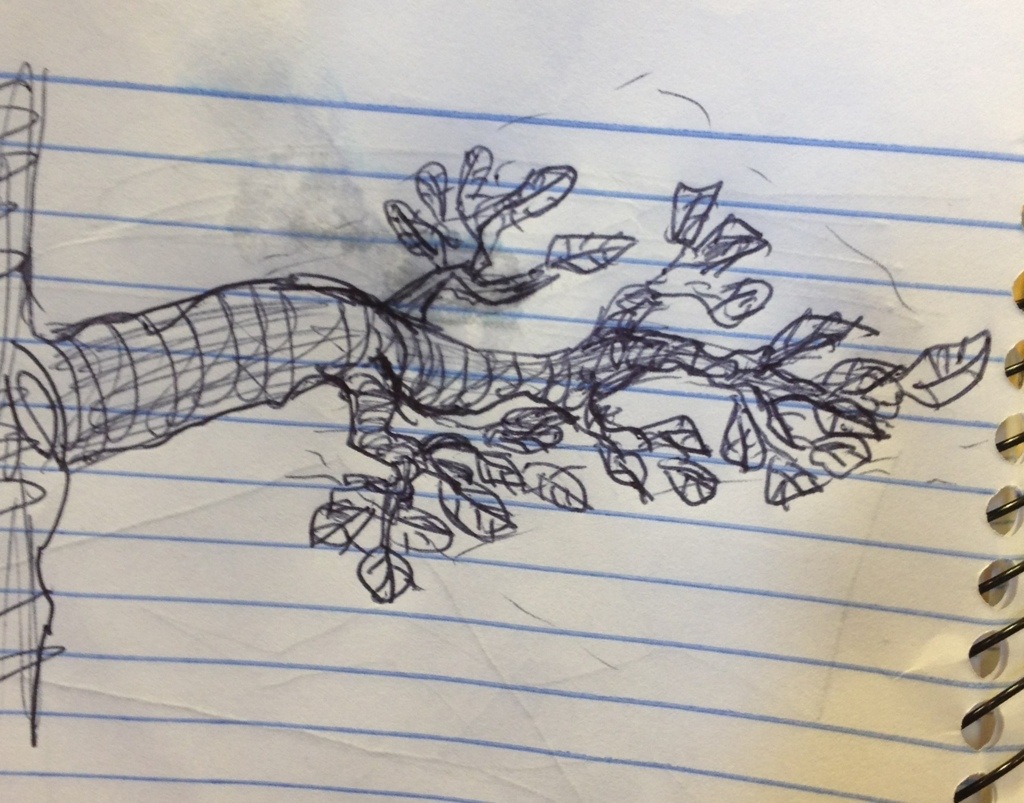
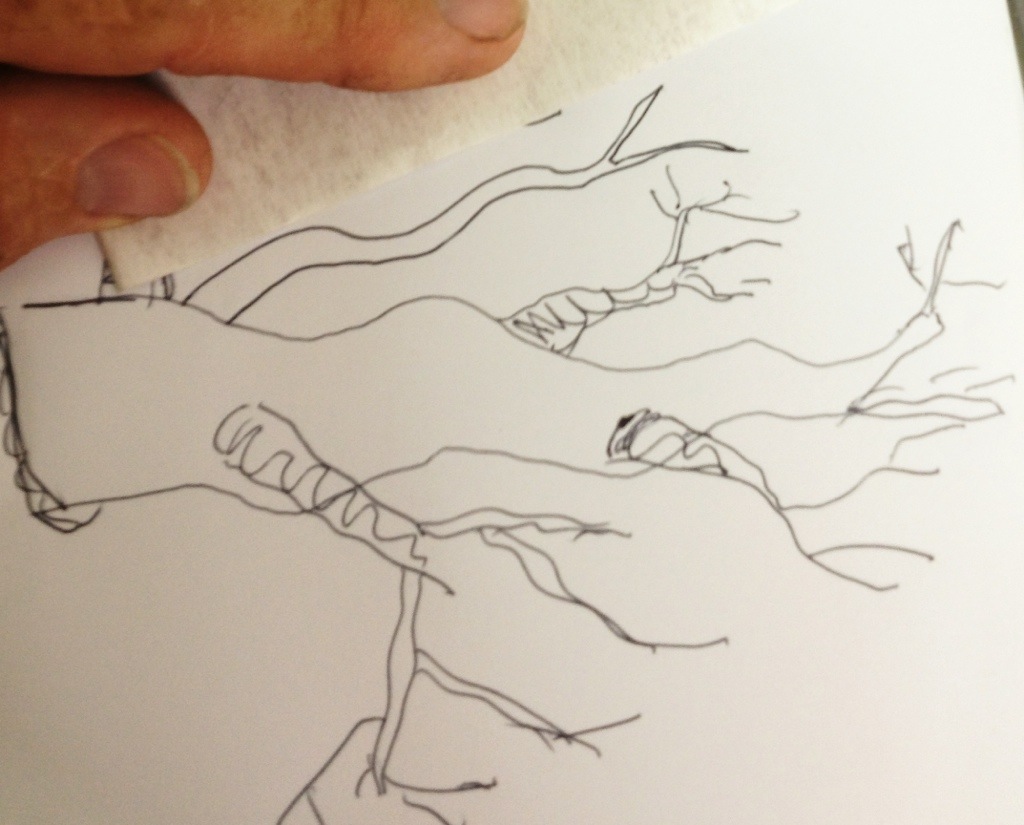
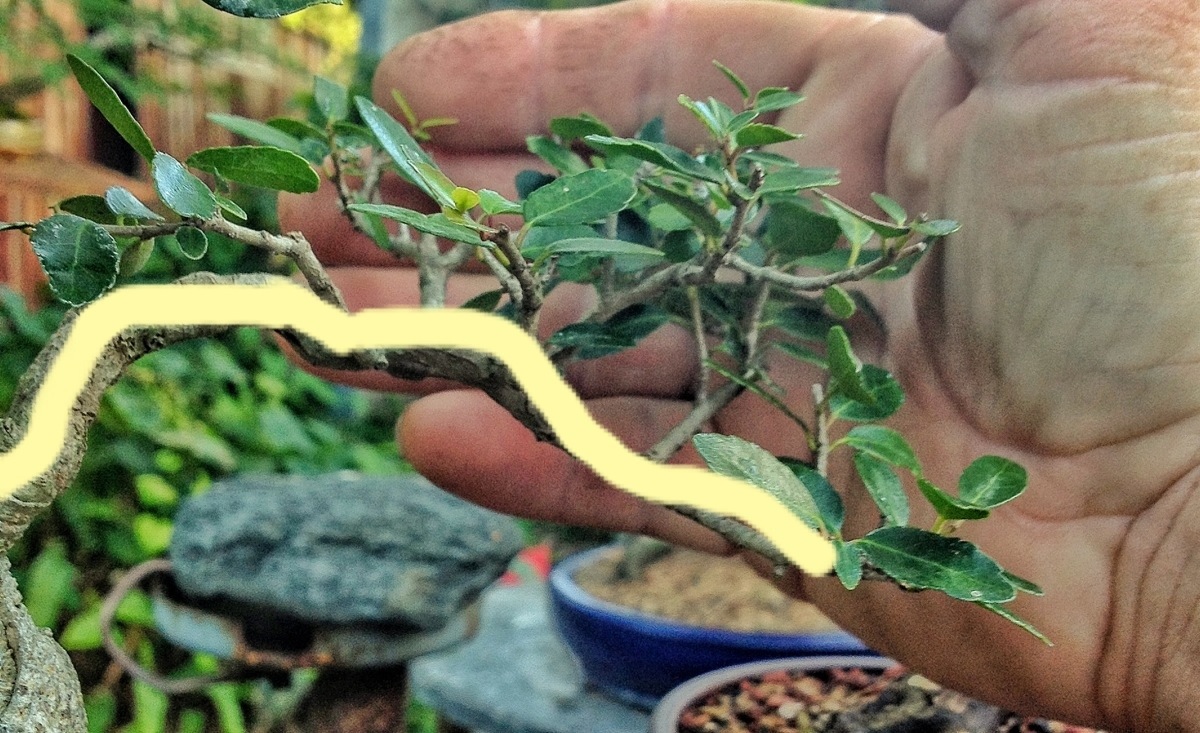
Now some real world pics.

Here’s a branch.

The dark red is the main branch.

The light red is the secondary branch.
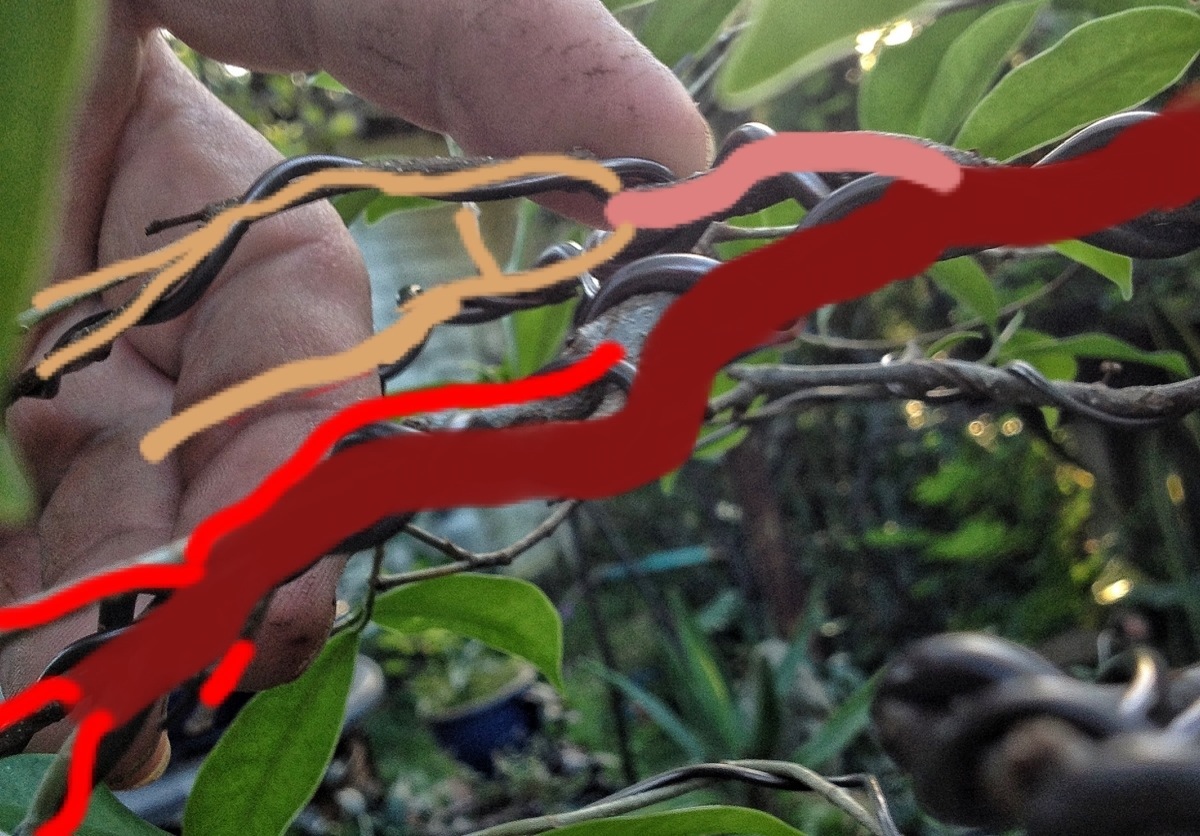
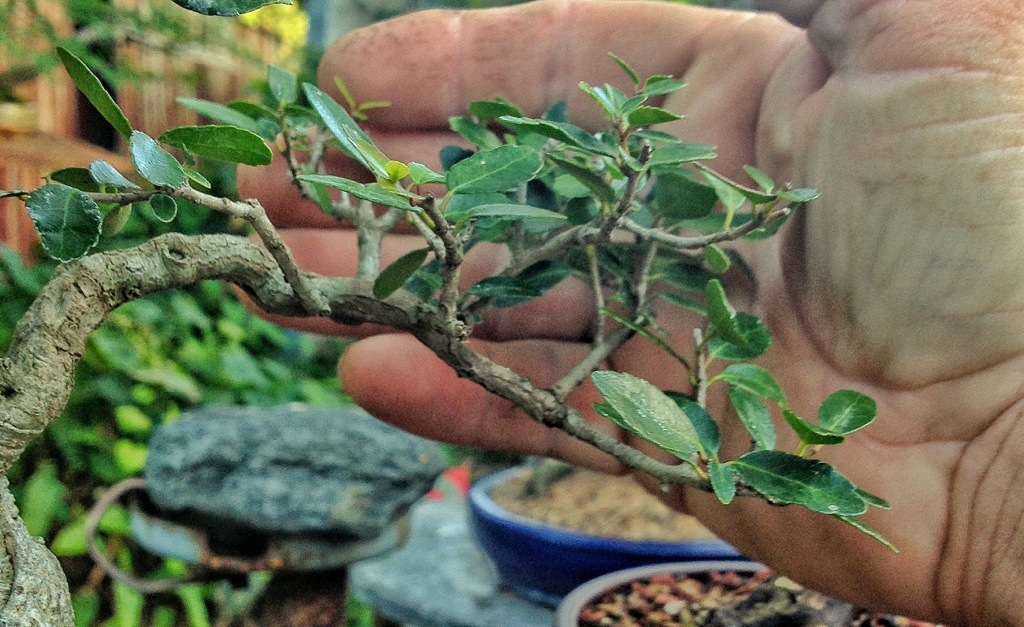
The pink is a top branch brought down and the yellowish, orangey (raw sienna to be precise) is the secondary branching off of the top. (This is the ficus retusa from this post)
Don’t like wire?
Here it is in ‘clip n grow’
Branch
The yellow is the main branch.

The red is the secondary branches.
The green are the leaves…..duh.
And we have a scalene triangle.

Wait! What in the hell is that?
Basically, a scalene triangle (a triangle with all sides uneven) is an asymmetric shape that pleases the amygdala region of the brain. This is the happy place in the brain. Look it up.
Not to go into a dissertation on the mechanics of aesthetics and artistry, I will point out that the brain prefers asymmetry and odd numbers more than symmetry and even numbers. (Here’s a link to the ABS site for a decent explanation)
There have been arguments from every discipline starting at religion and philosophy through biology and psychiatry why this is so.
Let’s just simplify it and say that balance using an unbalanced form is pleasing to the eye.
Now to take a tree and doodle on it some more.
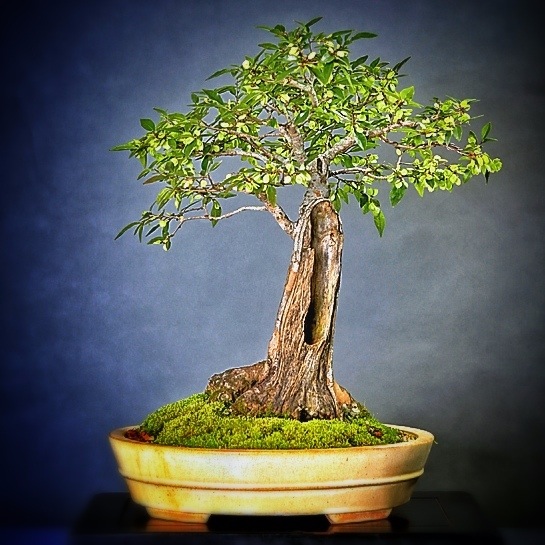
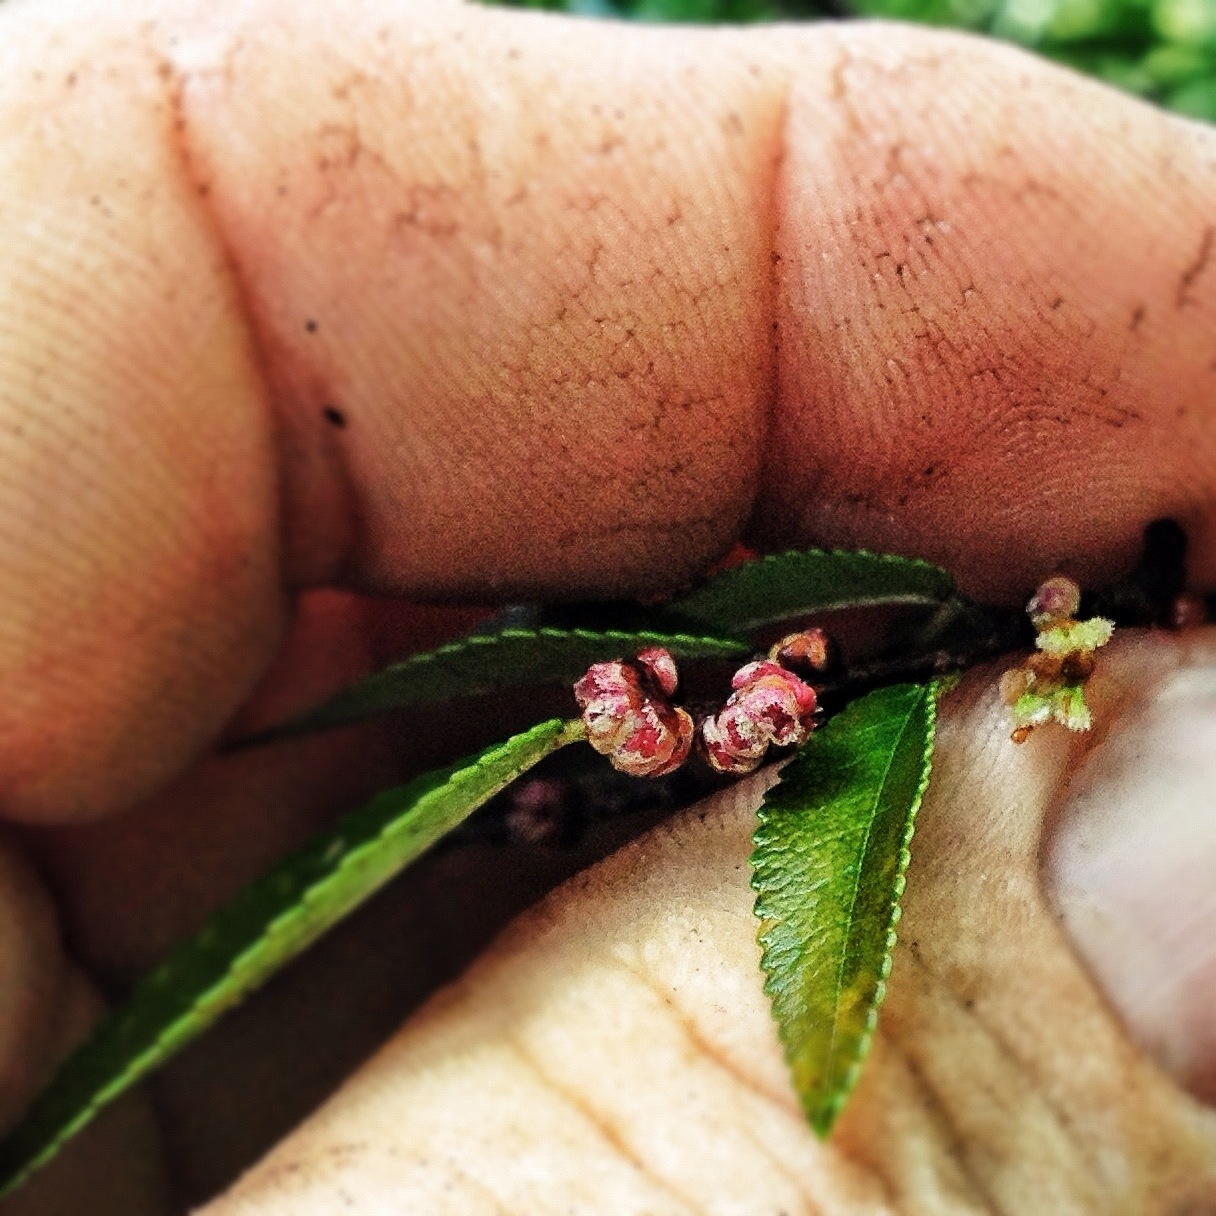
A Chinese elm in full fruit. (Yes,fruit)
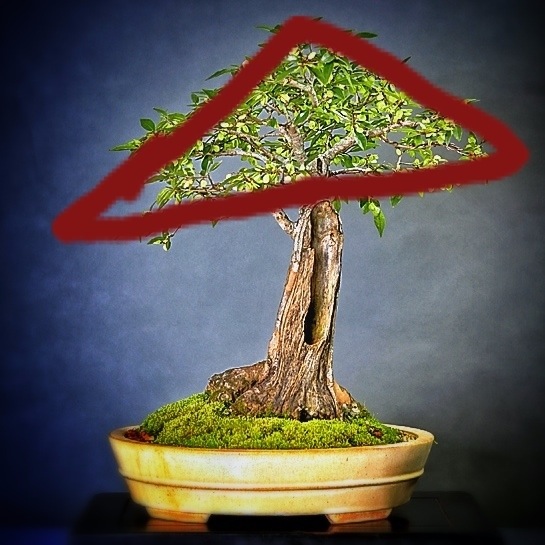
There’s a triangle.

Here’s some asymmetry. Make either the visible trunk 1/3 the height of the tree and the canopy 2/3rds or vice versa. A tree that is half and half is boring.

Some more asymmetry.
The trunk is not centered in the pot (notwithstanding my crooked line) this give drama and depth to the tree.
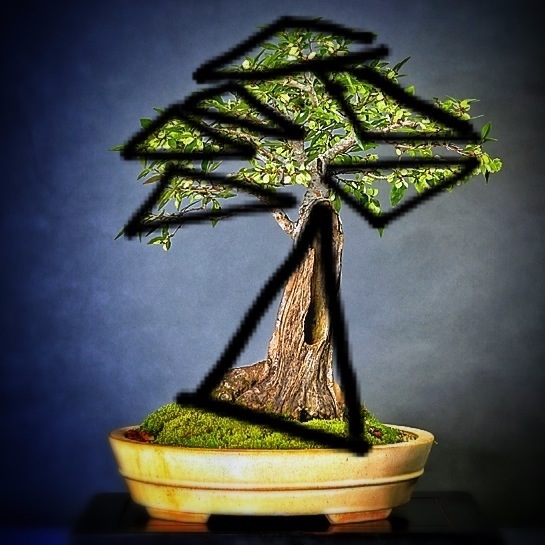
I like this pic. It’s showing the triangle principle taken to the extreme.
How does this relate to ramification?
Well… Kinda like this:

We ramify it and make a general triangle shape looking down.
And side view

Here is a trick to help you visualize the triangle (there was a book called The Golden Triangle I came across as a young man. It was about blondes)
Using the same technique a movie director uses to frame a shot
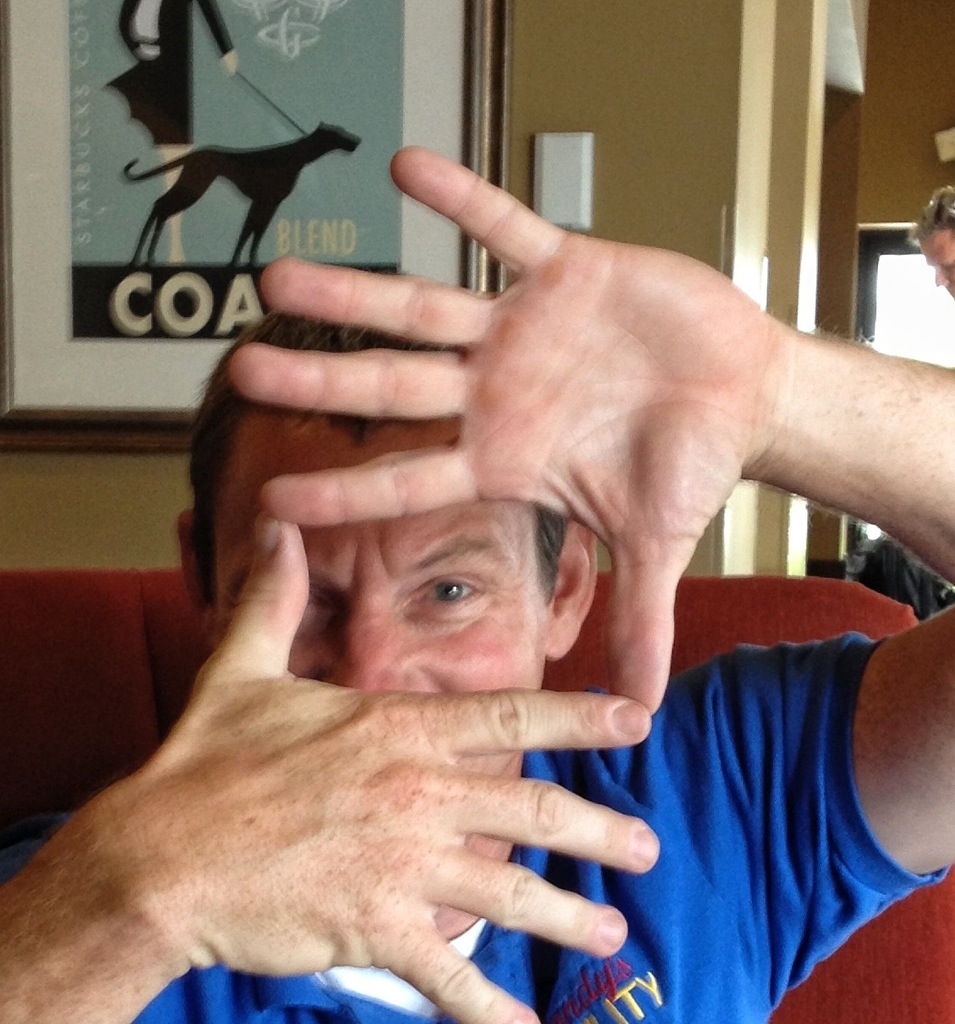
(You’ll be a movie star kid!)
But instead of a rectangle, make a triangle.
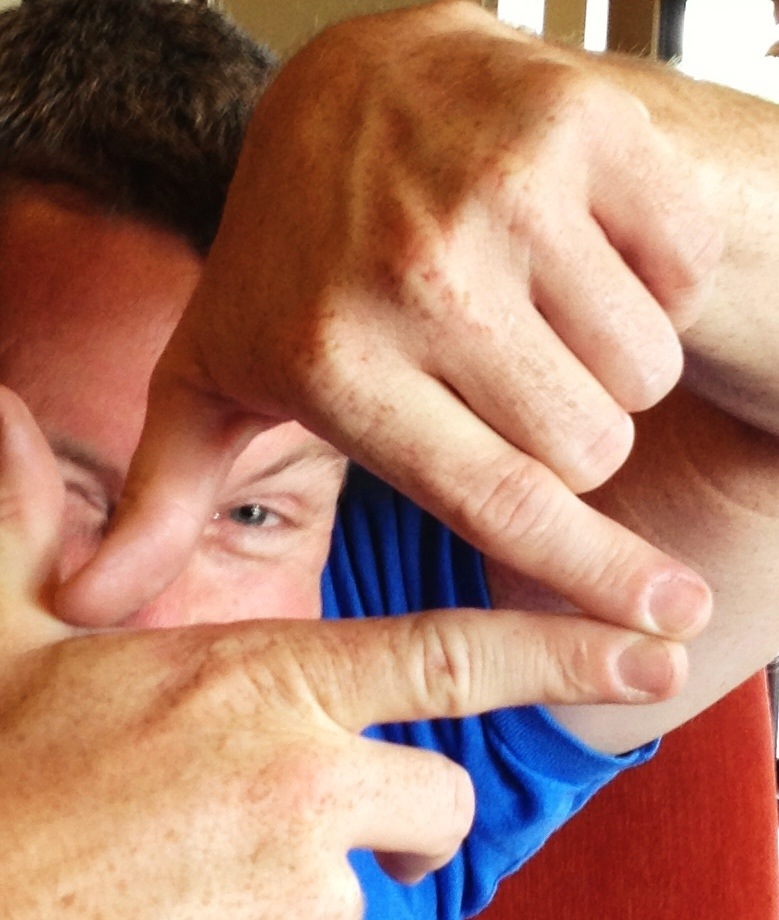
(Make it look like a tree, Daniel-San)
Hopefully I’ve cleared it up a bit.
Mostly it takes time and patience. If you have neither, get more trees or grow tropicals.
Here’s a close up of that elm flower as a parting shot.

I can’t speak for anyone else, but trunk development is simpler/somewhat more basic, growing in the branches can be somewhat tricky, of course depending on species and so on. If someone sticks with the art long enough, they may occasionally find themselves as perplexed as I find myself and this info will be very helpful.
LikeLike
I just like the valuable information you supply
on your articles. I will bookmark your weblog and take a look at again right here regularly.
I’m rather certain I’ll learn many new stuff right right here!
Good luck for the next!
LikeLike
Reblogged this on Bonsai advice and commented:
A good and simple explanation on how to ramify branches.
LikeLike
Adam how are you doing, I know you were in the hospital. Hope you are doing okay.
LikeLike
I am, as of July 2nd, 2015, still in the hospital. Trying to get out!
LikeLike
Hi, thank you very much for this post, I have been looking all over the web for something with this level of detail, clarity and simplicity when it comes to ramification. This is really helpful.
LikeLike
You’re welcome
LikeLike
This answered so many questions, great post.
LikeLike
Wow, just wow. I started reading your blog about… six month ago and have been dabbling with bonsai for six to seven years. At first I read every book I could get my hands on, but later discovered that they all basically say the same thing. But in the six months I have been reading your blog I’ve learned more than I have I those six years. I started reading your blog form the most recent post up until here, but this has to be one of your best posts. Absolutely love your writing style and bonsai philosophy.
Stay awesome and thank you for the blog.
LikeLike
Thanks, this means a lot, you have no idea how much.
LikeLike
Exactly what i was looking for: some of my ficus branches are well developed with secondary even tertiary branches. Each one having 1or 2 leaves. But the pad still look empty: more wood than leaves. I can see through when looking from above. I was wandering how the bonsais shown in books can have so thick pads. You gave me the answer as always. If you have time to make a new post about this subject it would be great.
LikeLike
Excellent explanation.
LikeLike
Reblogged this on Wolf's Birding and Bonsai Blog.
LikeLike
I was struggling to understand ramification. Thank you for the post. Waiting till spring to put your illustration into practice.🤙
LikeLike
If men are having trouble understanding triangles as you say, perhaps they should ask a woman 😉 The Golden Ratio triangle is easy to see everywhere in nature when you start looking for it. Lovely explanation of the concept within bonsai.
LikeLike