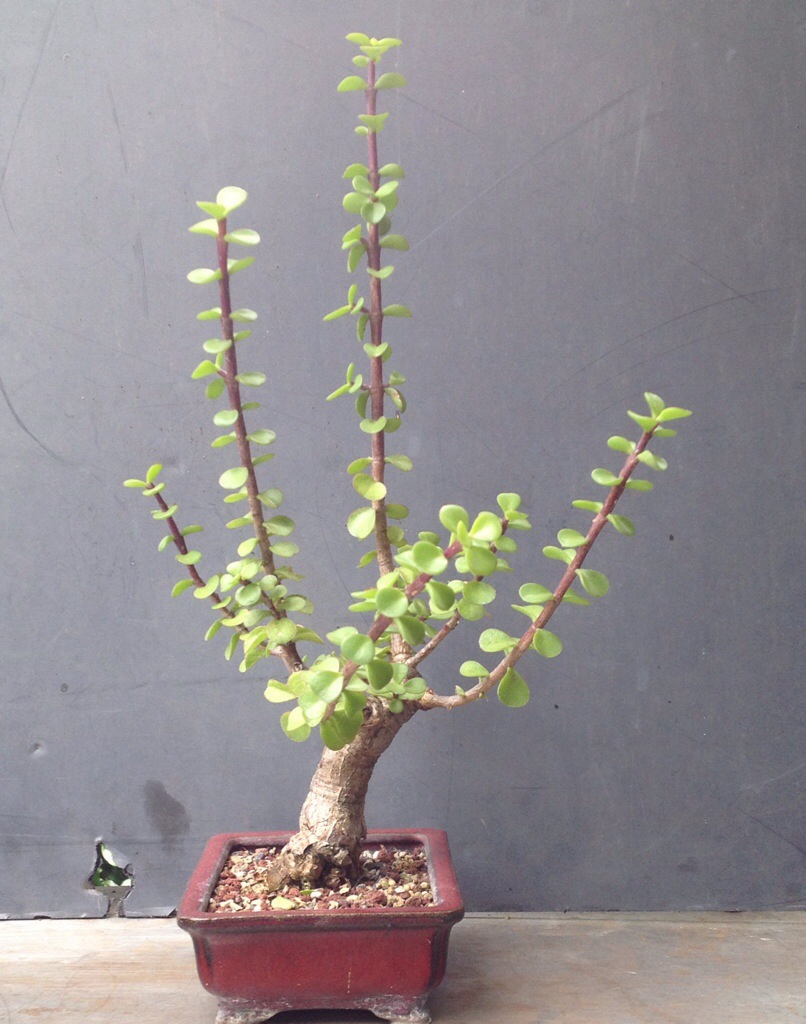
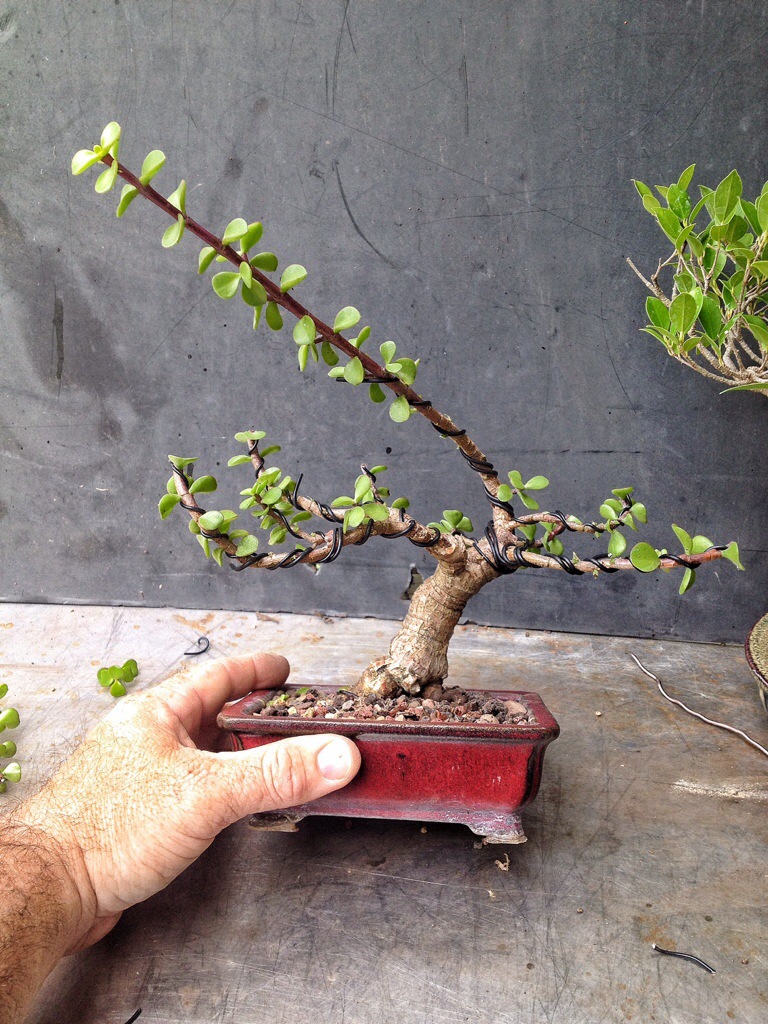
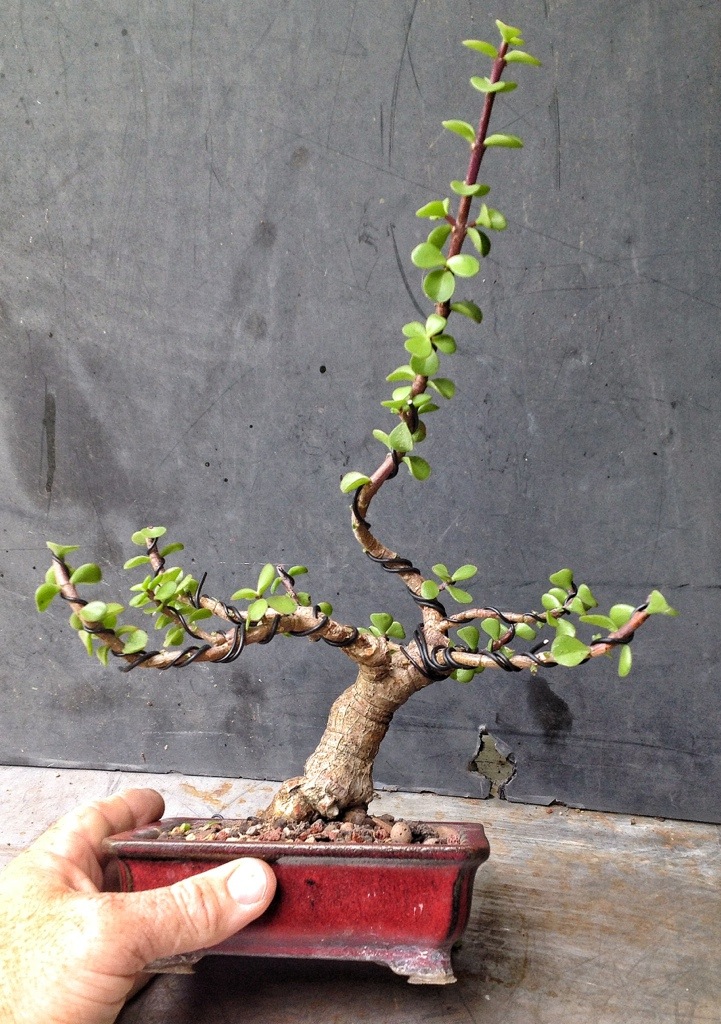
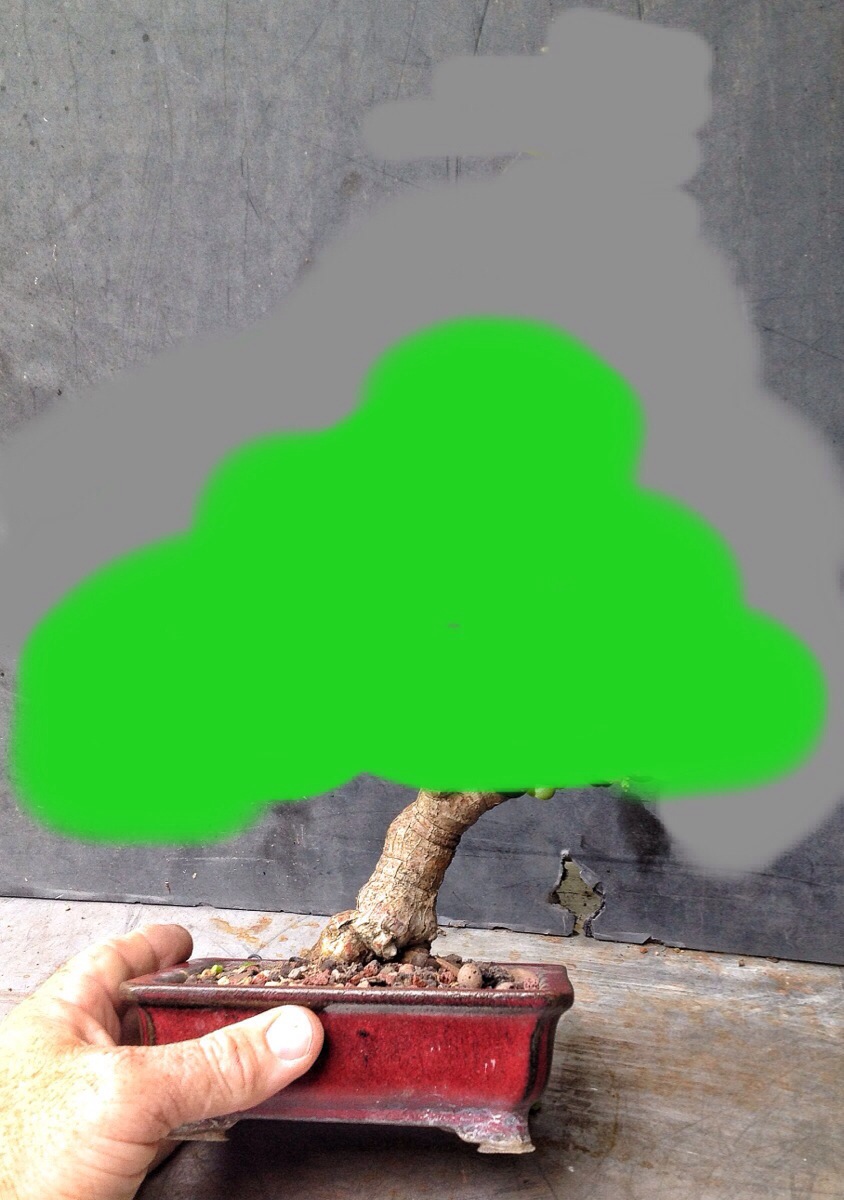
Here is a little portulacaria afra for entertainment and educational purposes.

Now, I keep getting feedback from a certain portion of the bonsai community wondering why I keep doing these “beginner tree” posts.
They say “you won’t ever be respected unless you are doing serious and big trees!”
Or I’ll post an initial styling of a tree (and all that’s left is a stump with a few branches and I have to draw a picture to show what the tree might look like in a few years) and they tell me I have to show more developed trees because it’s the finished product that the “big” guys like to see.
My feeling on these critiques is two fold:
There seem to be many, many blogs out there where you see a beginning and an end and that’s it. Kinda like- “Hey! Look at what I did! I took a hundred year old cultivated bonsai and made it look pretty!”
Although I have been accused of making everything about me, it’s just not my style to show off like that.
Secondly, I believe that masterpieces are created not in the creative struggle of one major piece but rather in the perfection of technique on many minor pieces.
In that practice, true mastery is found. And then, when the BIG tree comes along, the artist makes the transformation of it look easy.
To put it in the visual artists language: those little pieces are called “studies”.
Musicians call them “licks” or “scales”.
By continually practicing these small things, your muscles “learn” what to do.
Working on little trees is also, believe it or not, more challenging than big trees.
The artist has just a short distance to create a story and build a tree. He has just a few branches to use. And it’s a lot more difficult to keep a smaller tree alive and healthy.
Ok, so now that I’ve alienated my peers, let’s talk dwarf jade.
This is a common thing to see at this time of the year-
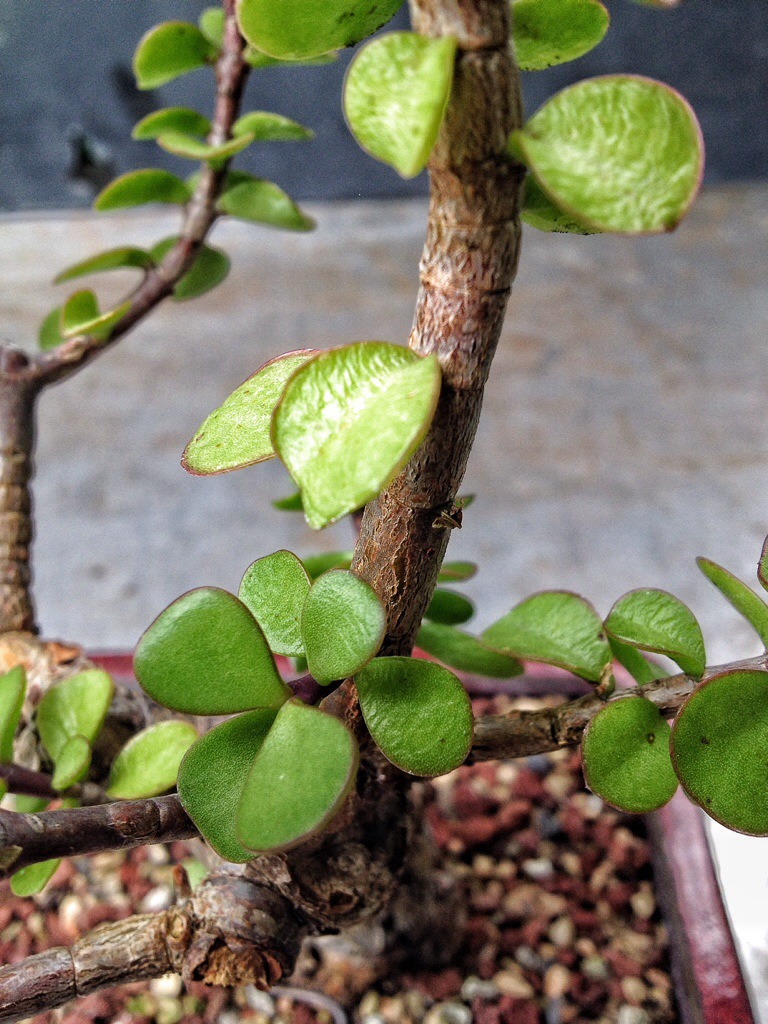
Wrinkly leaves.
This is the beginning of spring in Orlando and the new growth is just beginning.
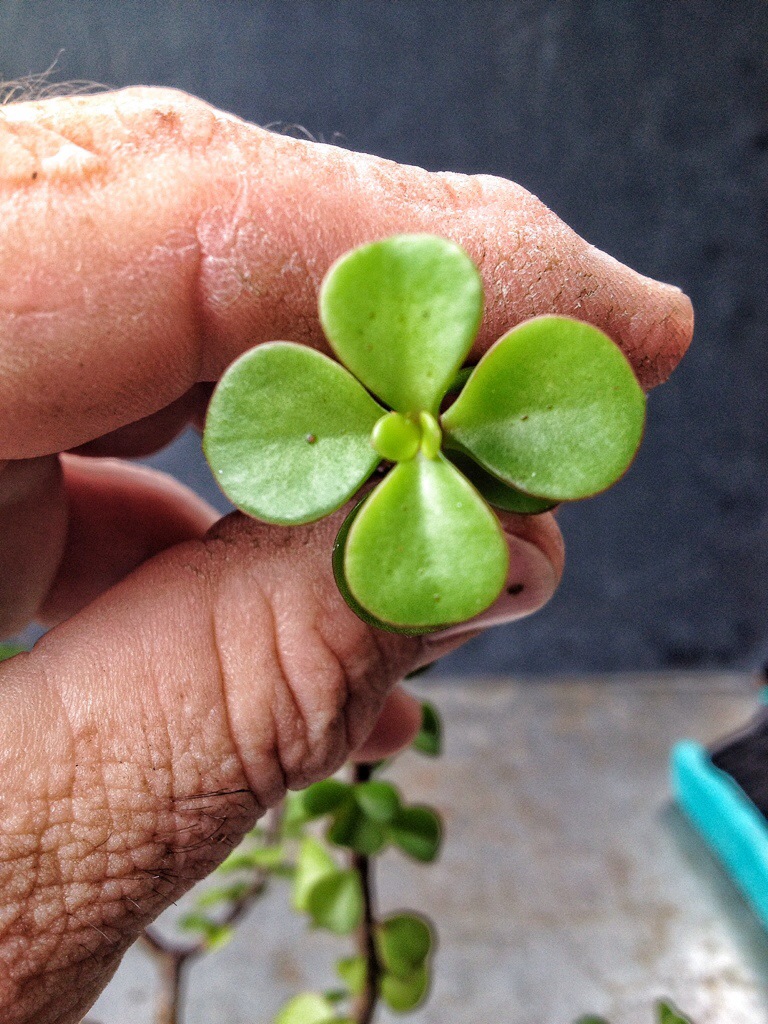
The wrinkled leaves are just old growth that will dry up and fall off soon.
I’ll cut them off to make it easier to wire later.
This purplish color on the stem tells me that the new growth is imminent.
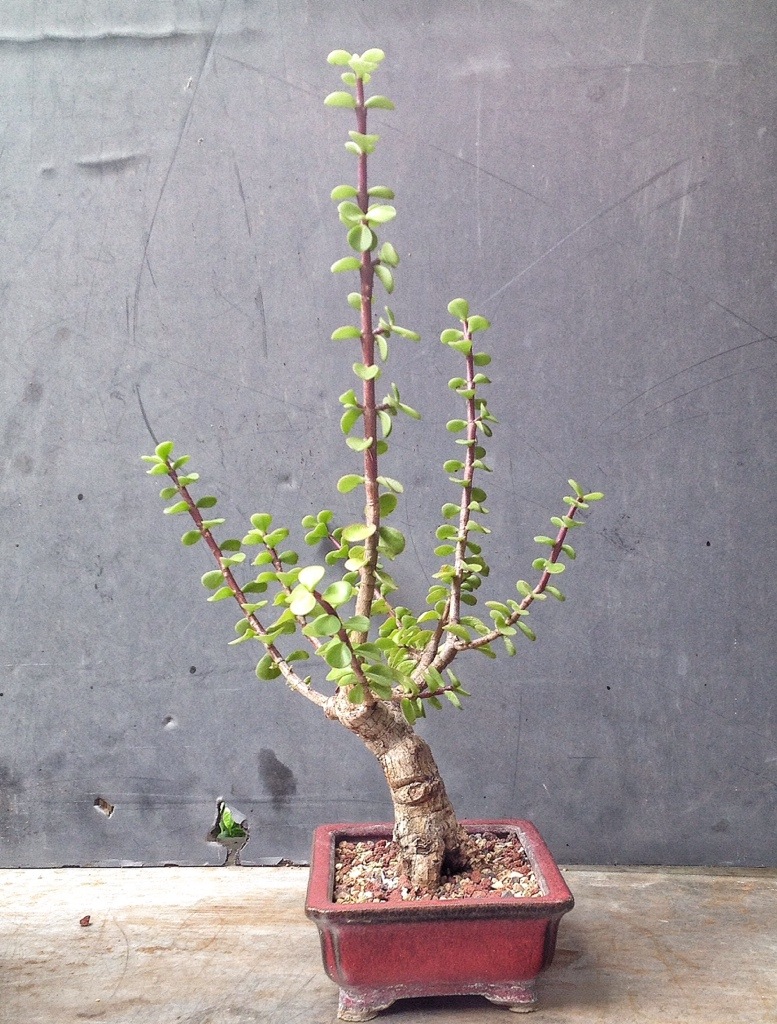
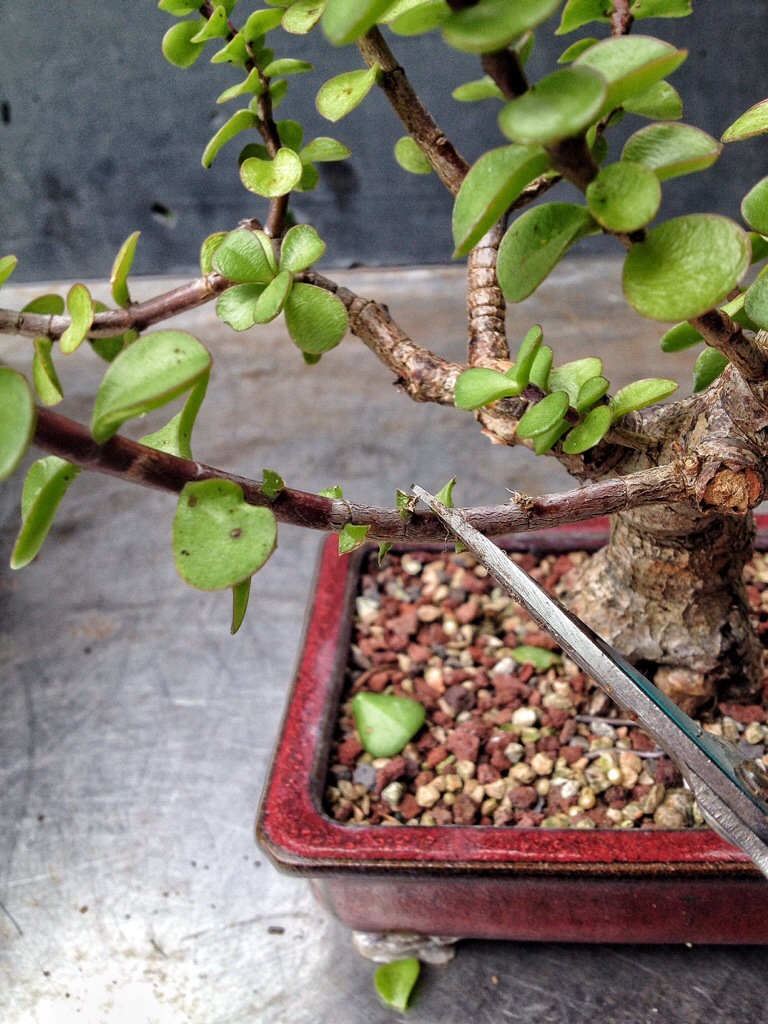
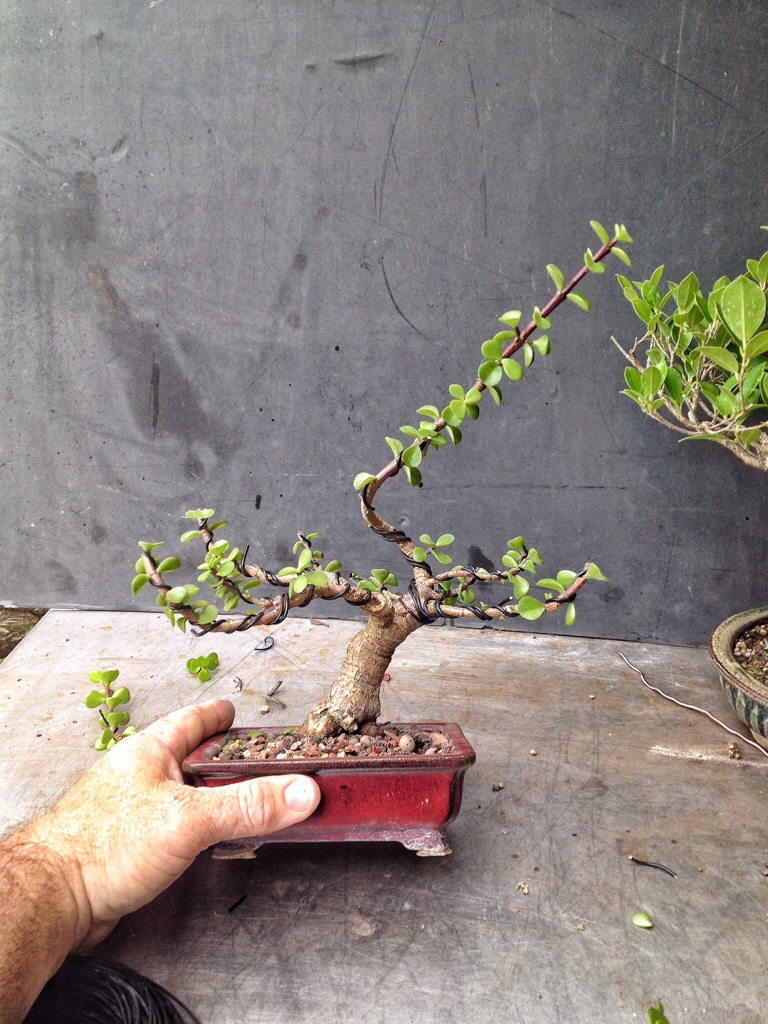
Studying the structure of the tree I feel that I need to change the front a little.
Current front.
New front.
There are a few reasons to move the front.
The first is the base is thicker with this front.
The second reason: it turns the trunk enough so that the existent branches are in more usable positions.

Lastly (I didn’t want to say “thirdly”, this post seems to be turning into a narrative of numbered lists)
The movement of the tree is enhanced.

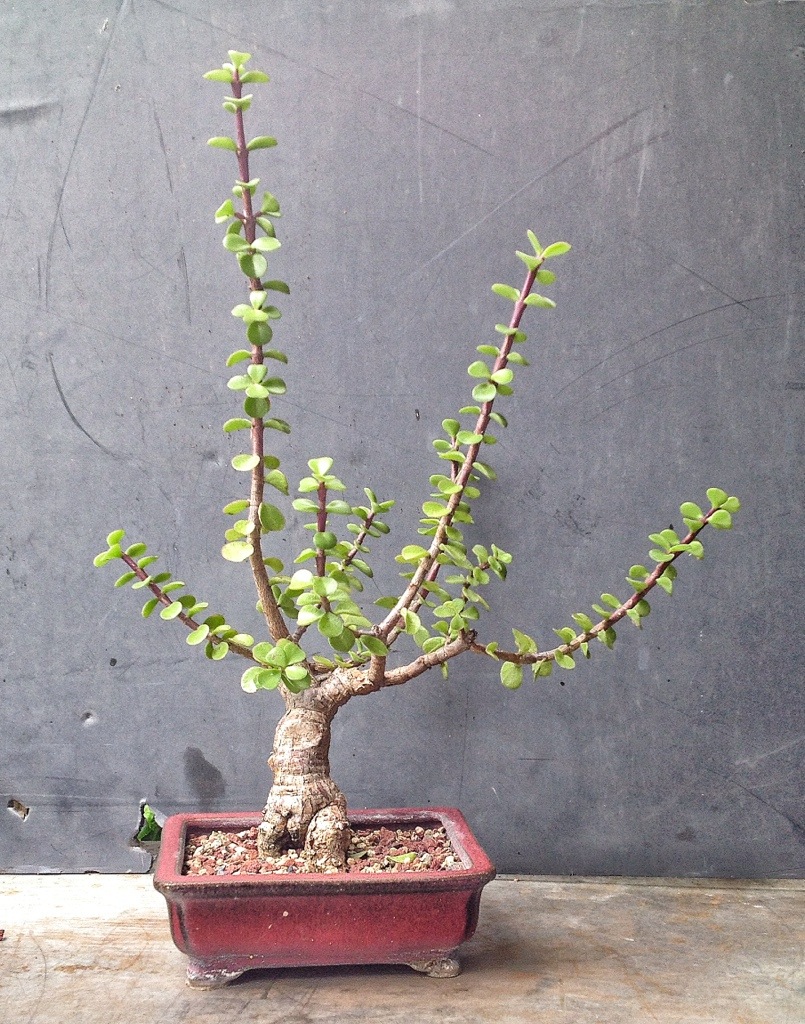
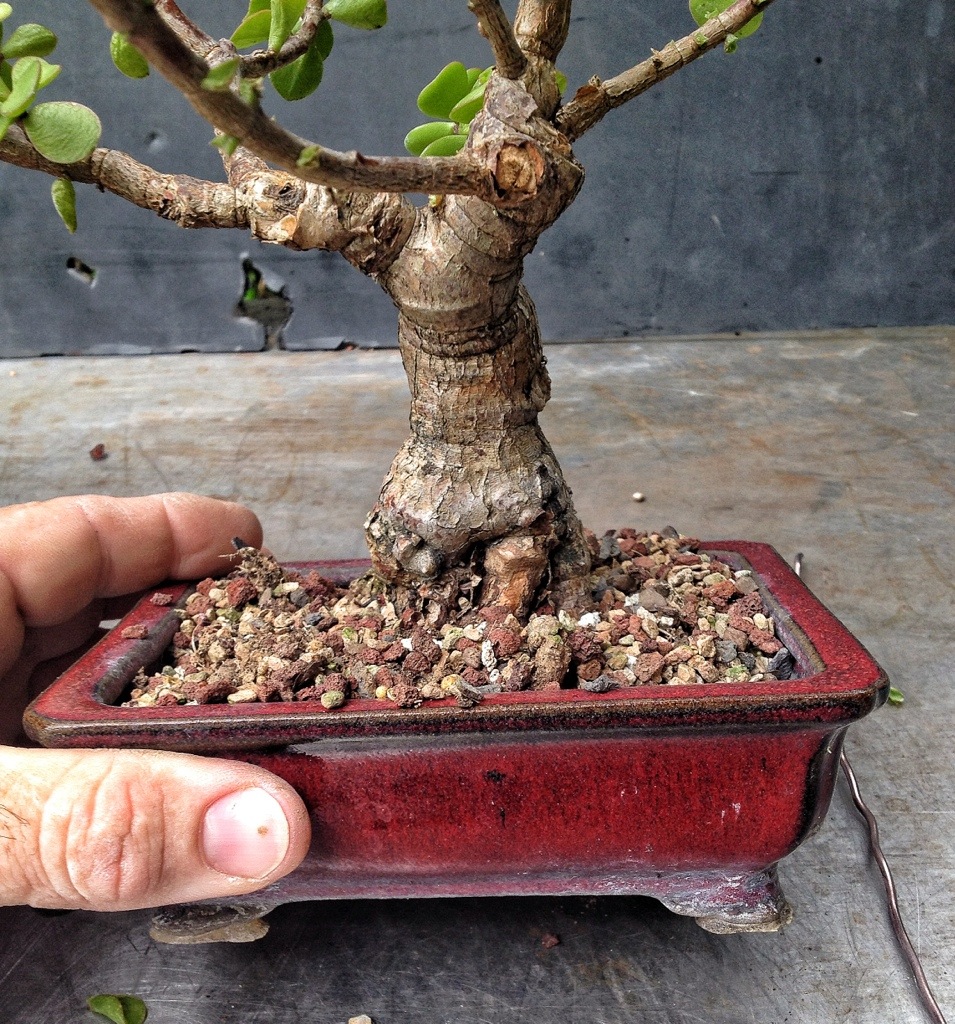
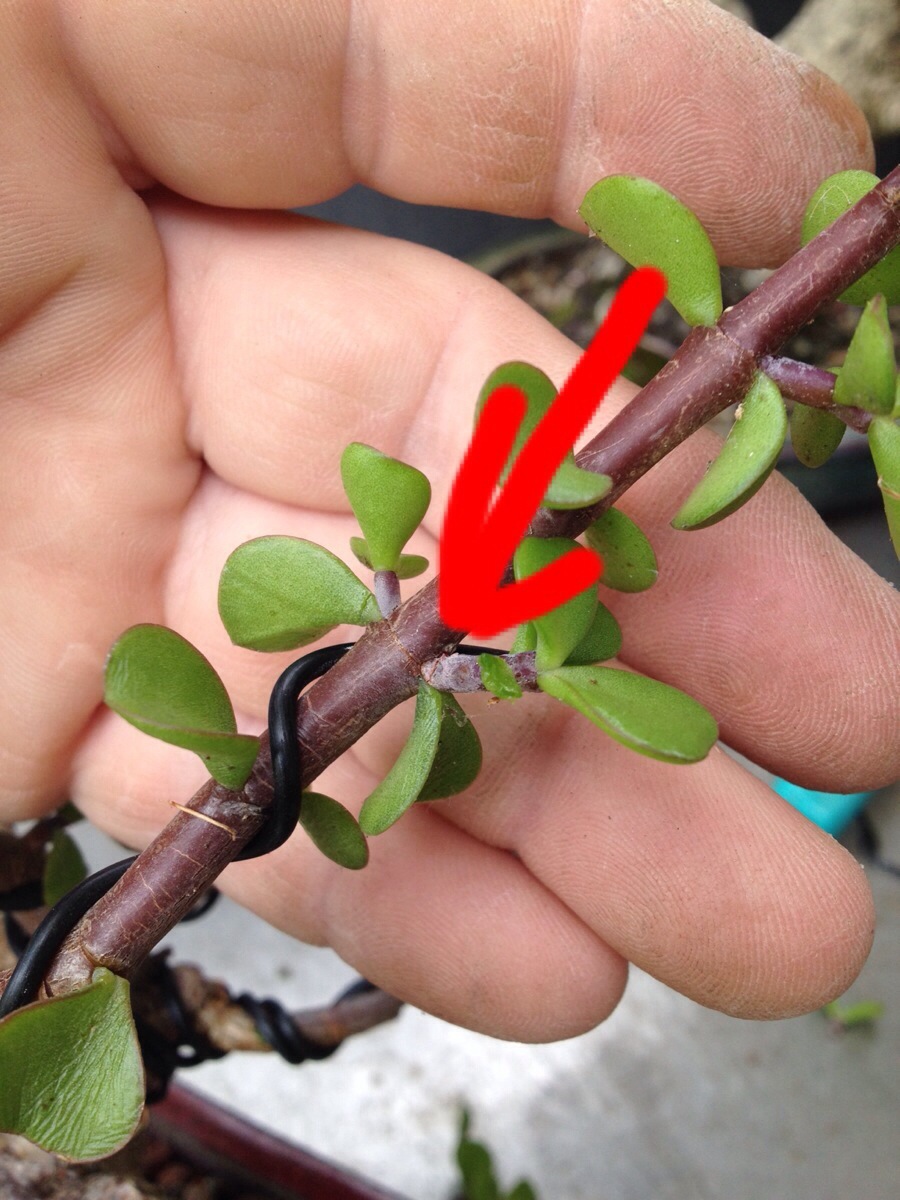
Pretty arrows!
The yellow arrow shows a now usable branch and the red arrow shows the newly acquired directional flow of the trunk.
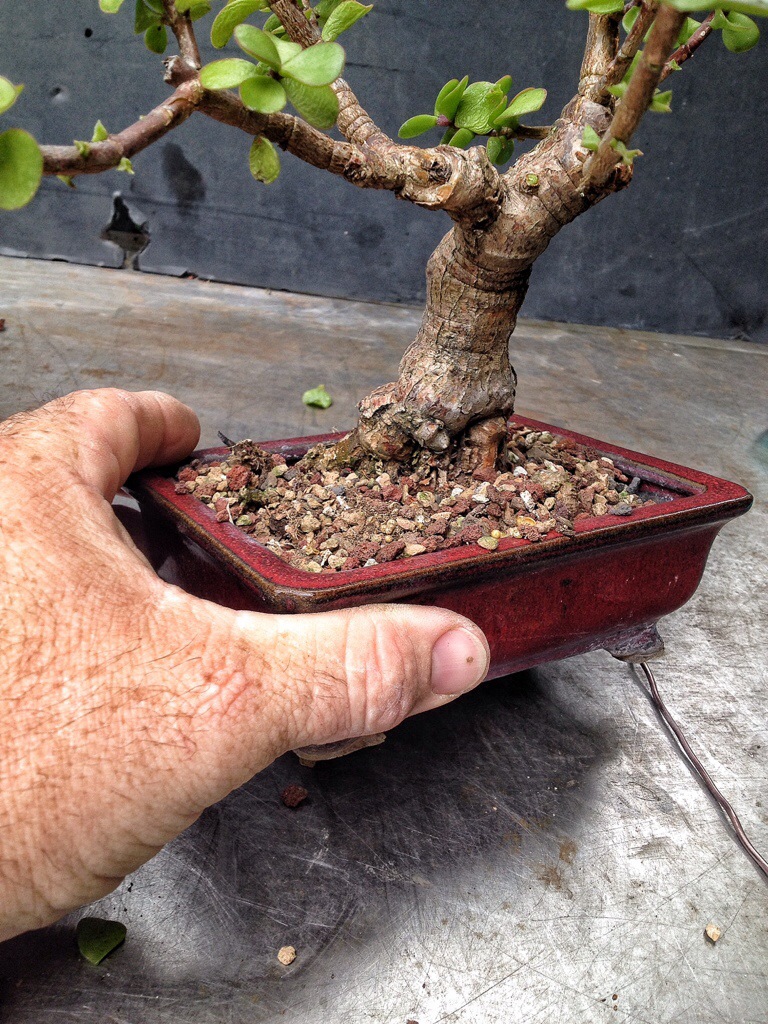
Repositioning the tree, I didn’t do a full repot, I just cut the tie-down wires and shifted the tree clockwise a bit.
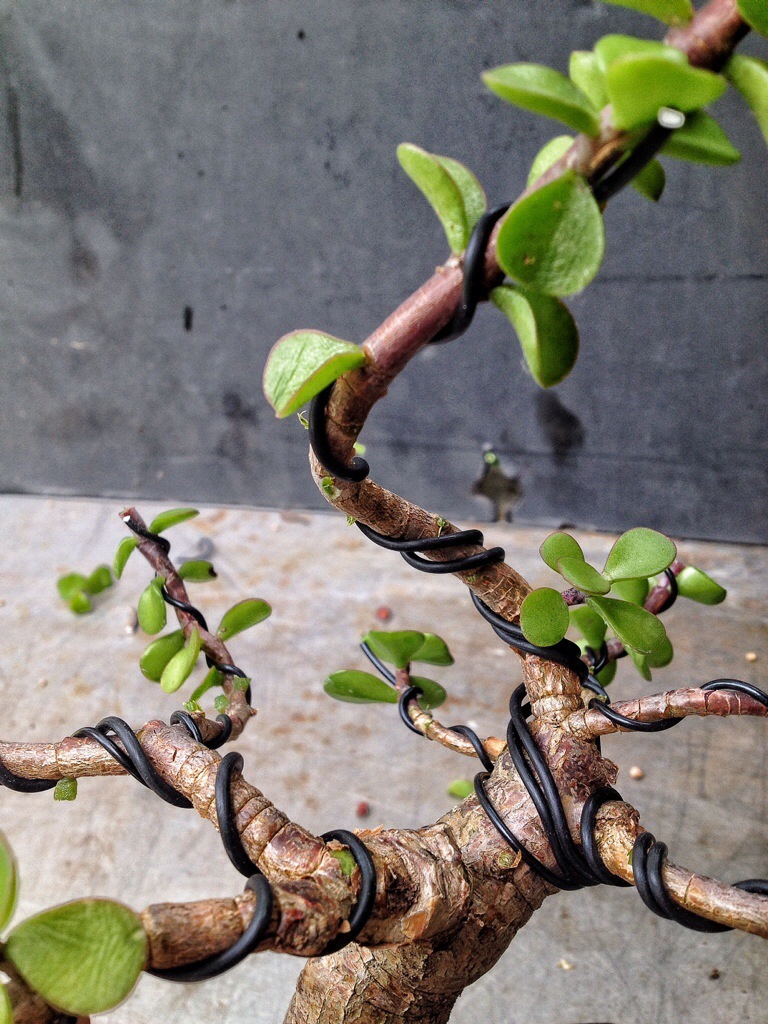
Now it’s time for some wire.
You will notice that I didn’t use the recommended gauge wire (I’m using aluminum) for the thickness of the branch.
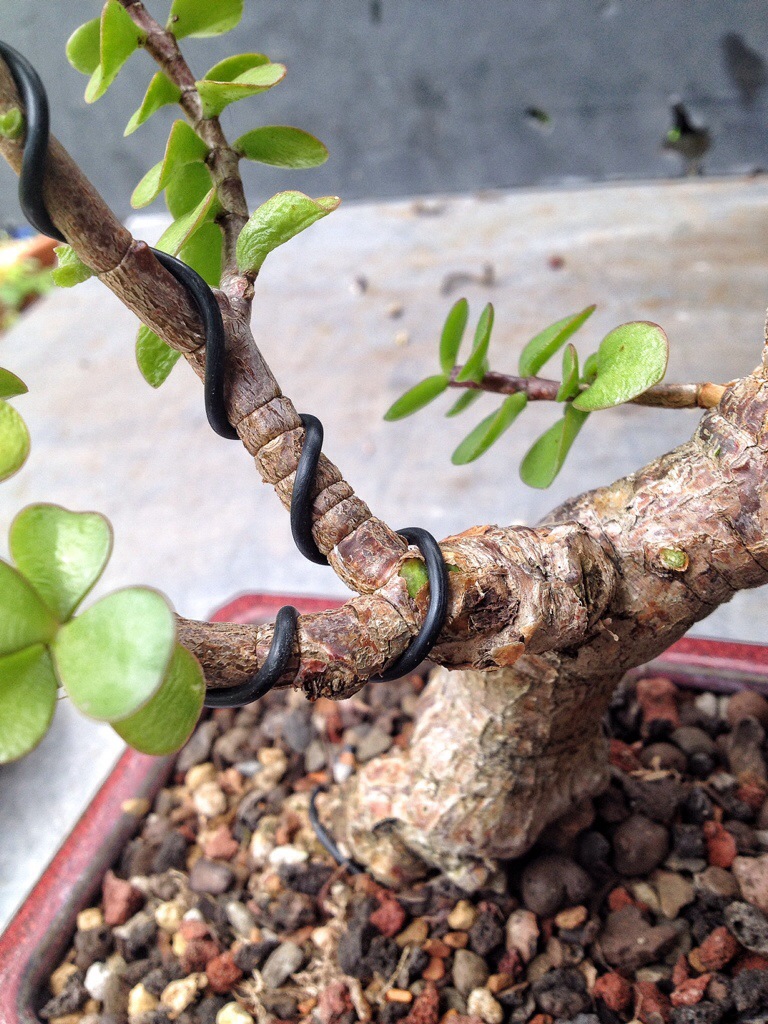
Usually one uses close to the same thickness wire as the branch when using aluminum wire.
With a dwarf jade (and this is the secret to wiring them without destroying the branch) you use the smallest gauge you need.
To know what that gauge might be, use the one inch bend test.
Take a length of wire and expose an inch or so. Push the tip onto the branch you want to bend. If the branch bends, that’s your size wire. If the wire bends, go bigger on your gauge.
I wire every branch.
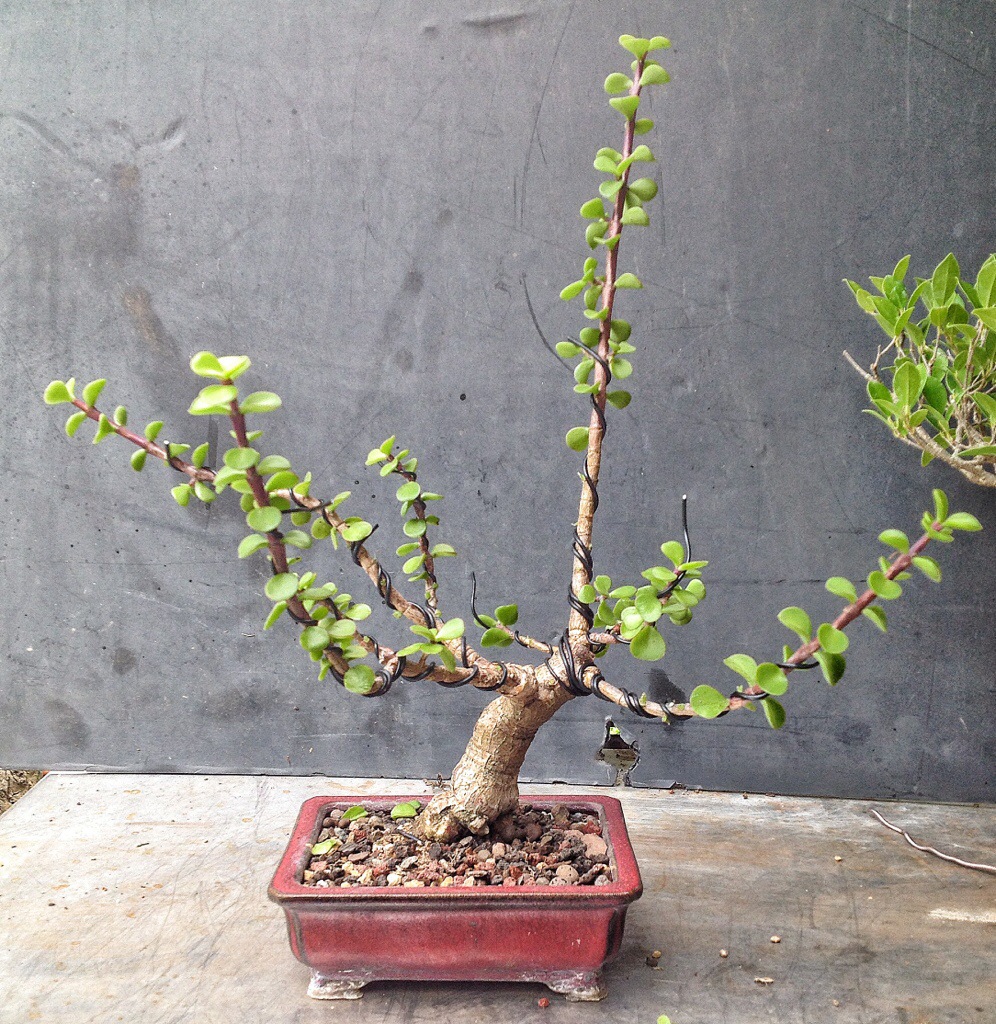
And then begin to build the structure.
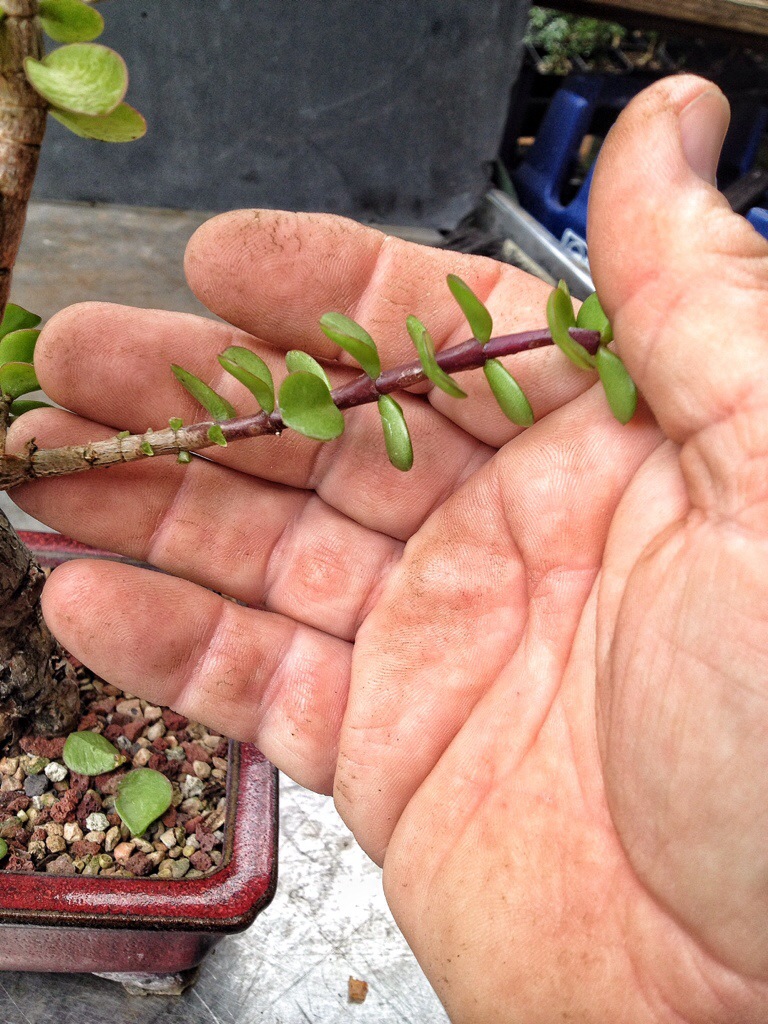
The branch above will be the main branch that the canopy will be built upon.
If this were a thicker branch I’d cut it here.
Now, it doesn’t look like much at the moment.
I have a good left side branch and some good back and right side branches.
But just a skinny little branch for the main top branch.
The trick-I didn’t trim it at all to encourage it to thicken.
I did prune some part of the side branches.
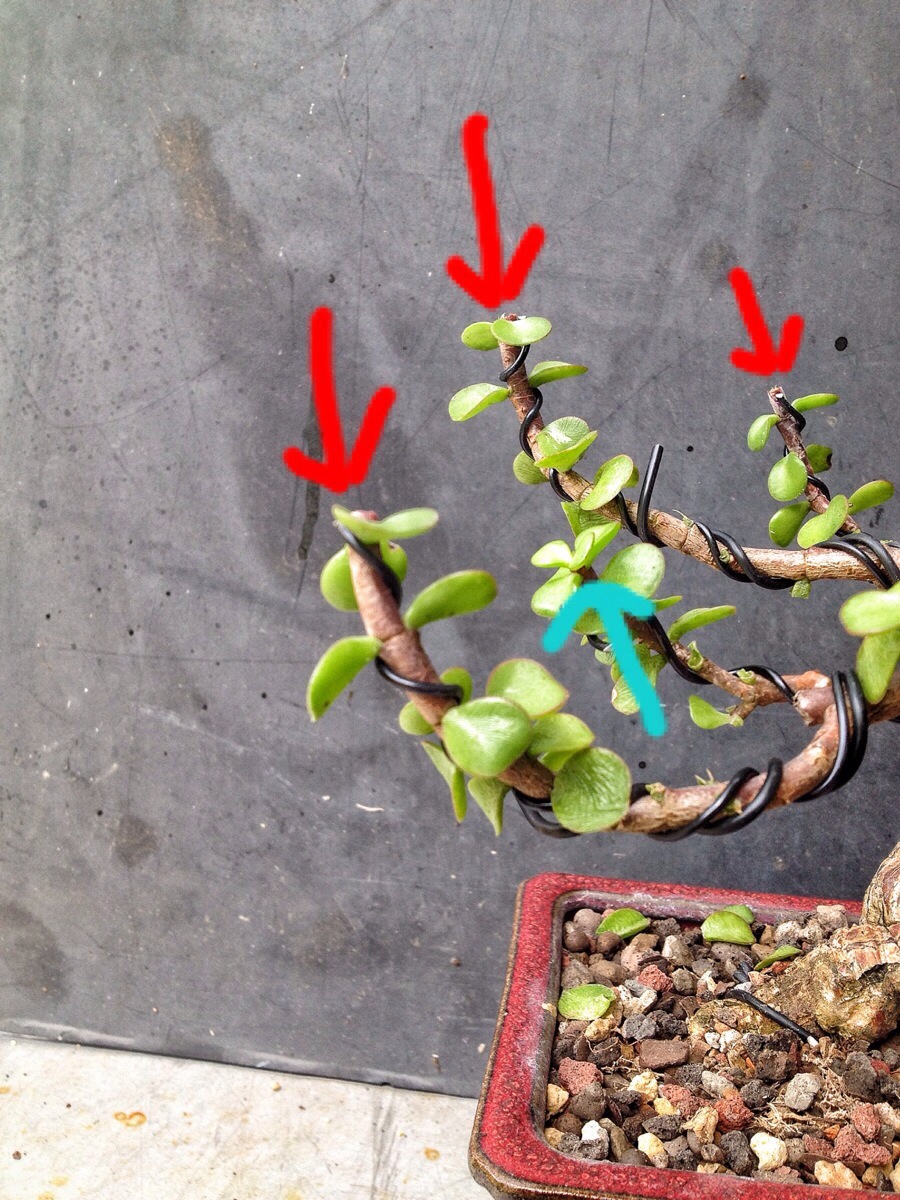
But not all, the turquoise arrow shows a smaller branch I left a growing tip on to encourage it to thicken.
When the main branch thickens (which might take all season) I’ll cut it at the point I showed earlier and then the branch will ramify….hopefully.
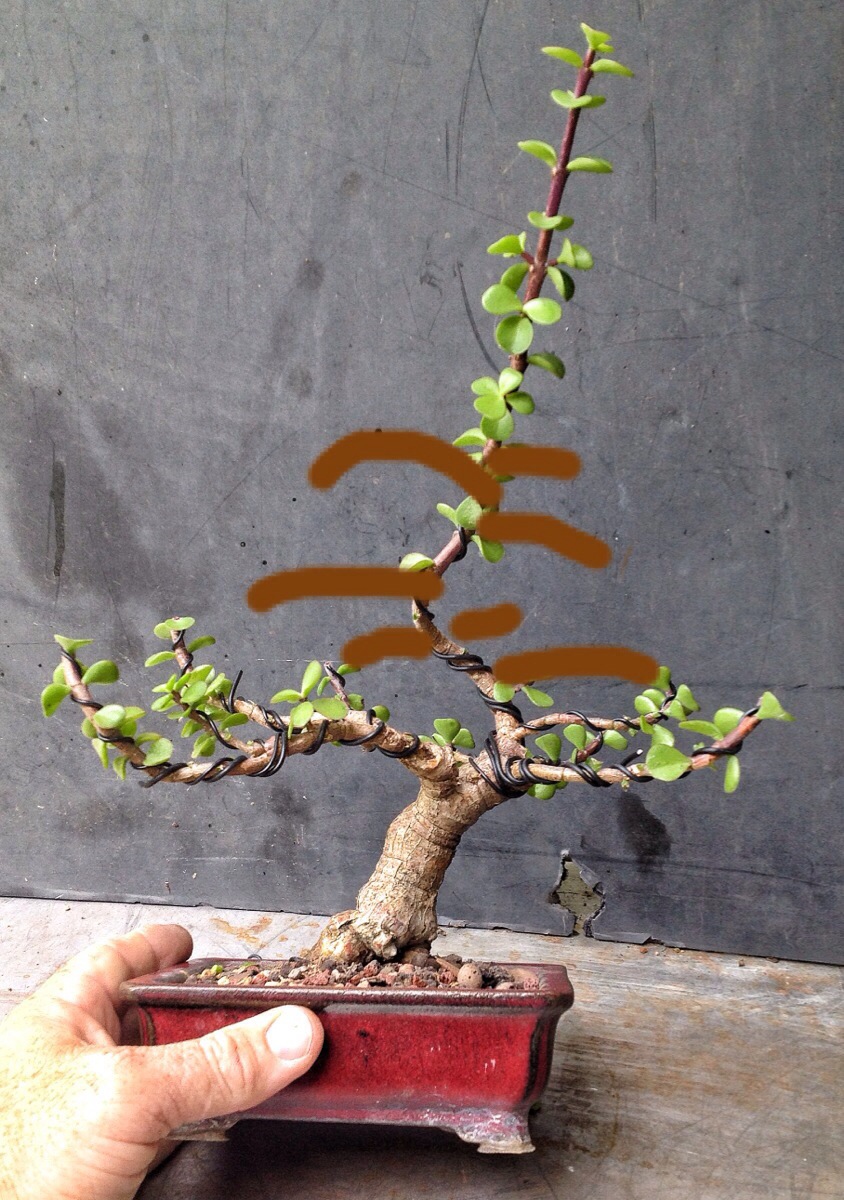
The portulacaria can fill in so thick that the canopy will look almost like an Afro.
The way this is done is to allow the branch to elongate to three sets of leaves and then prune to one, you’ll get two shoots off this point.
Allow them to do the same and prune the same and then you’ll have four.
Then, only allow it to elongate two sets and pinch back to one set.
Soon your canopy will fill in and you’ll be humming J5 songs as you water.
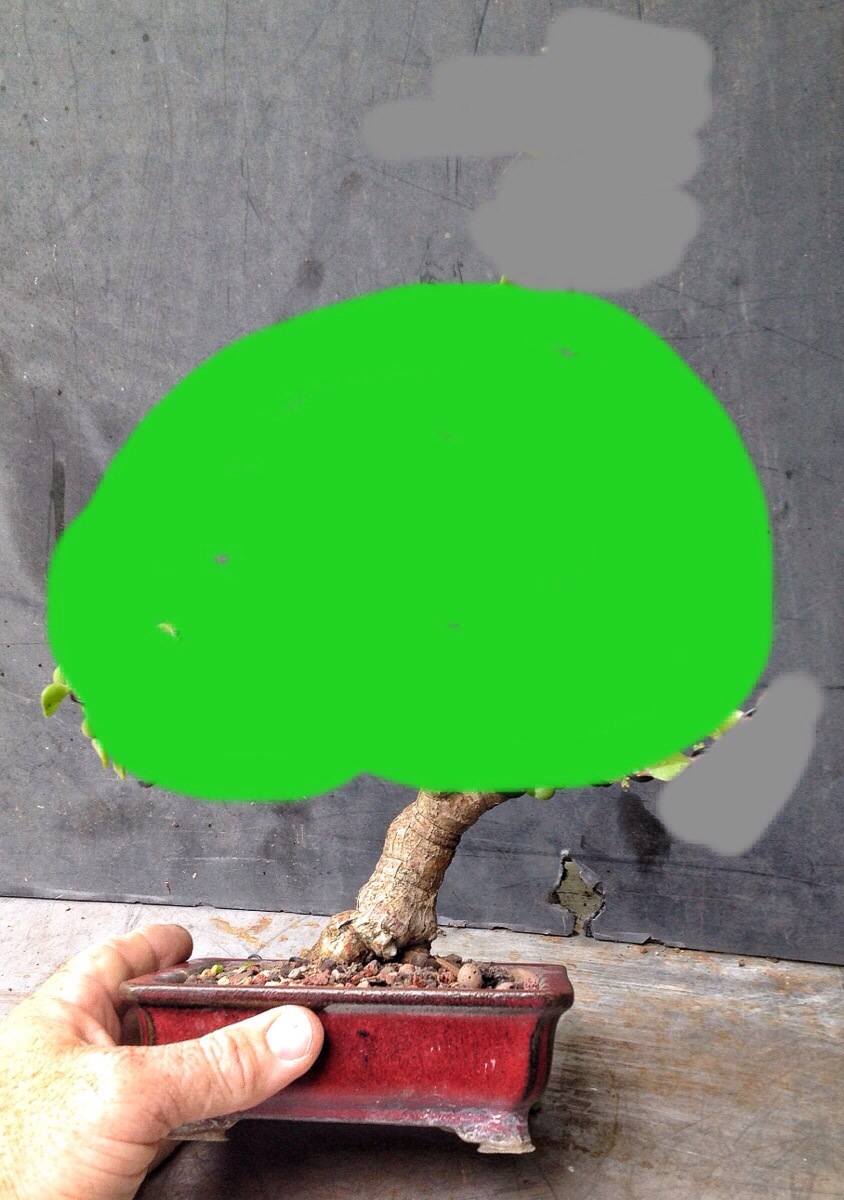
Ok, not quite like that.
More like this-
Aftercare: they are heavy feeders so use a regular fertilizer on a schedule.
If you are using bonsai soil (which you should) overwatering should not be a problem.
In the summer it rains everyday here in Florida and I don’t have rot problems.
And yes, they stay out in the full sun, outside.
This particular tree was given to me by my friend Aaron, but it is typical of one that could be had as a starter tree.
If you just apply some styling techniques and sound horticulture, there isn’t any reason why a similar tree couldn’t be made into a nice little bonsai tree.
In the next post maybe I’ll try to mollify some of my critics and work on that masterpiece bonsai.

We should never stop learning and experimenting to make our “Art and Passion” better, not for the so called “Experts” but for the satisfaction and comfort of our own Id (Soul). Keep on Sharing
LikeLike
The “Big” guys do not support bonsai enough to keep it thriving. It is people like you that keep this hobby growing and interesting for the large majority of bonsai people. Keep doing what you are doing.
LikeLike
I’ve got several portulacarias, I like how easy they are to propagate, but I’ve just been letting them grow for now. I was wondering why you trim some leaves back, but not all. Did you just trim the ones that were wrinkled?
Love the site!
LikeLike
It was just the wrinkled ones I trimmed off. They were going to fall off anyway and they were in the way of my wiring.
LikeLike
Portu’s are fun to work with. I’ll be displaying one of mine at the BSF convention in Orlando in May. You might mention that Jim Smith from Vero Beach, Fl is credited with introducing them to bonsai. His masterpieces are on display at Heathcote botanical garden in Ft Pierce, Fl. Keep up the good work.
LikeLike
I wholly agree with your suggestions to perform regular practice on many training exercises.
In one of the earliest lessons while earning my BFA, our wise old teachers told us that only through rigor and process would we make steady careers. People who expect to be fabulously creative every day on demand will burn out at a young age. Mastery of arts and trades is most sustainable when done task by task, piece by piece.
LikeLike
I like your site. If you did not show the details you show i would still be mystified by bonsai trees. They grew that in a little pot all its life. LOL Those “experts” are just hating on you. Keep new people, like myself, interested and the art will never die.
LikeLike
I really appreciate the sight, the progression of the photos and the explanations. Please keep up the great work.
LikeLike
I love your site, but then, I am a beginner and find just about everything to be informative. I guess at some point you have to decide who you want to impress…..a gazillion beginners like myself, or the 10 experts who want a more esoteric offering. 😉
LikeLike
a..ha! so thats why my tree has wrinkly leaves. it is not spring yet but maybe it got confused because it is indoors with 20-25 celcius degrees.
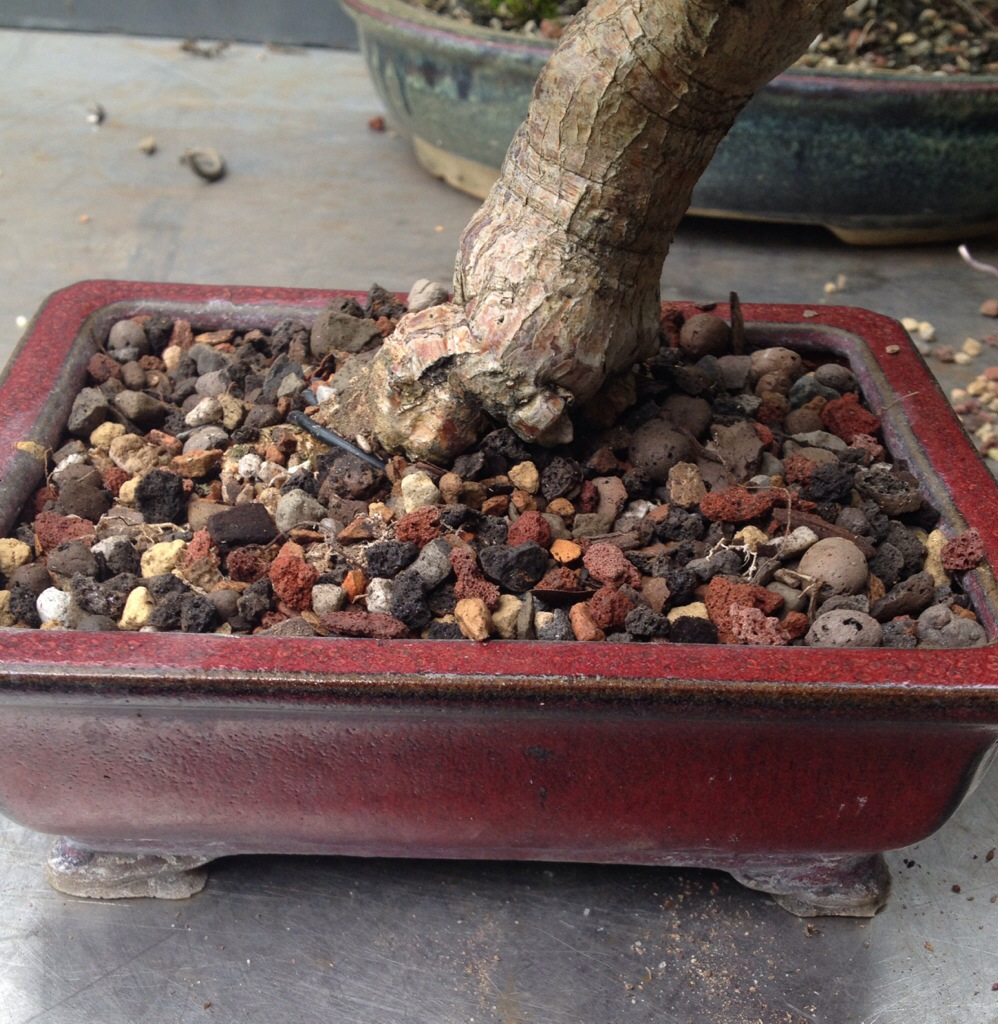
just a few more questions if you don’t mind. I’ve attached the photos. My tree is a small one and i wasn’t considering pruning yet but if you see the branch photo there is a very ugly multiple branch end. (inside the hard-to-see, mspaint-noob red circle). What would you advice, should i leave it alone or prune to save time? and about the root pictures, should i repot or leave it alone? thank you again.
the link again: https://drive.google.com/drive/folders/0B82X84NsF7kpaXU3SUt4ZFpLc2c?usp=sharing
about your posts and the respect comments; i can’t give the grand-maesters well done nod but i can give the puppy eyed, information hungry student’s “how lucky am i to reach this information” thank you. 😀
LikeLike
Hey Adam, I’m wondering if P. Afra can be propagated through root cuttings. I recently acquired a cork bark baby jade that needs a trim and repot. There’s a sizable surface root that needs to go and it would make a funky little cascade. I’ve researched this question and have come up dry.
LikeLike
My guess is that if the root has been exposed to the air, it should work. And if you’re cutting it off, why not try?
LikeLike
Cool, I’ll definitely give it a try. Just wanted to make sure that it wasn’t common knowledge that they wouldn’t propagate in that way. I’ll pot it up and see what happens!
LikeLike
You get great show trees from Yamadori but I get the most joy taking a sapling or cutting and shaping it into a bonsai, your post therefore is a great learning experience for me! I have to add that I’m from South Africa and if you drive through the Karoo a certain time of the year the fields are ablaze with pink and that is the Portulacaria shrubs in bloom, what a sight!
LikeLike