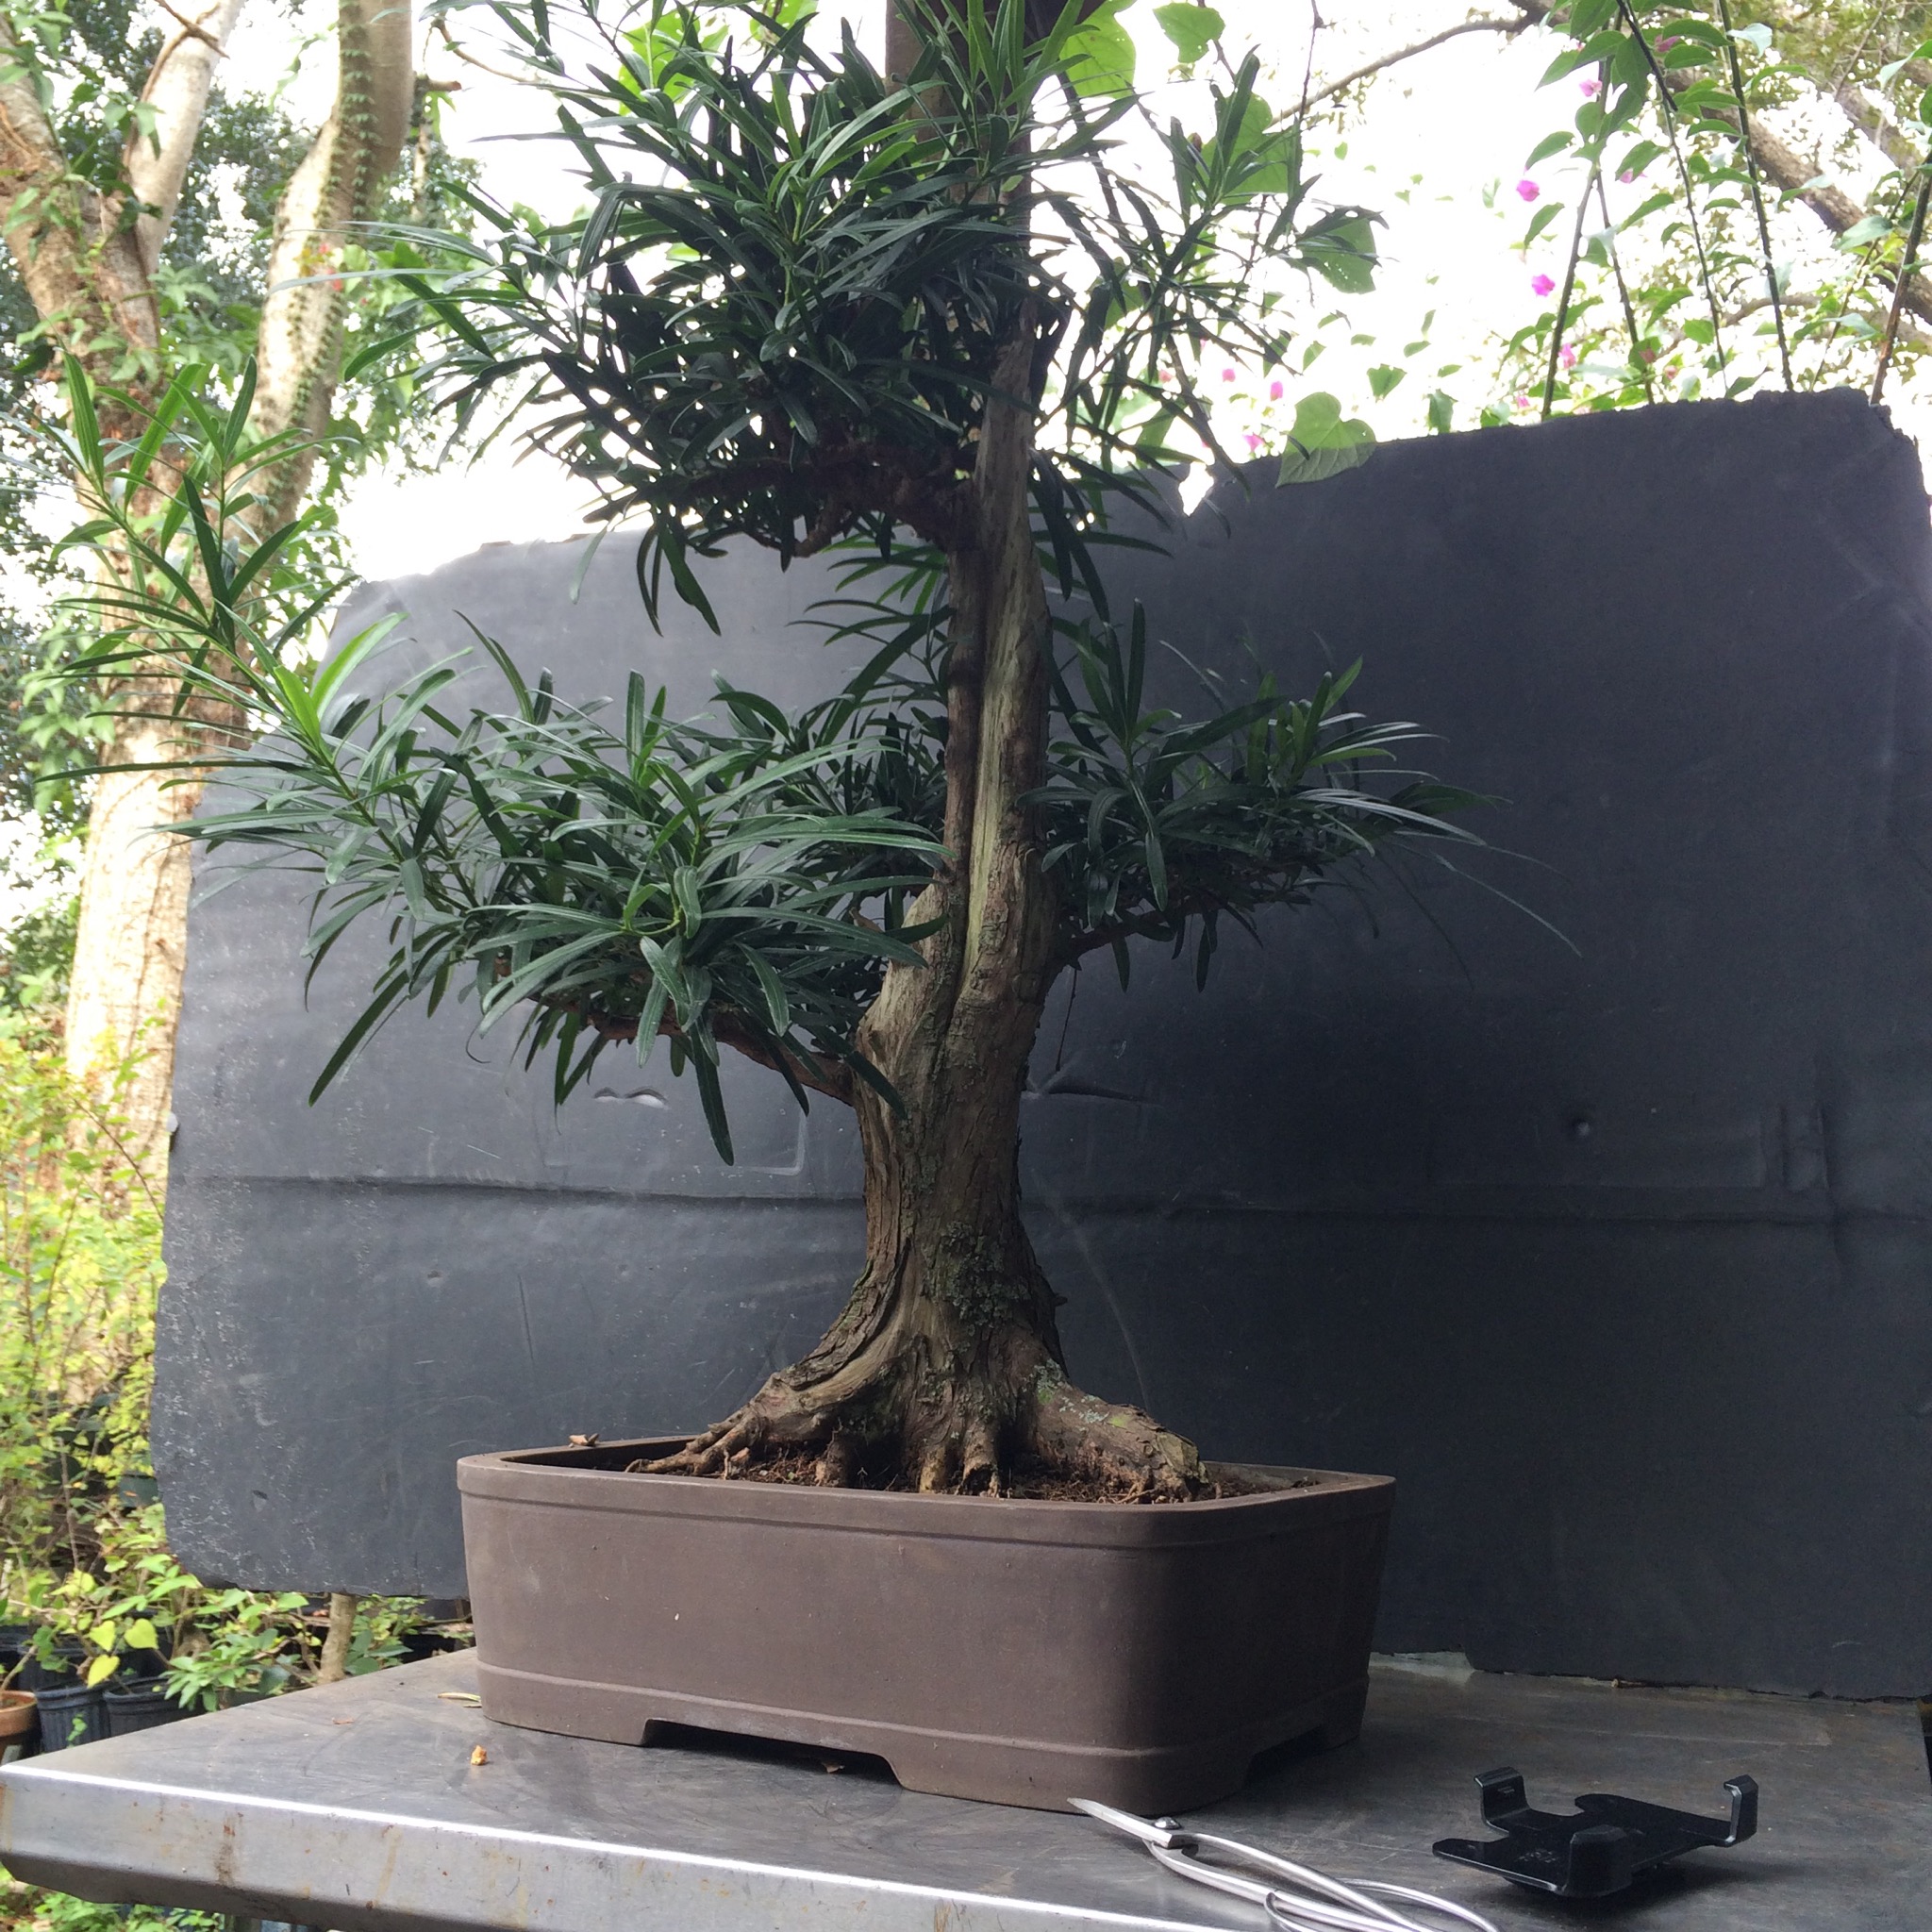
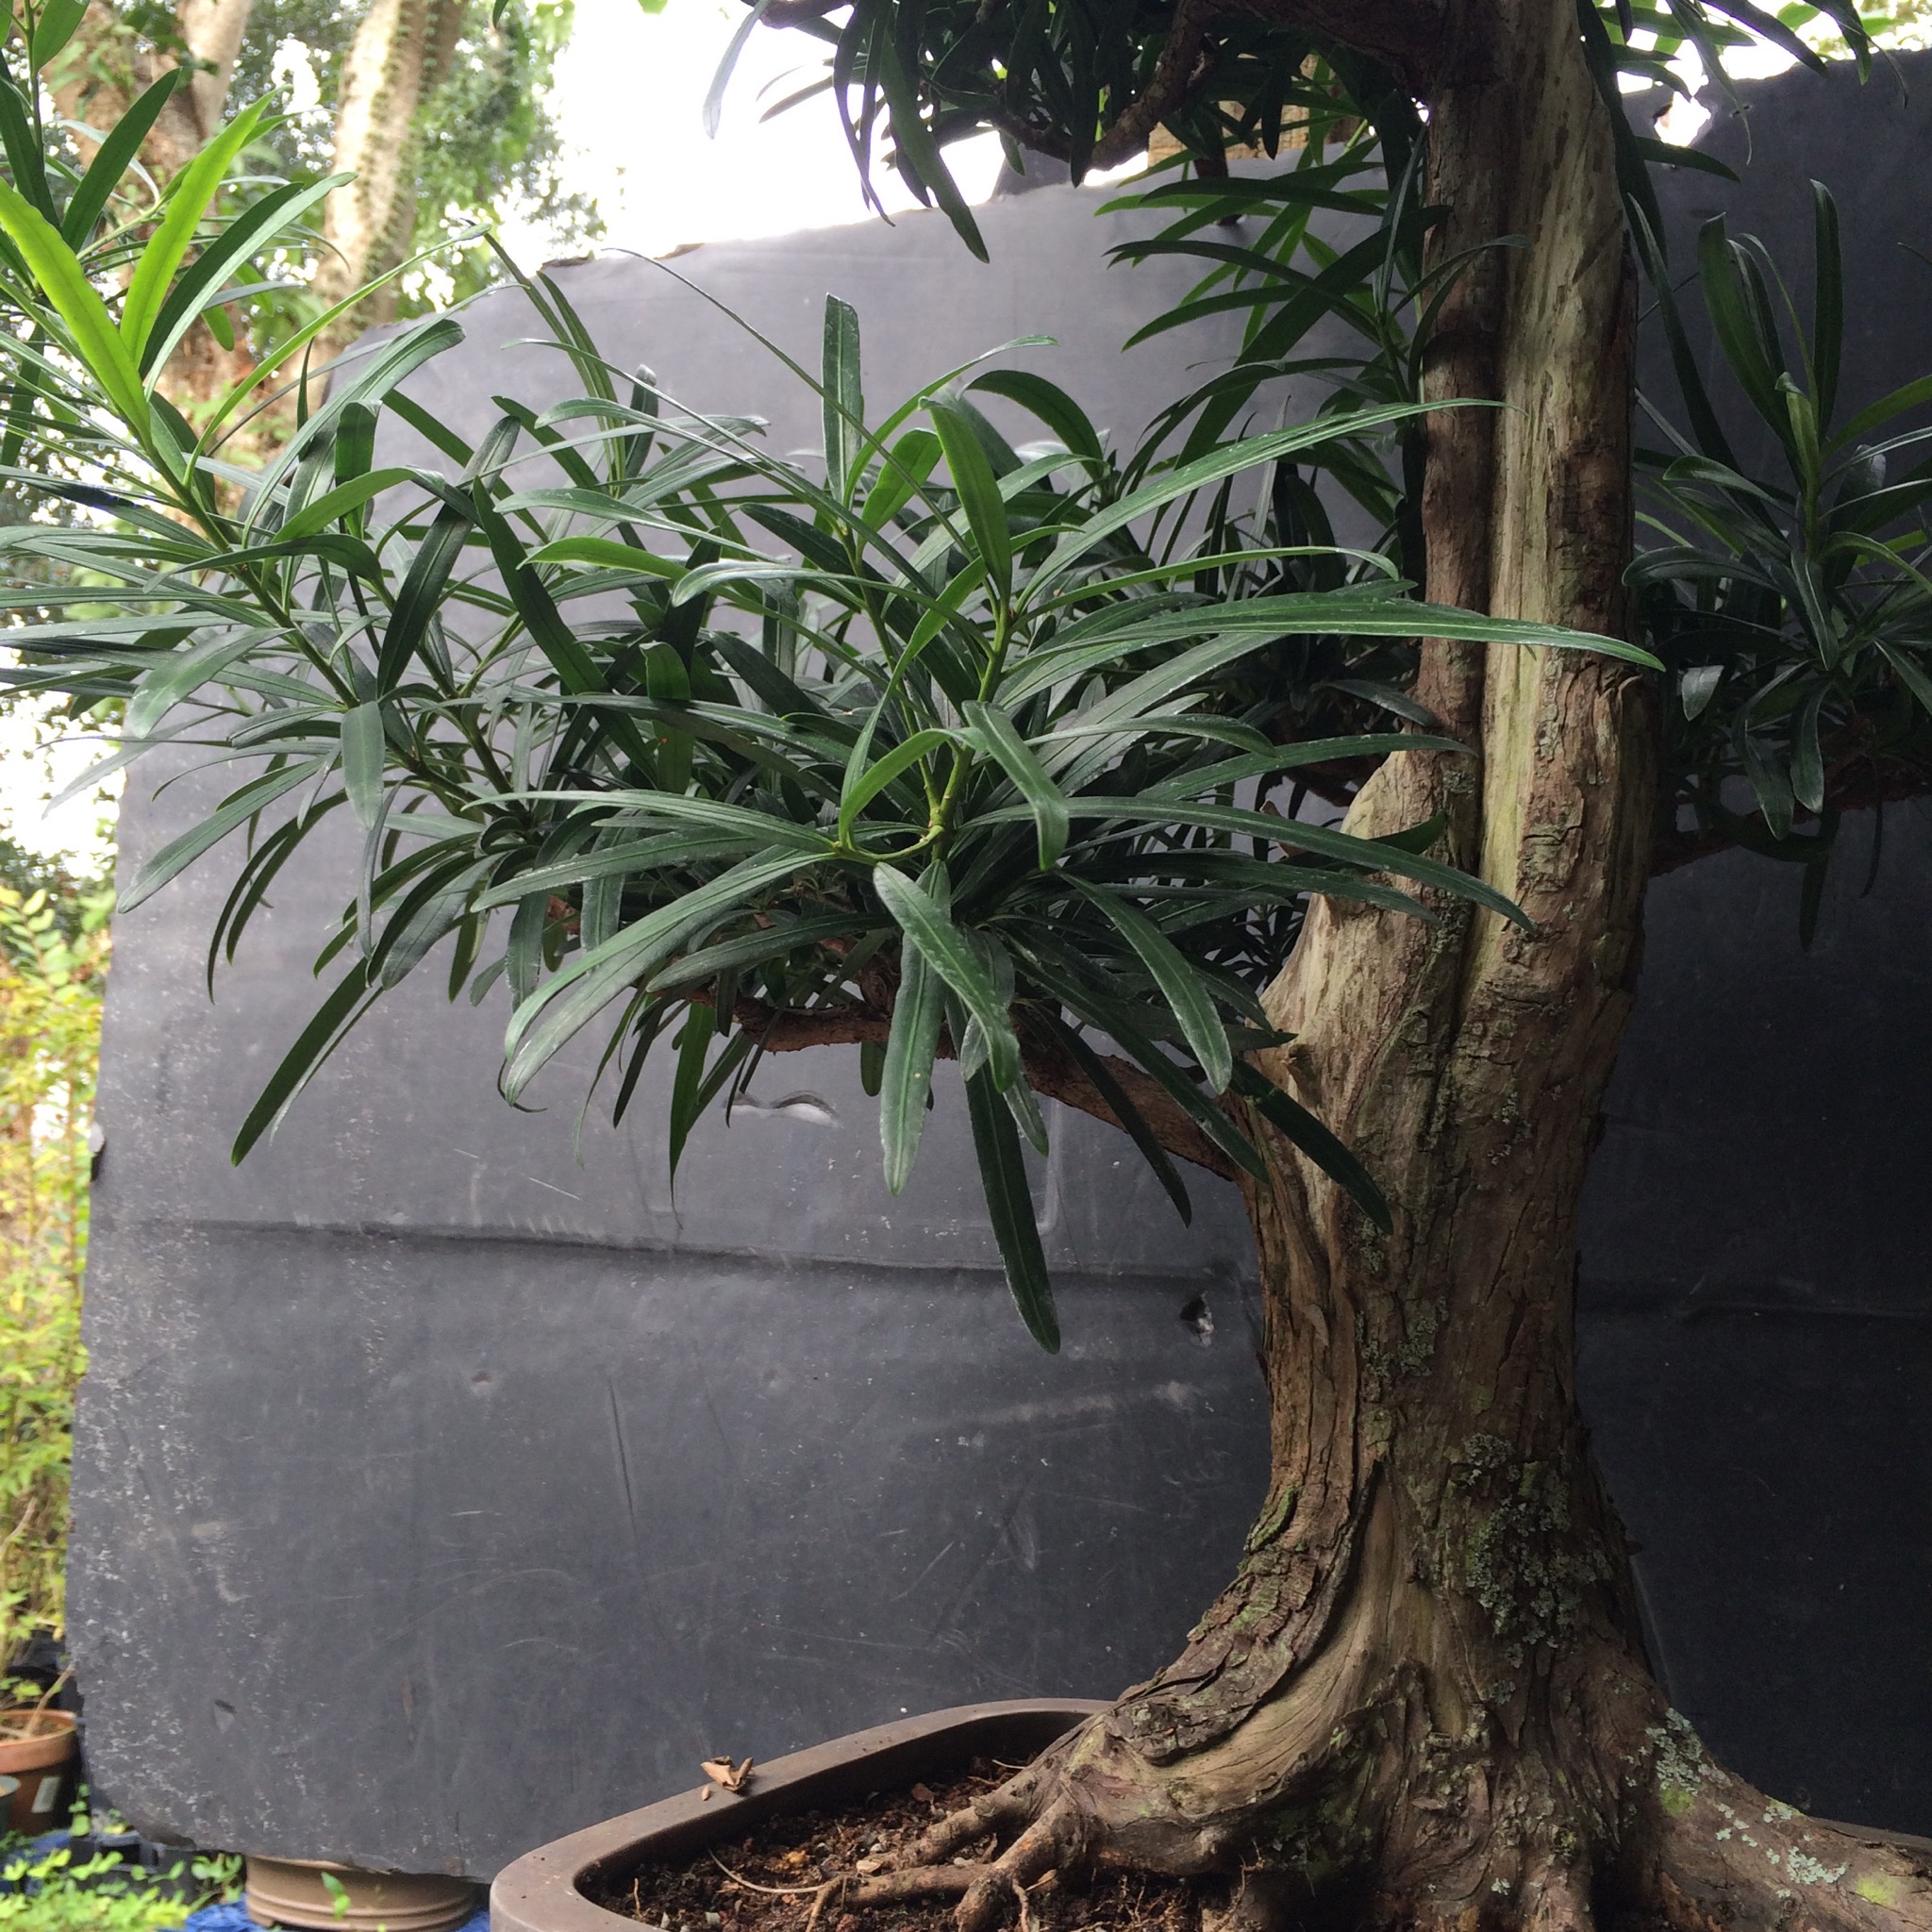
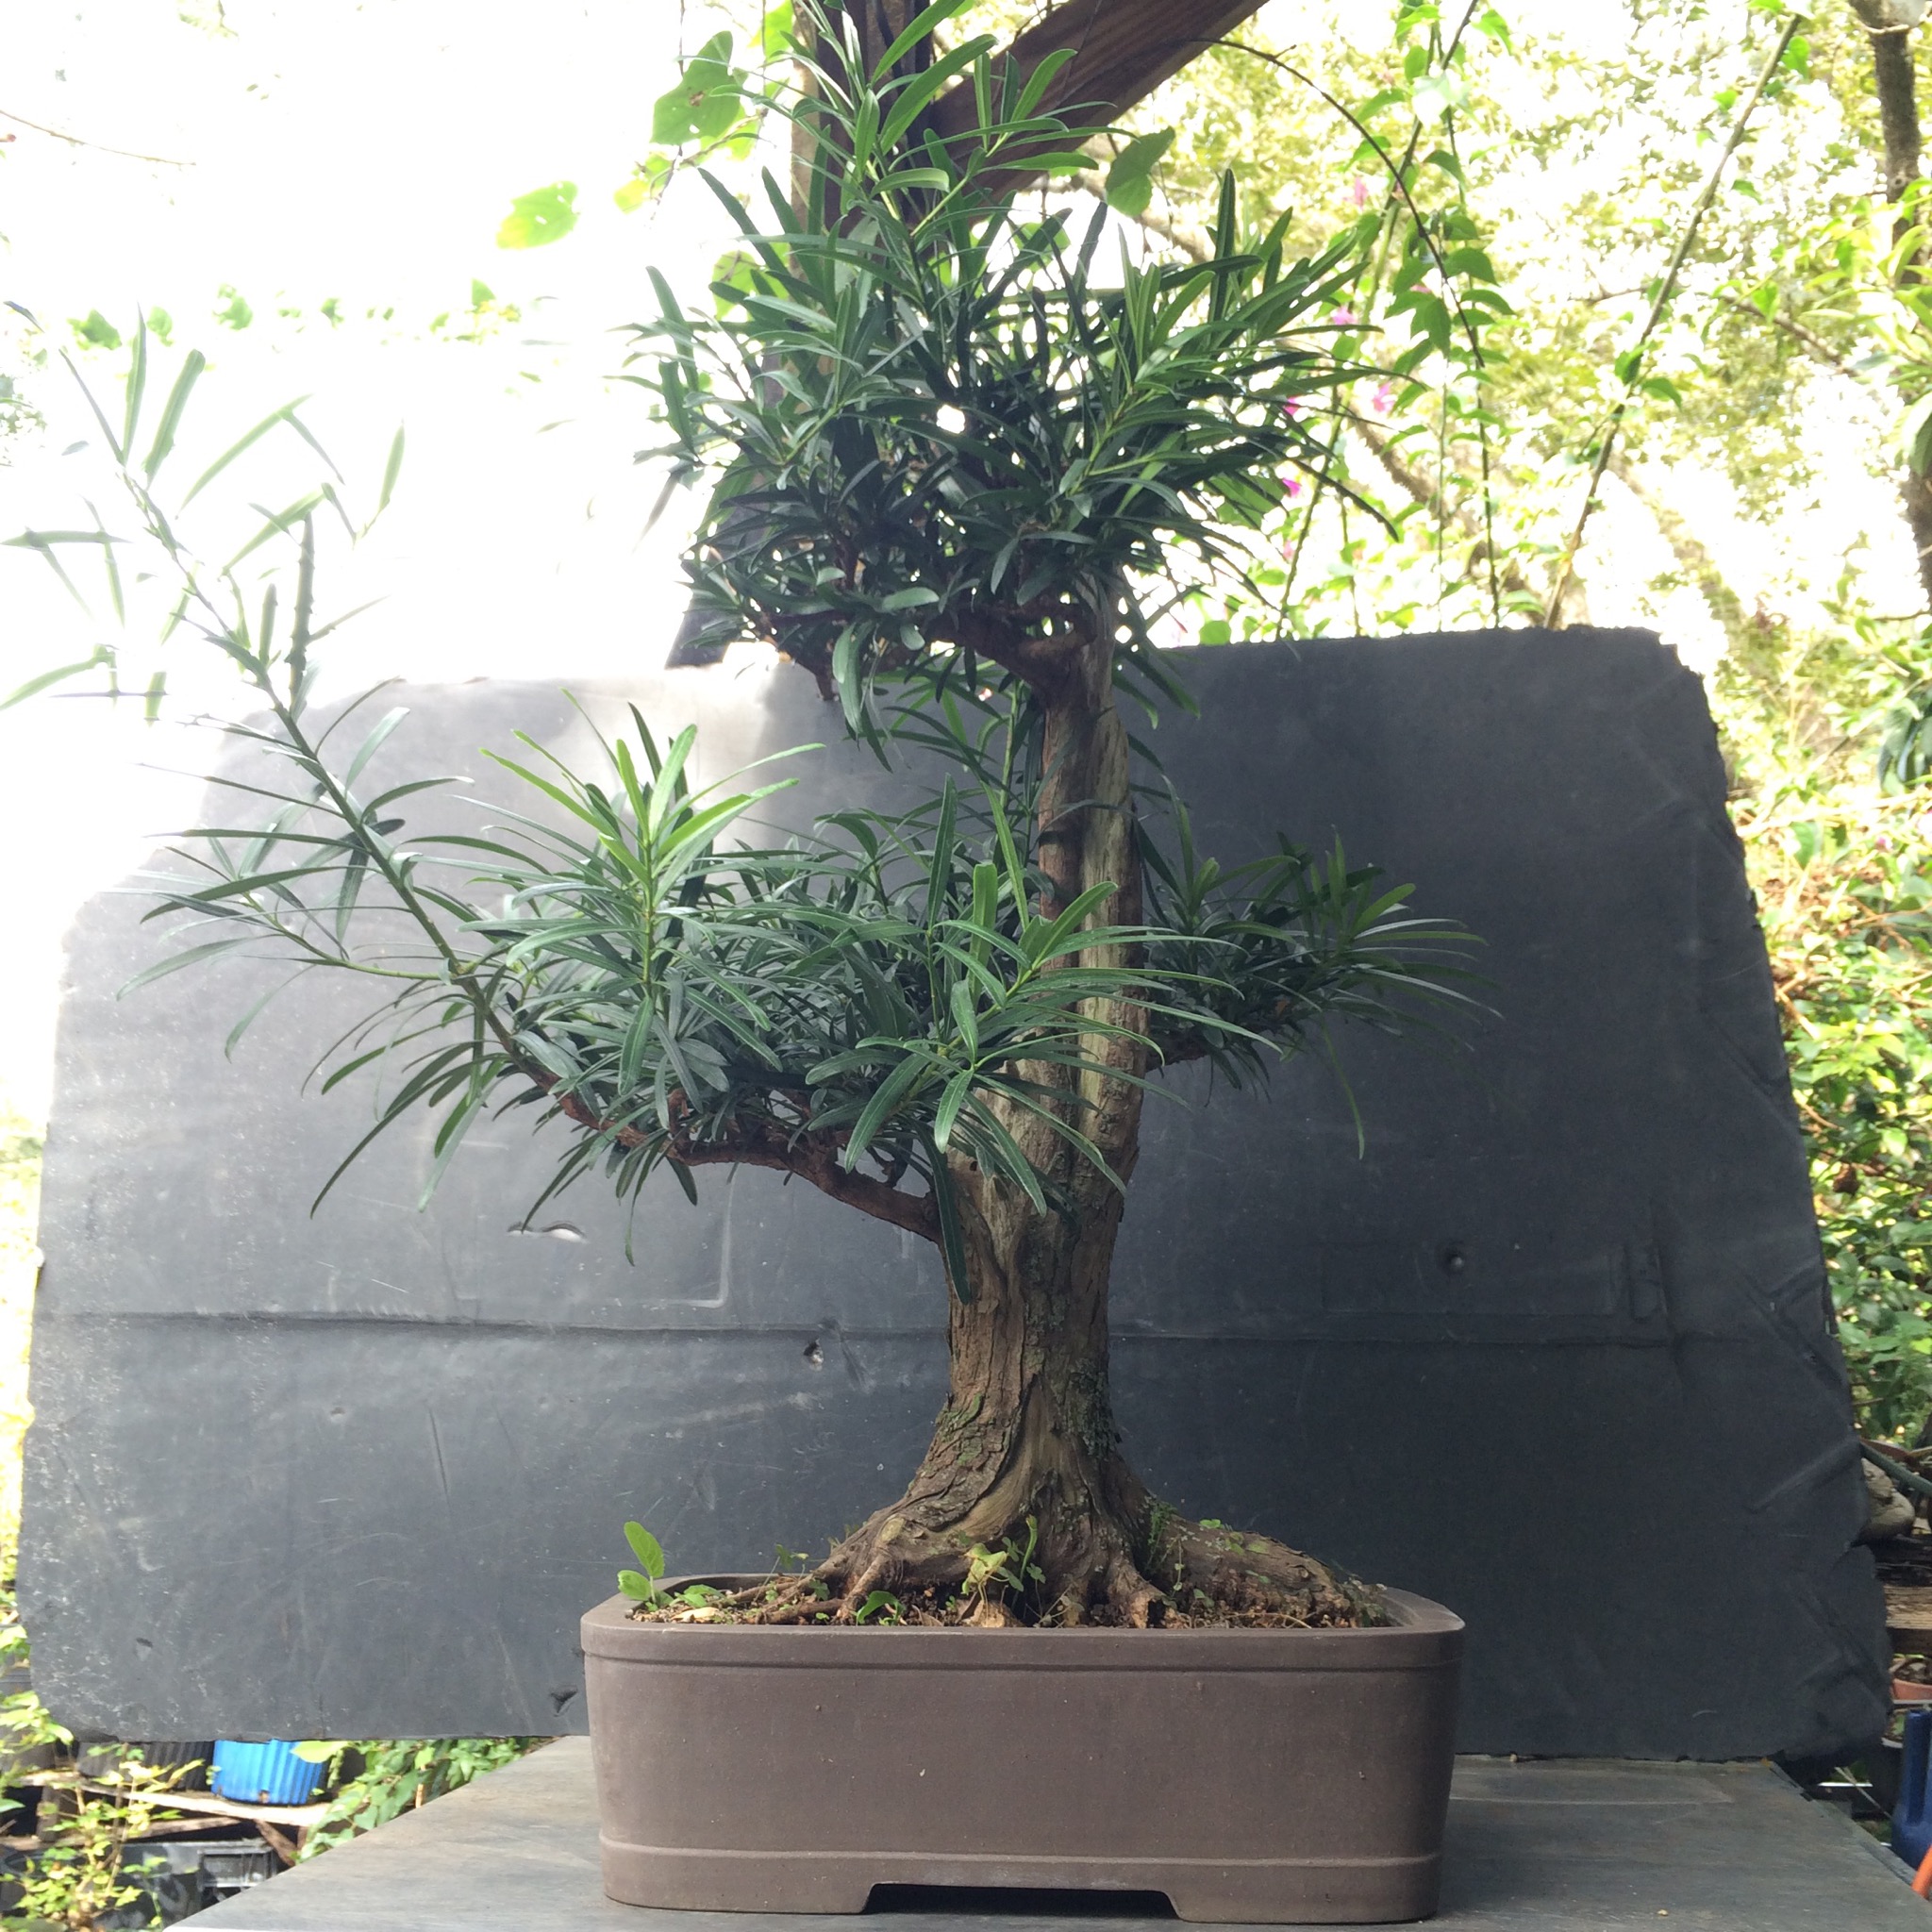
Somehow, I always end up with the problem trees. Take this podocarpus.
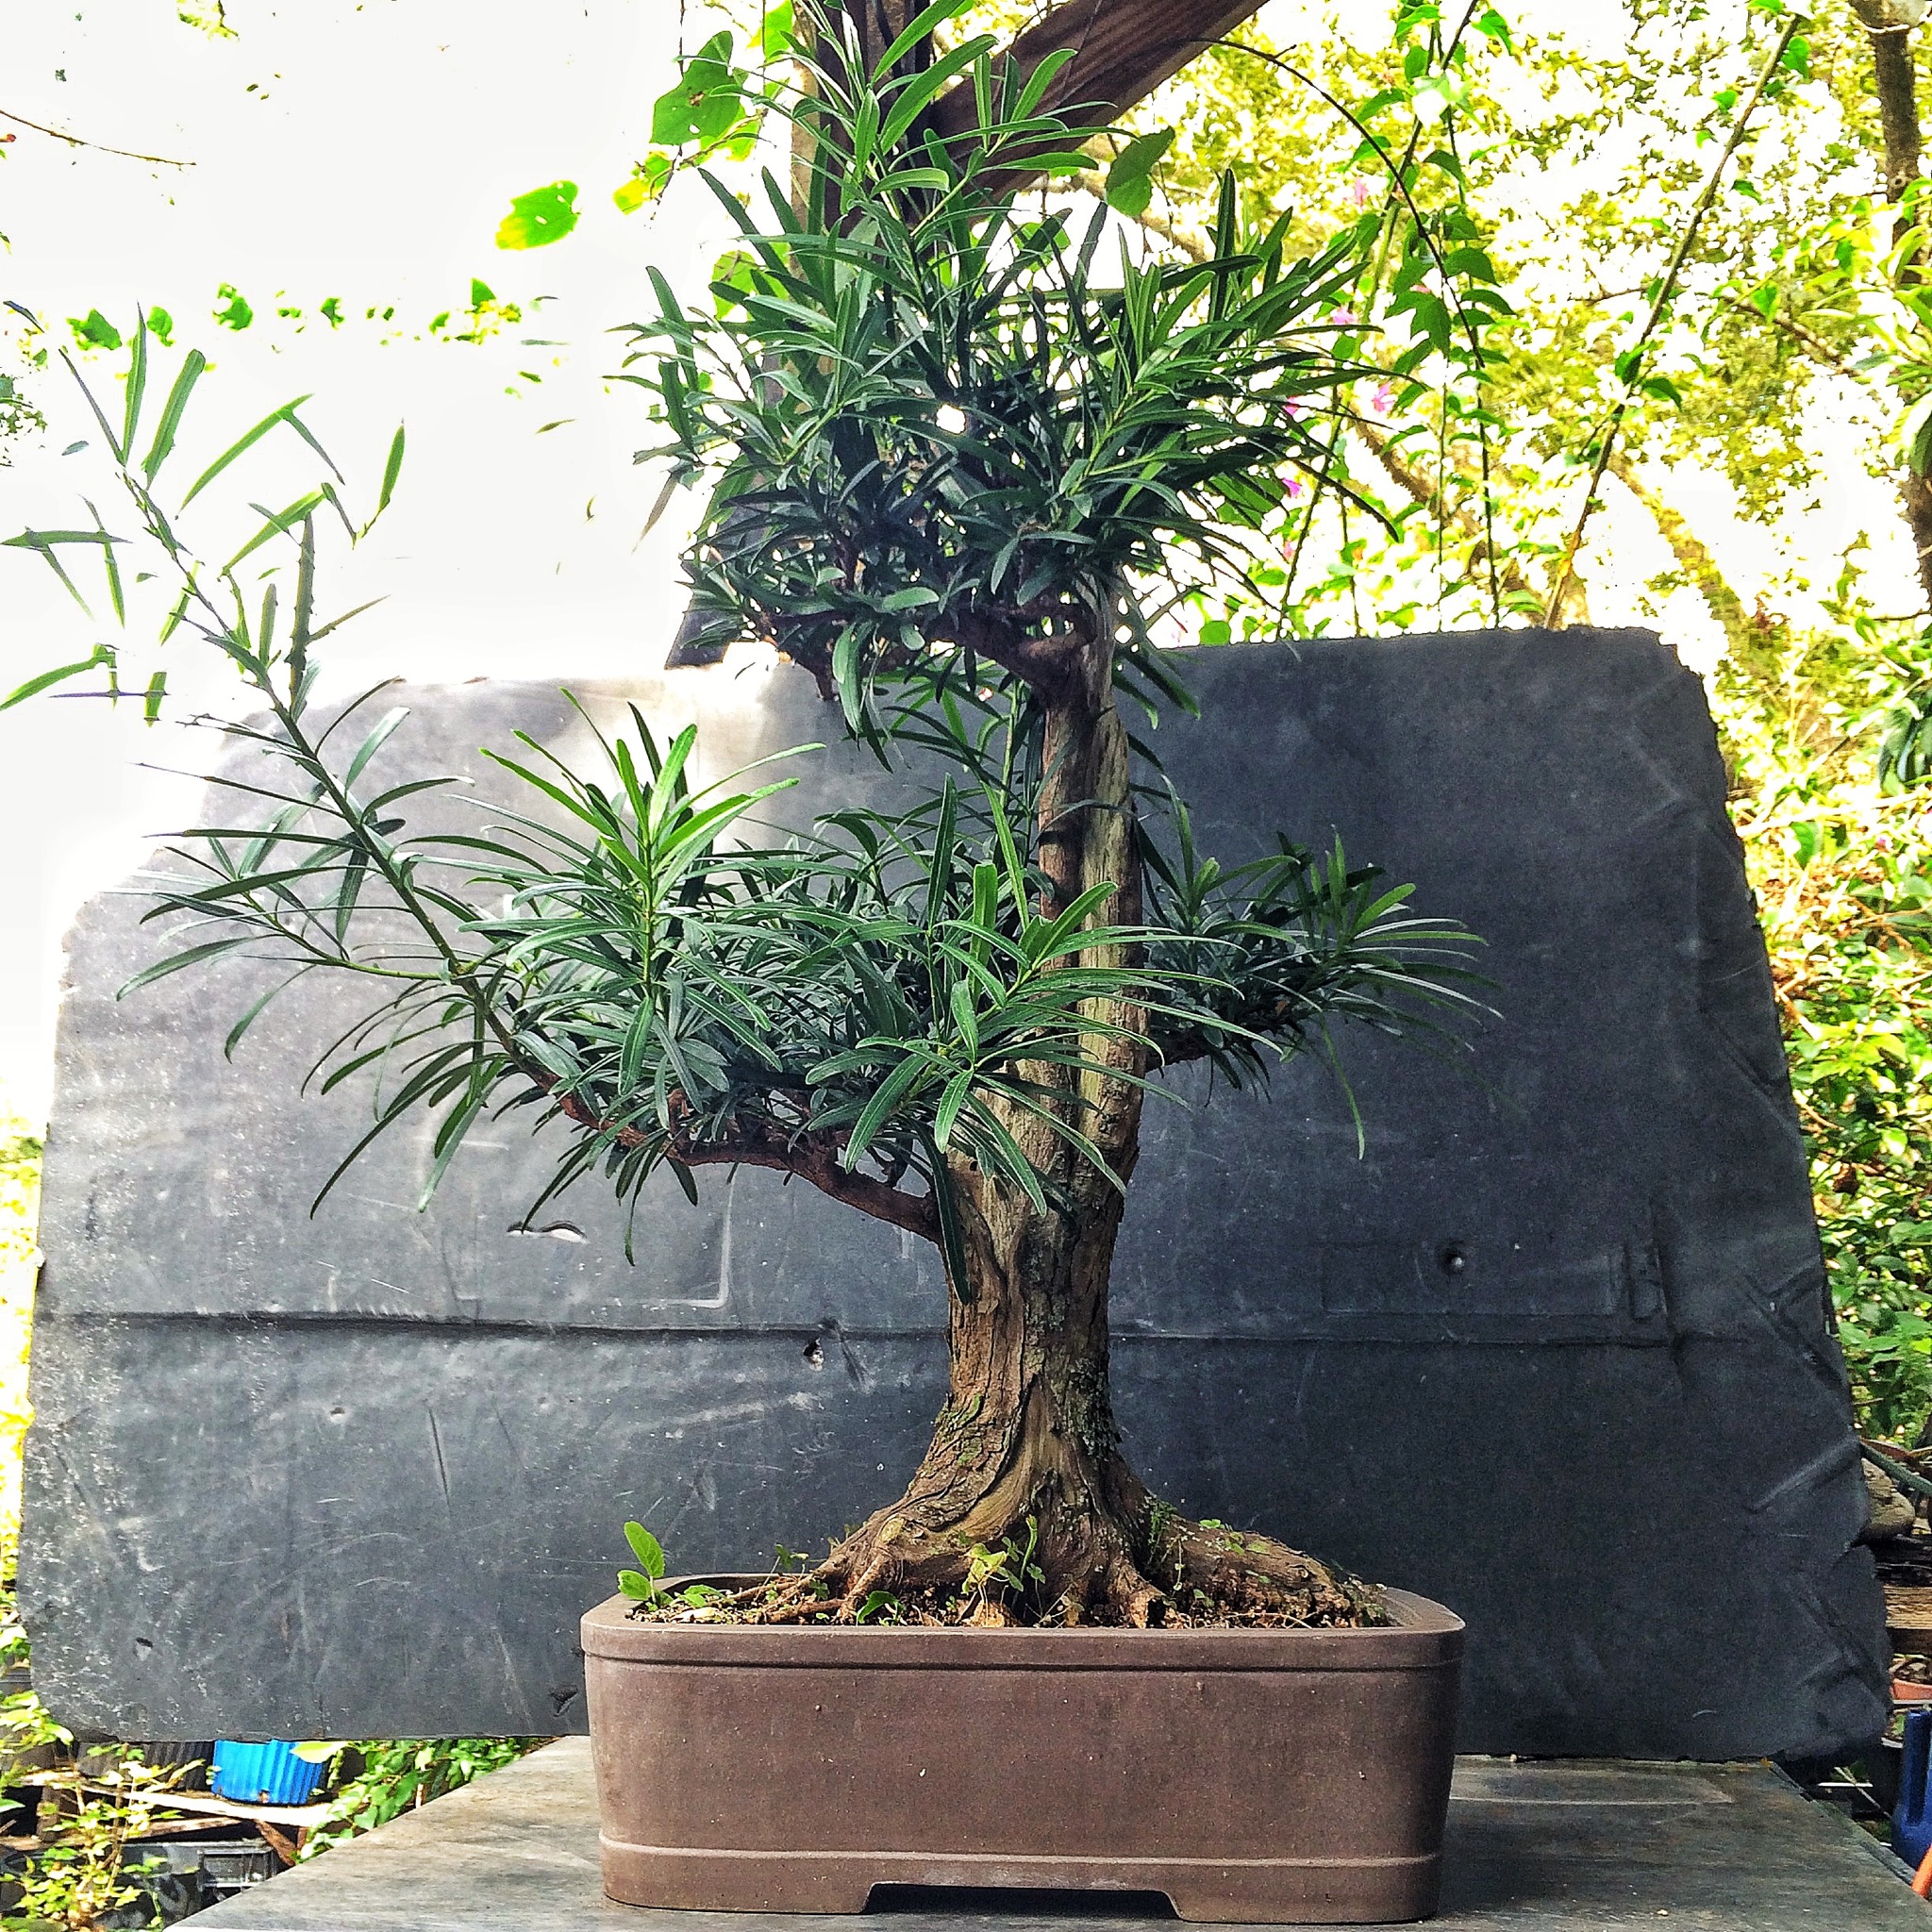
I mean, it has potential but it has some real flaws.
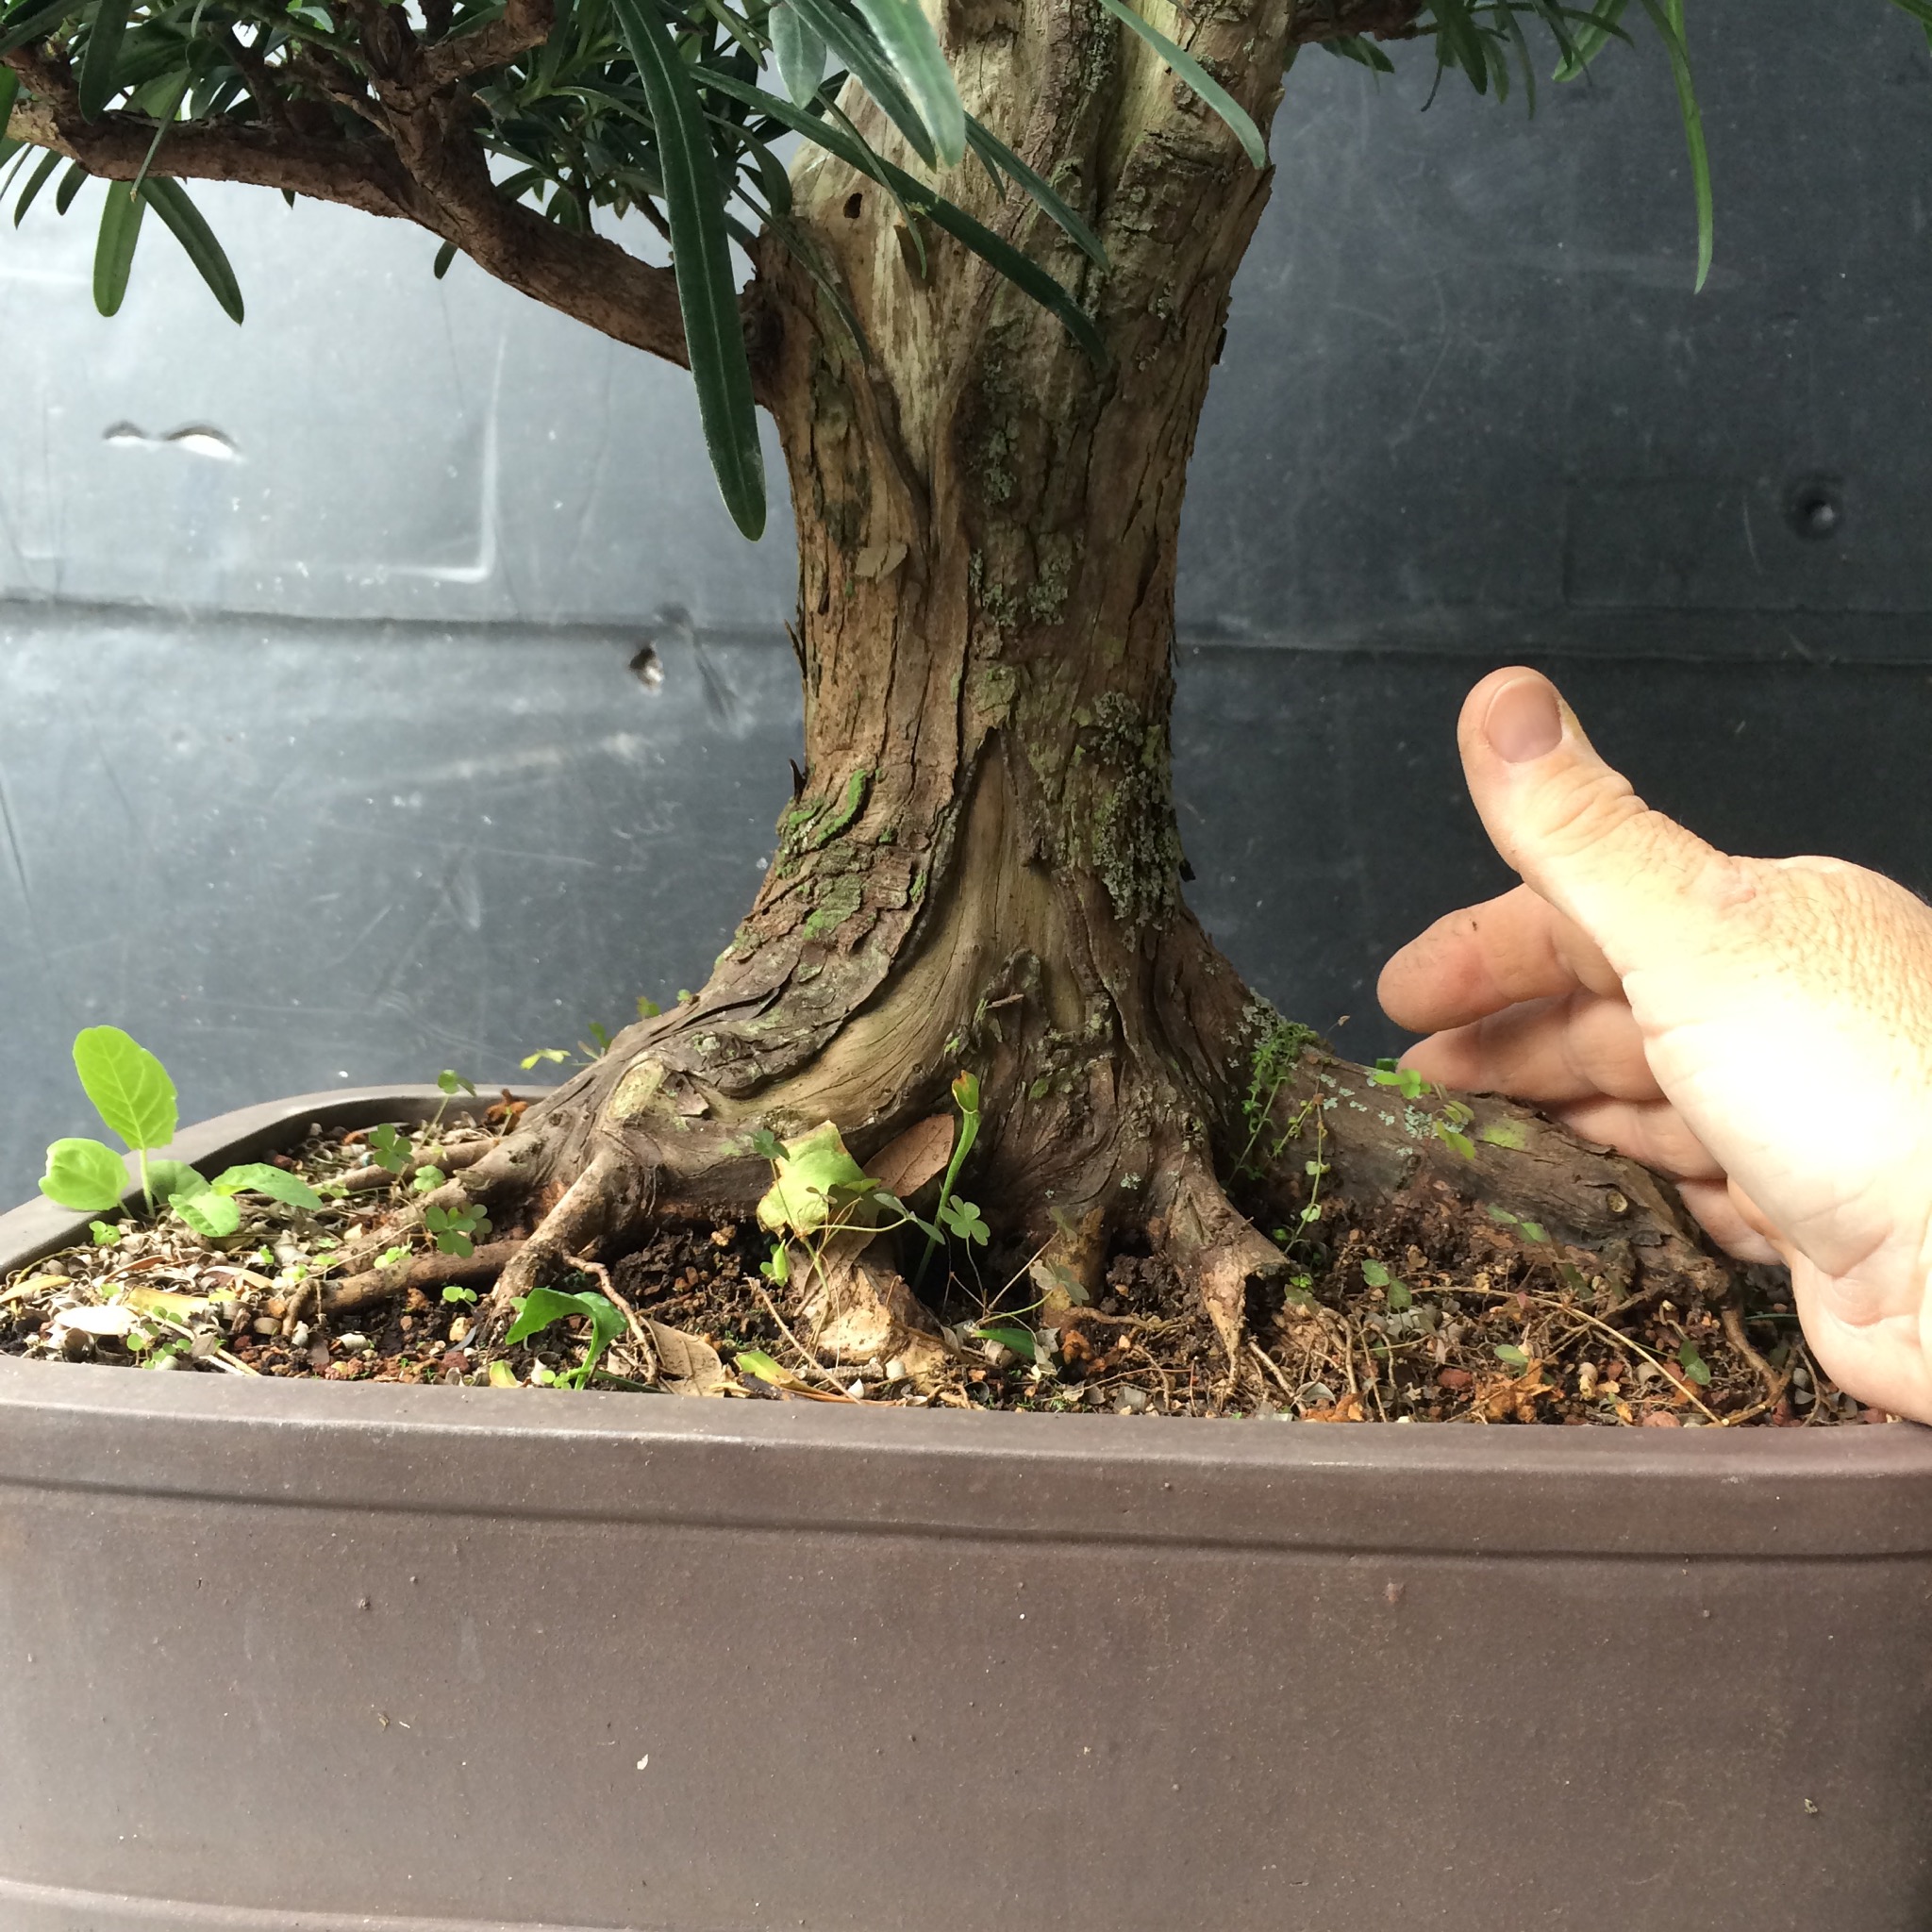
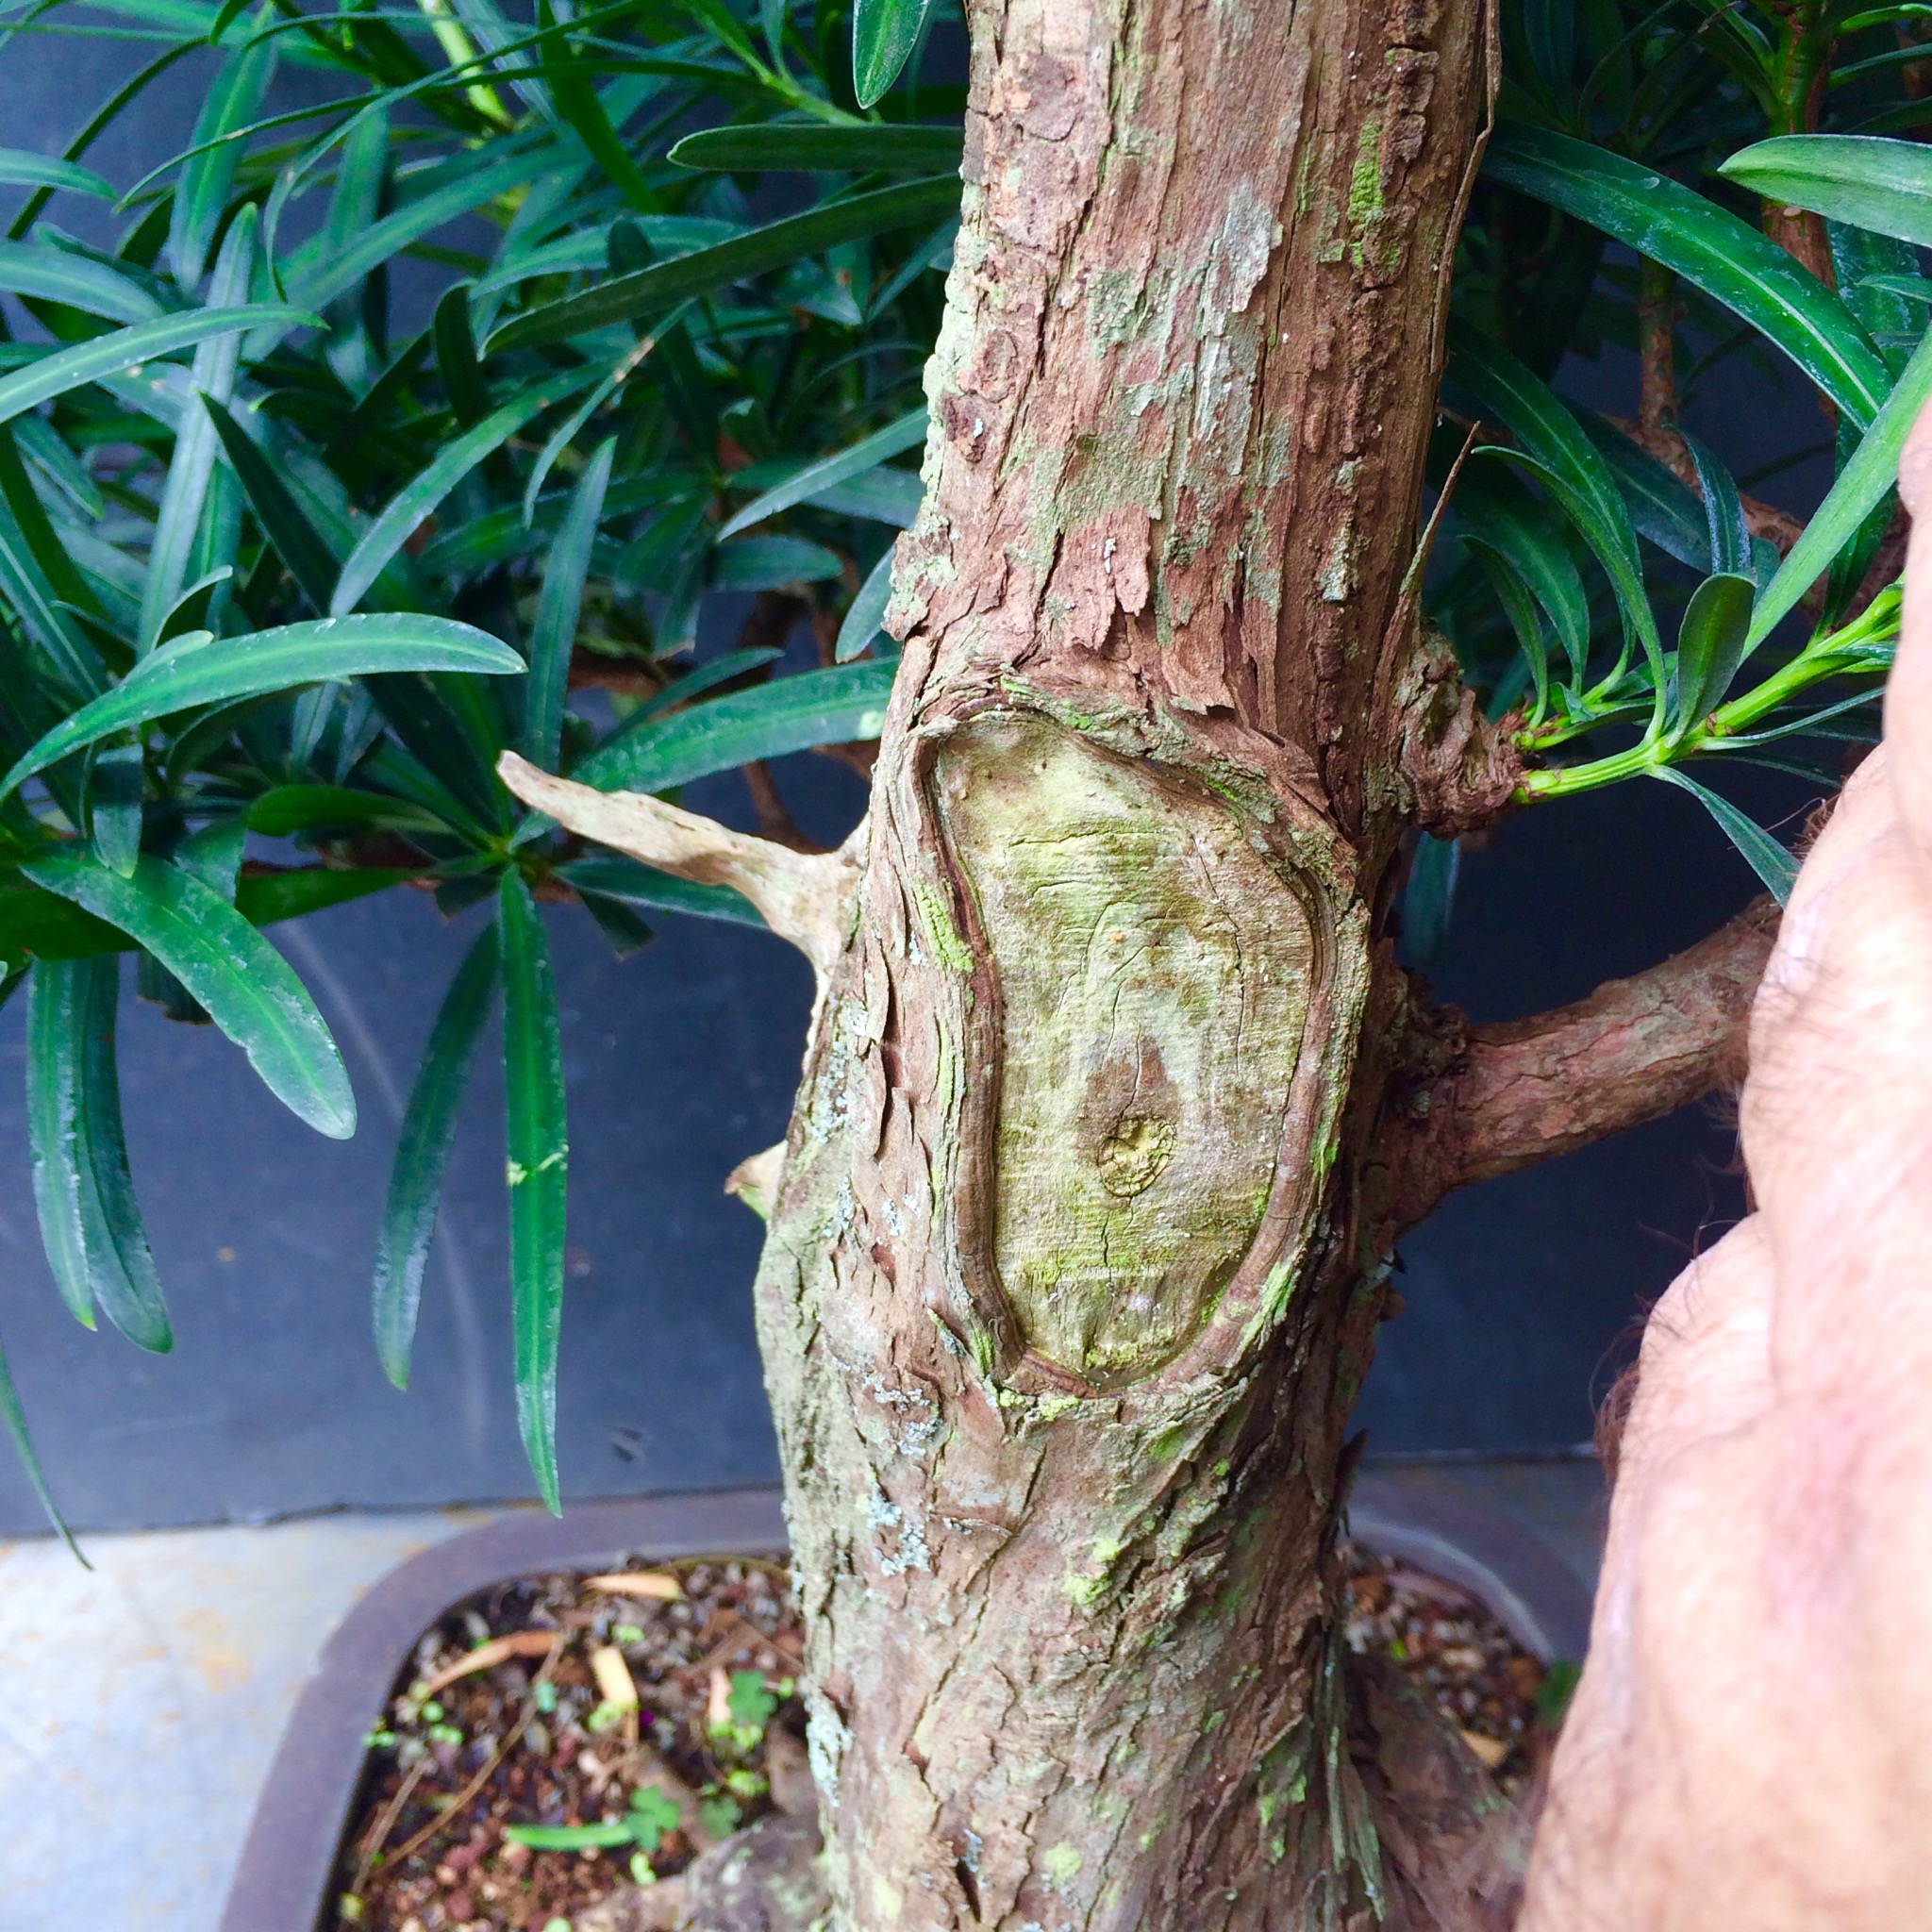
An awesome base.
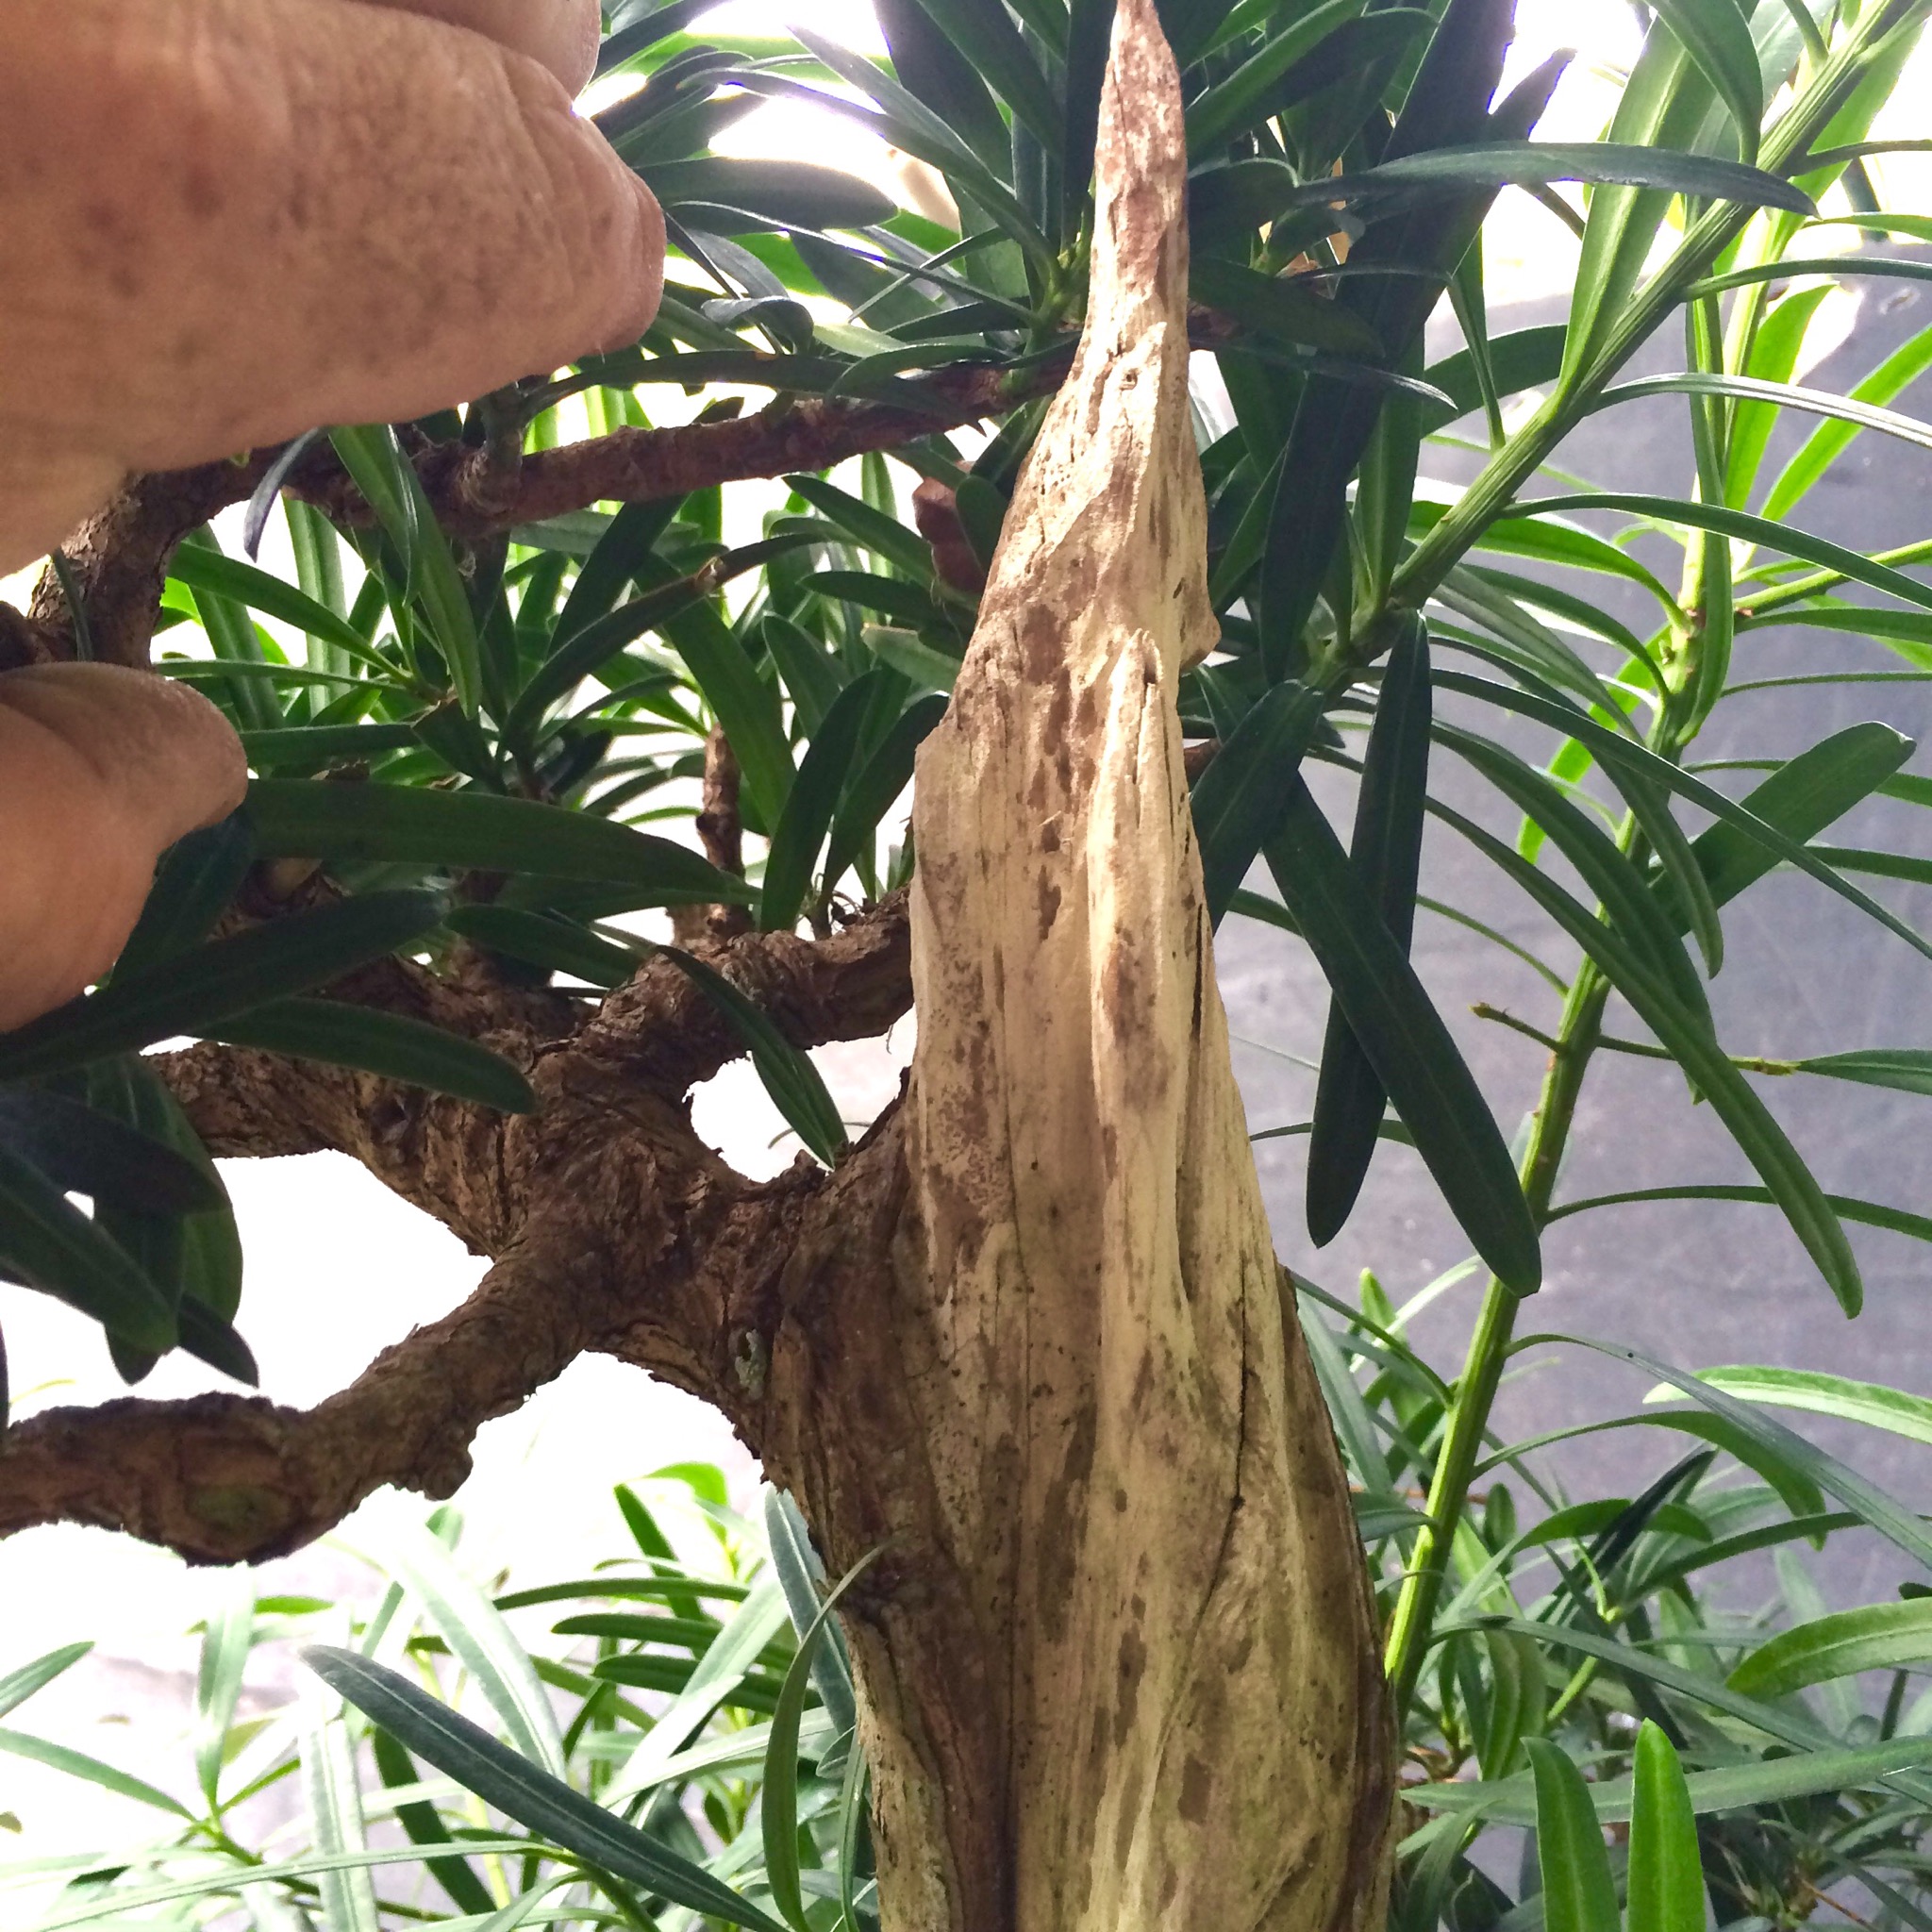
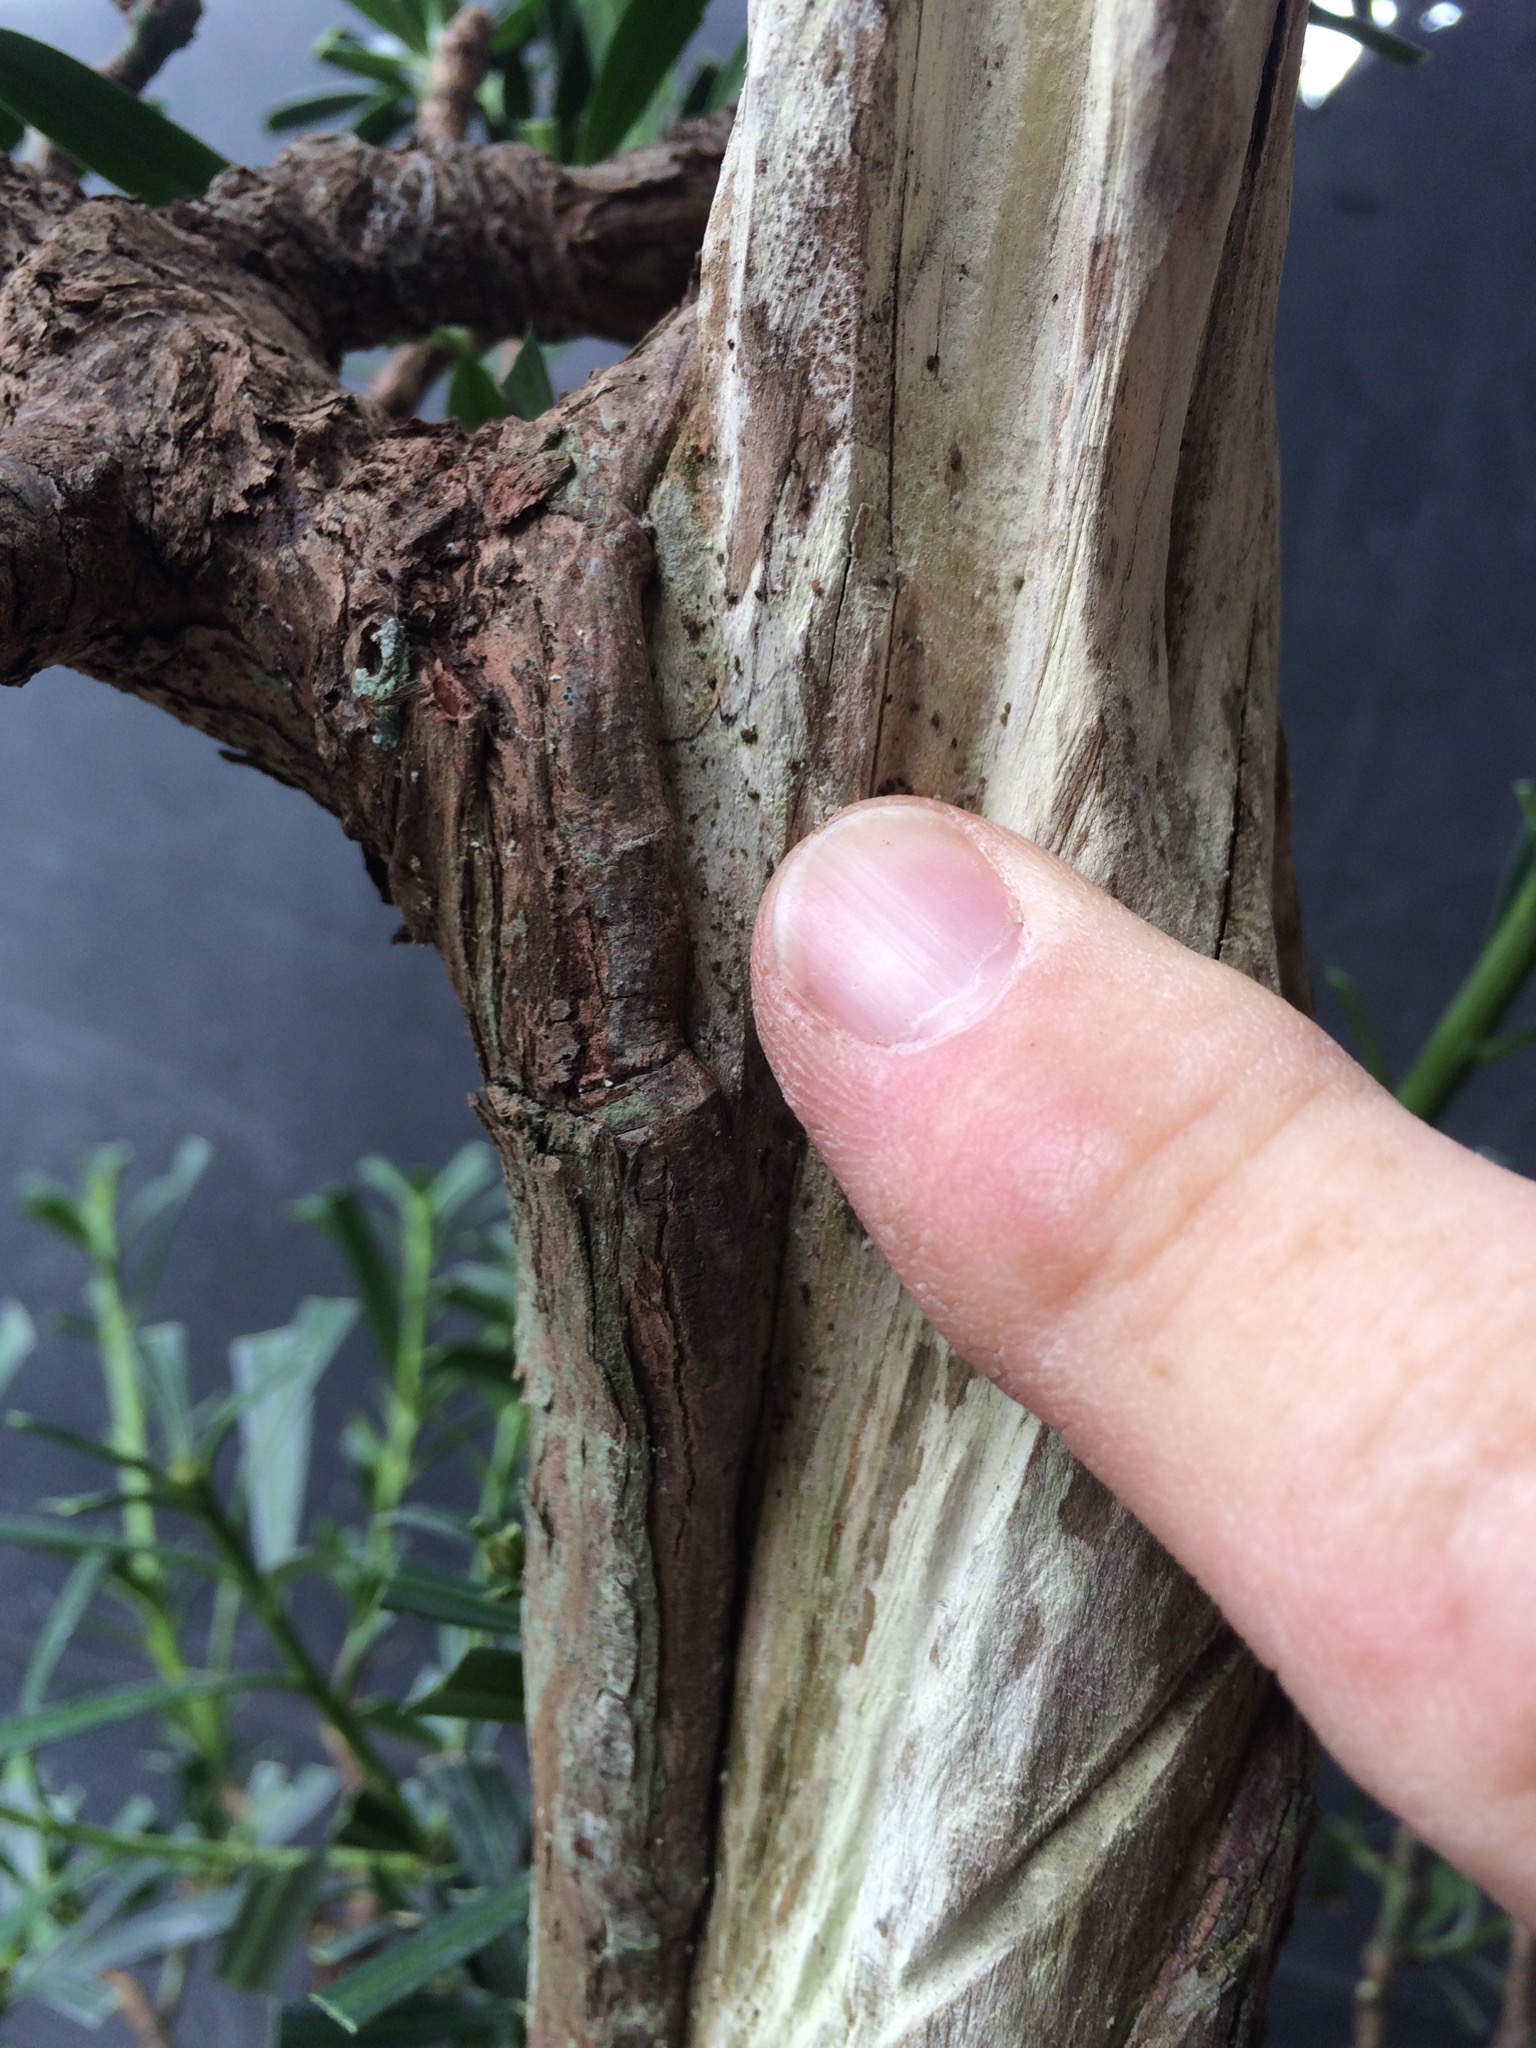
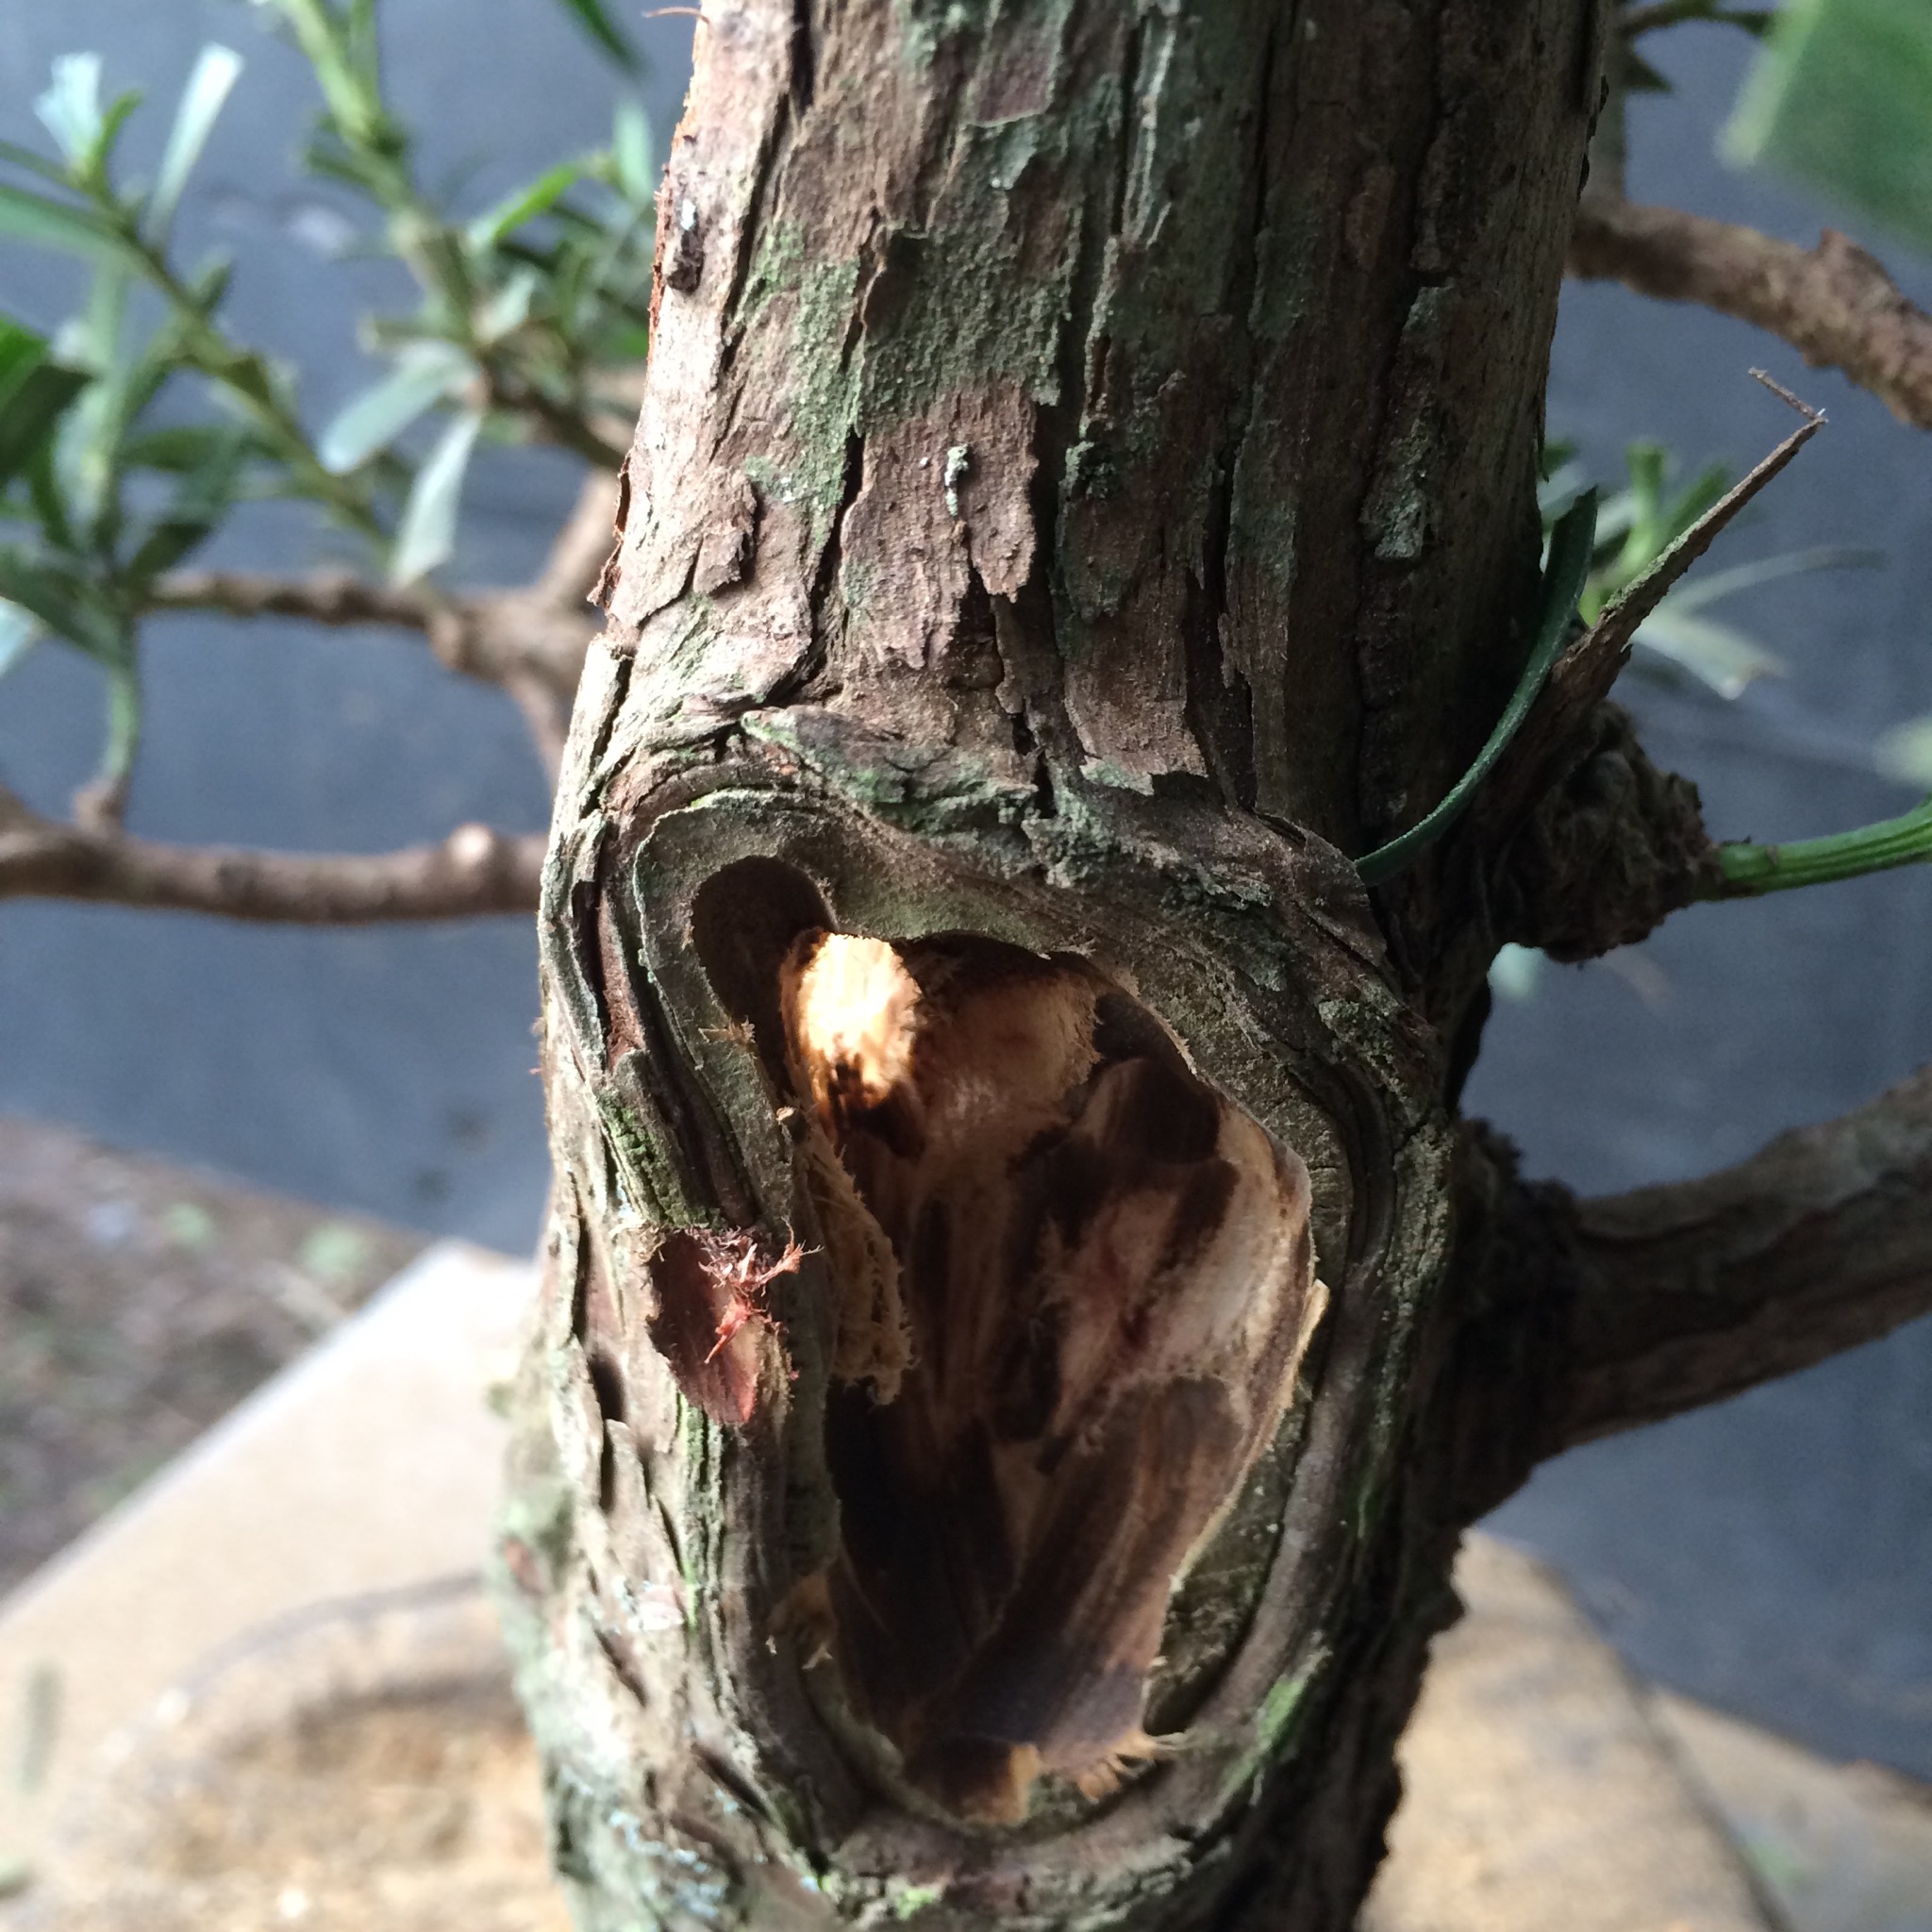
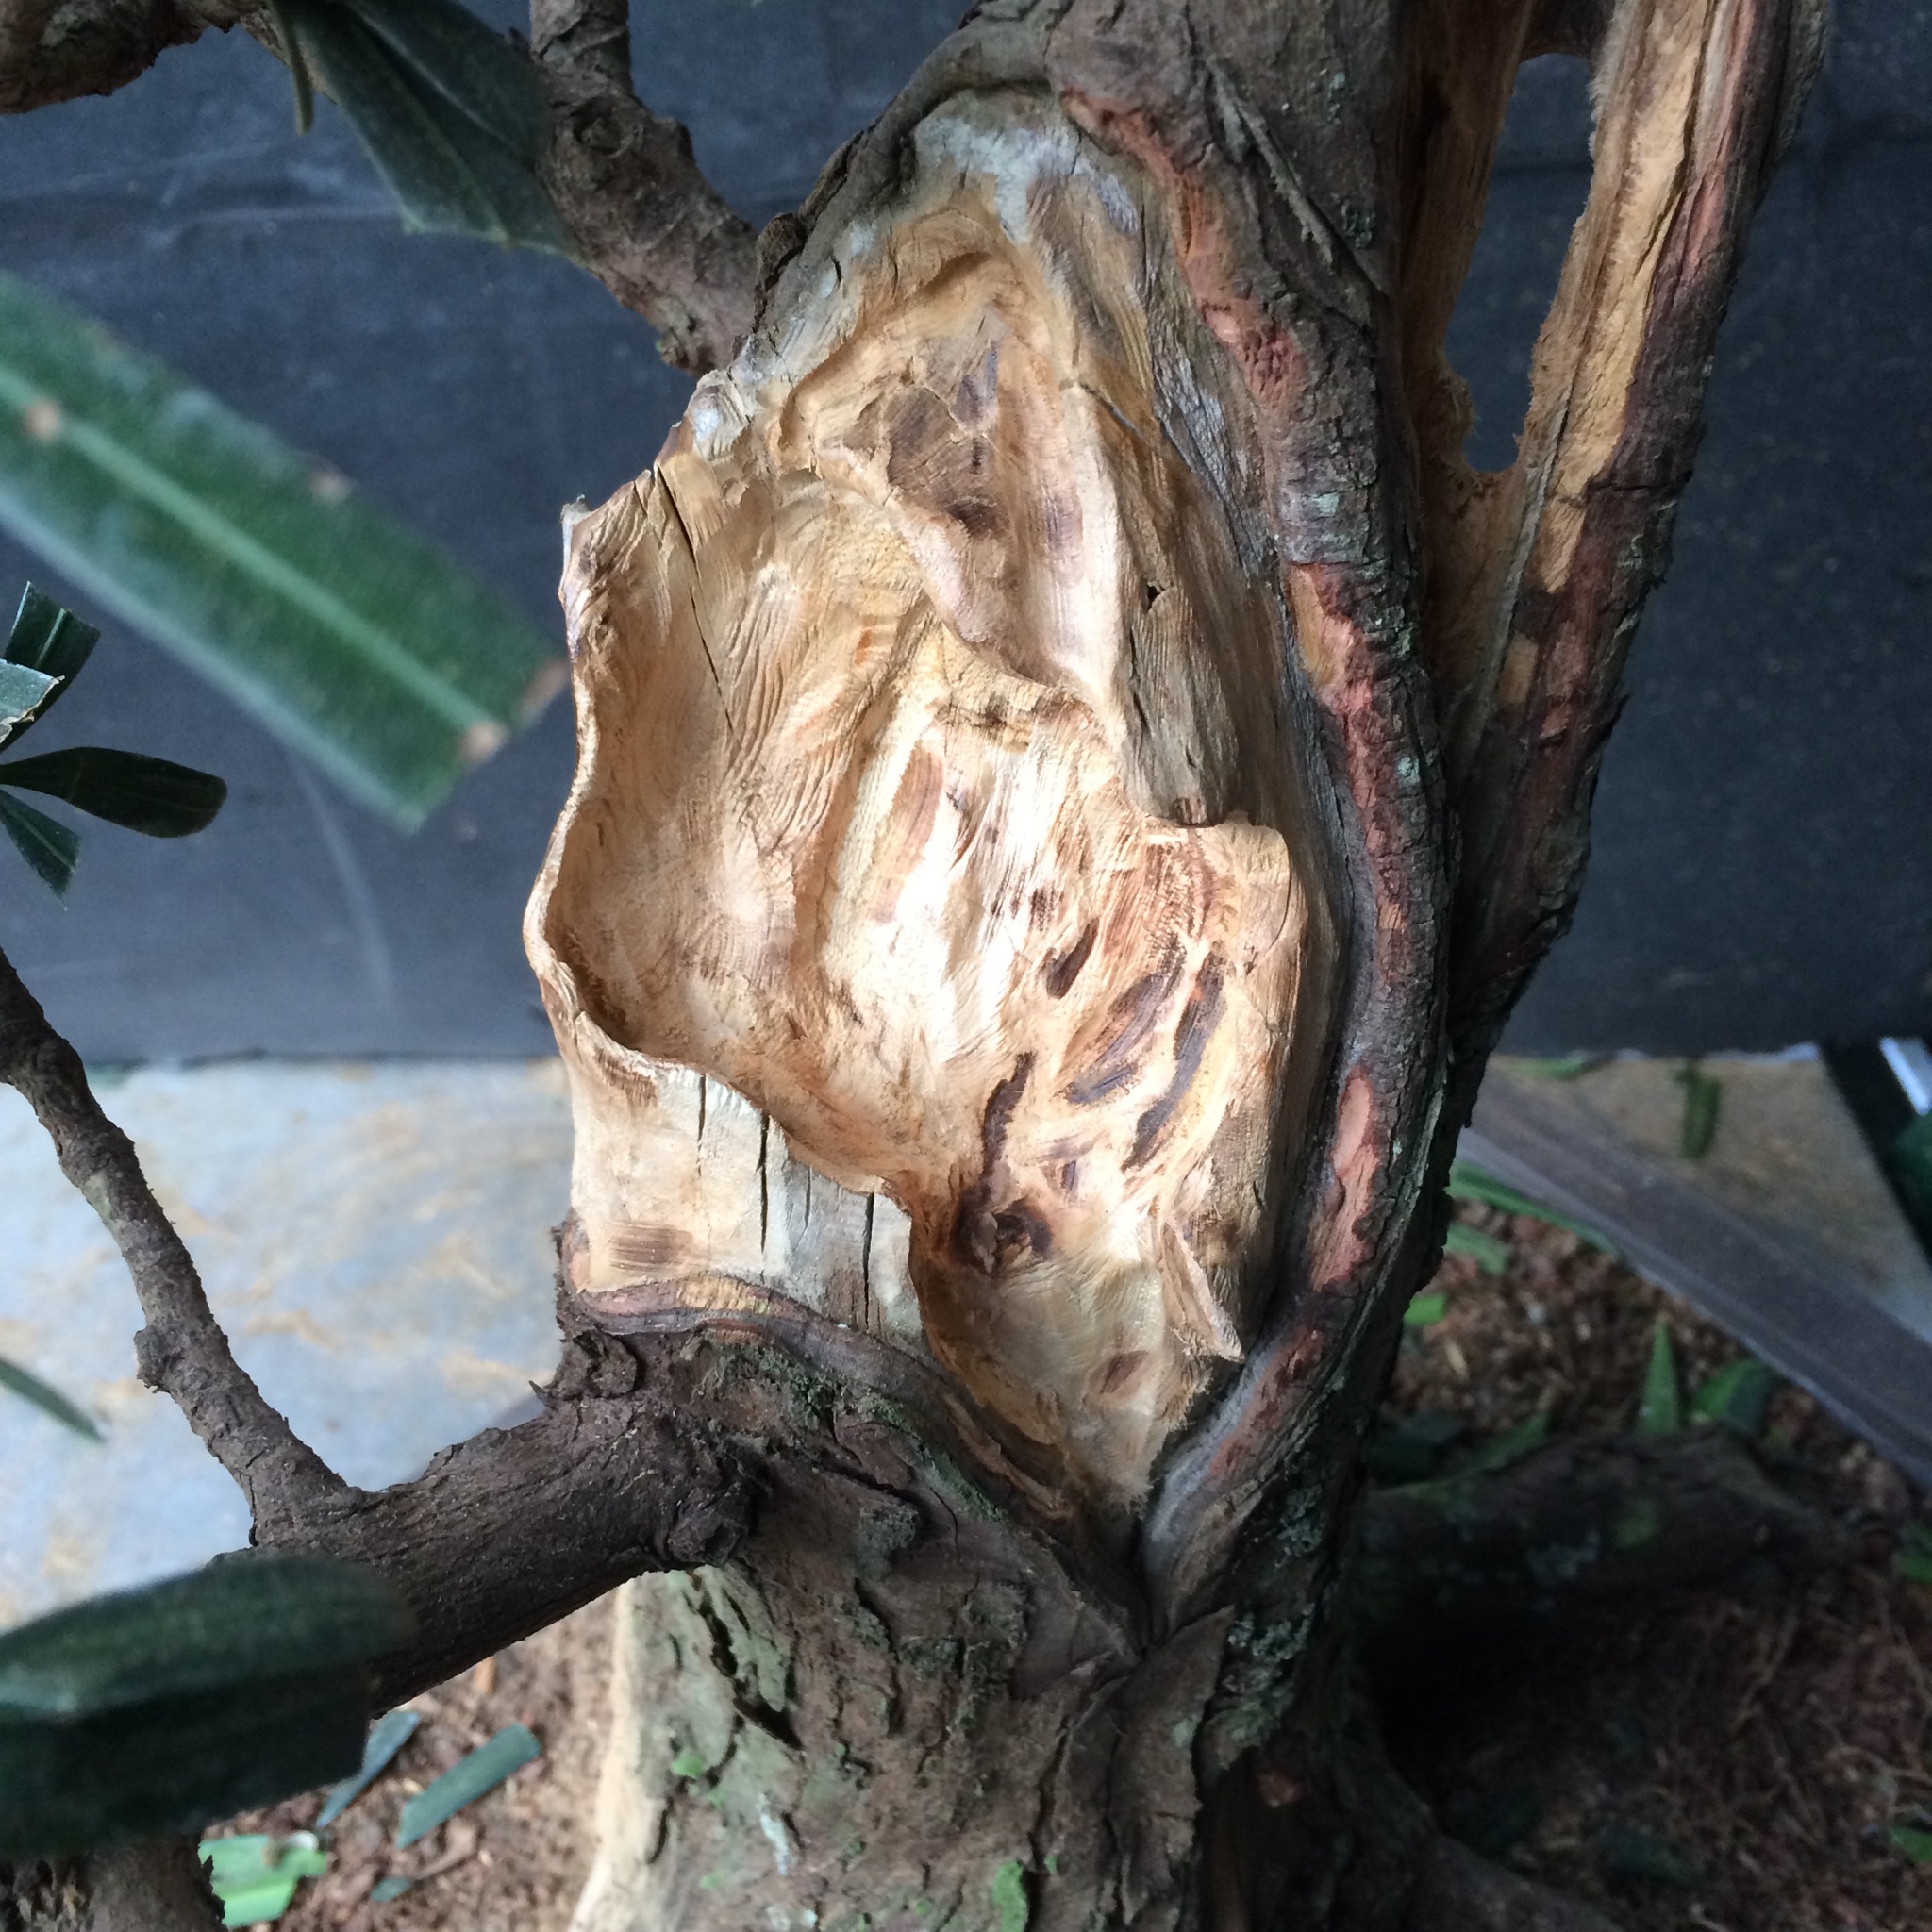
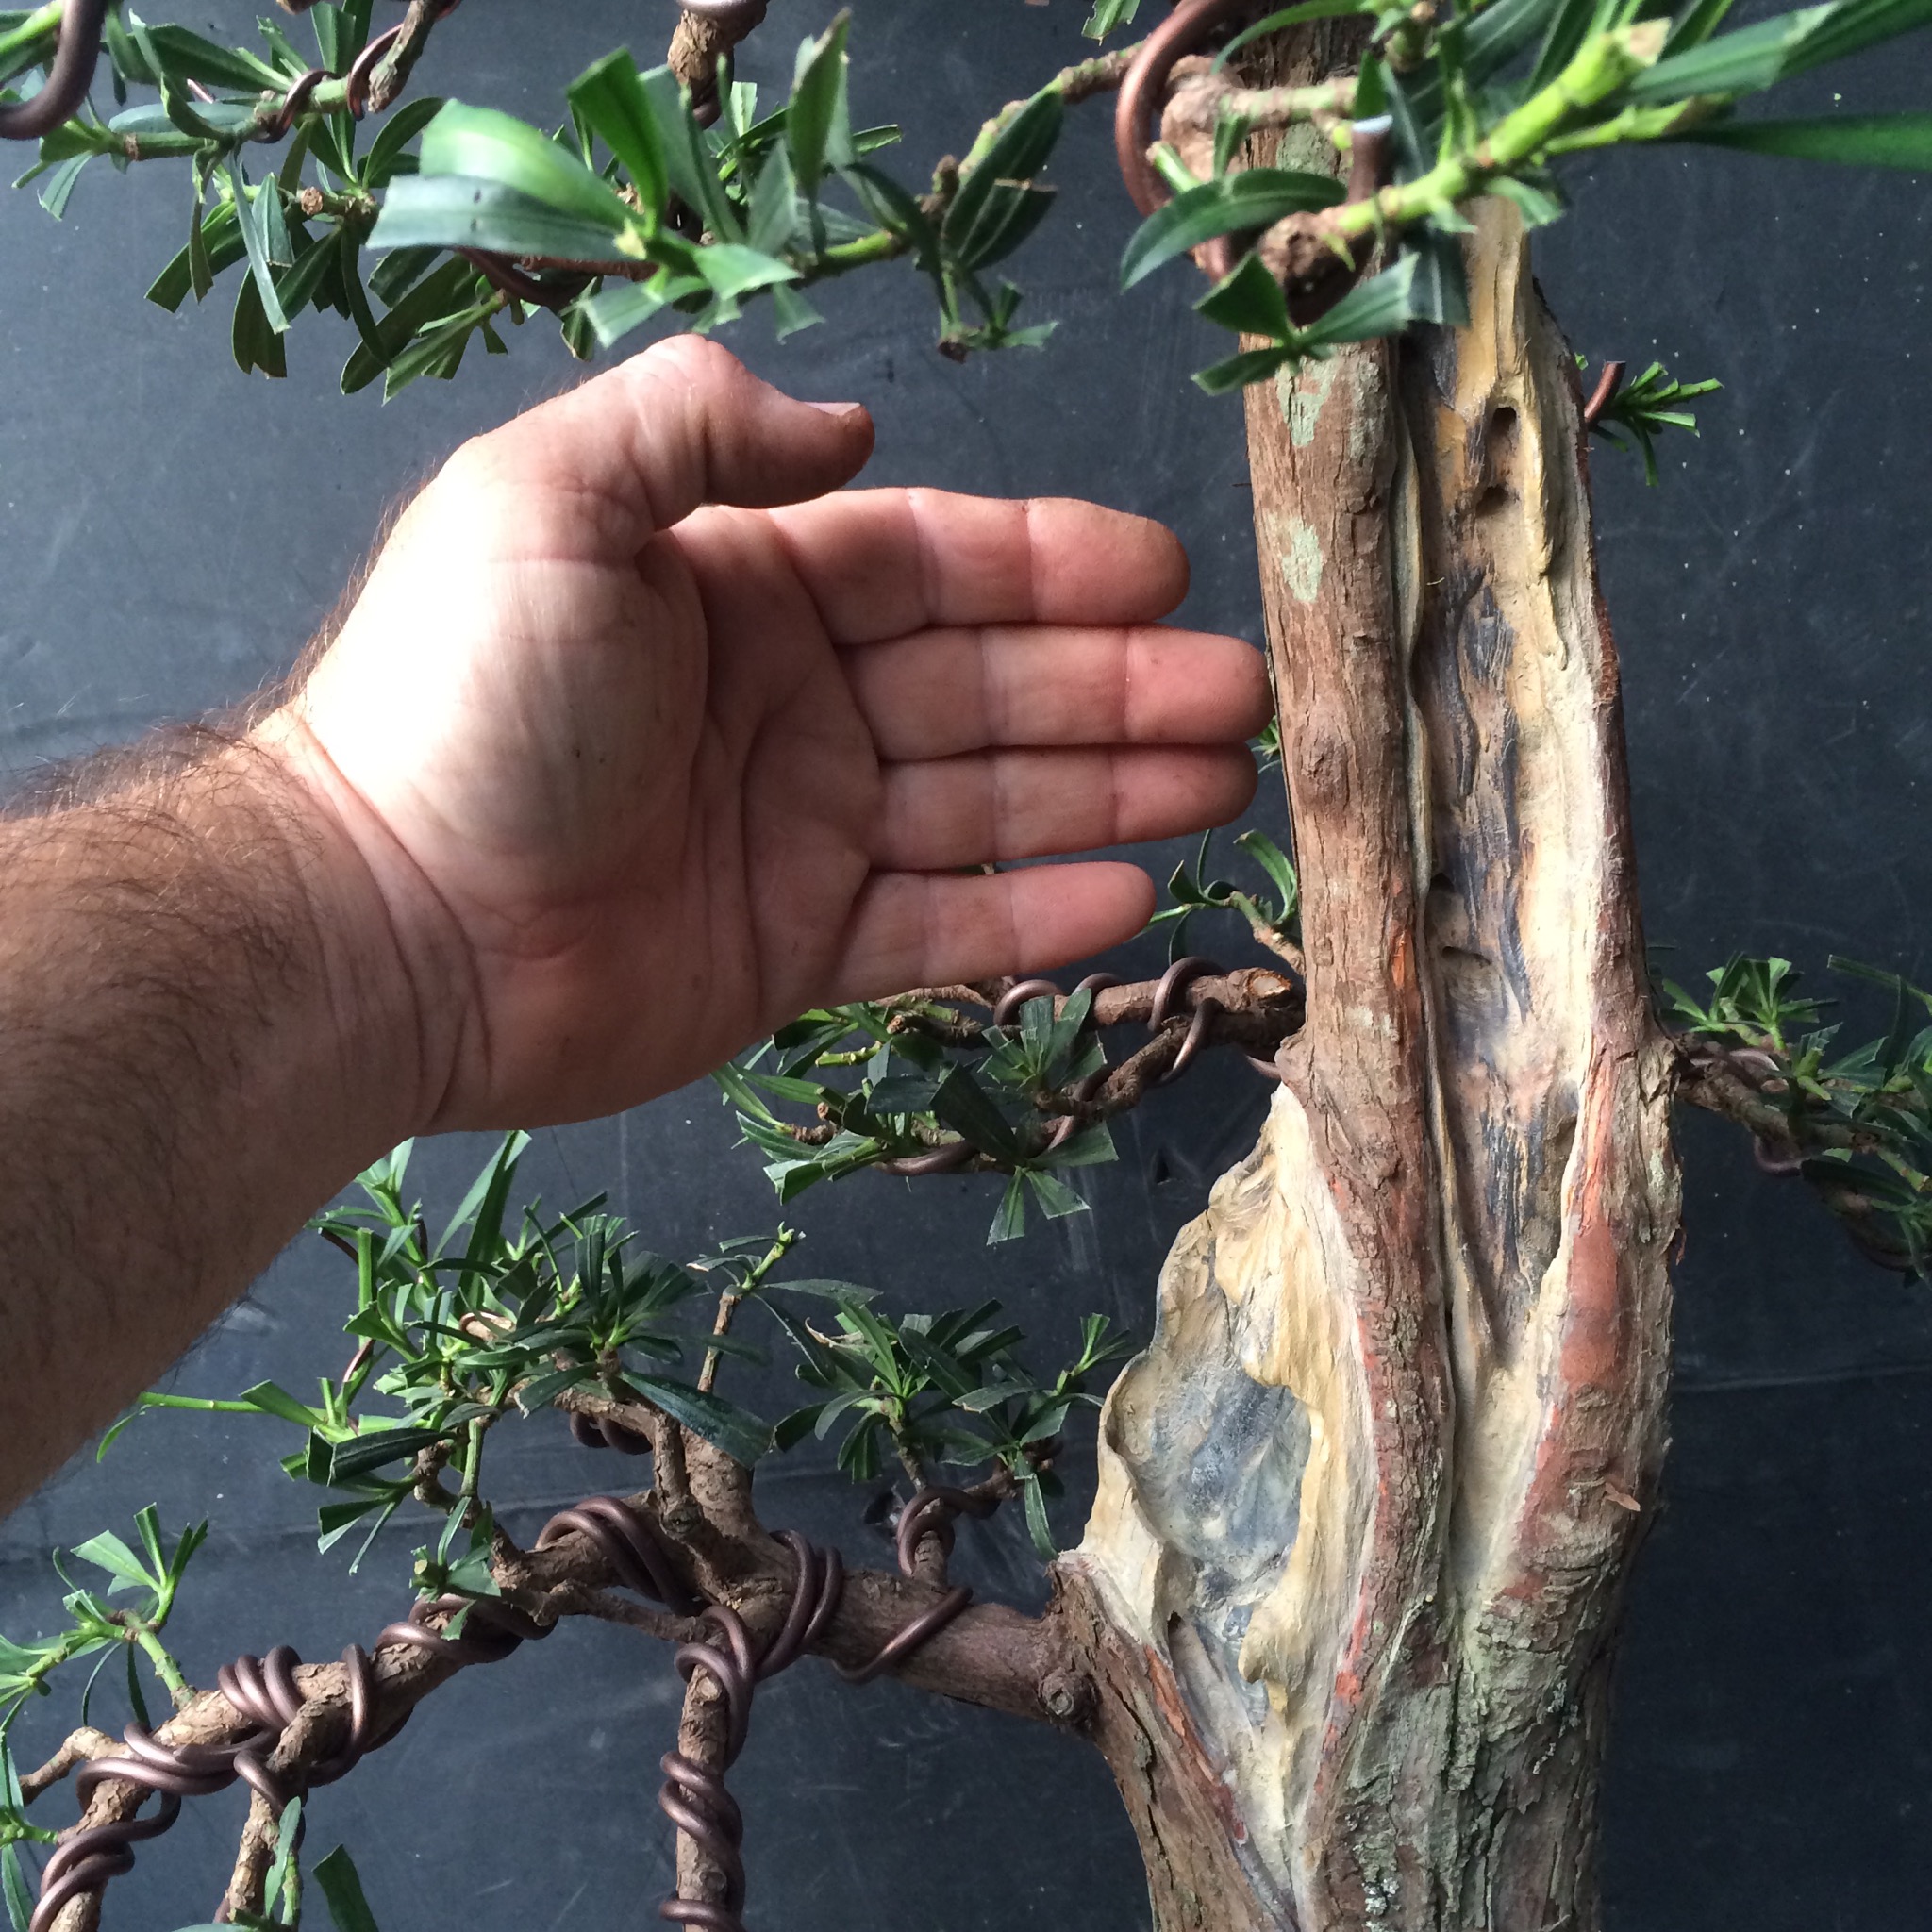
Terrible deadwood though.
Good branching.


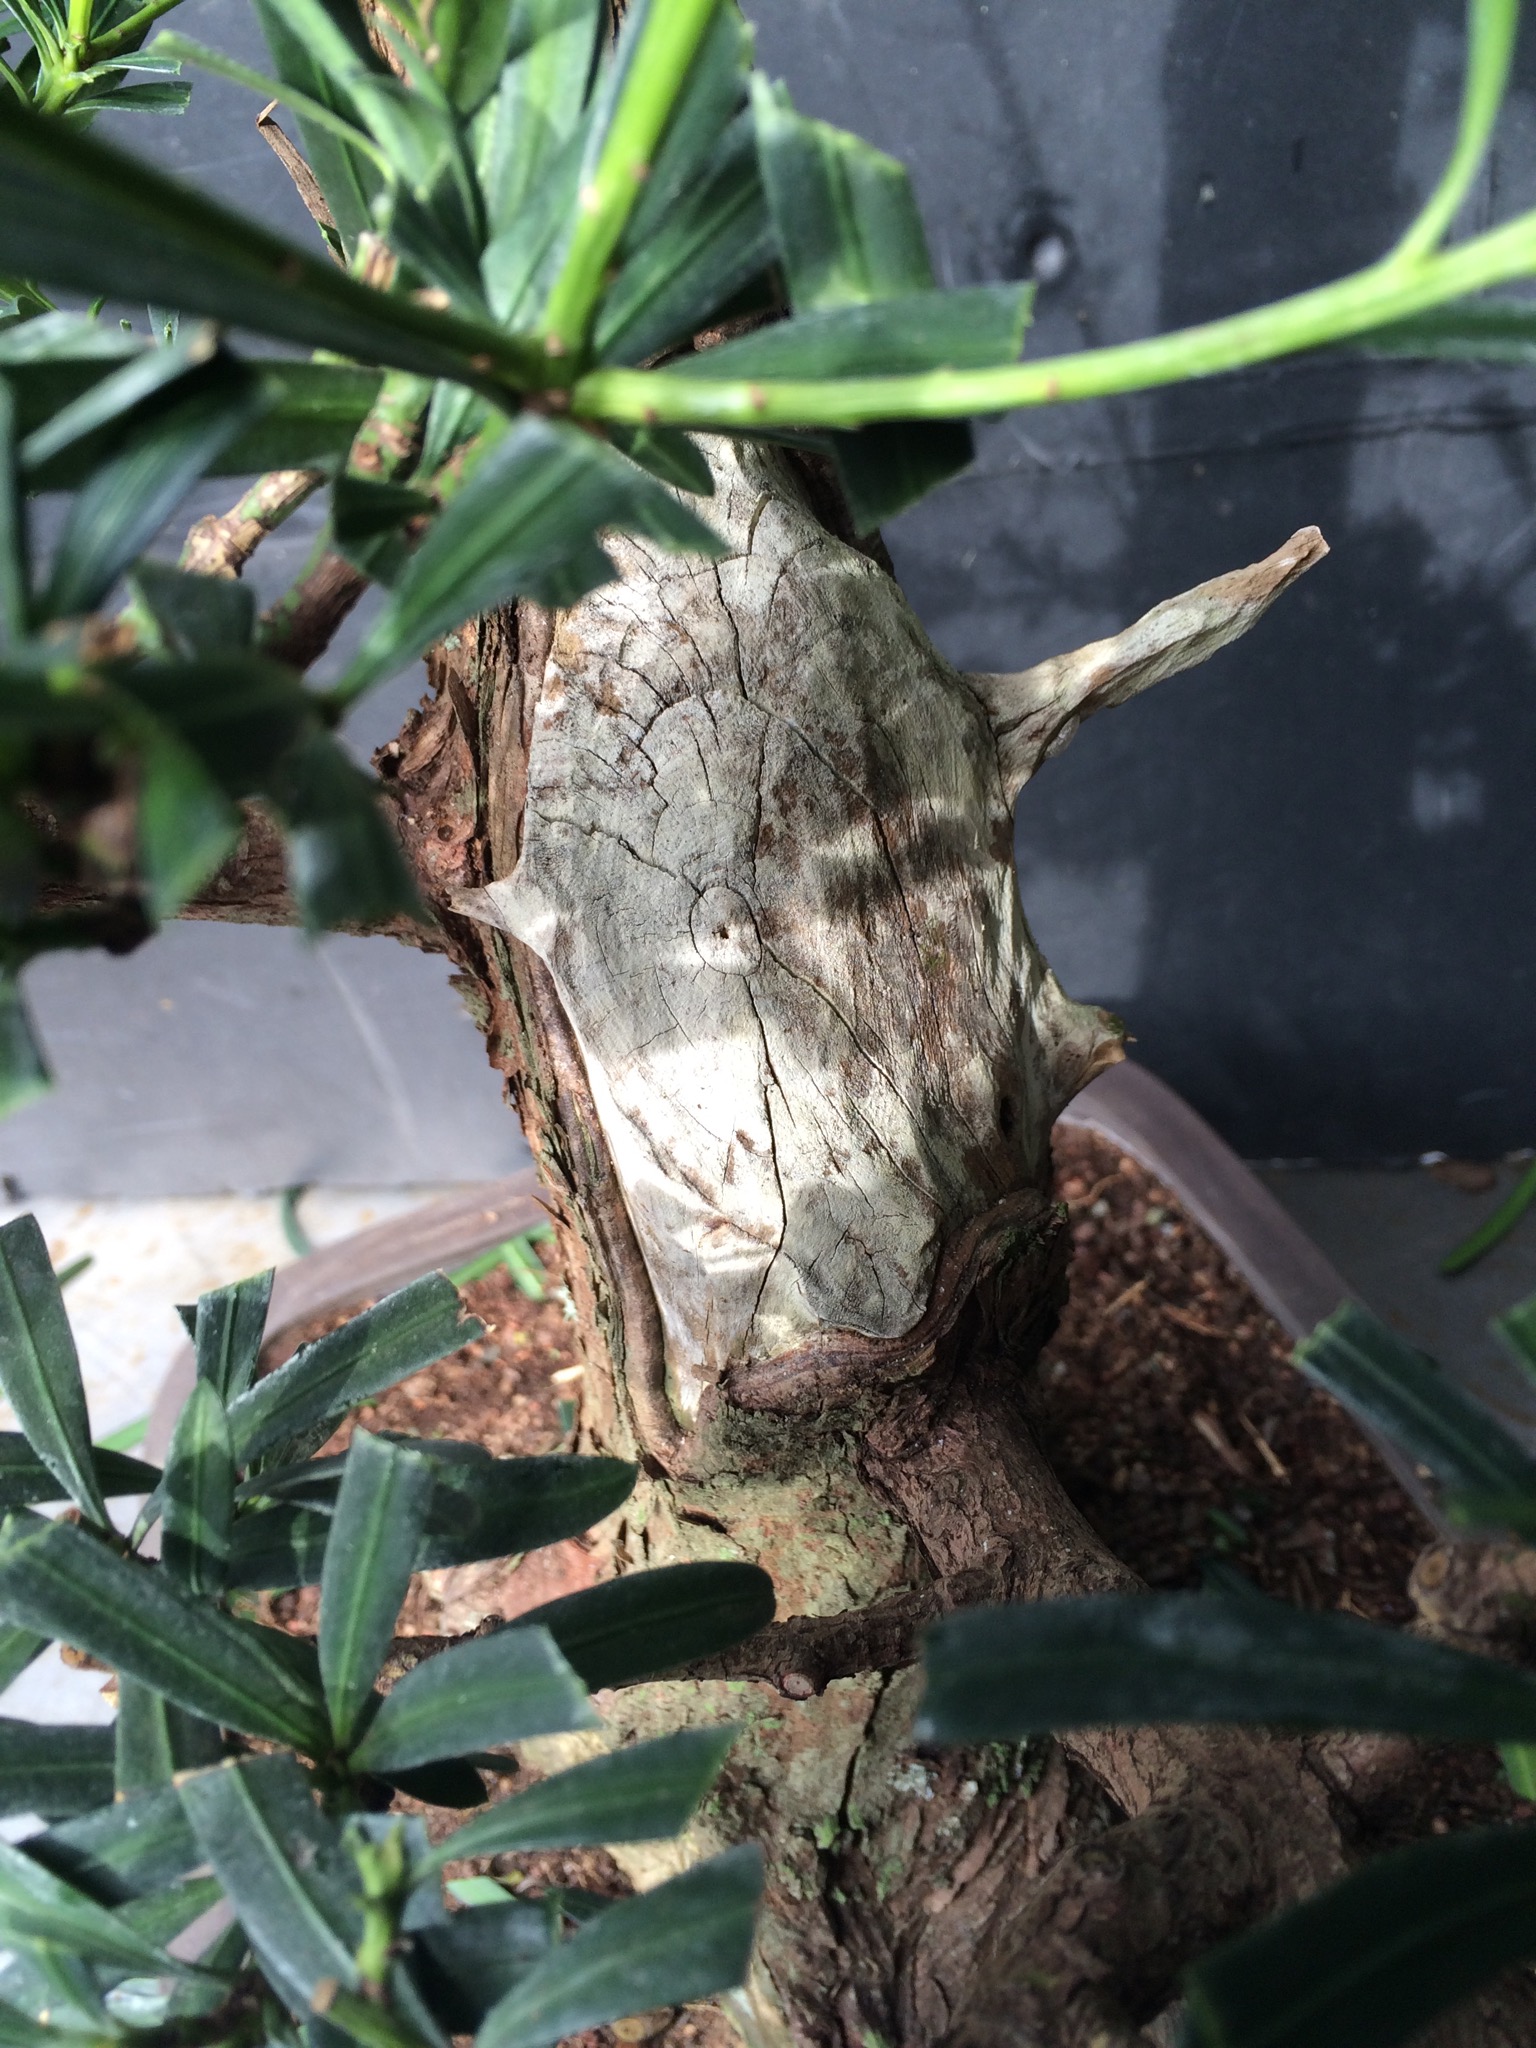
It looks like it might have been a twin trunk at one point.
Or something like that, there was a huge chunk sawn off there.
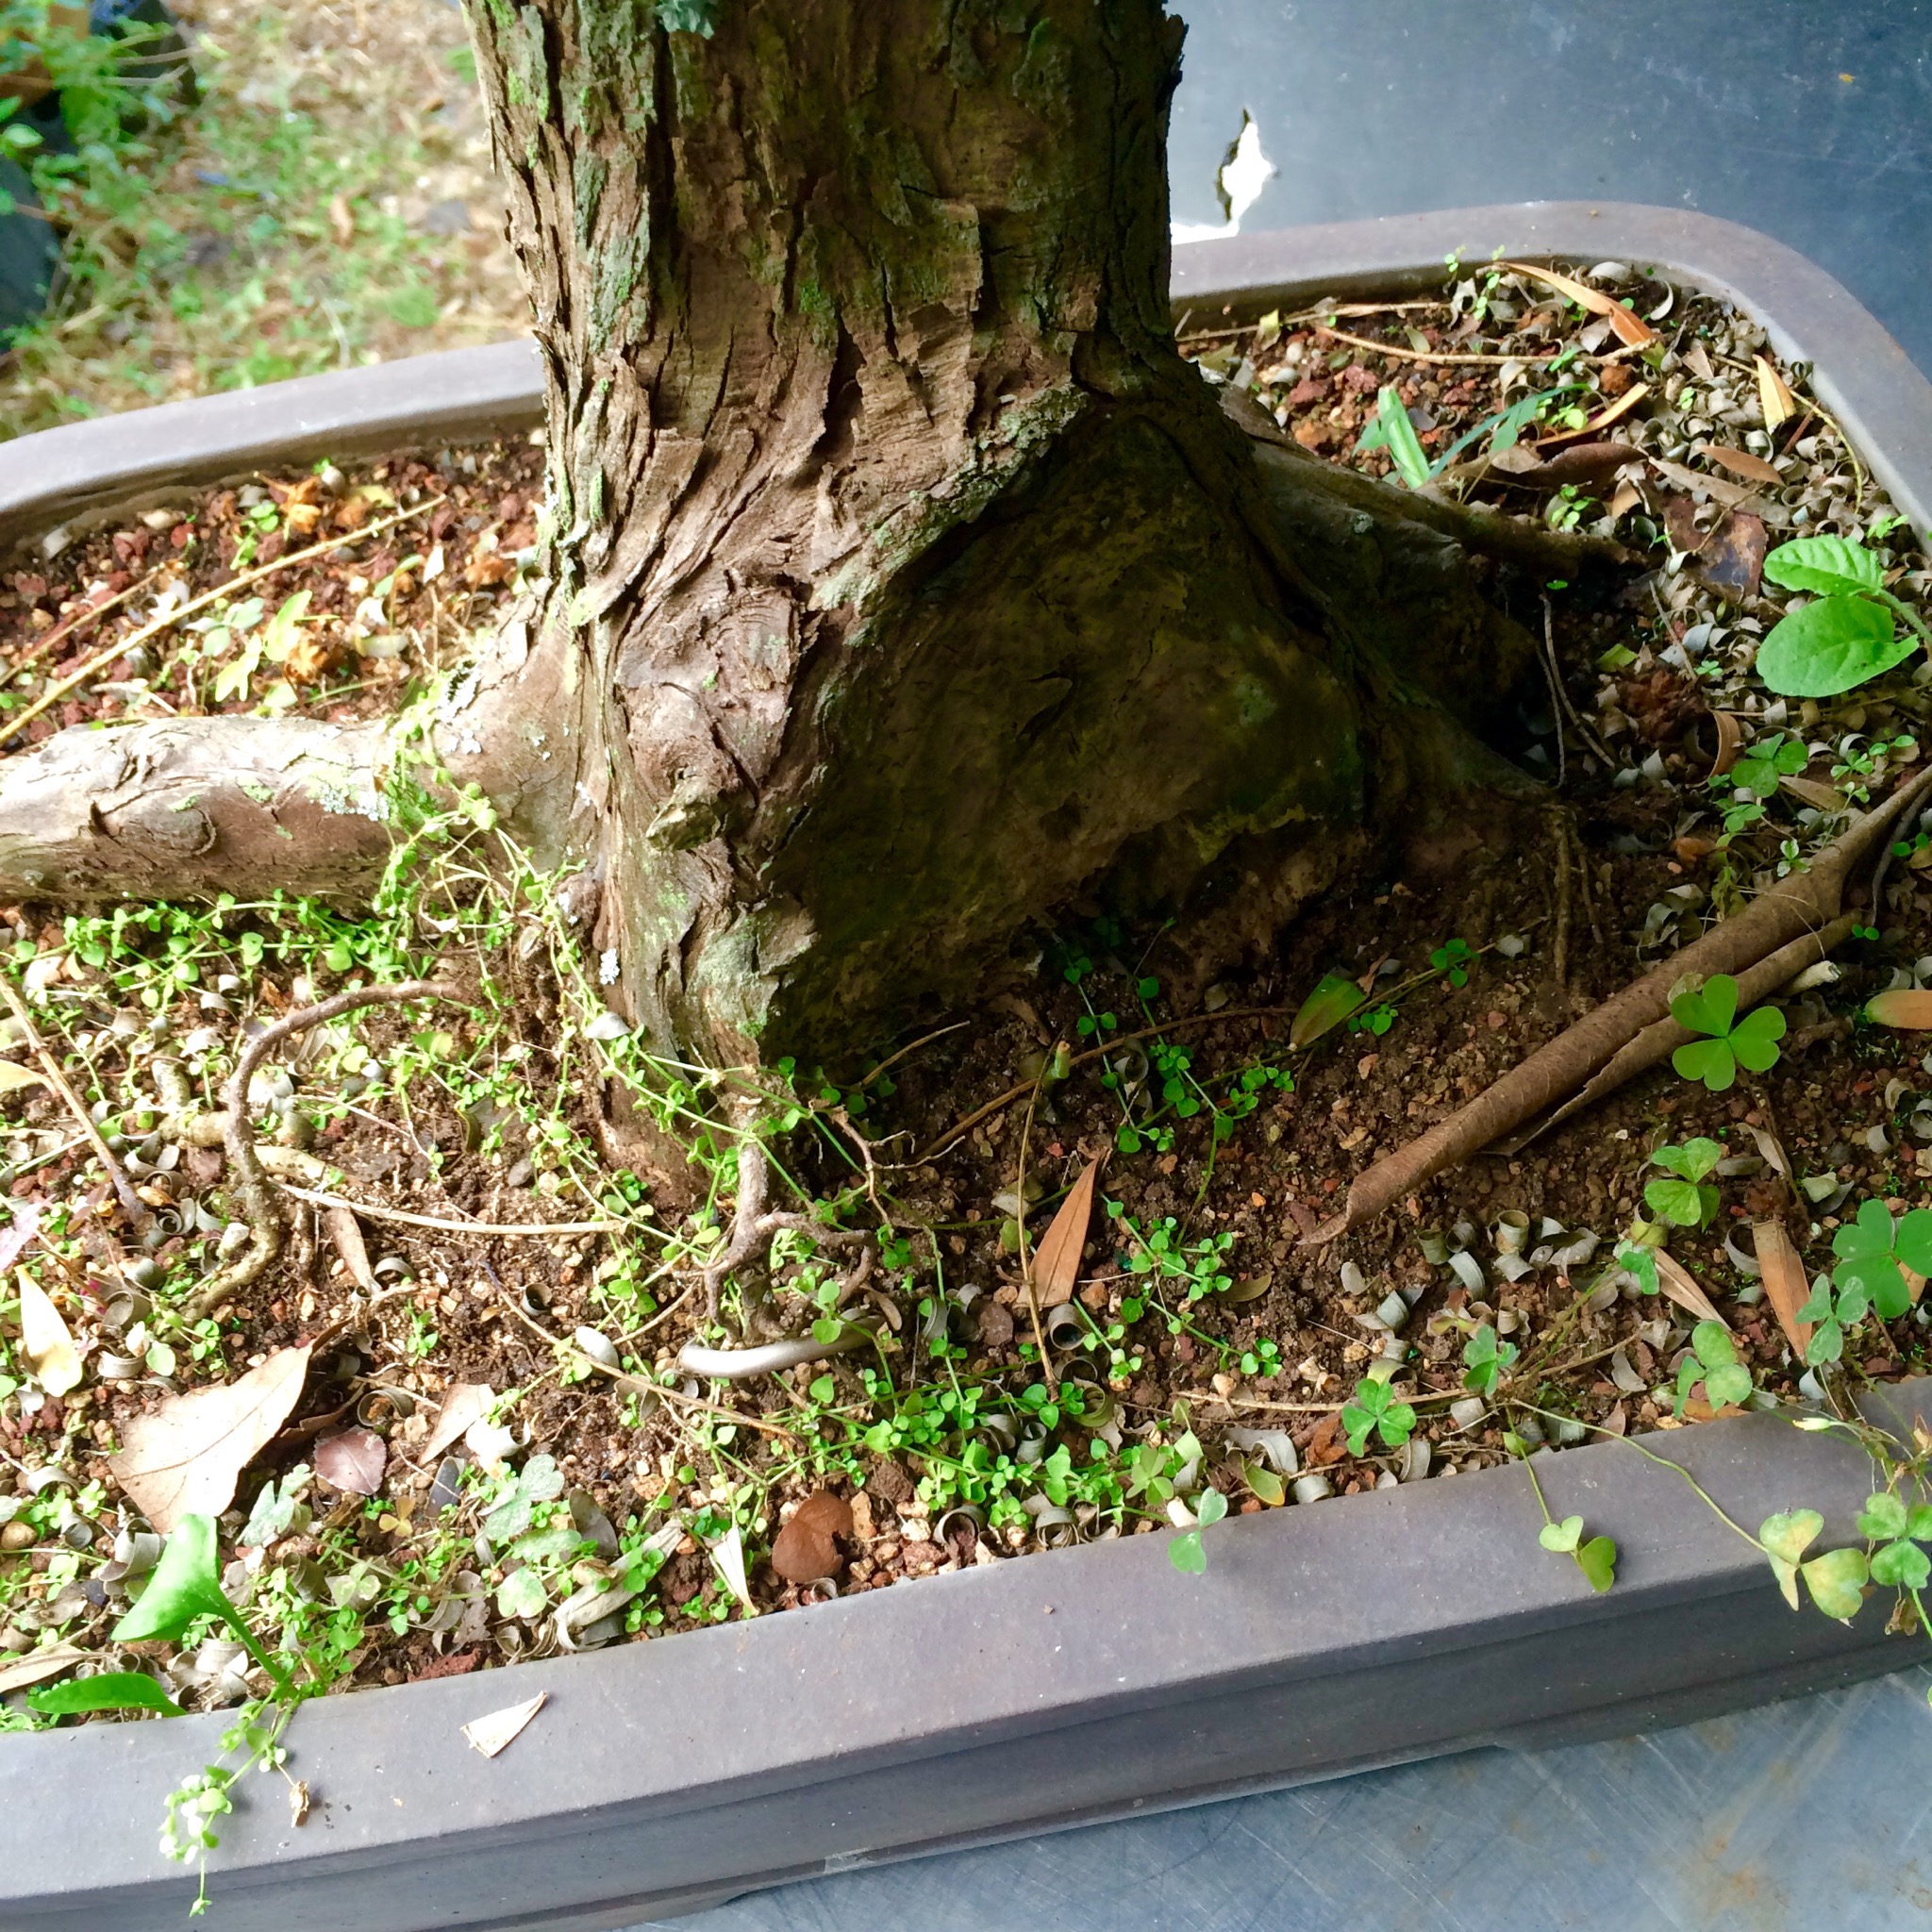
Looks like I need to weed.
Where are my chopsticks?
Ok, that’s better.


Ok, I used tweezers, not chopsticks.
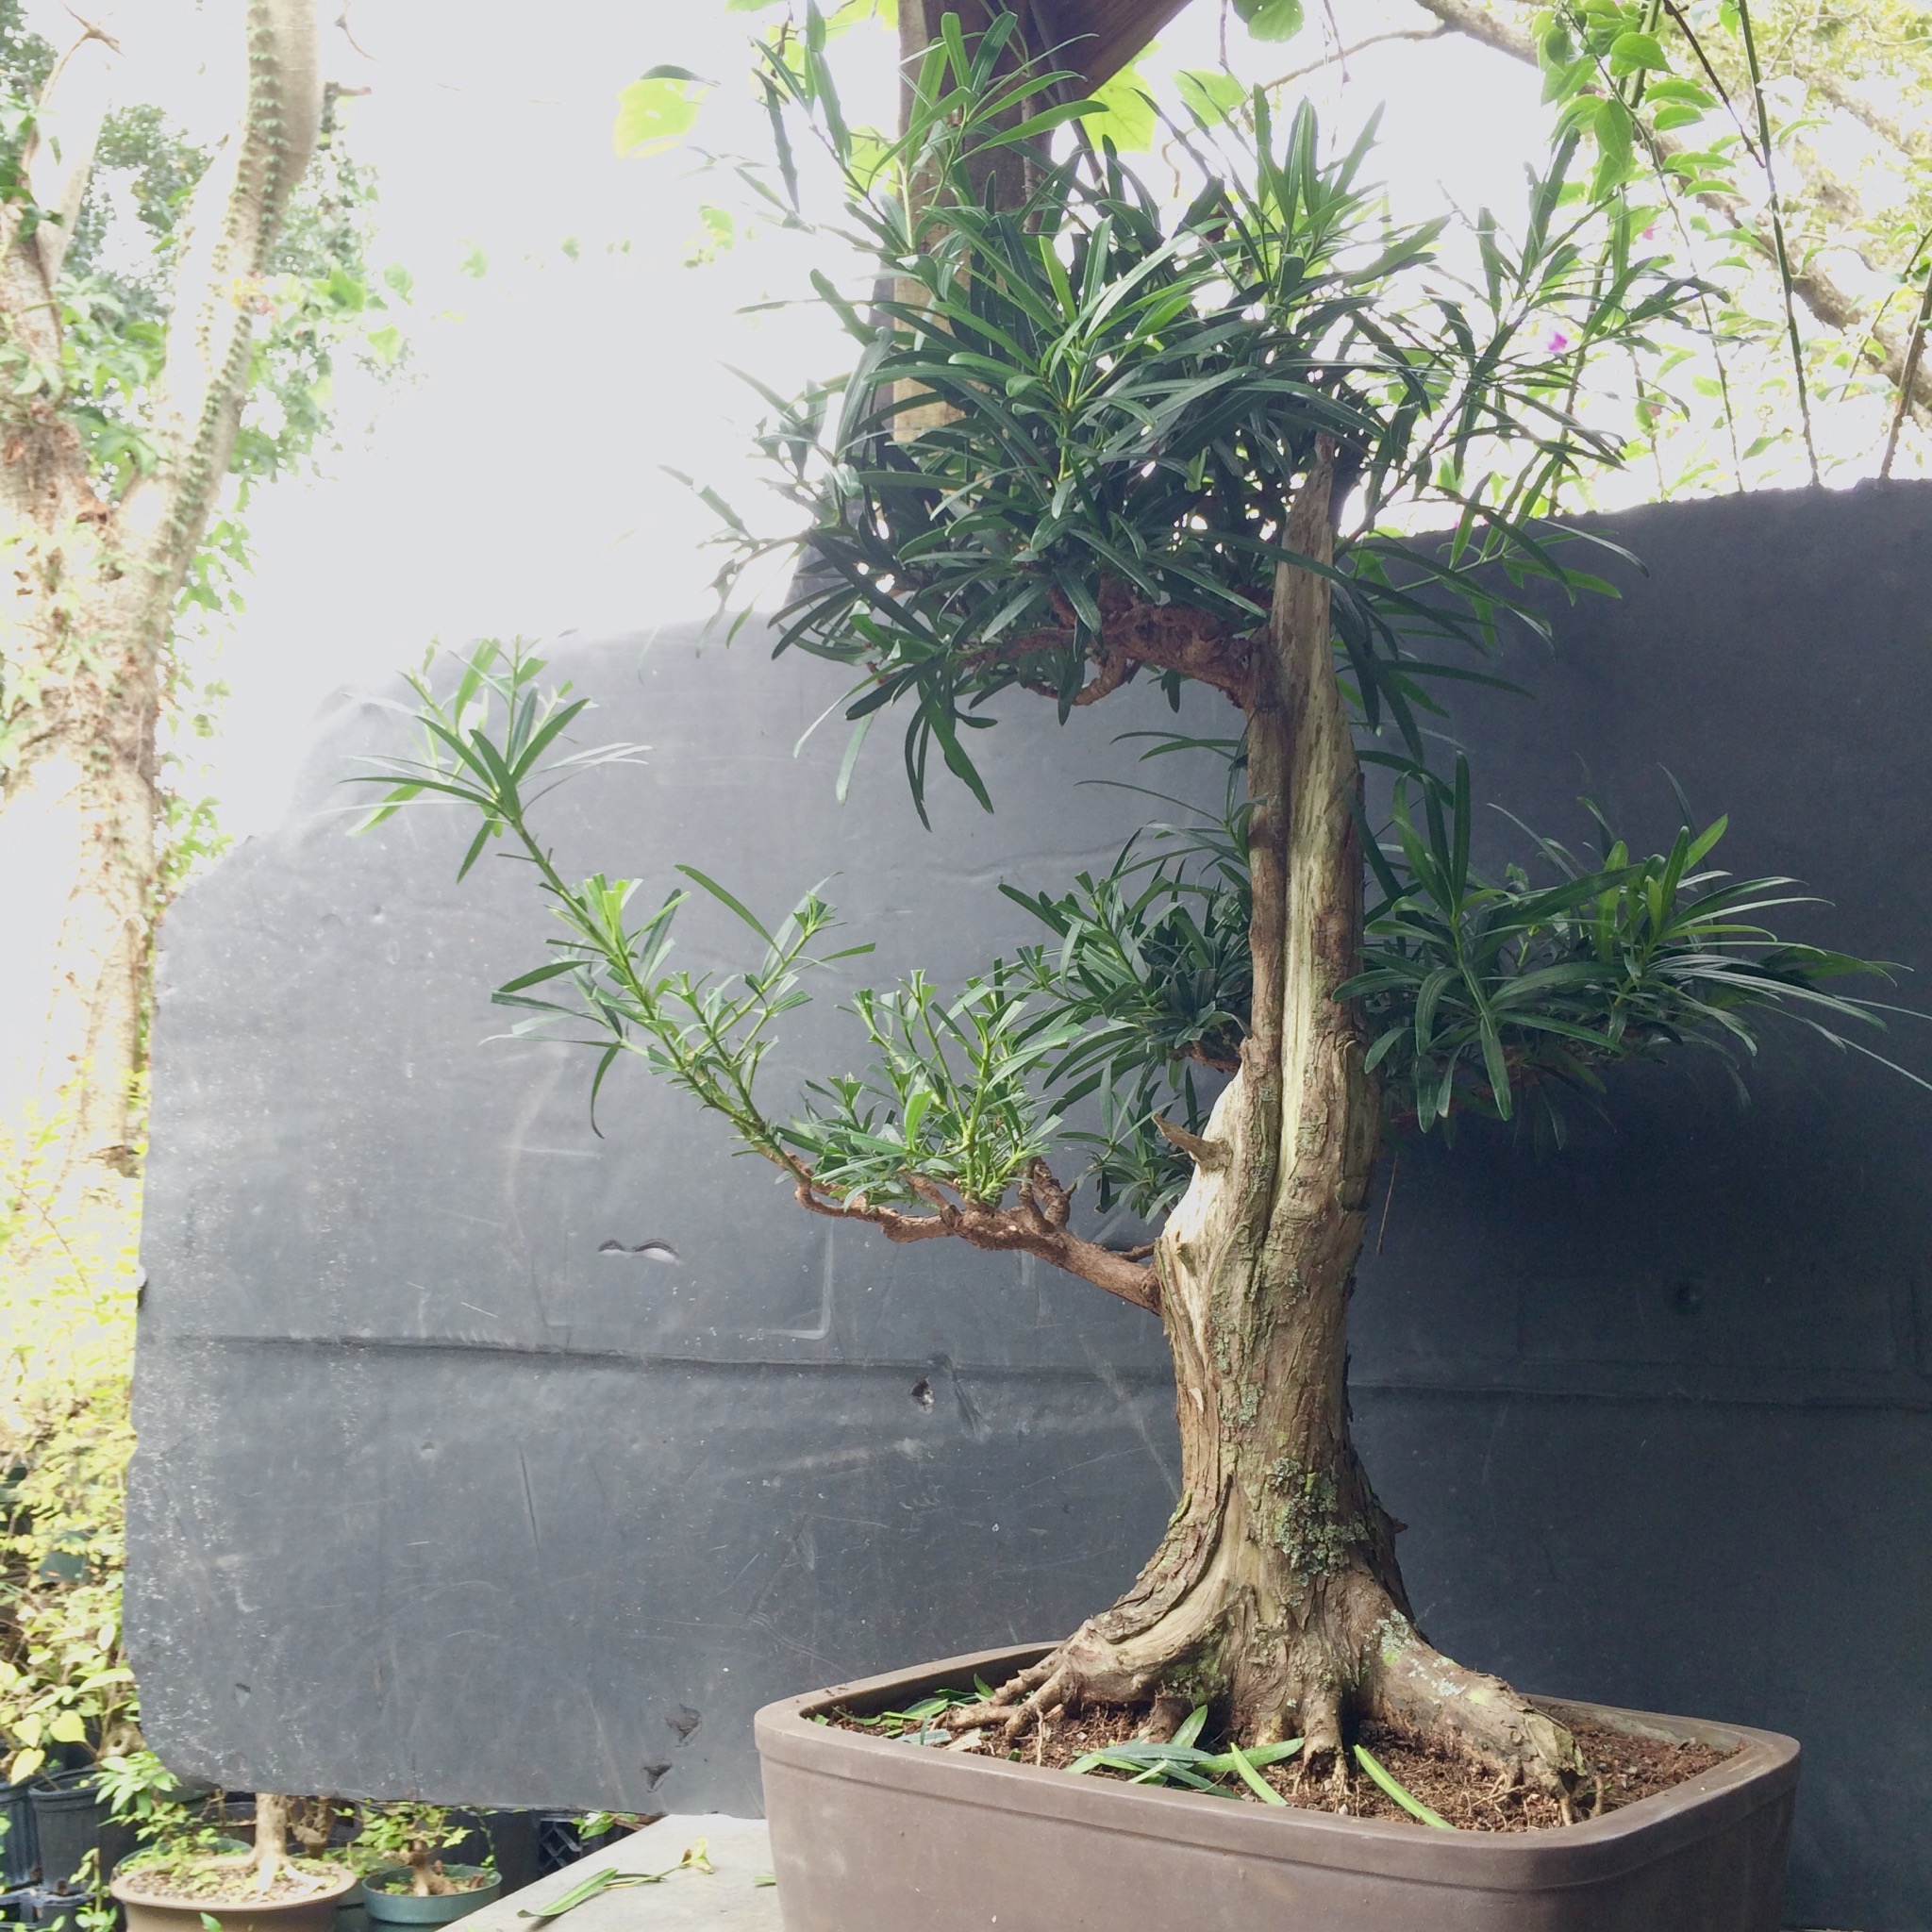
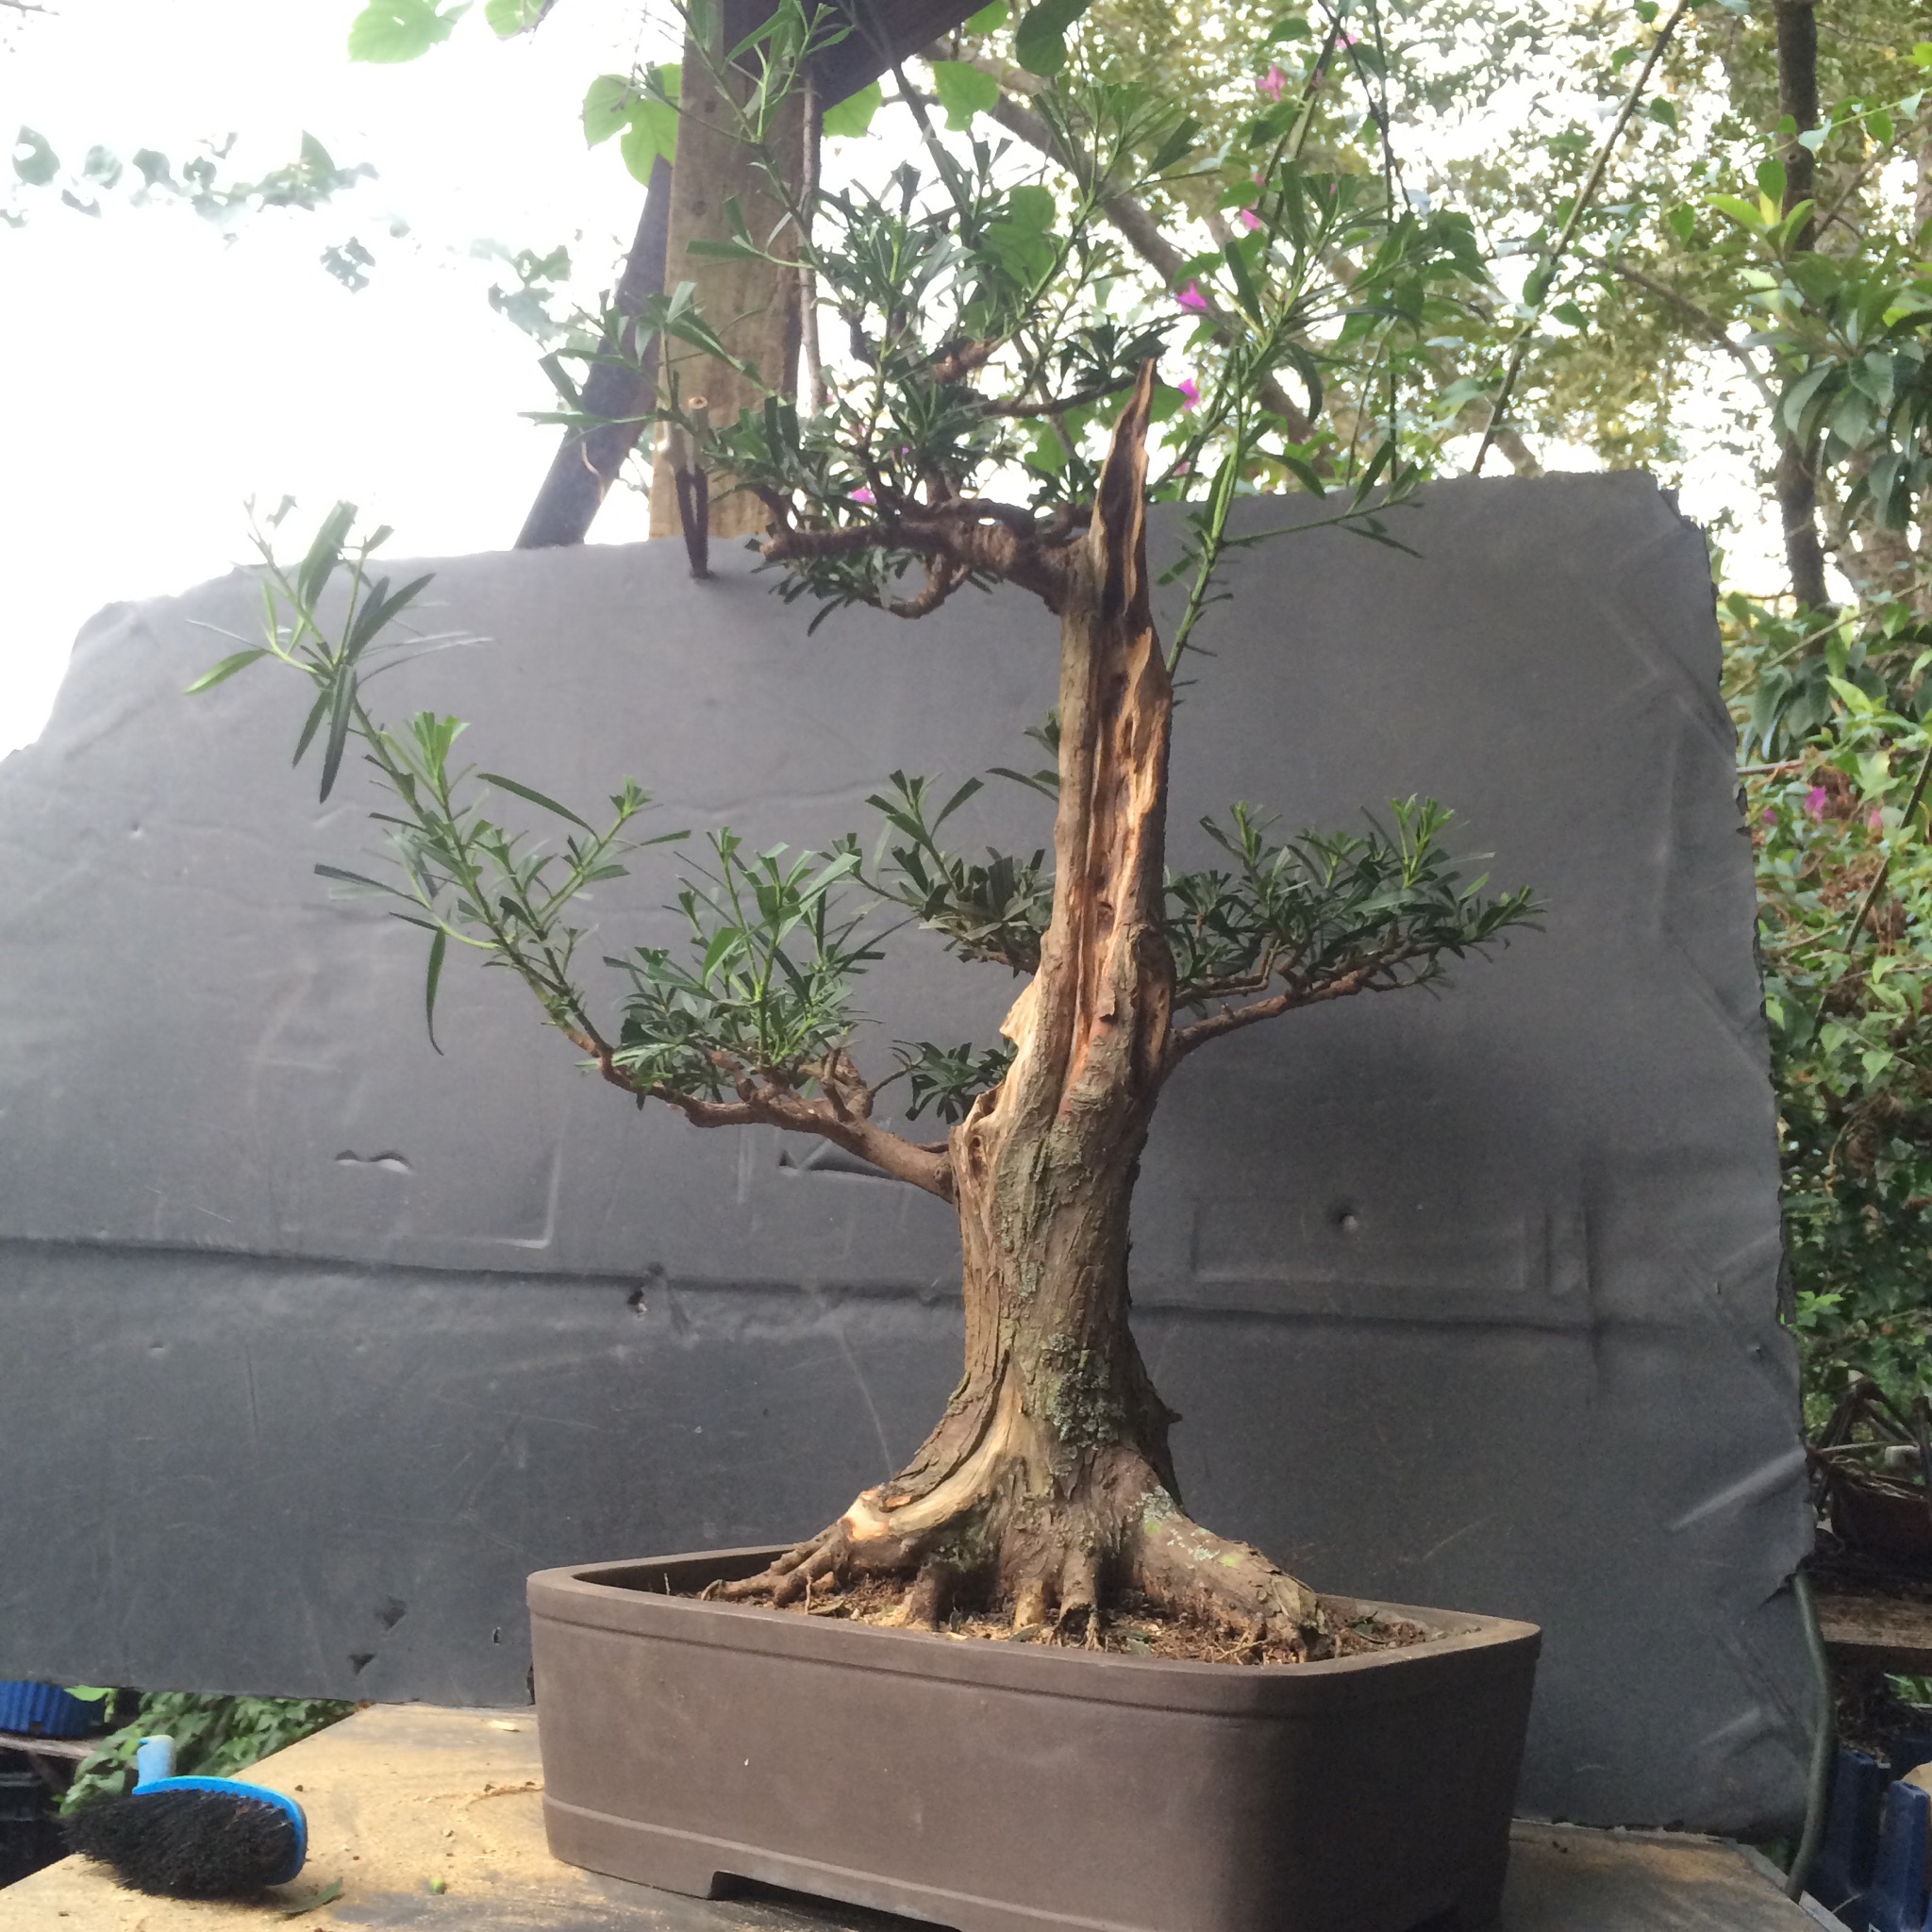
The first real decision is to figure out the front.
The current front.
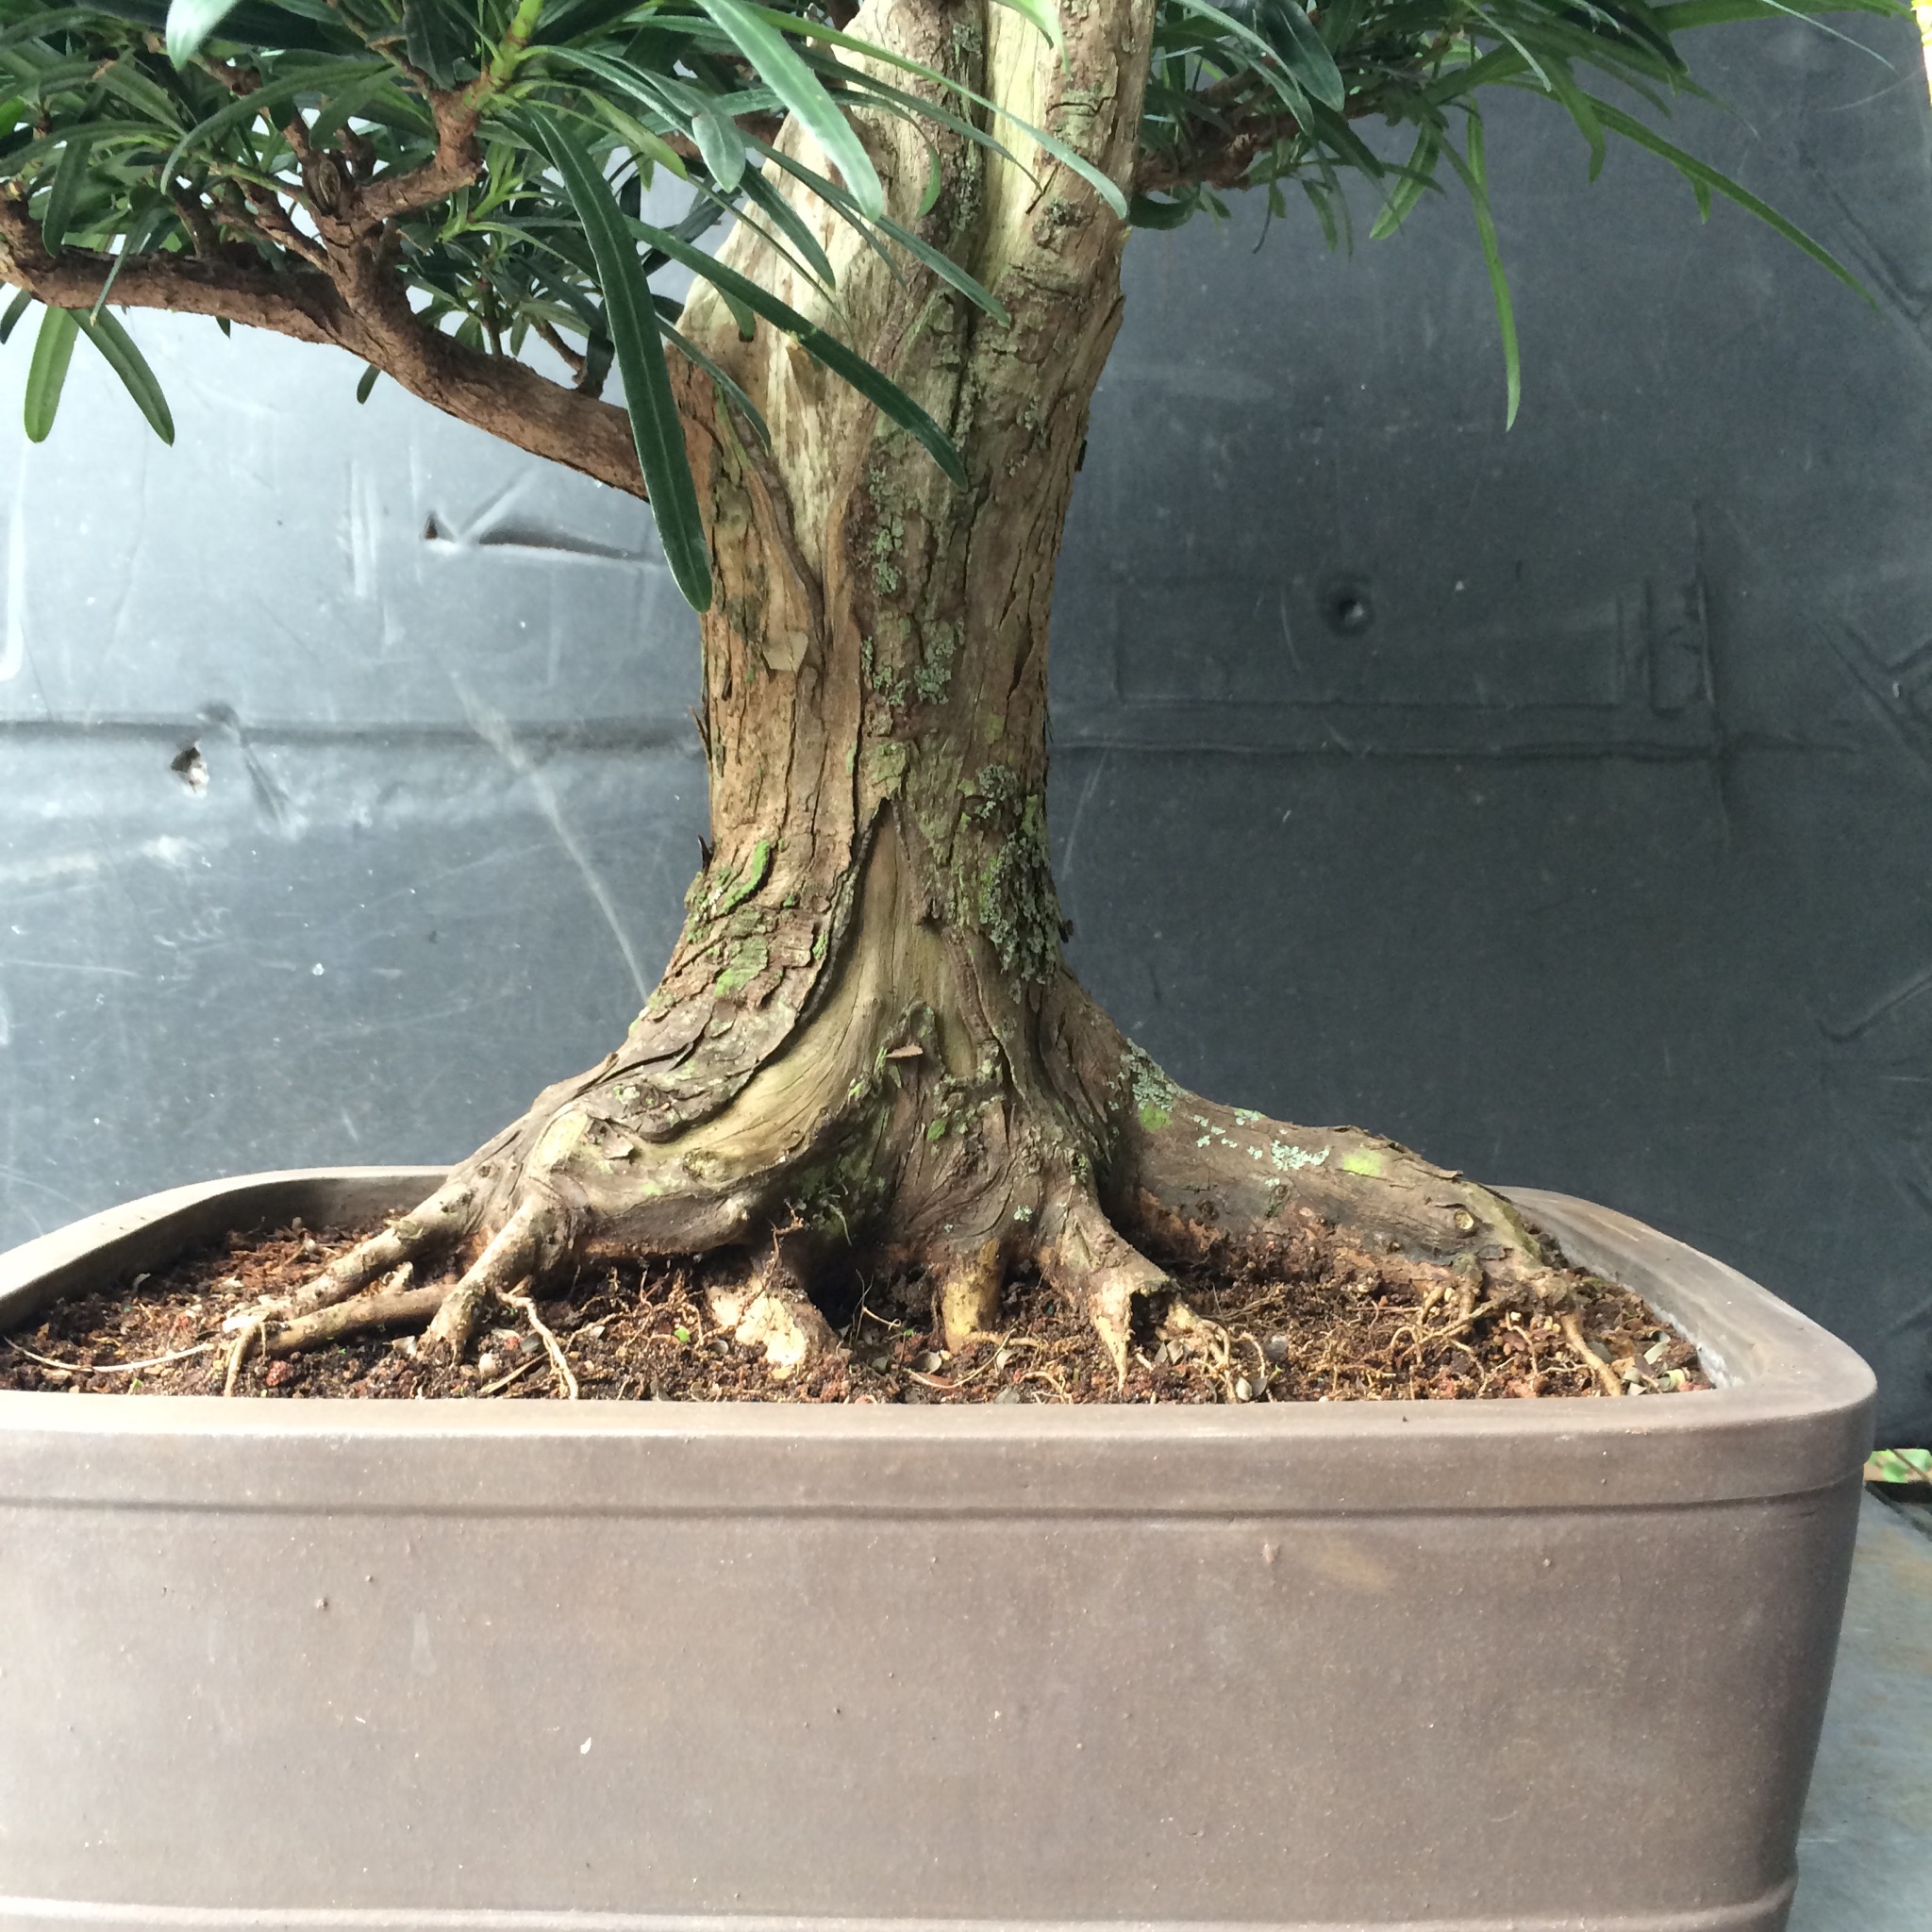
Which is textbook correct; it is the widest root spread.
But the structure of the tree doesn’t work with it anymore.
Usually the front is within a 90 degree arc radiating from that widest view.
How’s this?

Nah.
I like this better.
I can work with that.
Now I need to trim the foliage so I can see what I’m doing.

Very bushy.
That’s funny, a bush. A podocarpus is generally used as hedge material; In Florida it’s used to hide the outside a/c unit, but it’s really a full size tree, reaching 60-70 feet tall.
Considering that it’s native to southern Japan (it’s the official tree of the Chiba Prefecture) you don’t see it much as bonsai there (I don’t think I’ve ever seen an example). I have seen it used often in Chinese penjing ( it’s also native to China). In Japan it’s called kusa-maki, which sounds like grass-sushi (maki is the japanese word for a sushi roll. And kusa, as in kusamono, is grass or a wild plant.)
In contrast, podocarpus, in Greek, means “foot fruit”, which is bizarre, considering the fruit is edible (those Greeks were weird, eating feet and all).
Rolling in the grass and eating feet…..I’ve seen that movie, it’s a French production, I believe.
Sorry, back to the tree.
There’s a lot of foliage, which is good. It means it’s healthy.
What I’m basically doing is a kinda-sorta defoliation, cutting the leaves in half or removing them completely.

This podo has longer foliage than most and it’ll be a bit difficult to reduce the size of the leaves but it’s not impossible.
What I am not doing (yet) is cutting the branch tips.
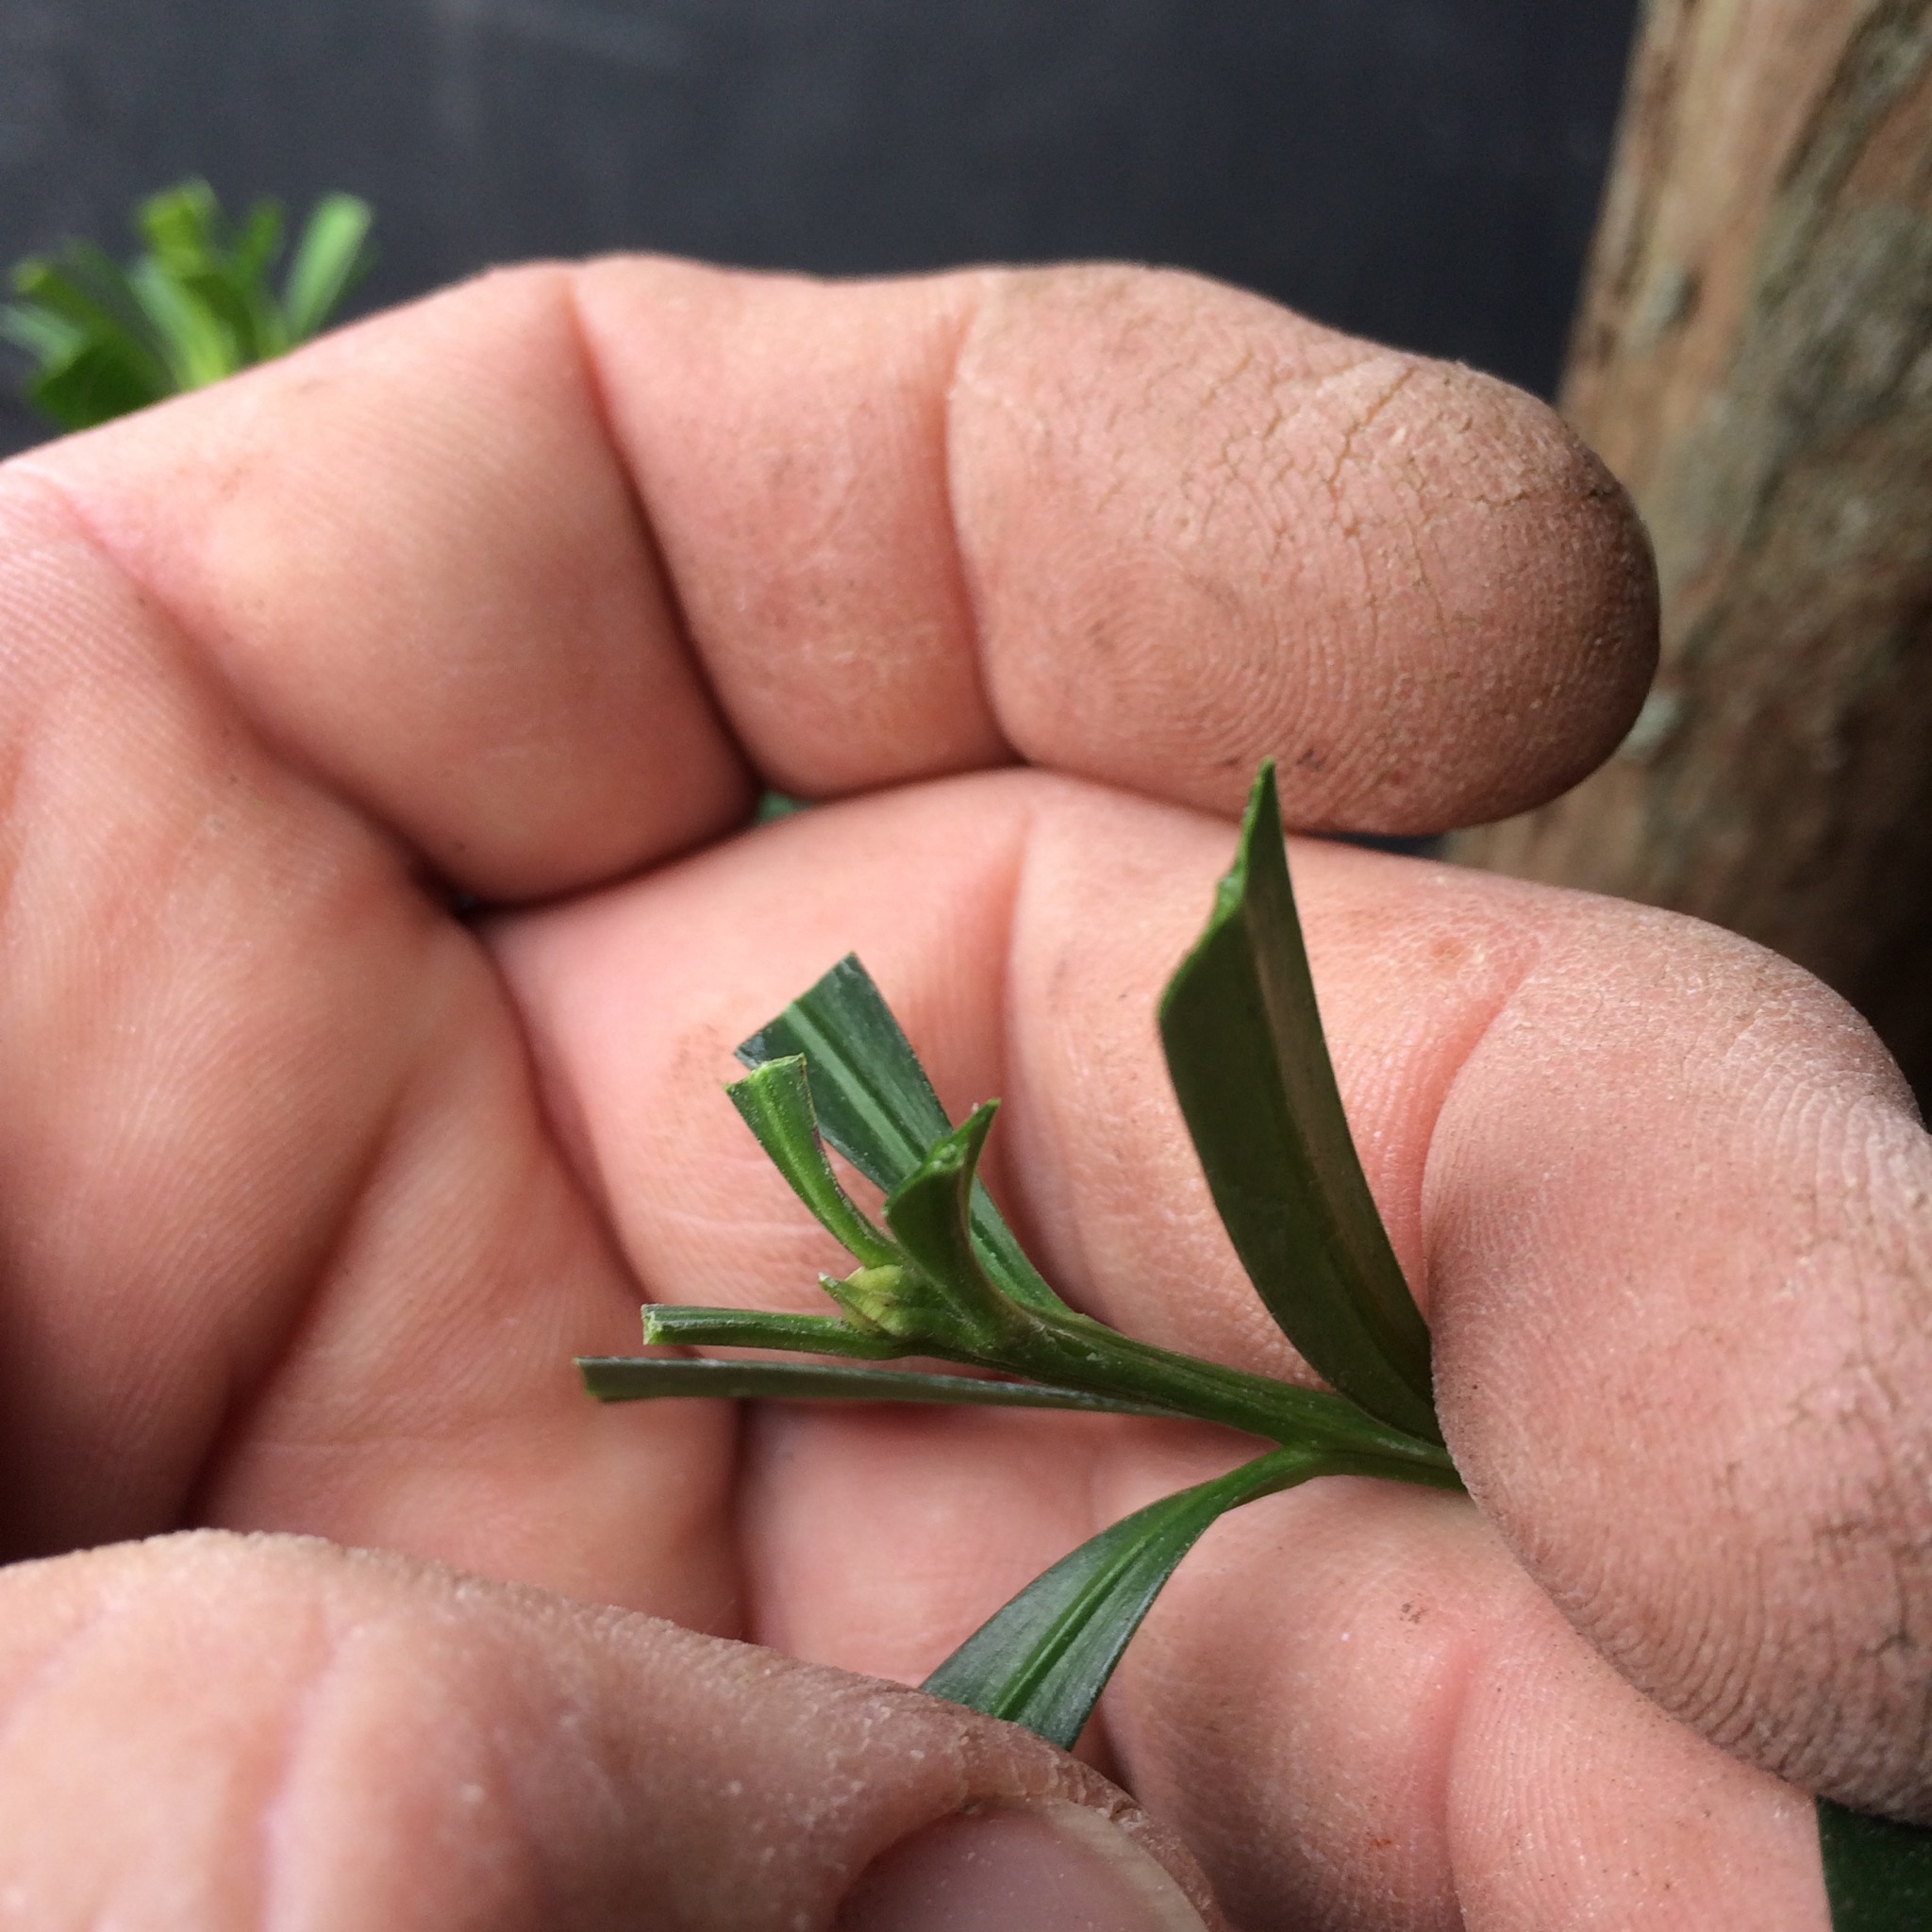
Not for any reason except to preserve the branch length. I’ll cut most of them after wiring.

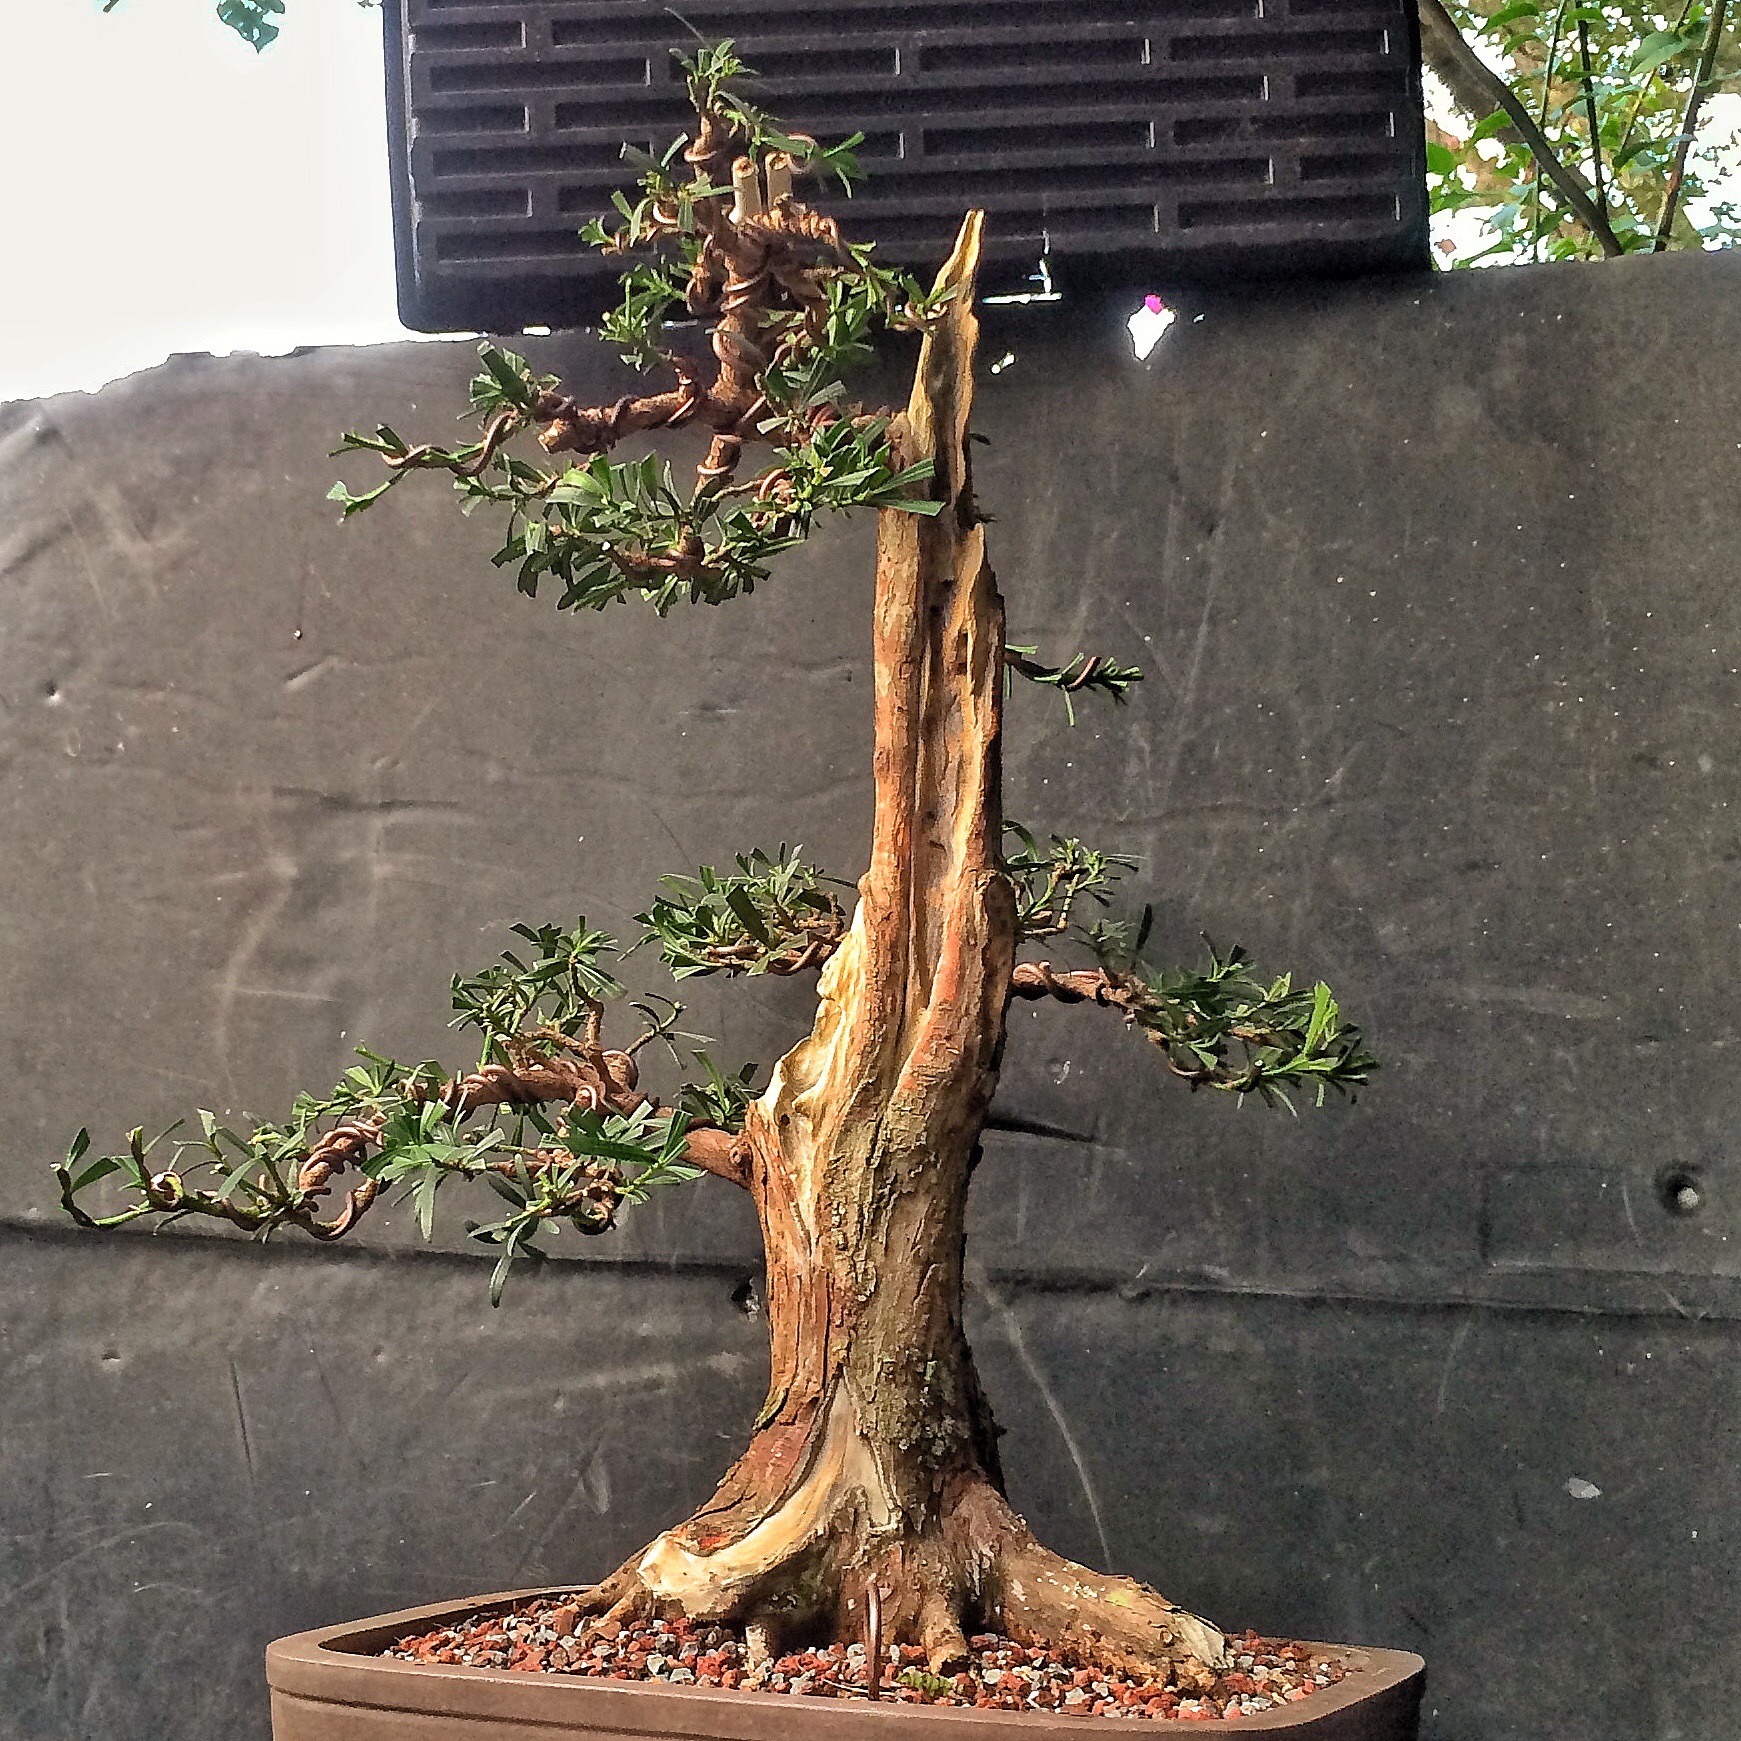
I think I’ll carve next.
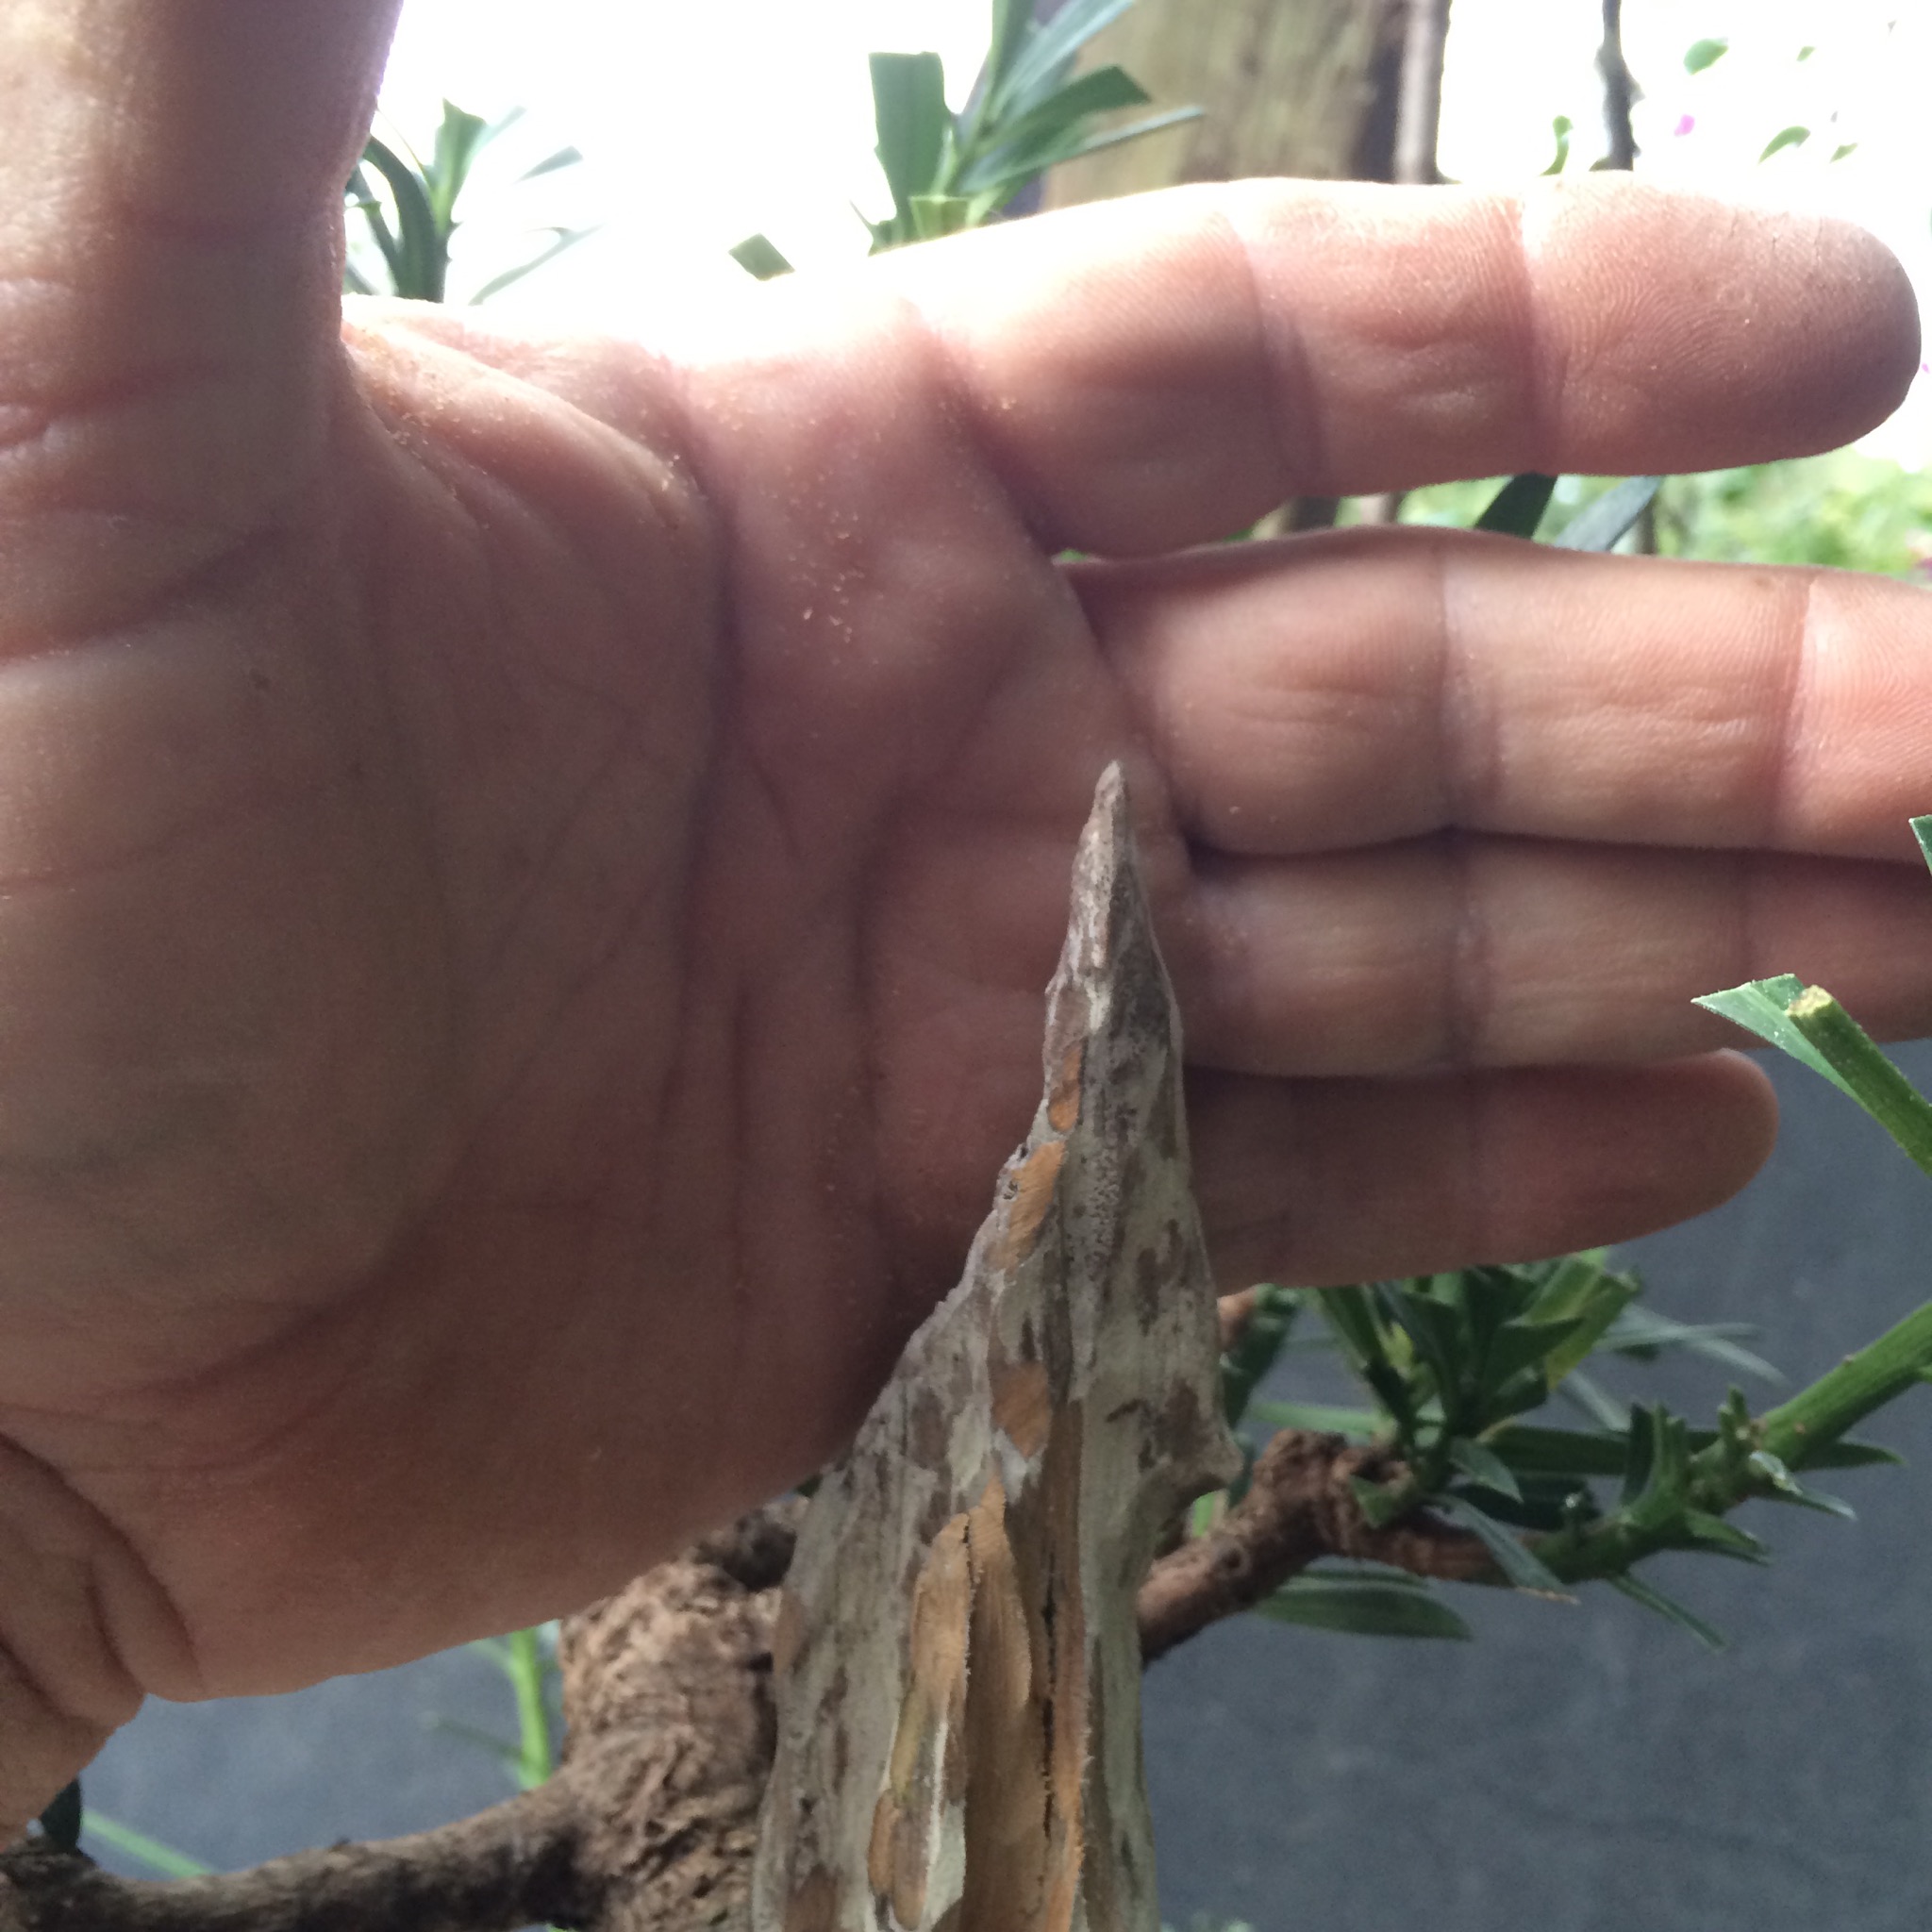
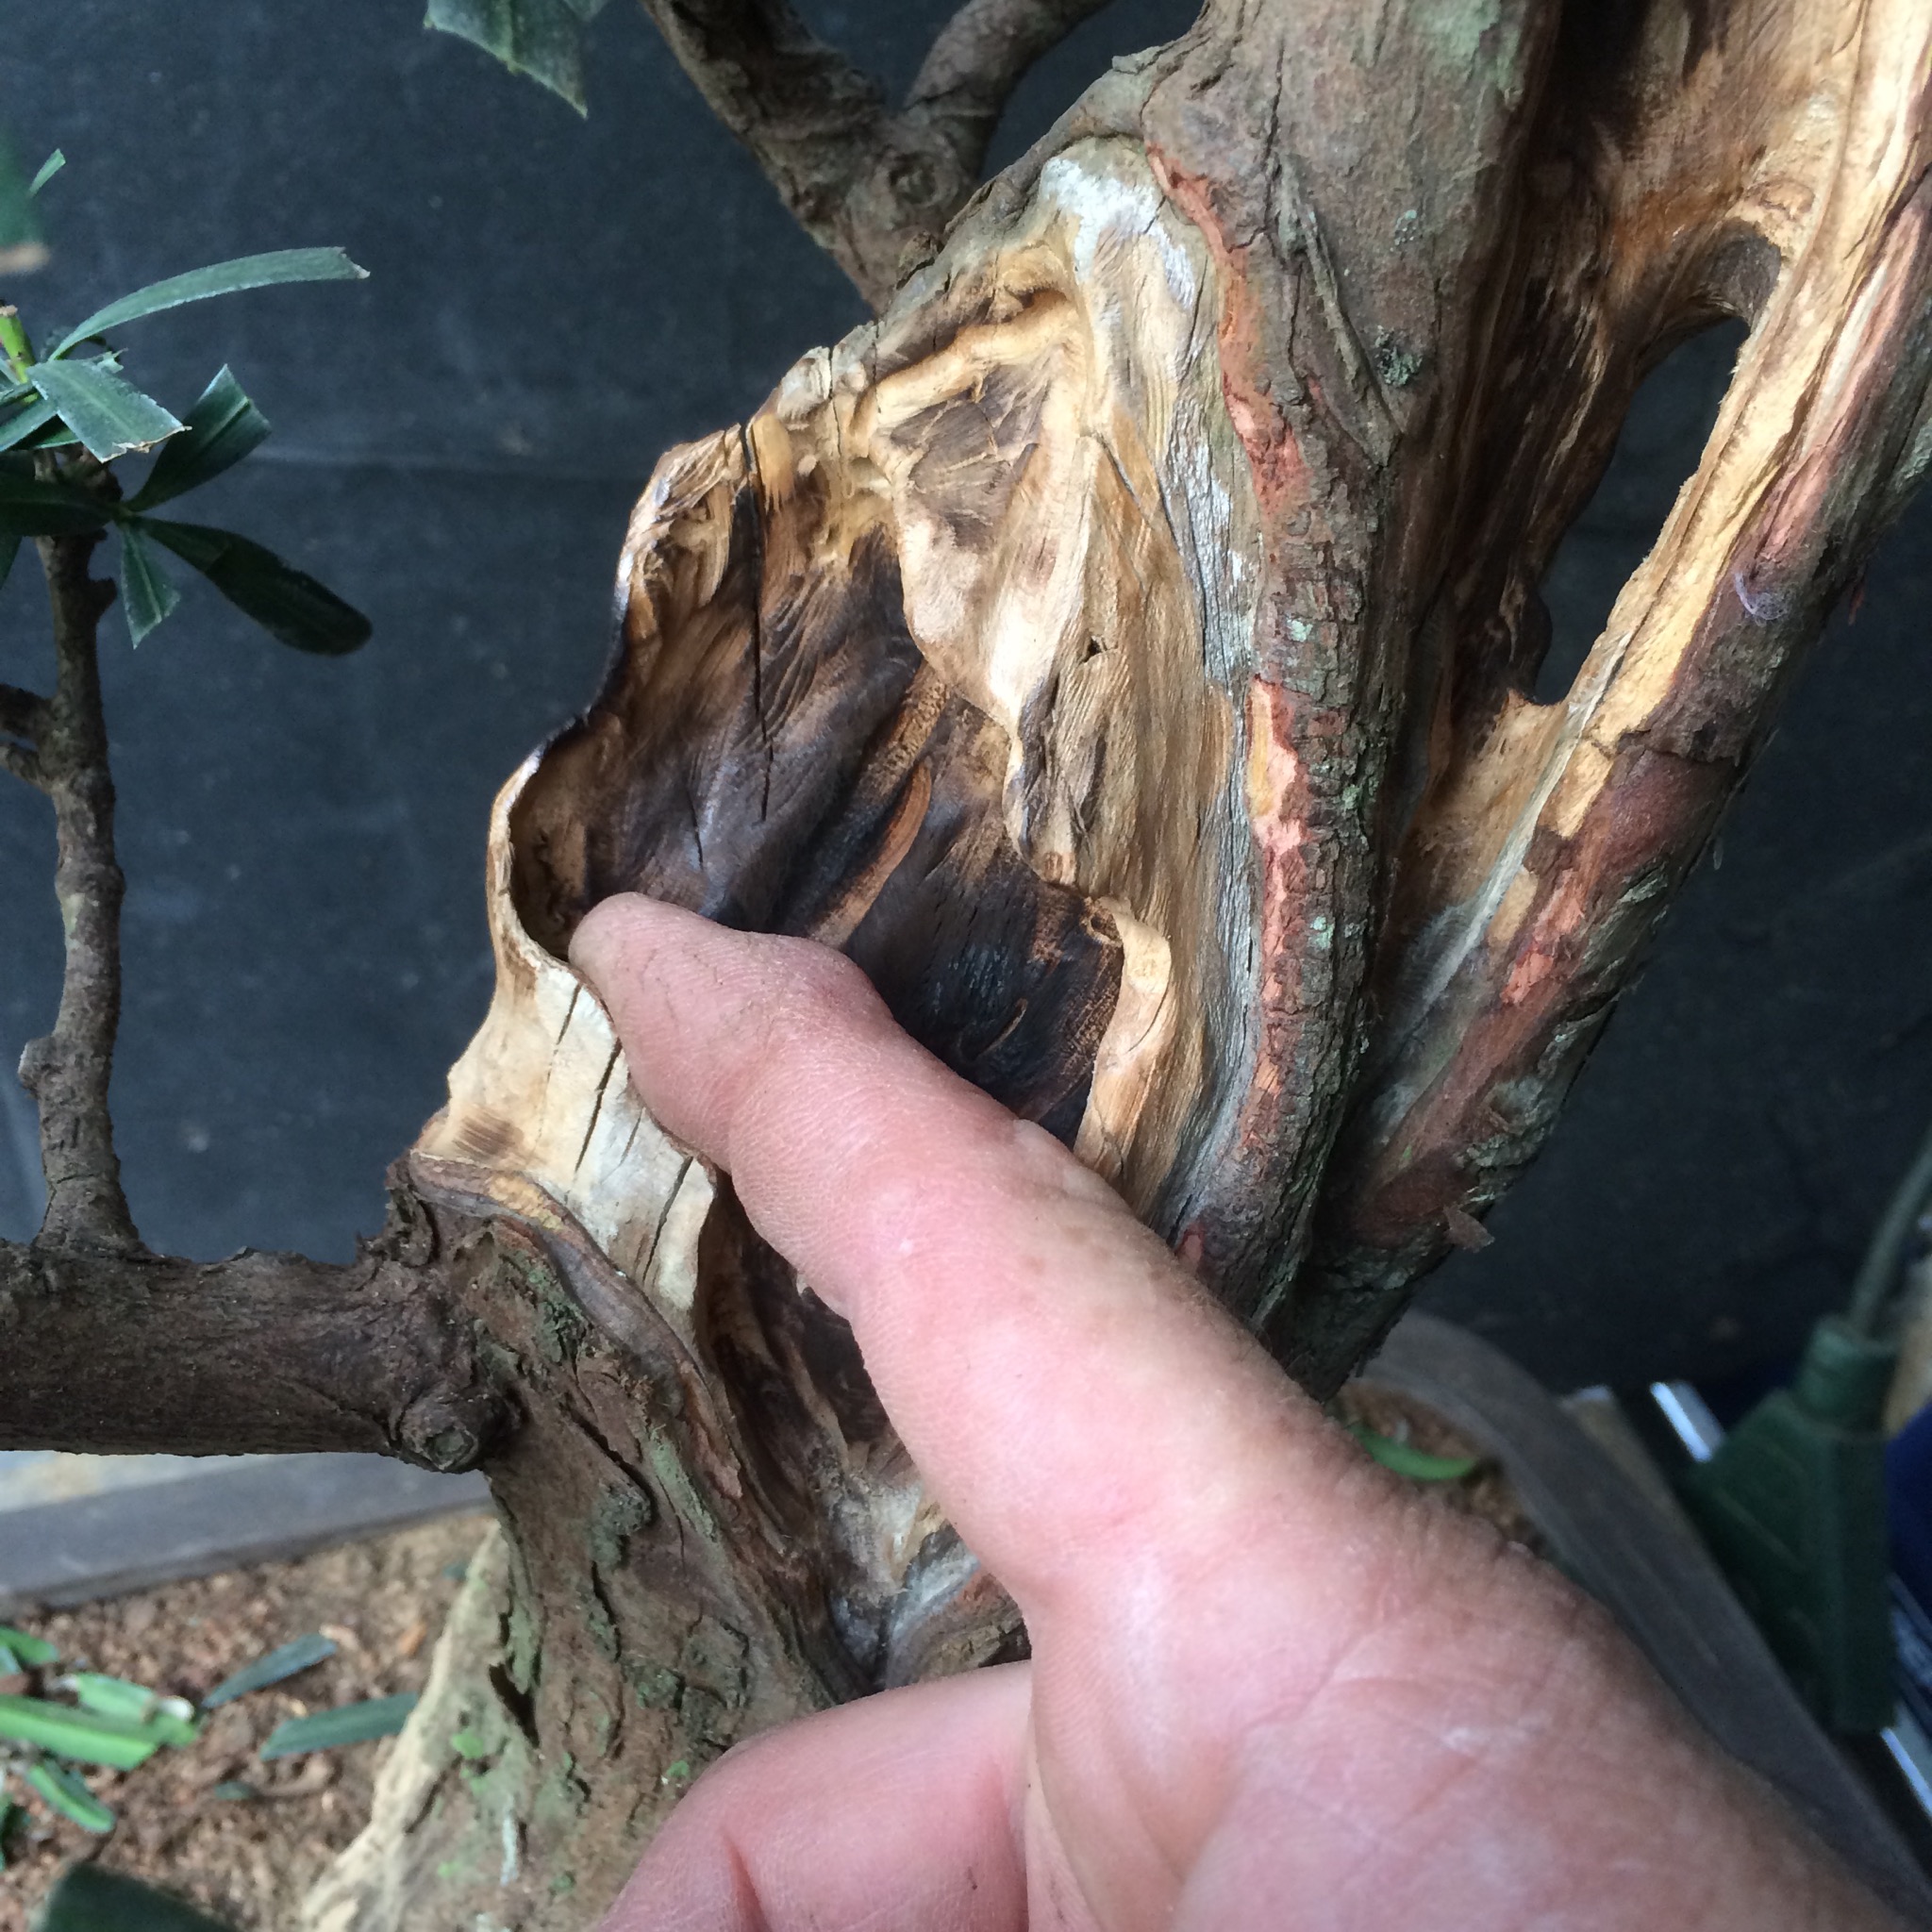
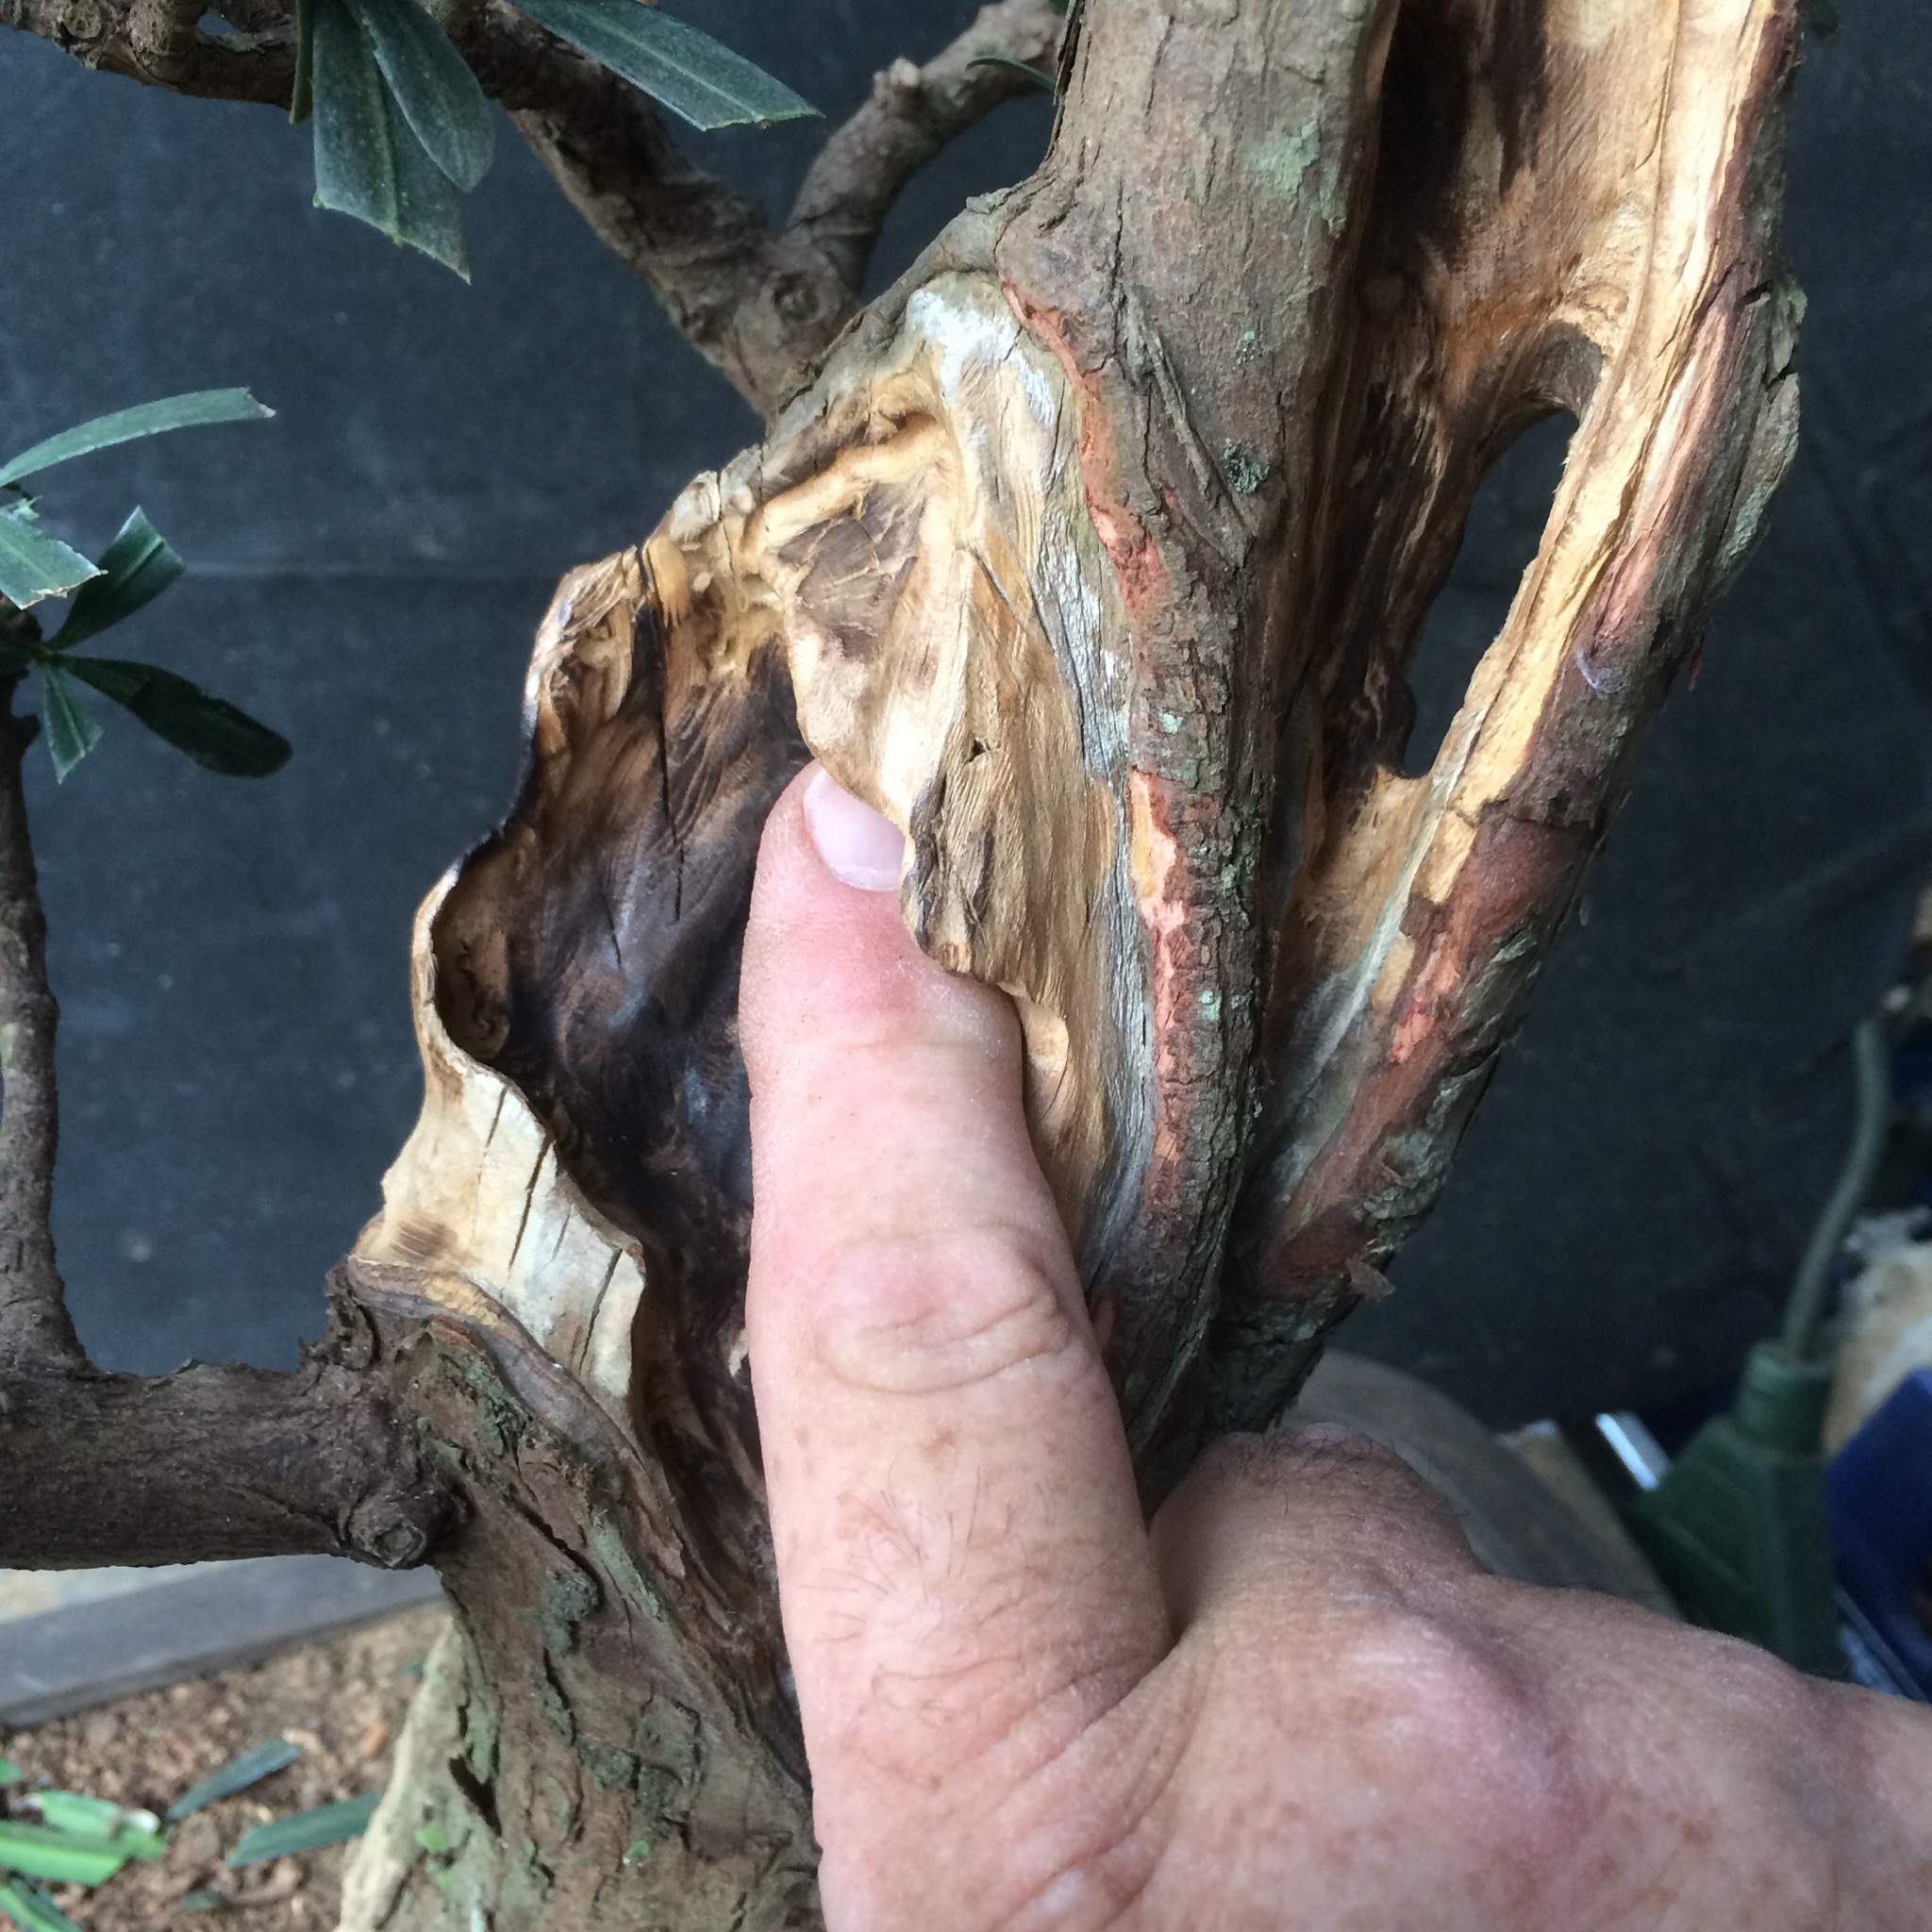
I need to figure out a way to mitigate this straight line.
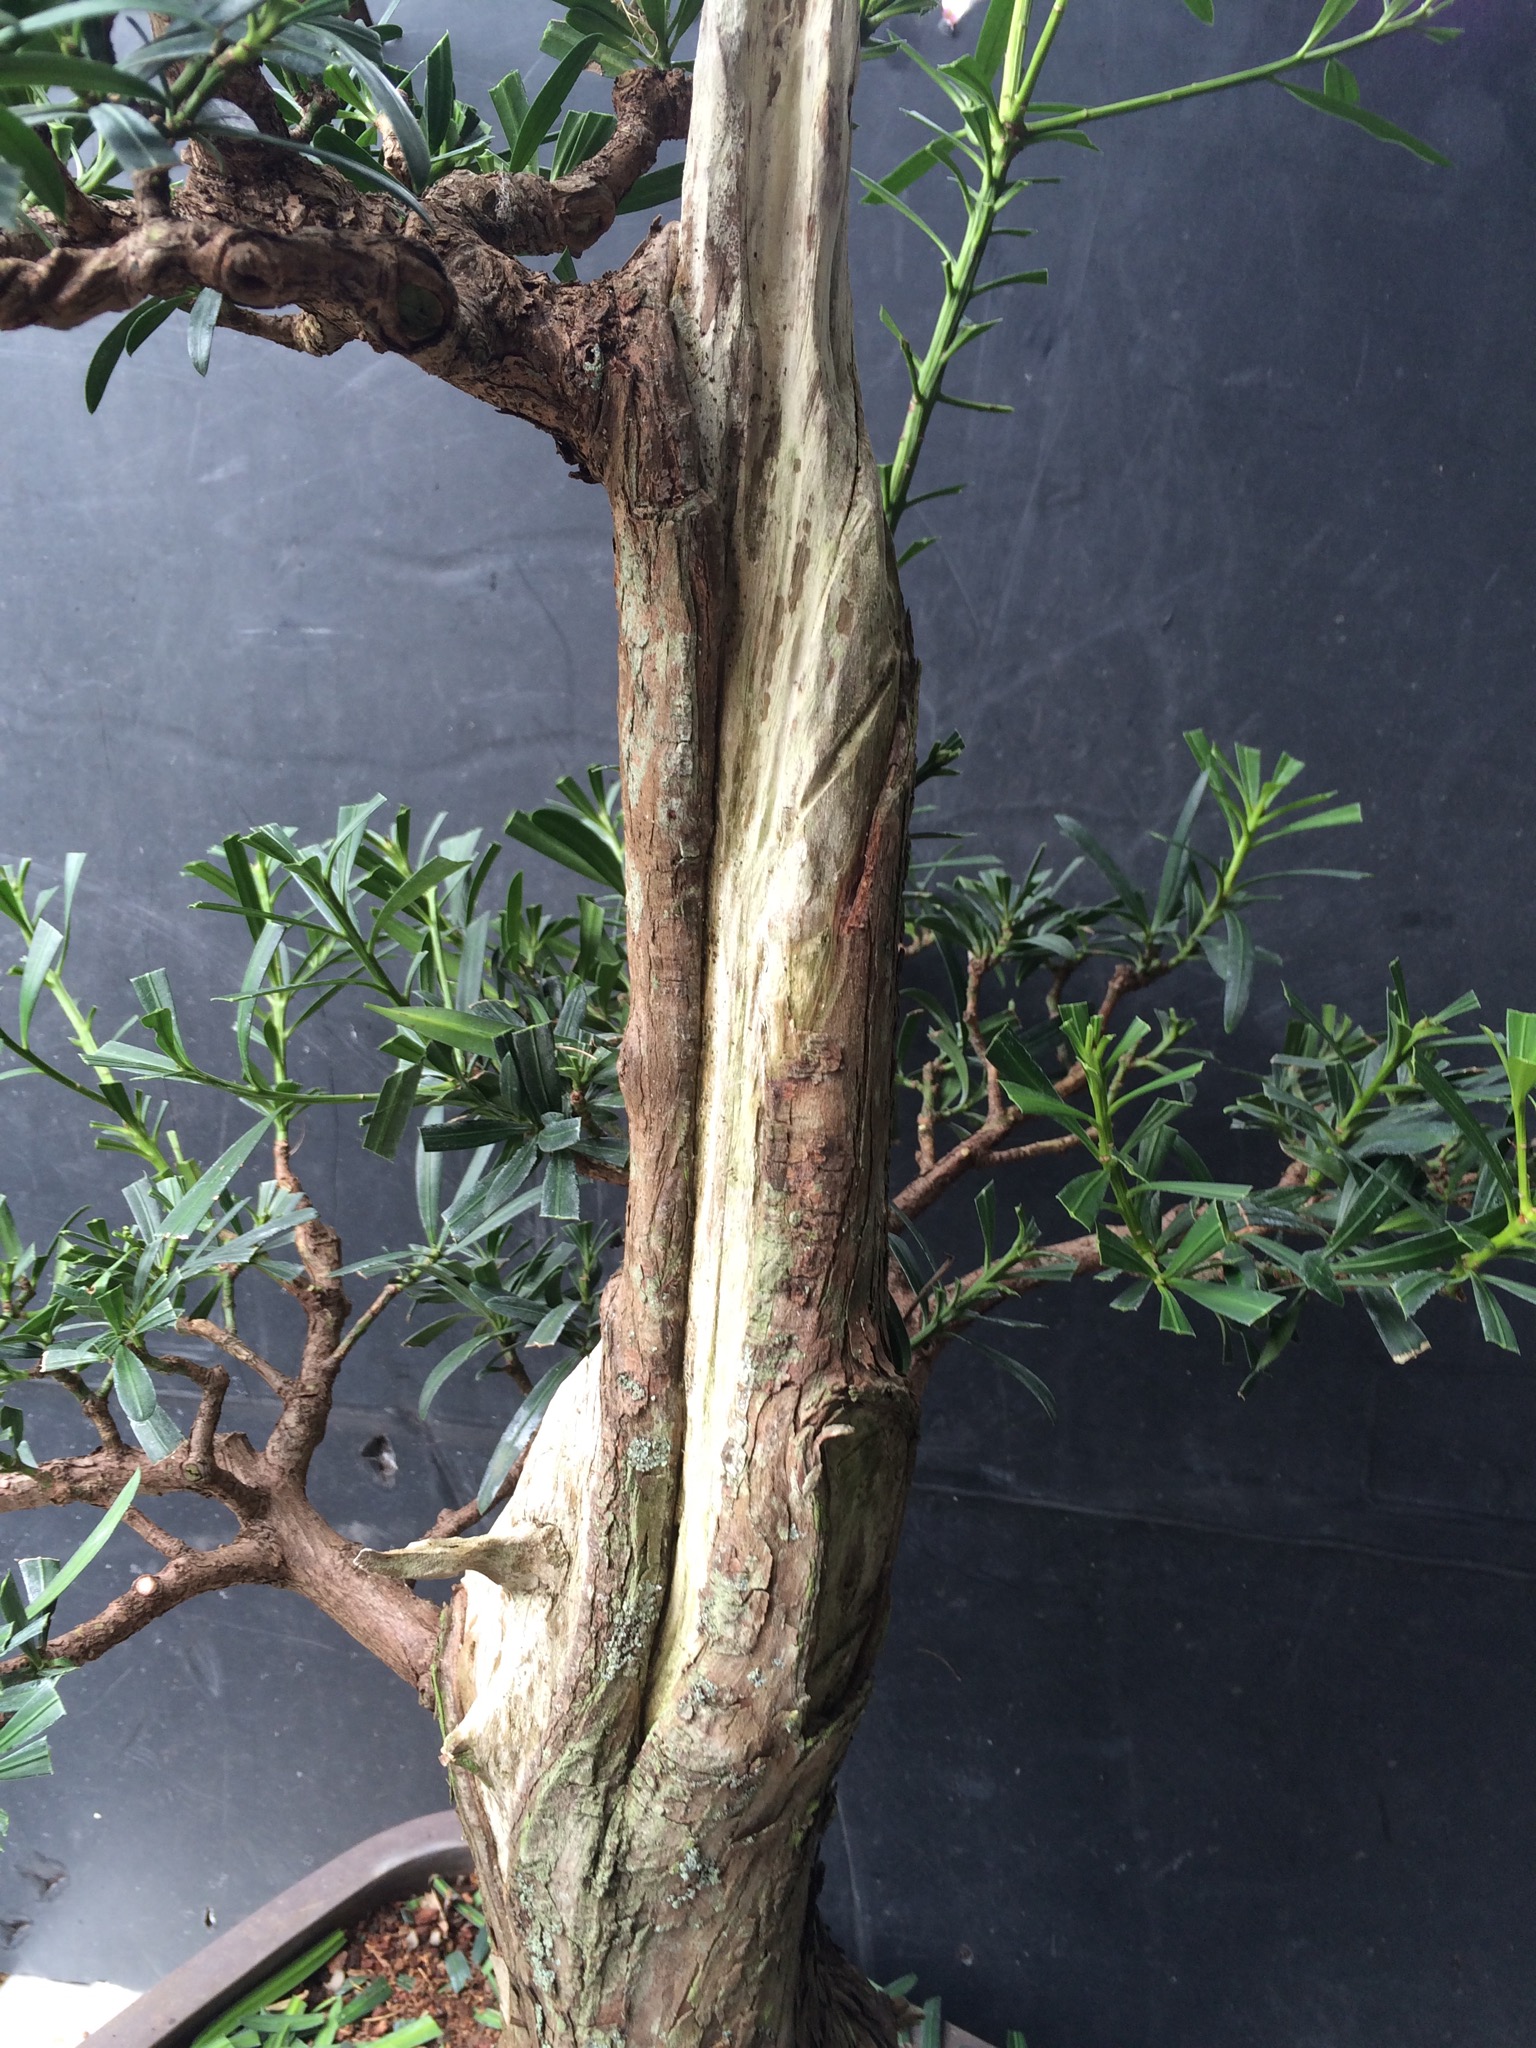
Maybe with foliage?

Maybe.
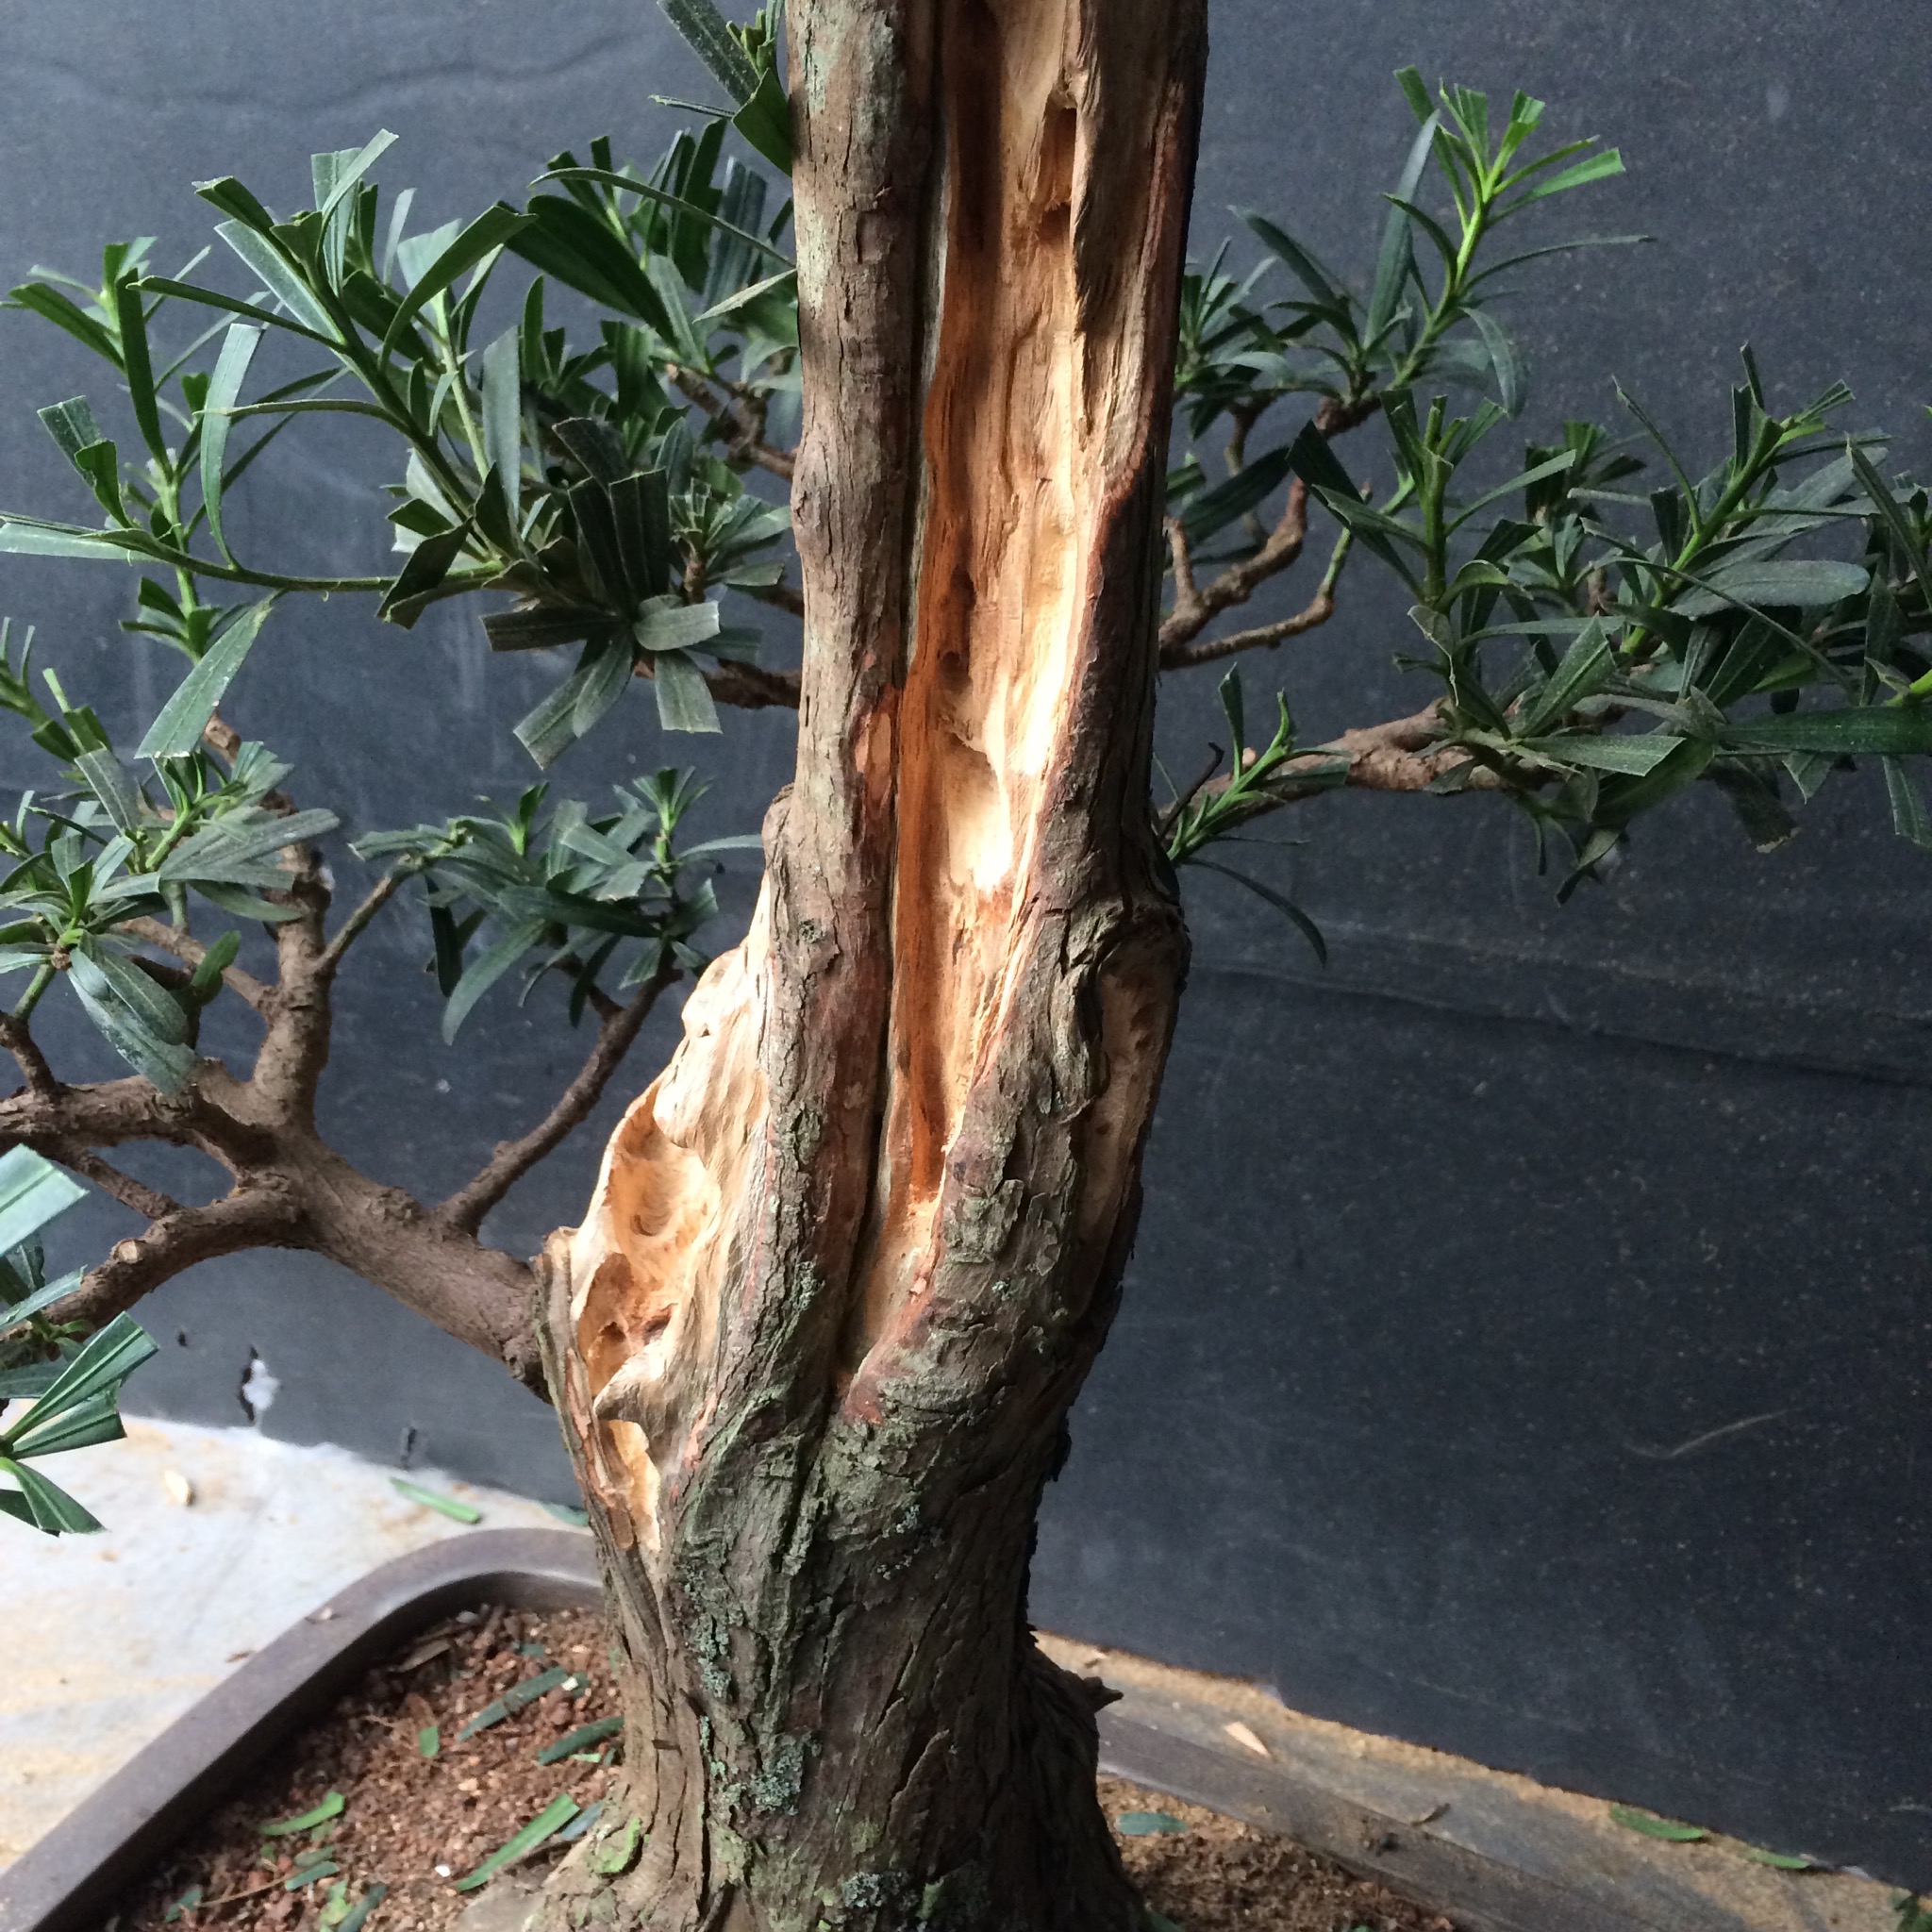
I know that I want to preserve the roll over.

That’s a sign of a mature carving, you can’t fake that.
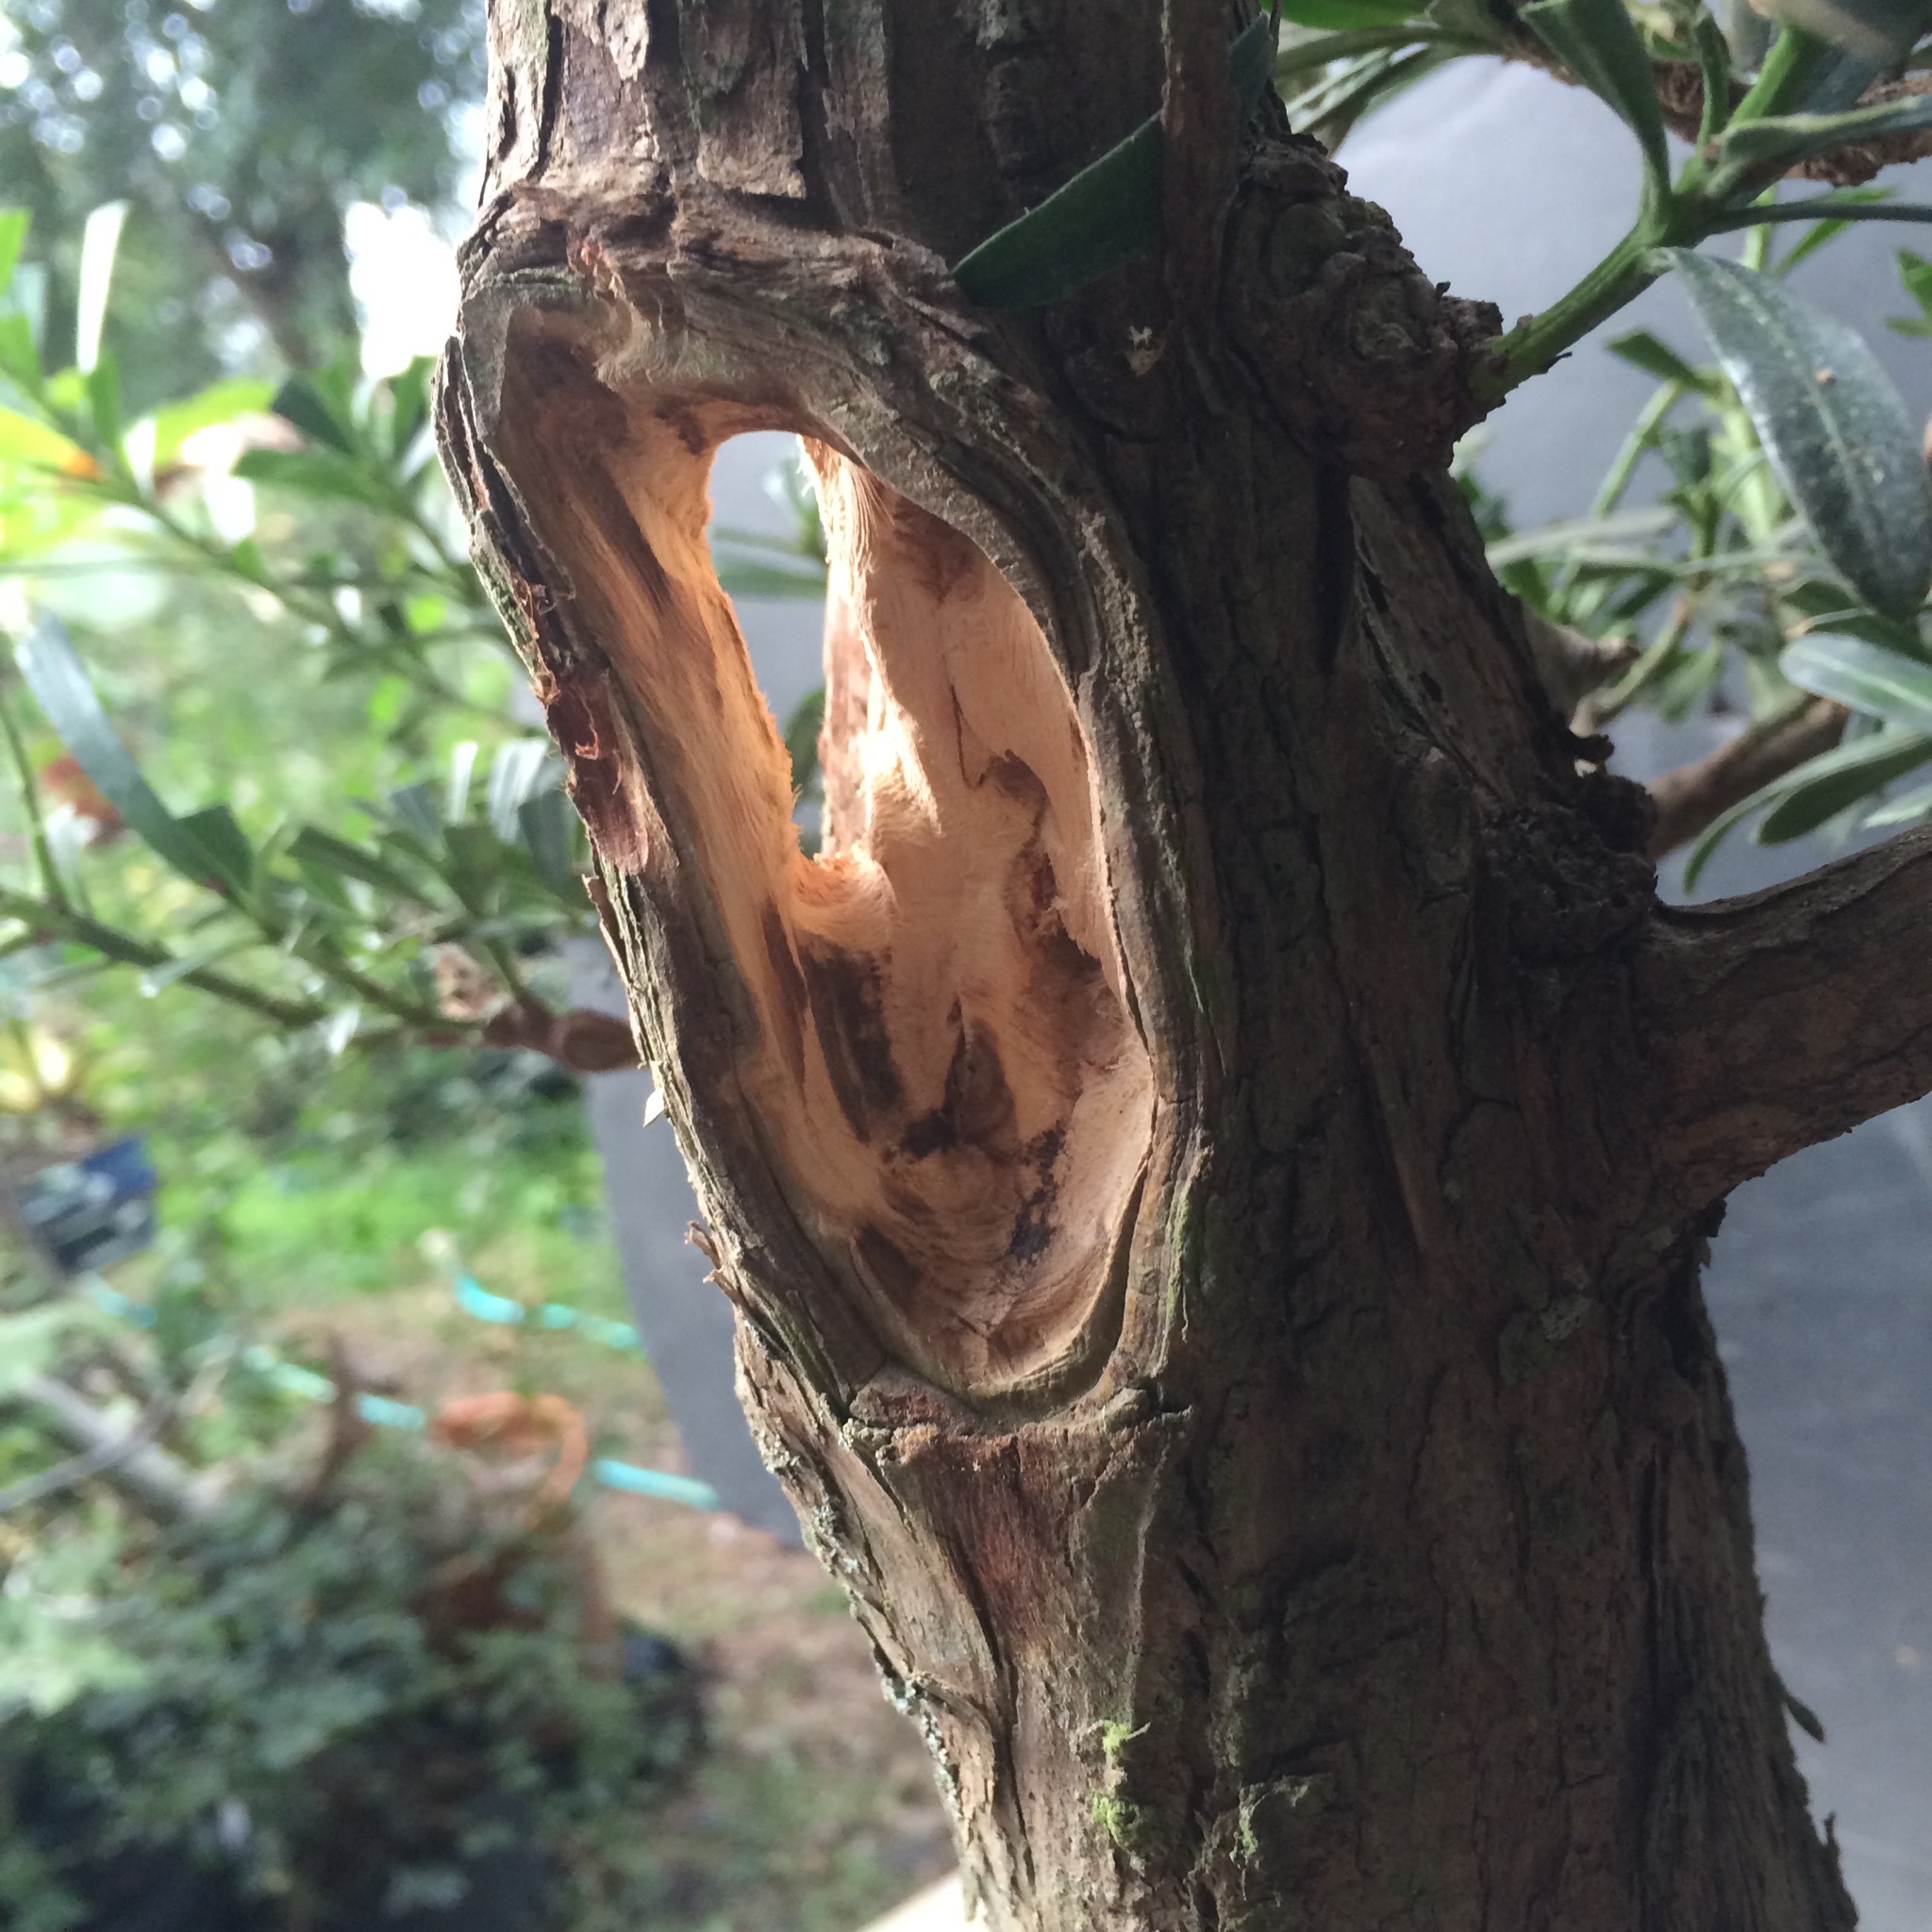
But this has to be fixed.

And here too, especially here.

I’m not sure if they expected it to heal or what.
Kinda like this wound on the side.

I mean, Why?! Have we not heard of jin?
The top jin is just a bit artificial for my tastes.
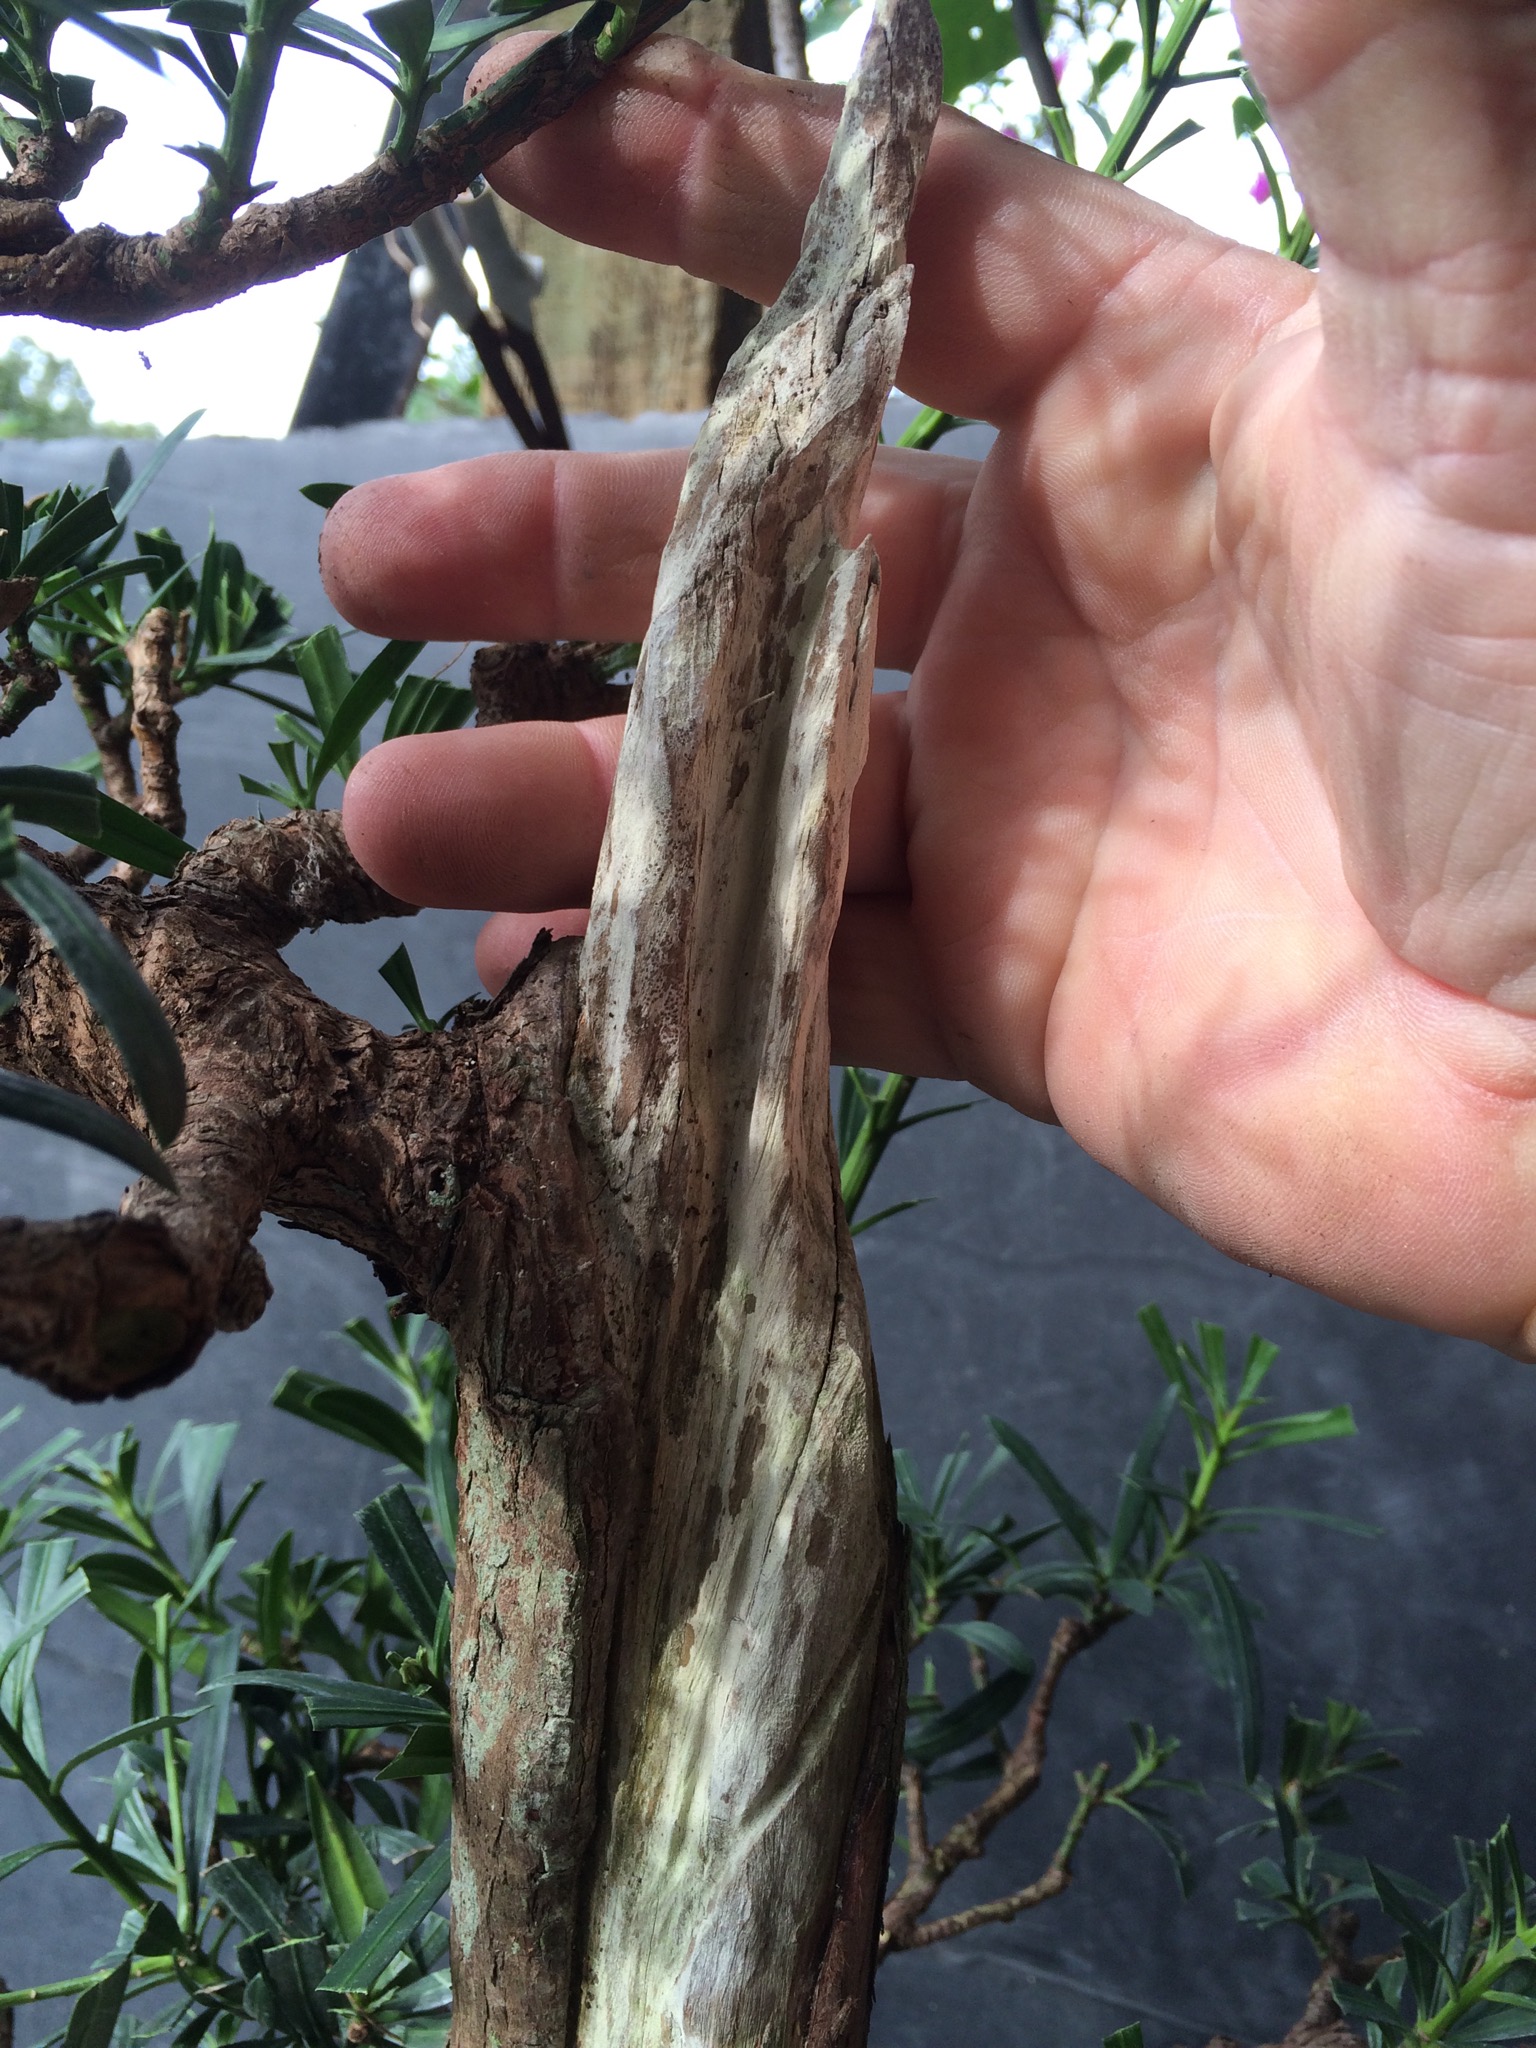
I’m not one for sharp sticks.
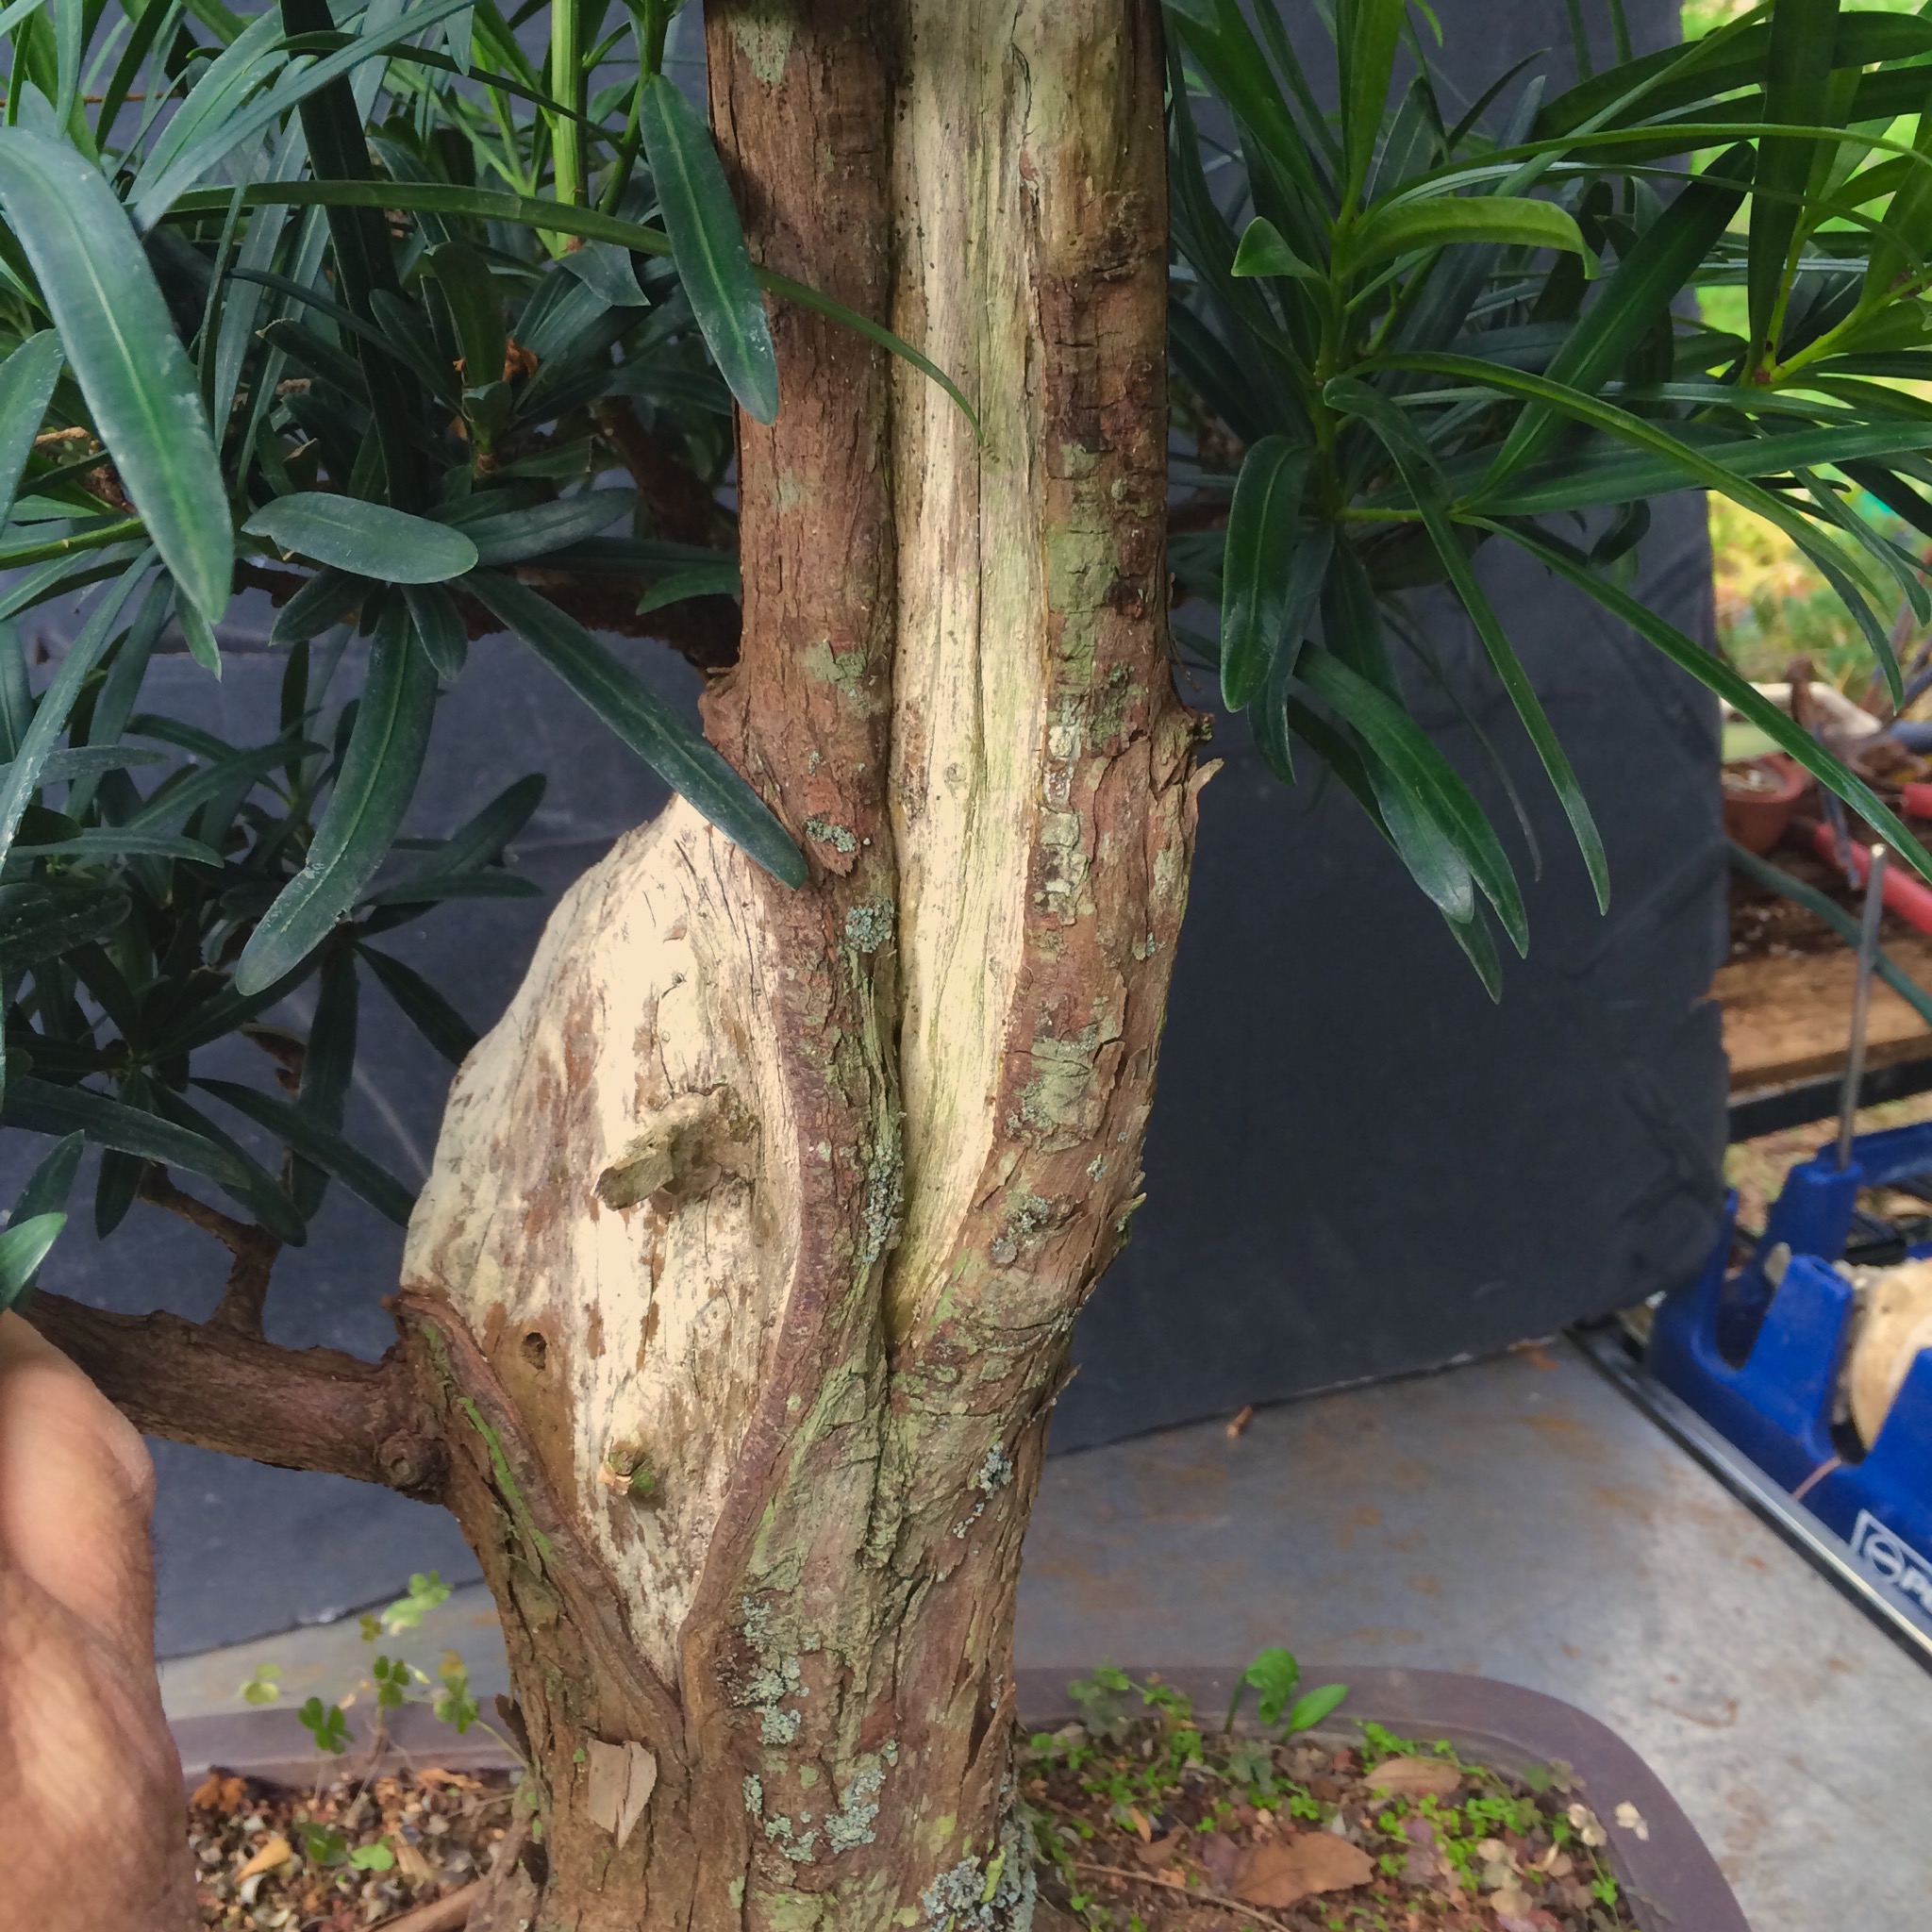
Since the wood has been treated with lime sulfur, I’d better take some precautions.
A hat to protect my luxurious locks, stylish safety glasses to look cool, and a pink colored bandana with skulls on it to look badass.

My son is similarly attired, he just looks cuter doing it though.

A little about my carving gear.
I believe that the most important safety device I use is my variable speed foot pedal.
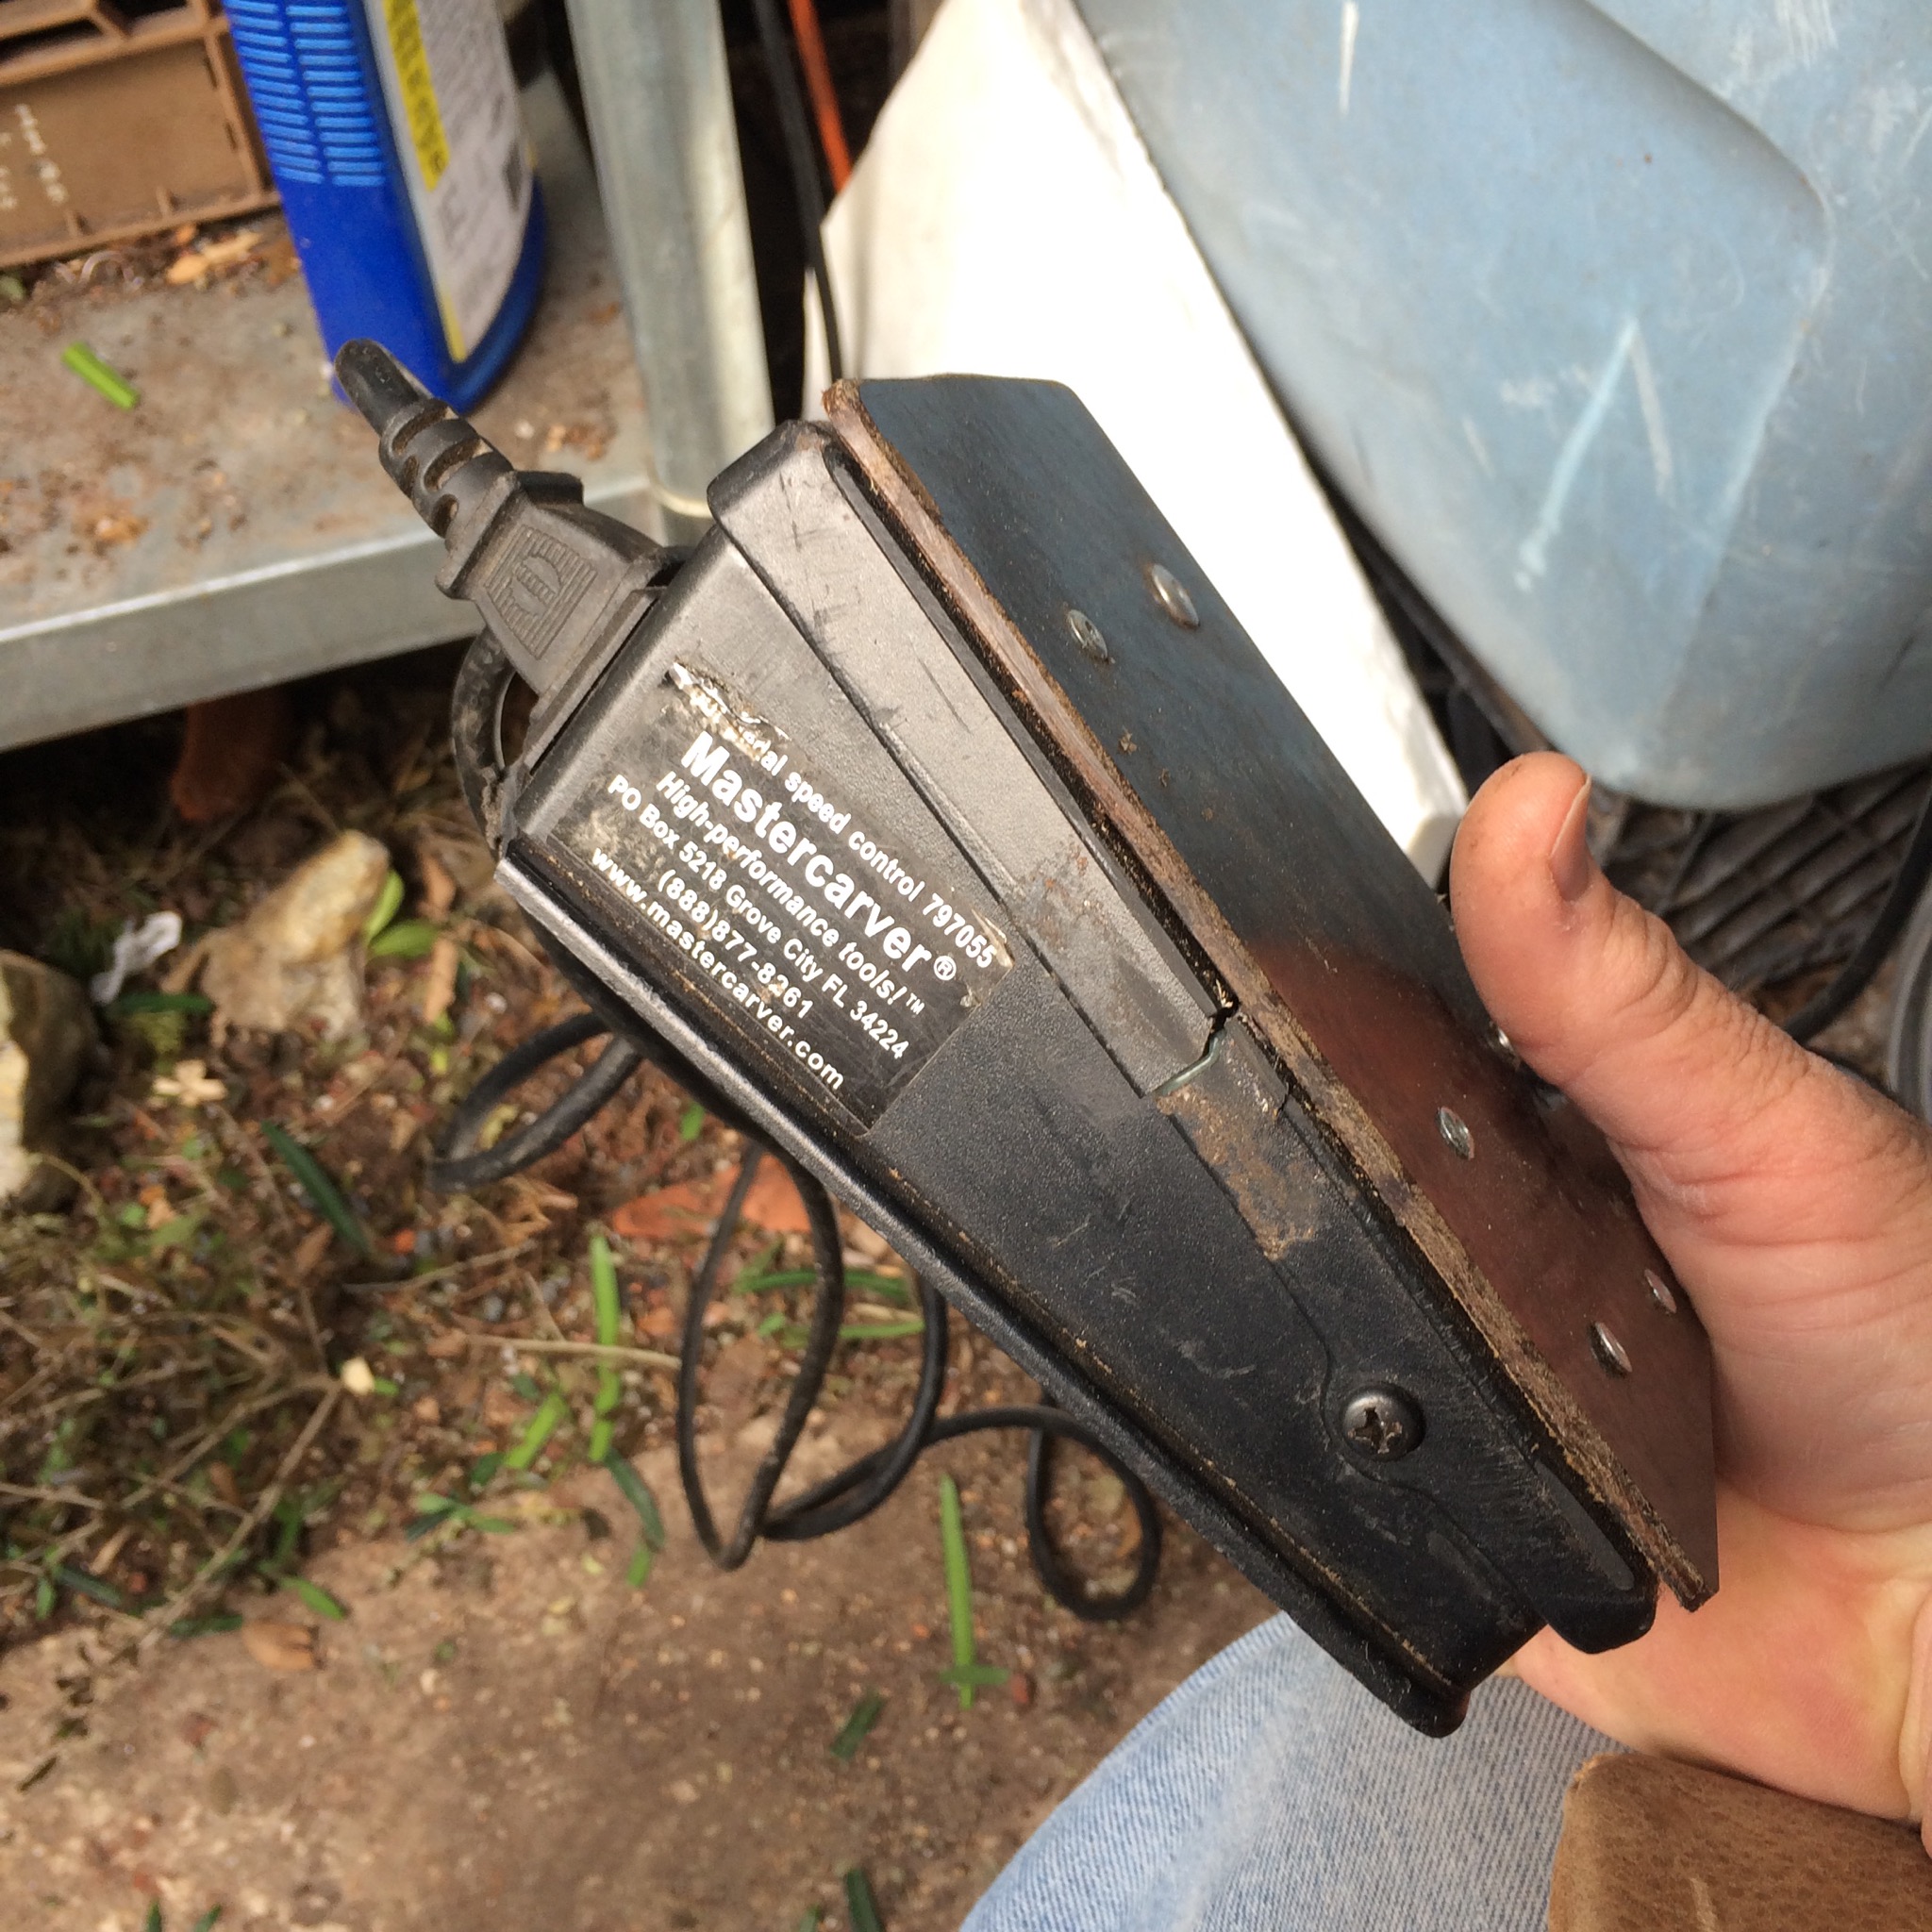
It’s just like a gas pedal, the more I push on it, the faster the tools speed goes. That’s important because some attachments aren’t rated for full speed. And when I take my foot off the pedal, the tool stops (a distressing number of carving tools has just on/off switches that are hard click, locked switches).
Before the foot pedal, I dropped a tool and it was quite exciting to watch it bounce all around the room, jumping and spinning in the air until I was able to unplug it. I have scars, maybe I’ll show them to you one day.
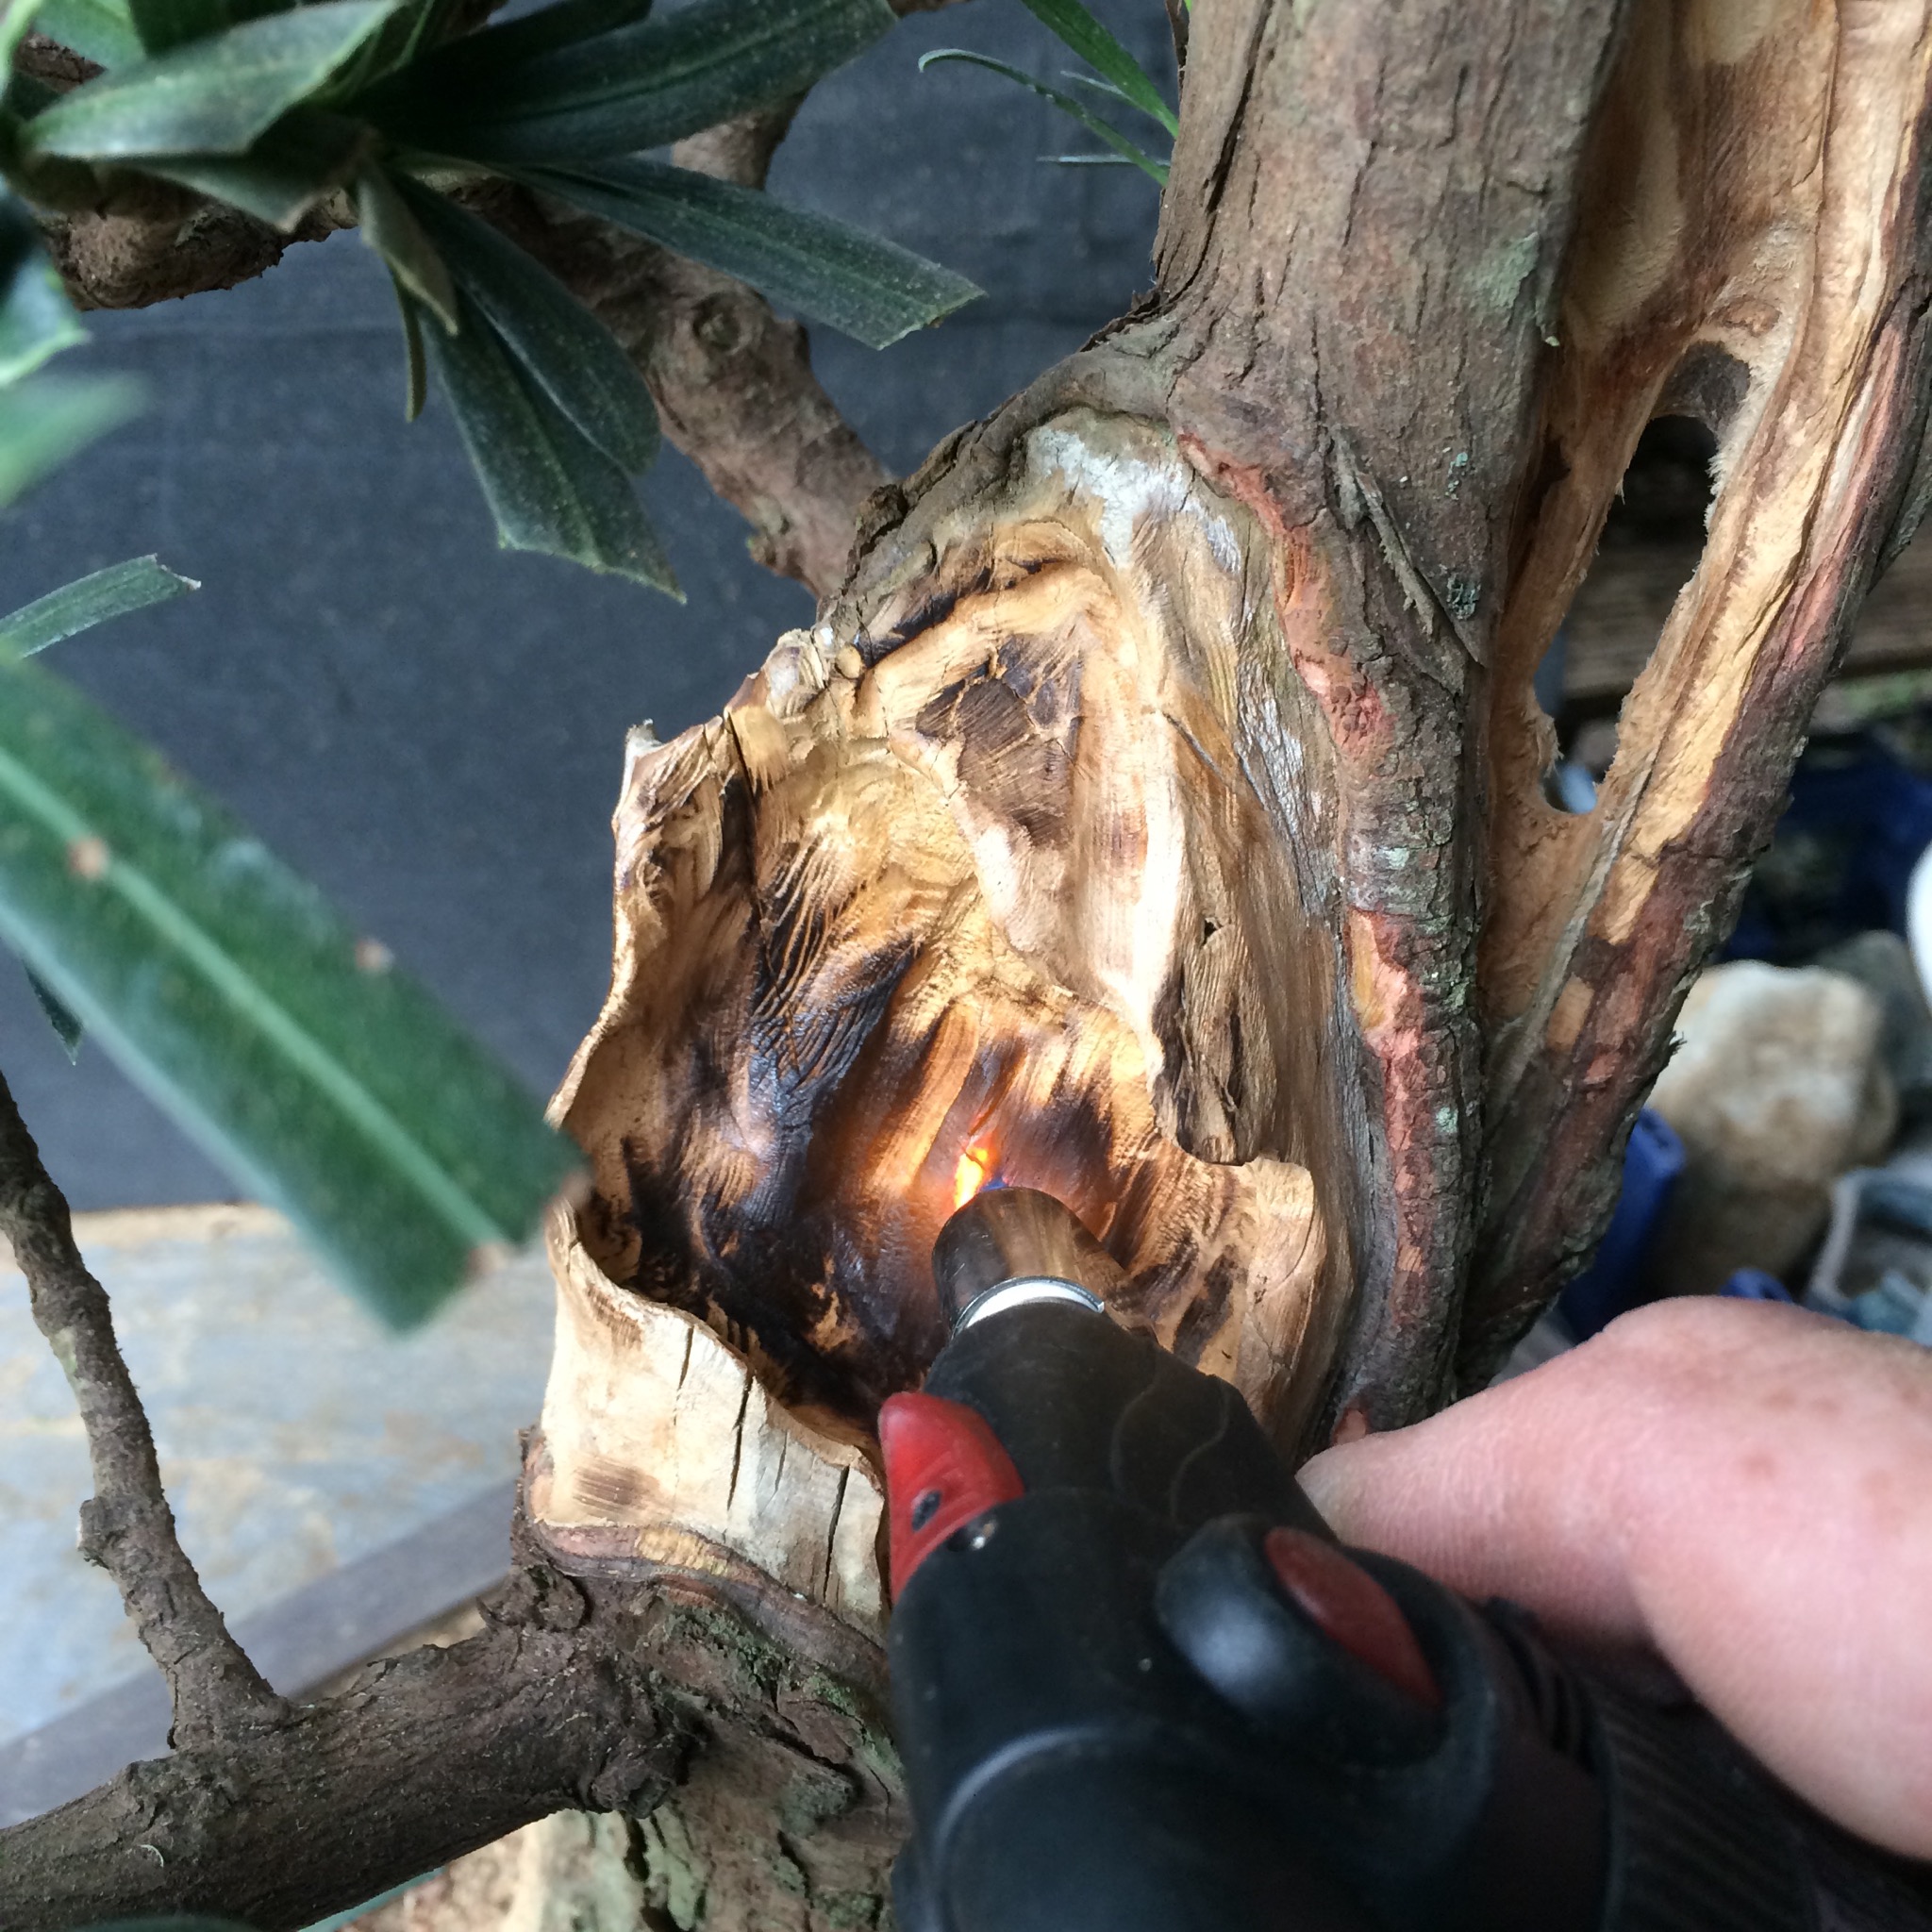
Let’s get carving.
I can see the light!
One of my friends was watching me carve one day and he said that he loved it when I poked holes in the wood with my tool. Make your own joke there.


You can see that it’s a progressive process. I use different shaped tool heads for each step.
I also use a torch to burn off tool marks, rough edges and pithy fibers.
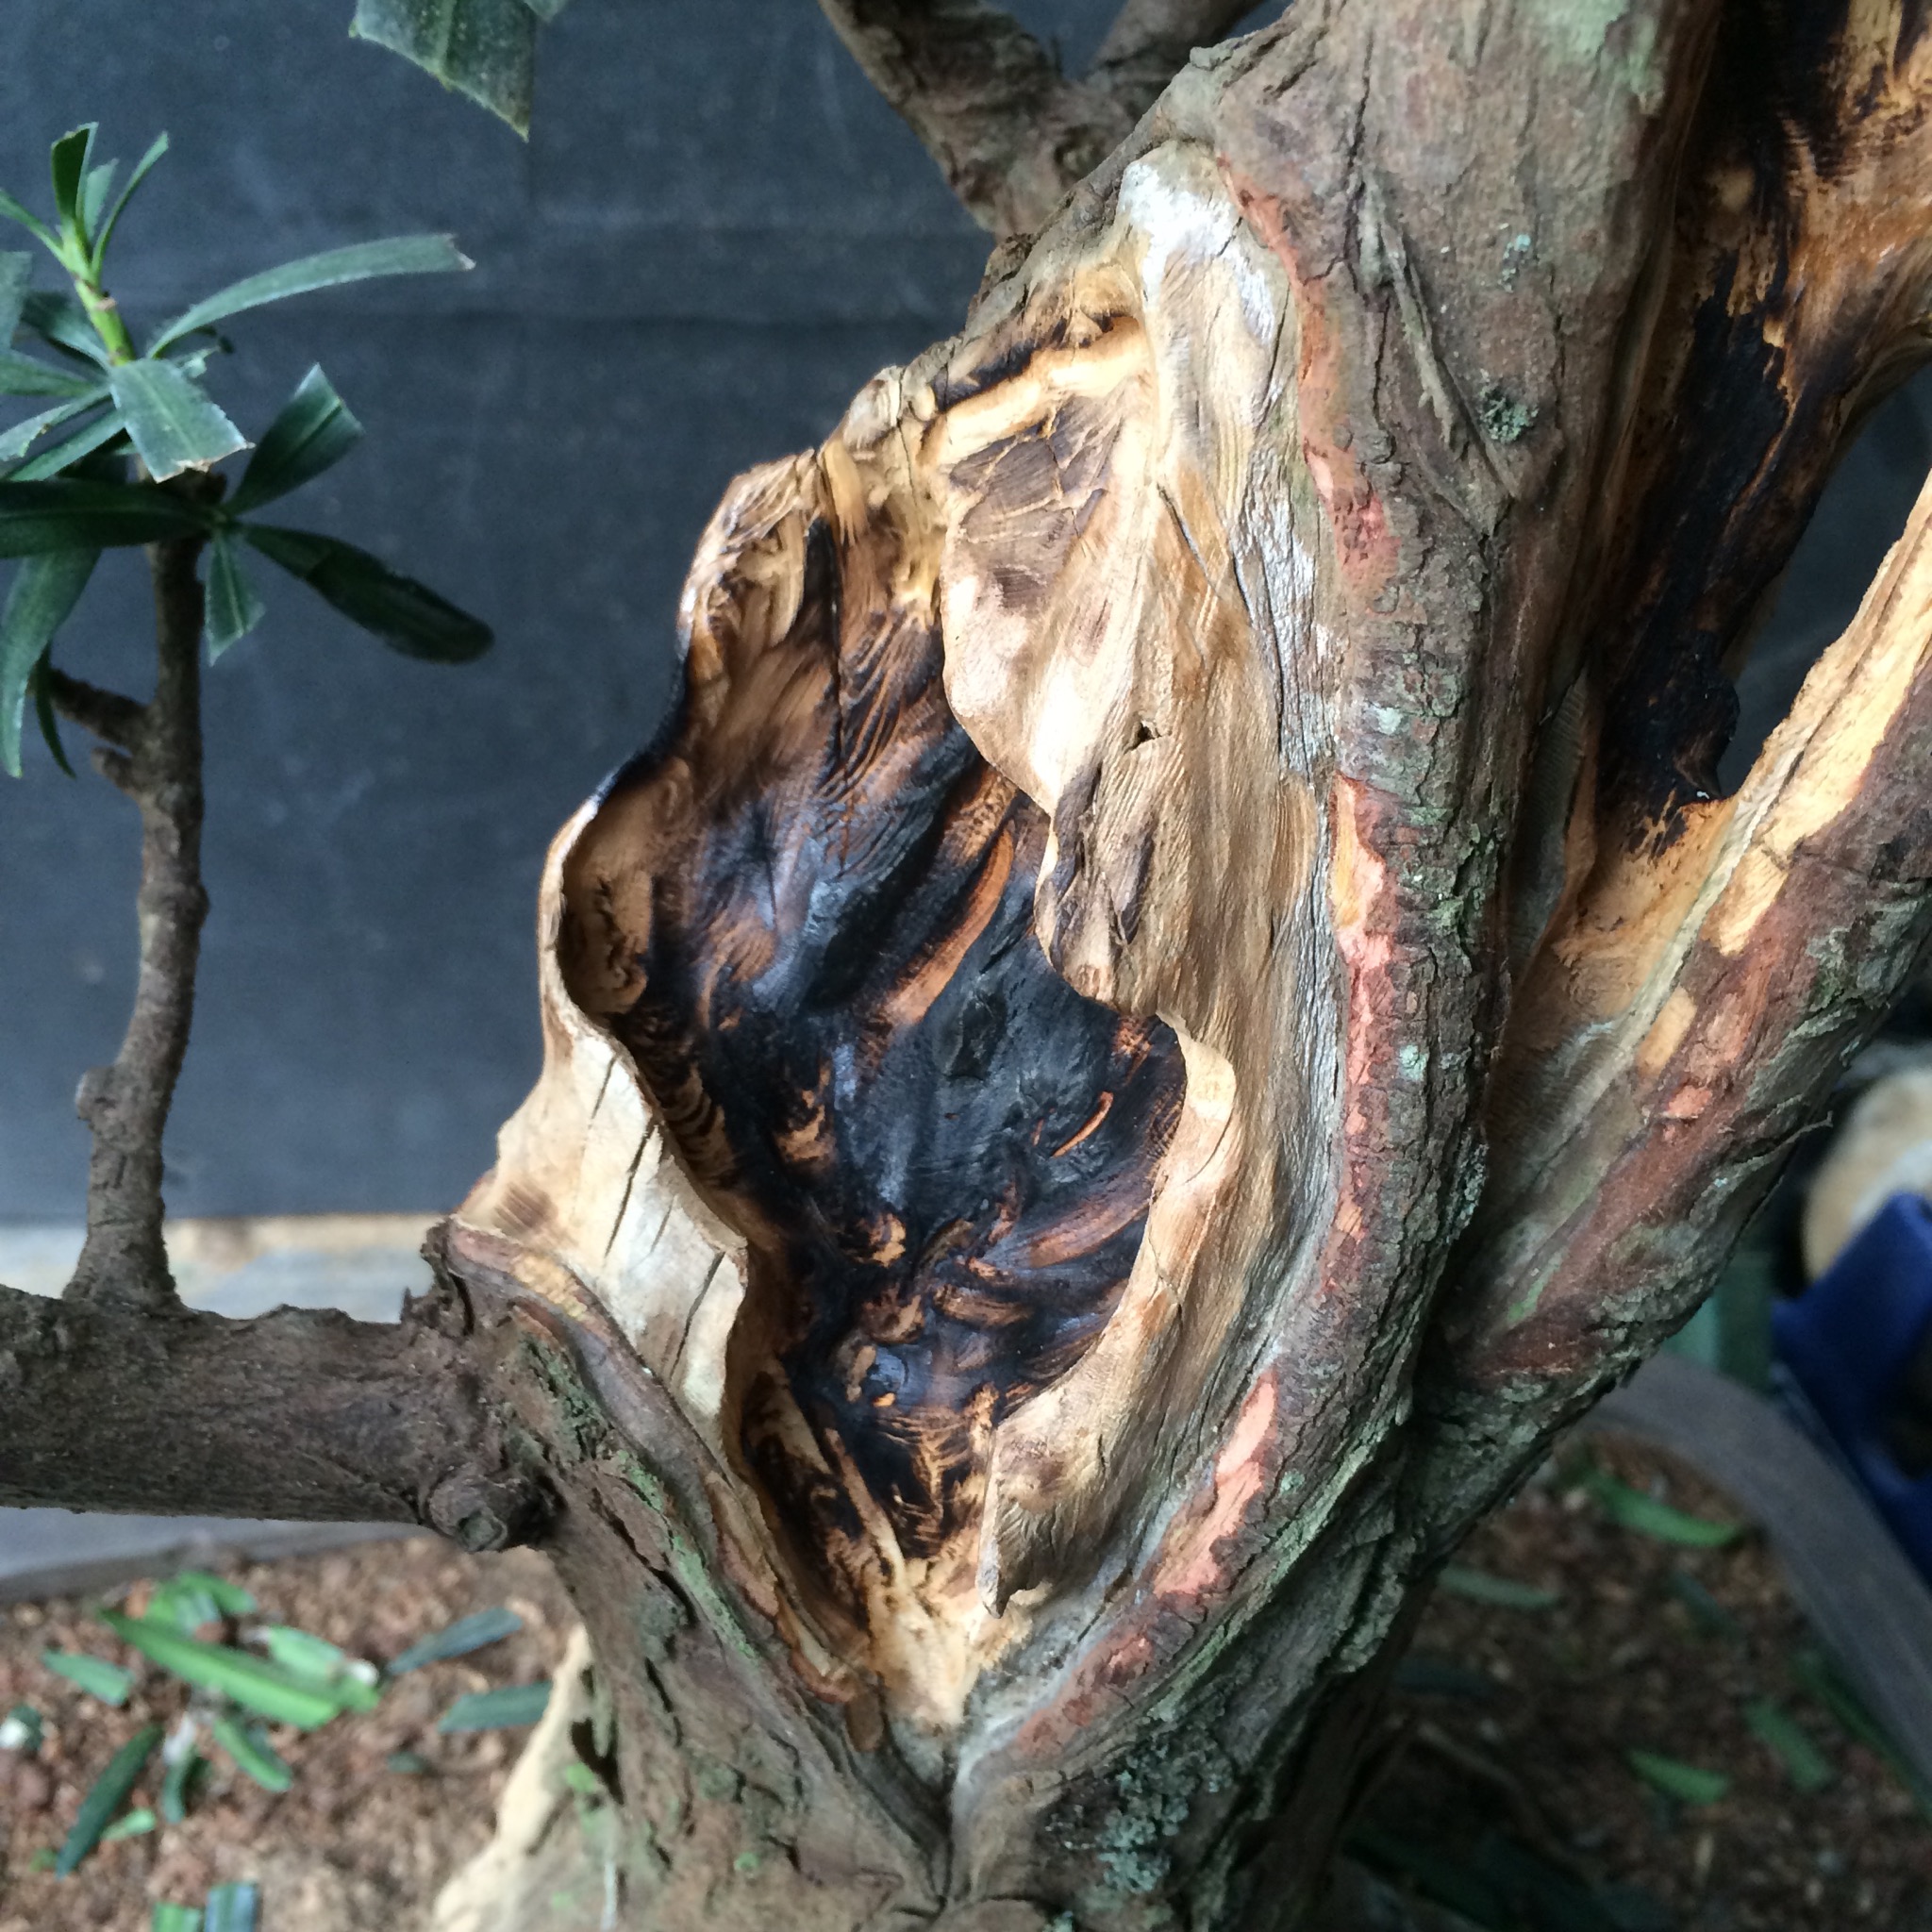
Then I use a wire brush to “age” the surface. It brings out the grain and adds detail and movement to the convex surfaces.
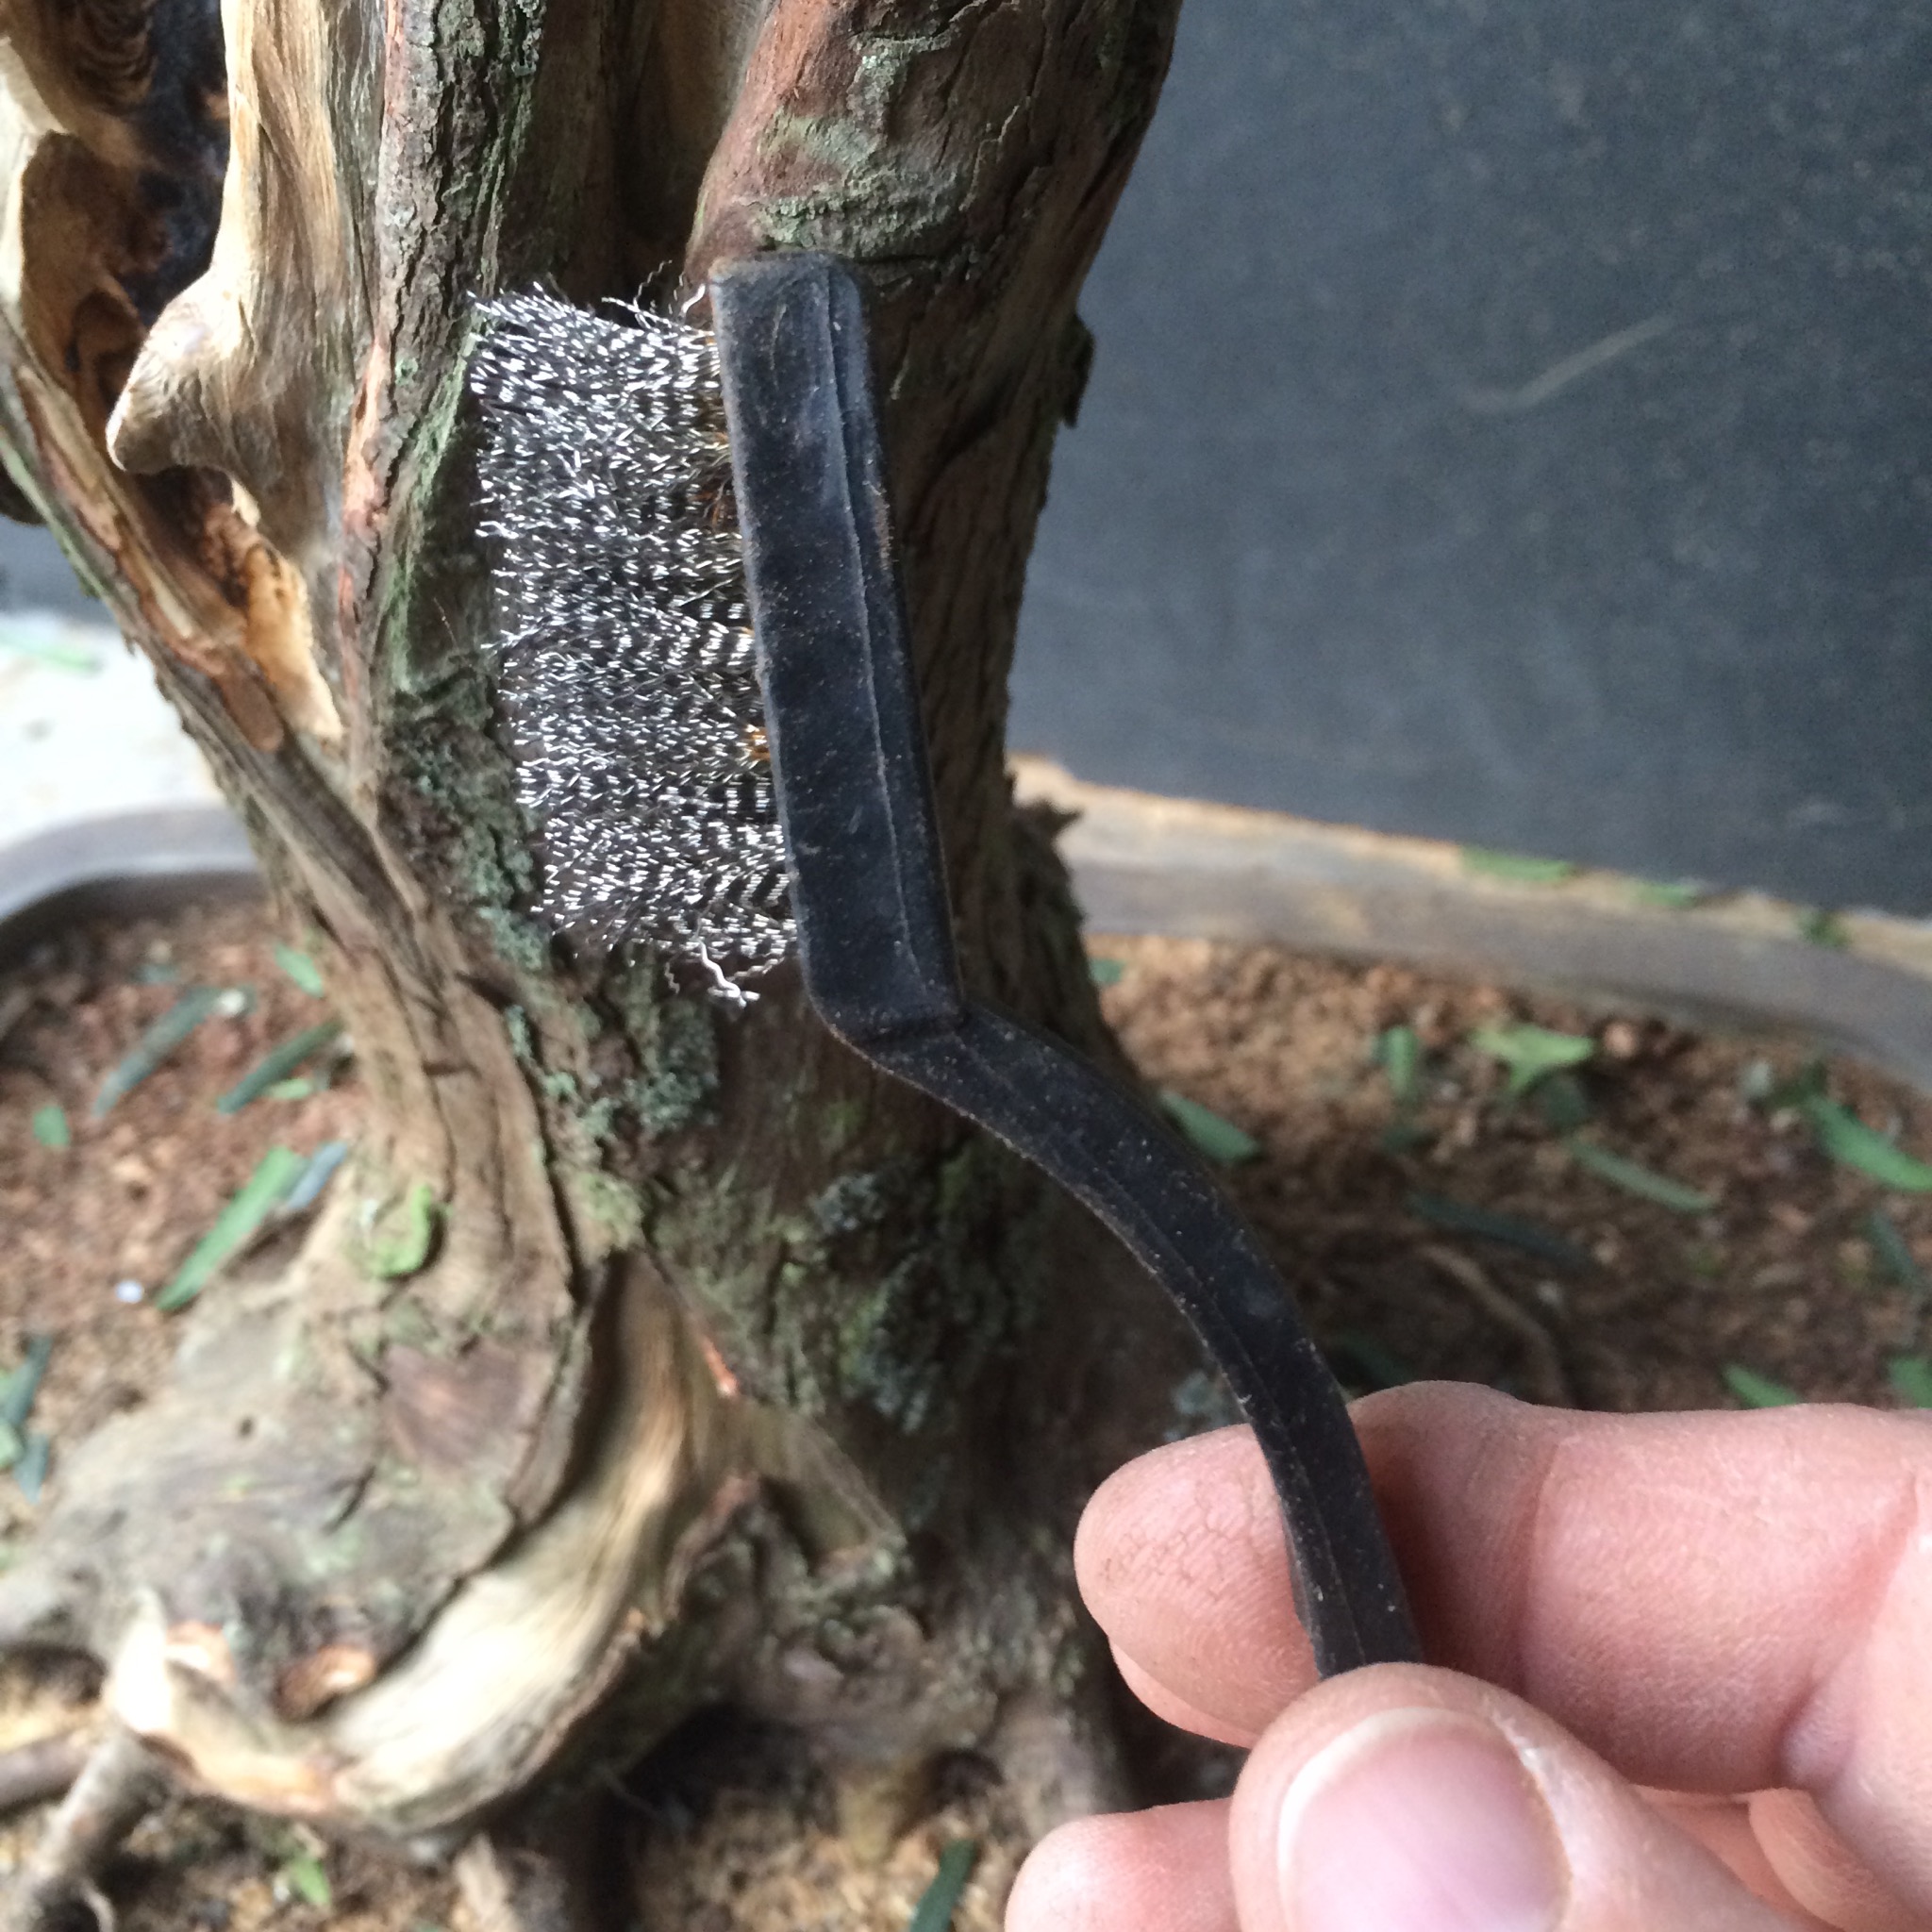
When I carve, I try to make the deadwood three dimensional, I don’t draw lines in the wood, I make features that create darks and lights, line and movement.

Looking better.

And just to shut up that one dude, up in the peanut gallery, who’s about to ask,
“when will you put lime sulfur on?”
I’m gonna say,
“uhhh….how about now, ya’ jerky!”
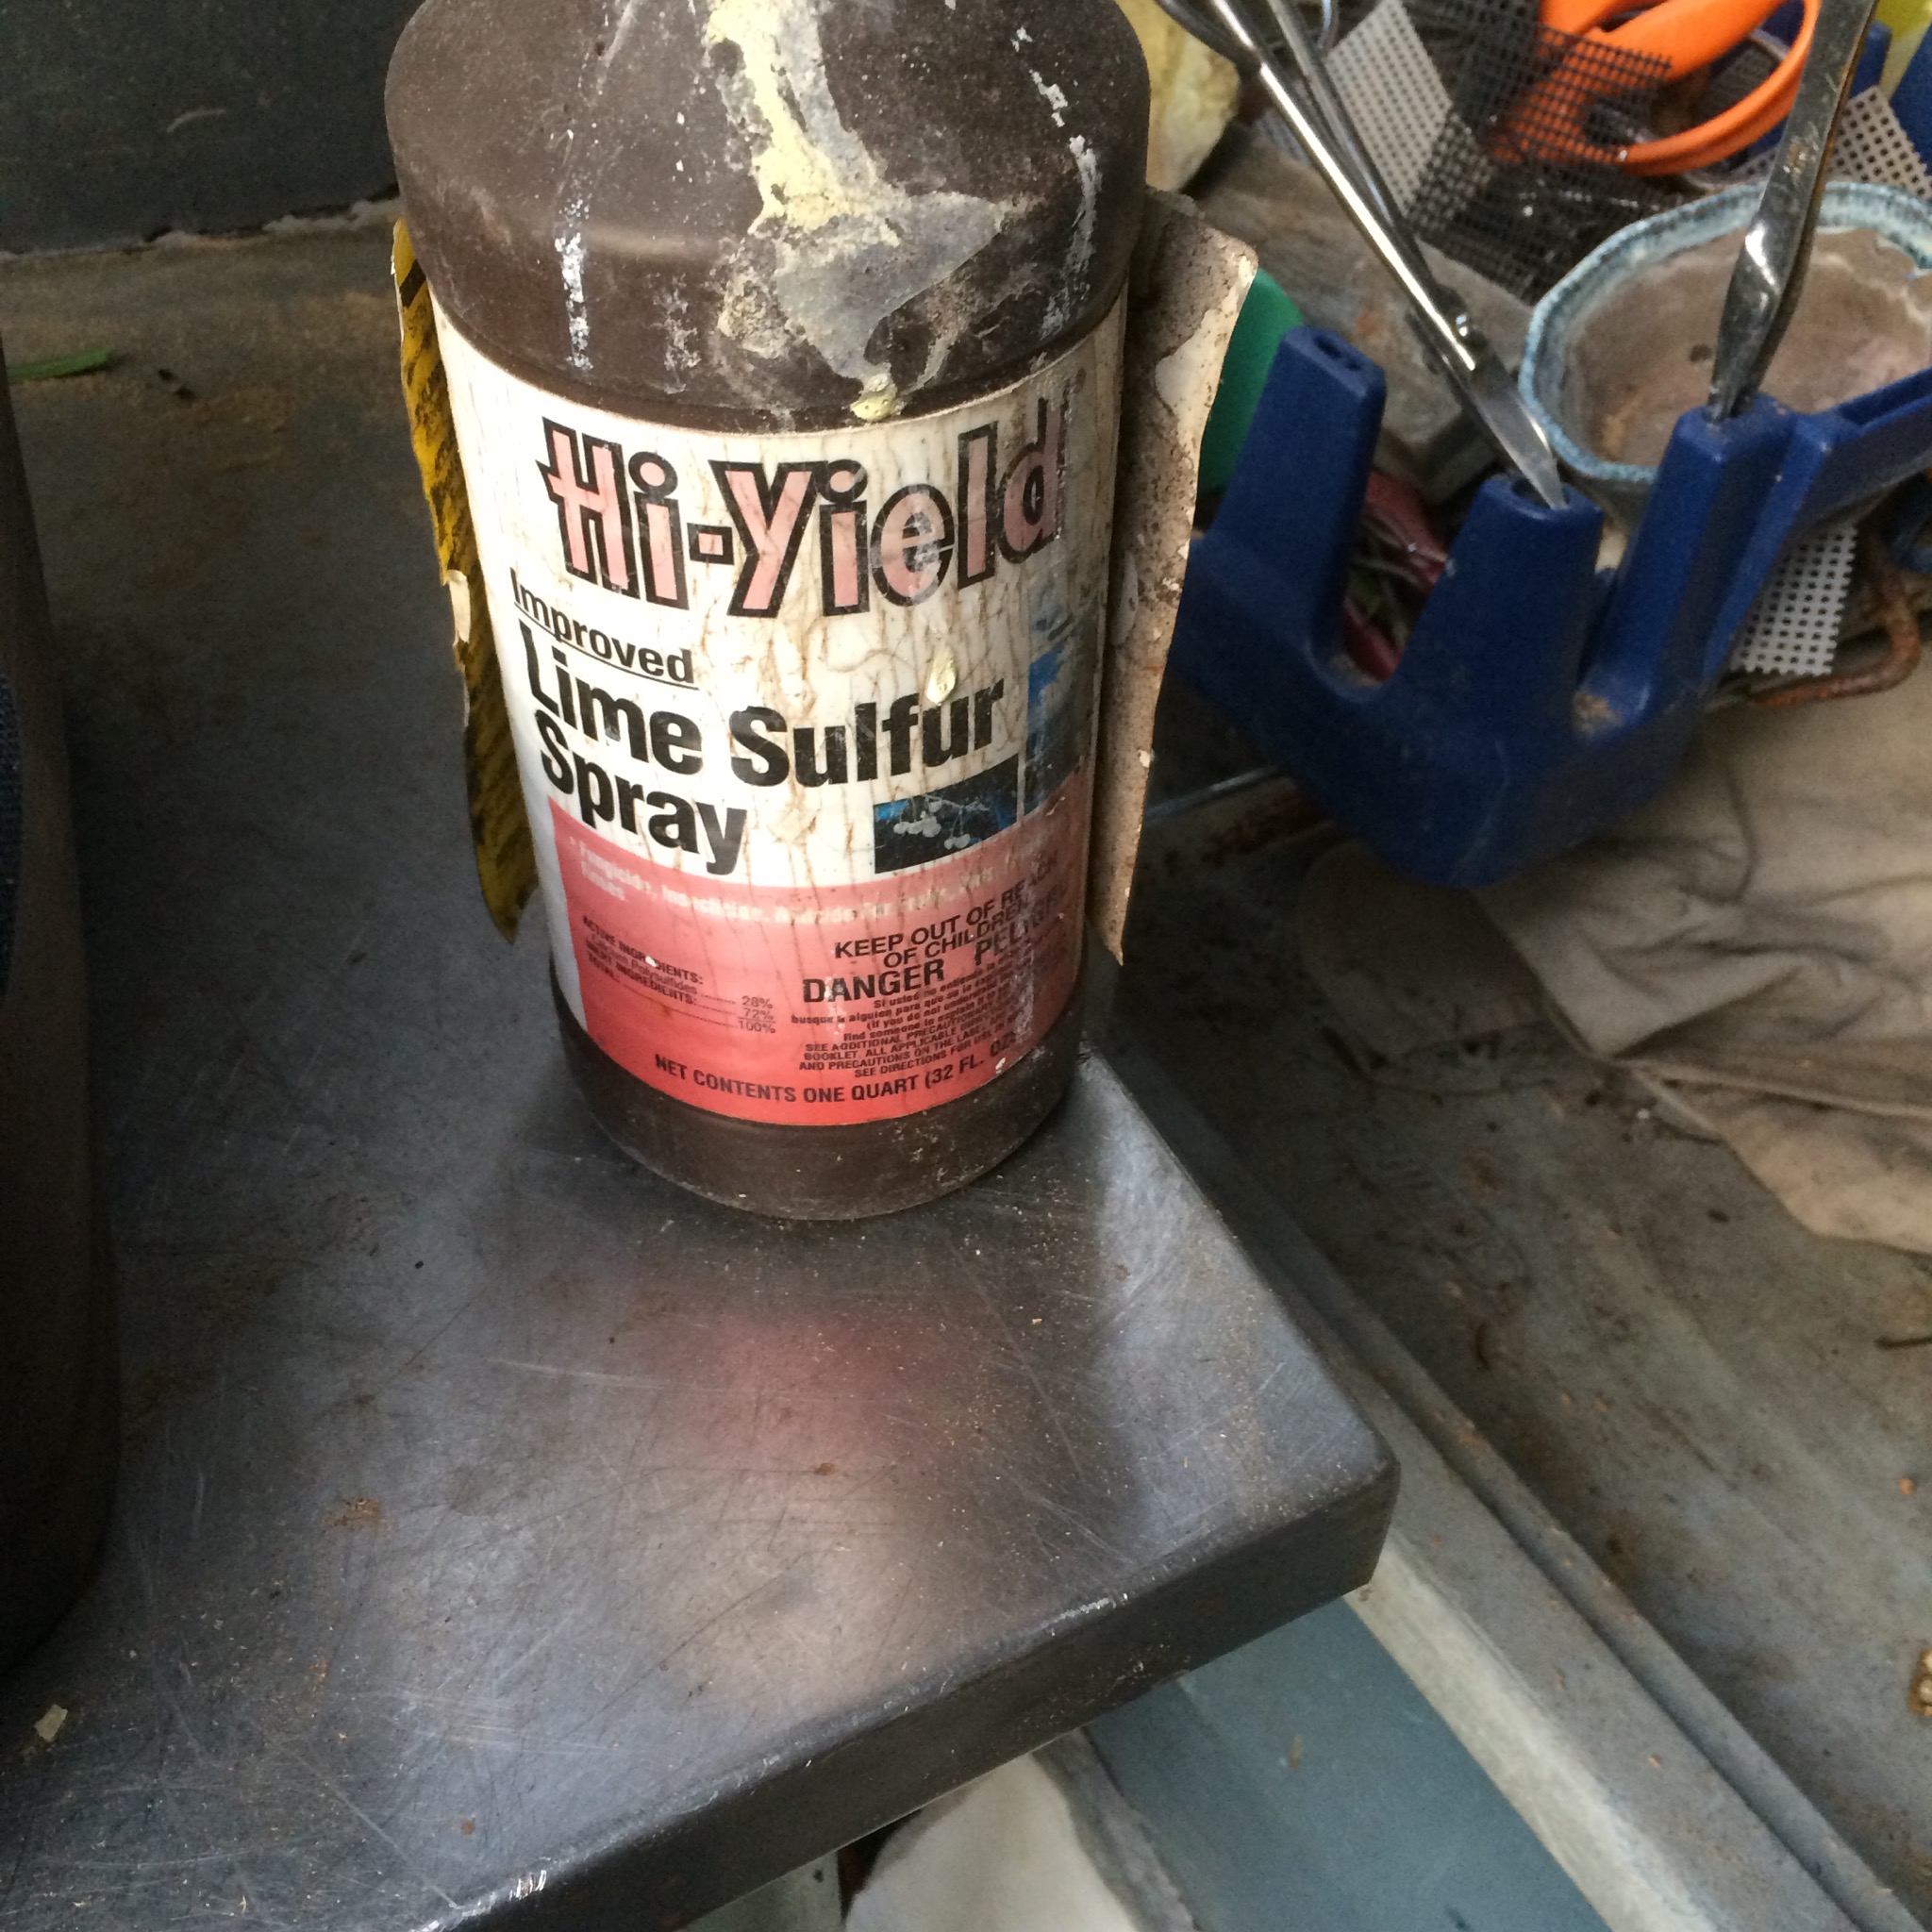

I’m going to let it soak in overnight and we will come back tomorrow morning to see how well one coat does.
At least I didn’t make too bad of a mess so far.

Where’s my helper with the broom?
G’nite, sweet prince.
Zzzzzzzzzzzzzzzzzzzzzzzzzzzzzzzzzzzzzz
Woke up.
Got out of bed.
Coffee…….
Let’s see how the old wood is standing up this morning……uh…whoops….heehee…

It bleached it a little.
I’ll shall apply another coat of lime sulfur and, whilst it cures (sorry, I’ve been reading Brit bonsai blogs a bit of late) I’ll water the nursery.
One hour later…. and I’m done, I’ve gotten my feet wet and everything.
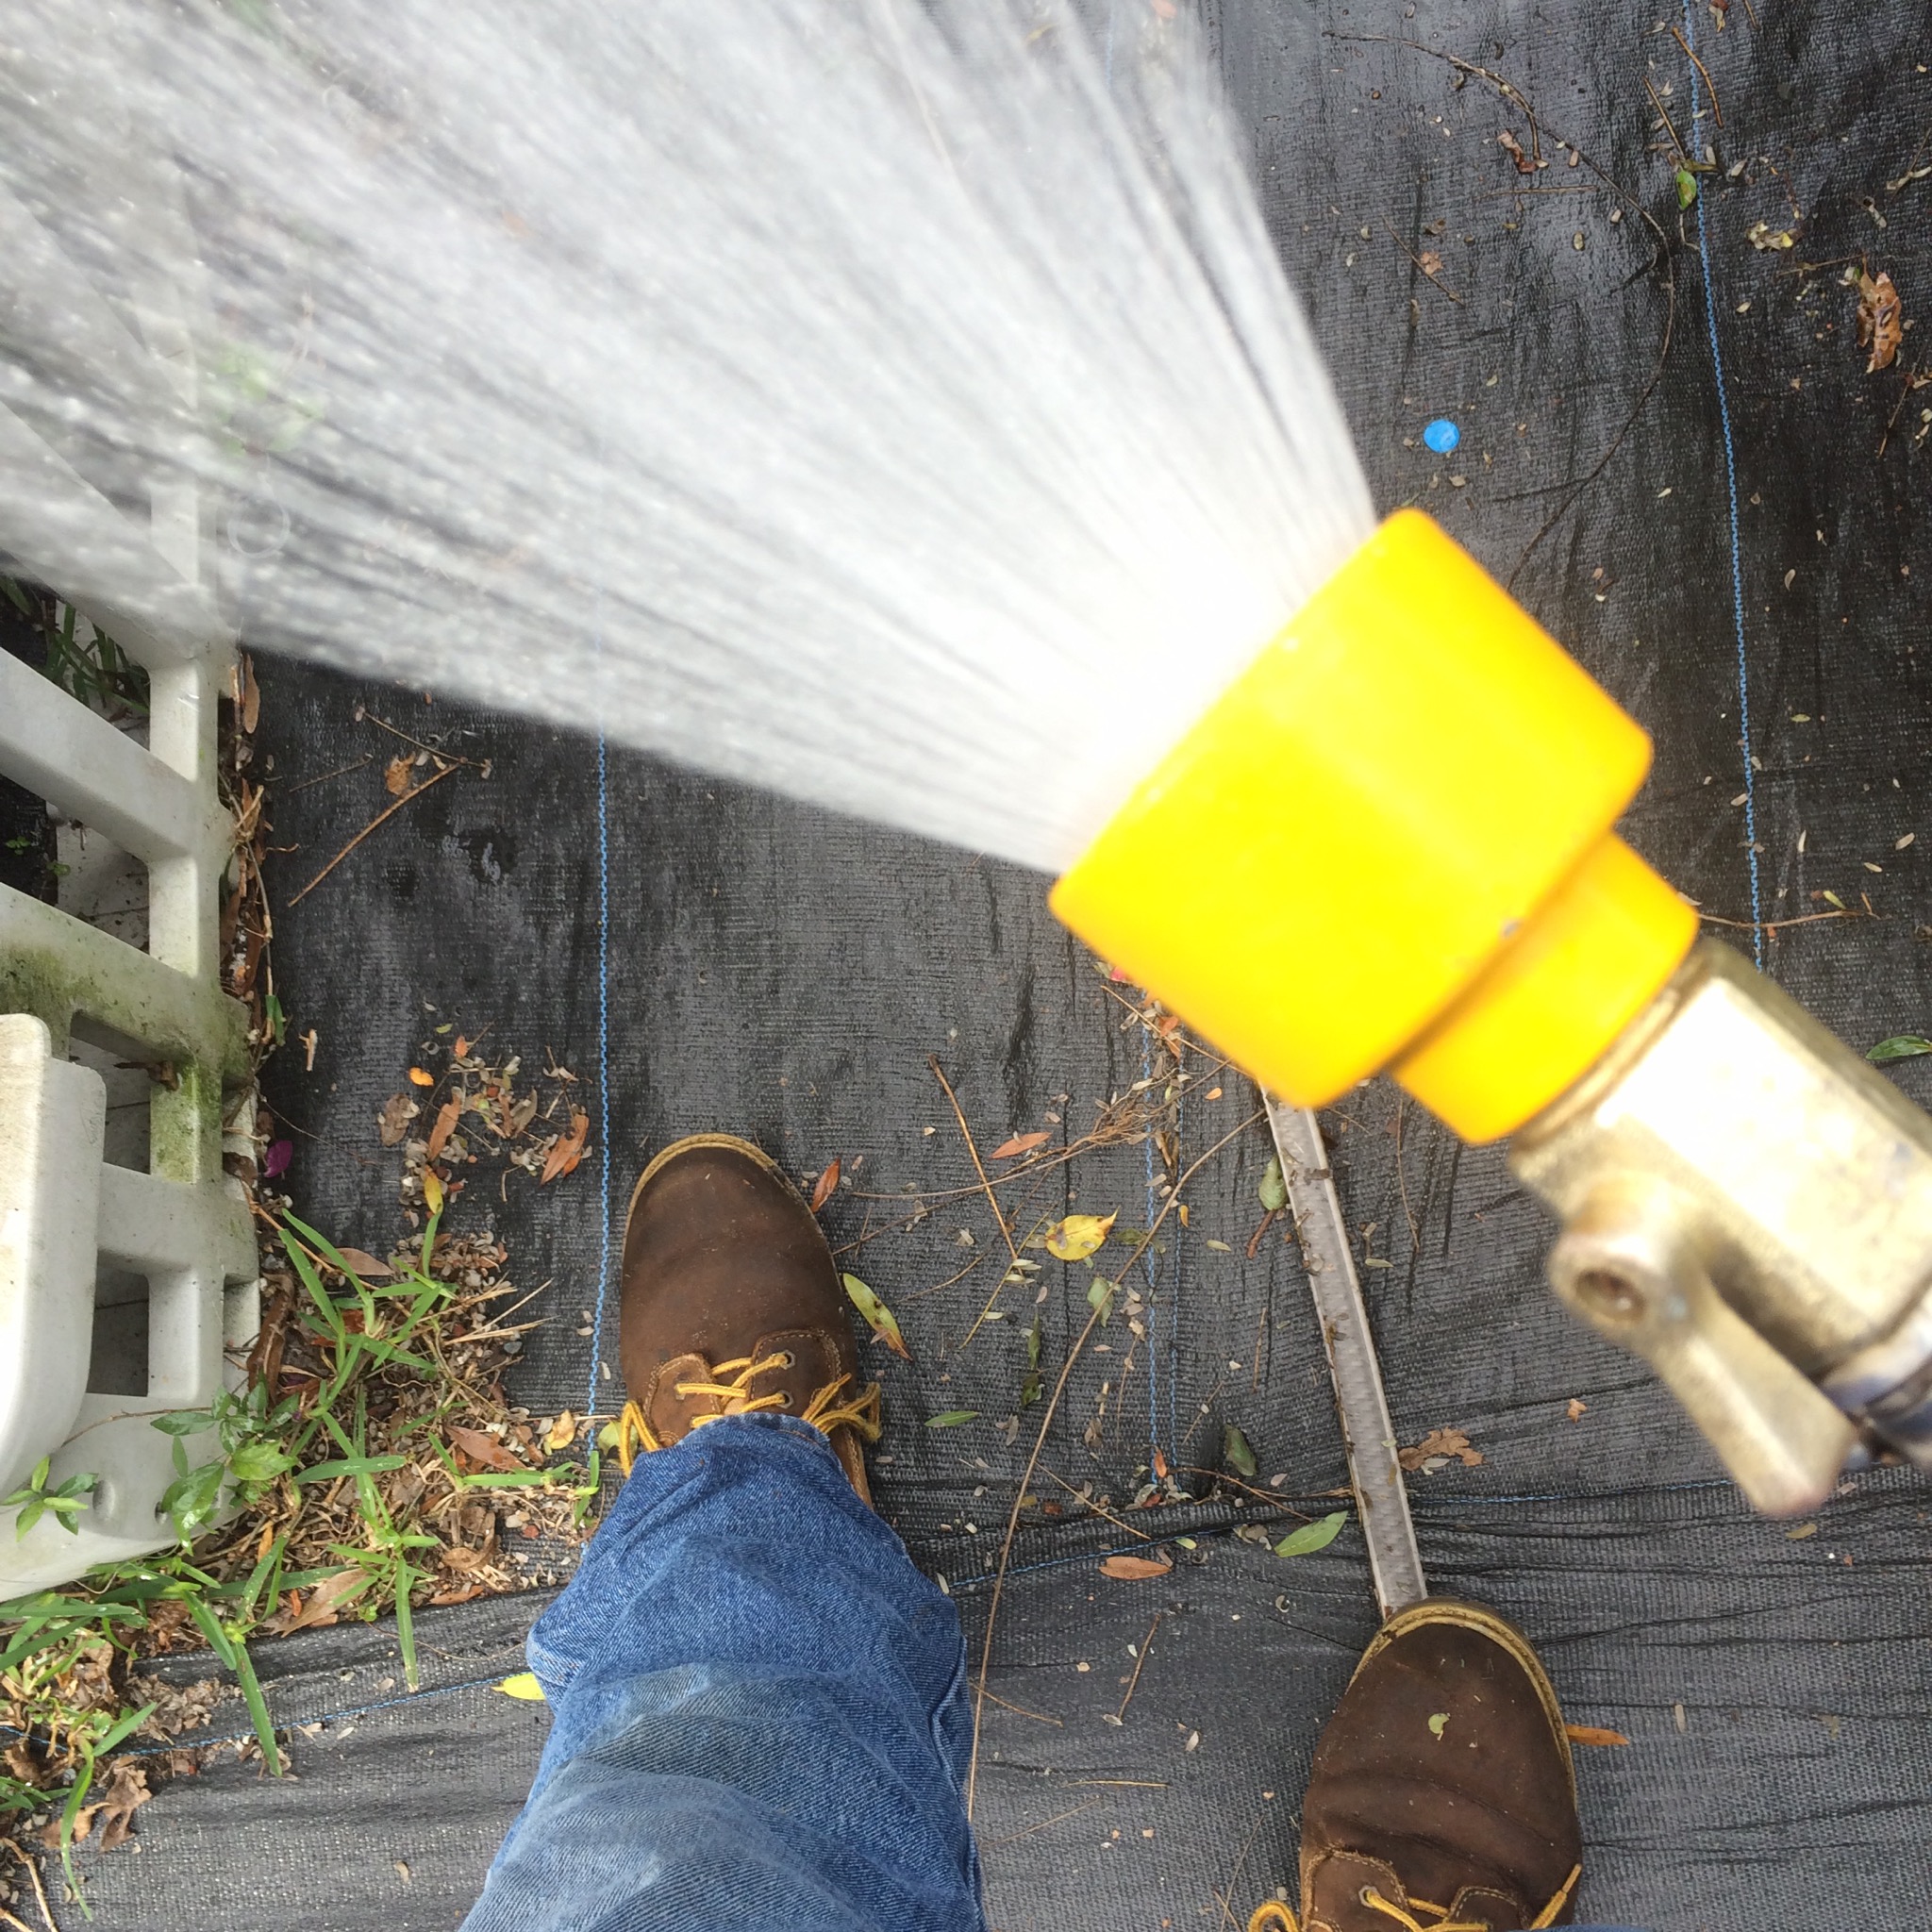
Let’s see how white we’ve gotten (I think they call it gentrification).

A little better, I’ll put one more coat after I wire.
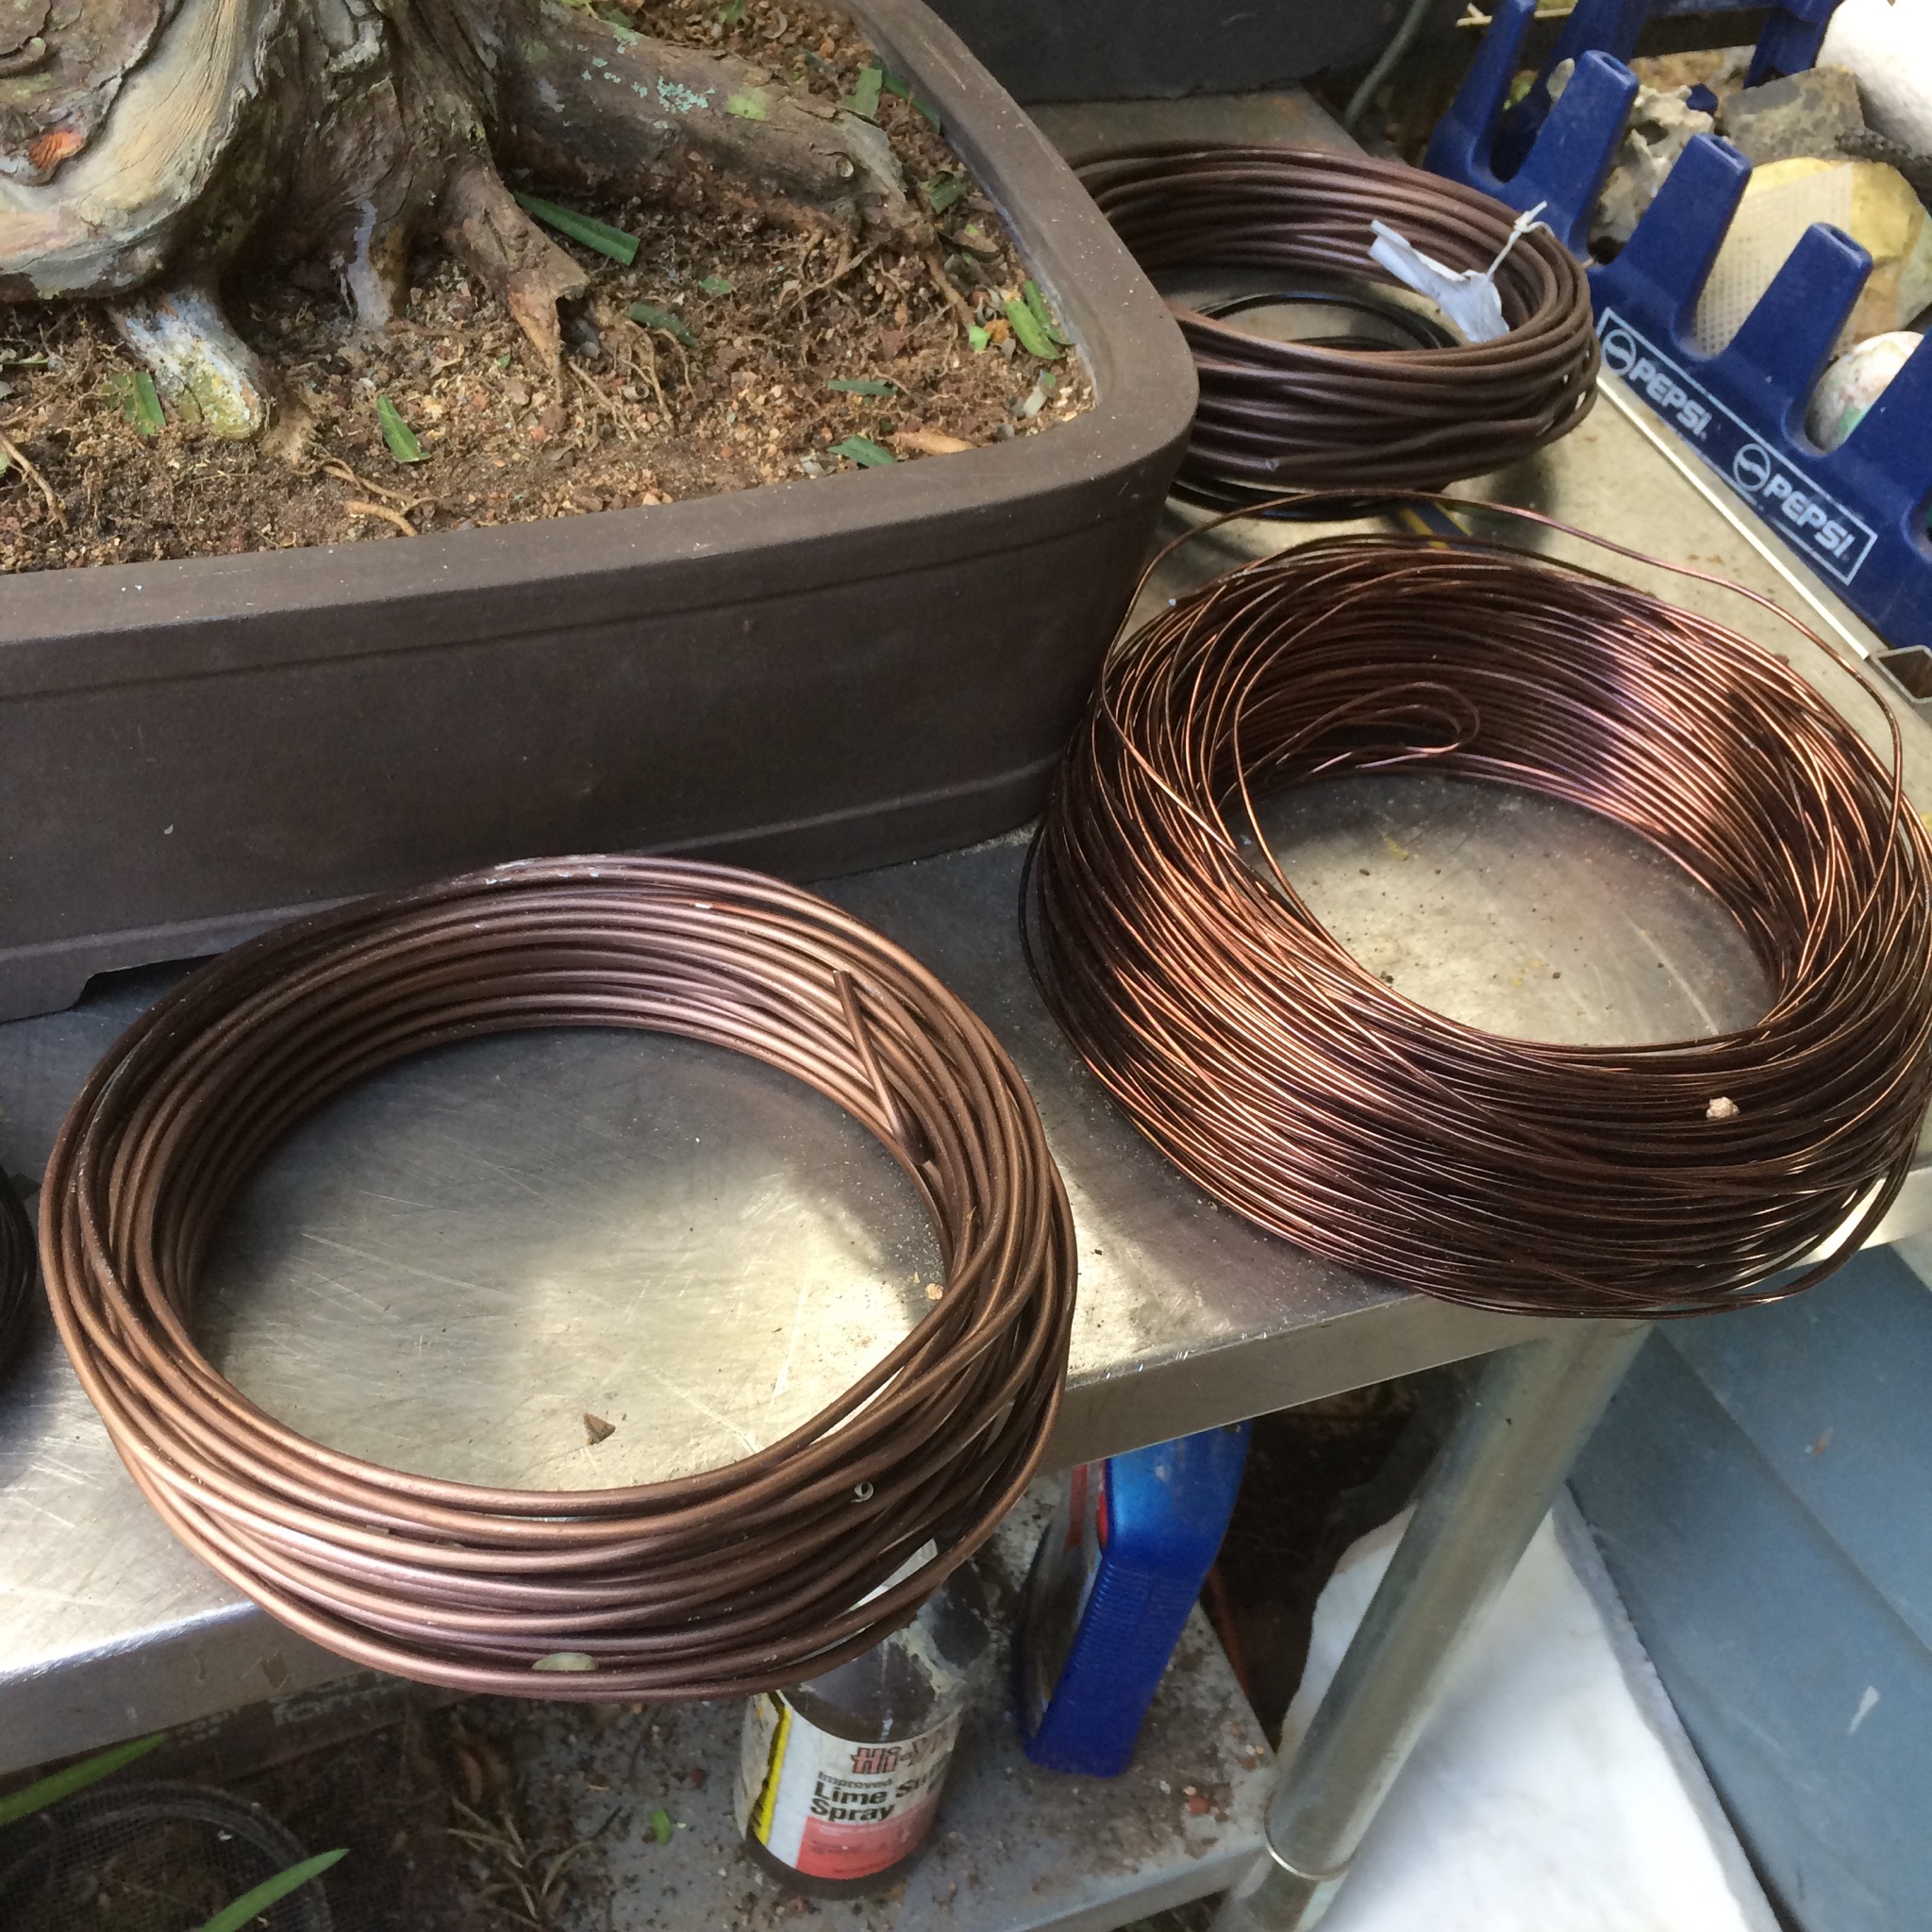
Or, as my wife calls it, creating a magnetic field coil.
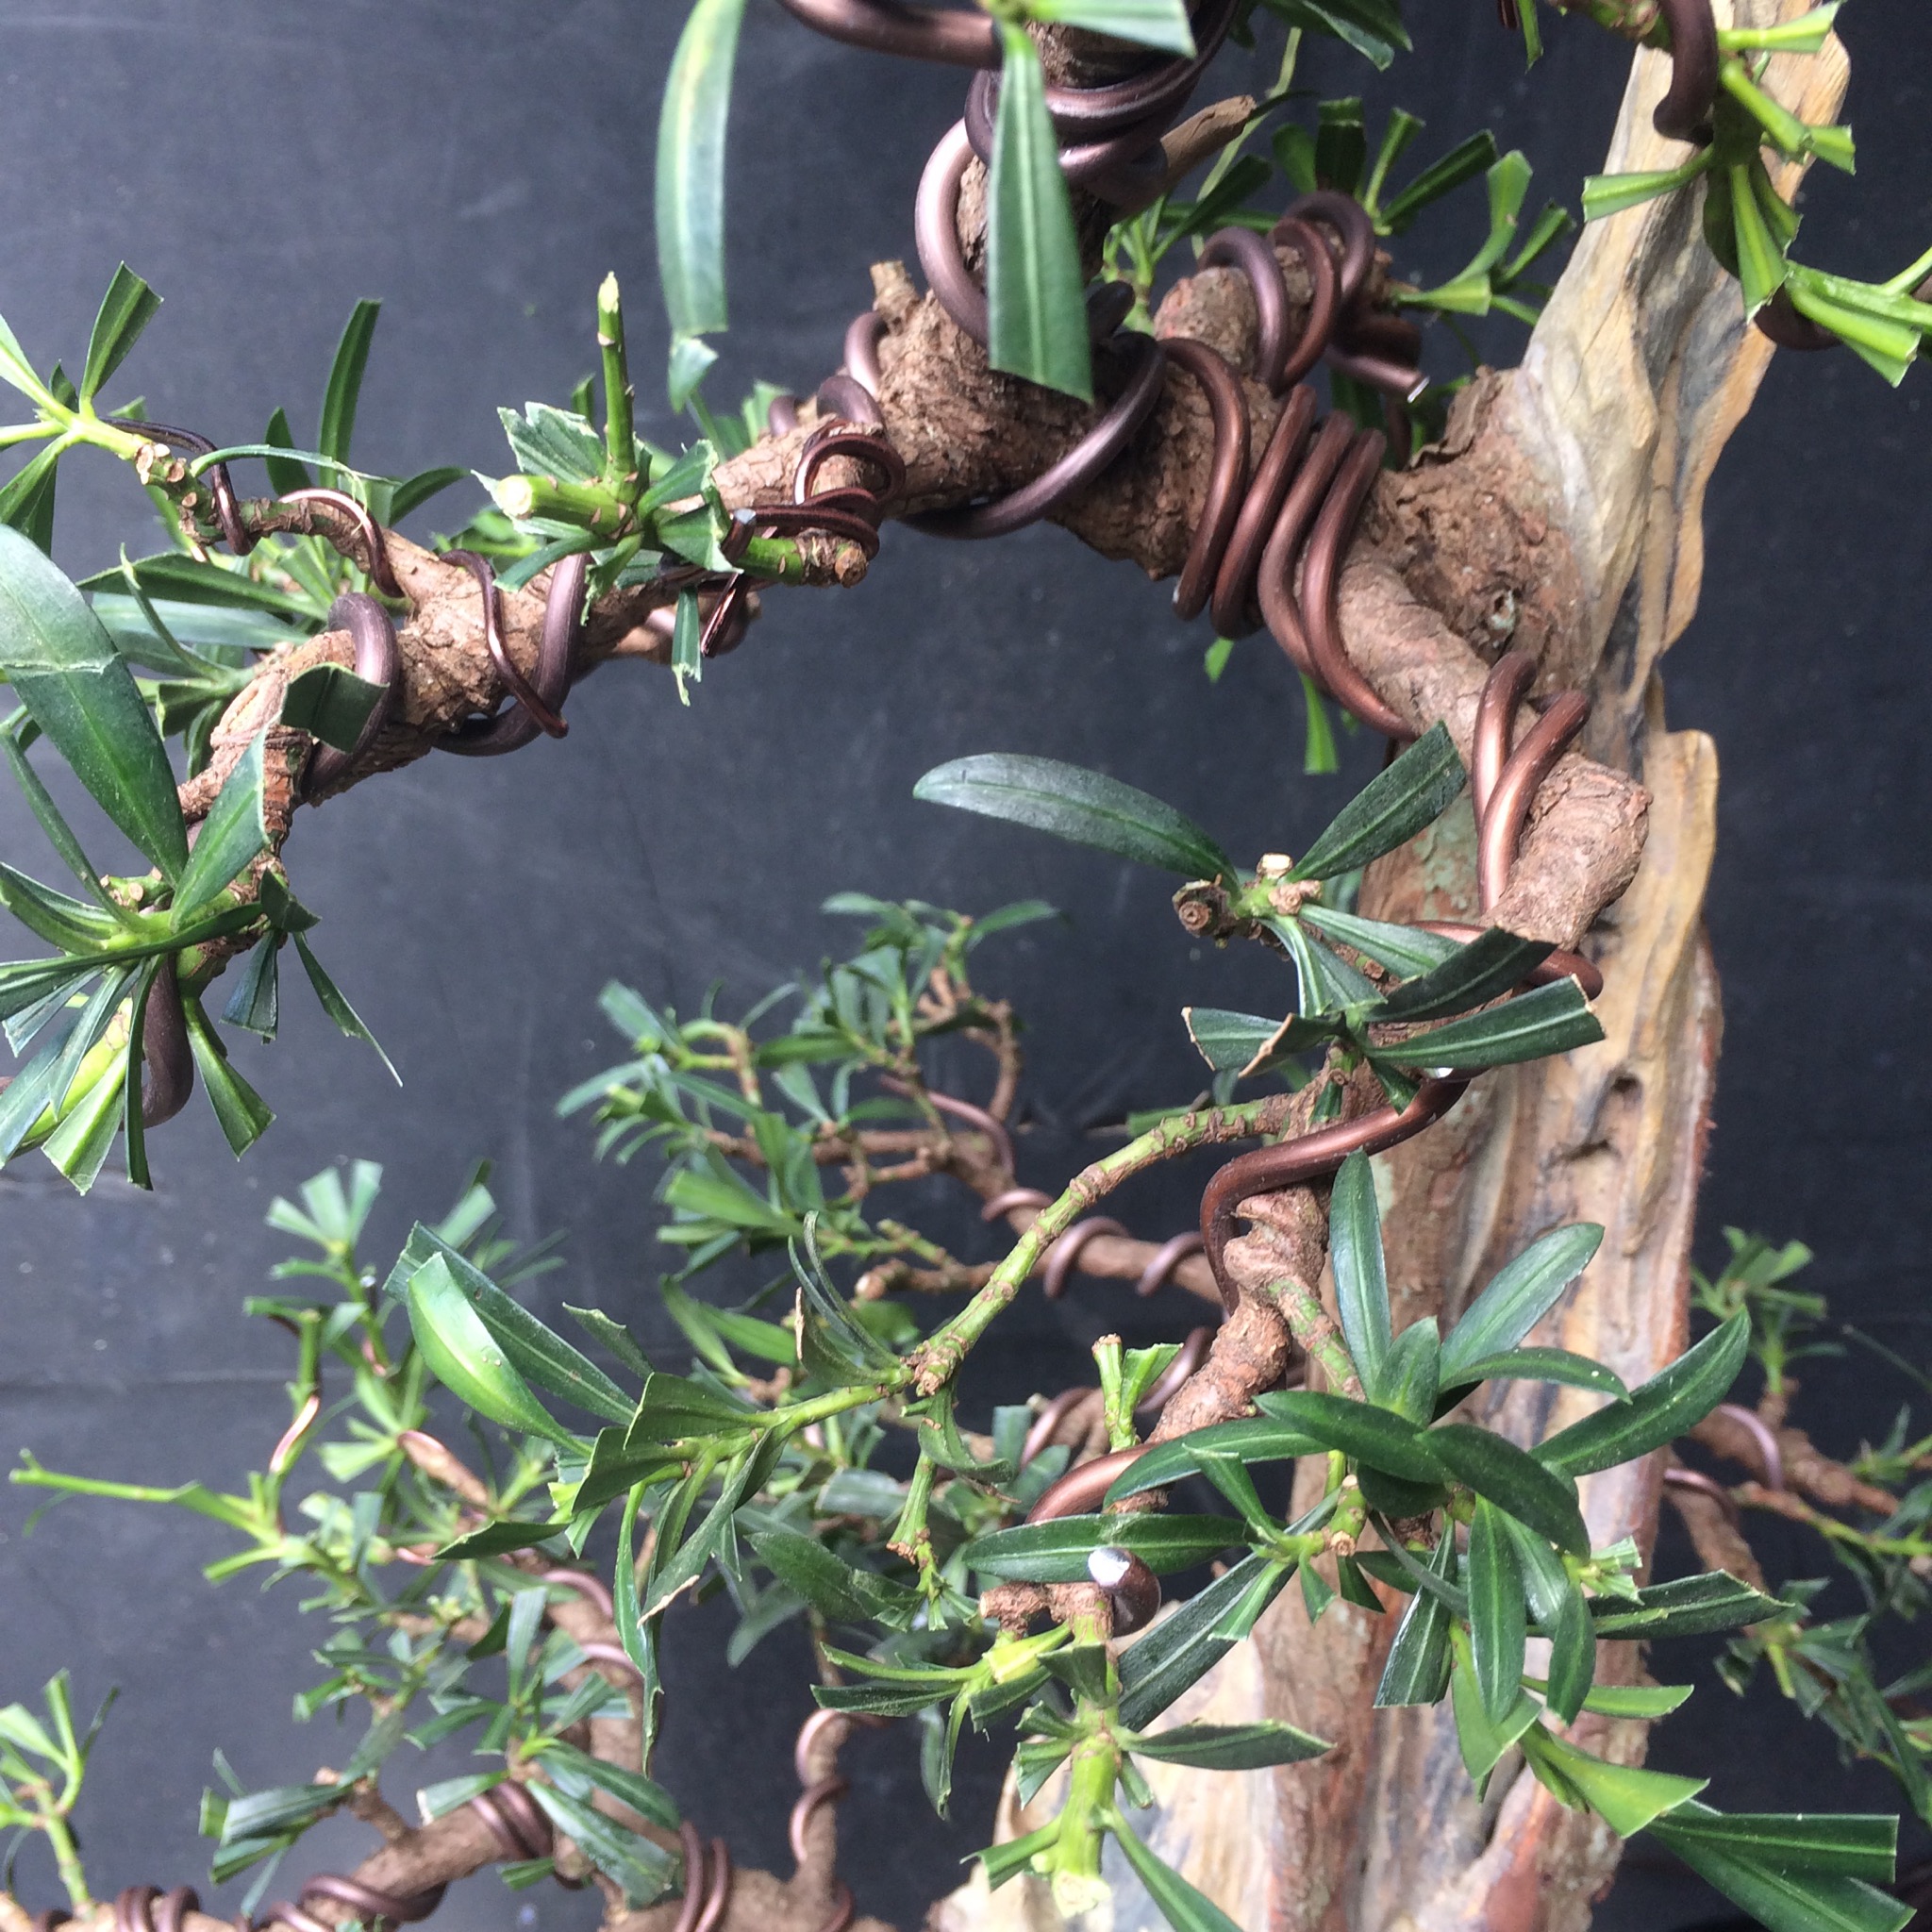
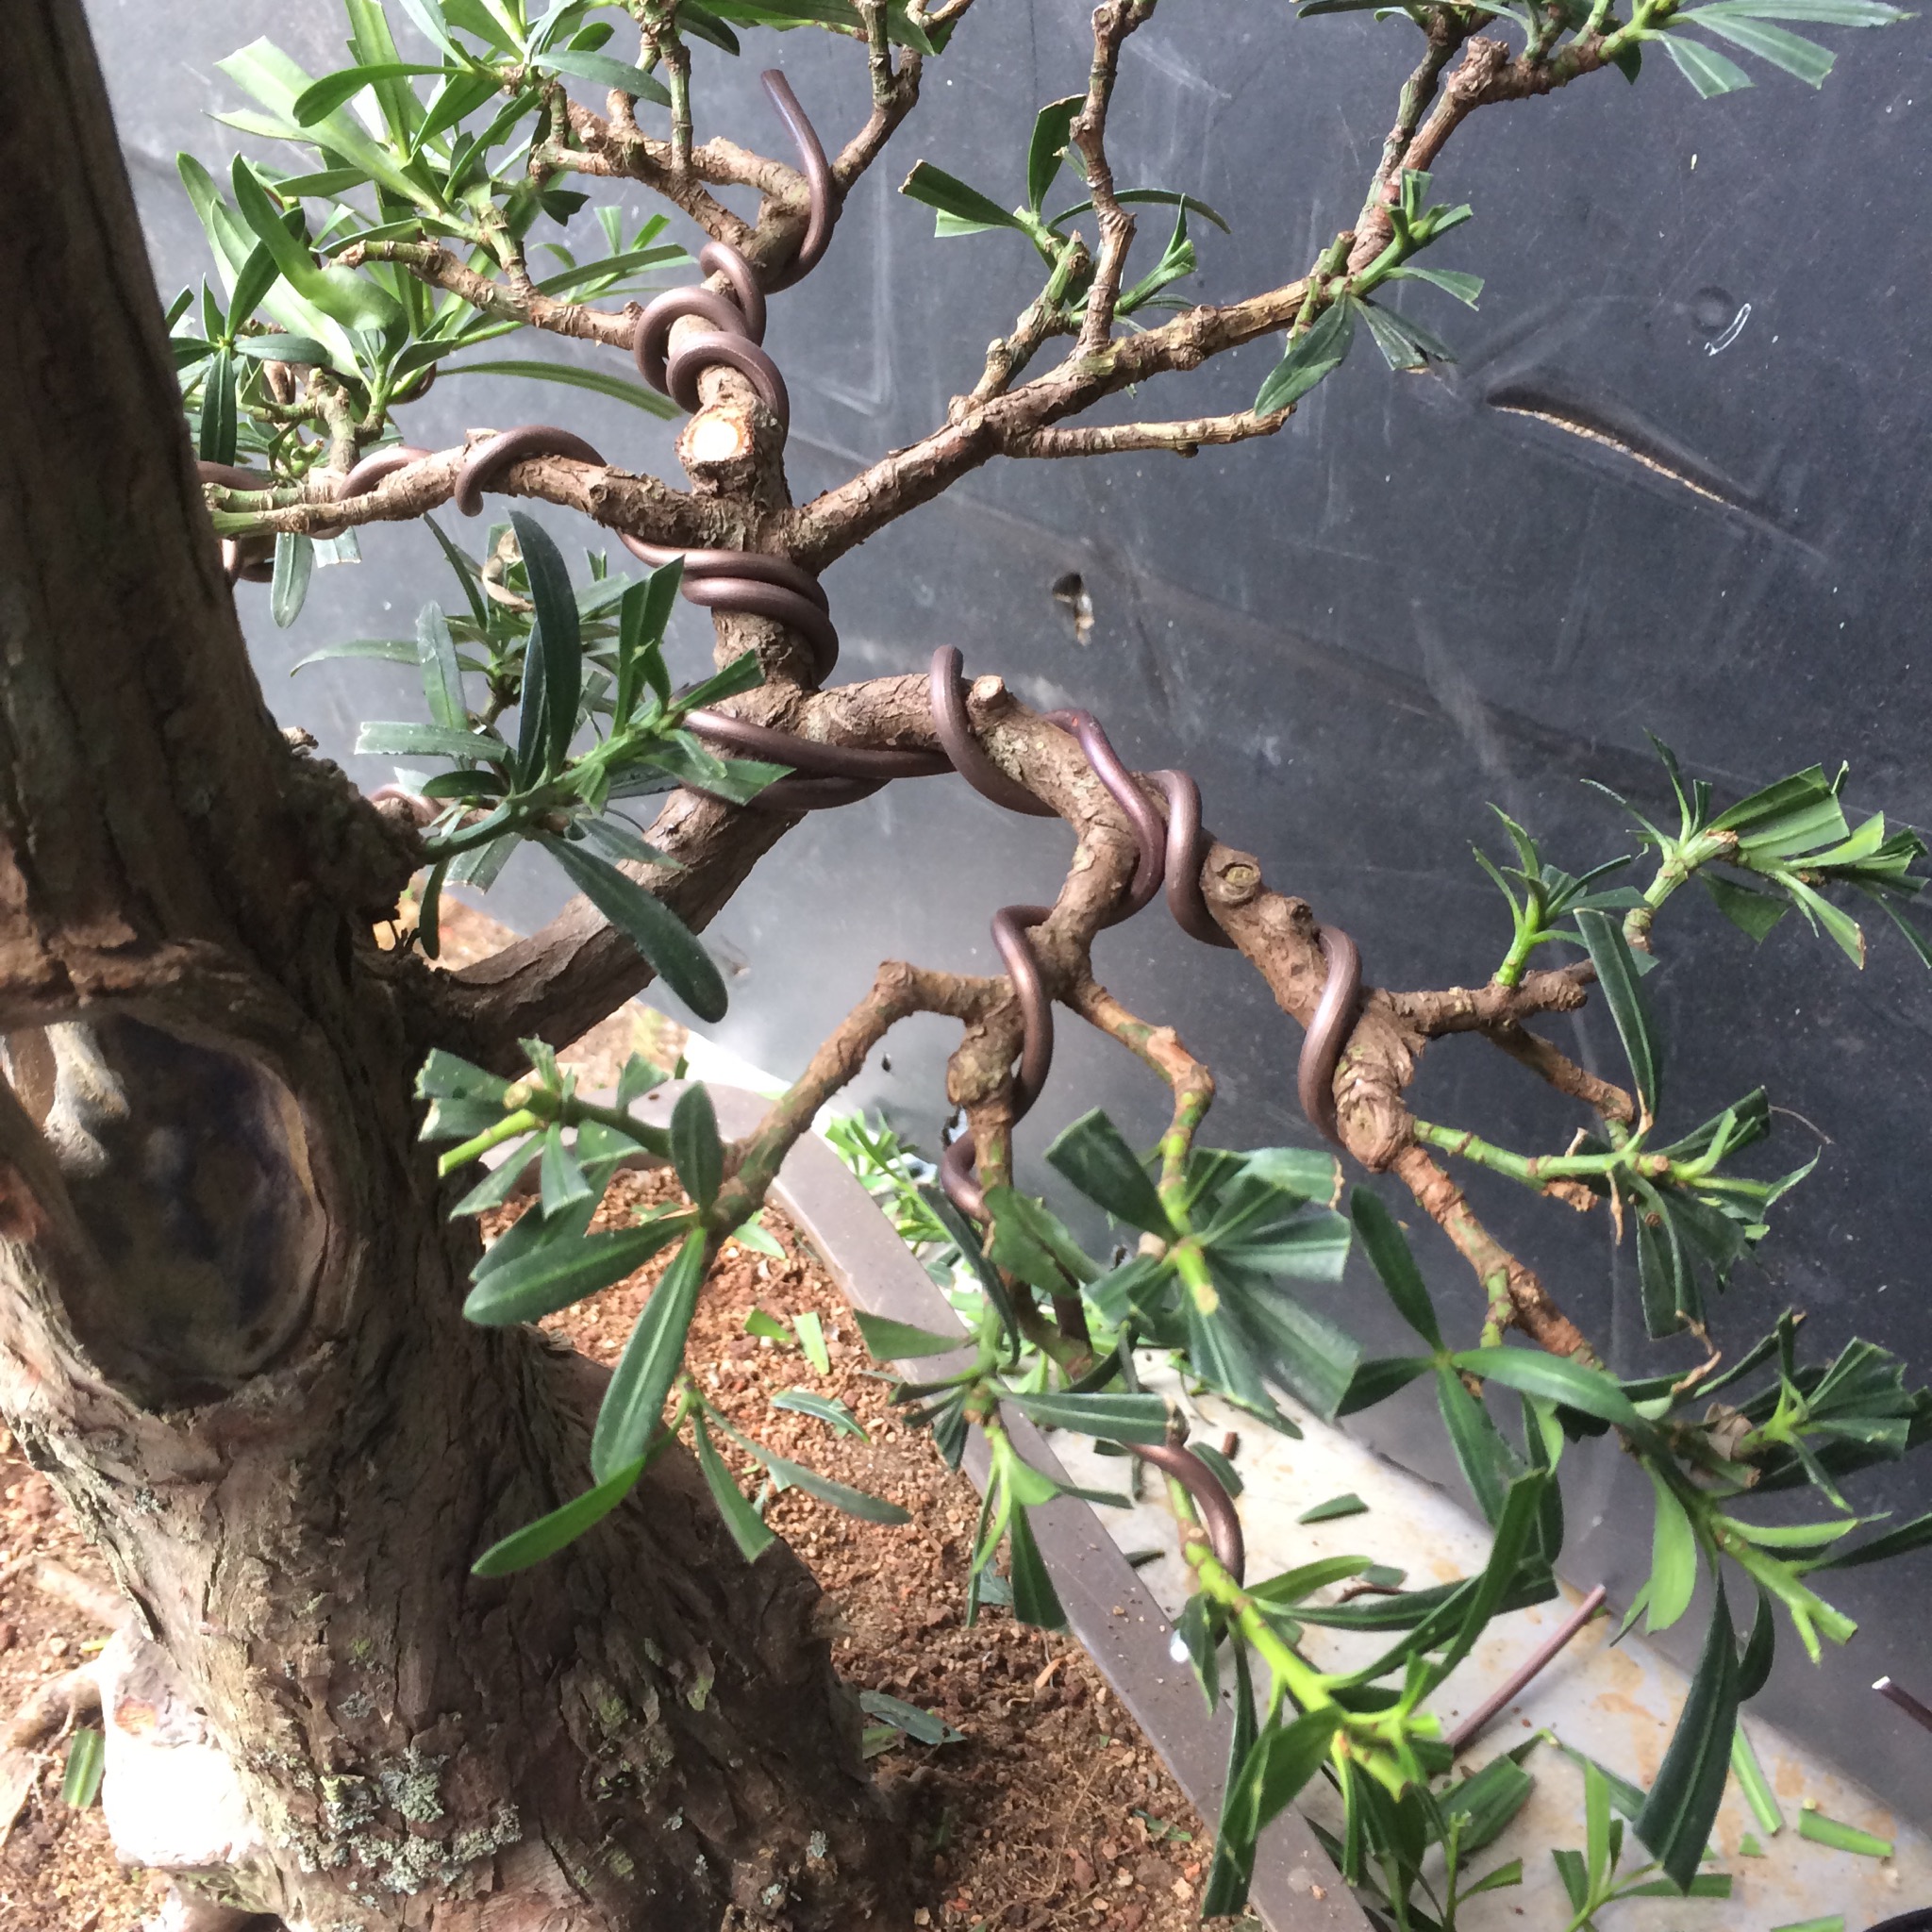


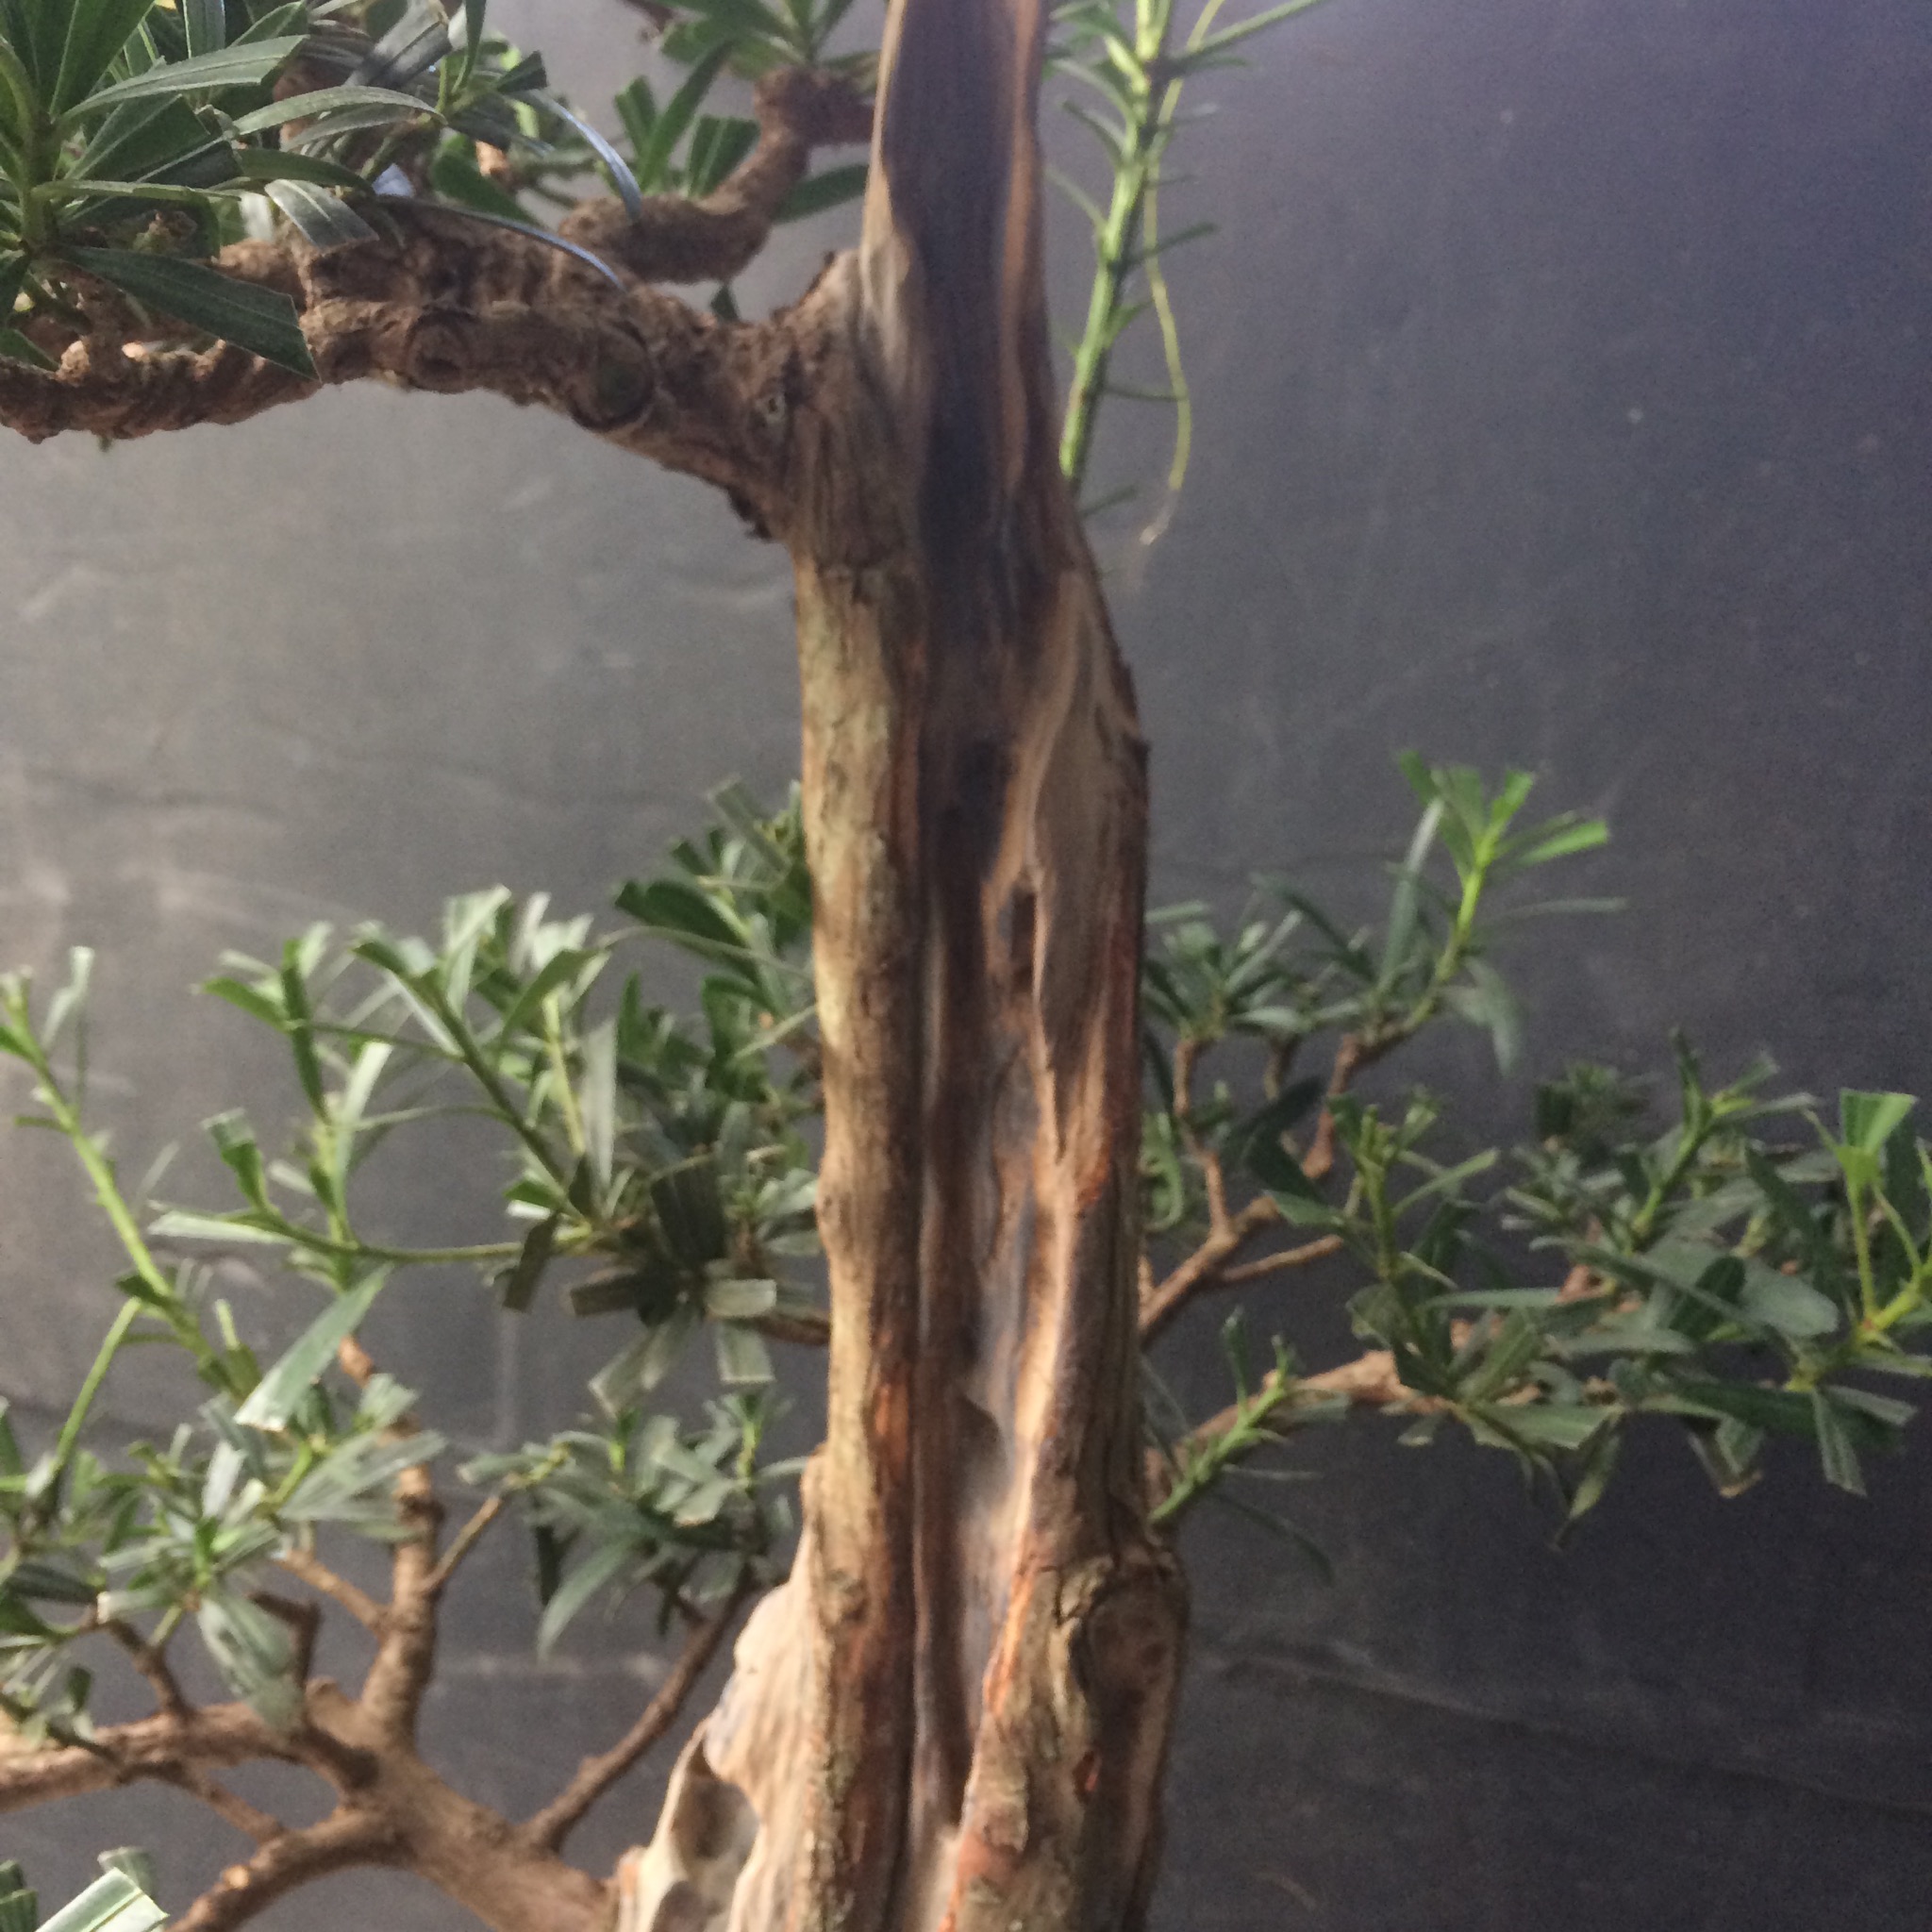
I trimmed most of those growing tips as I placed the branches. The tree has good ramification and branching but it’s a little bare right about here.
This back branch should give me something to help fill it in in a few months. Hopefully.

It’s such a difficult tree to photograph I suggest you look at the YouTube video here.
The before:
Mid styling:
And the end:
It’s a good start.
I called it a problem tree but you know, I love them. I love the challenge, the uniqueness and just the plain cussedness of working to make them into art.
Keep them a’comin’!

Something looks out of whack with the larger branches being at the top.
LikeLike
That doesn’t bother me, it is a tree, as Robert Stevens or Daniel Robertson might say, that’s in transition from maturity to decline and therefore, might exhibit characteristics like that. It isn’t a classically styled bonsai but more of a naturalistic one.
Trees like this are meant to annoy you a little, make you think about age and death.
LikeLike
Adam, what carving tool do you use? I don’t believe that you carved when you were here. Where do you get the foot controller?
LikeLike
I didn’t do any carving up there Darlene, I’m coming back next June, maybe we ought to focus on that next time. I use everything from a chainsaw, an angle grinder, full size and half size die grinders ans a flexible shaft carver. I use mainly carbide burrs for the bits in the die grinders and flex shaft. The foot control was from woodcarverssupply.com
LikeLike
Adam,
Your ability to wire continues to impress me. I might call you the king of wiring bonsai!
LikeLike
I like your blog posts. Very funny. You have a most pleasing disposition. I think I’ll be part of the1/3rd, that reads…..Good stuff!!
LikeLike
man you made that into a beautiful tree. great job
LikeLike
Nice love how it turned out.
LikeLike