The Bonsai Societies of Florida 2015 convention is coming up later in the month (Memorial Day weekend to be precise) and I had a tree accepted for the exhibit.
This ilex vomitoria “schillings”.  The problem is, I don’t have a stand for it. Looks like an awesome opportunity for a blog post with me building one, right? This will be my first attempt with an unknown outcome. I’m so excited.
Let’s start with some wood.

 It’s reclaimed oak from a shipping pallet. Nice and rough. The look I’m going for is an old, distressed piece. I’m using the oak because my tree is in a live oak style. I want some meaning.
In the distressed look I’m going for I need to preserve as many rough edges I can, like this edge here:  The problem is, I need to join three pieces of board together and to do that there needs to be at least one perfect edge on the two outside boards and two perfect edges on the middle one. But on the two boards I need the good edge on, I can’t get it because that rough edge isn’t square, so when I run it through the table saw, I get a curved cut.
What to do? I don’t have a big plug in electric edge planer but I do have a hand plane. 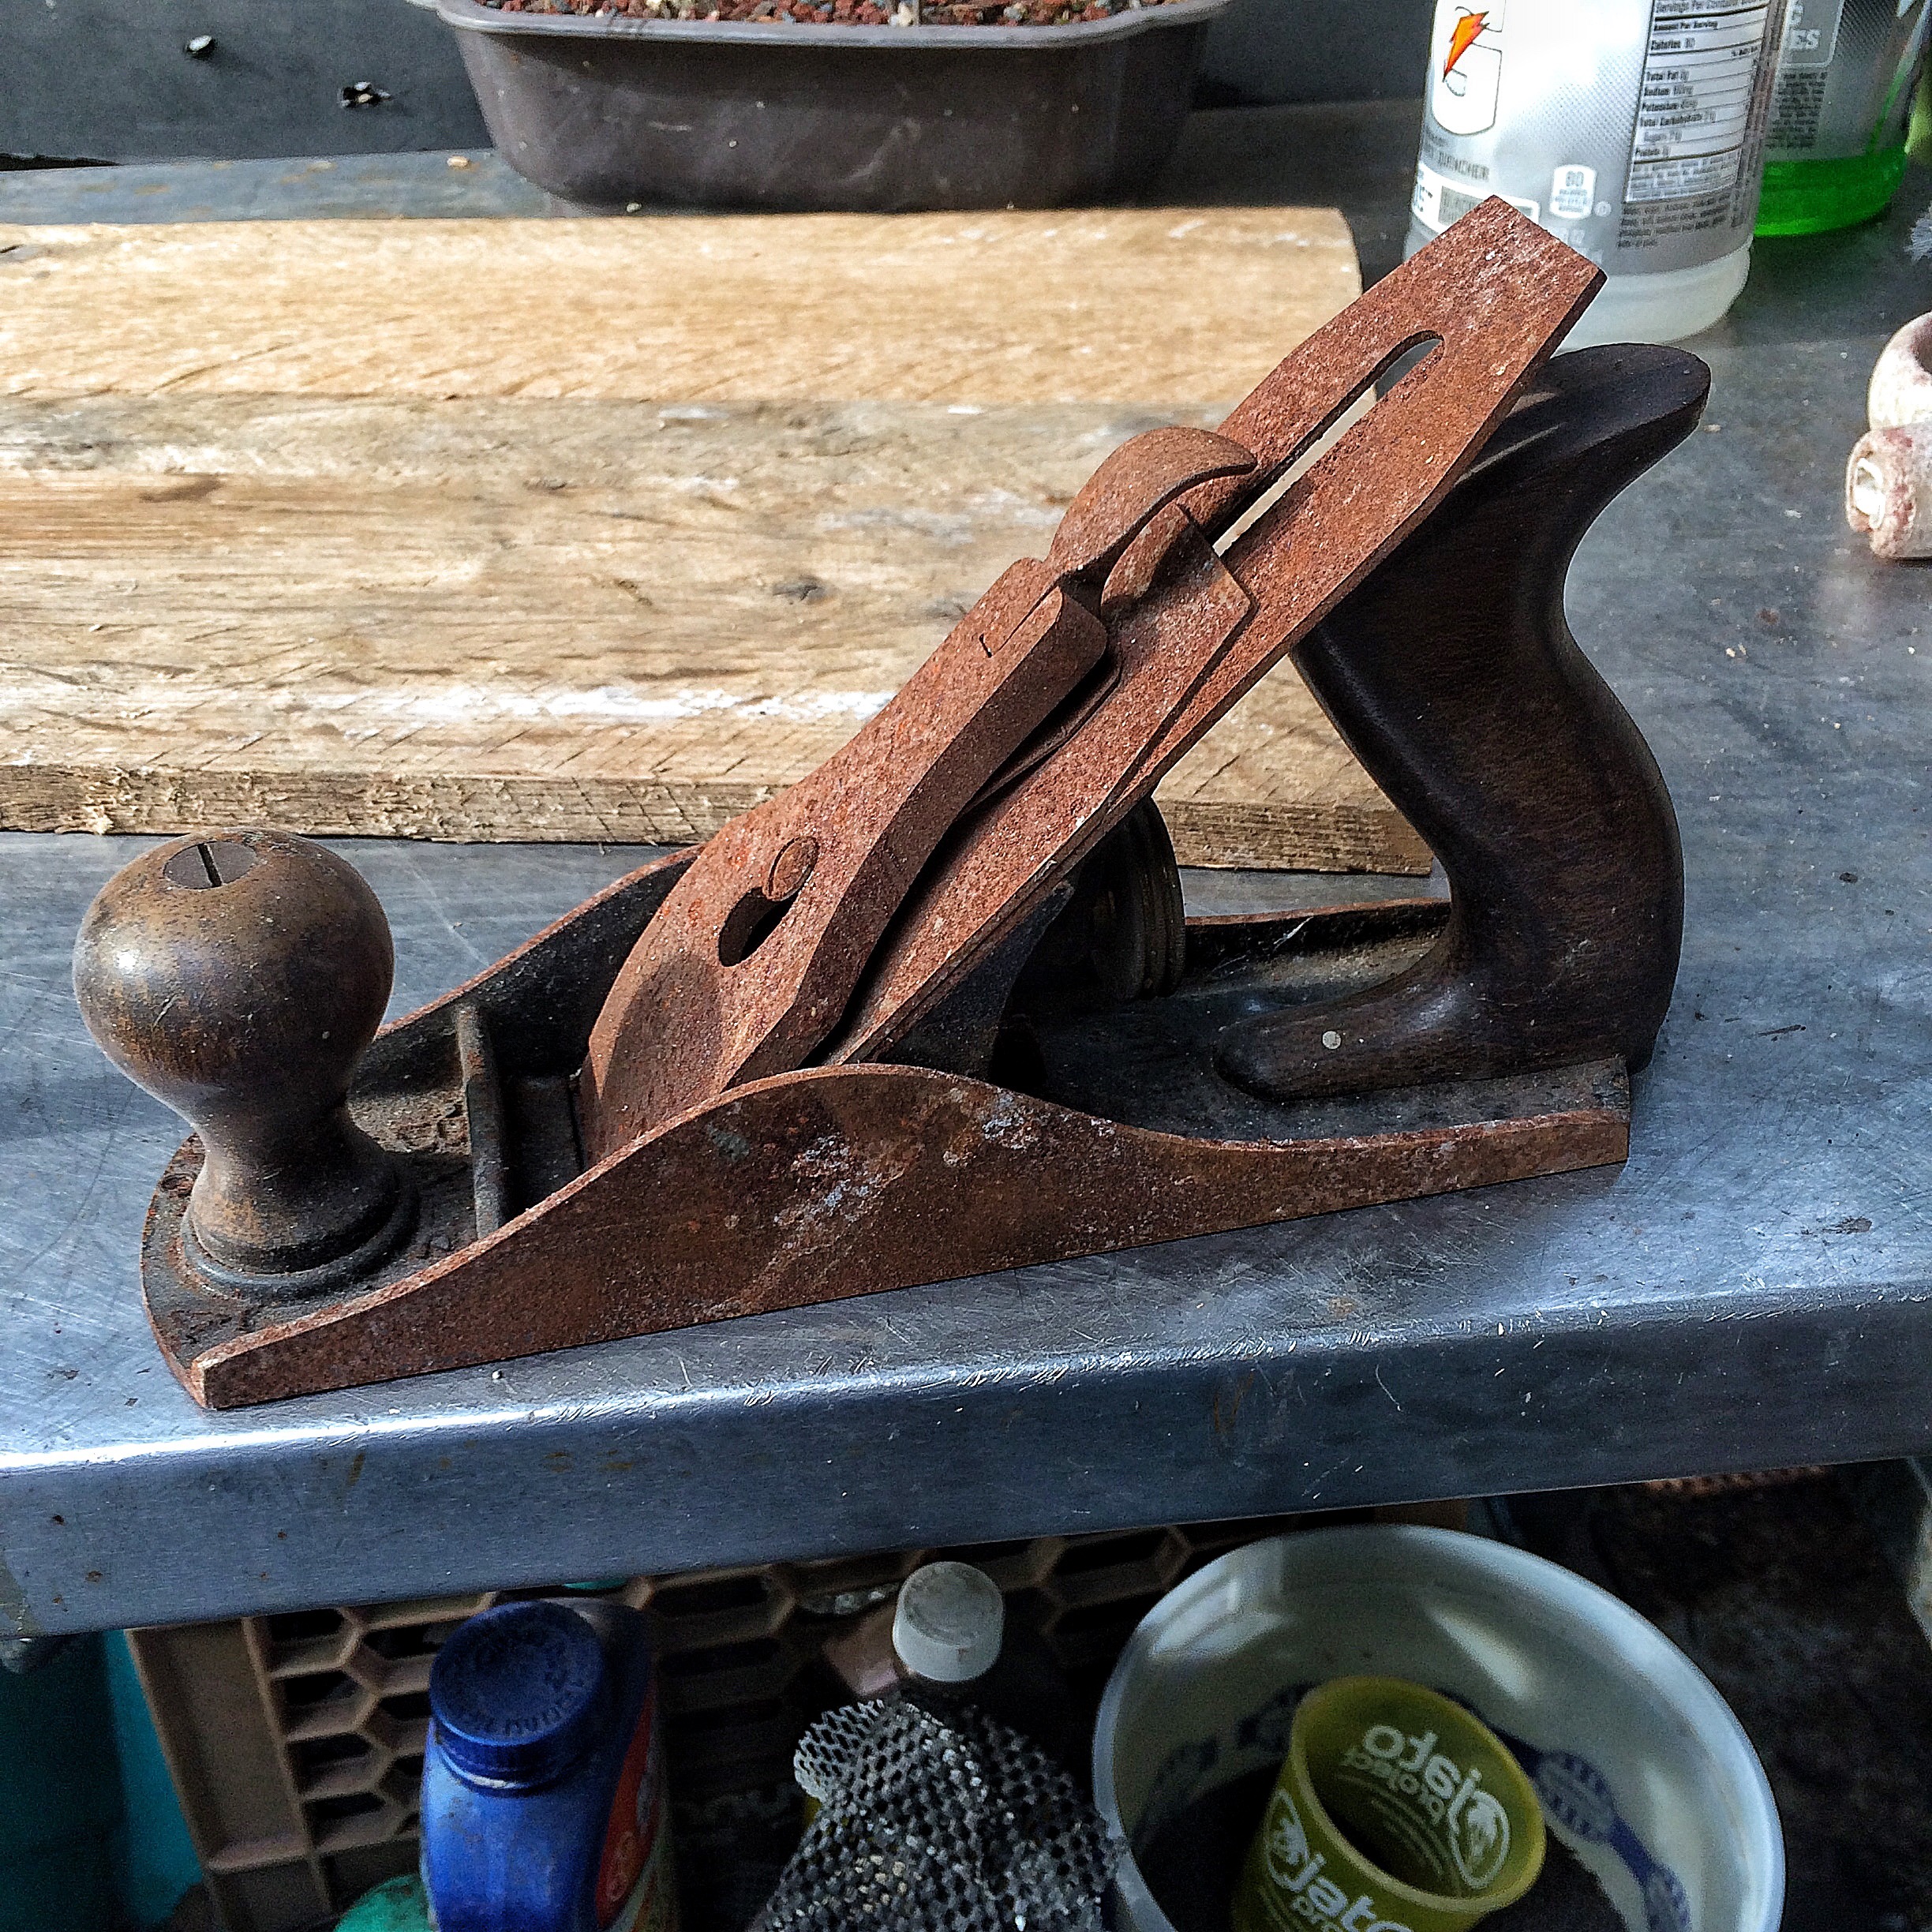 It’s a little rusty.
Here’s the offending boards. 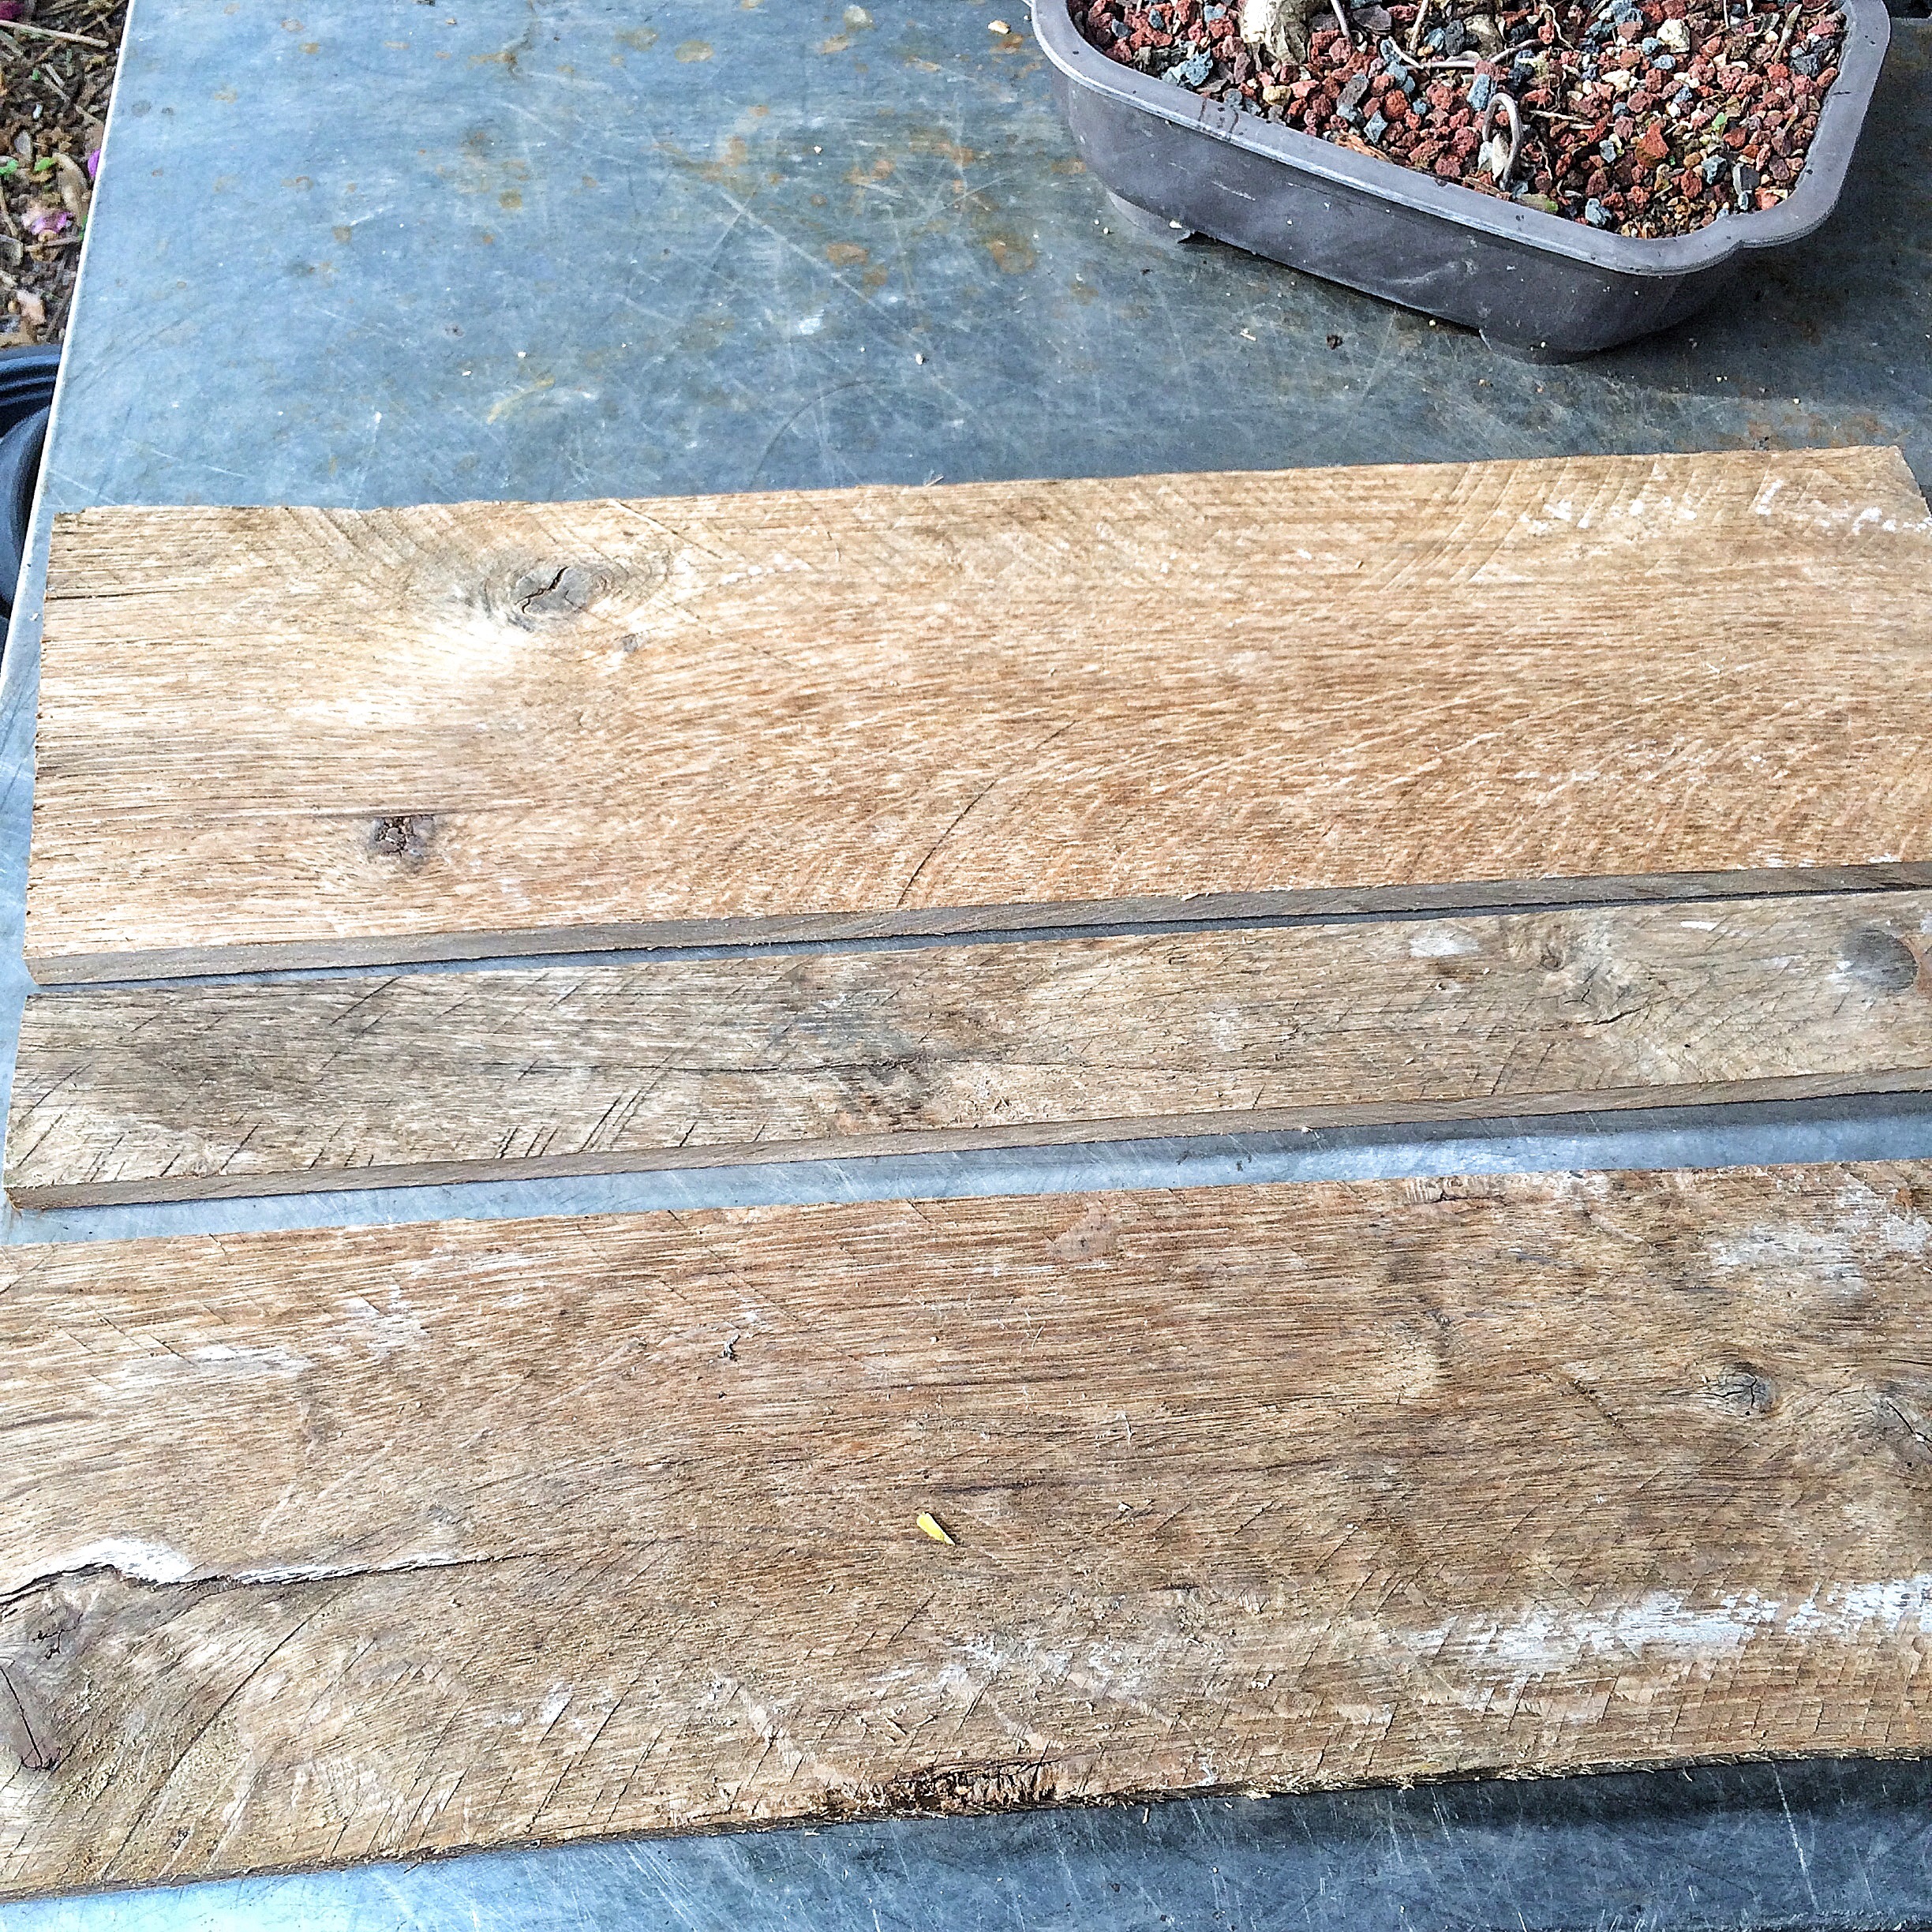
And one of the gaps I need to fix.  First I have to do some sharpening of the blade or knife on my hand plane. It’s a duller than a politician.
 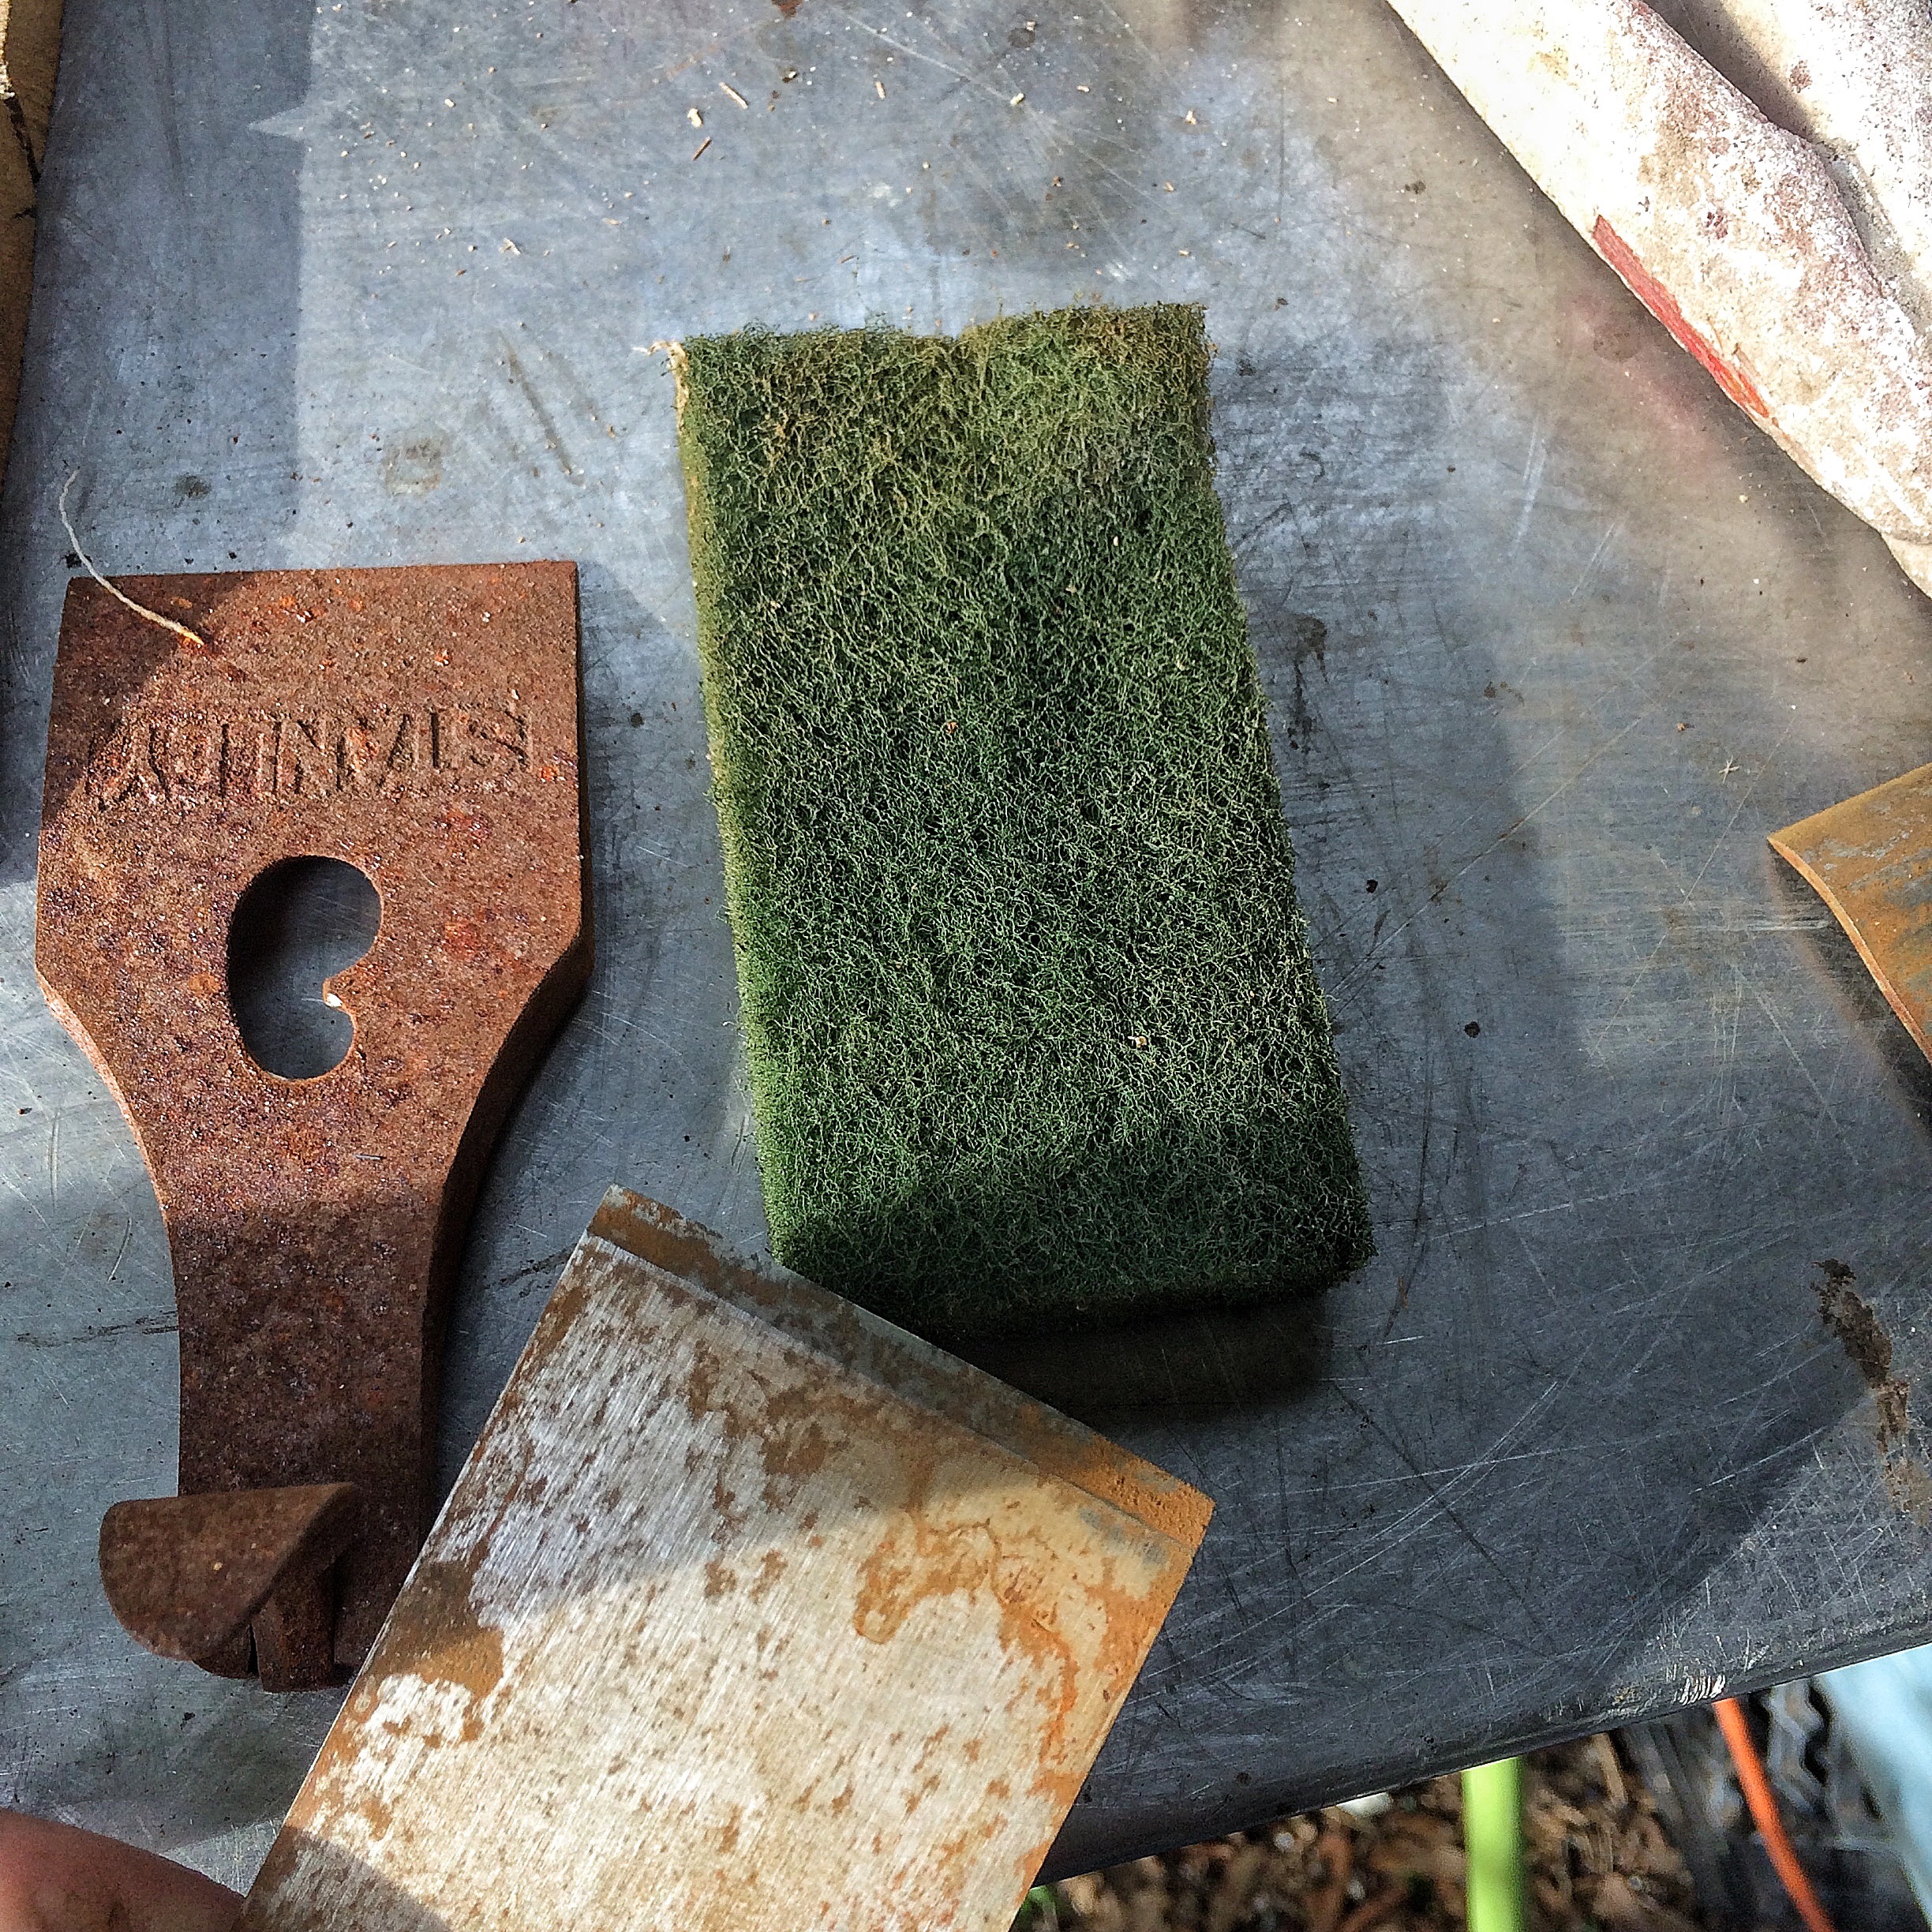 The green scrubby removes some surface rust. The blade’s not too bad compared to the body of the plane.
Basically, when sharpening, only one side is sharpened.

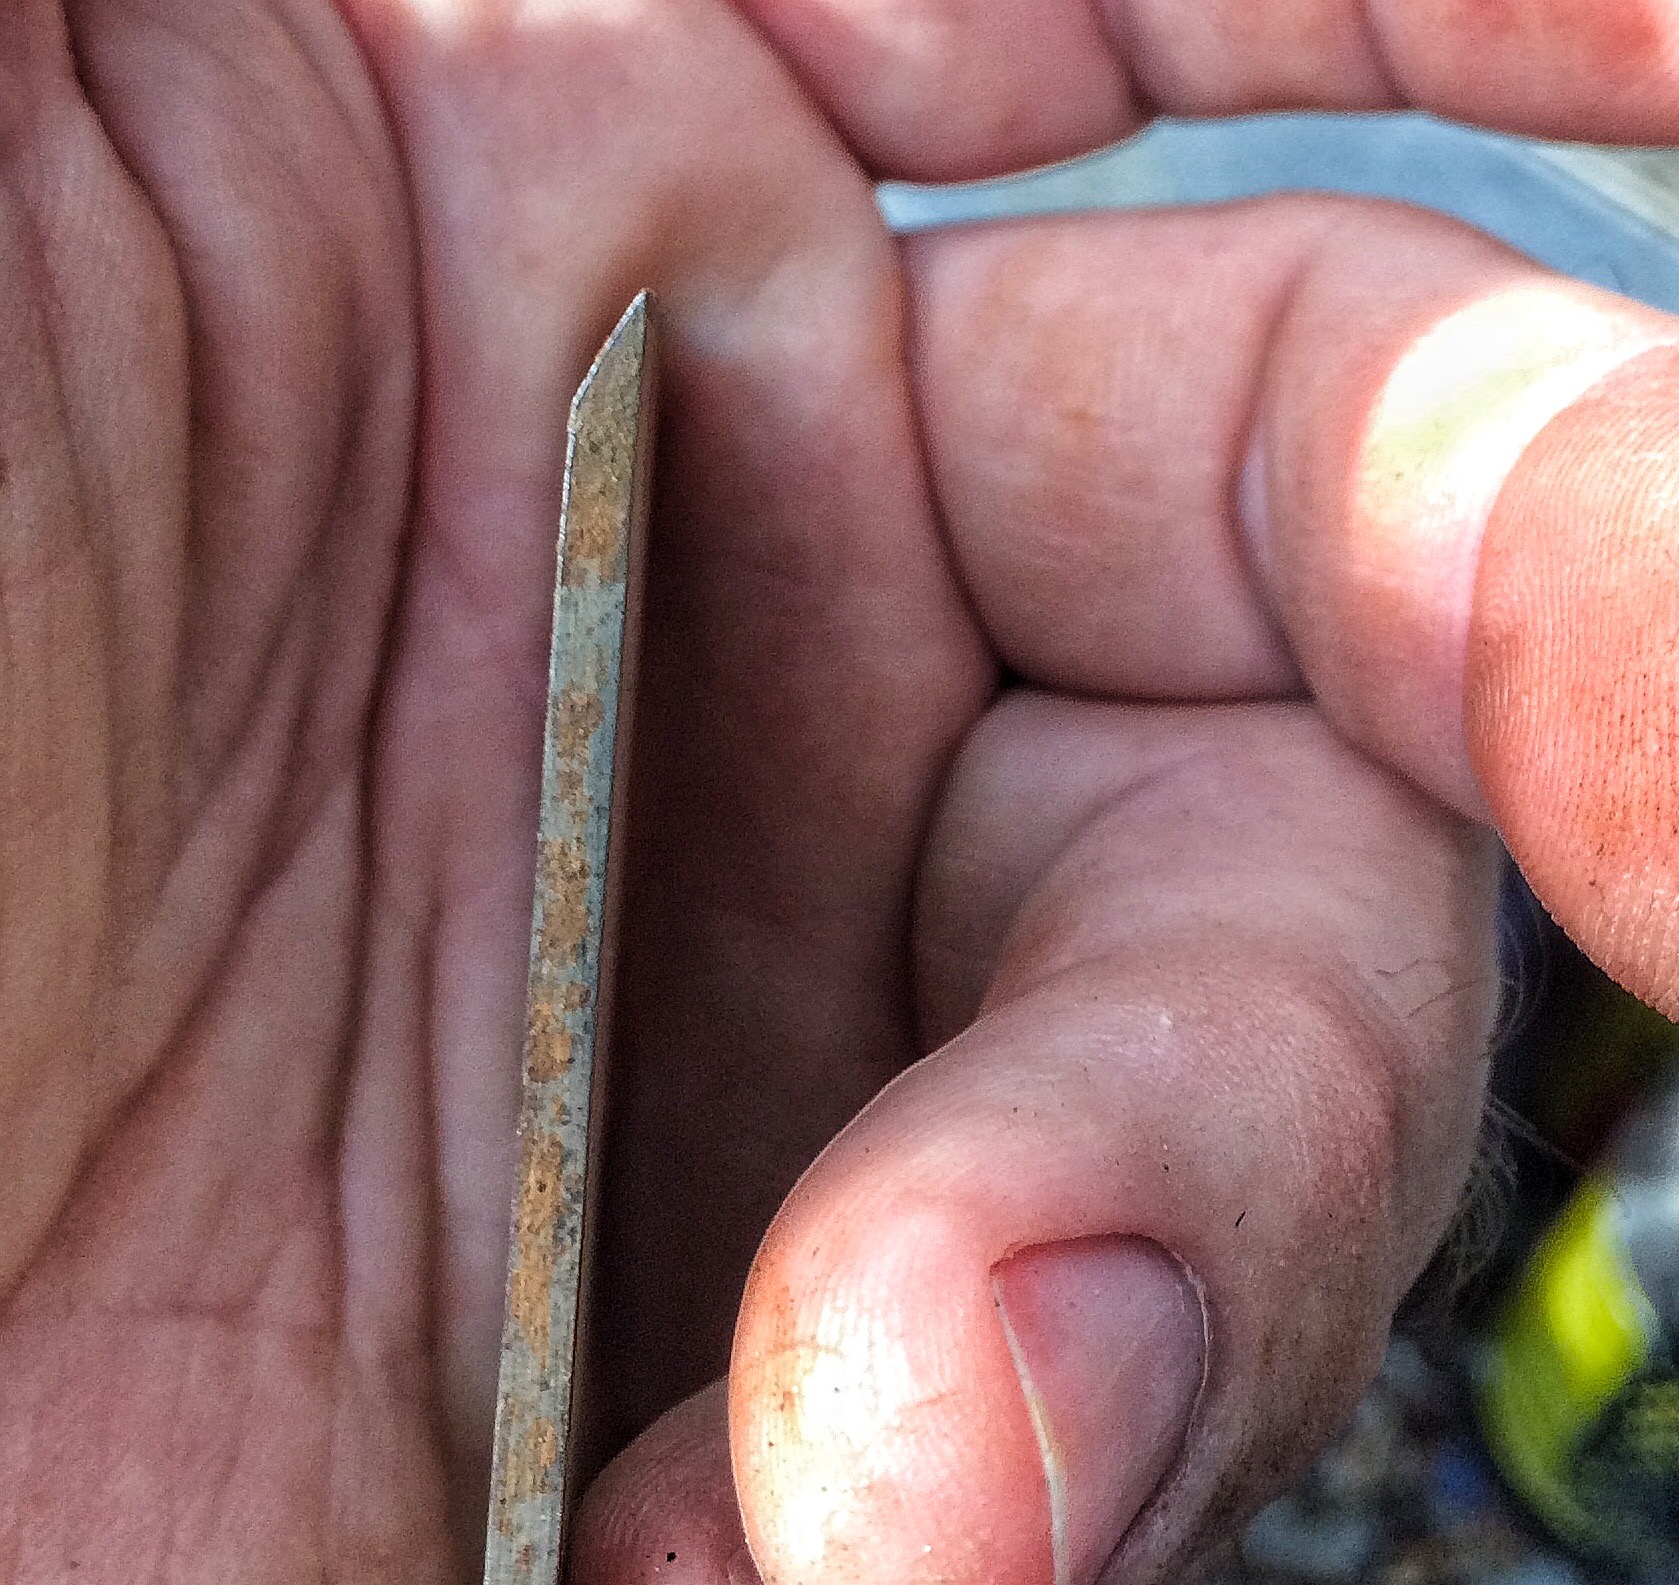 Just like a chisel, there’s the flat side (on the right, above) and the beveled side (on the left, above).
I’m using a diamond sharpener (I’d consider it the medium grit for a diamond sharpener, which is still finer than a stone. If you’re familiar with them, it’s the yellow one)
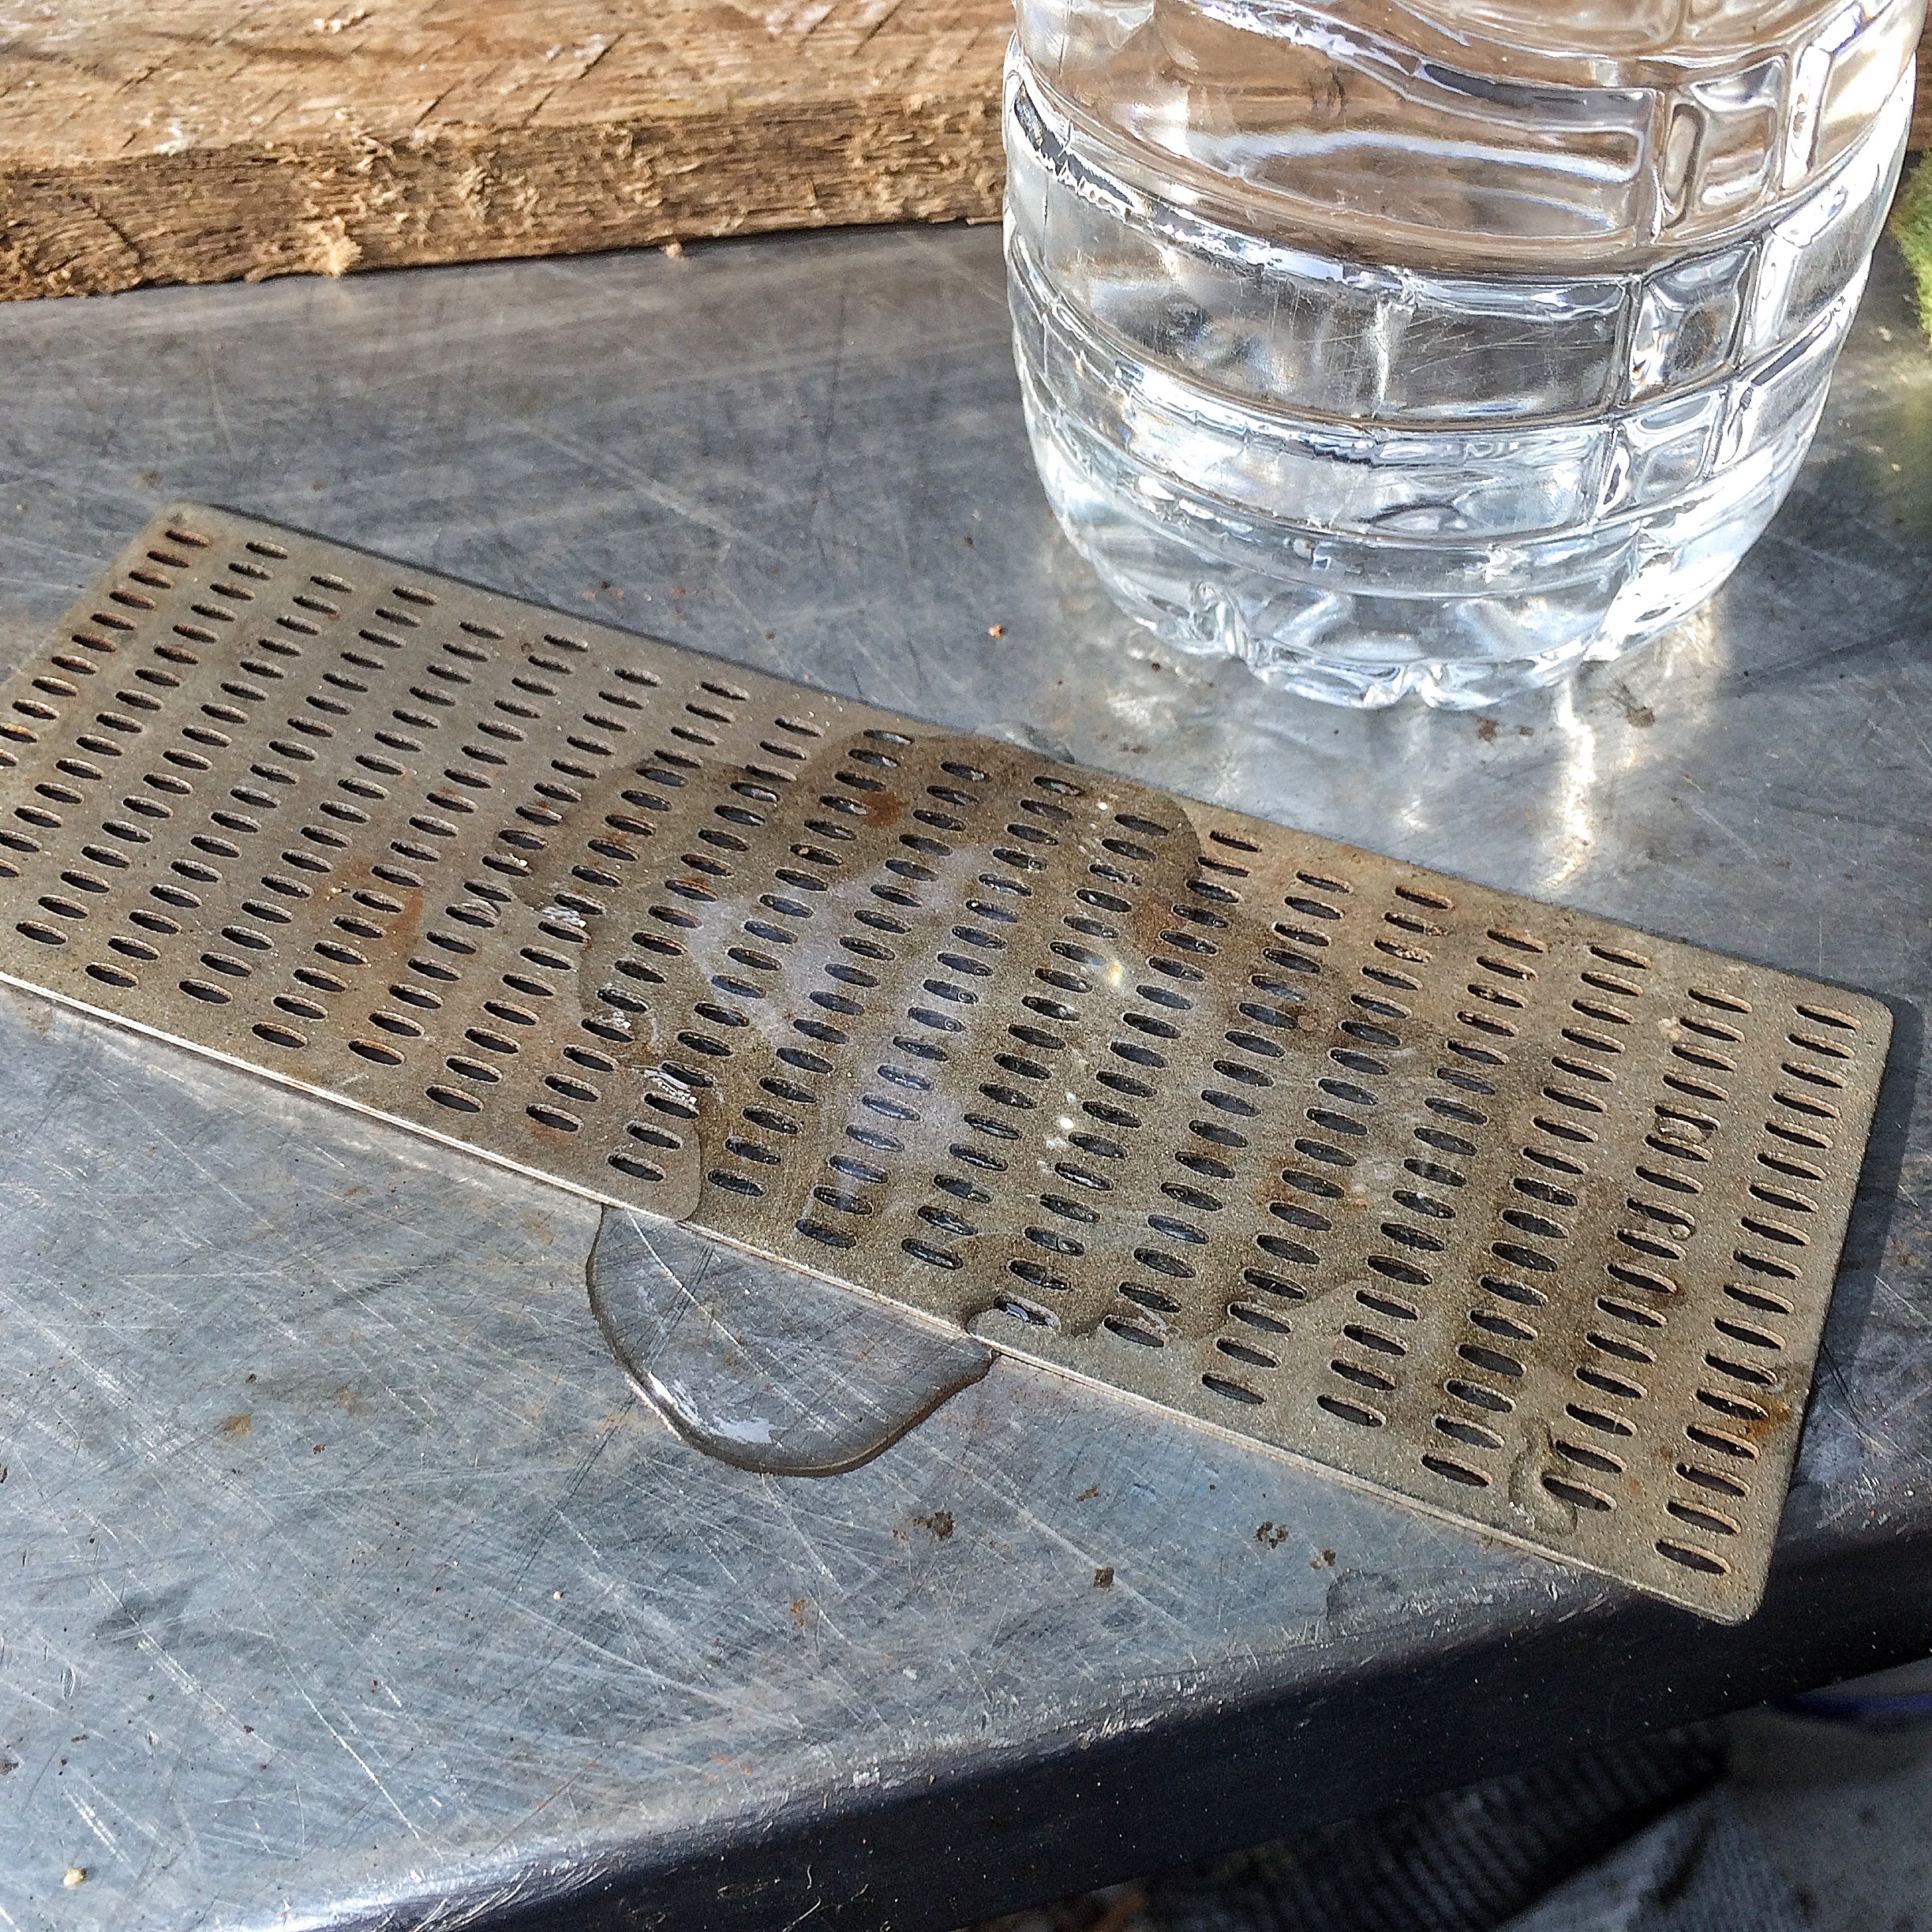 It’s a water slurry system. I hate oil when sharpening blades.
When sharpening the bevel, you want to match that beveled angle….
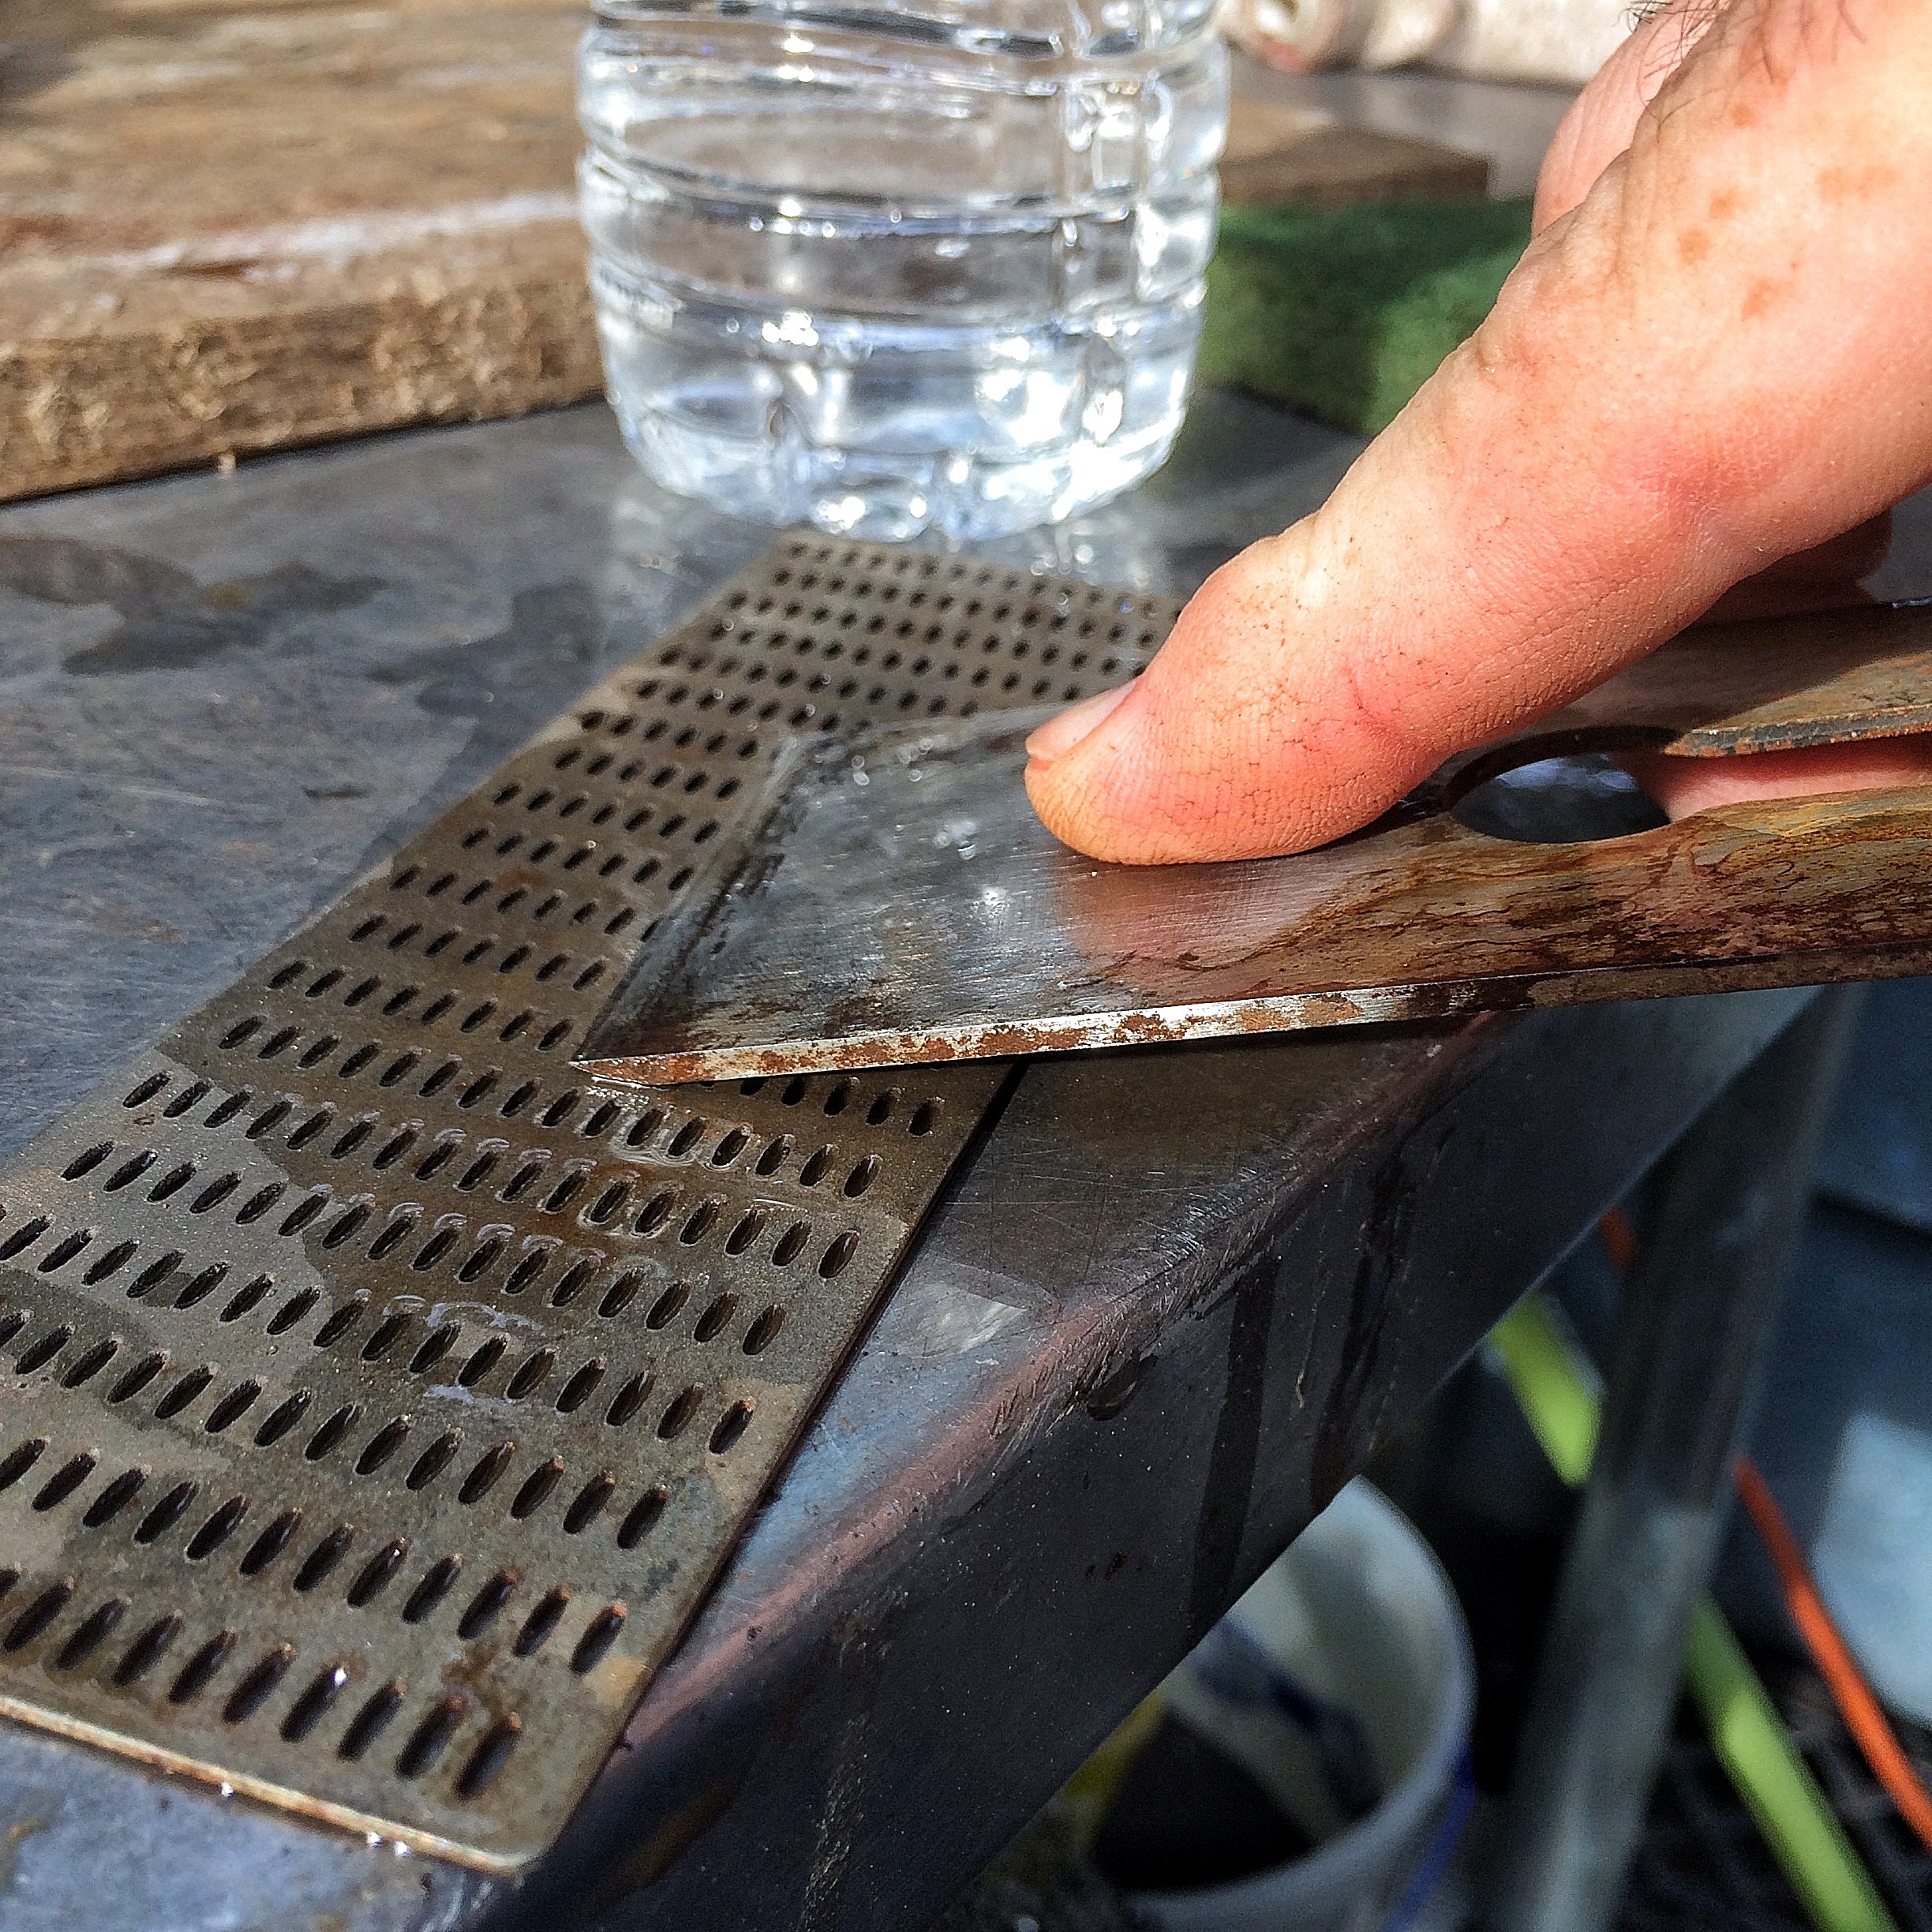 ….which I am not doing in this pic. After getting the angle and the edge sharp, you then remove the burr on the flat side (which happens whenever you sharpen, with a double sided edge, you’re trying to keep that burr centered, otherwise your knife will be sharper using it one way, say left handed, than the other).
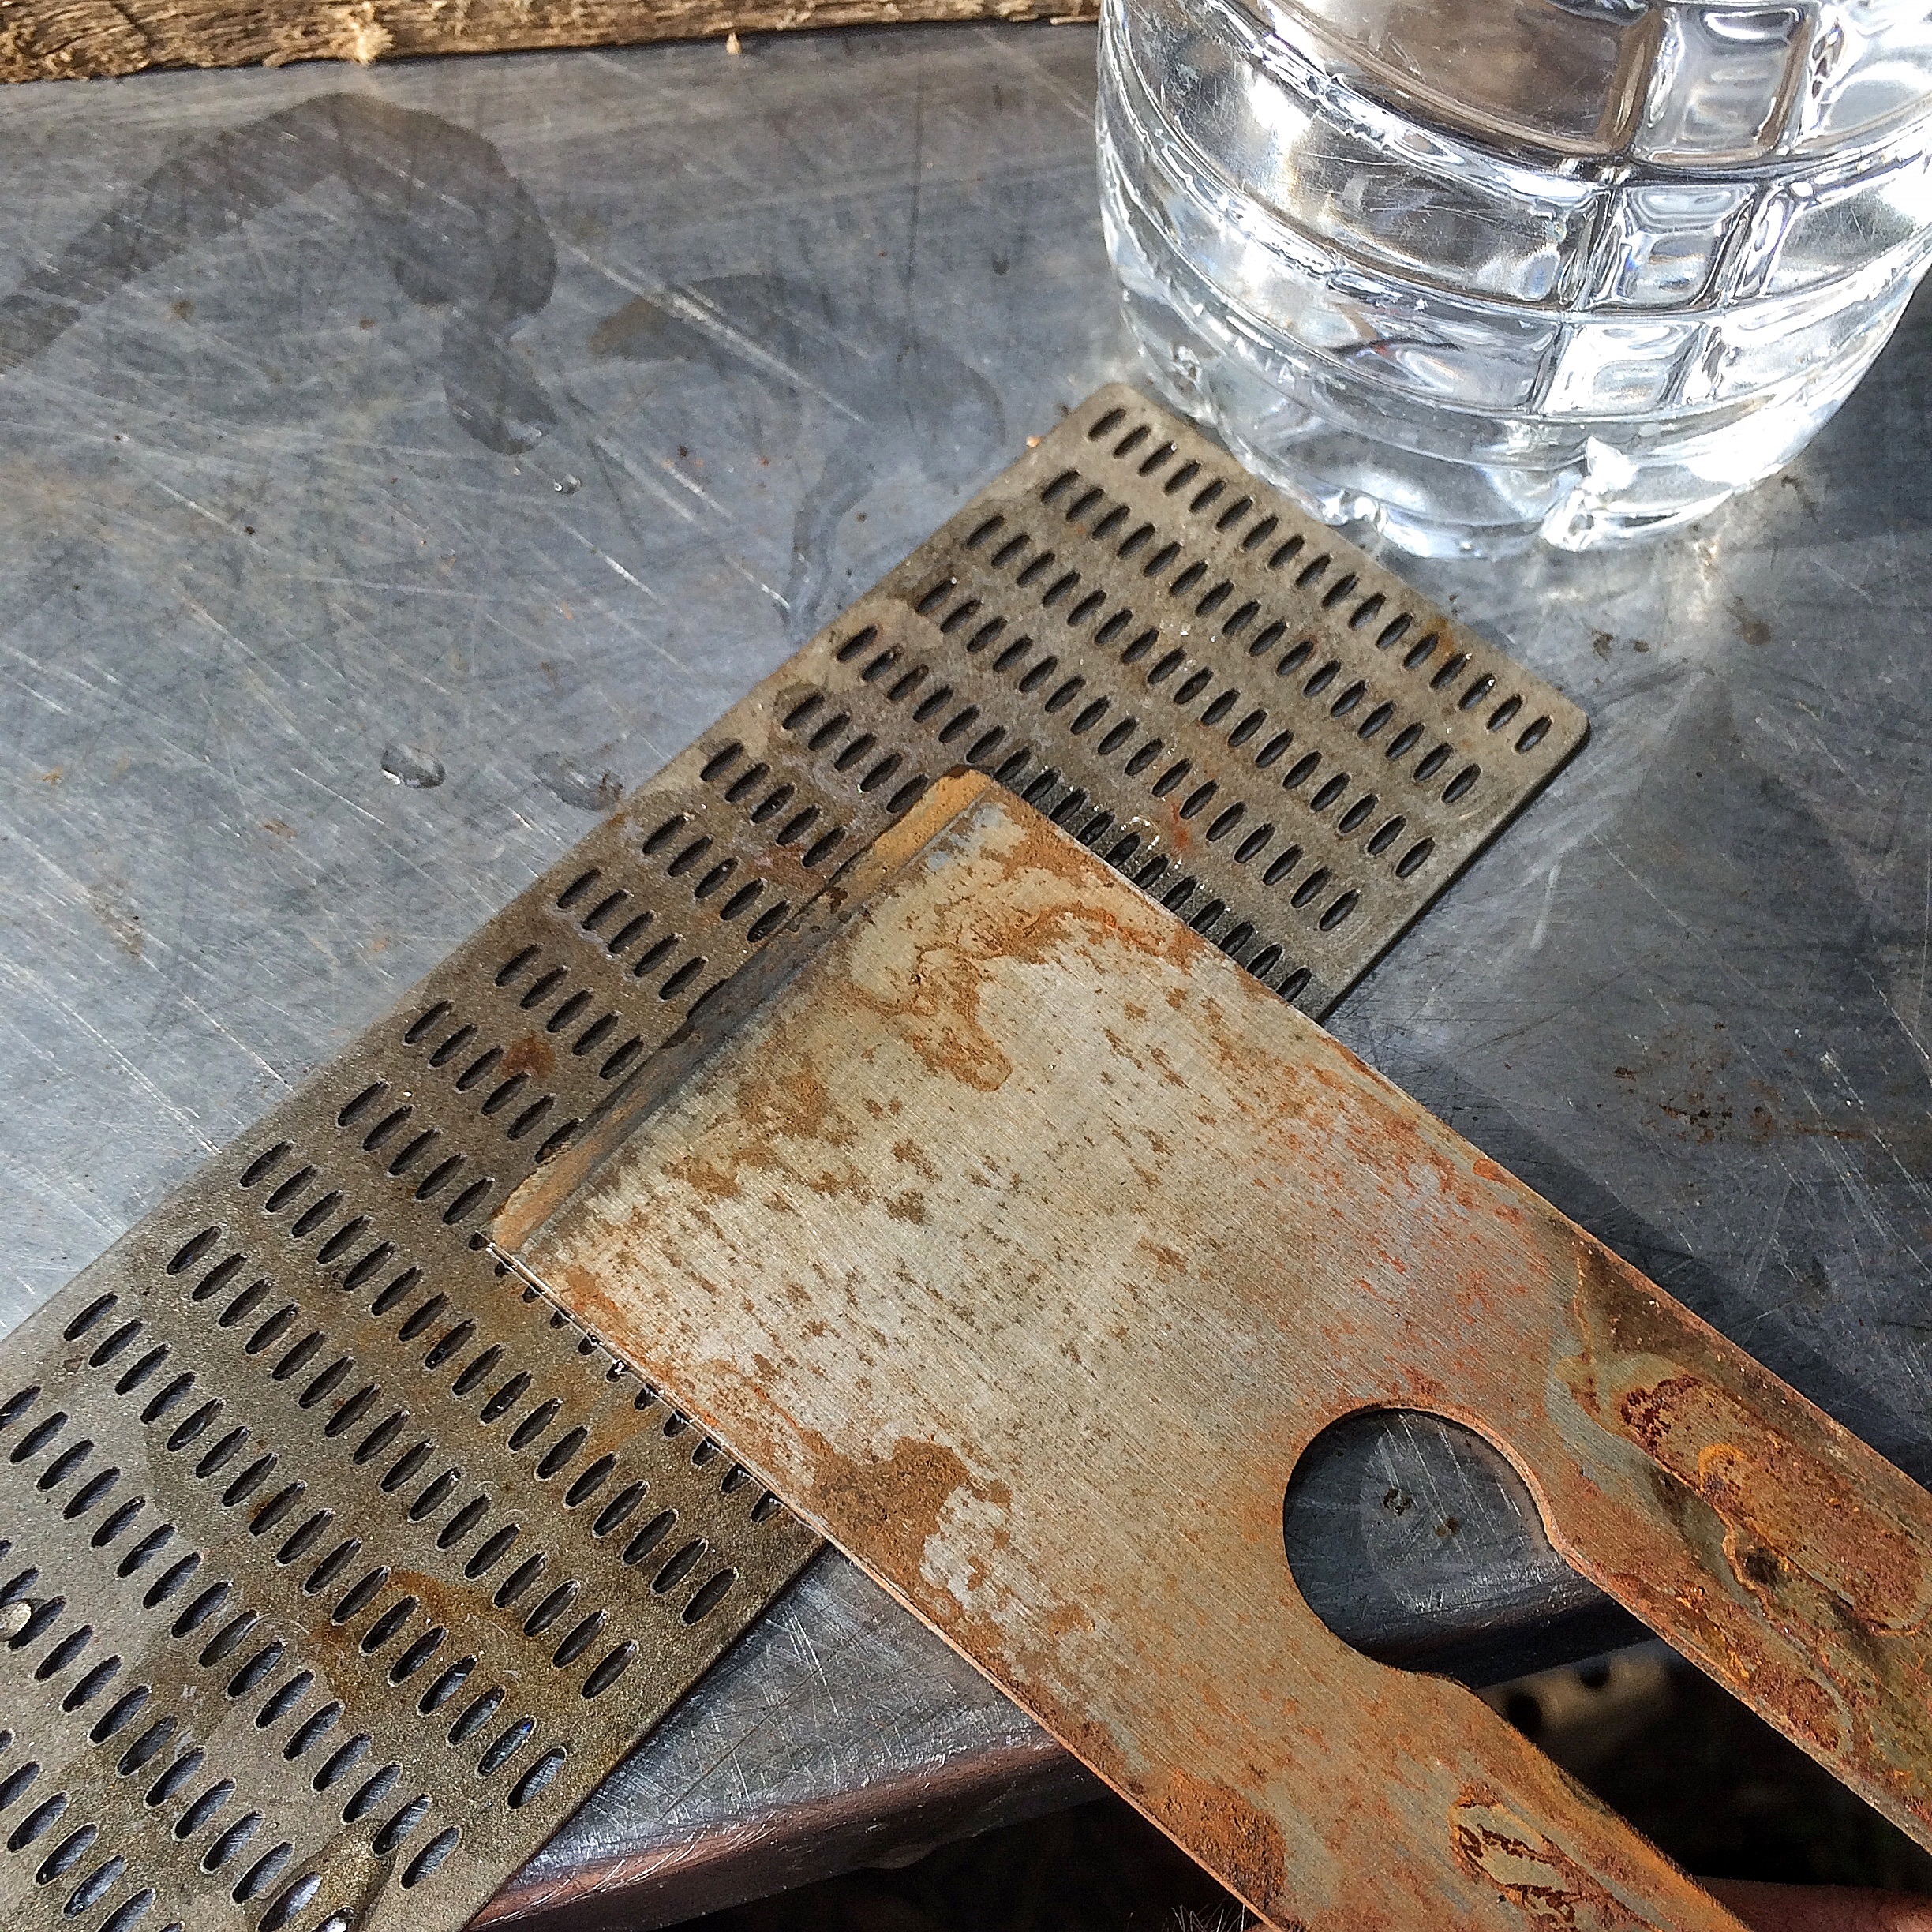
Ok, that looks good.  But I want it to be like butta, so I go to my fine diamond card.
  This is the red card. There’s one more, called extra fine (green), but I shouldn’t need to go that fine. I’m not shaving my beard or anything. At least, not yet.
Reassemble the tool (I probably should have paid attention to how I took it apart) 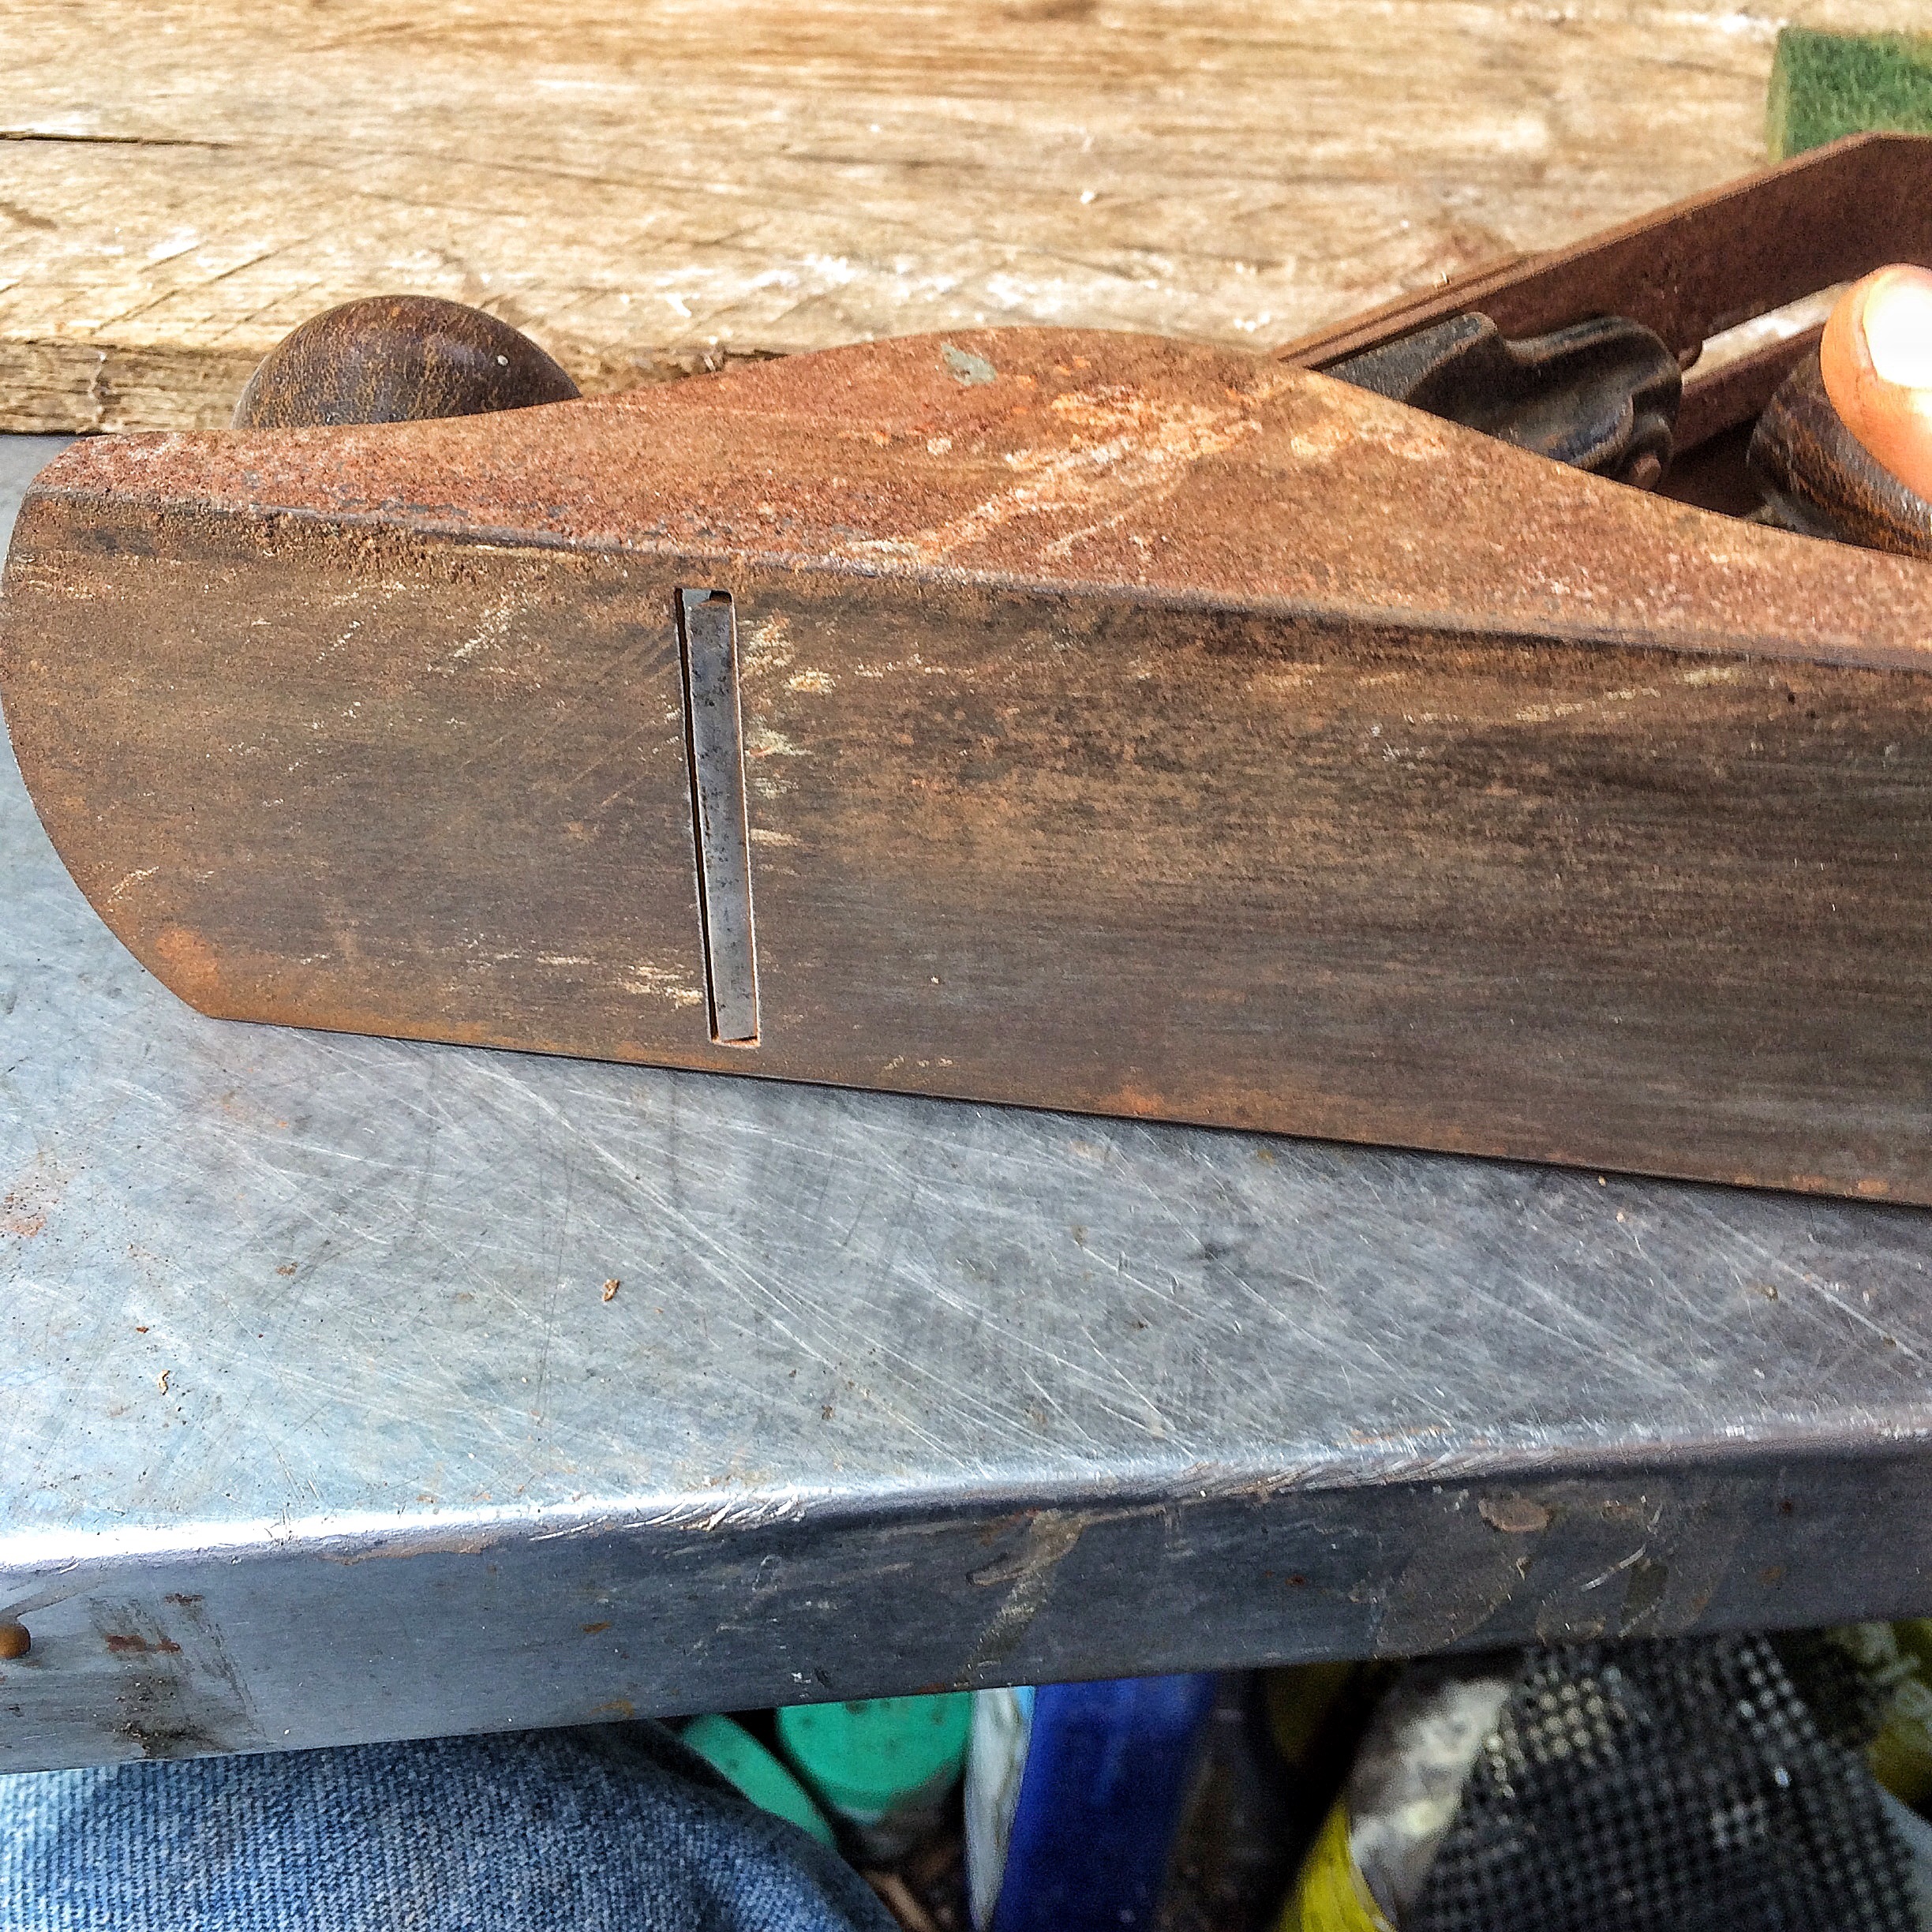 And now, into the dungeon to where the bench vise is.
 I really need to clean out this shed. You know, I have a small kiln. I could be making bonsai pots too, if I could get my ass in gear and stay healthy at the same time.
Anyway, all nice and square, some glue and it’s just a matter of overnight…. 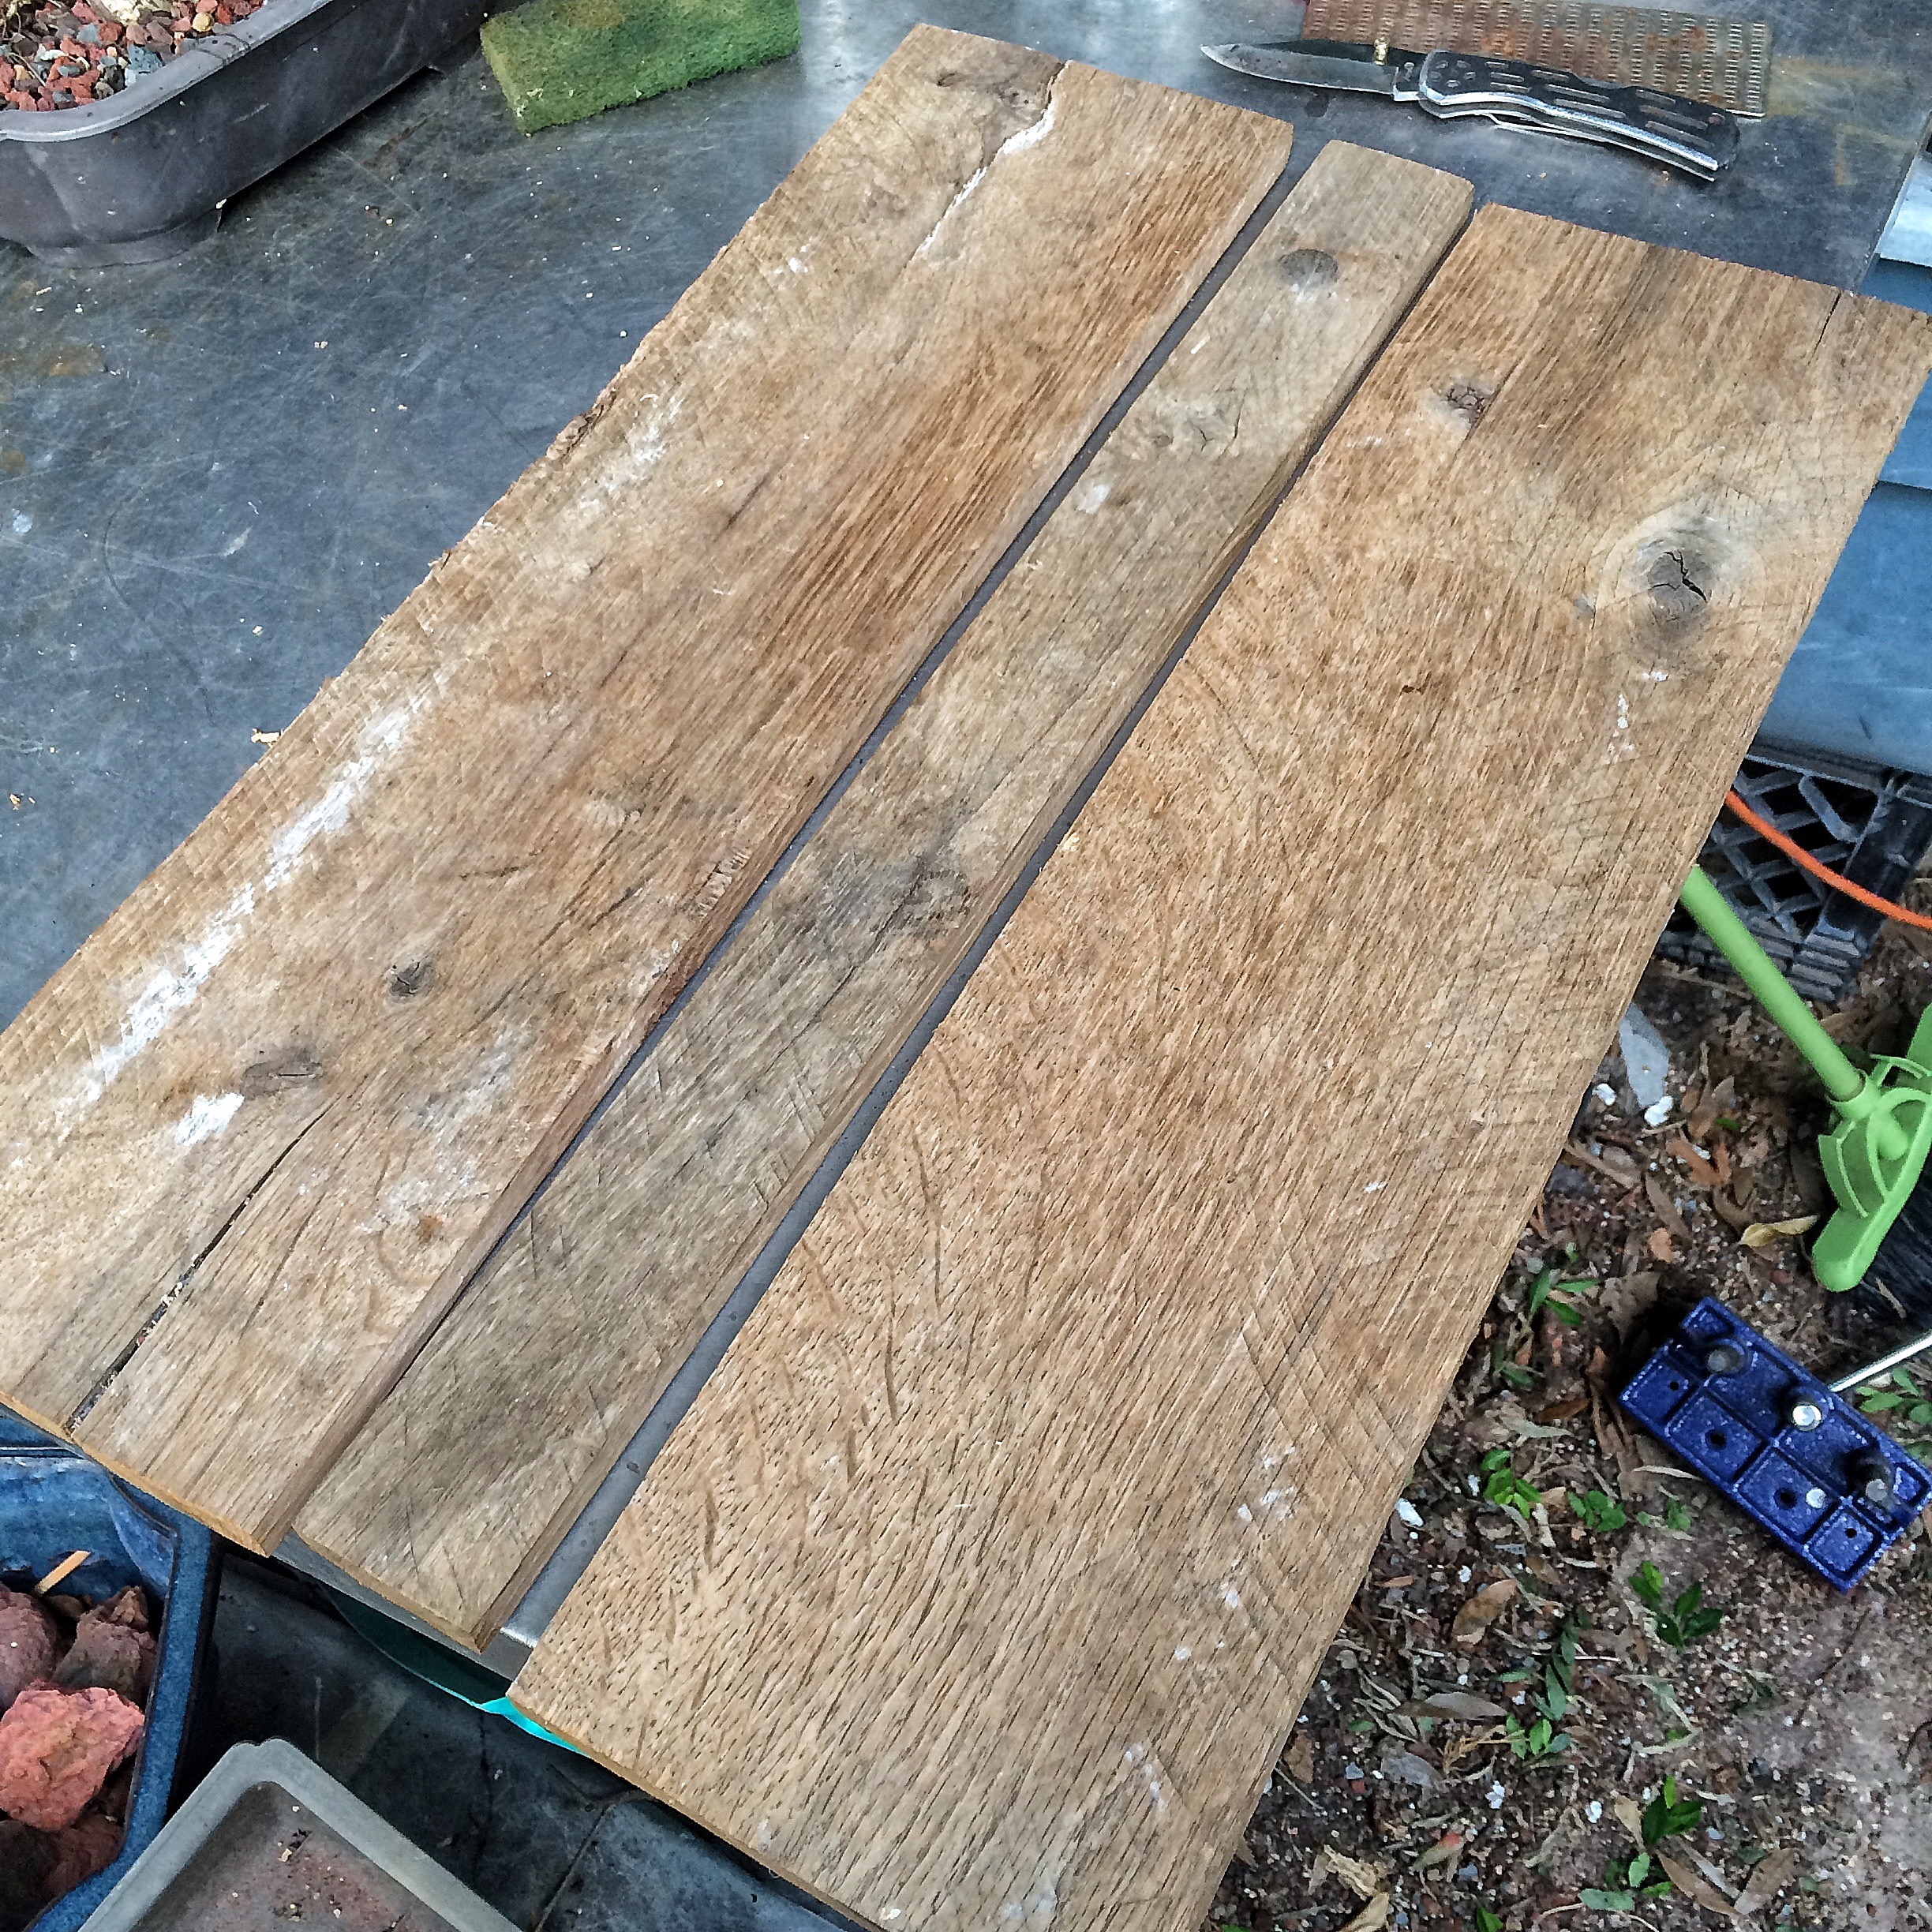
 Oh, I need to start the stain I’ll be using.
Rusty nails, some vinegar and water. 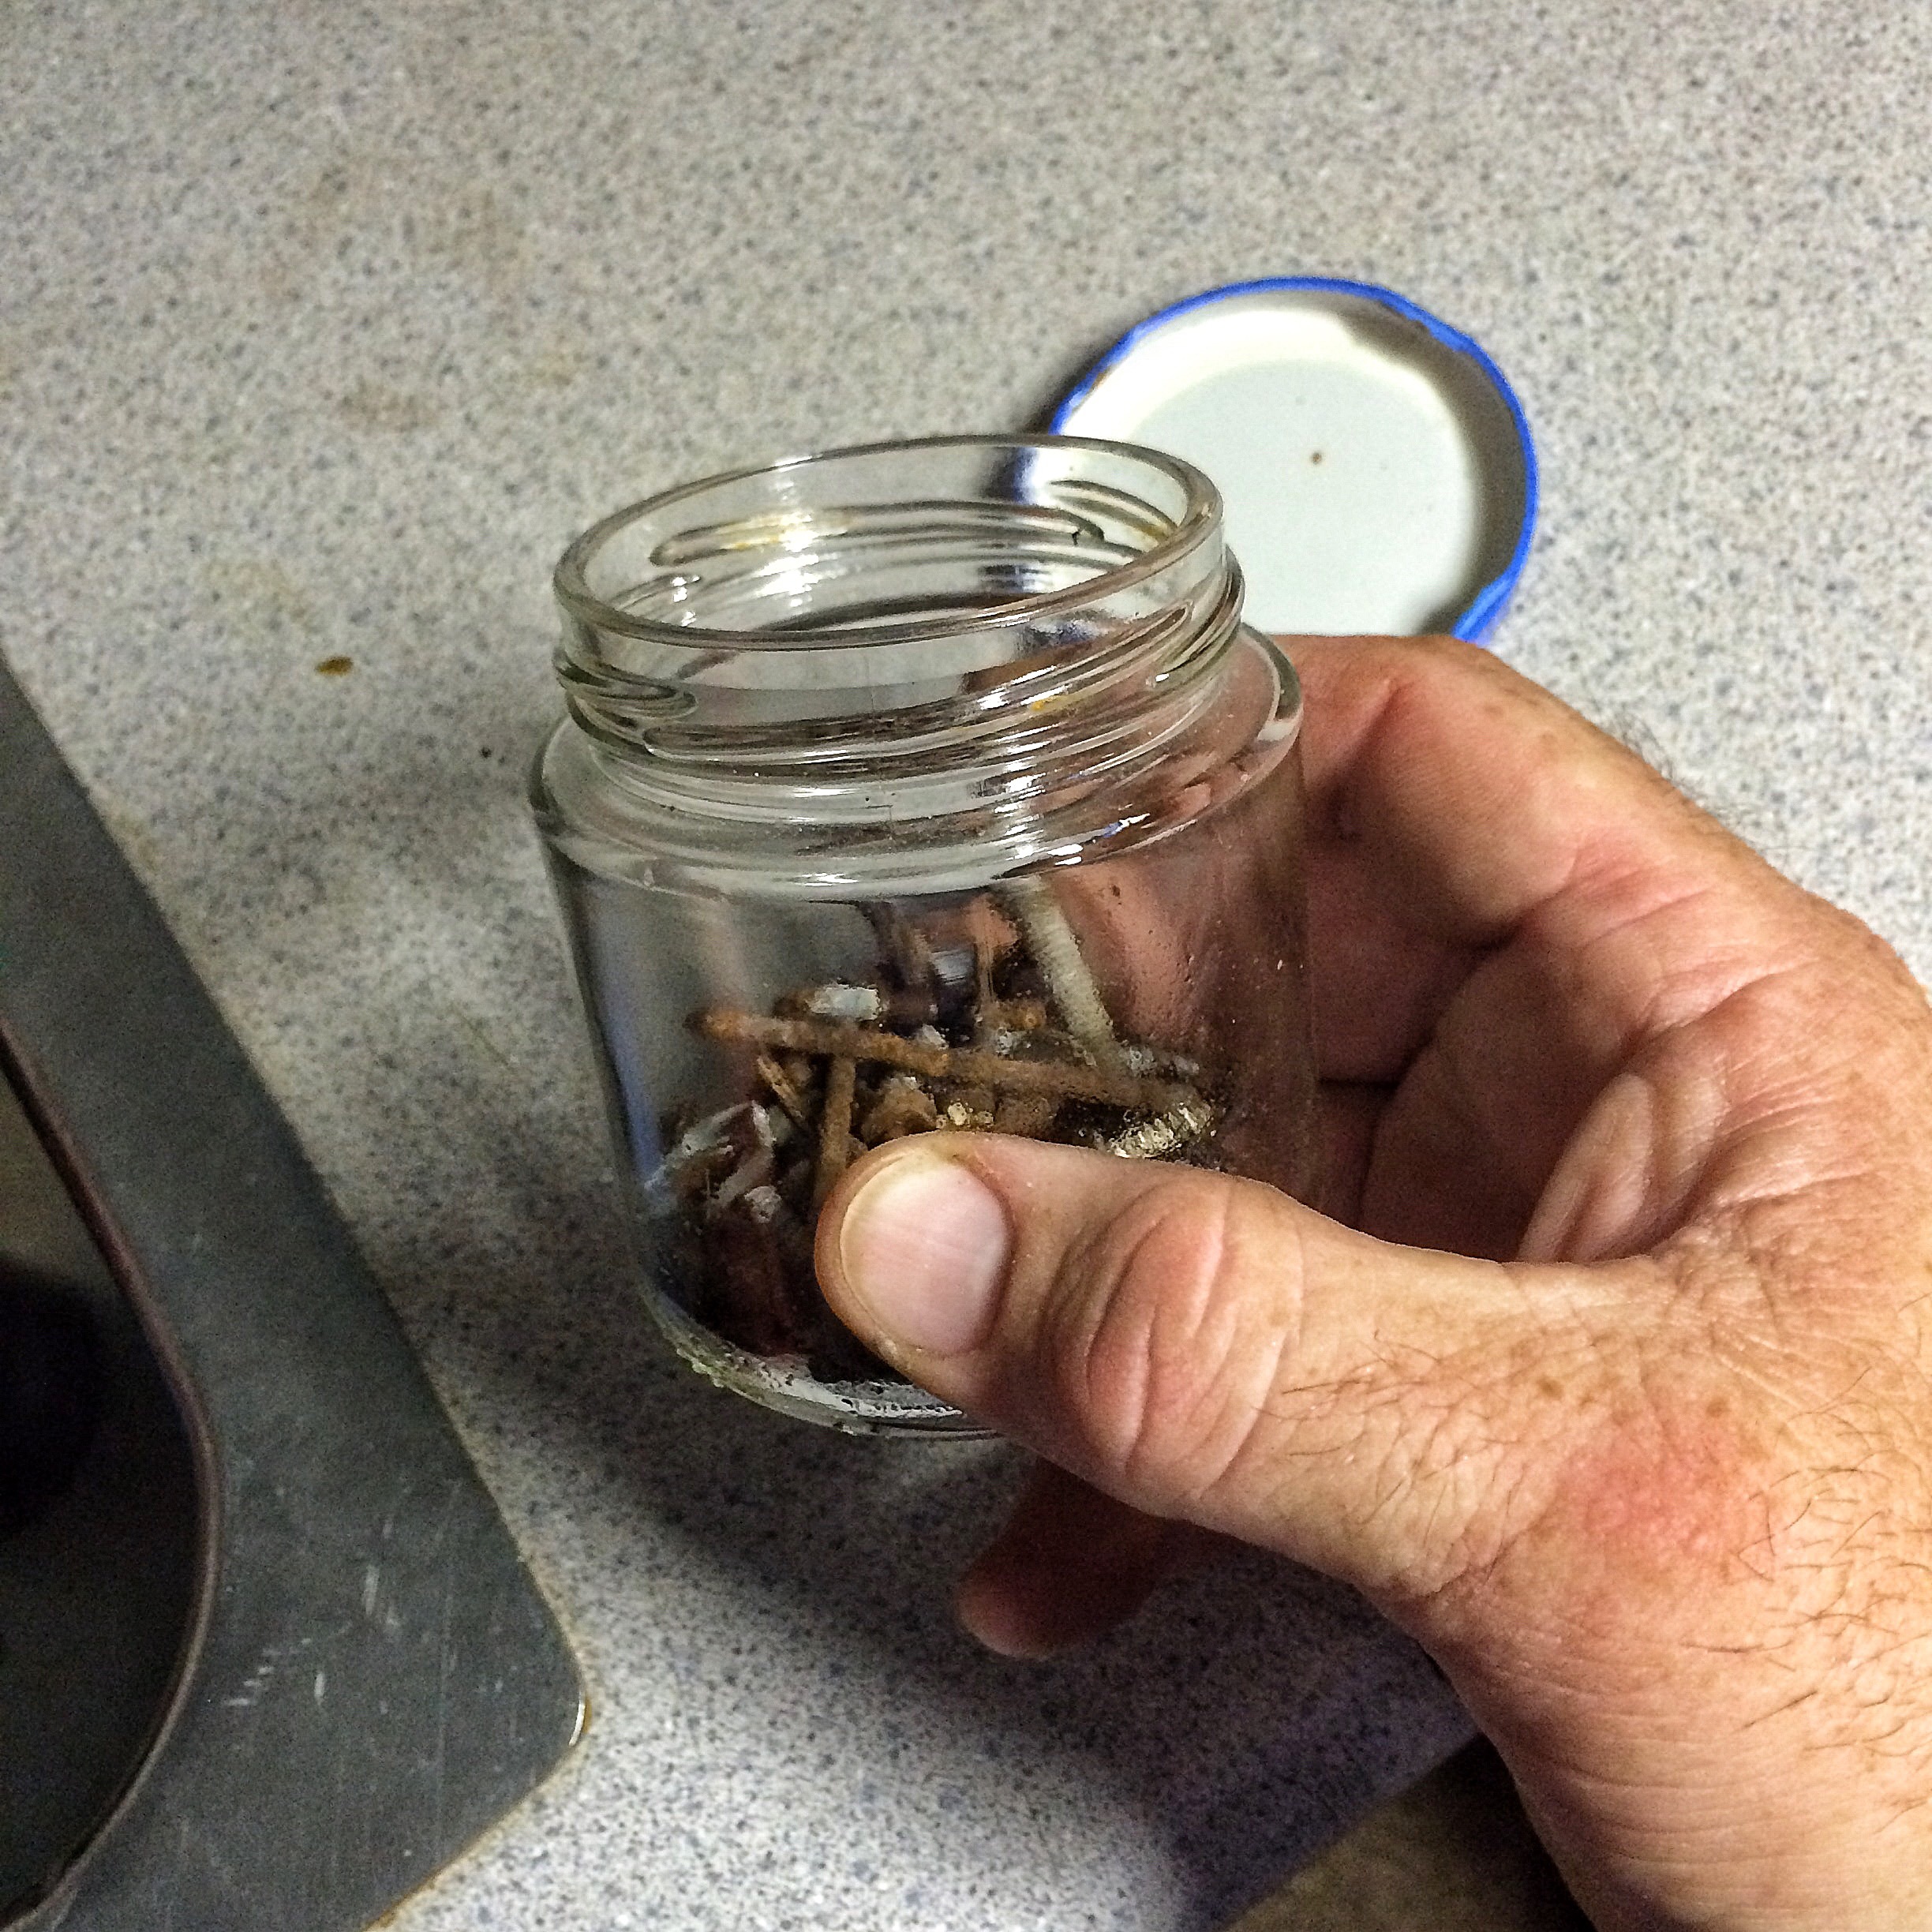
 I should let this sit for a few weeks but it has a good color already…….annnnnnnd……this is where the last post occurs, chronologically in my life. The world must really have wanted this stain to sit for the correct time, because I got sick, had a $10,000 vacation in the hospital, etc (read the last post).
Sooooooo…….THREE weeks later, I finally return to the project.
The fully joined boards.  Now for the magic. A wire brush on my flex-shaft carving tool.
 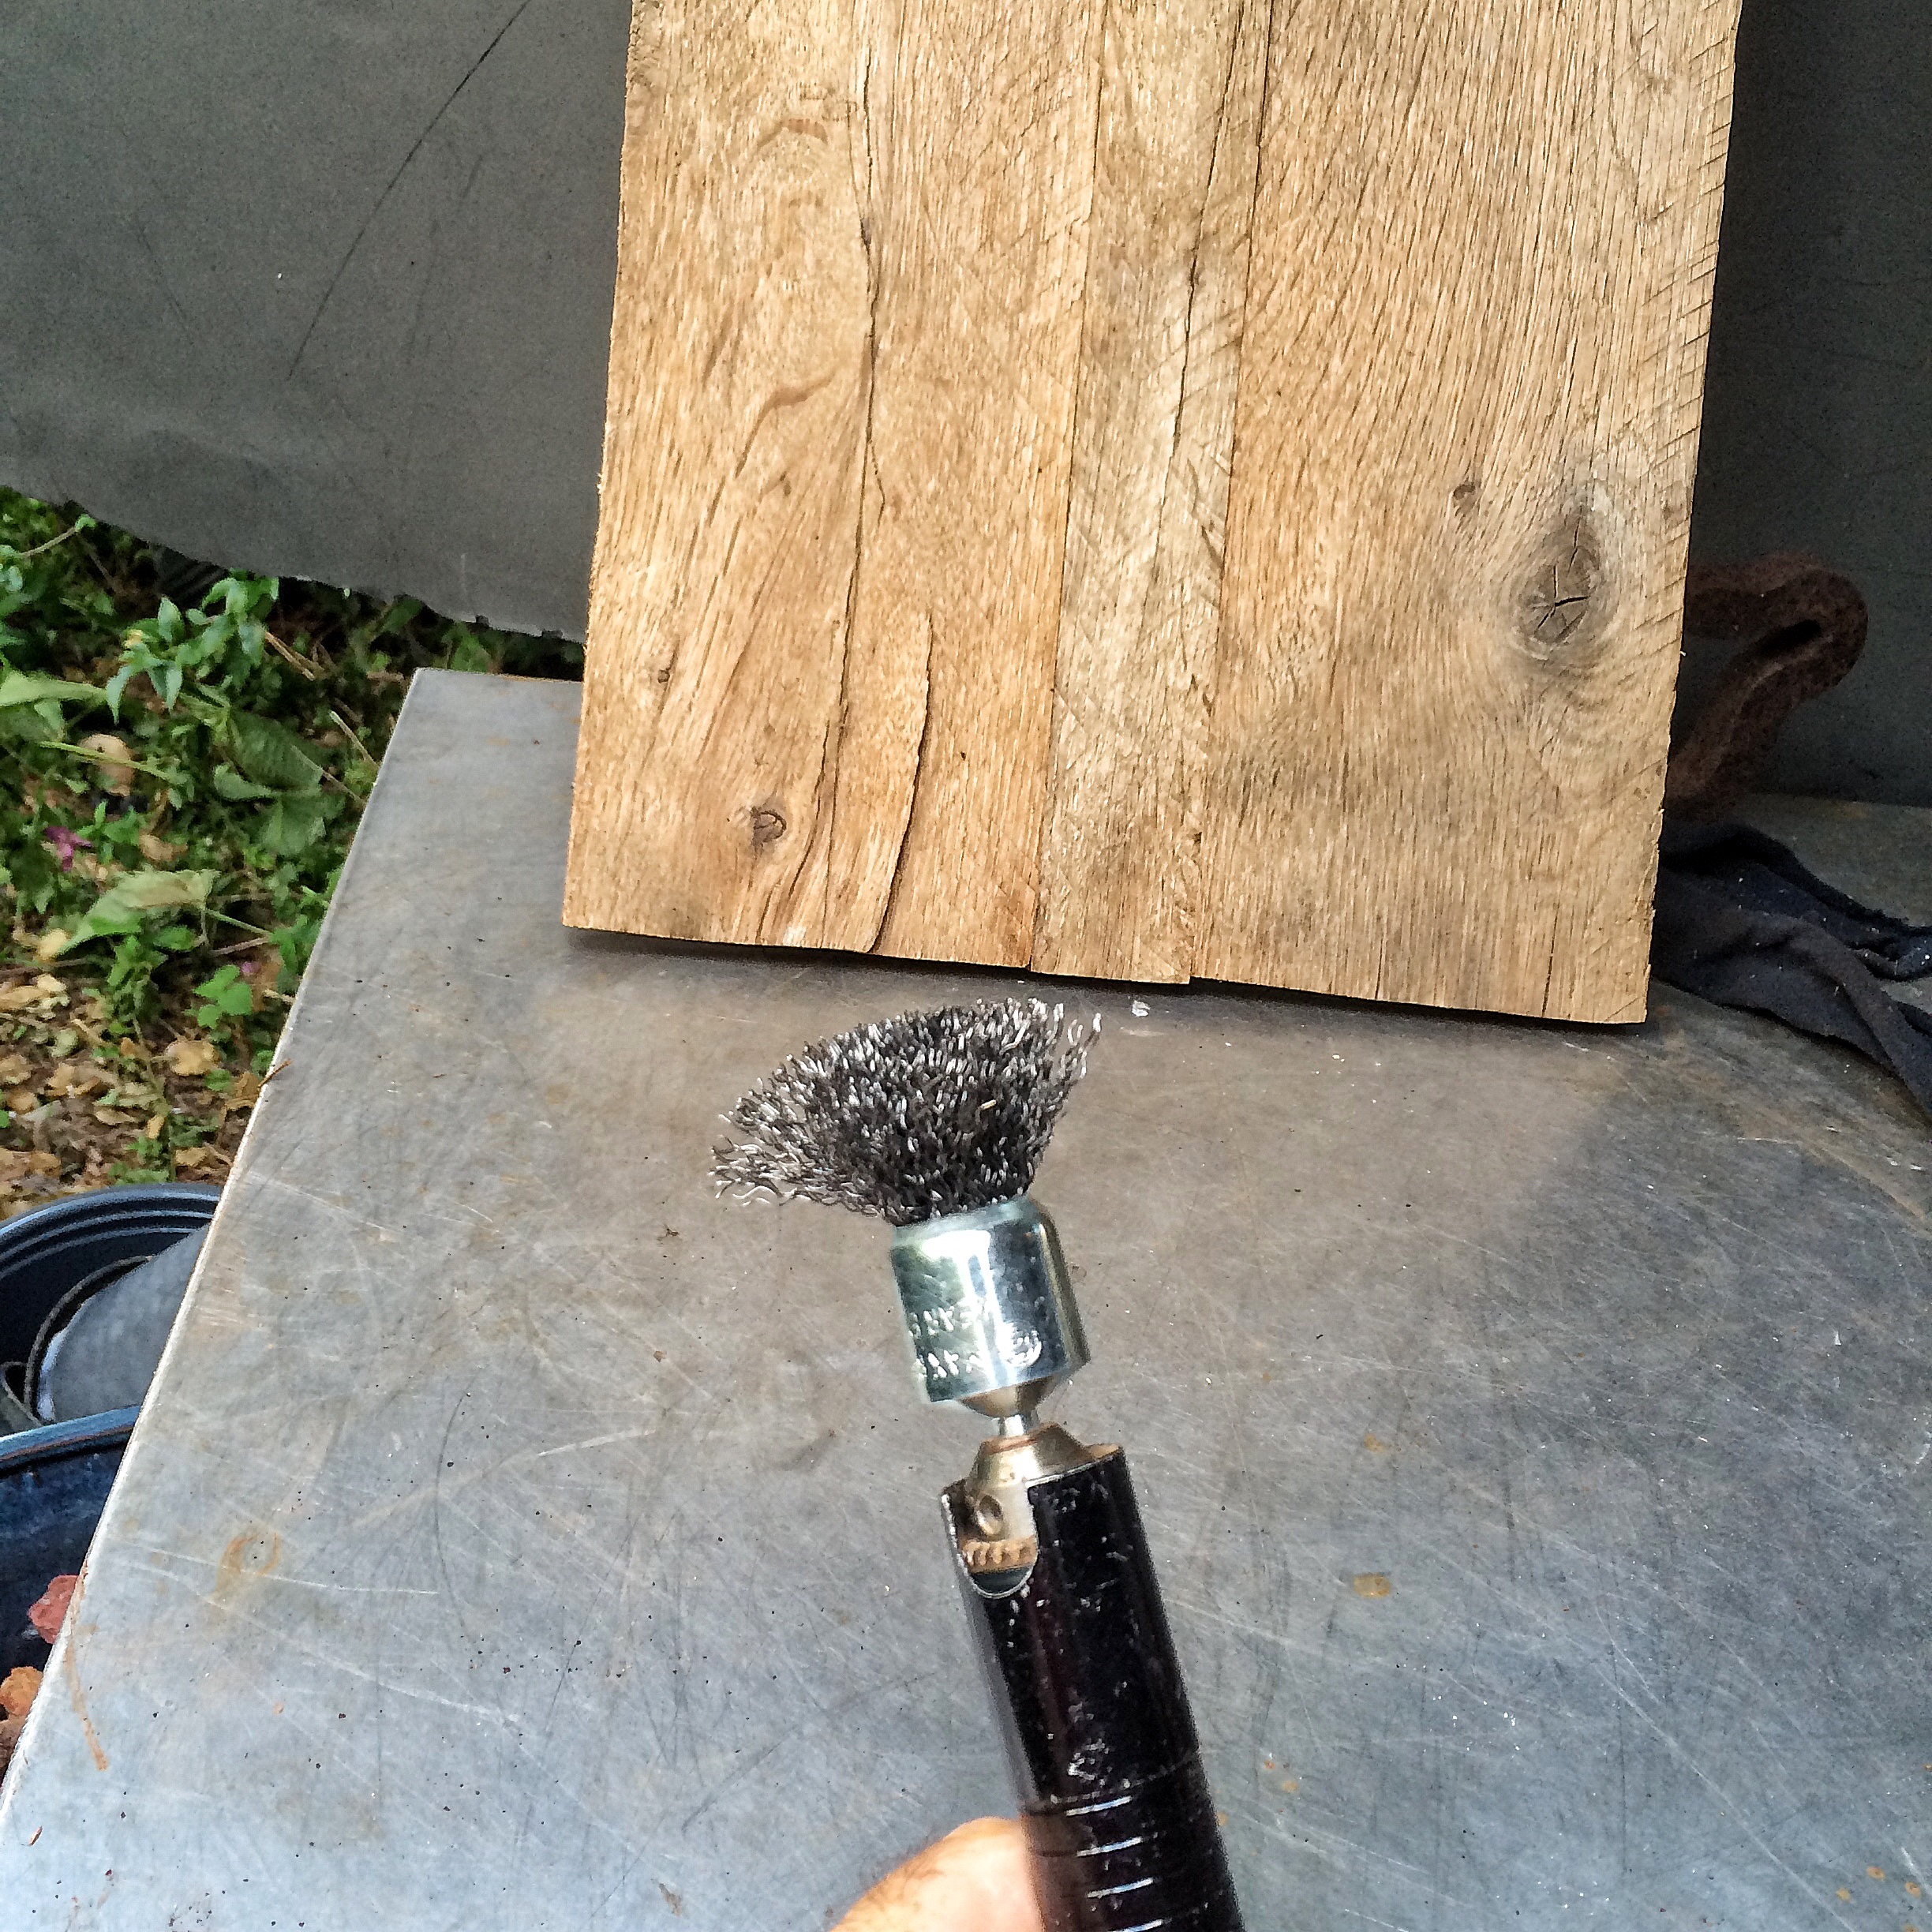 This is the bit I use to blend new carved jins and shari into the old deadwood. A word of warning, you need a variable speed pedal to use this attachment, for safety reasons. It can’t handle full speed or it comes apart.
Here’s some of the results:
A stark, table saw ripped edge.  Ahh, much better.
  The other end.
Before, you can see the joint. 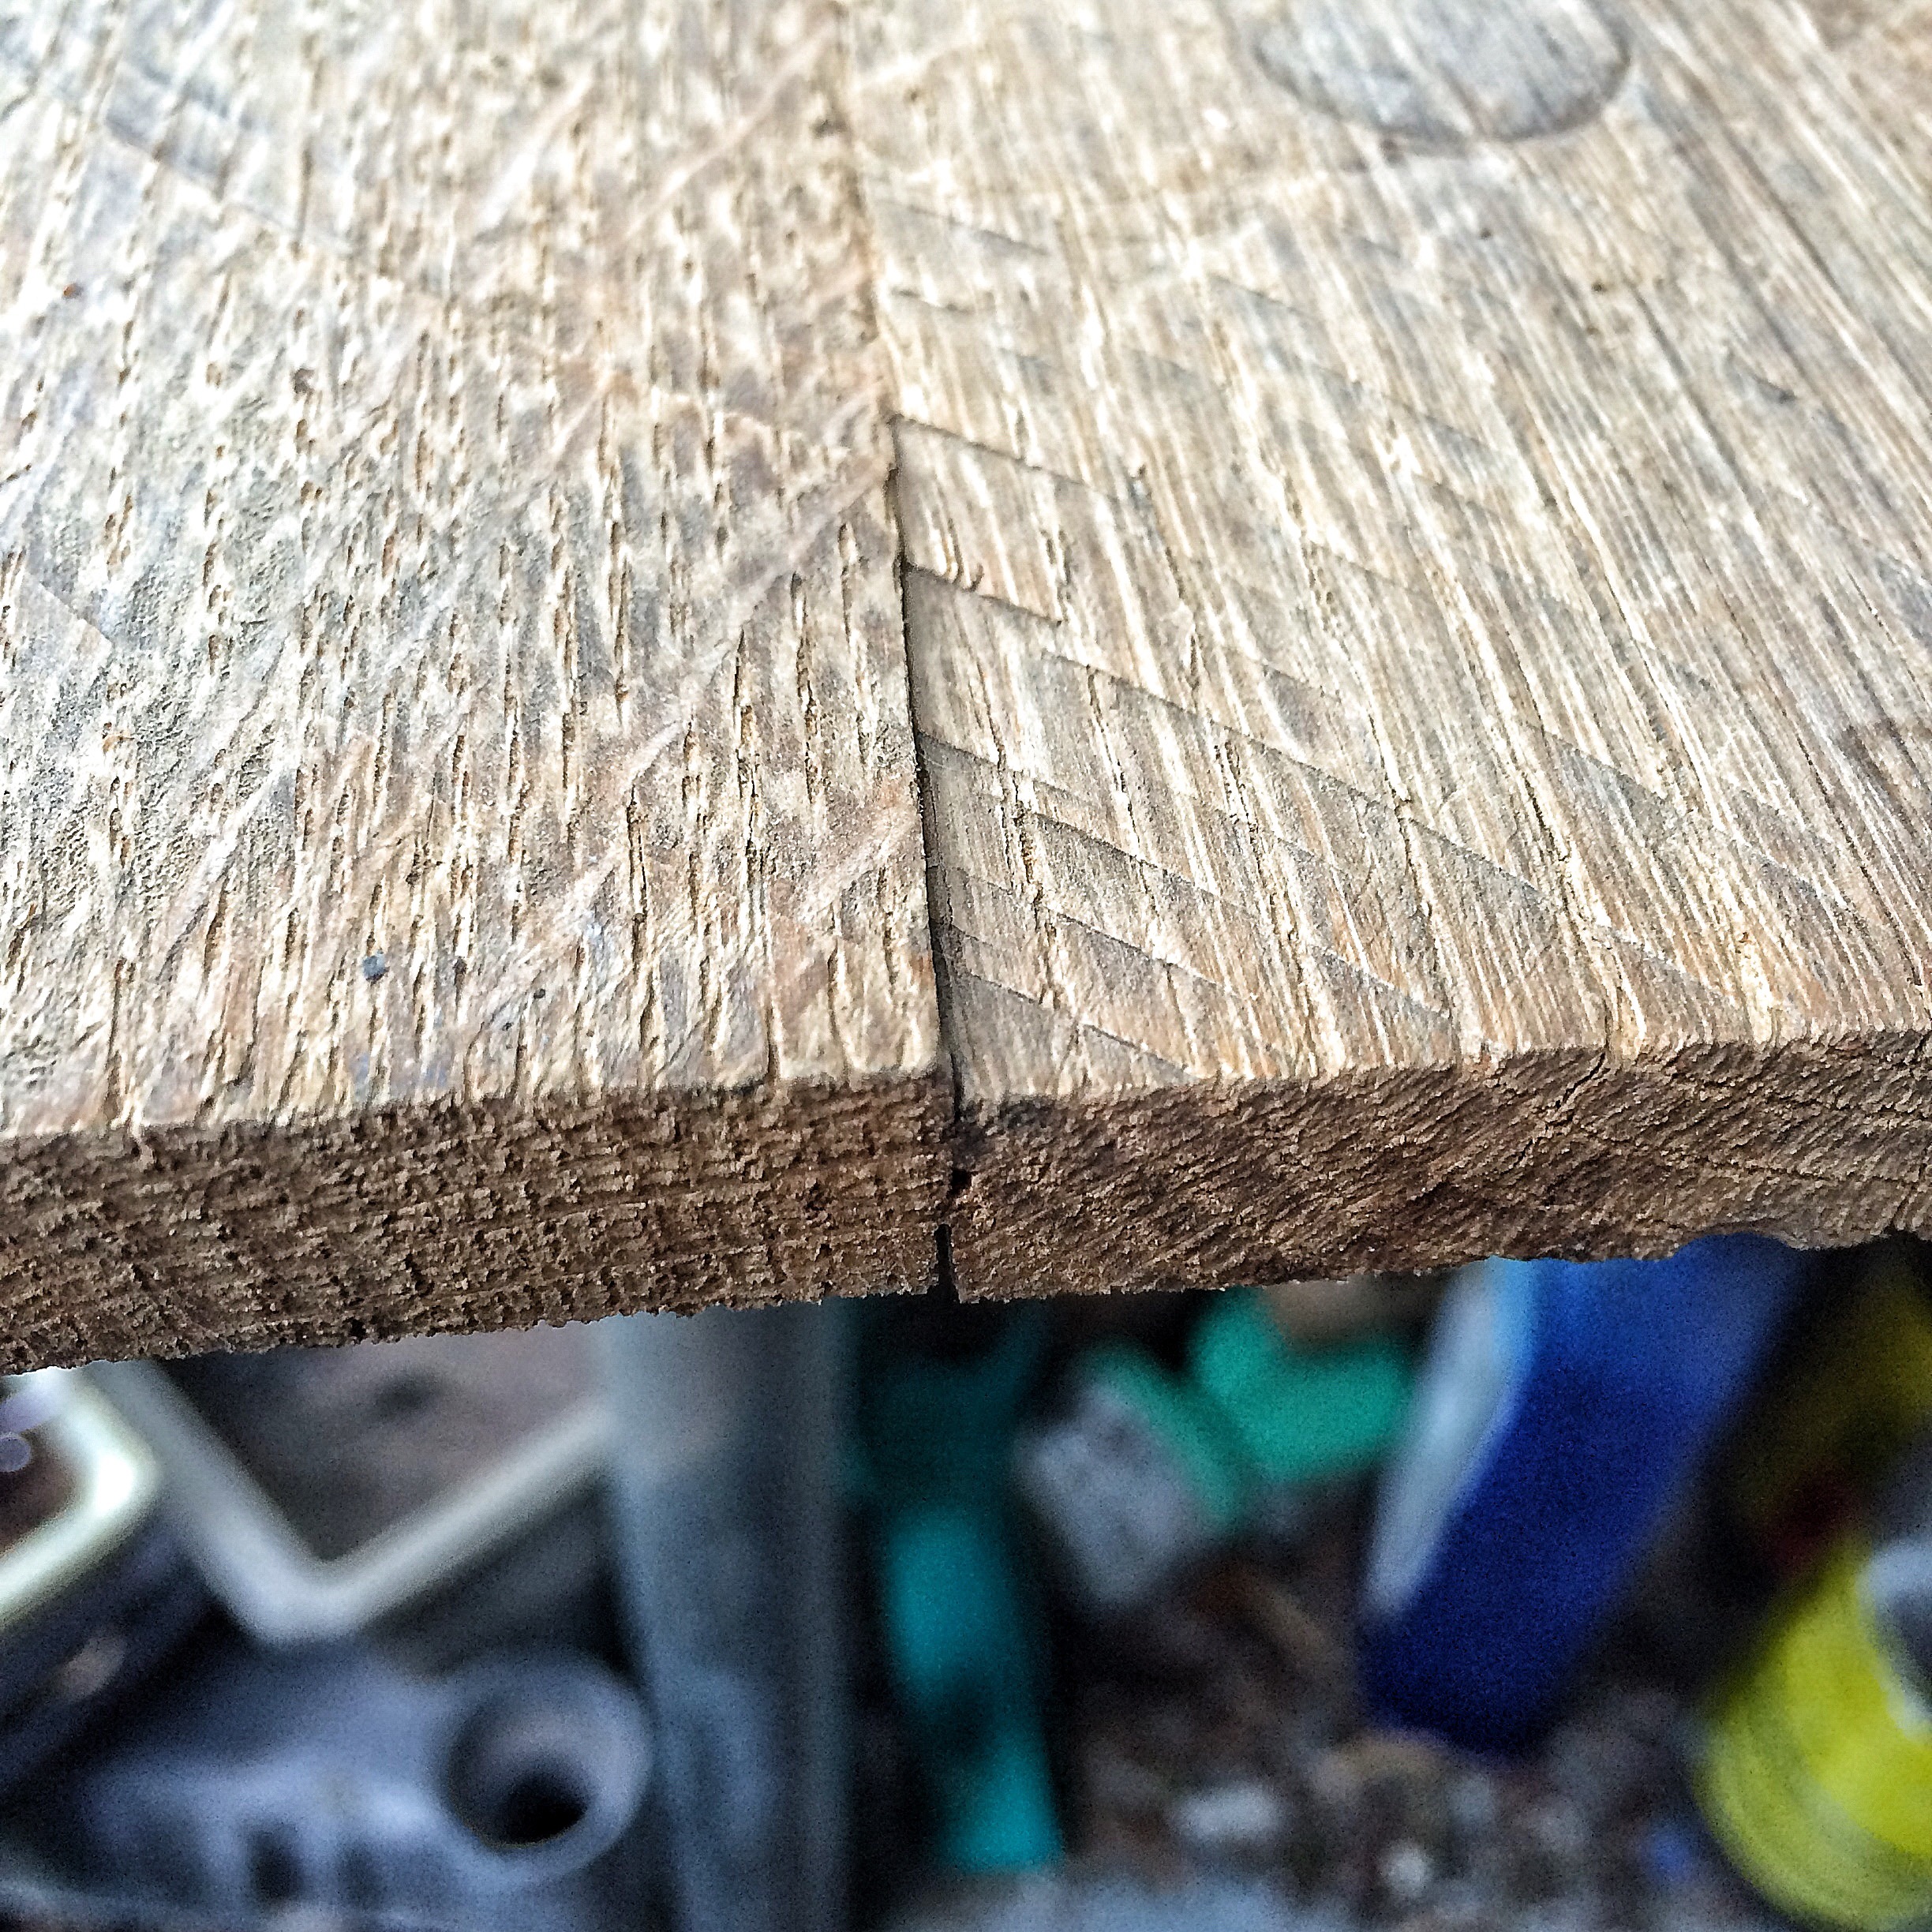 And after. Can’t even tell where it is, hardly.
  The whole board after carving.
 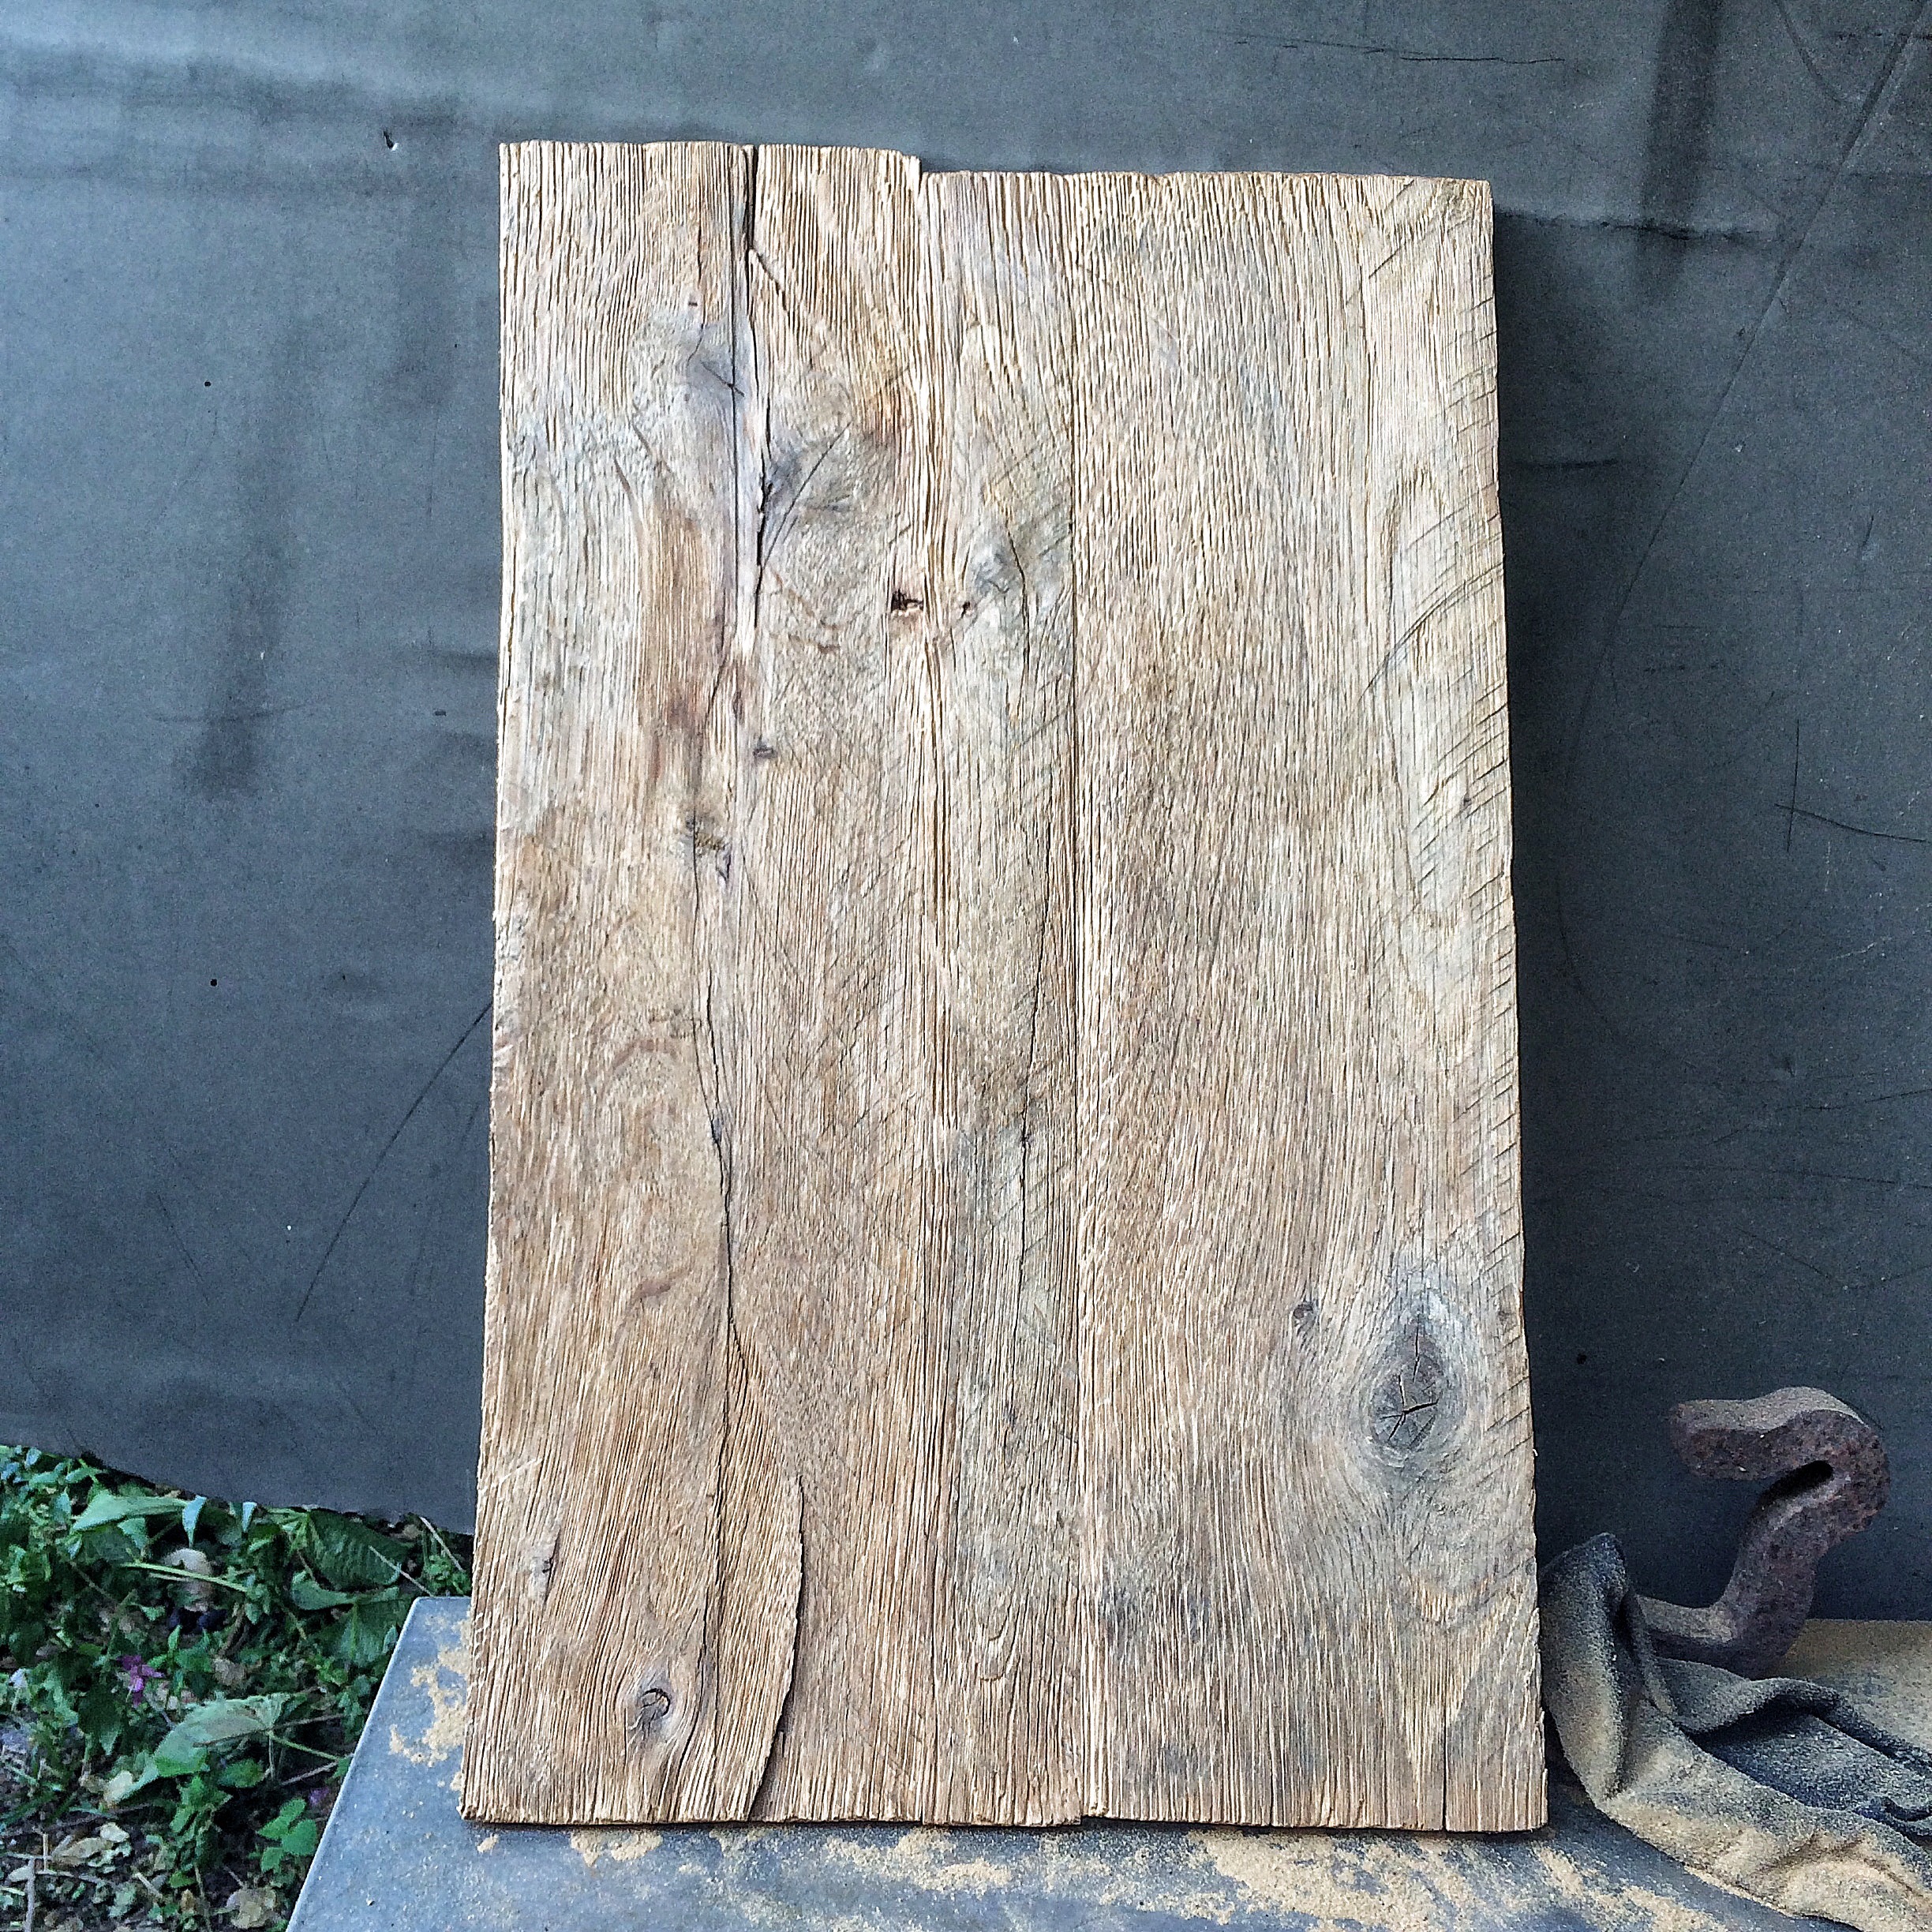 Now, for my homemade stain. Let’s see what happens.
 Wow. It’s still wet but that is amazing. I’ll go water the trees and we’ll come back to it in a few hours when dry…….water, sprinkle, soak………………done! Ready?
 The board on top is a raw oak plank to give you an idea the original color. I’m liking it. Now for a lacquer (semi gloss) finish.
 It’s still a little too glossy so, in between coats I’ll use the old wire brush to dull it down.
  That’s better.
 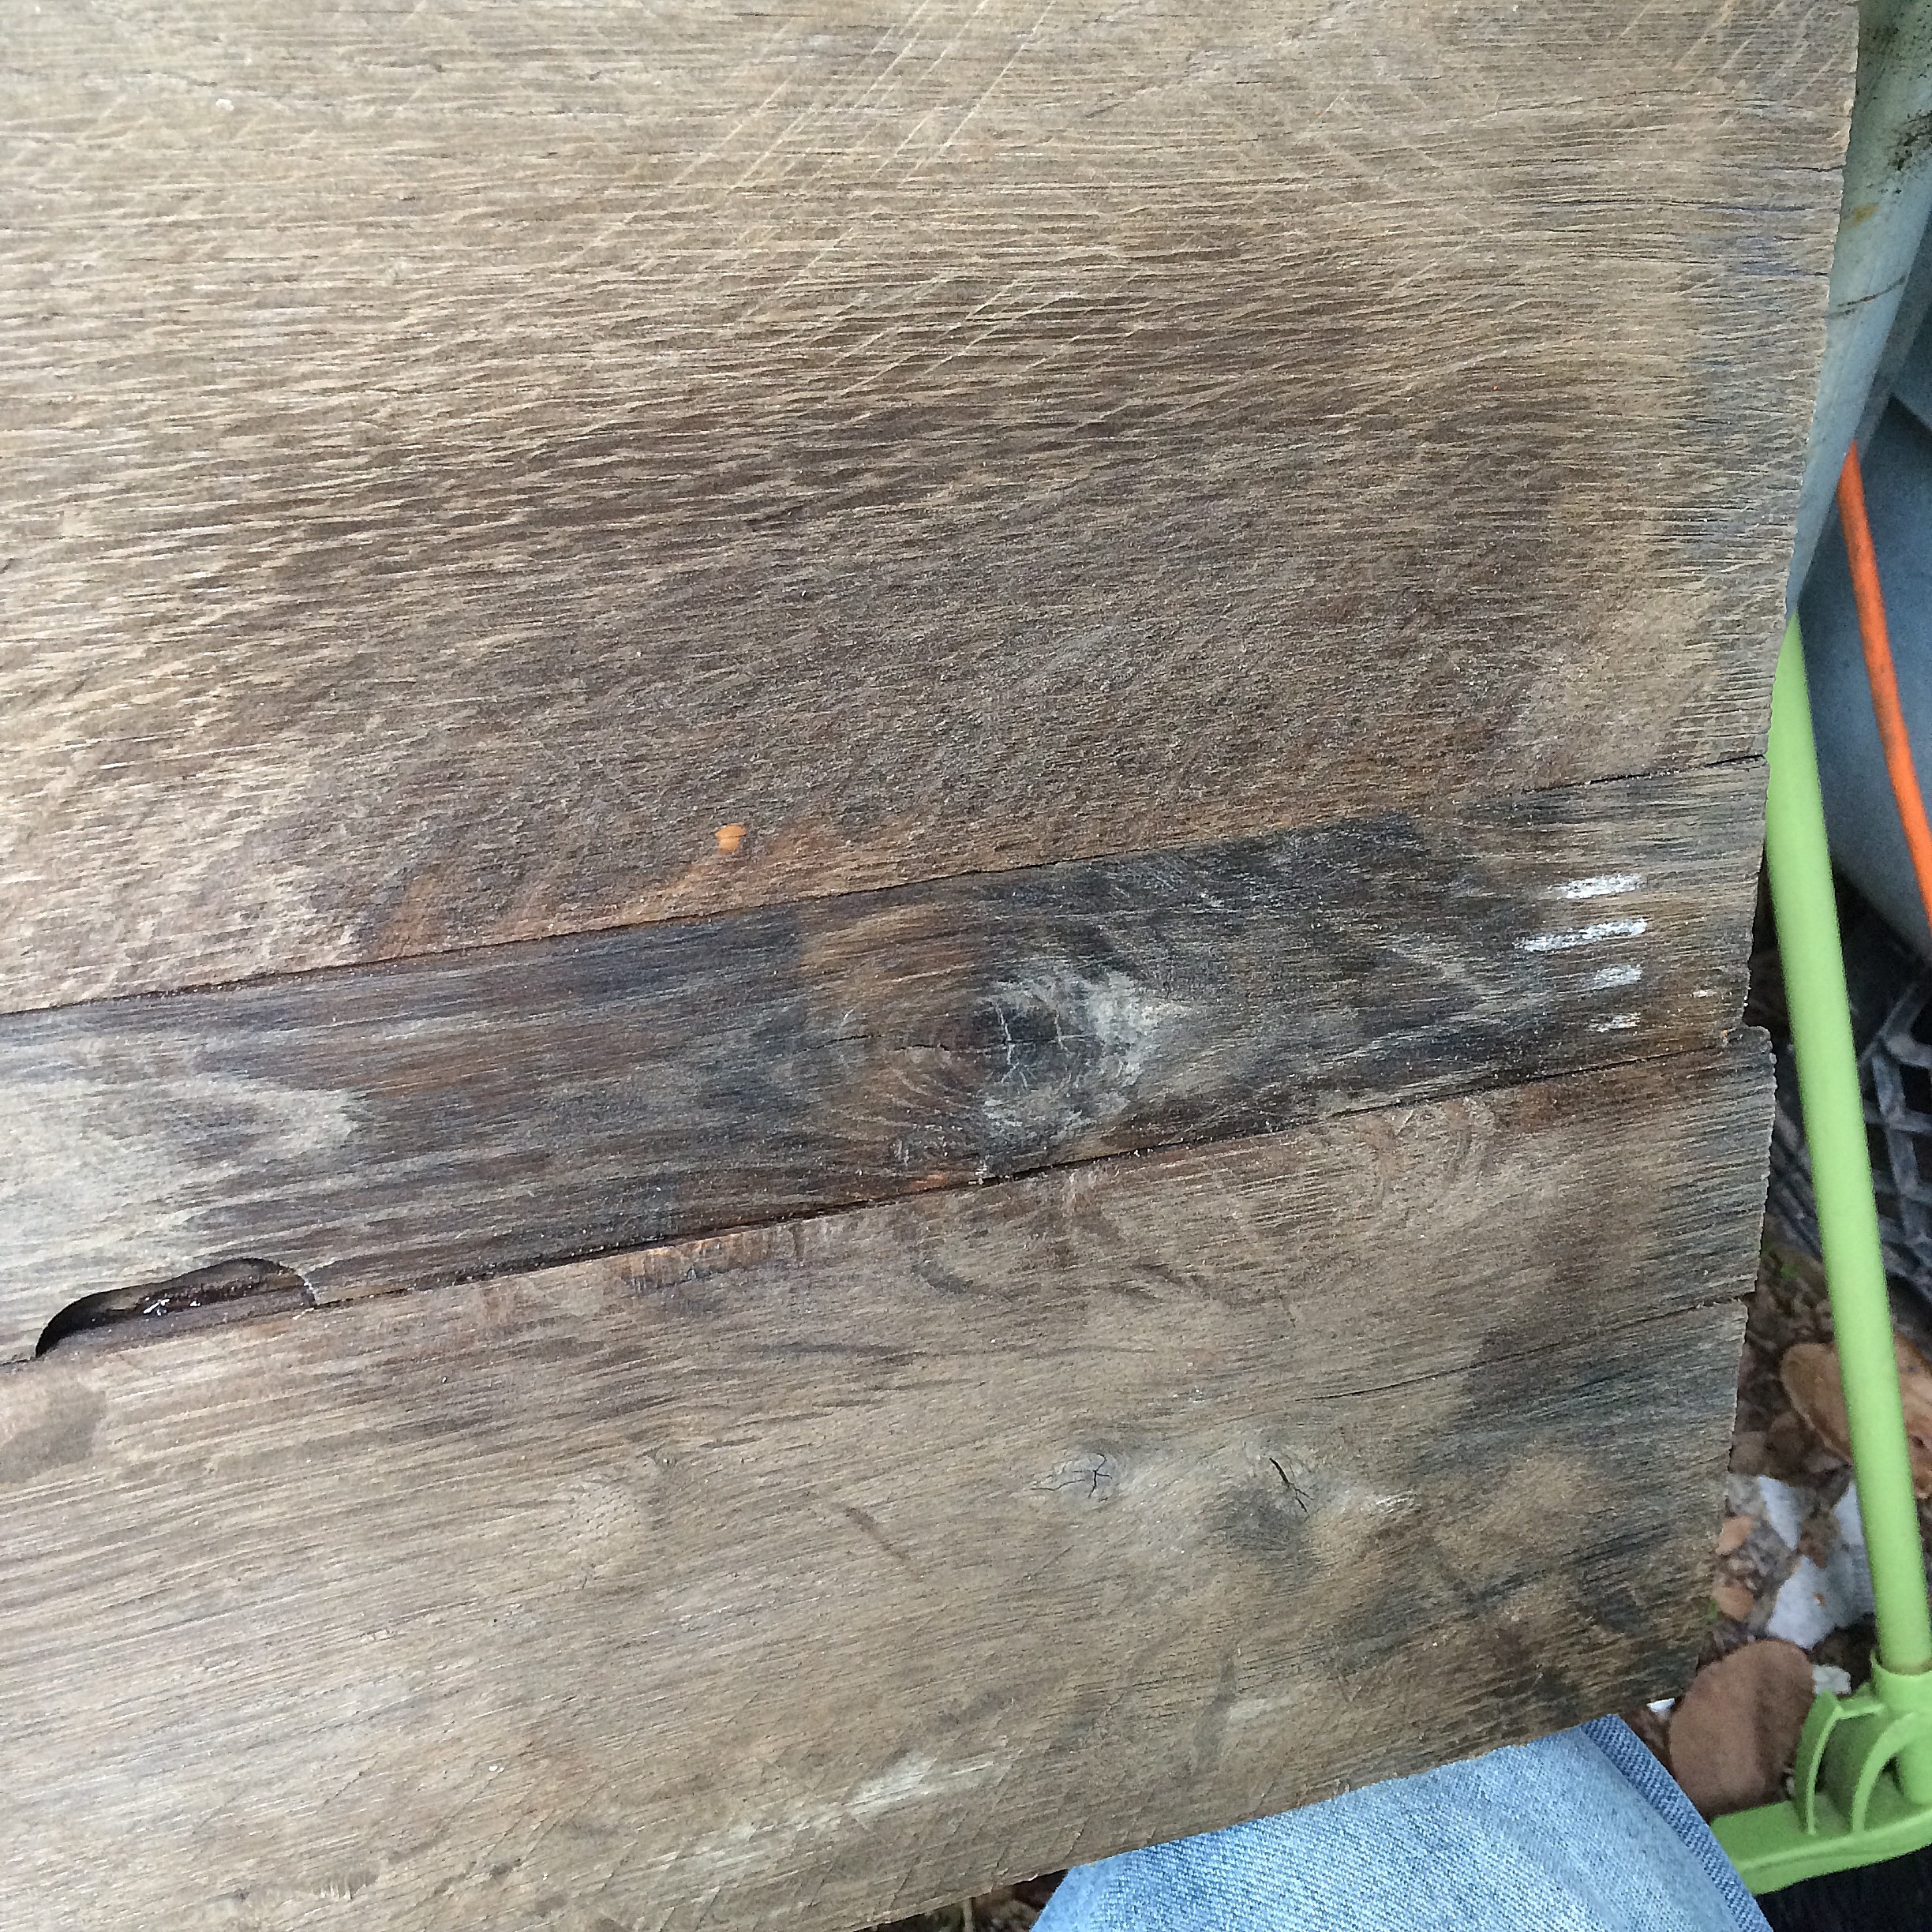 Three coats later….
Oh yeah, I’m liking it!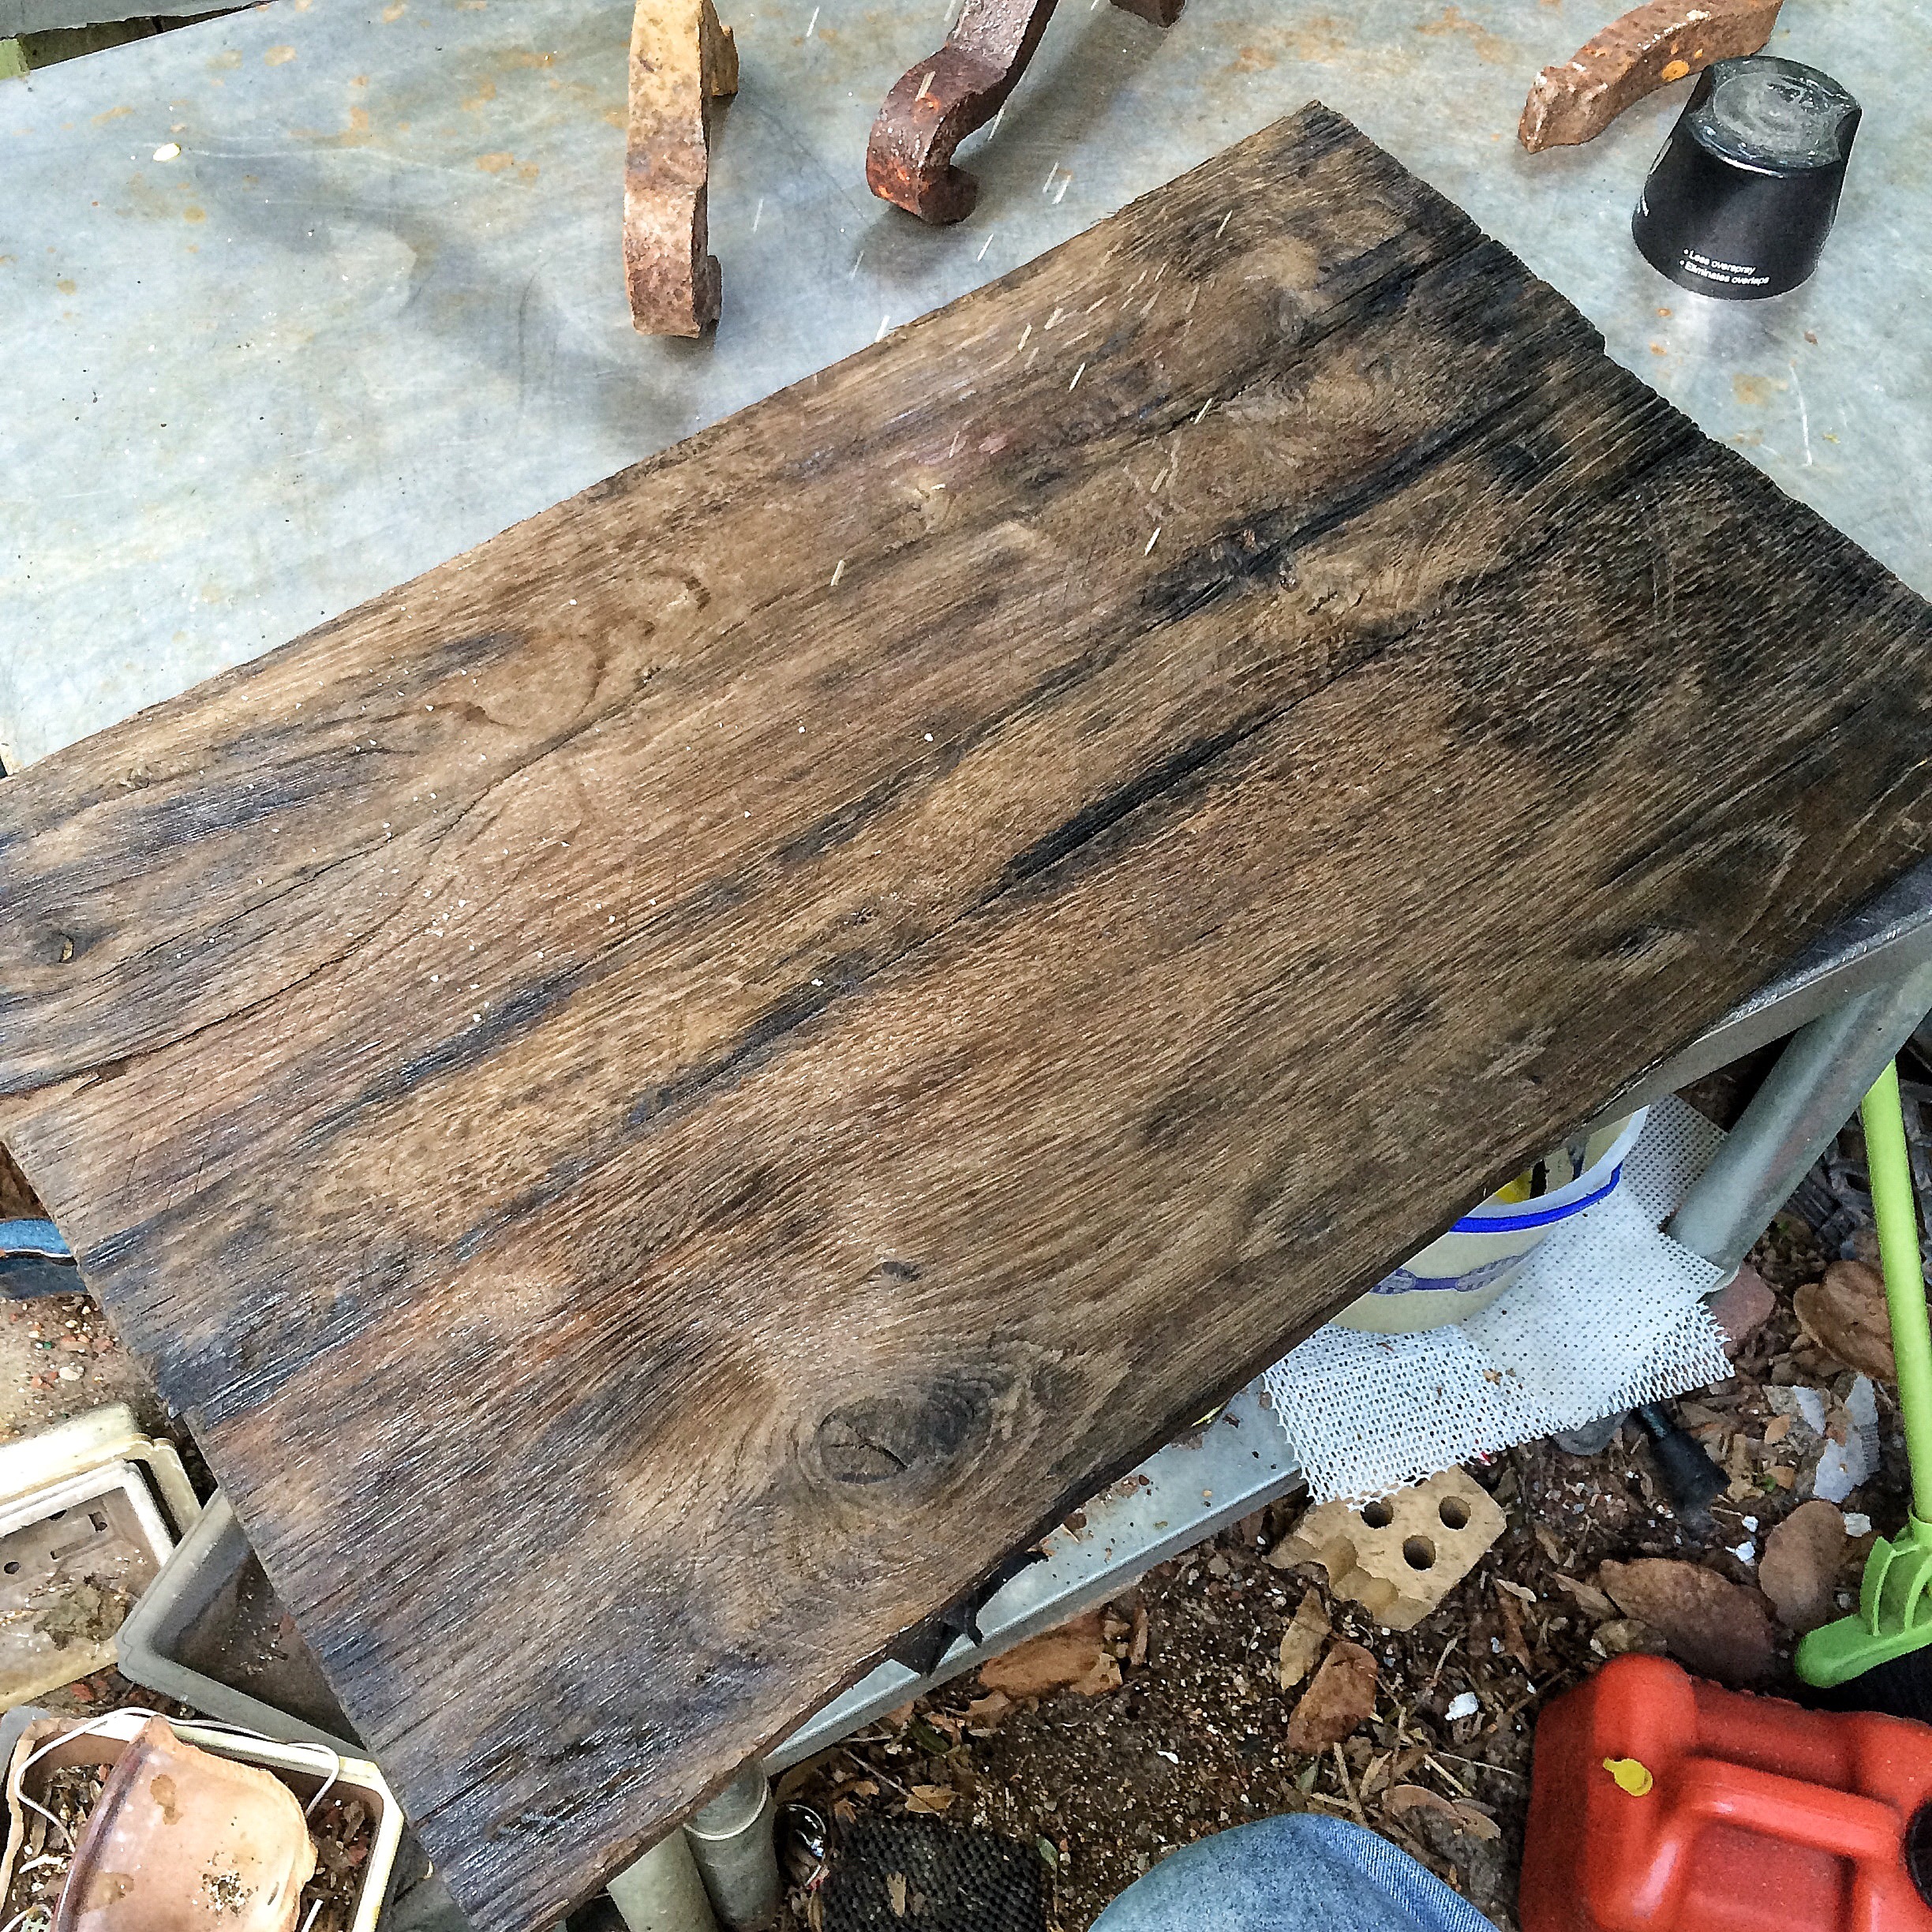 Here’s the raw board again for contrast.
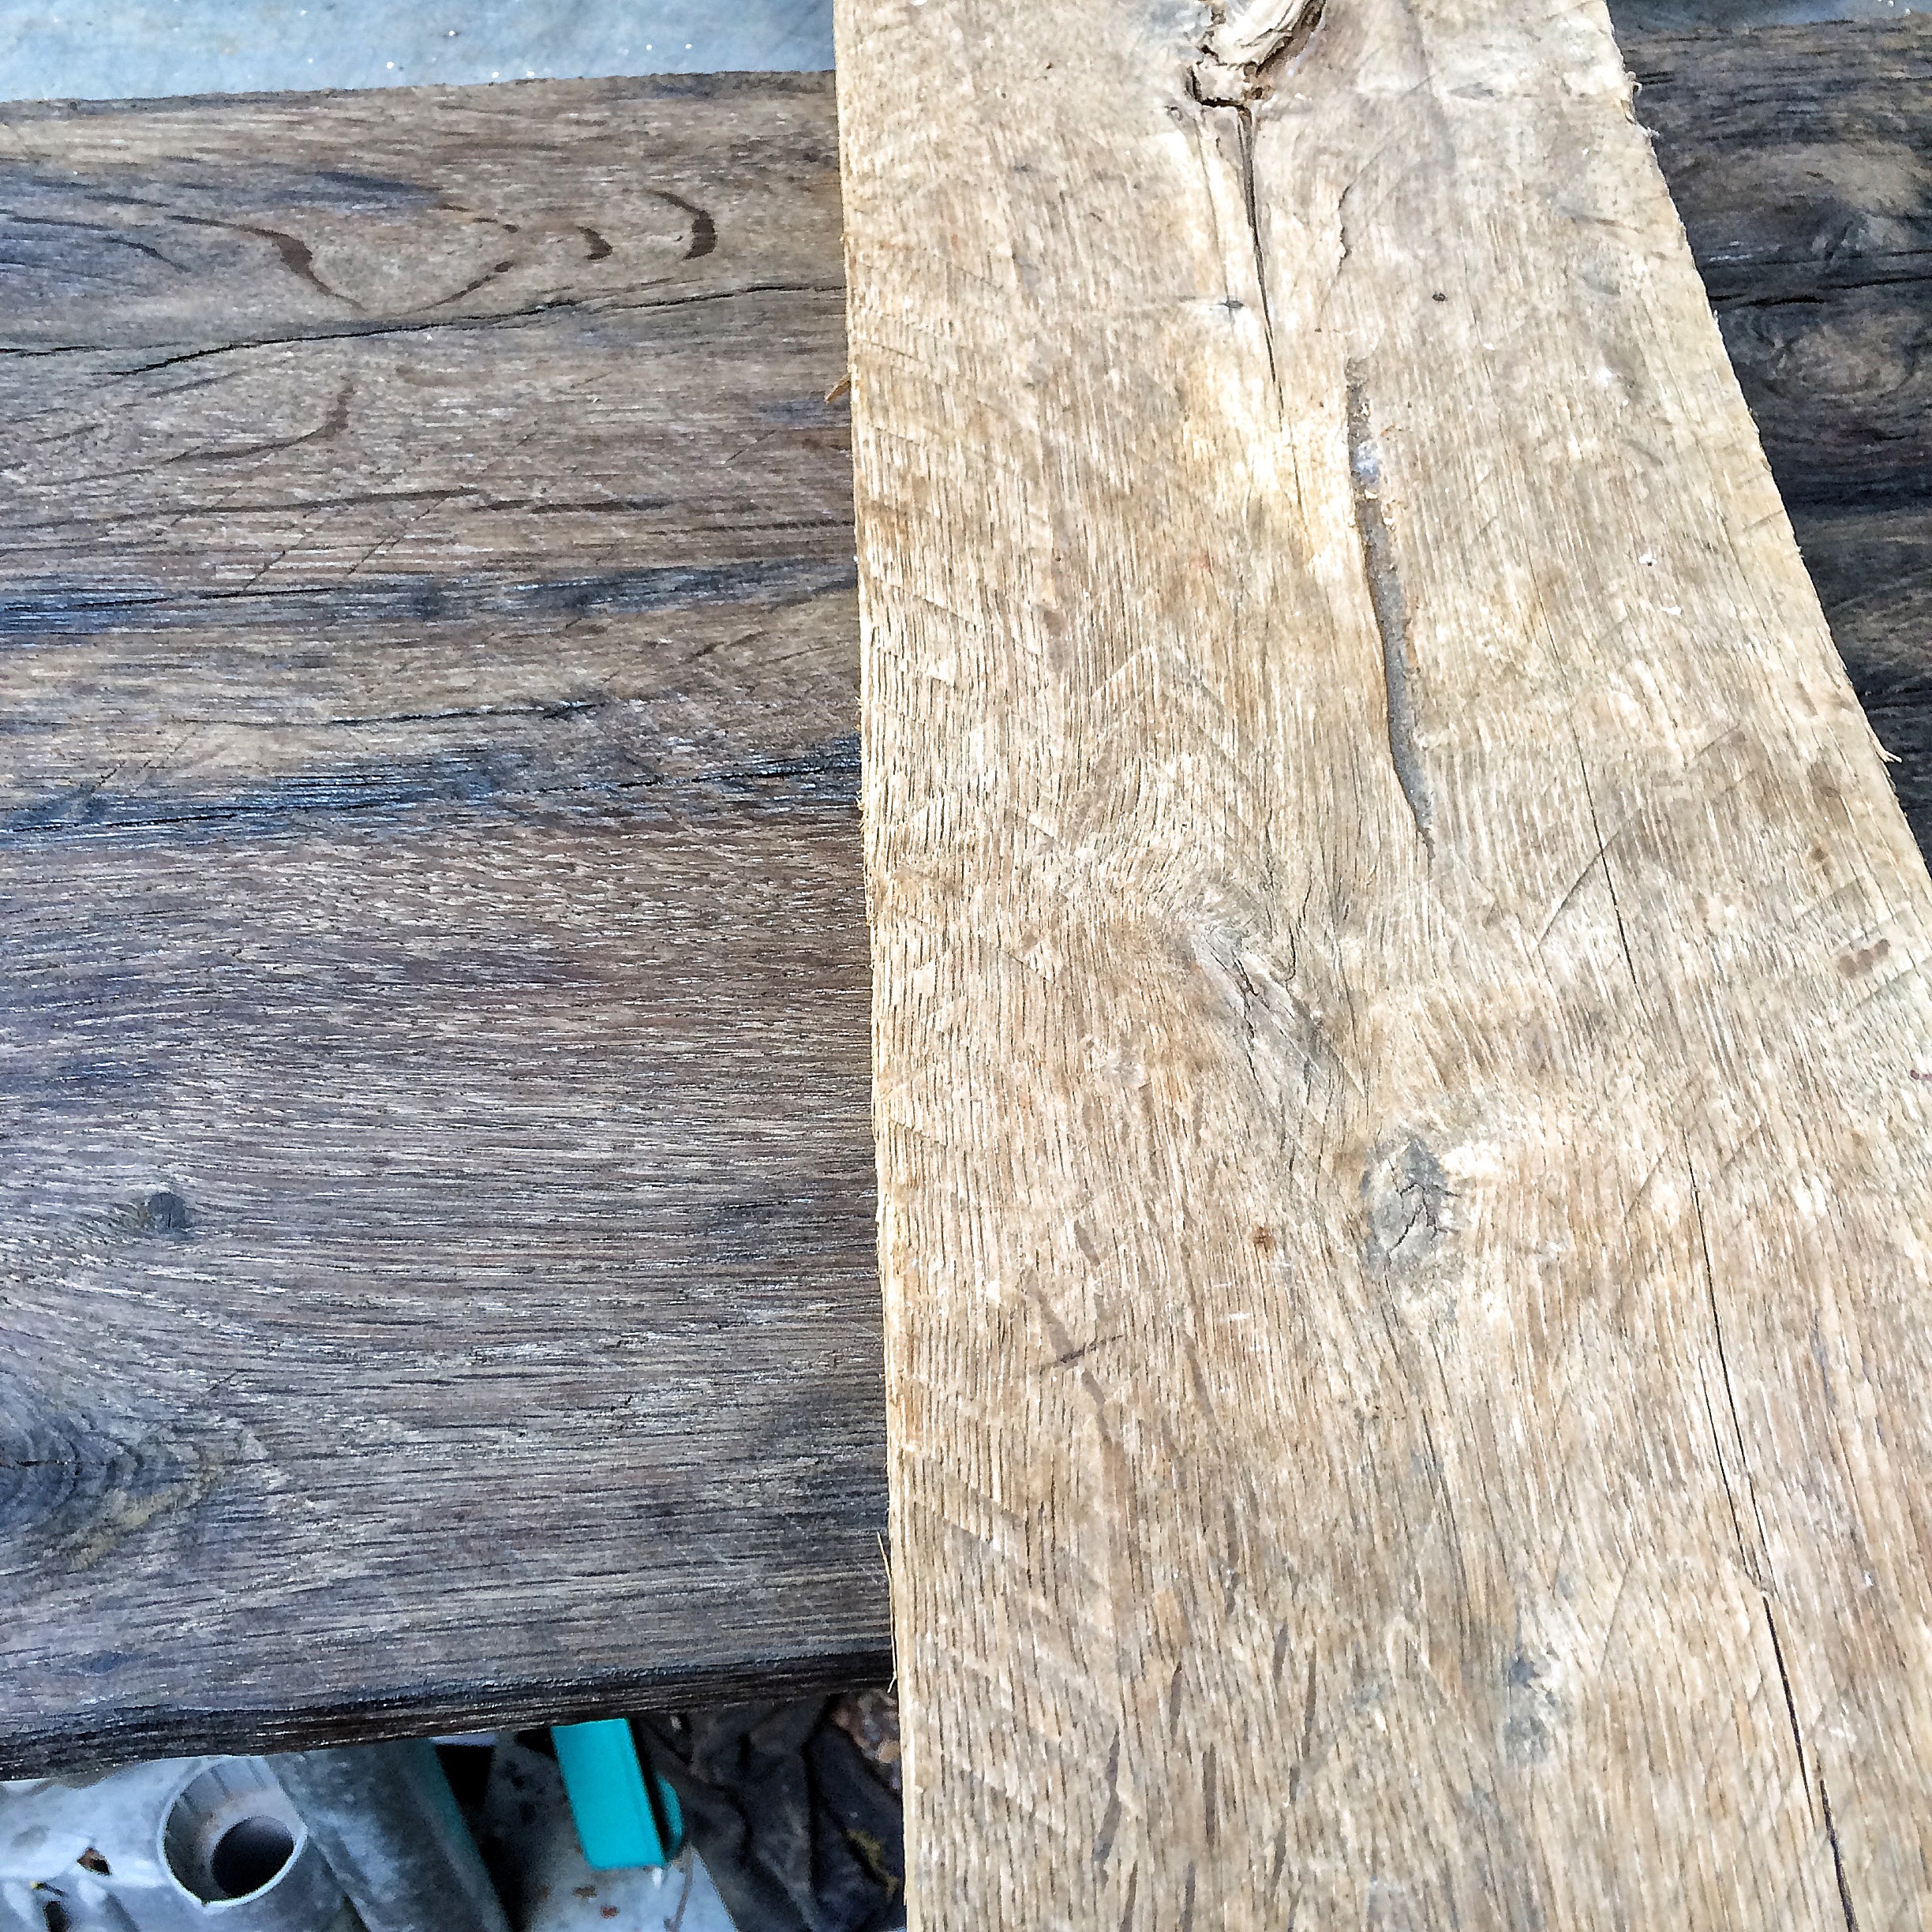 Just what I was looking for. Now here’s the cool part: my friend Paul and my bro-in-law Steve were over a few days ago and we got to talking about my stand. I was going to just make oak feet and recess them into the bottom. We got to talking about the idea of this stand and Steve said “Do you still have that bucket of railroad parts?”
The railroad parts are perfect; the tree being a Florida native and in a live oak style, goes with the story perfectly. The railroad is a major player in Florida history. In fact, without it, Florida would be a drastically different place than it is.
I still had the parts, I dug some out and we looked at different options. Then, just a day ago, my son Andrew wanders out to The Nook and starts to look at the parts (railroad spikes and the hooks that hold the rail to the plate). We discuss drilling holes and welding washers to them to attach whatever I was going to use (I hadn’t figured it out yet) and then he picks up the hook and puts it on the board.
It was like a flash of genius. Here’s what he figured out.
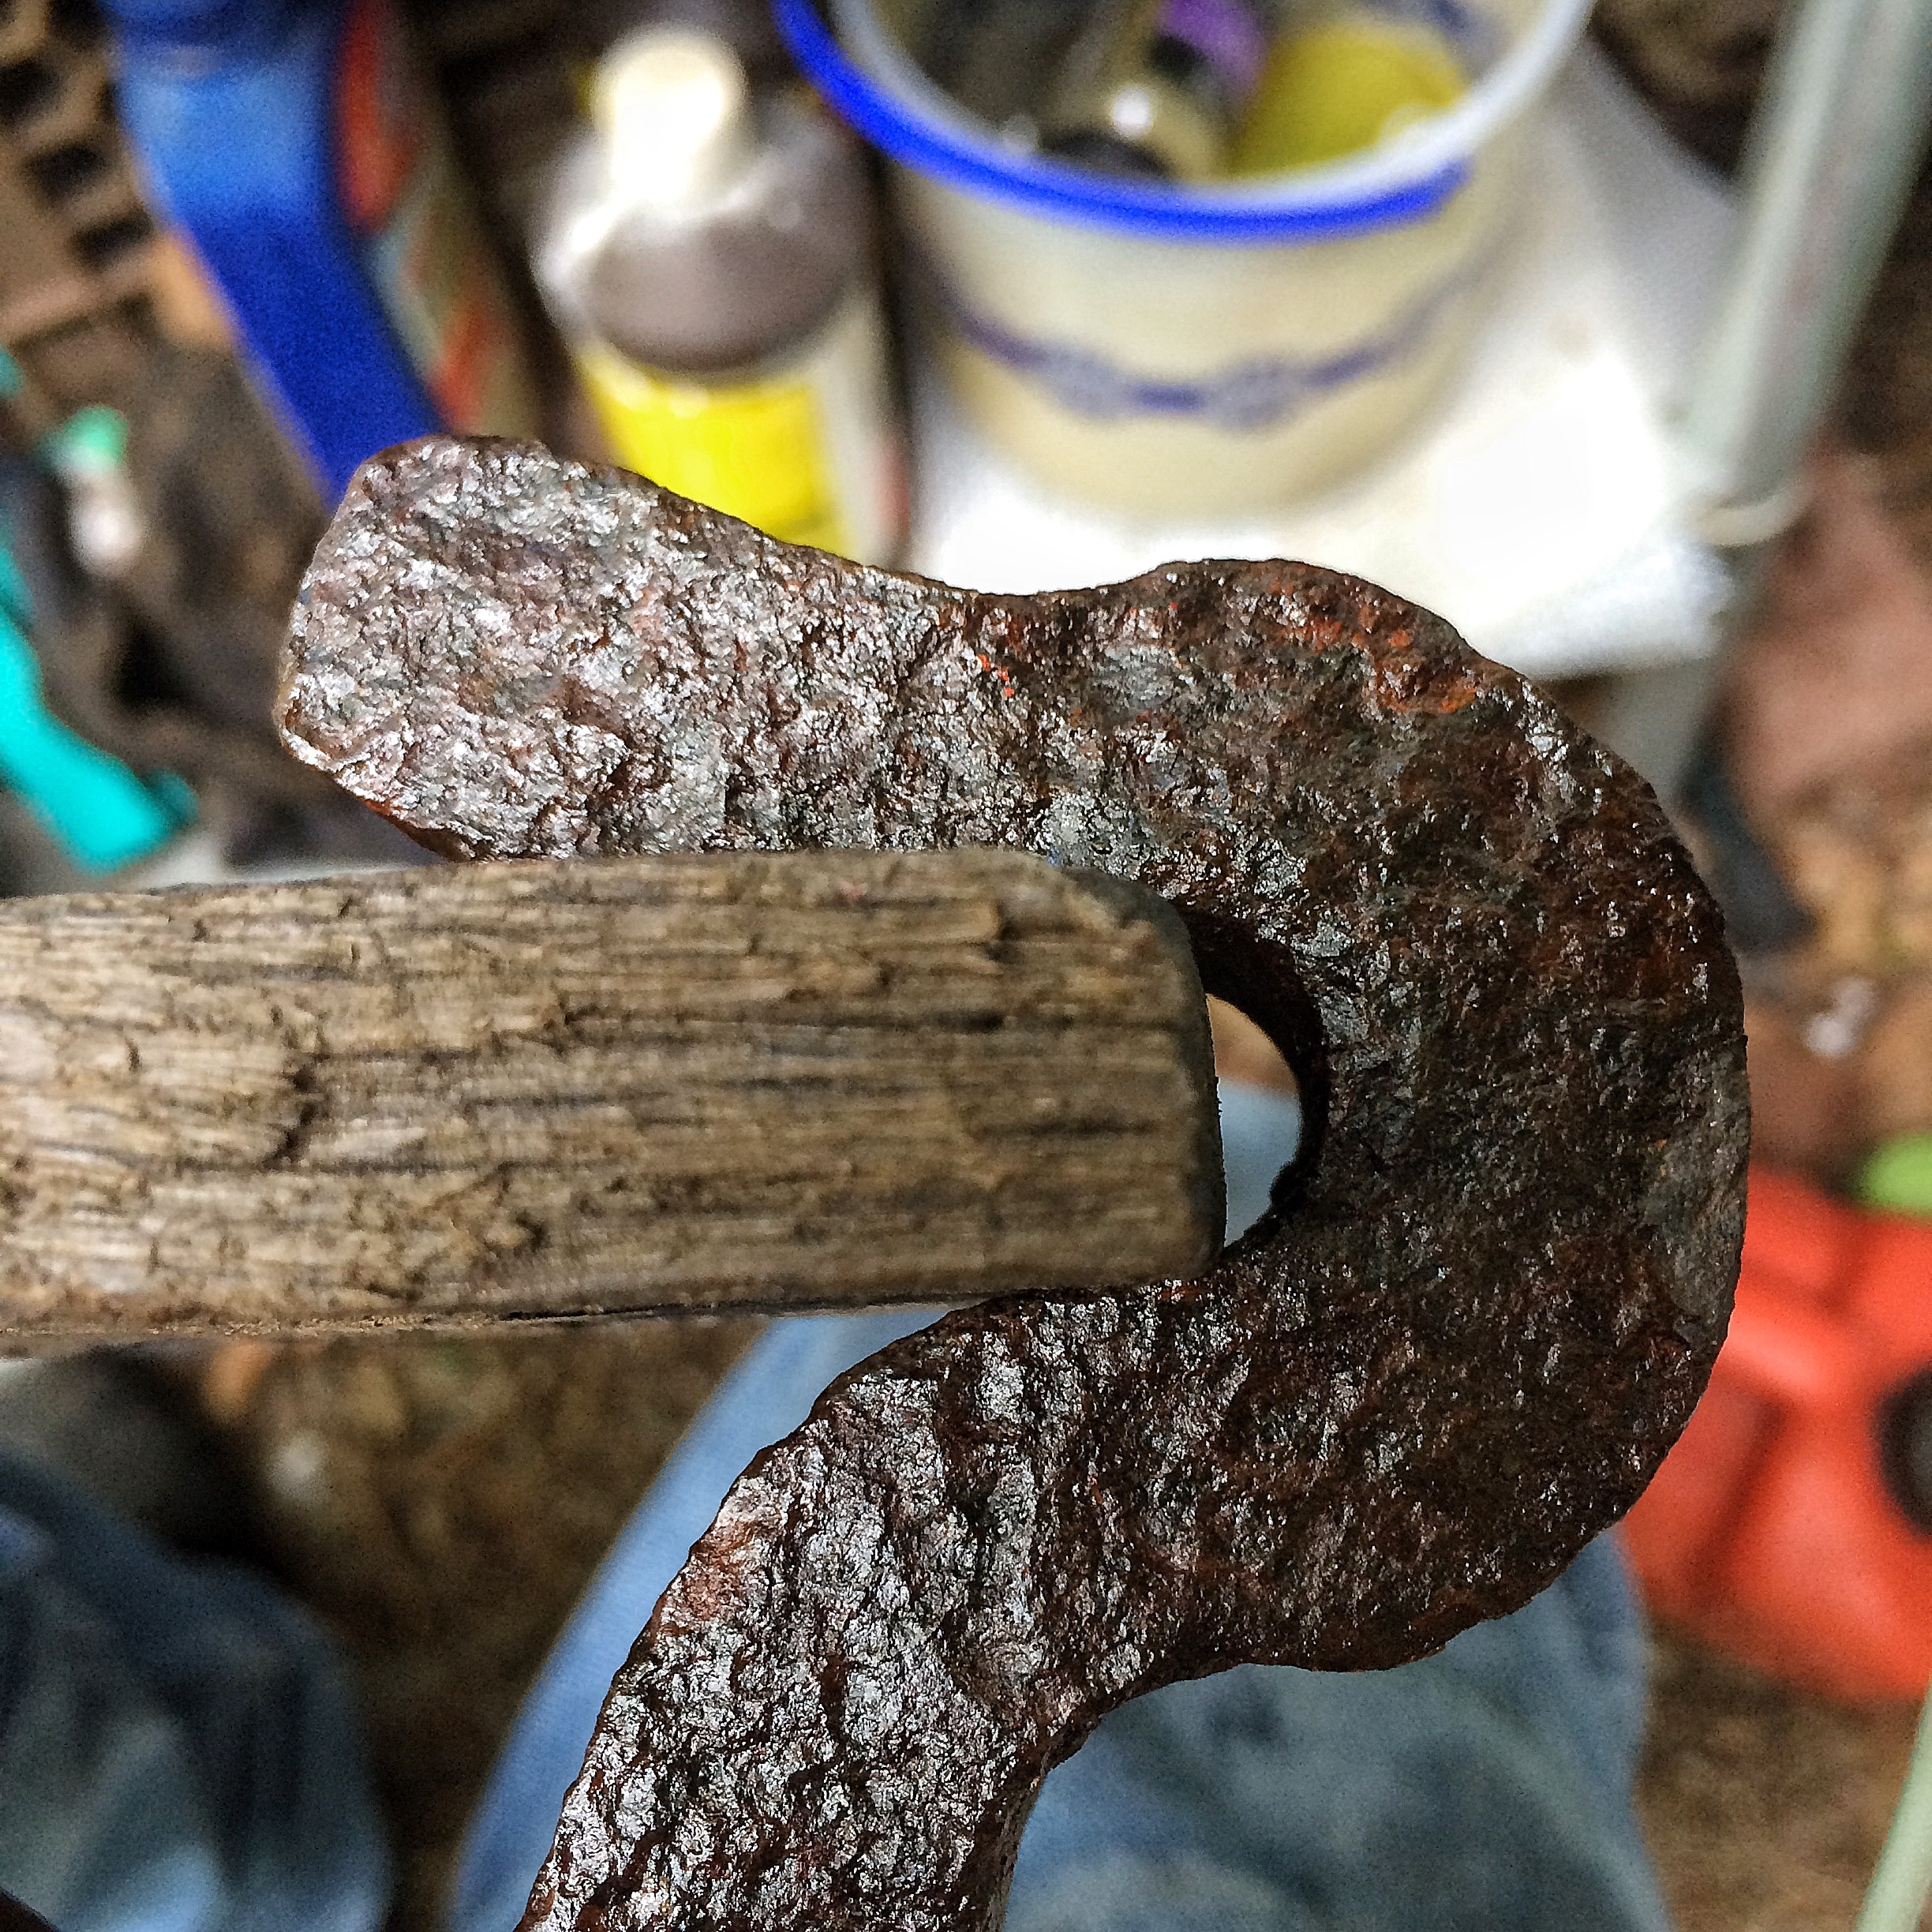
The hook.  And the placement.
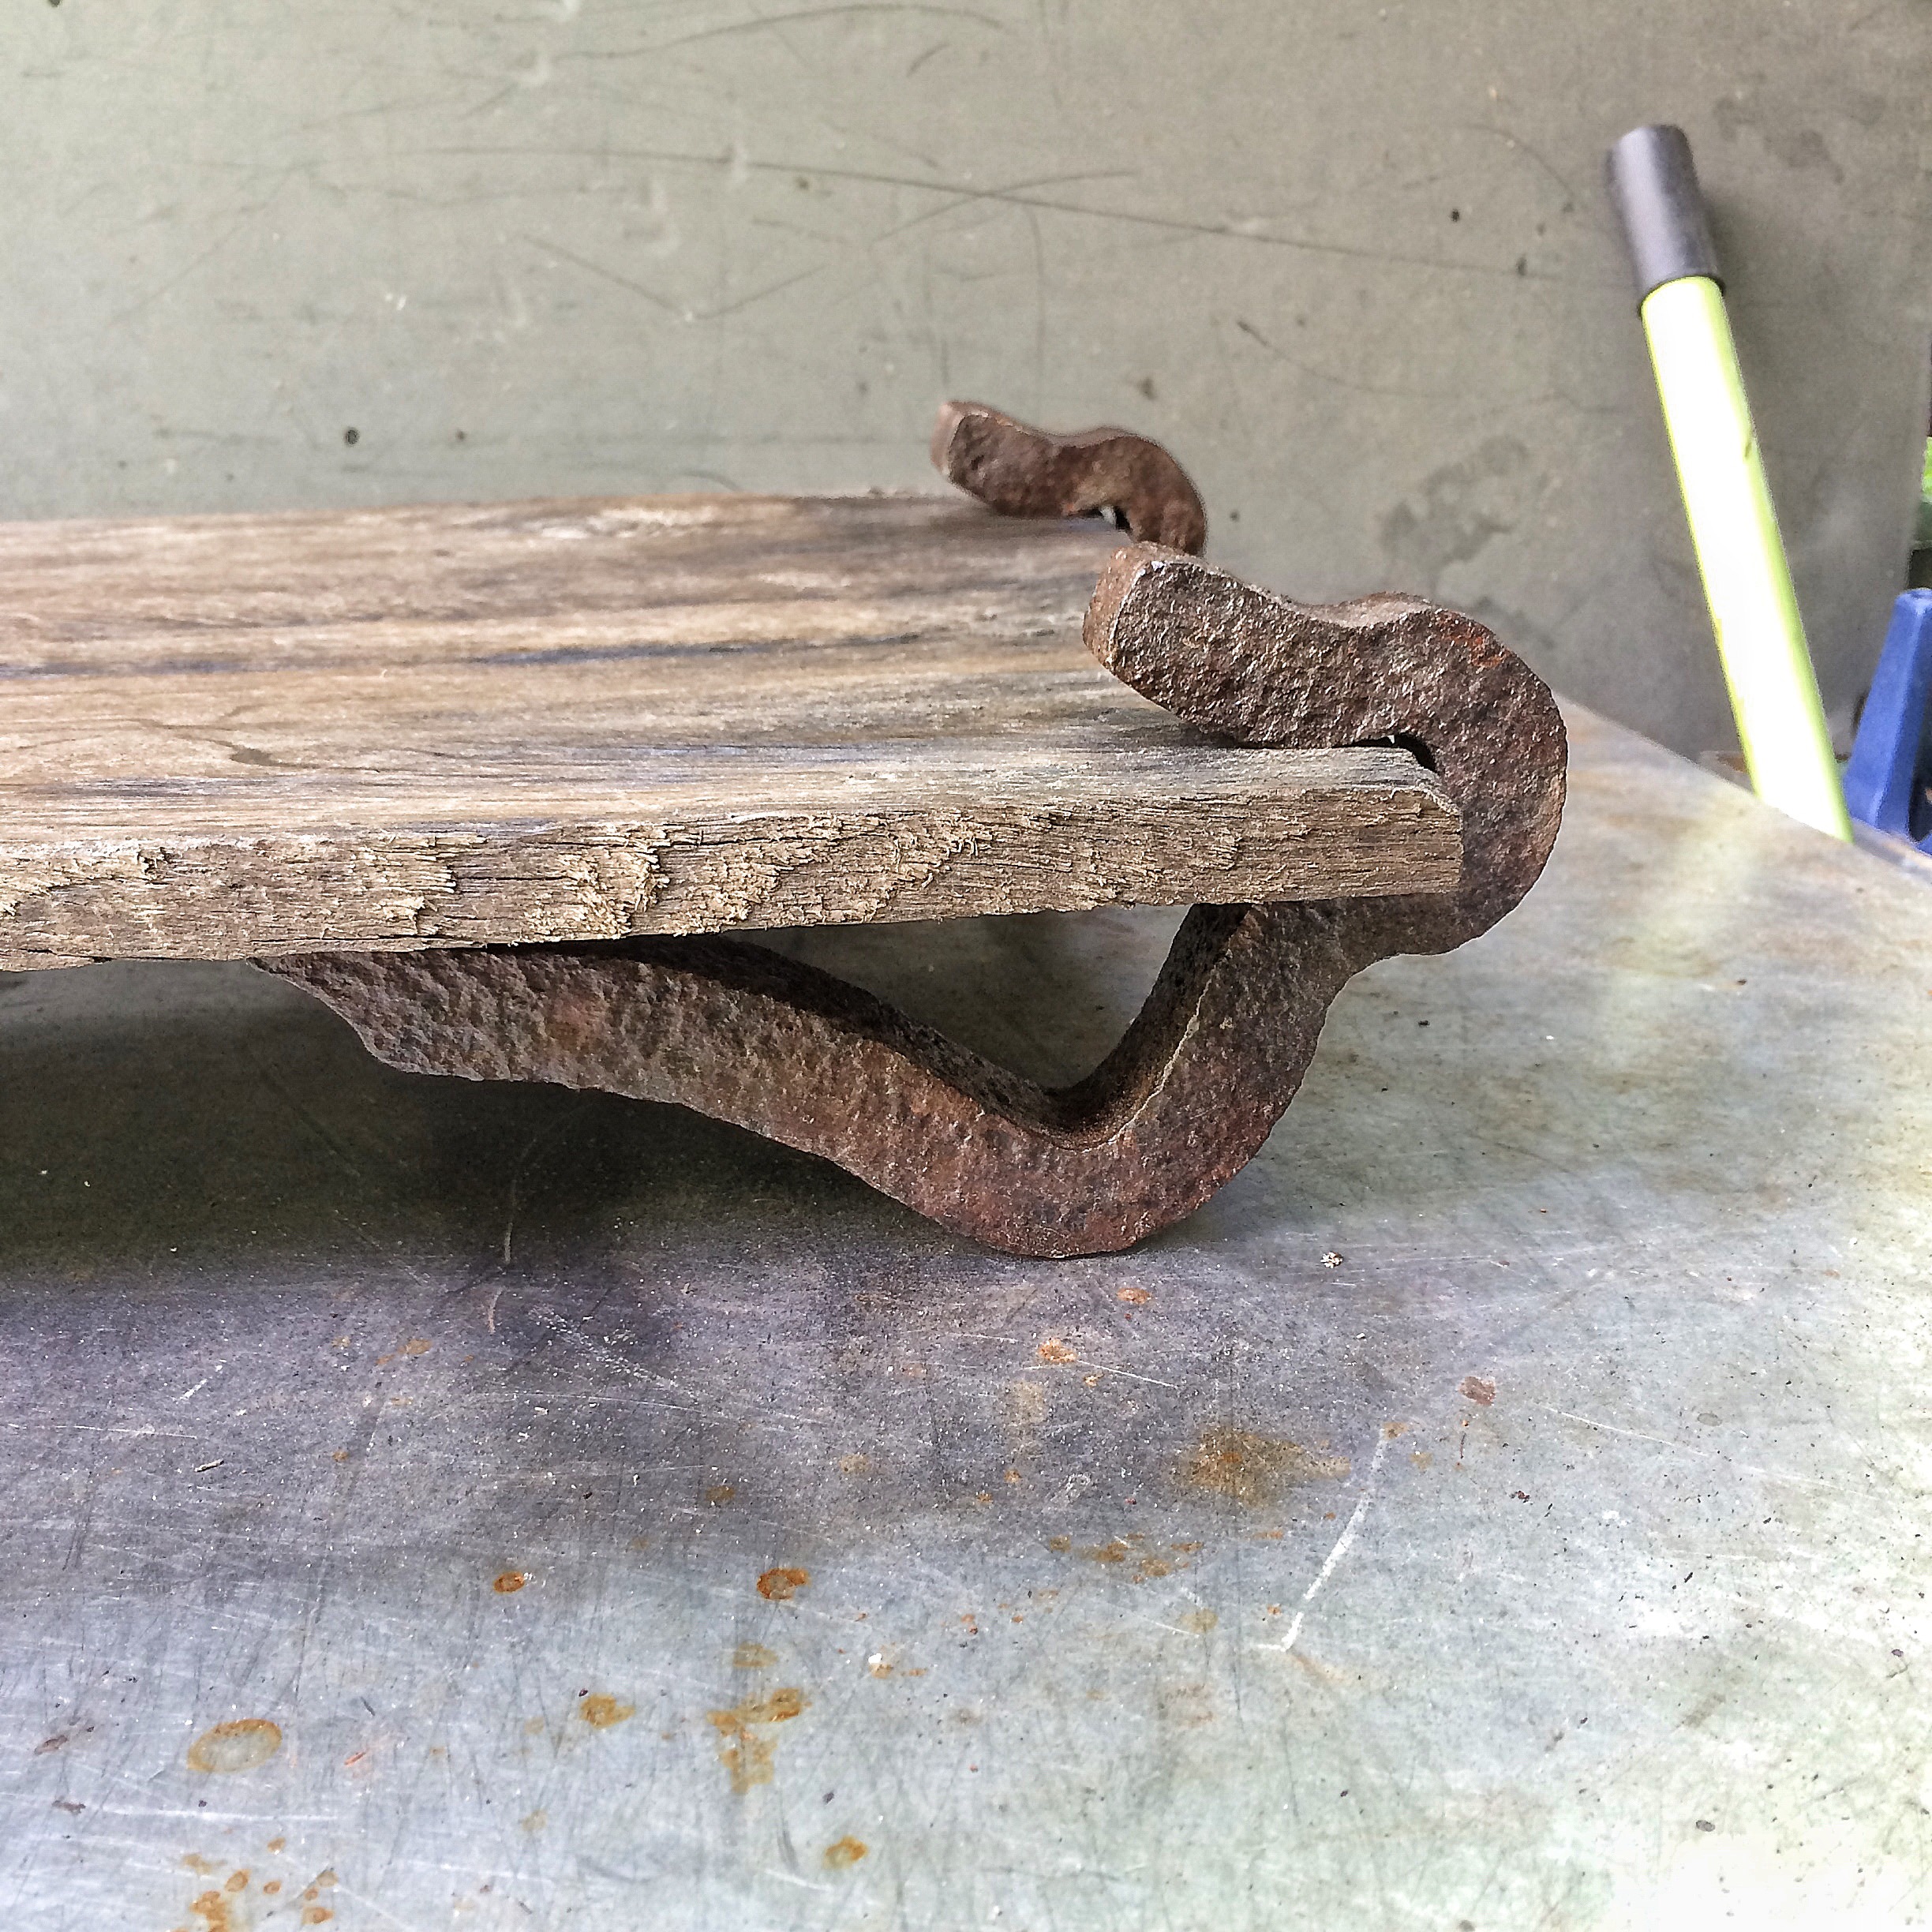
  Brilliant, my son is a chip off the ol’ block. I just need to hammer it in place to attach it. Now the question is, to lacquer or not?
  Not bad looking. Let’s compare.
 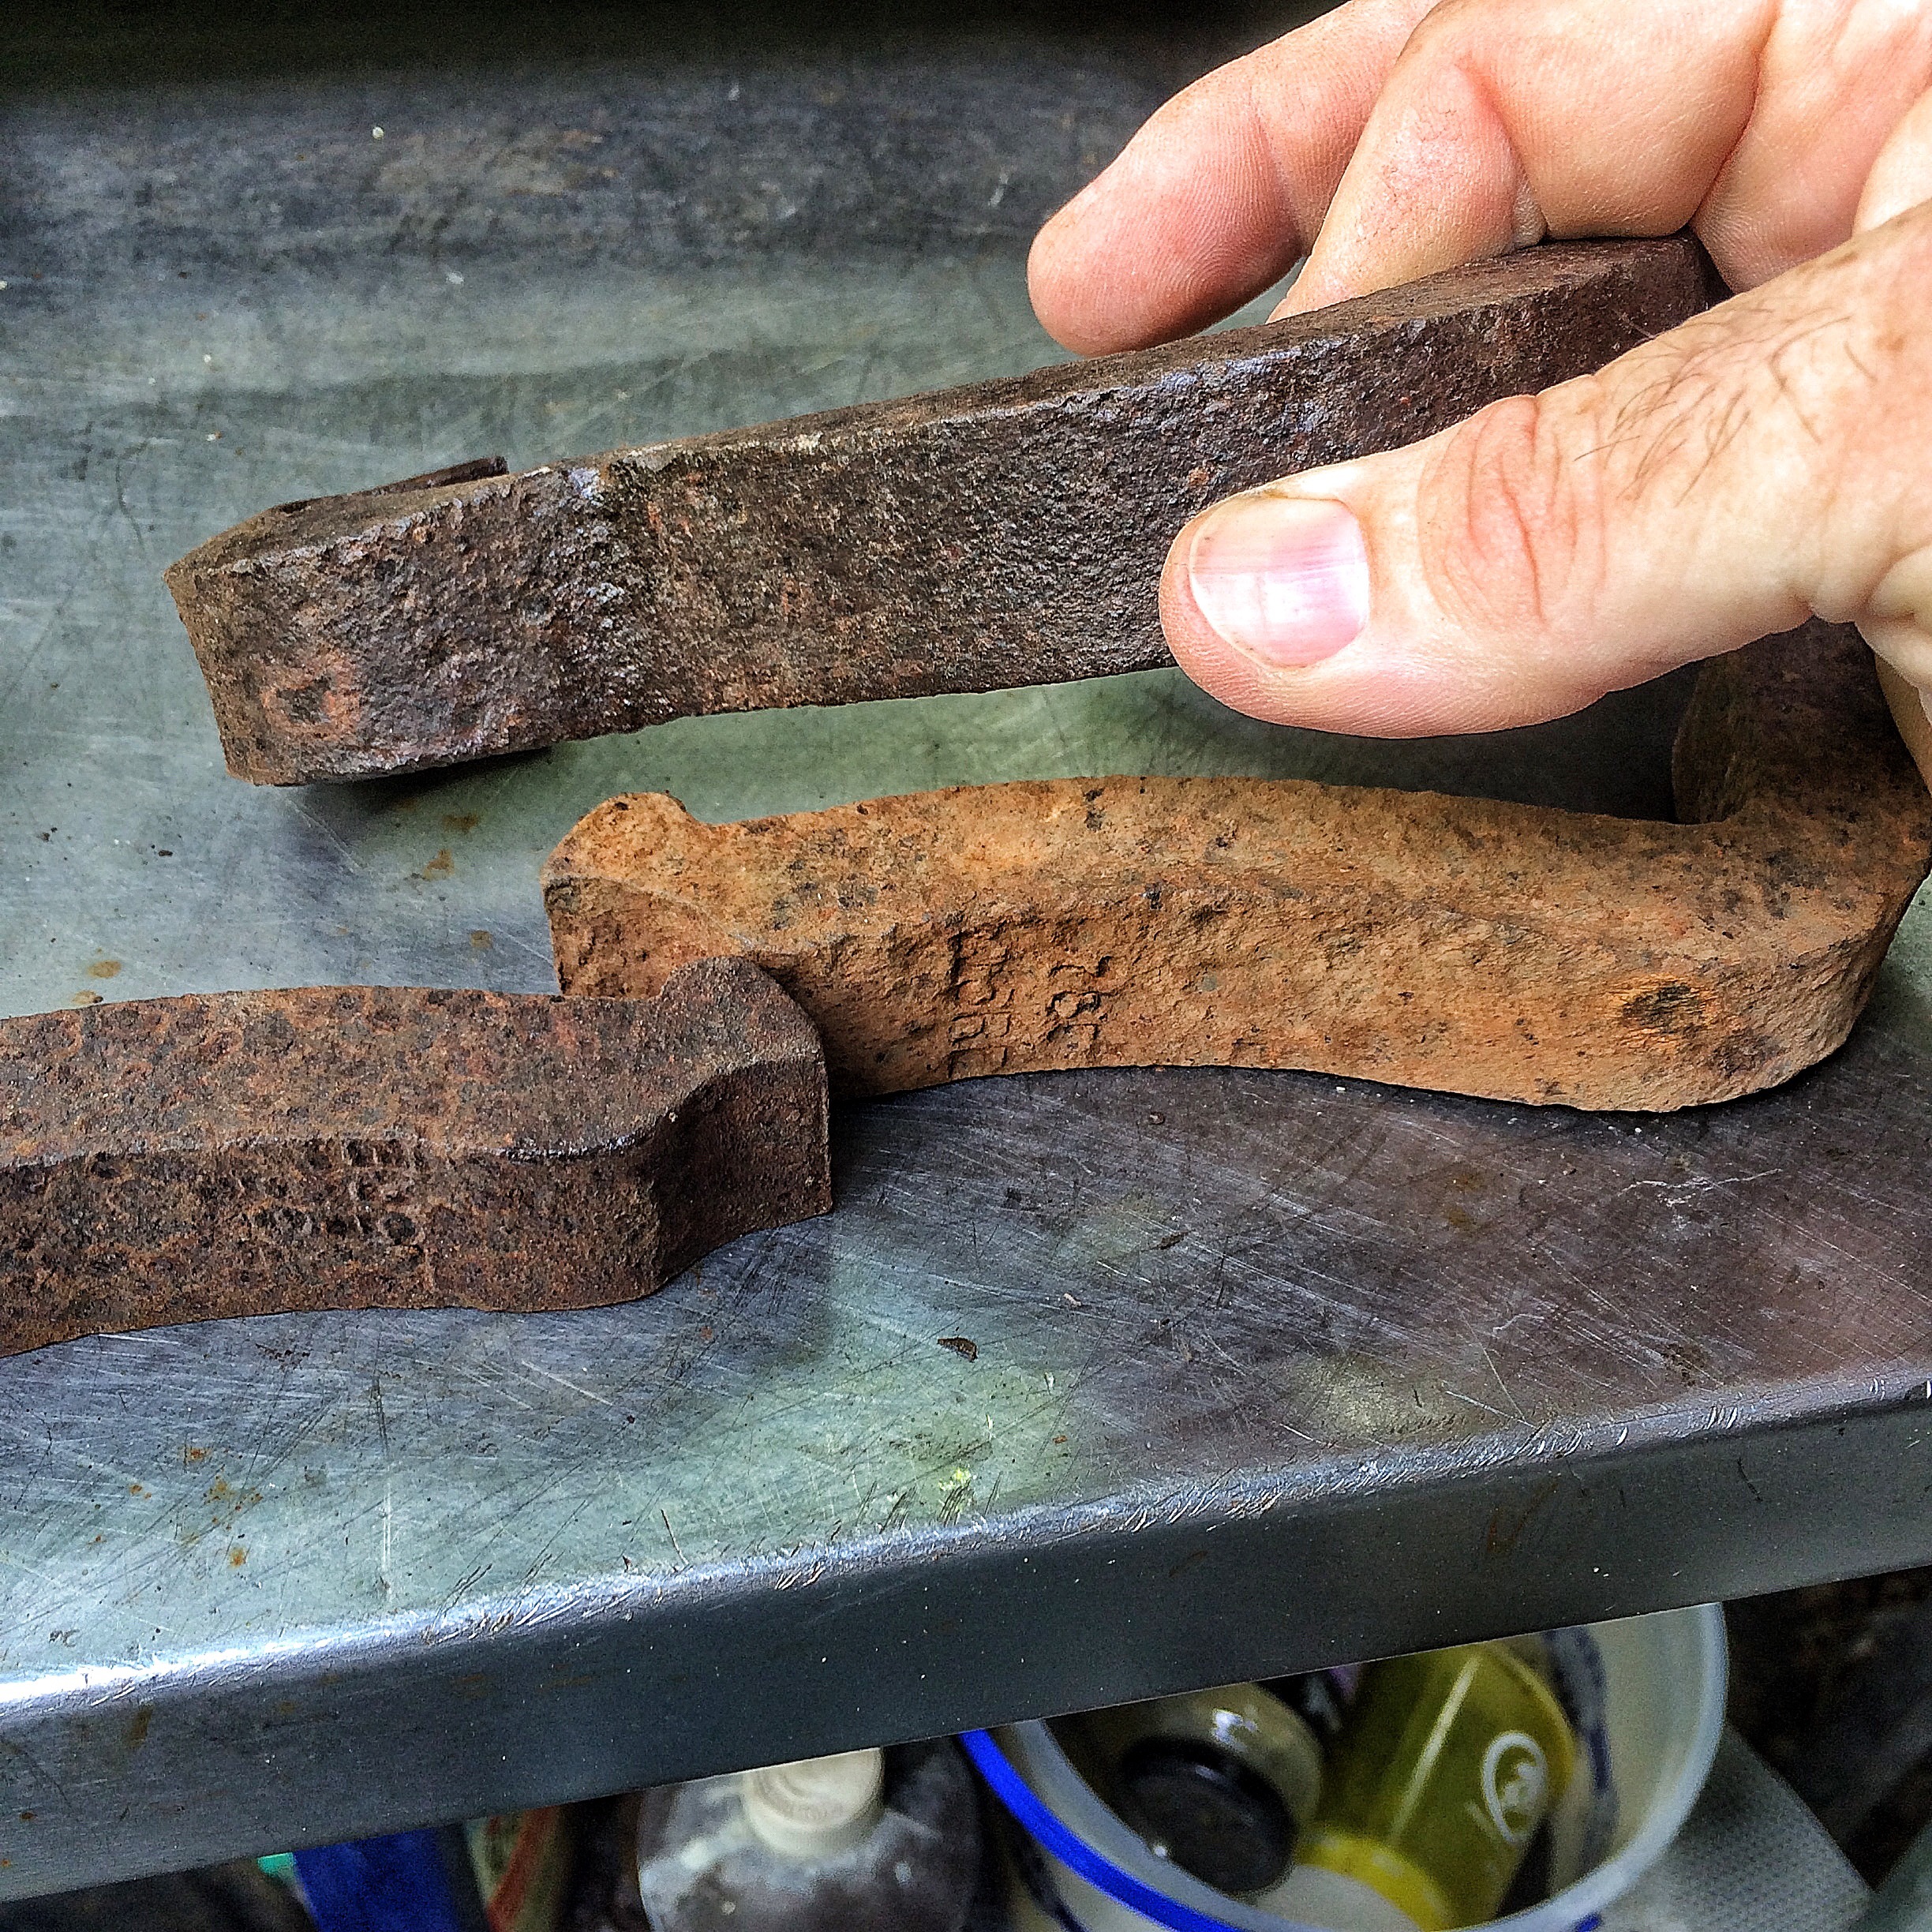 I think that works. I’ll dull them down with the brush like I did with the wood.
Four coats later and I’m ready to hammer them on. And believe me, they need hammering. 
 Of course I need to touch up the finish.
  And now, I can’t believe how well it turned out. Here it is!


 All I can say is “Wow!”
Here it is with the tree:  Now I just need to figure out a companion plant or something to complete the story. A grass planting or native flowering weed. Maybe I can whittle a cow…… You’ll have to wait to see what I come up with.

Wow very nice and rustic! Don’t you just love it when a plan comes together!
LikeLike
Ingeniously elegant . Glad you’re feeling better . ..
LikeLike
Check out Florida Blue-eyed grass (Sisyrinchium montanum)…..the center of the small flower is yellow (despite the name!) and will really pop with your pot. Also, grassy feel like you wanted. Grows in full sun along roadsides….probably blooming now.
LOVE the stand!
LikeLike
Very nice result. The feet are perfect.
LikeLike
Marvelous—-The Artist always shines though in everything you do
LikeLike
Awesome Adam. you are very creative. I enjoy reading your blog. Please keep us posted on the convention. I love your tree too.
LikeLike
That’s the shiz…and exactly what MacGyver would build if he was trapped in a Pottery Barn and needed to build an impromptu bonsai stand. Glad to see your posts and wishing you good health.
LikeLike
I am more of a traditionalist.
LikeLike
Adam, that stand is fantastic! I see those iron parts all the time on the tracks when I’m out train-watching. I would have never thought to use them to make a stand.
LikeLike
nice job.
LikeLike
Completely and totally awesome at the same time. Father and son Rock!!!
LikeLike
I love this Adam…Nice job bro!
LikeLike
Men, I love your style. Awesome!
LikeLike
Great stand. A chunk of oak bark covered in resurrection ferns could also make a good companion plant.
LikeLike
I have a 6×8 chunk of rough oak that I use as a cascade stand. I think it’s going to get the clear lacquer treatment. And I agree with Carter, the resurrection fern on bark keeps with the theme.
LikeLike
Awesome idea… love how it came out.
LikeLike
amazing!
LikeLike
HI Adam. I like your table very much! Very creative. I also want to make a table like yours, It would be perfect for my tree! But I can’t get any of these anchors, do you have any idea where i can get these? I’m from Holland.
Cheers!
Marco
LikeLike
You can try here:
http://www.railway-fasteners.com/rail-anchor.html
LikeLike
Very nice Adam. I like the old rustic look. It compliments the nooks and crannies of the tree.
LikeLike
I’ve seen this stand on display at Komorebi in Miami. It makes any tree shine, and it is my favorite stand ever! Some day, I’ll have the time and guts to try and create something like this also!
LikeLike