Before I begin, I must say two things: first, because it is the law when writing about things like this on a blog, I do not/did not receive any compensation from the manufacturer of this product. Second, I would really and truly (and gladly) accept compensation, should the very nice people of the Sakrete© companies offer it; baby needs a new pair of shoes, you know. Ok, with that business out of the way, here is the product: 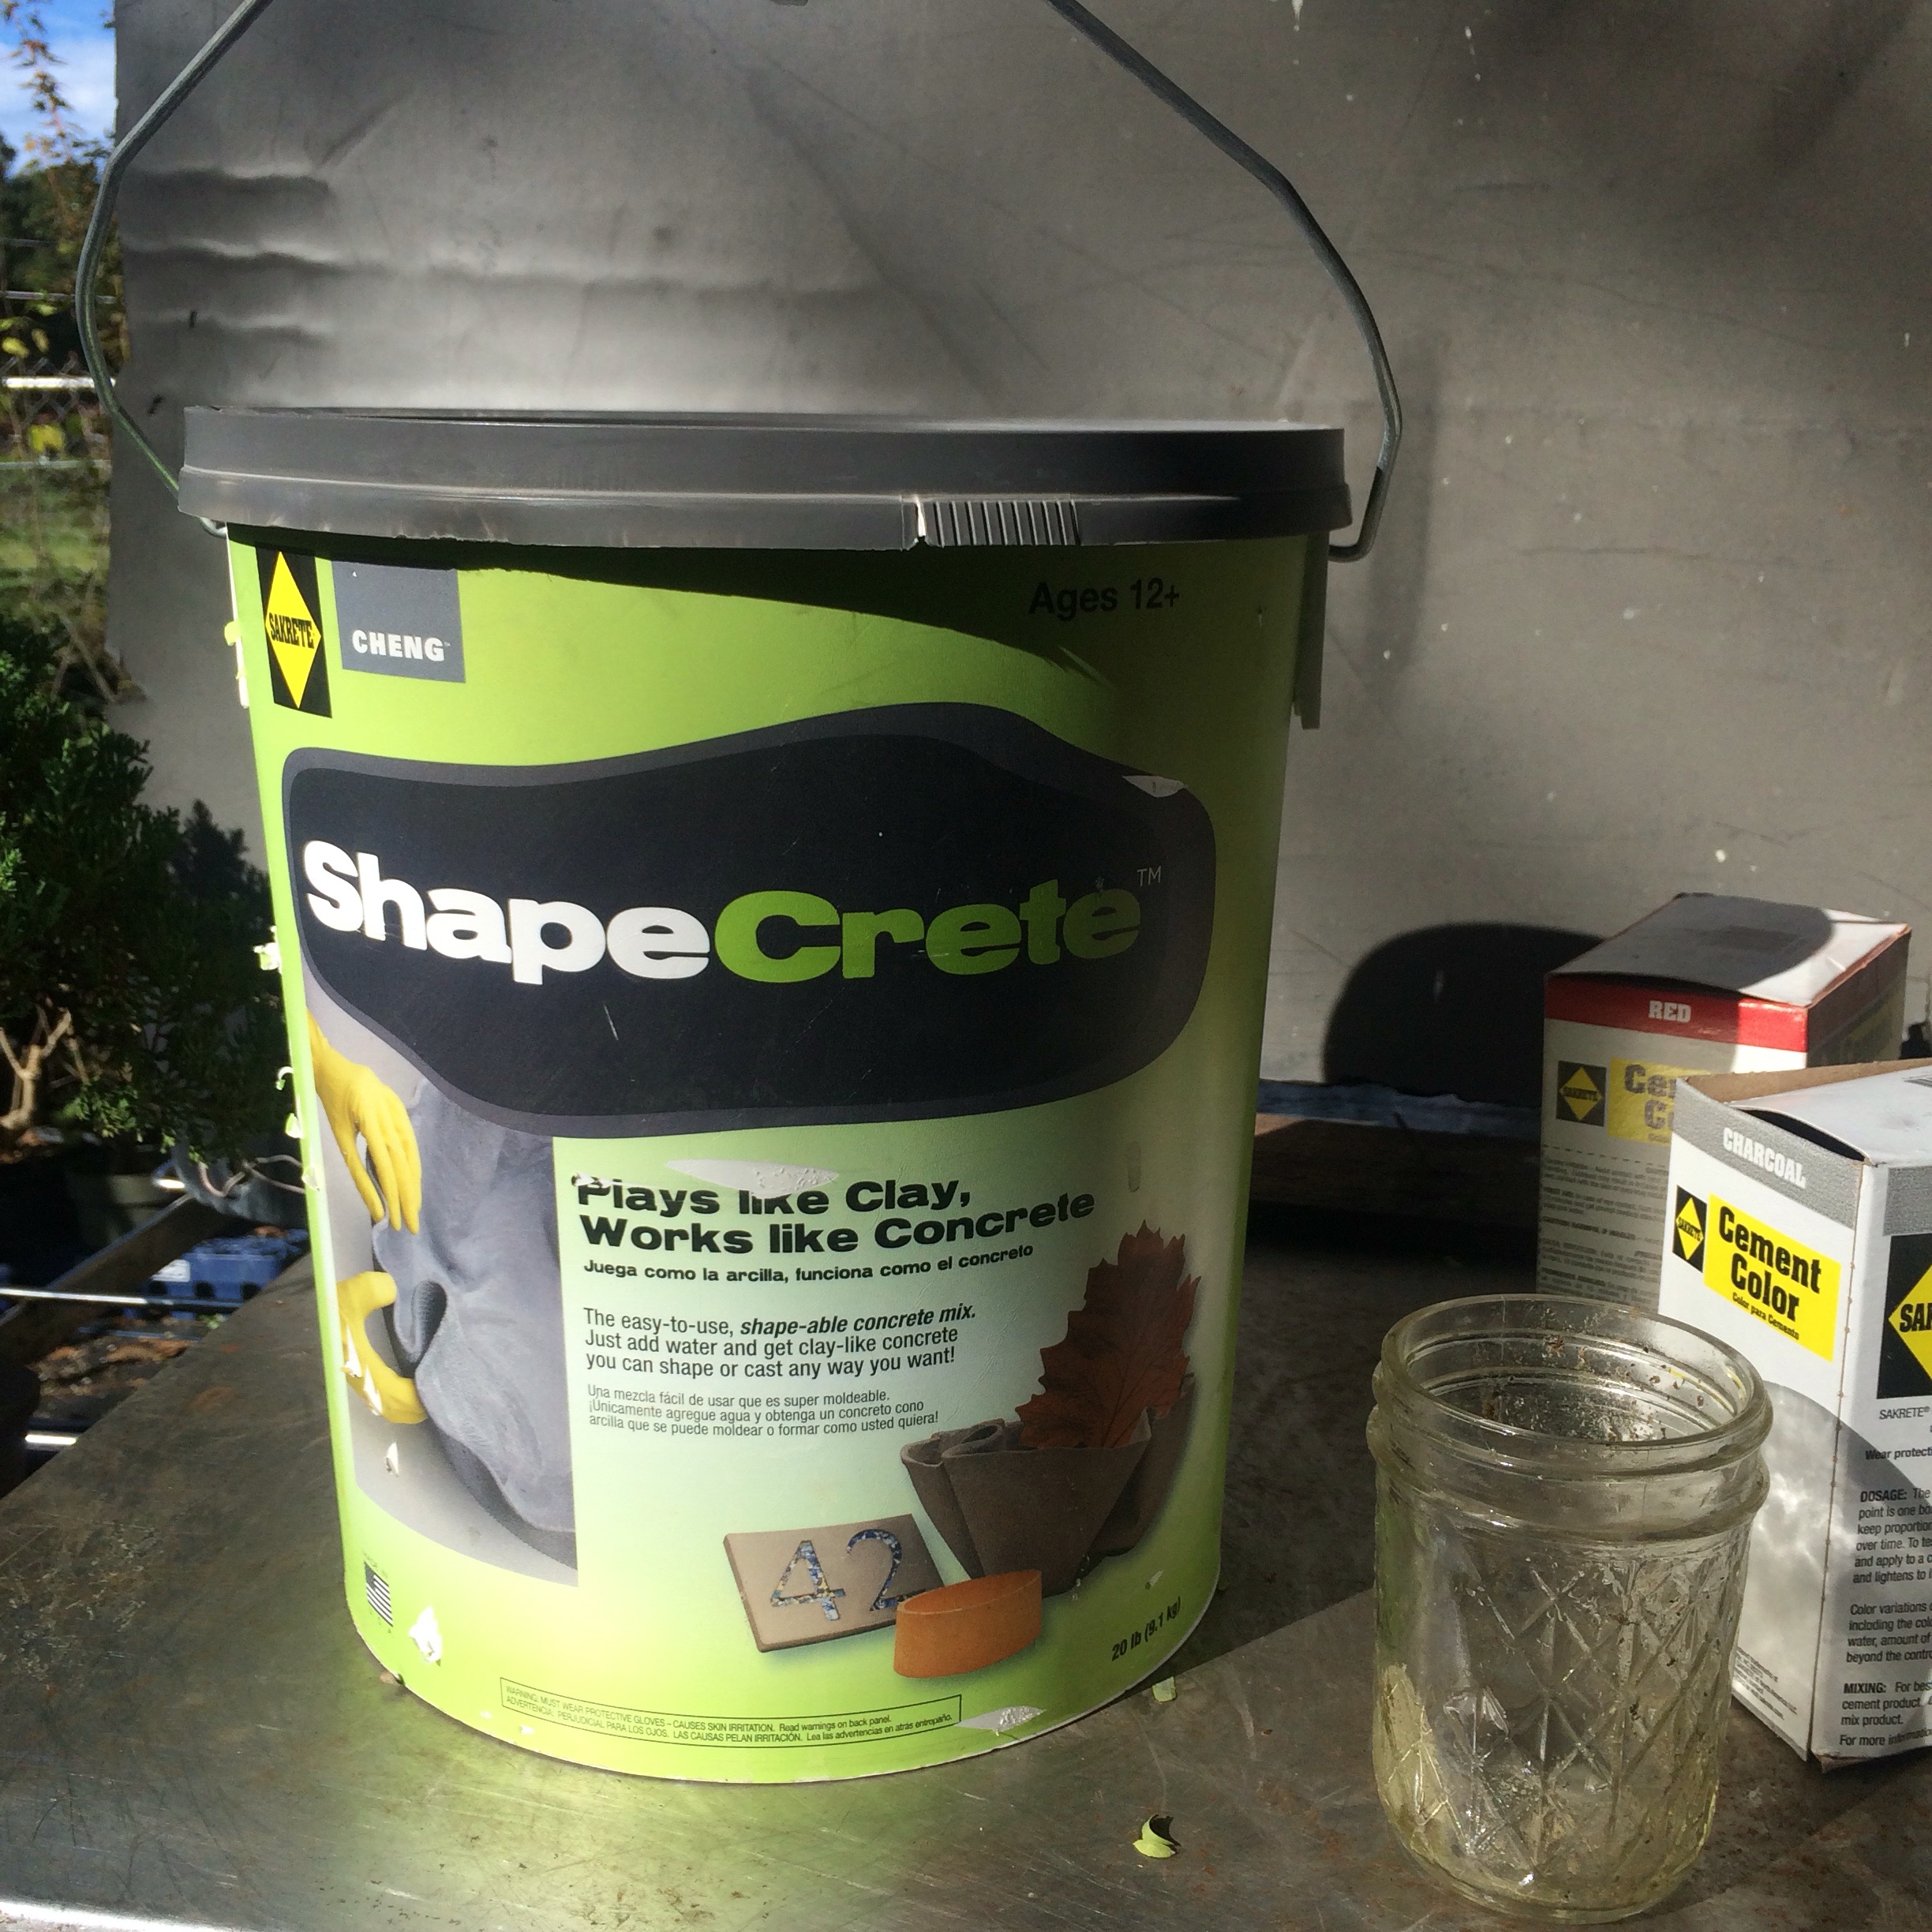 ShapeCrete©, made by the Sakrete© company in partnership with a gentleman named Cheng (no, not the bonsai Cheng). Take a look at the website ShapeCrete.com
It says on the container that it plays like clay but works like concrete (it still comes in powder form though). Reason being is that to have the properties (strength, rigidity, hardness) of concrete, there is a chemical reaction that takes place between the cement and plain old water that causes it to cure as a solid.
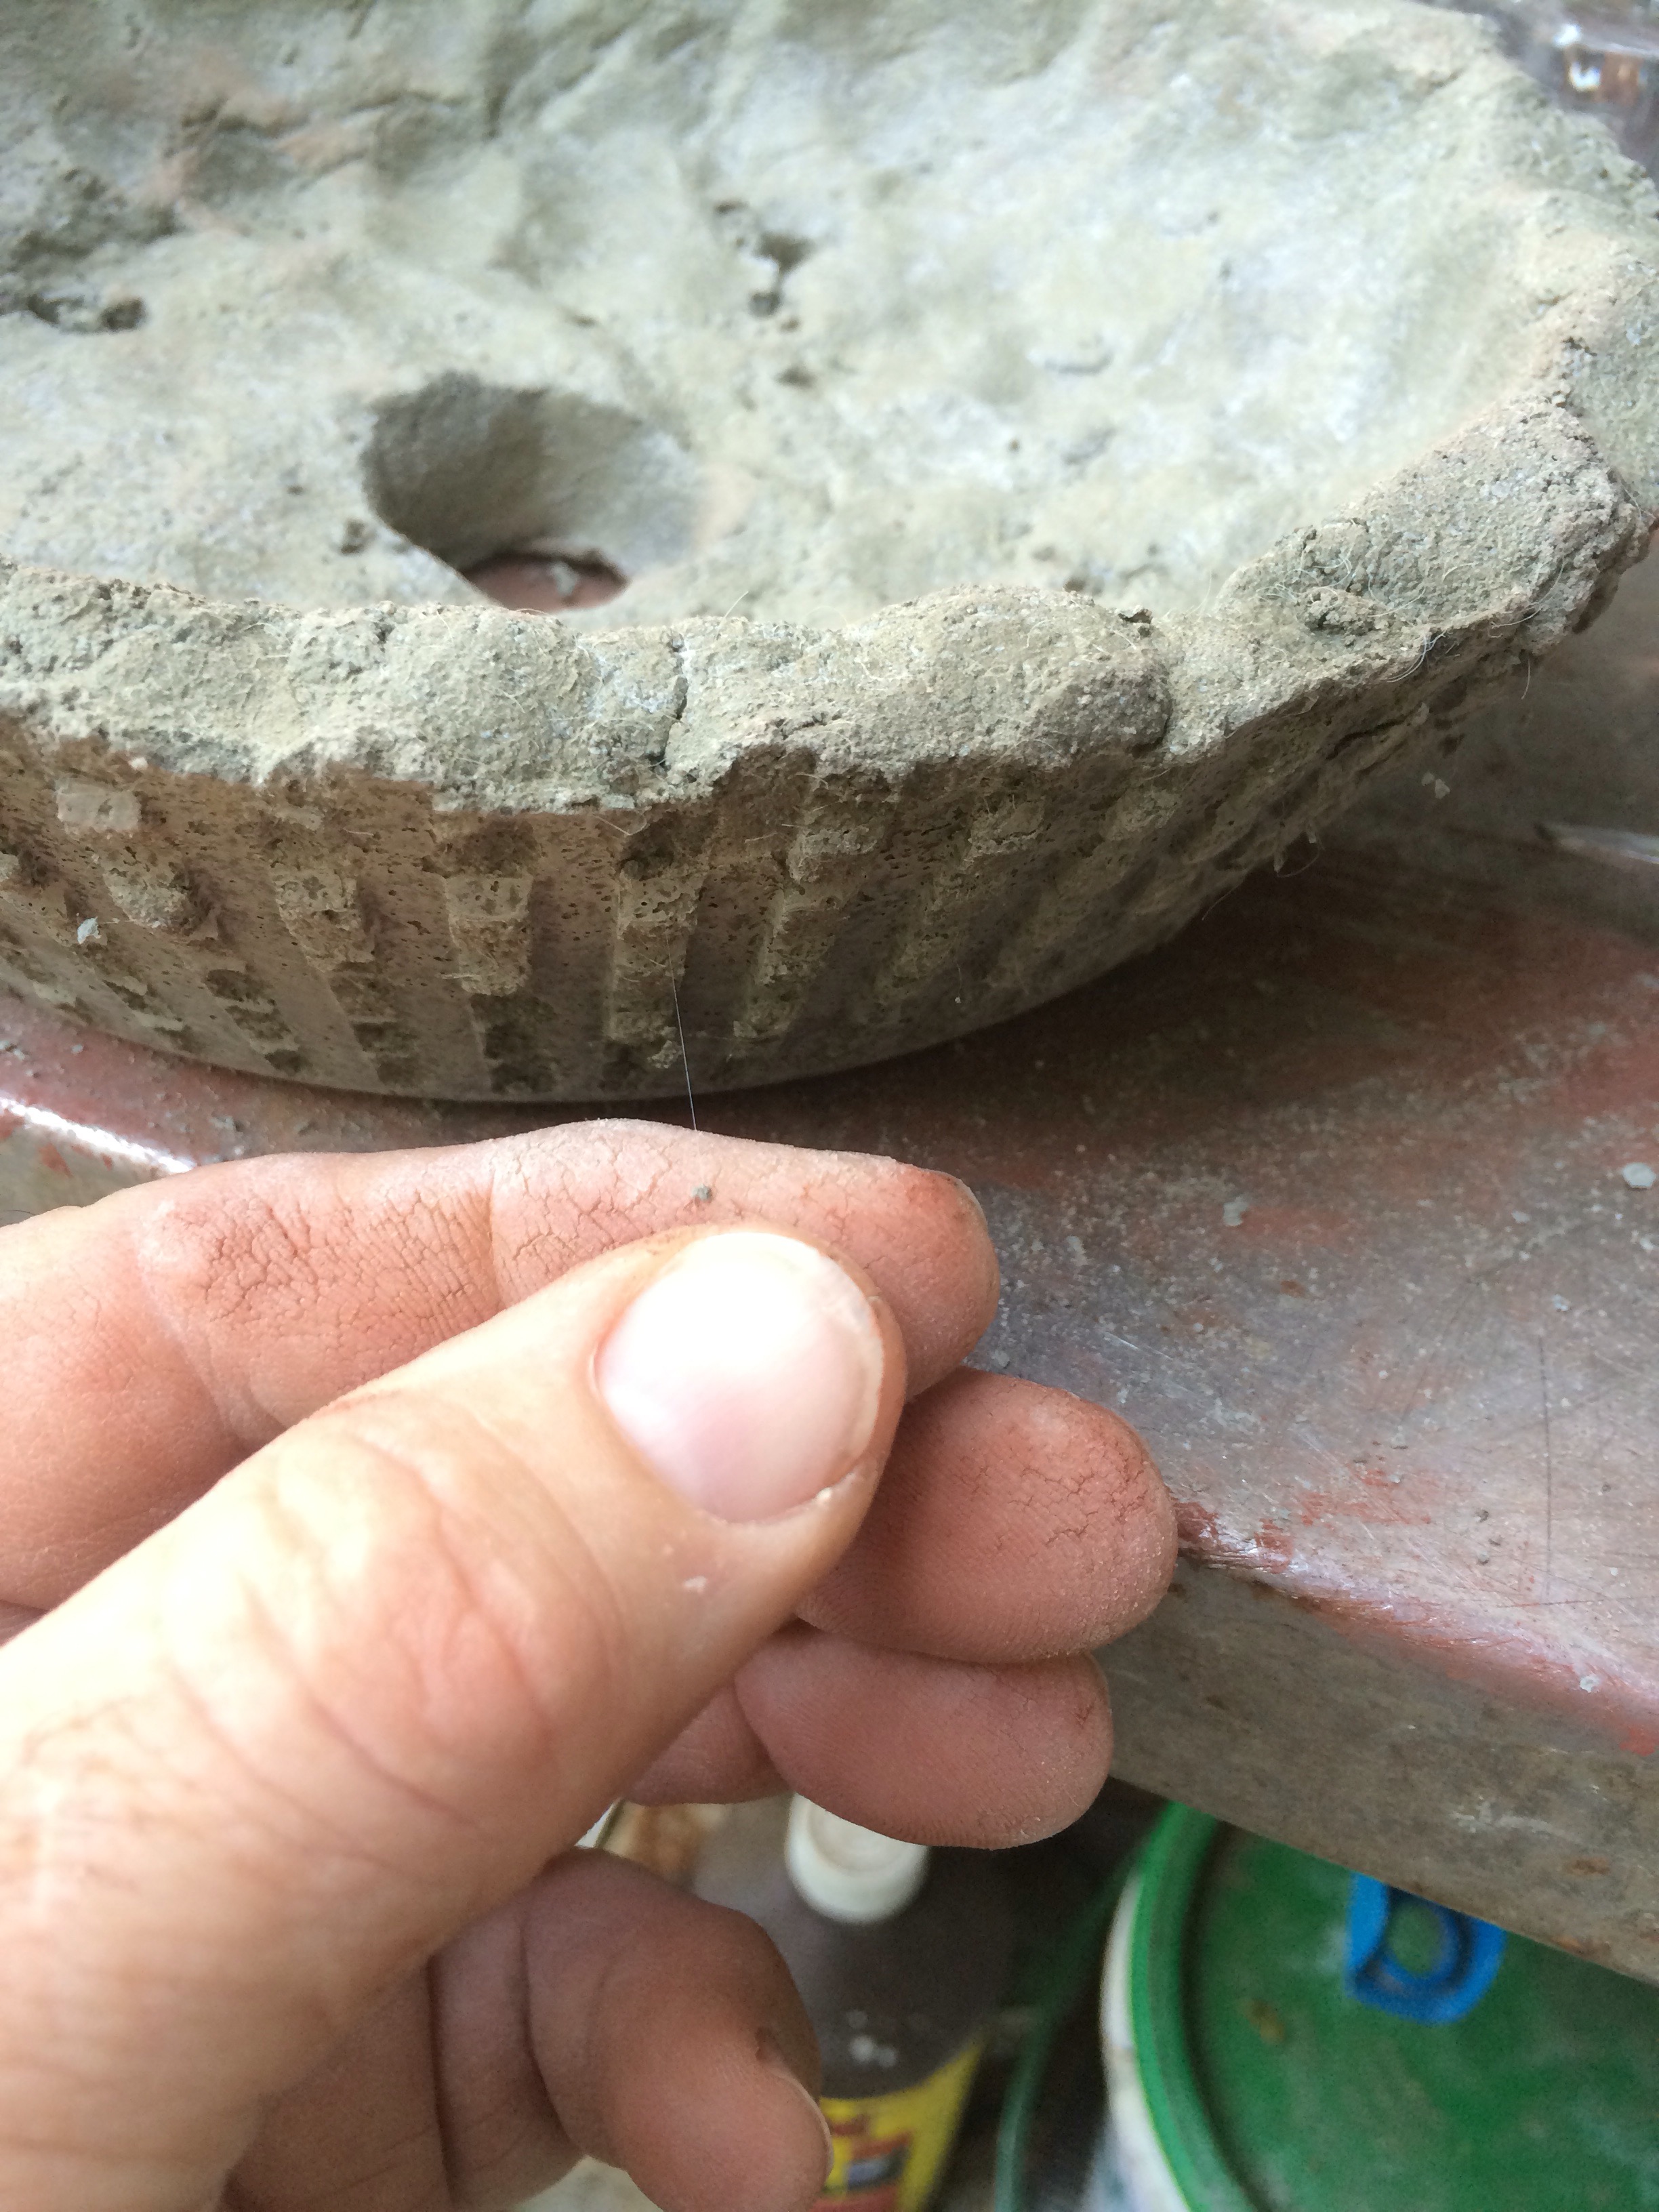
So, we begin with a powder.
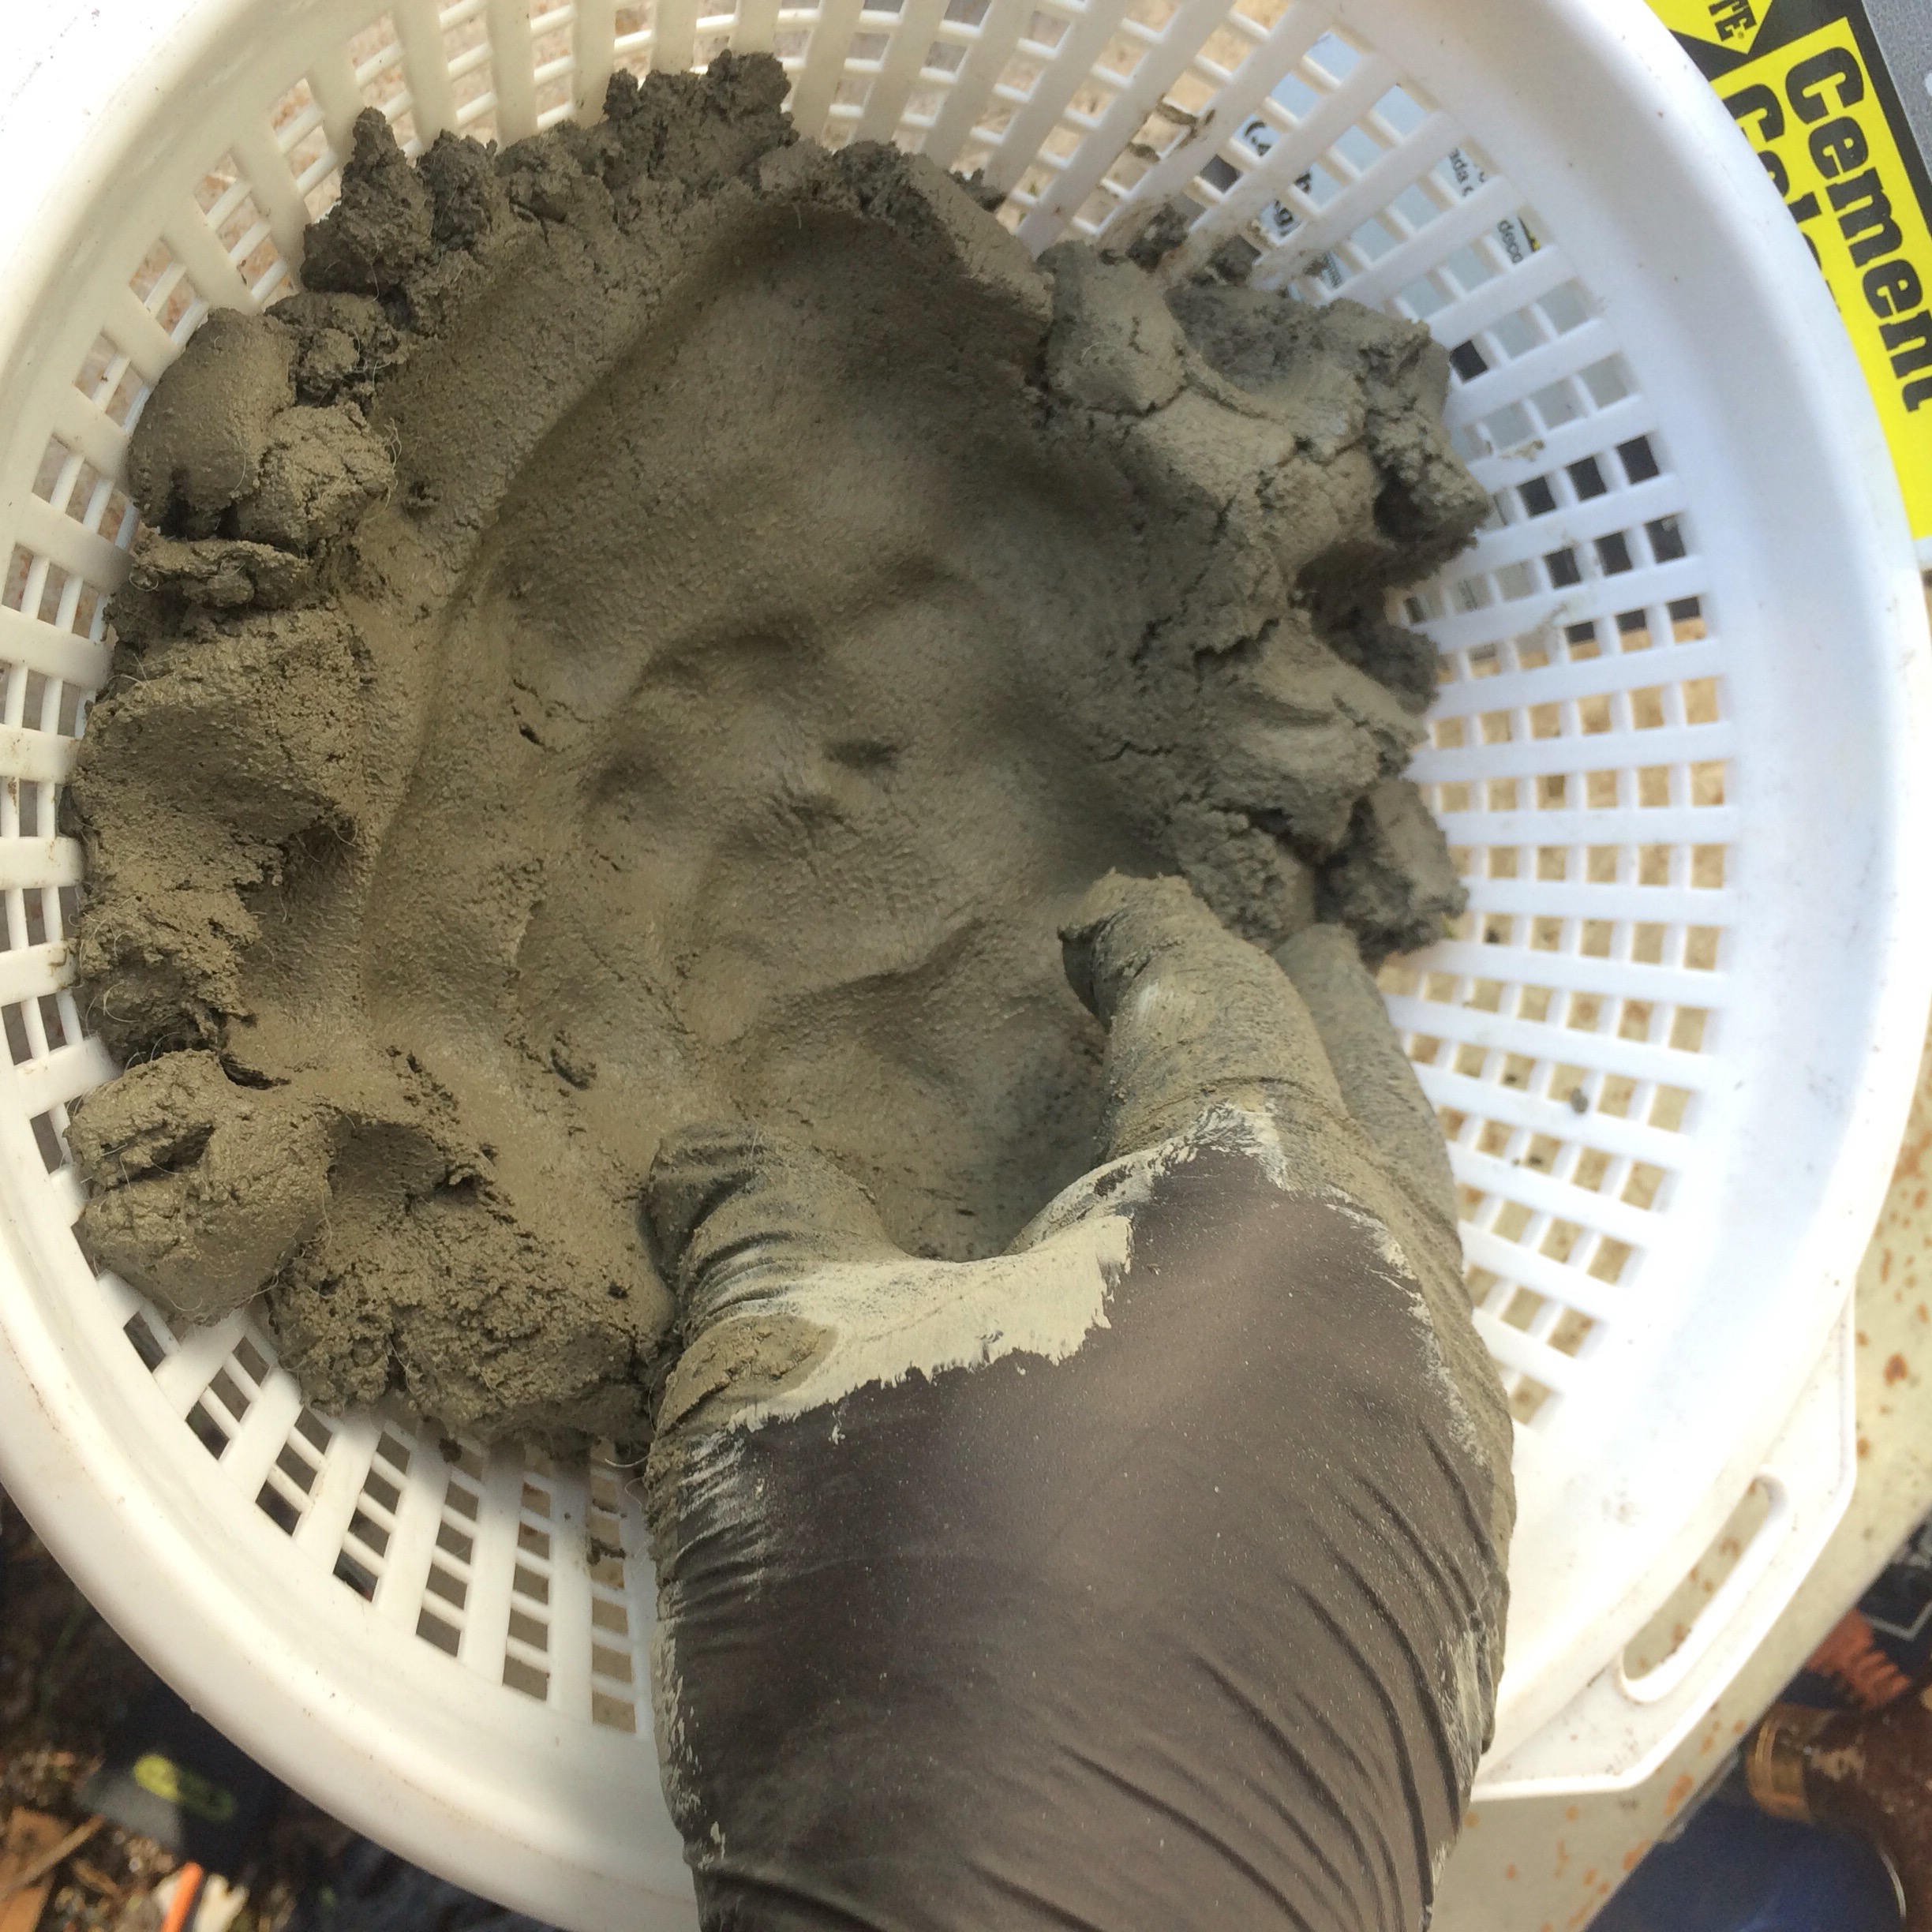
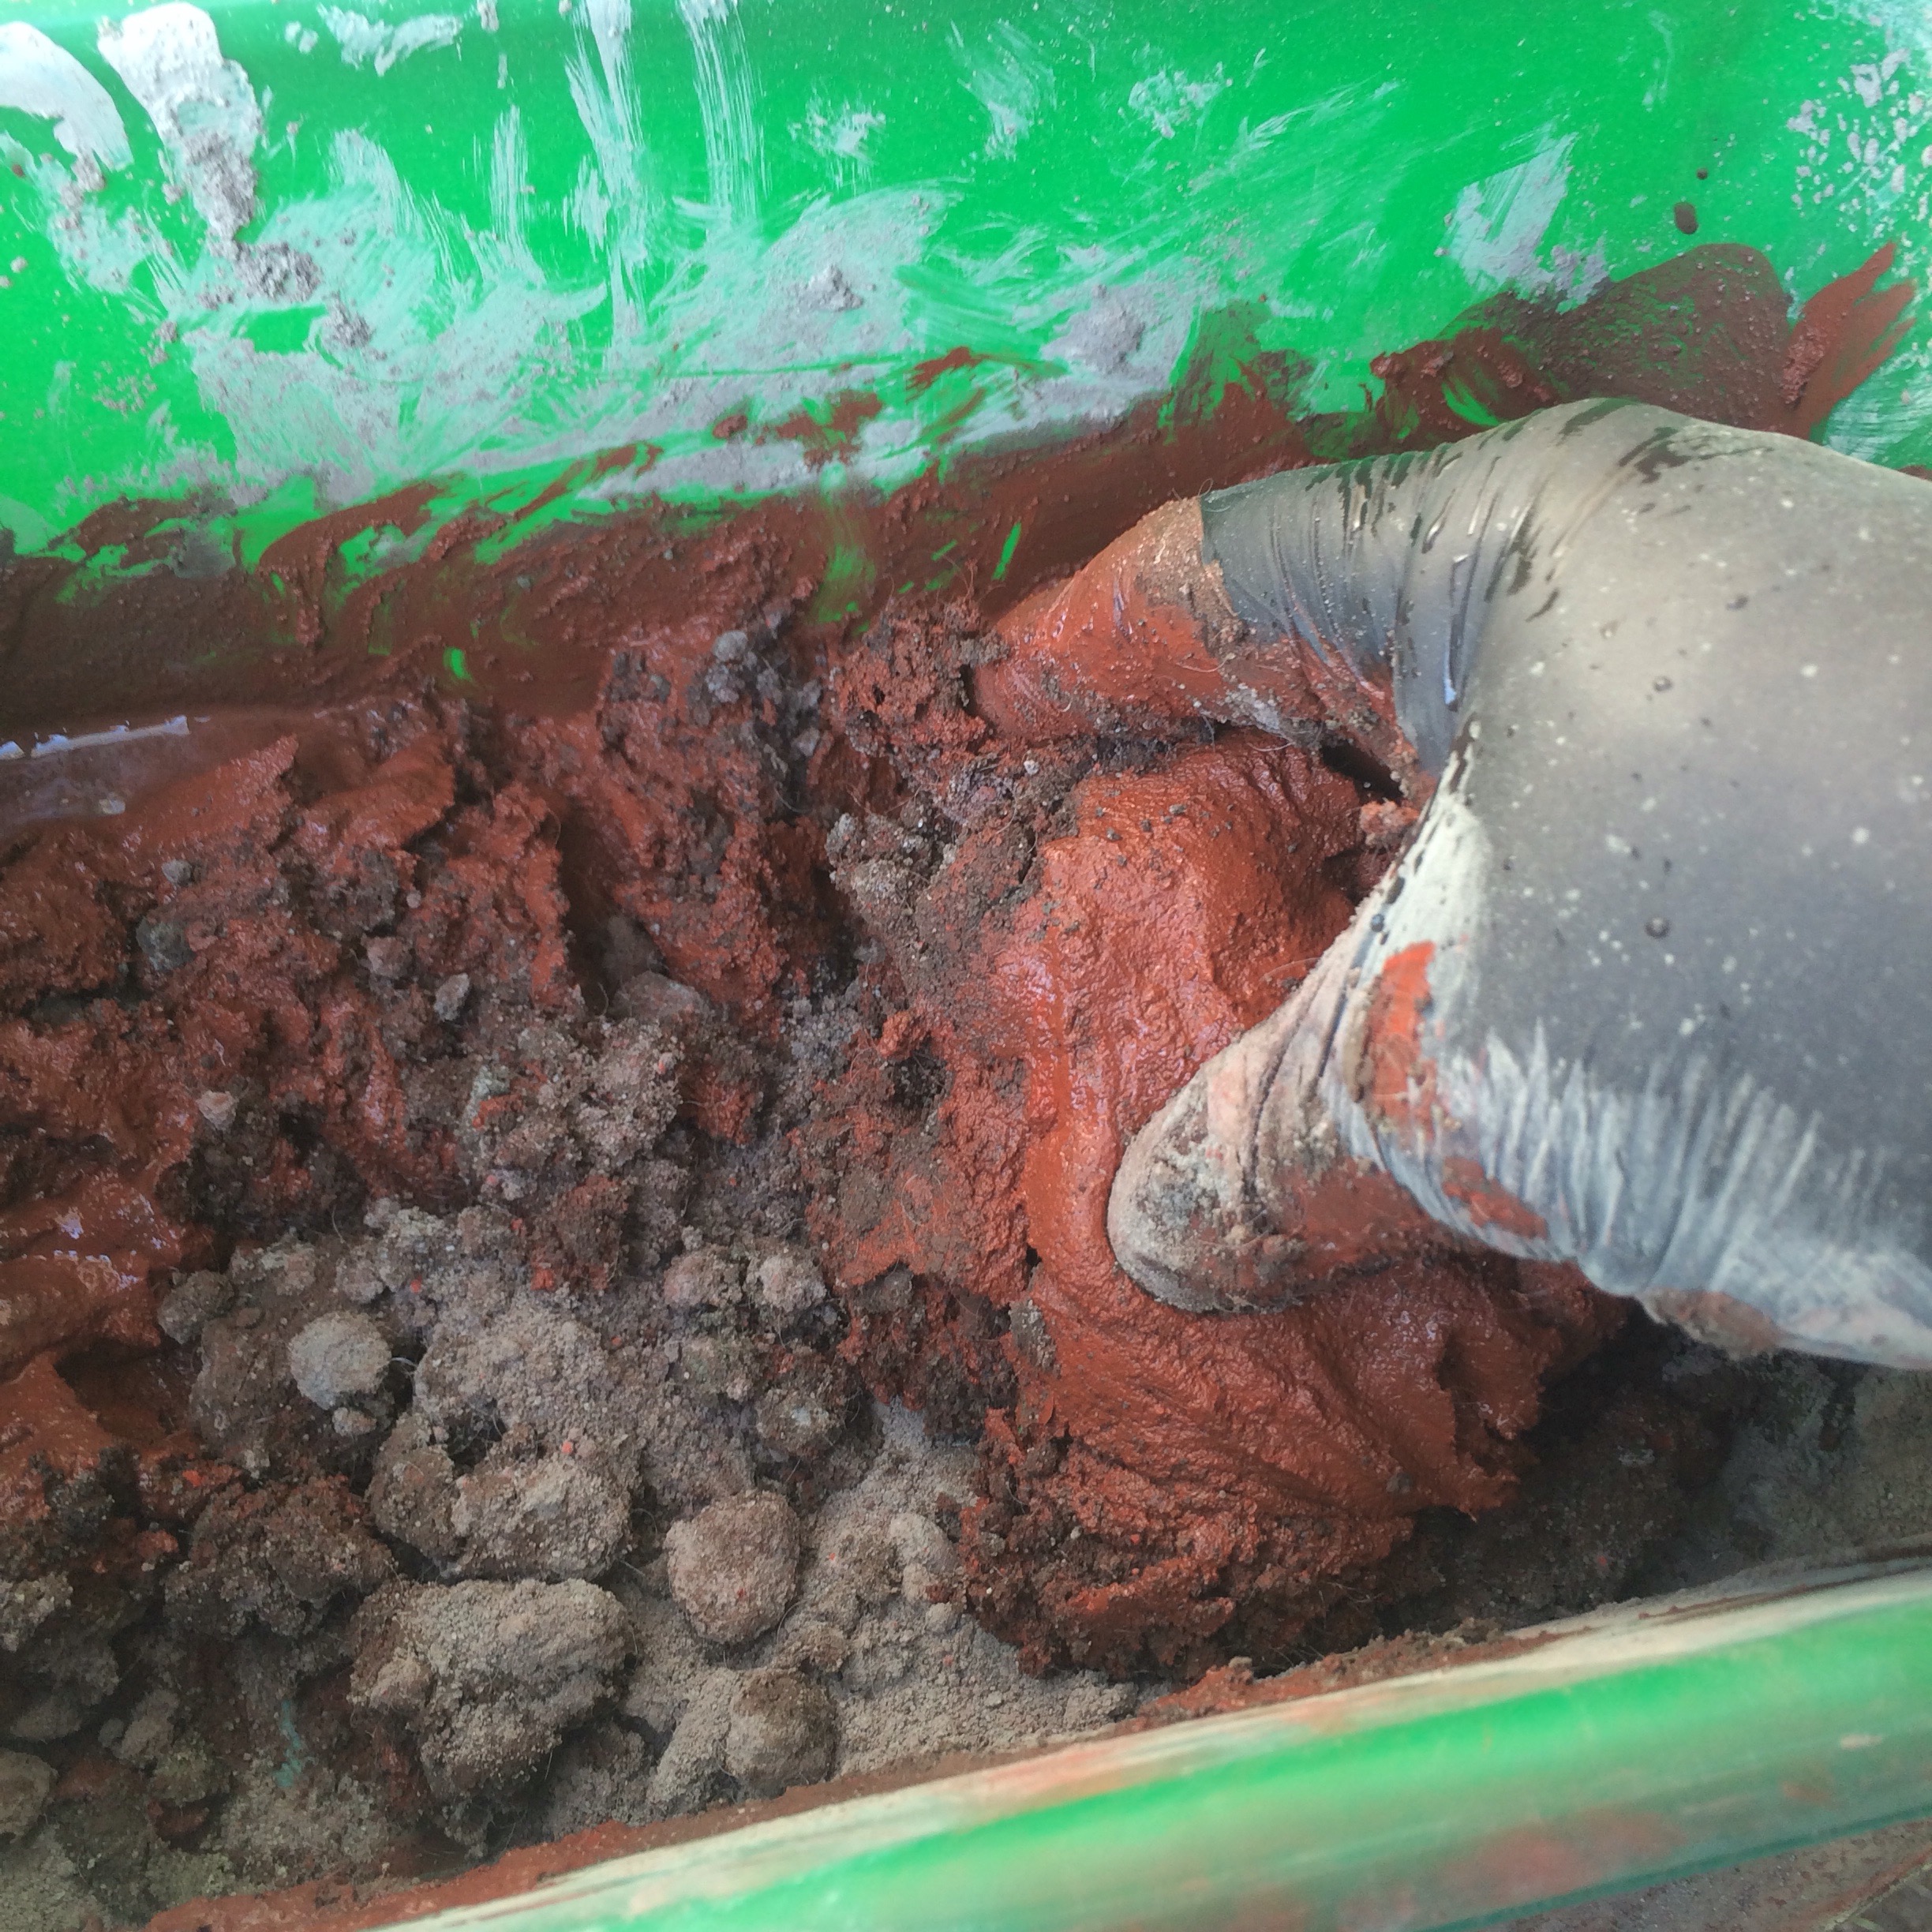
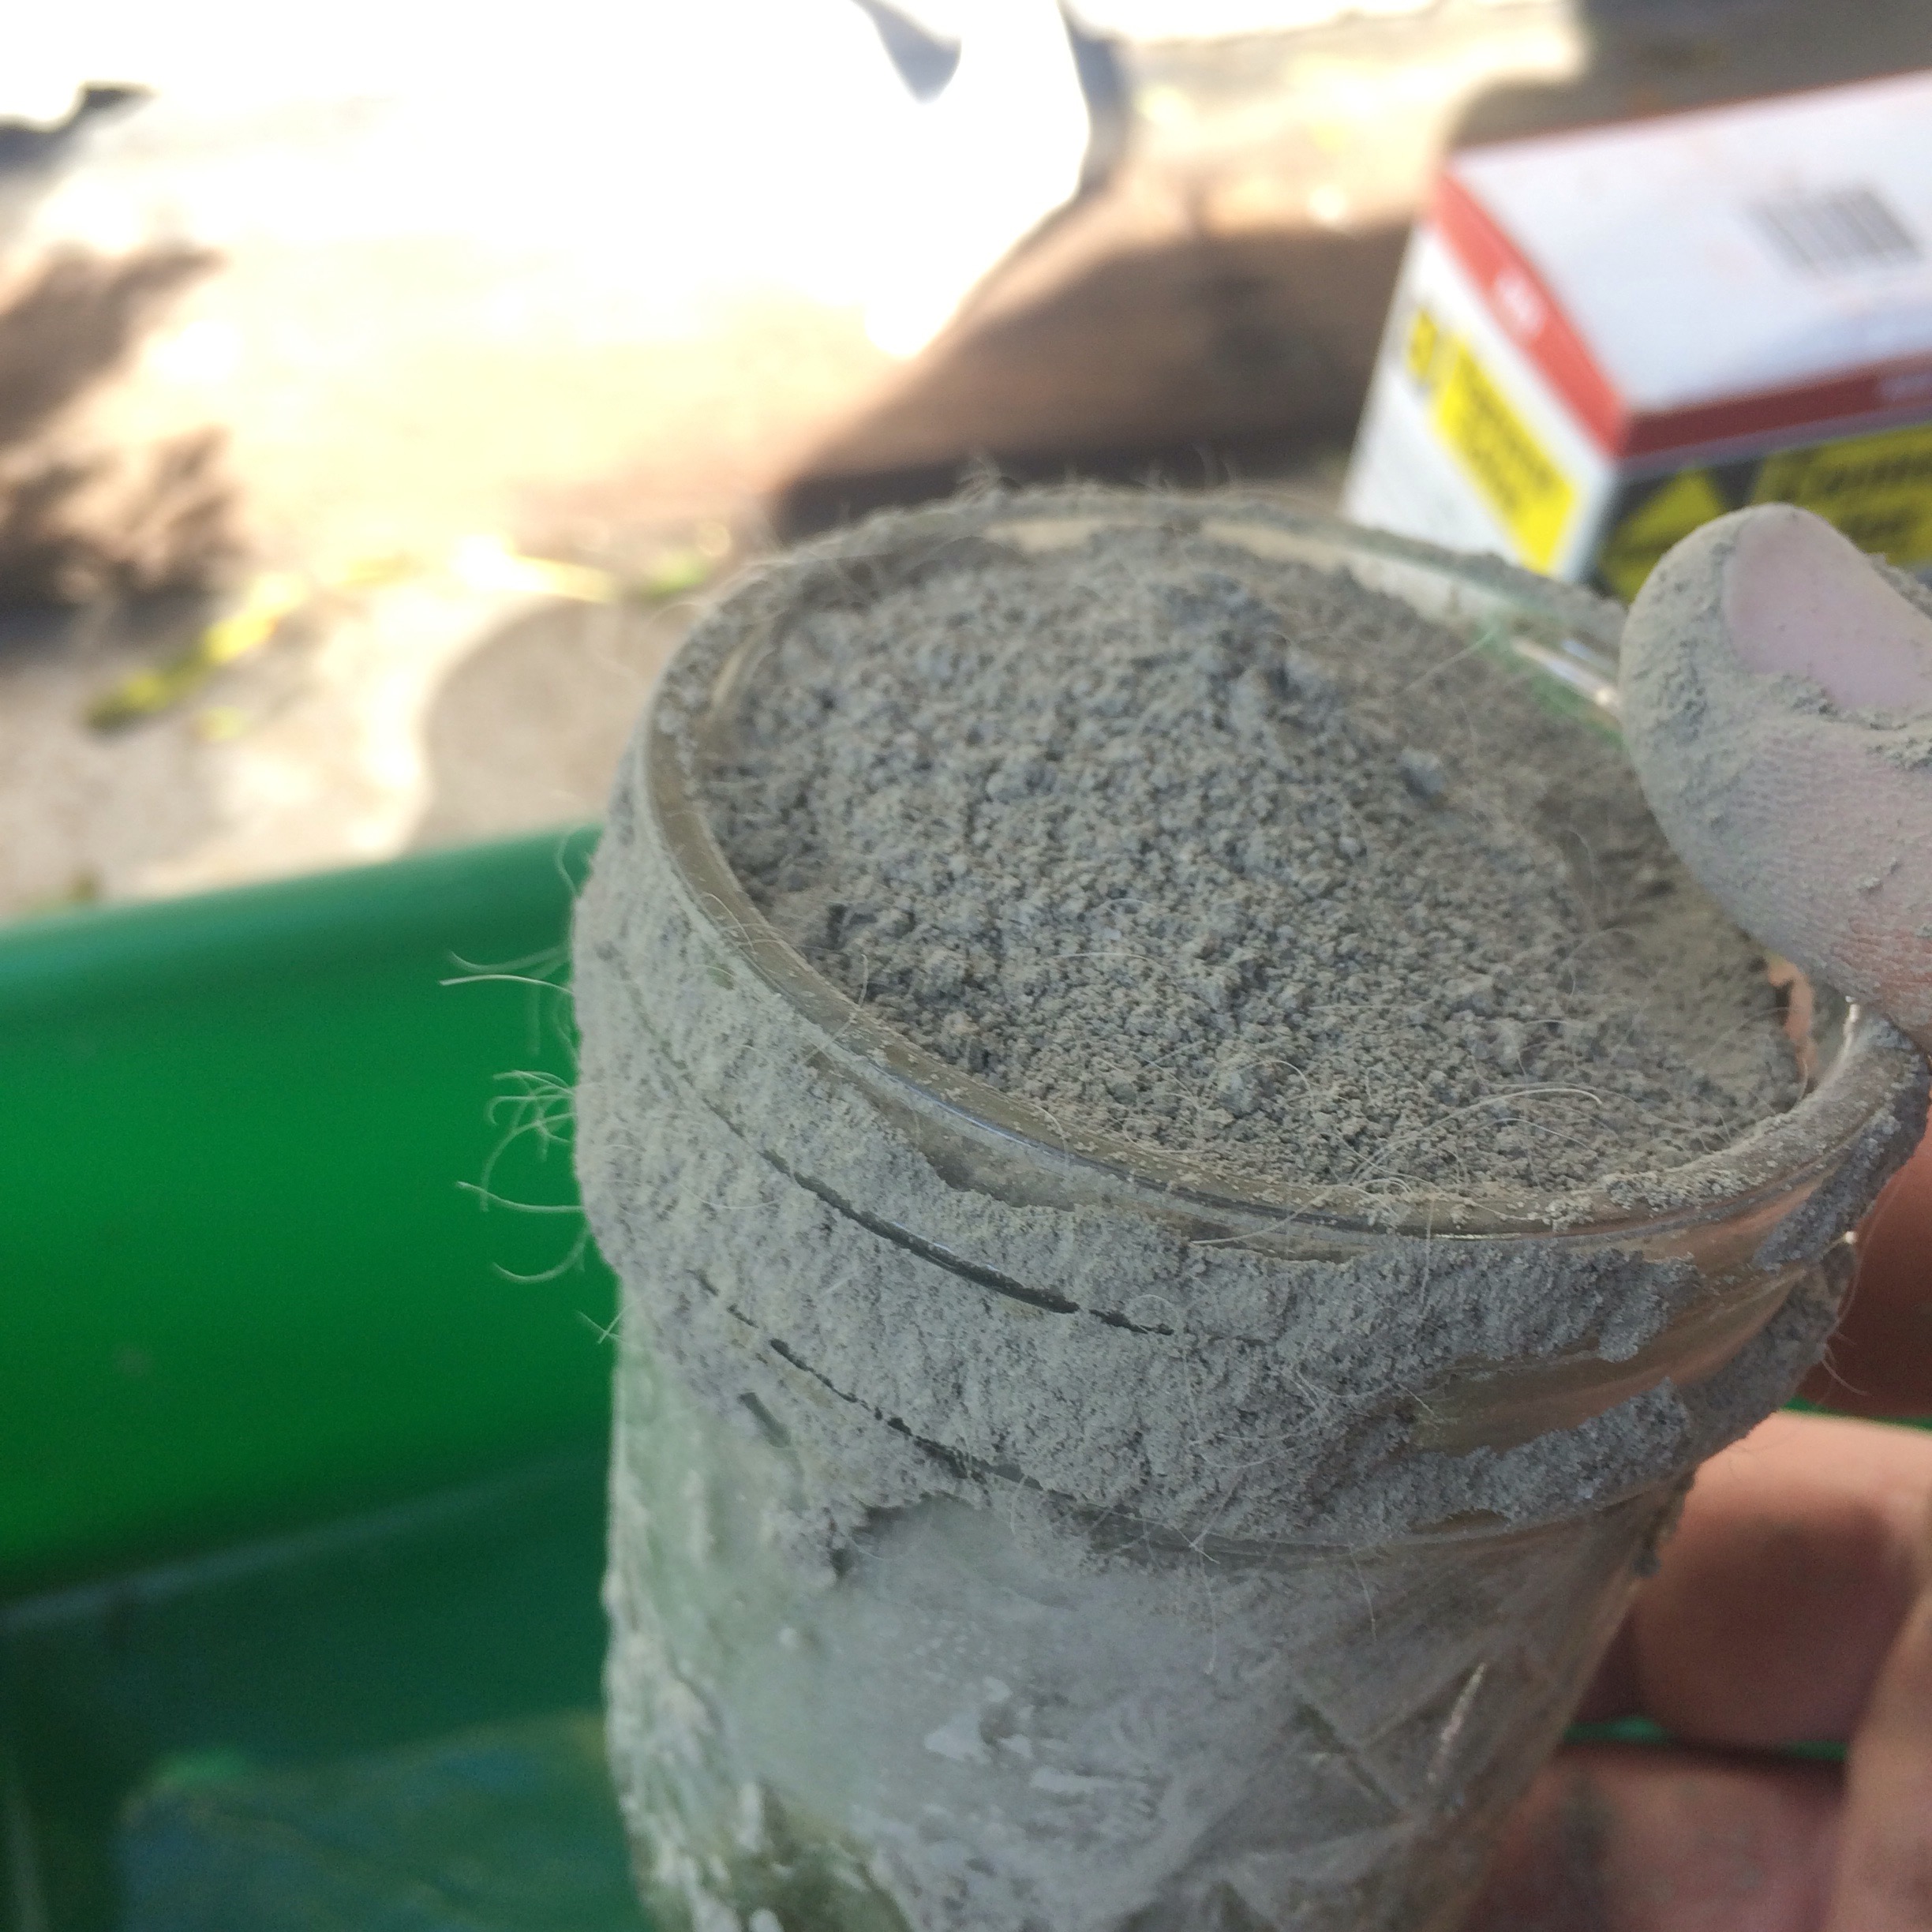 Notice the little hairy fibers, those add strength. Add water in a powder to water ratio of roughly 4:1 (less water for sculpting, but more for casting).
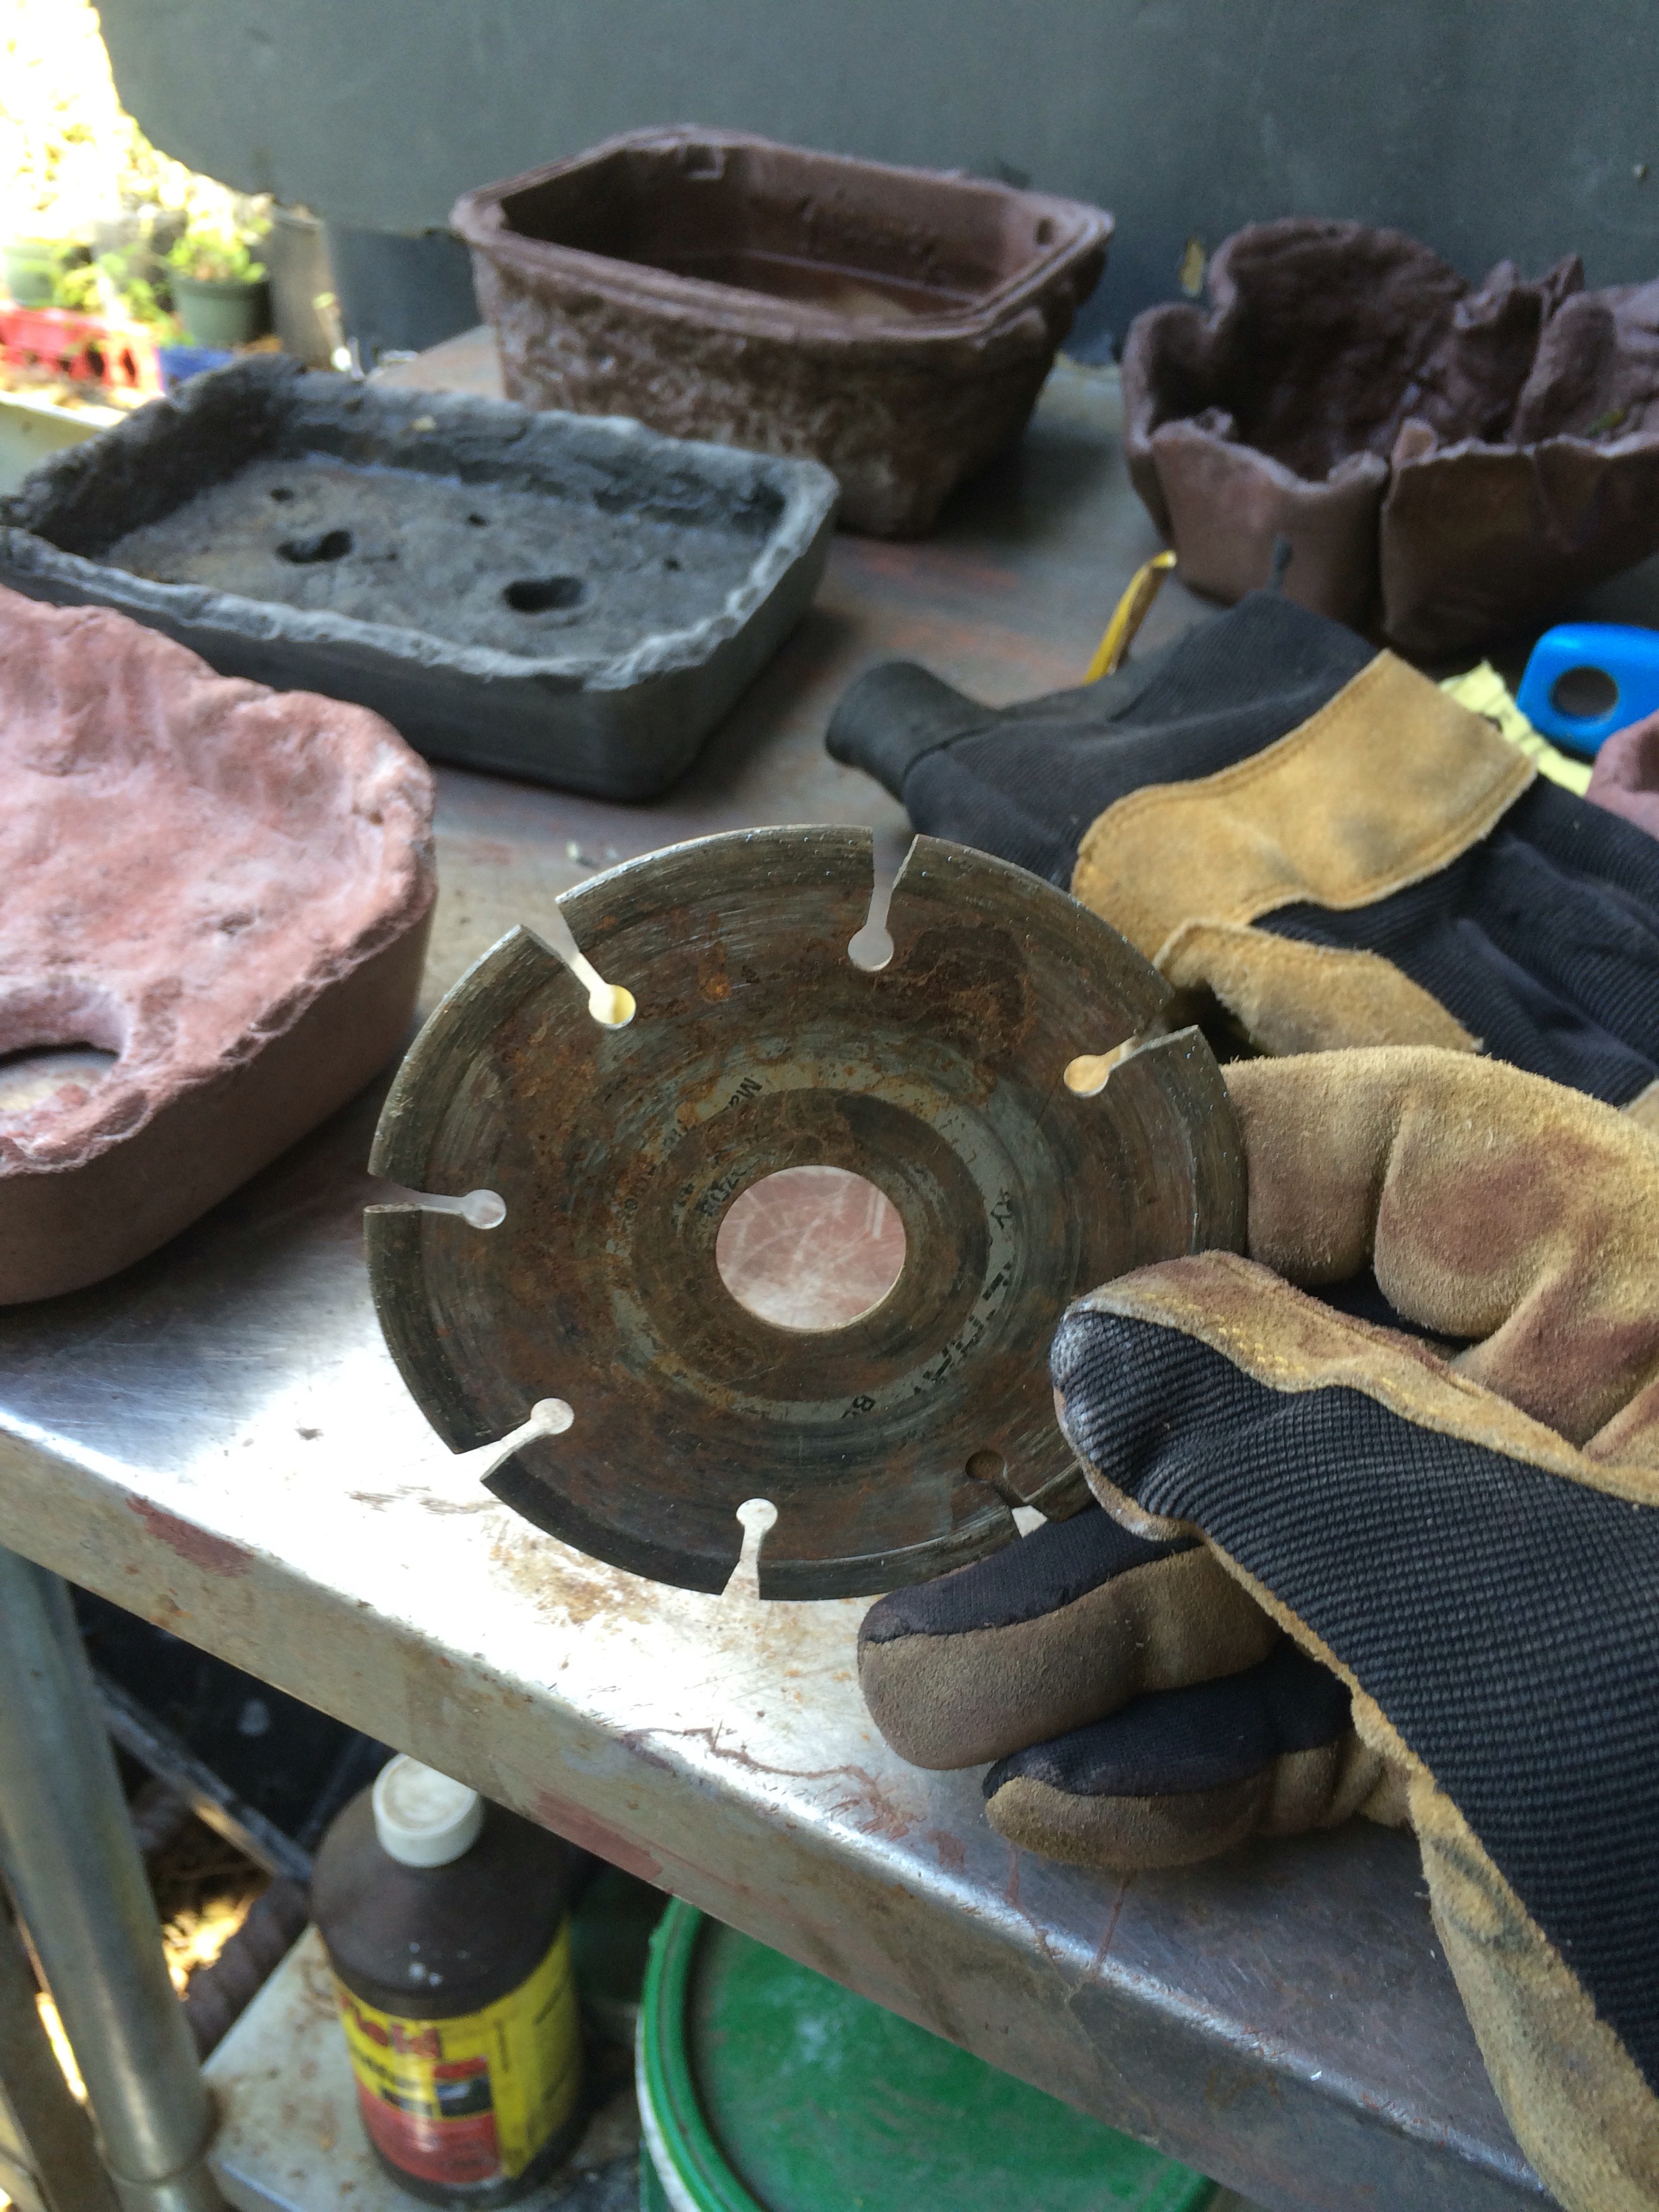
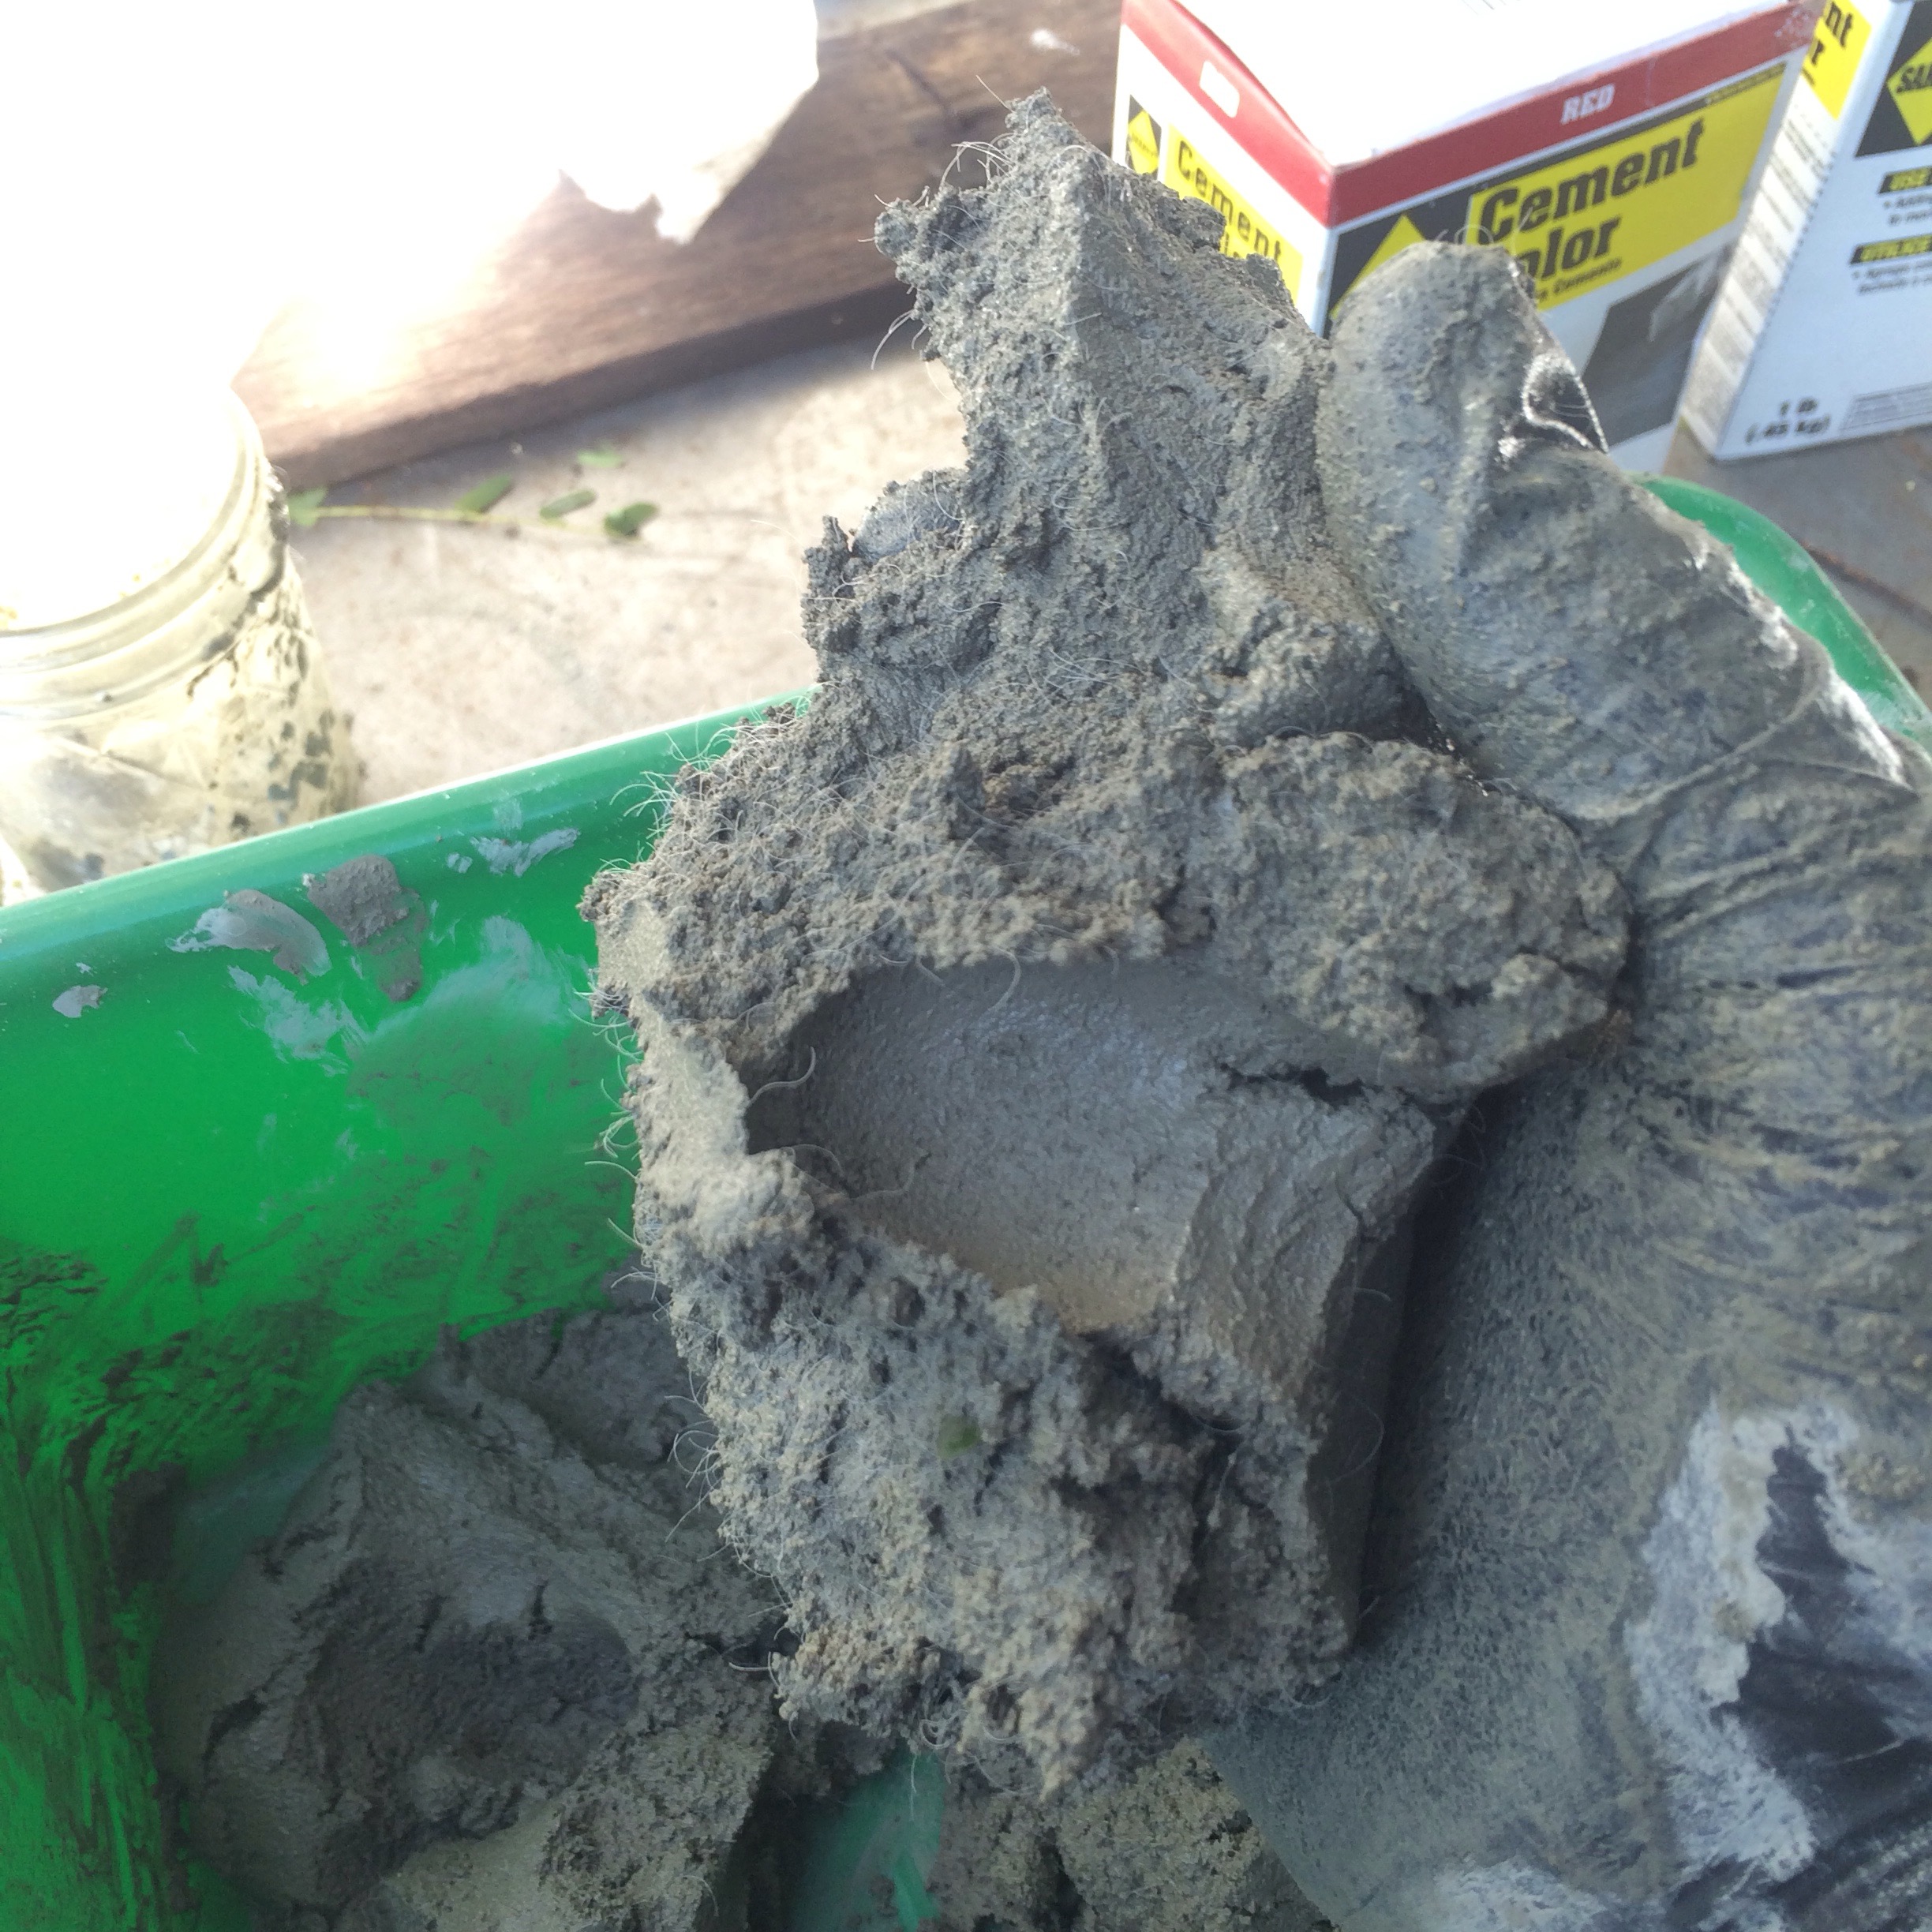 You’ll see some gloves today. Concrete is terribly rough on ones hands.
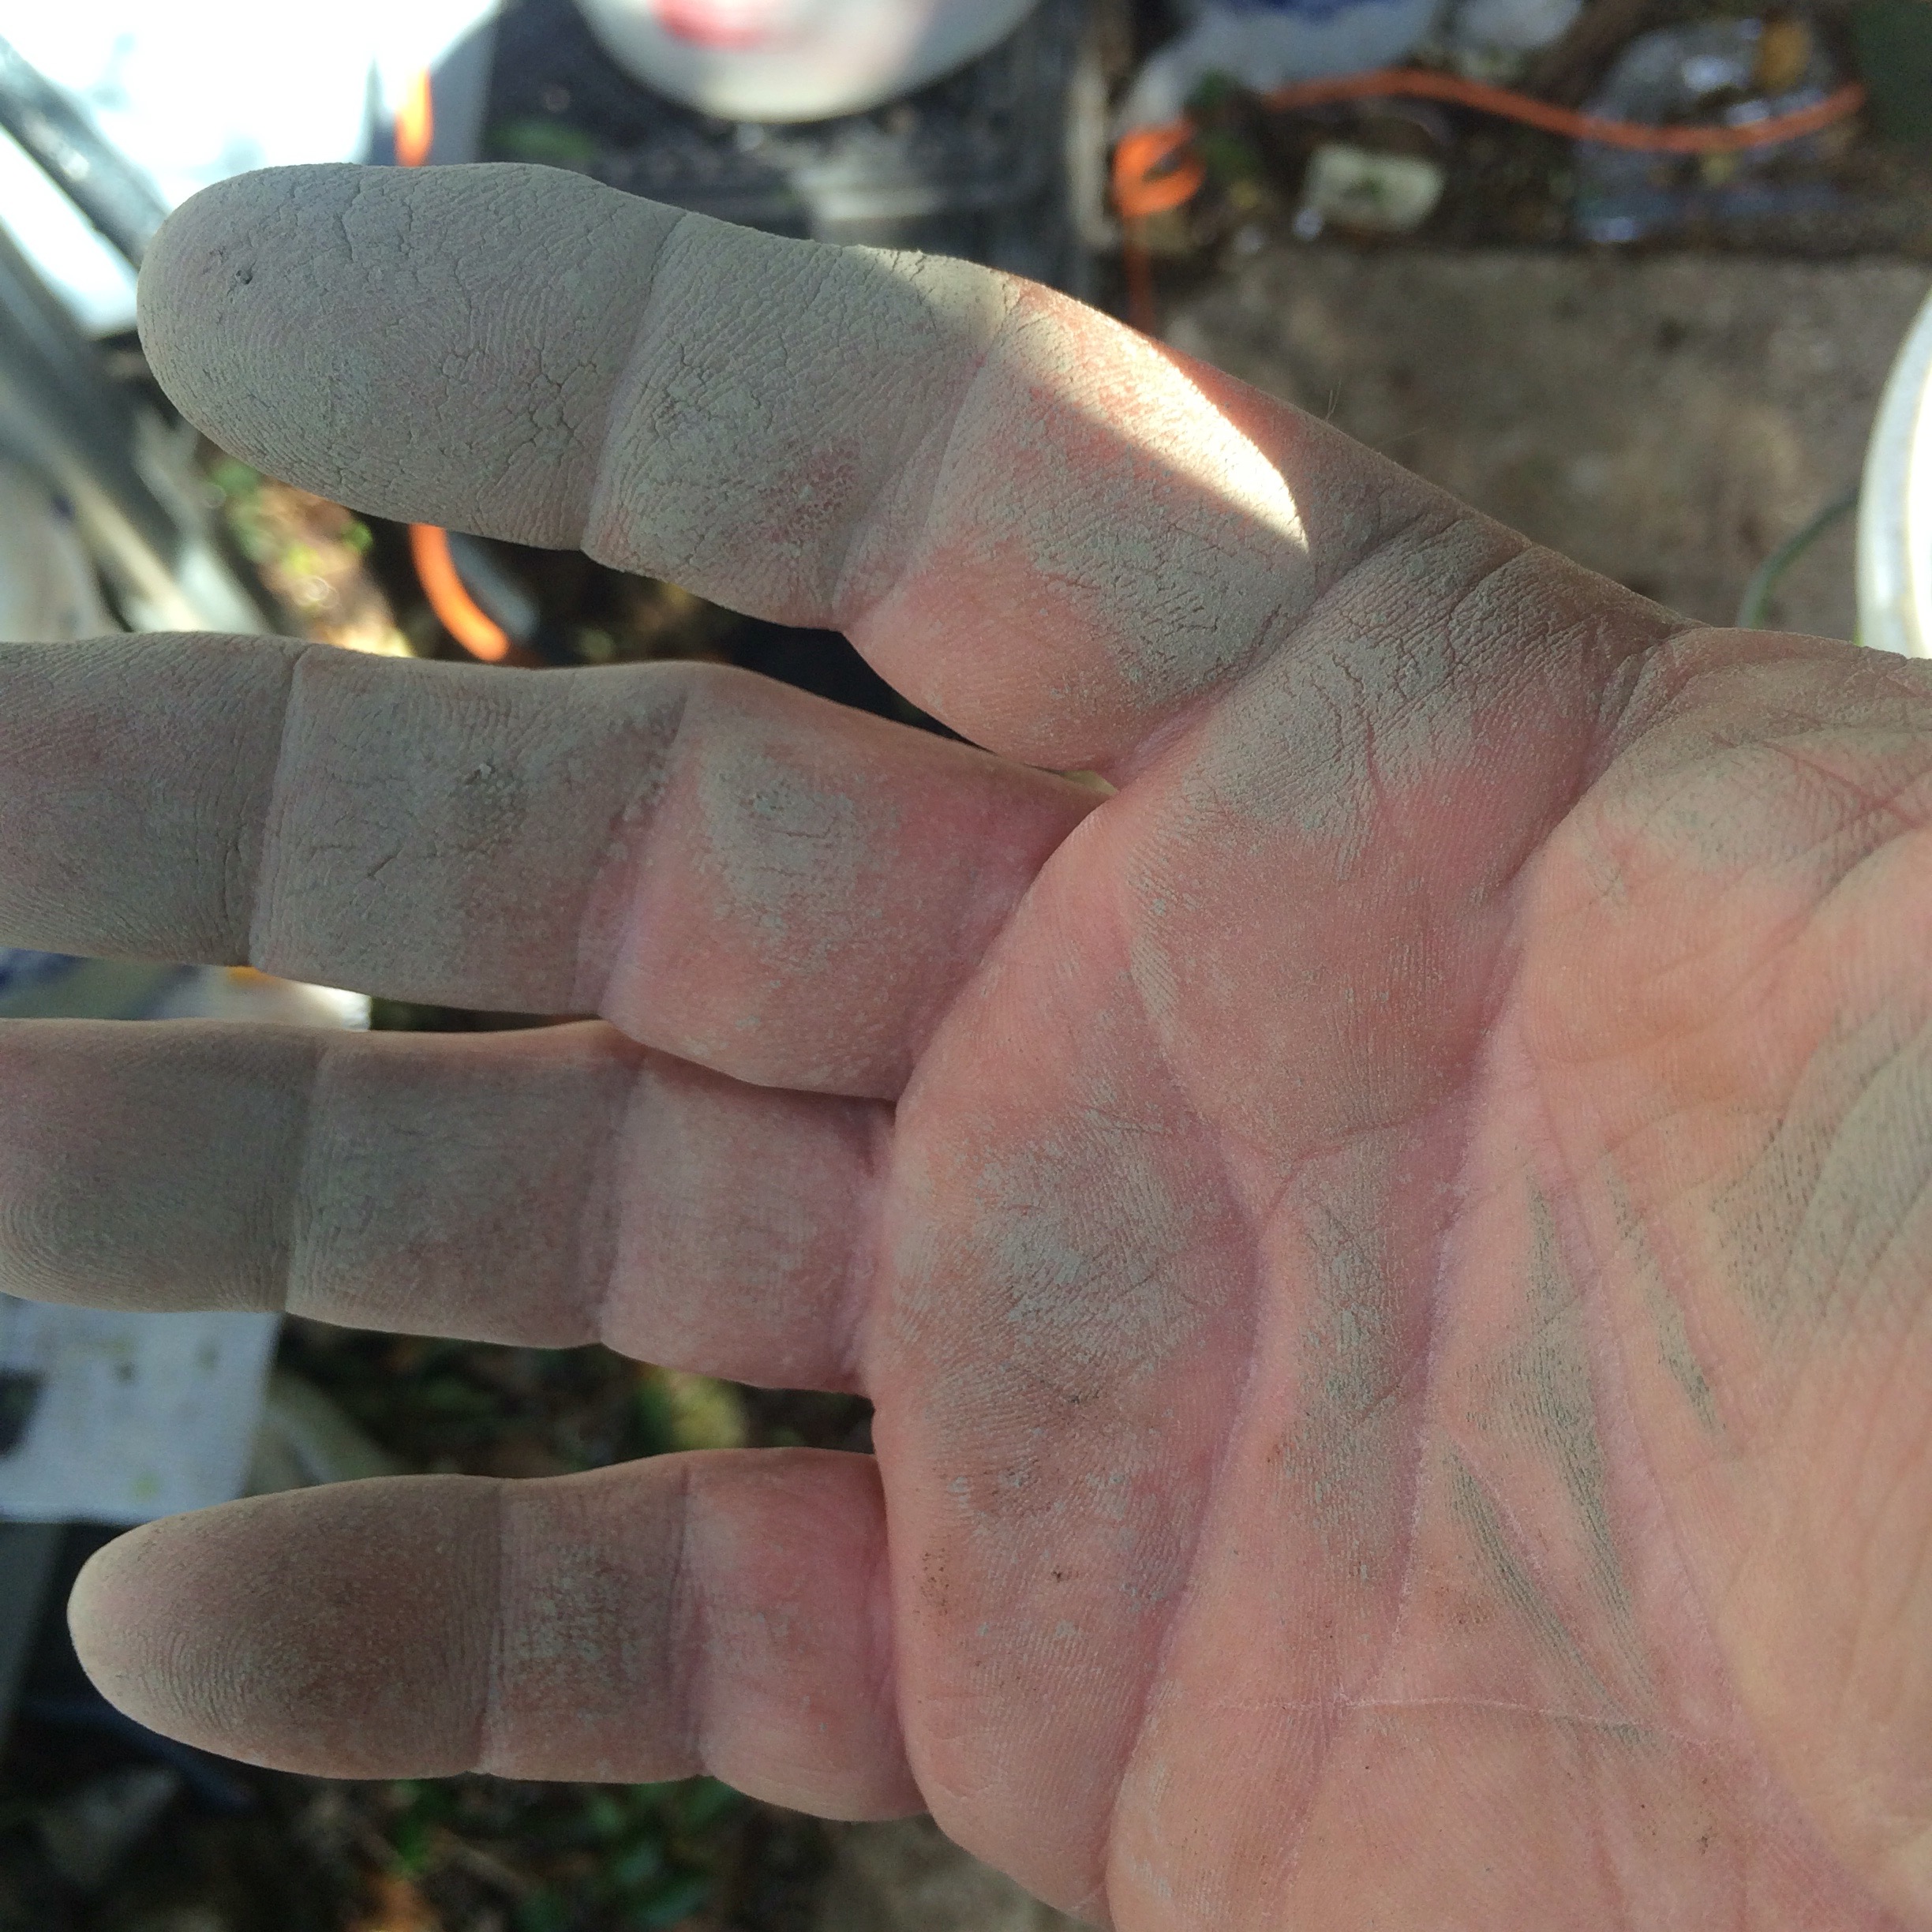 It seems to desiccate the skin and is terribly abrasive. And makes the hands rough and uncomfortable to the ladies. One definitely doesn’t want that now, does one?
For the he first pot, I’ll be using a colander as a mold.
 Get it in there tight.
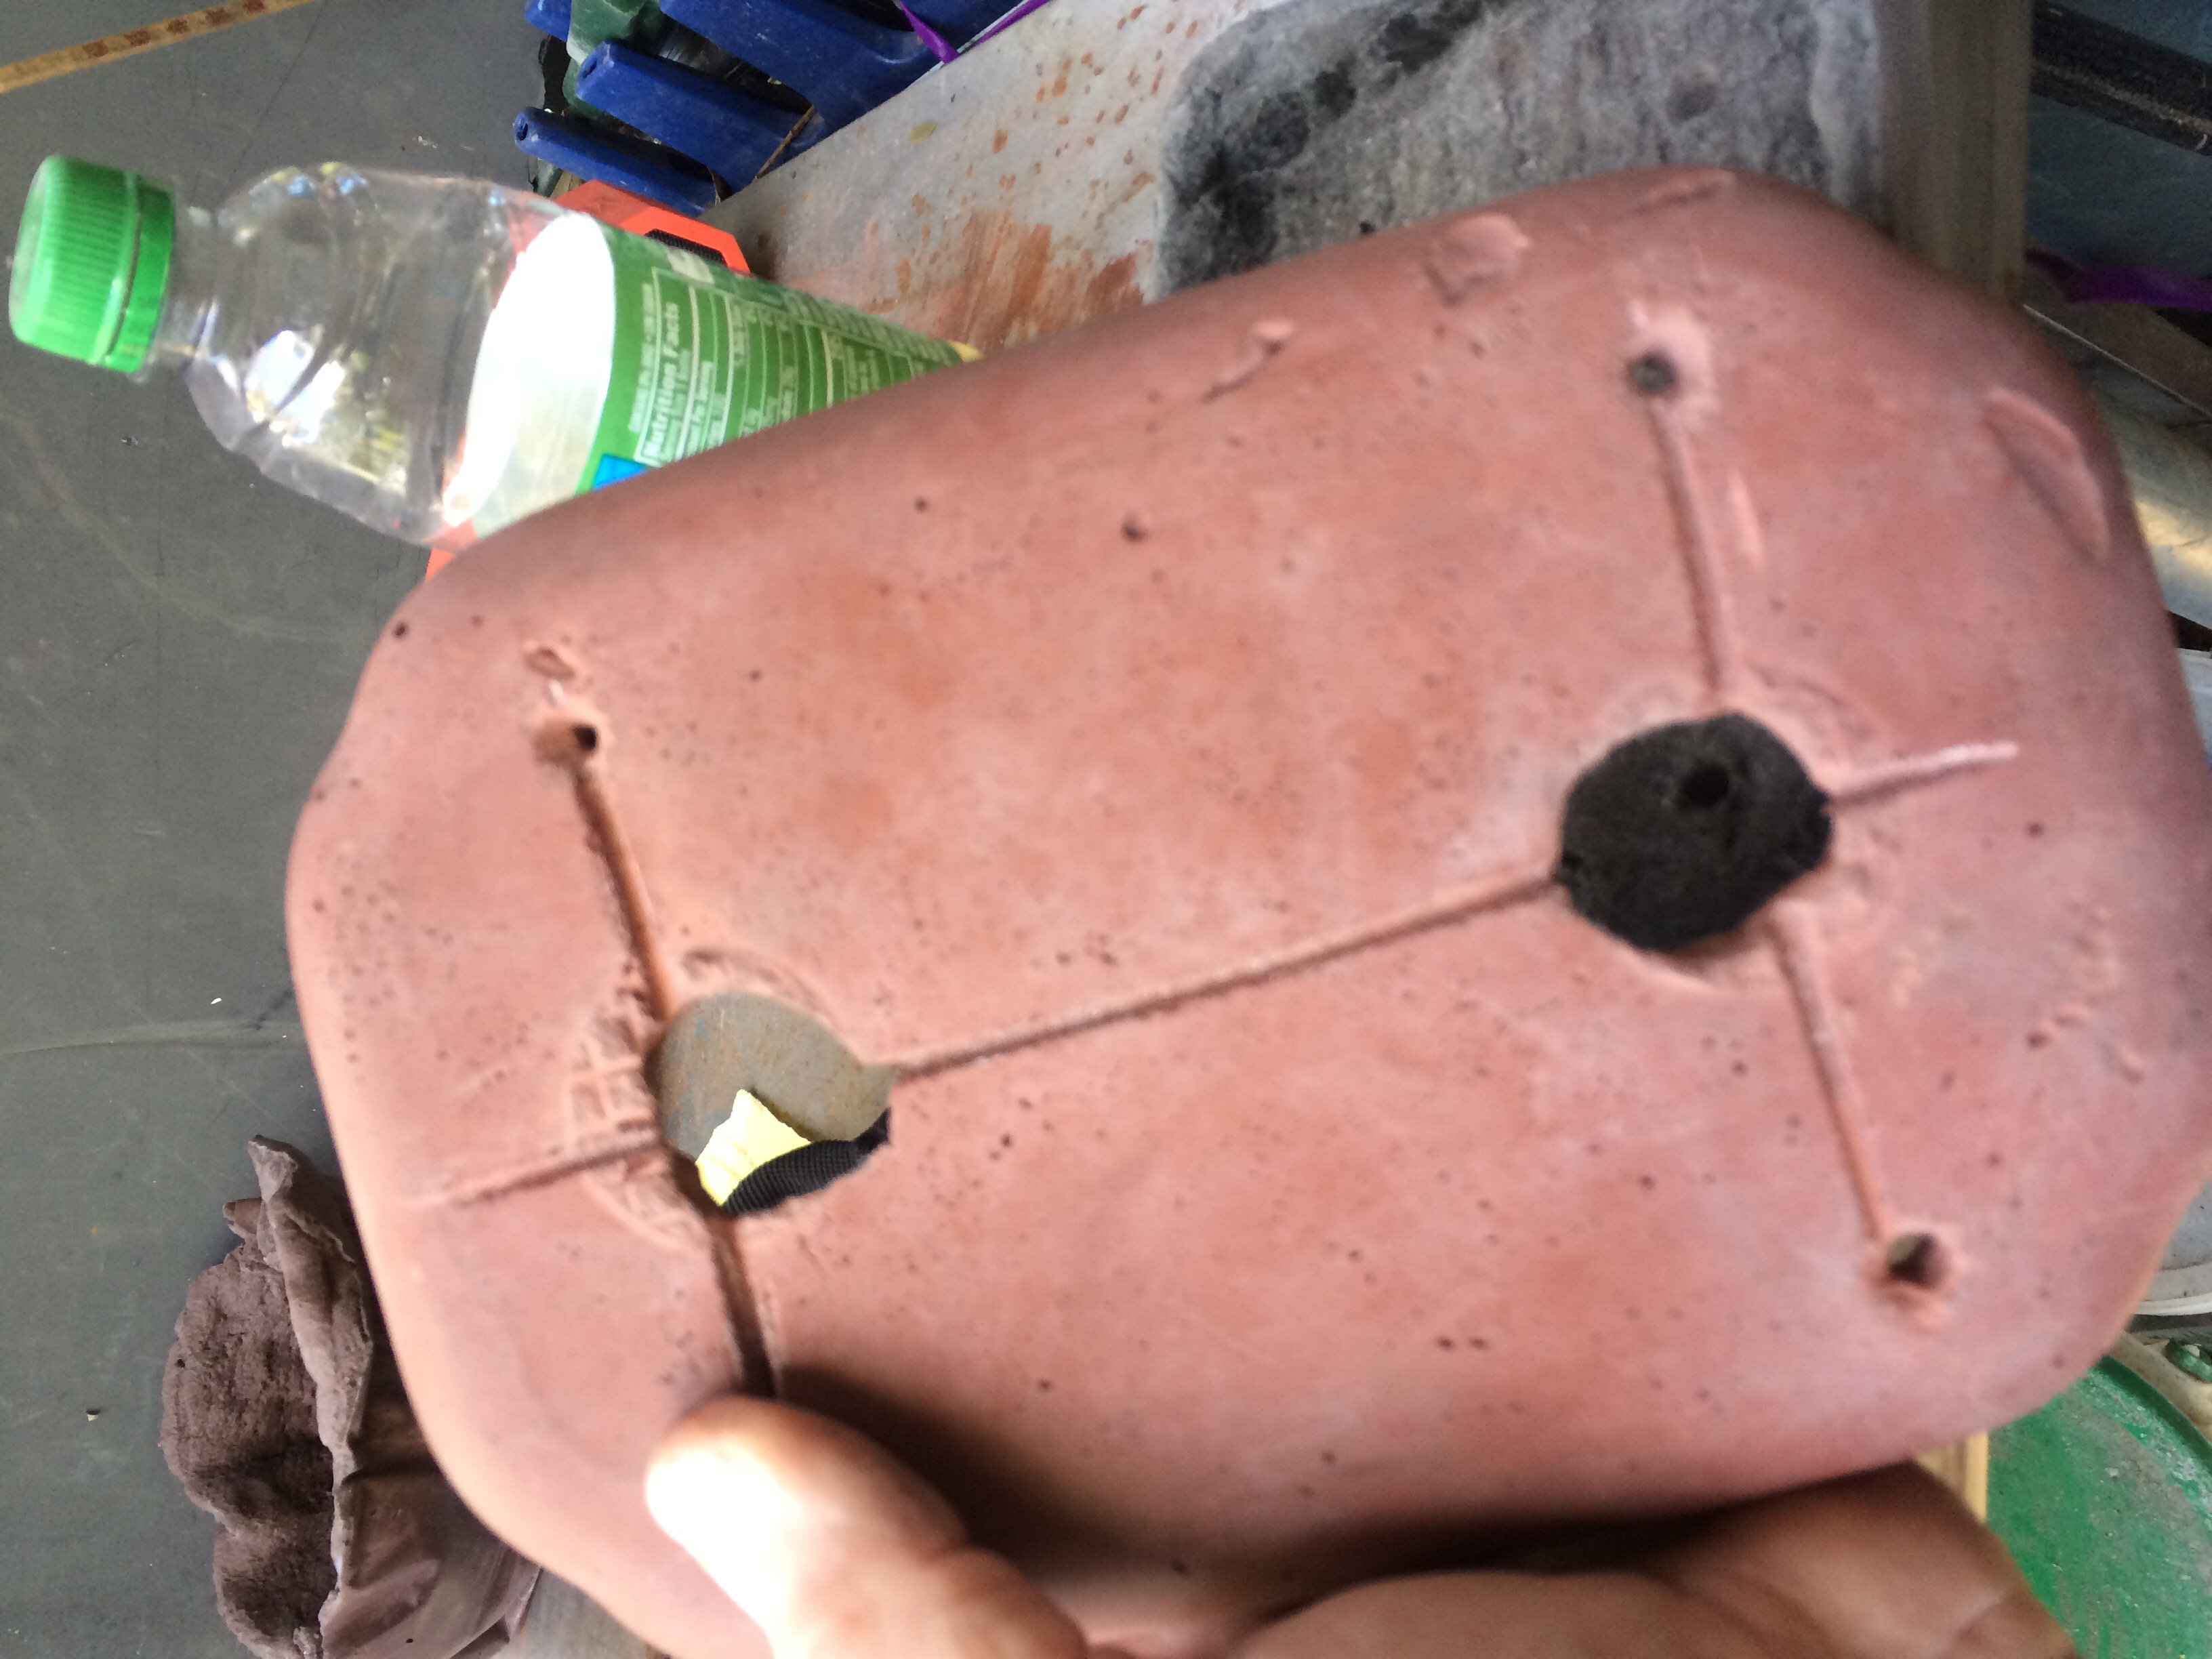
The all important drain hole. 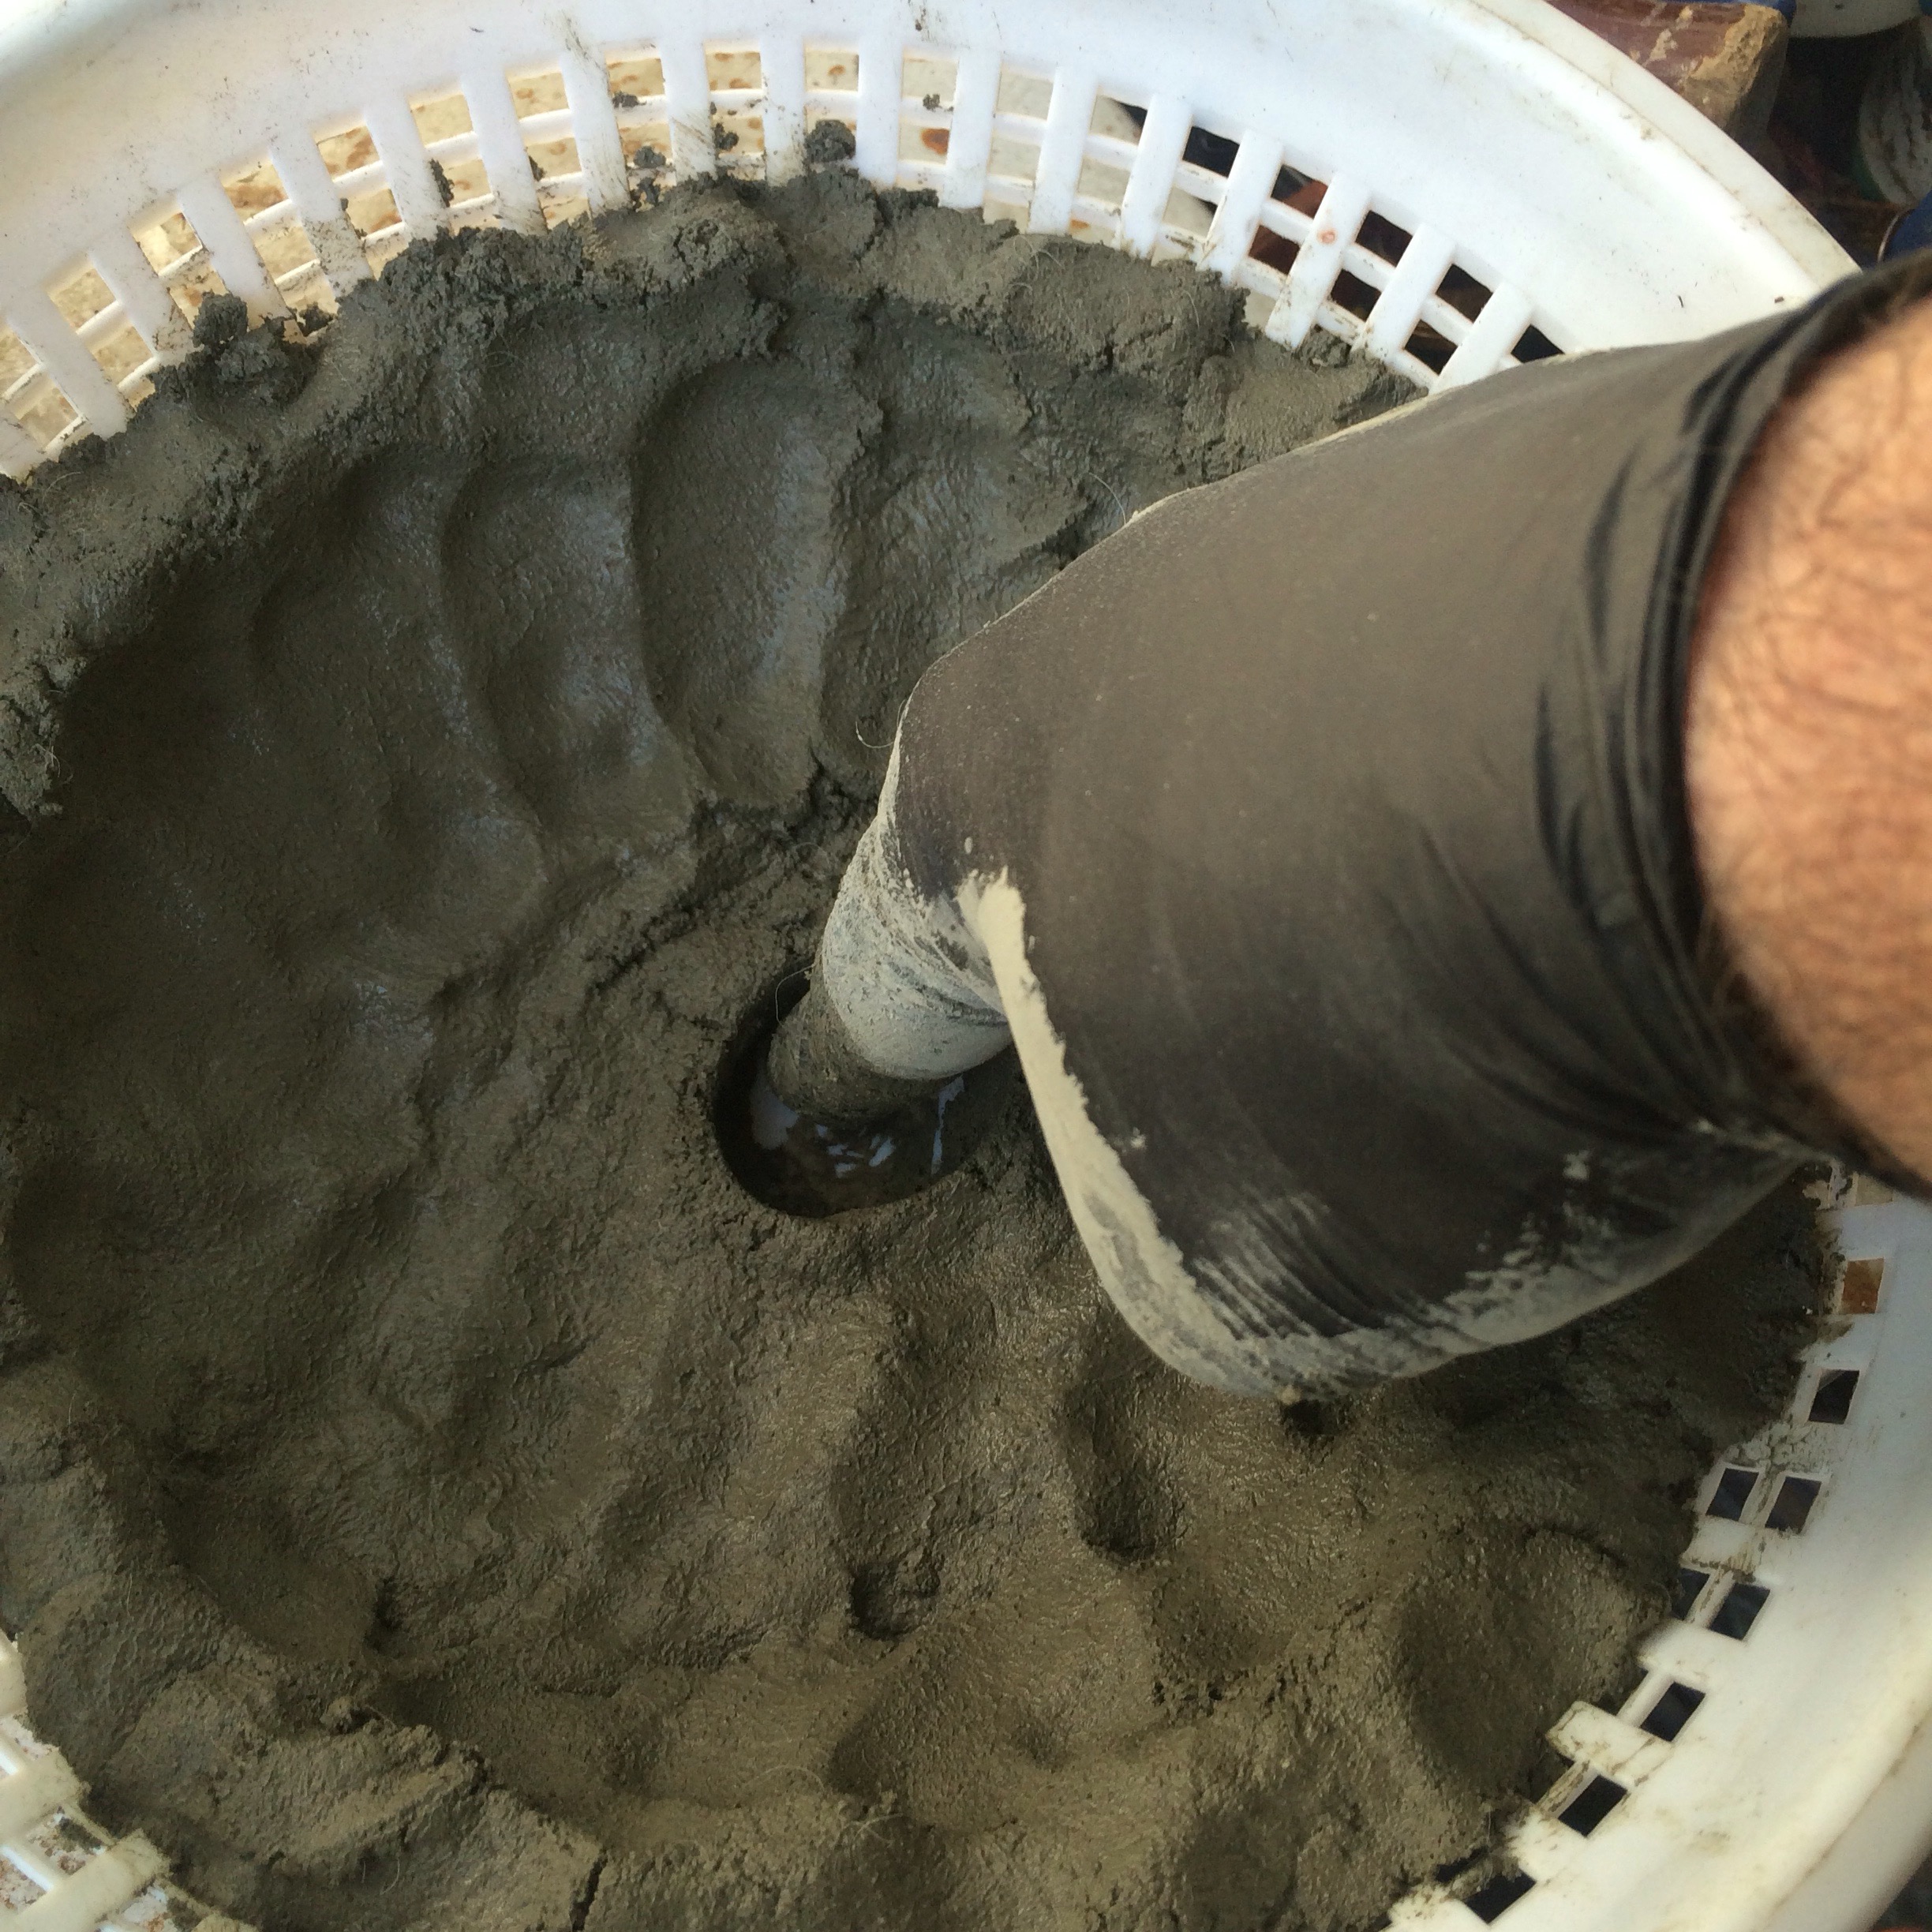
And holes for tie-down wires; a chopstick works well for that.
 I used a colander so that I’ll get an interesting texture on the outside.
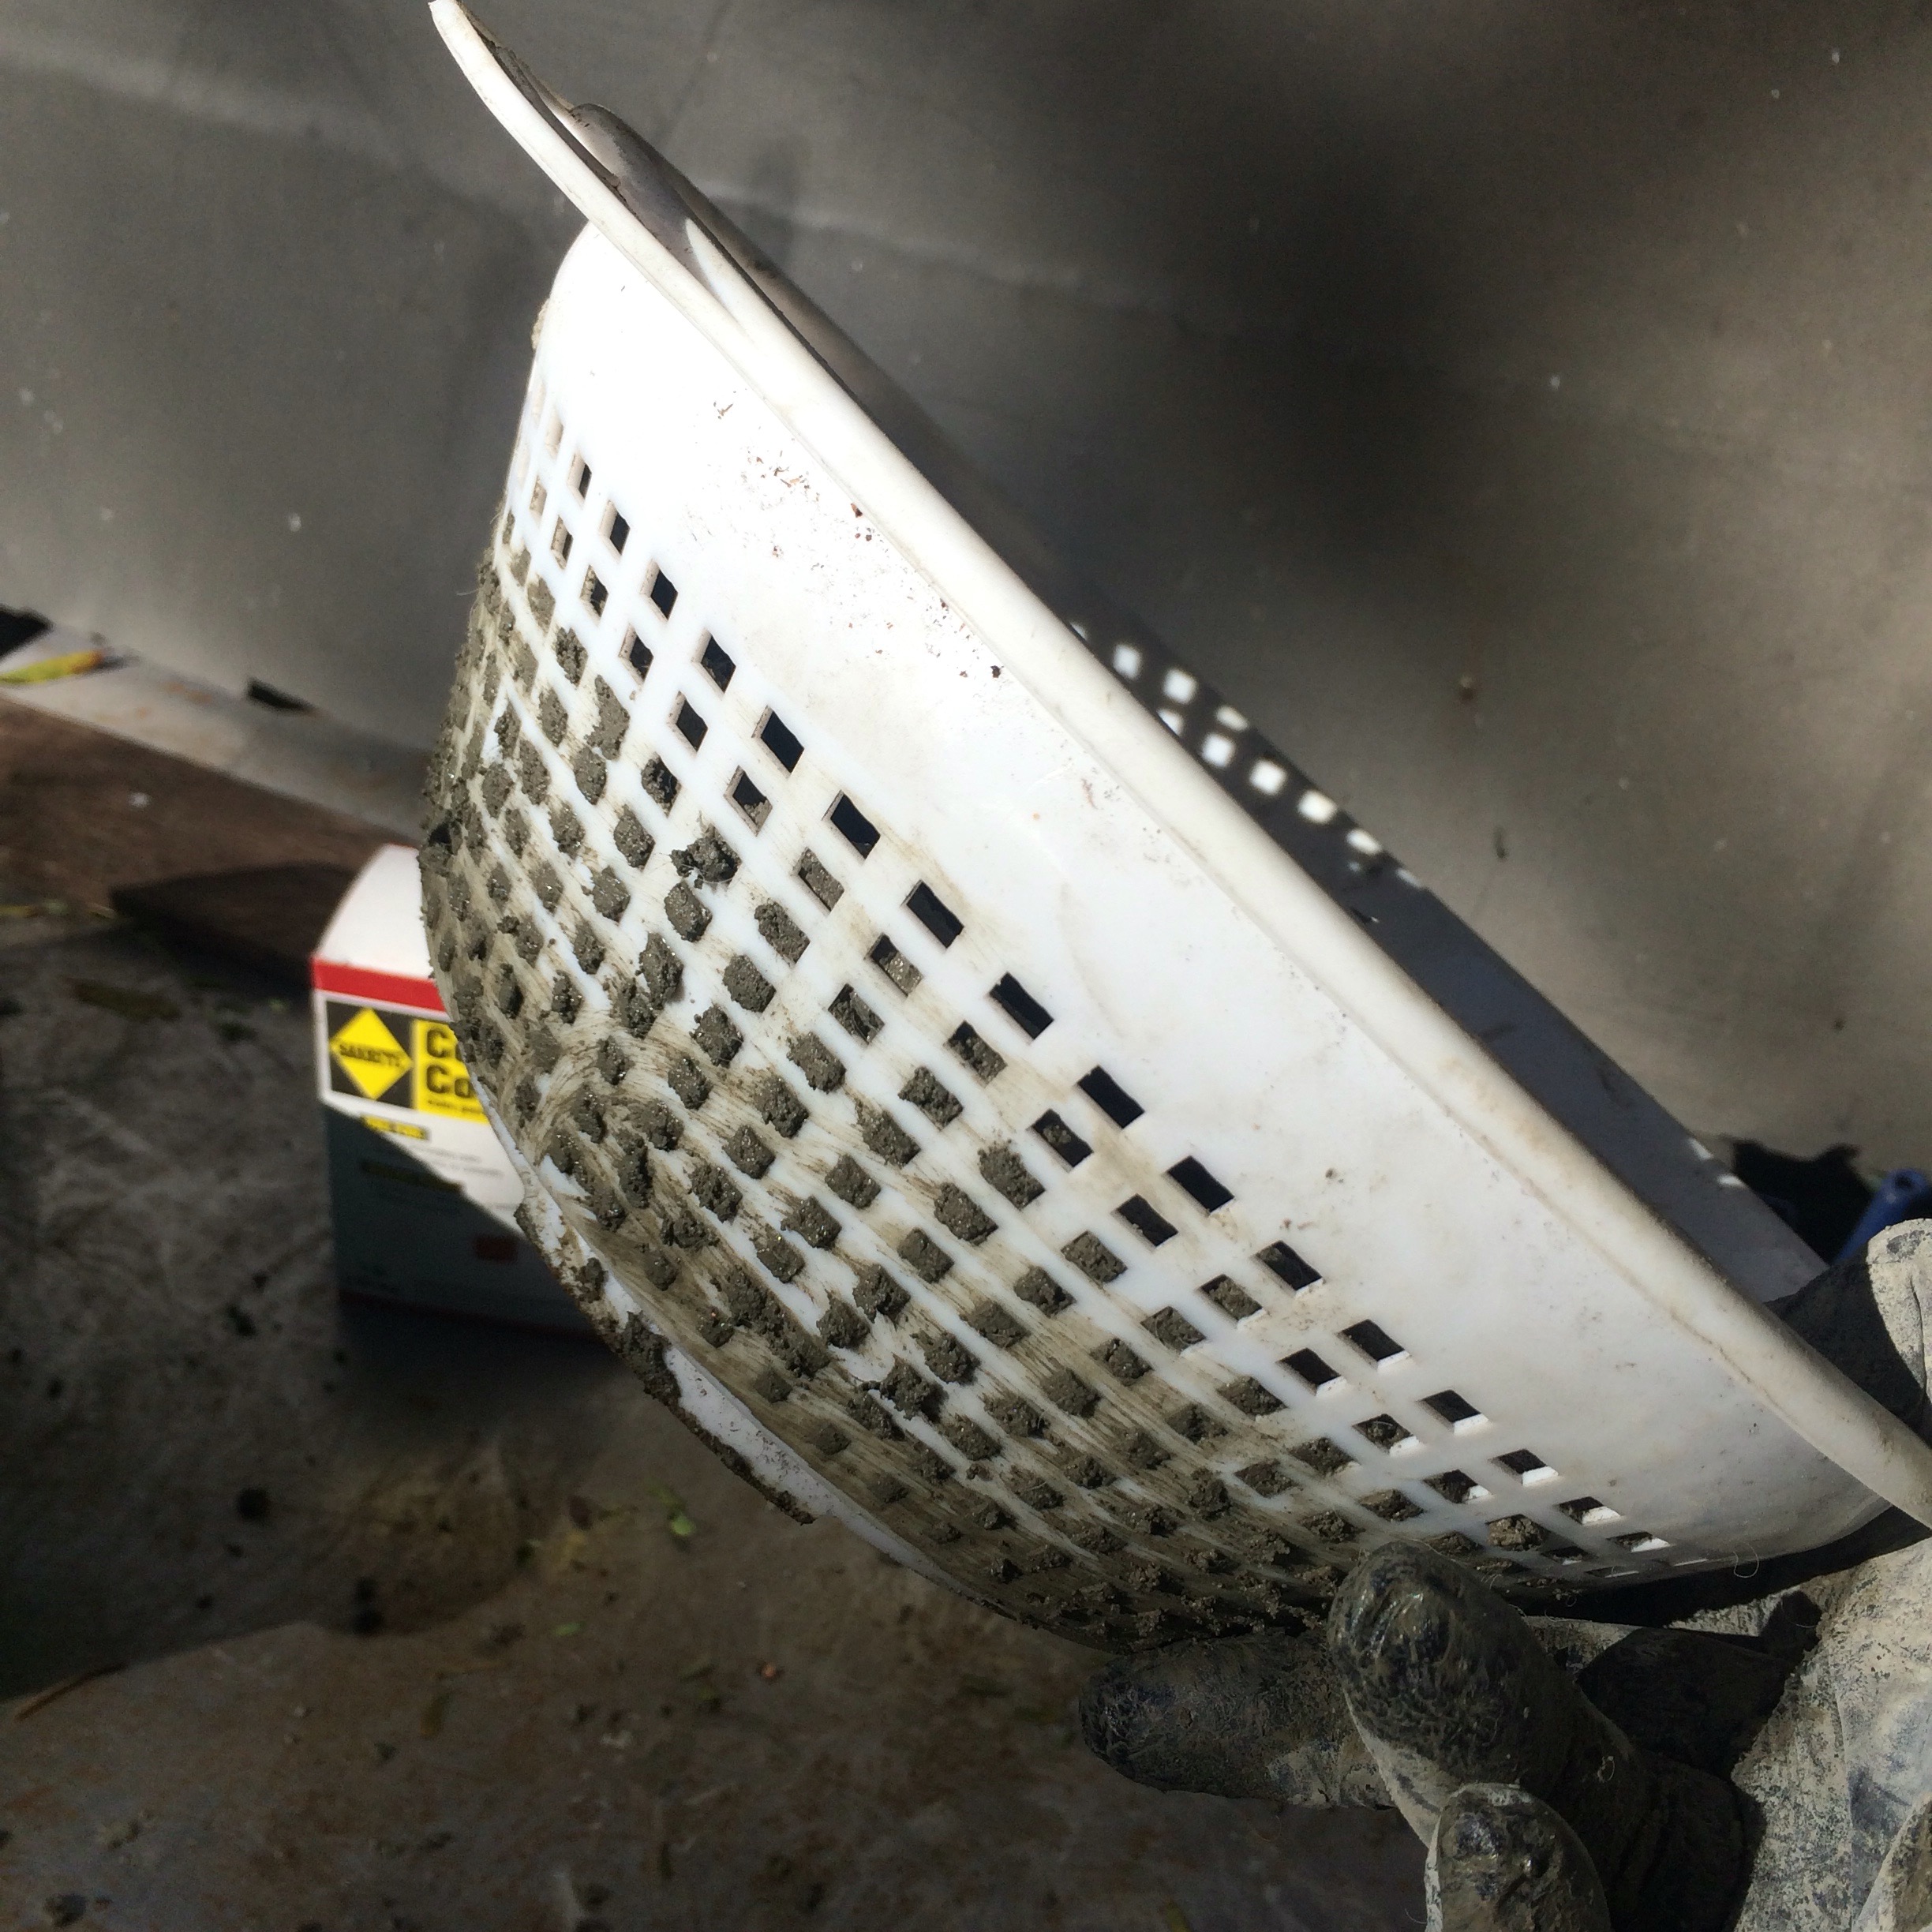 Not sure how it will work but…hey, this is the first pot.
The next step is to cover the pot with plastic. This will trap the moisture in and allow the concrete to cure more completely.
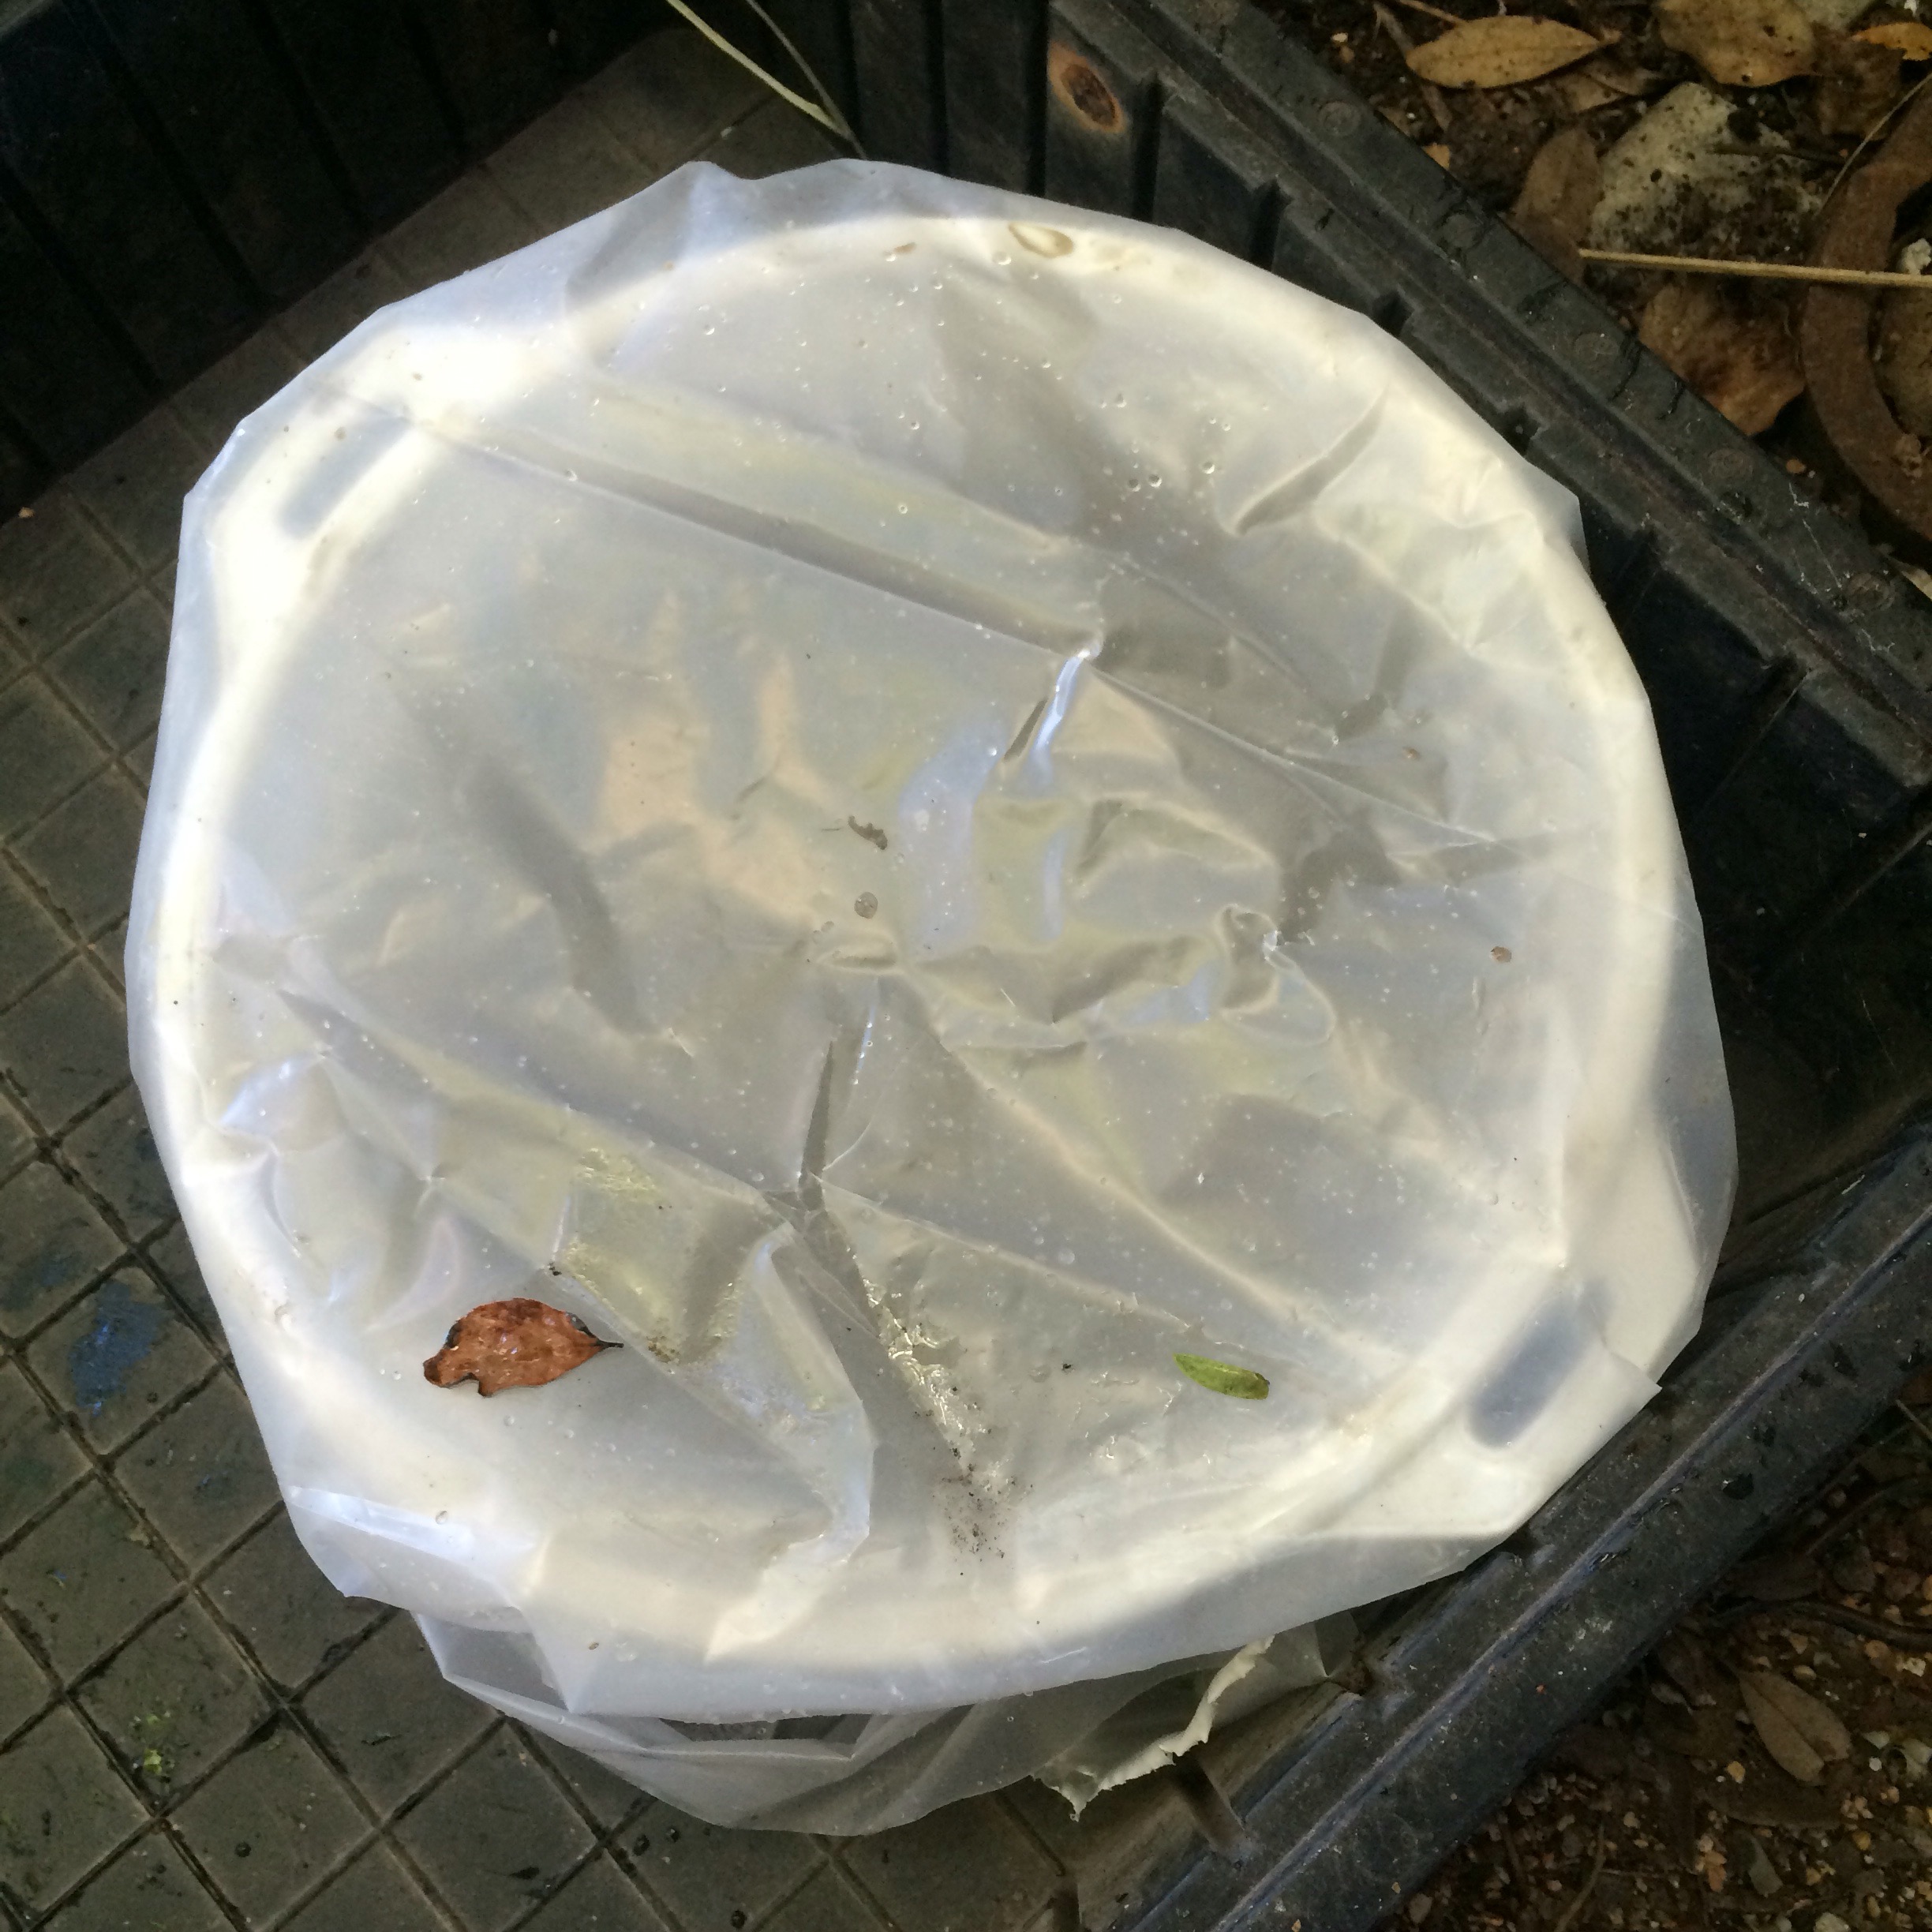 It takes only 24 hours to cure enough for handling and removal from the mold. But that’s tomorrow, I have some more ingredients to play with.
Color!
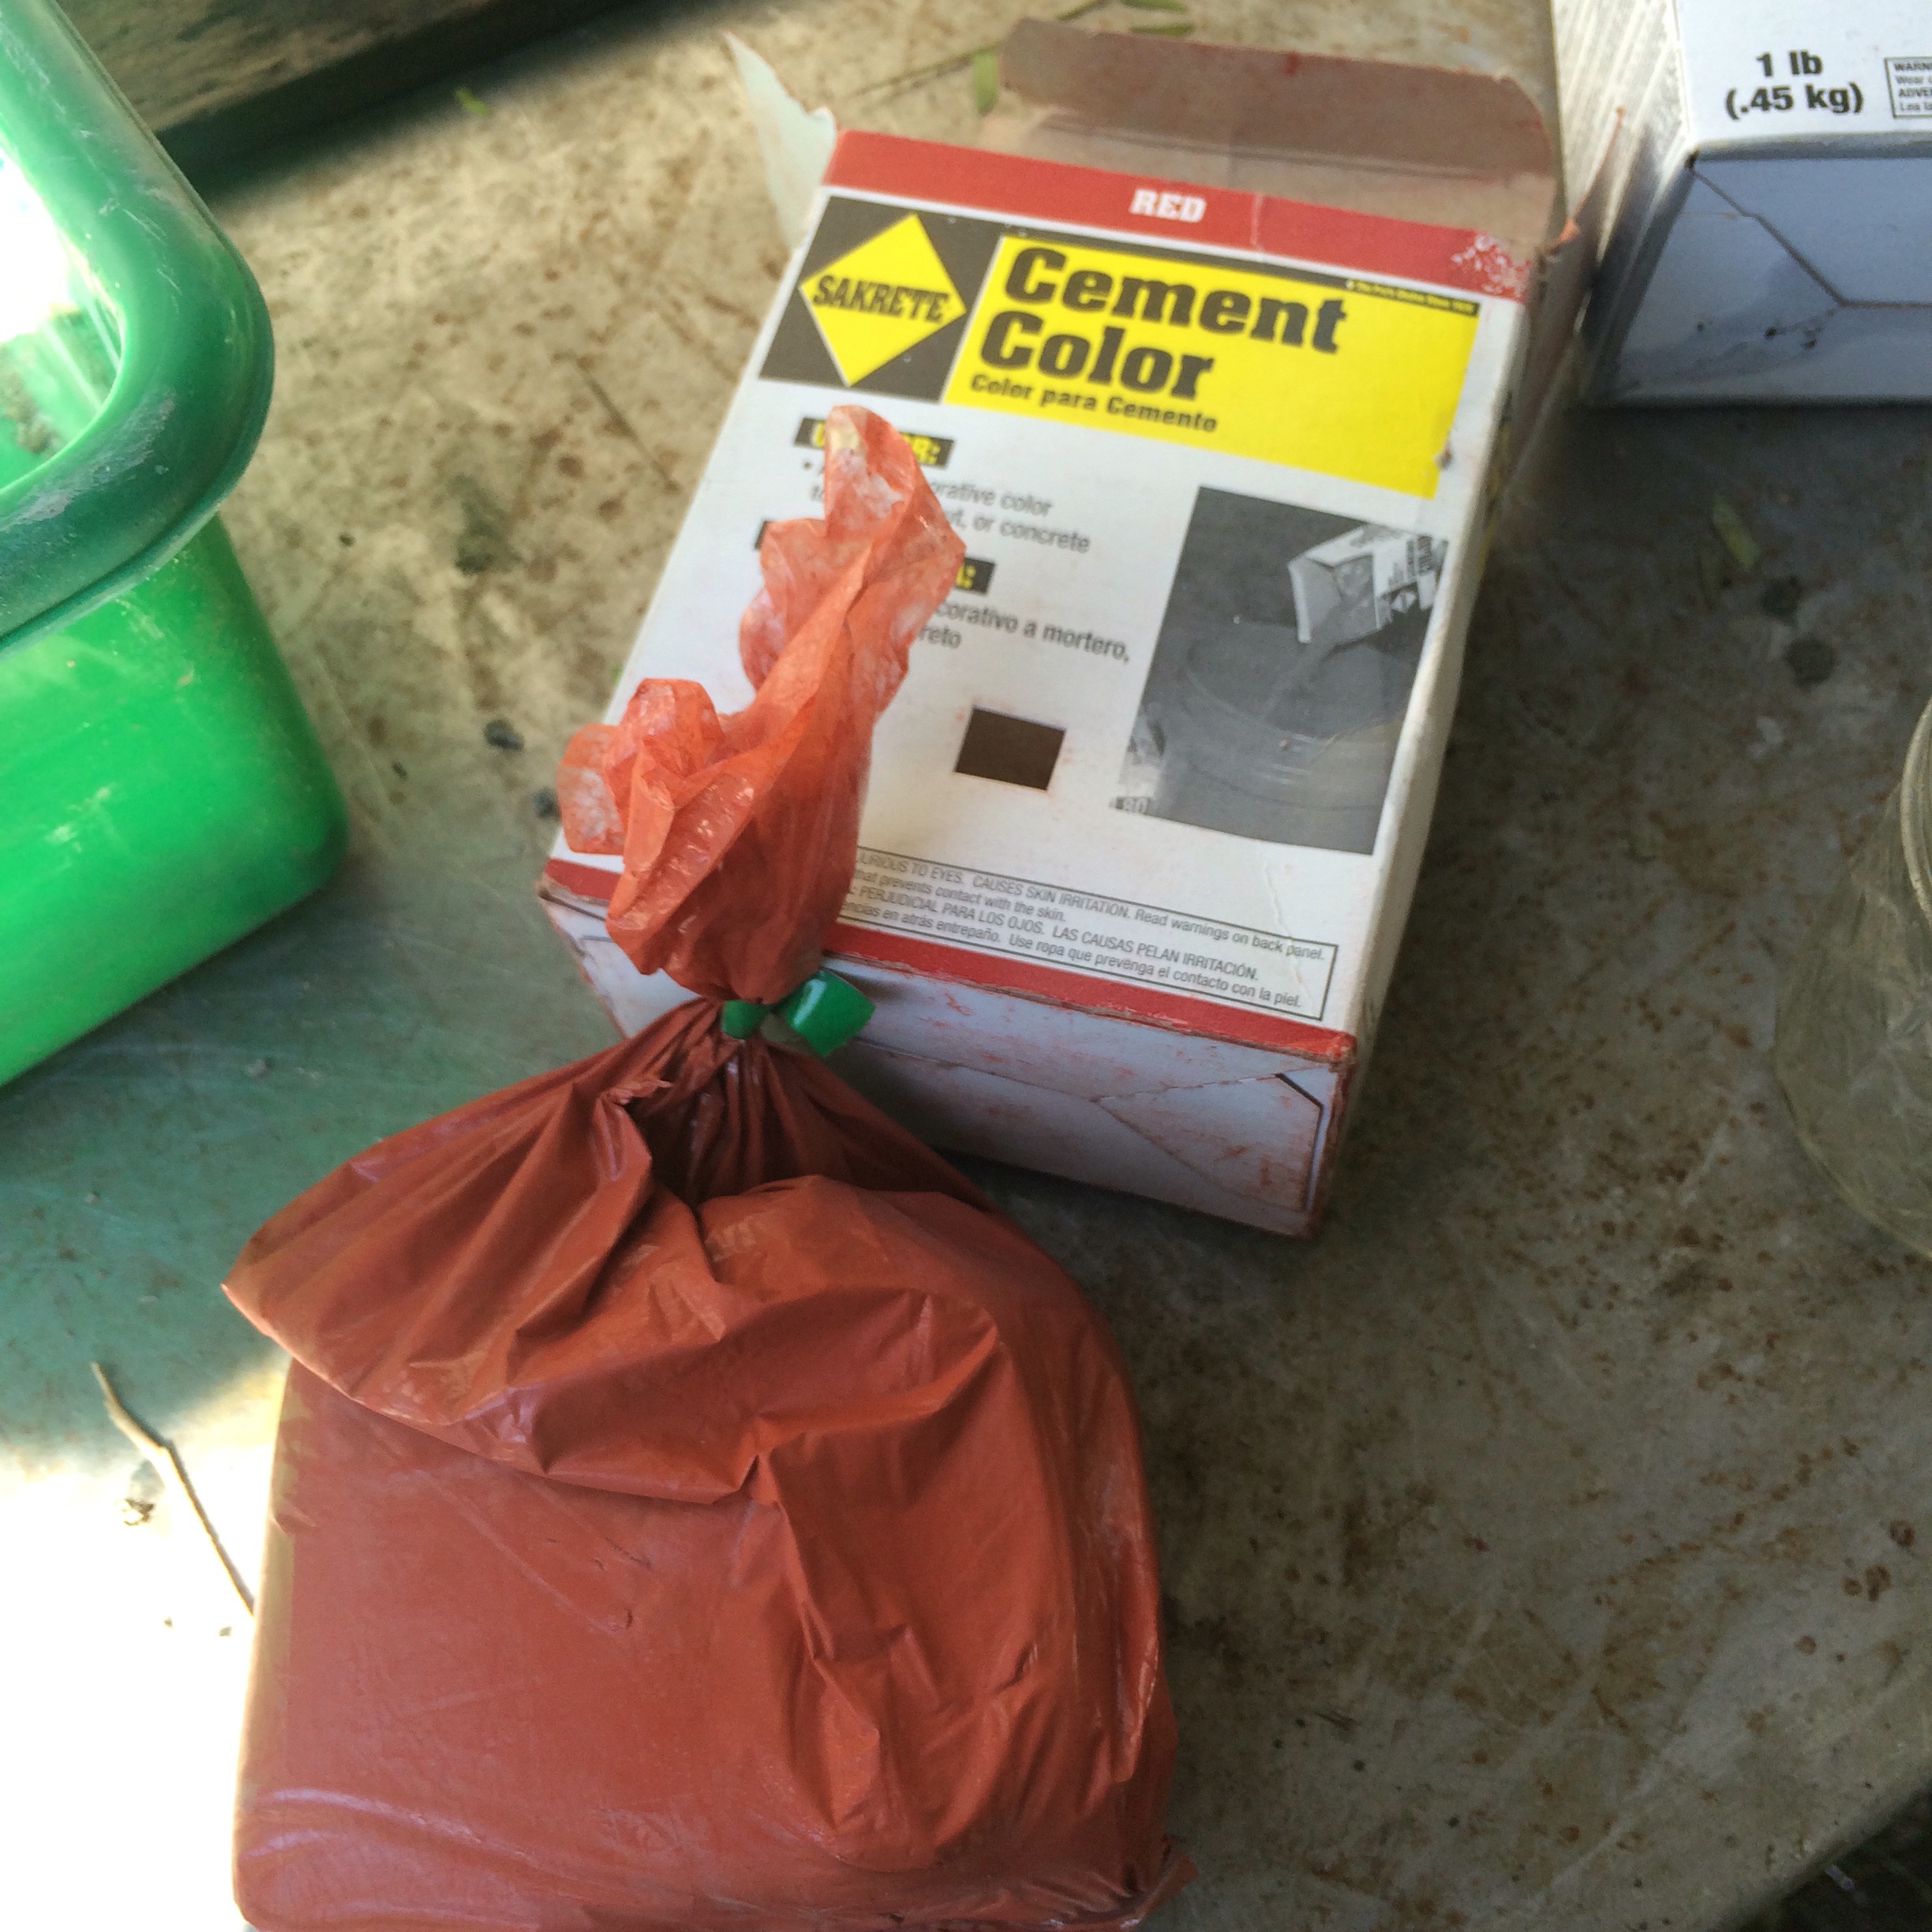
I got red and black today. At the box store they also had tan, which I regret not getting. Another day.
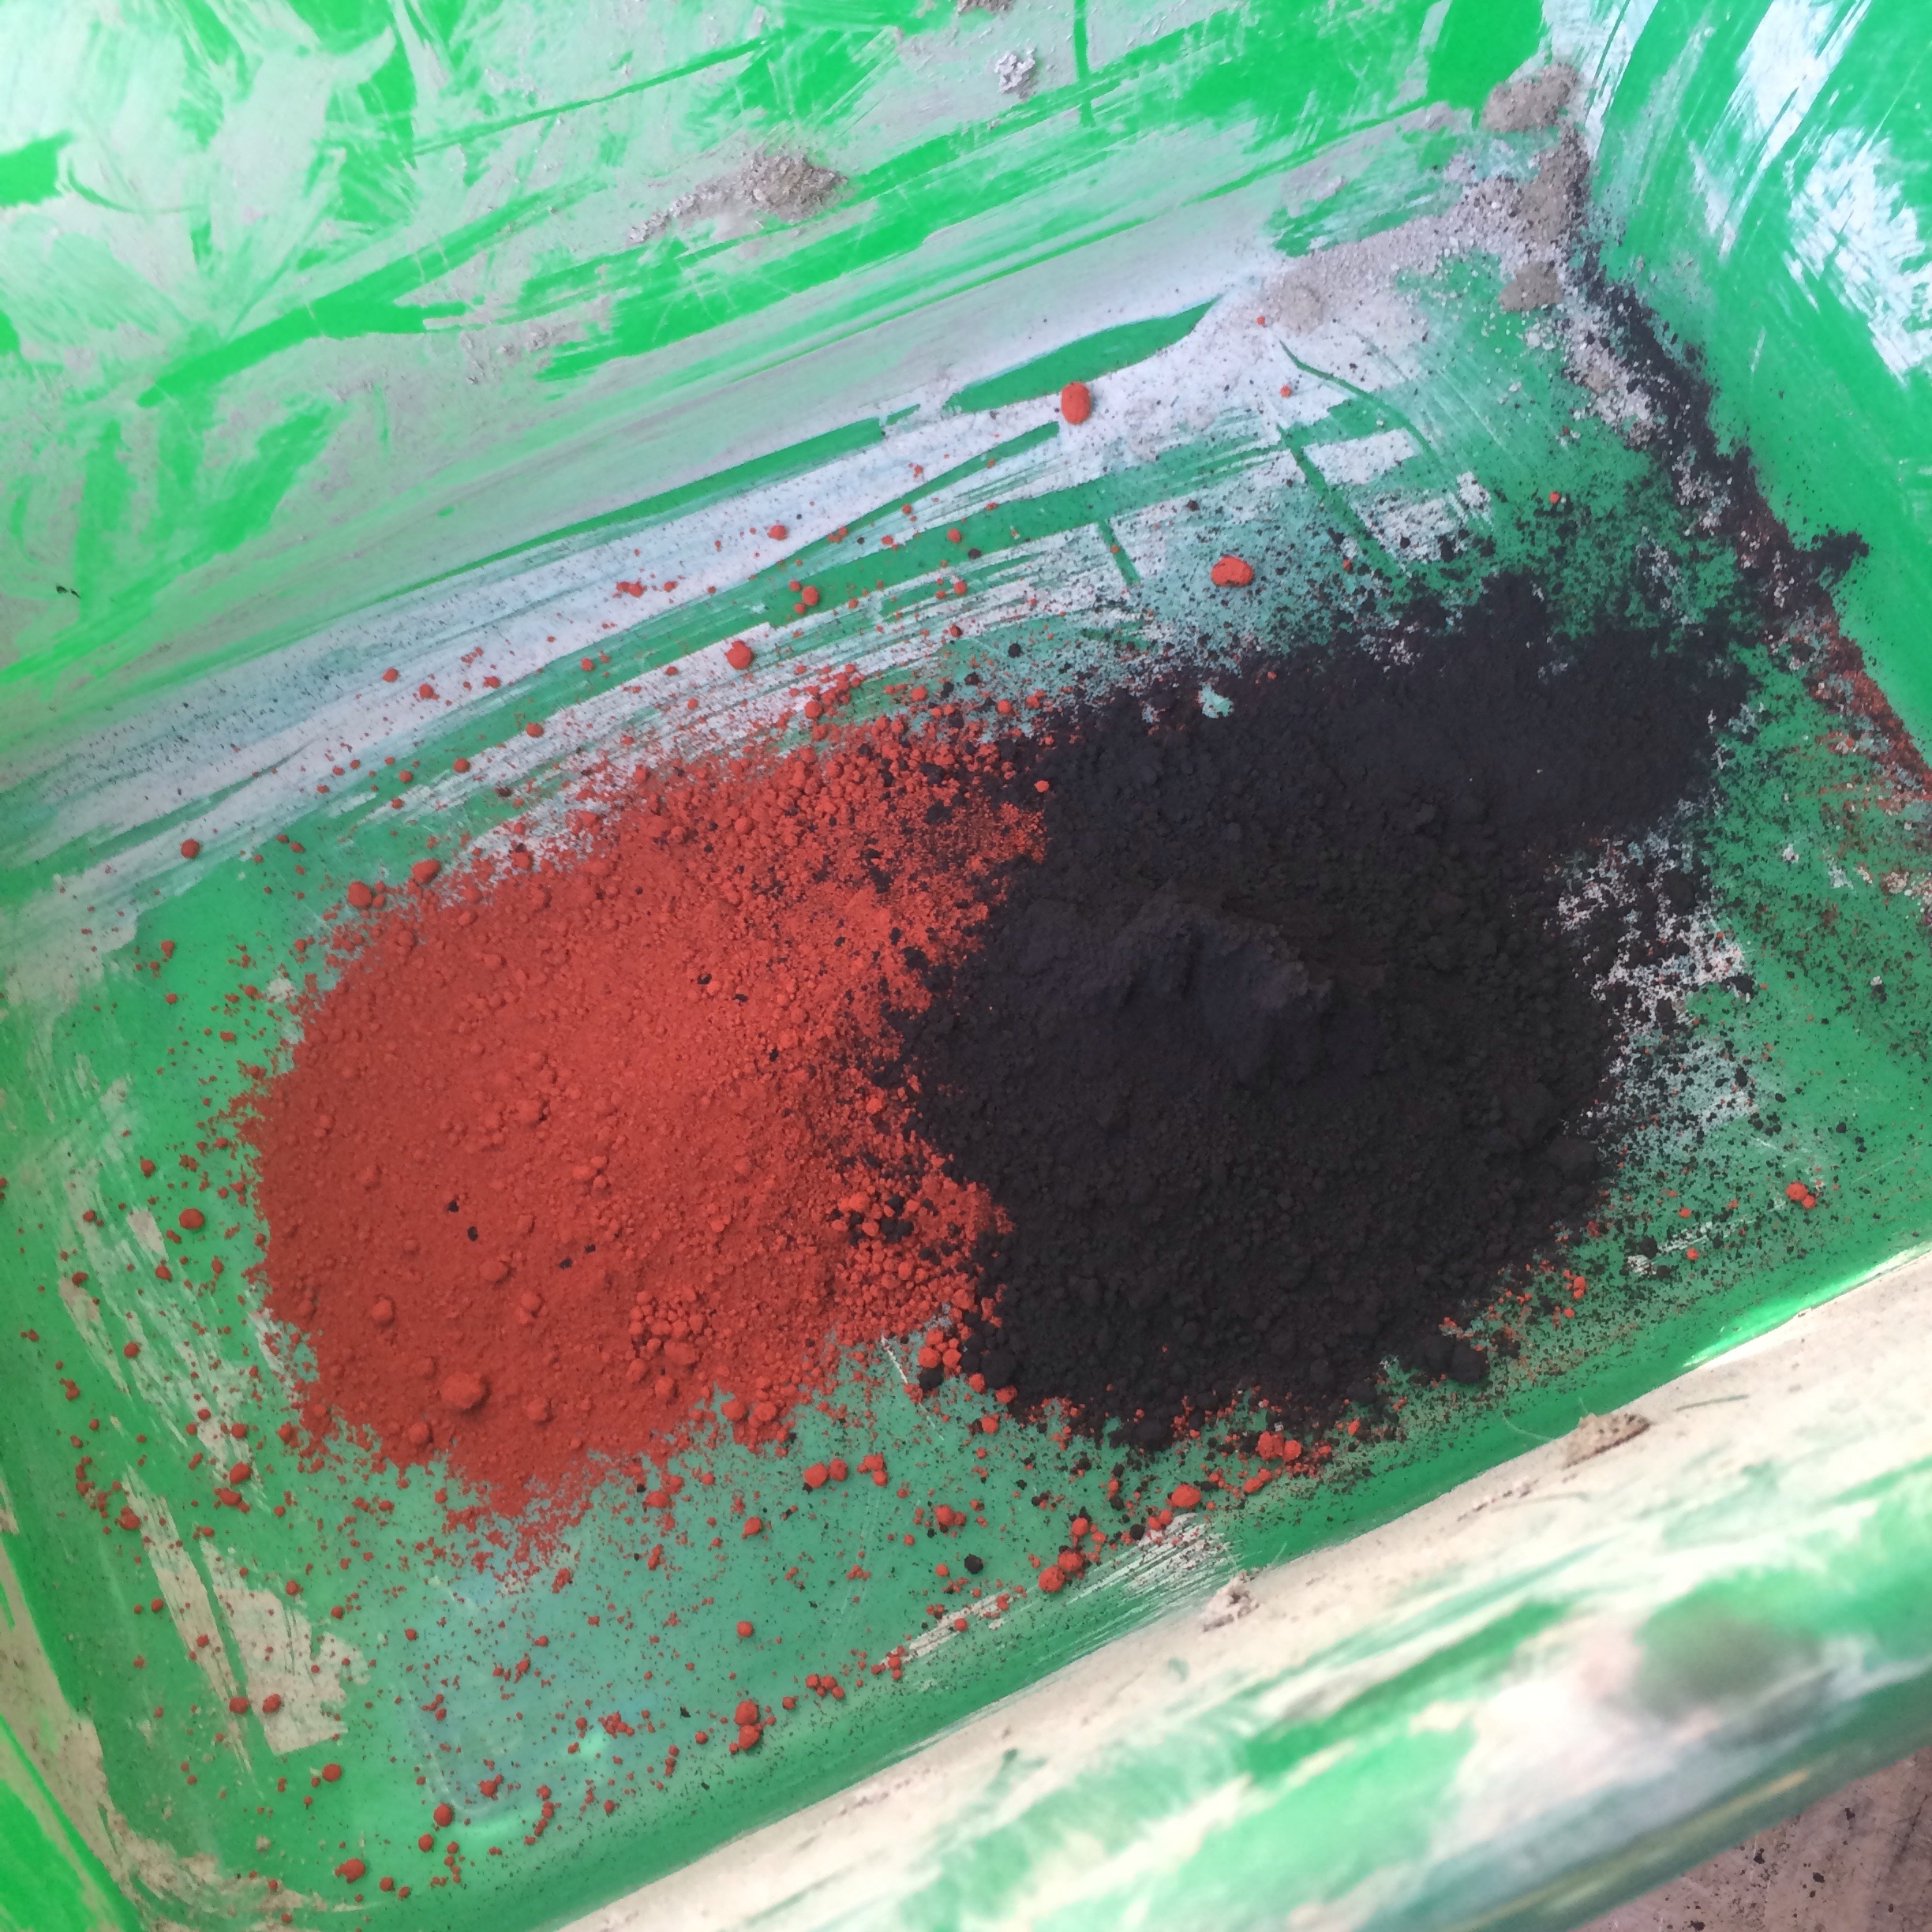 I’m not sure how much to mix so I’ll start with a little first.
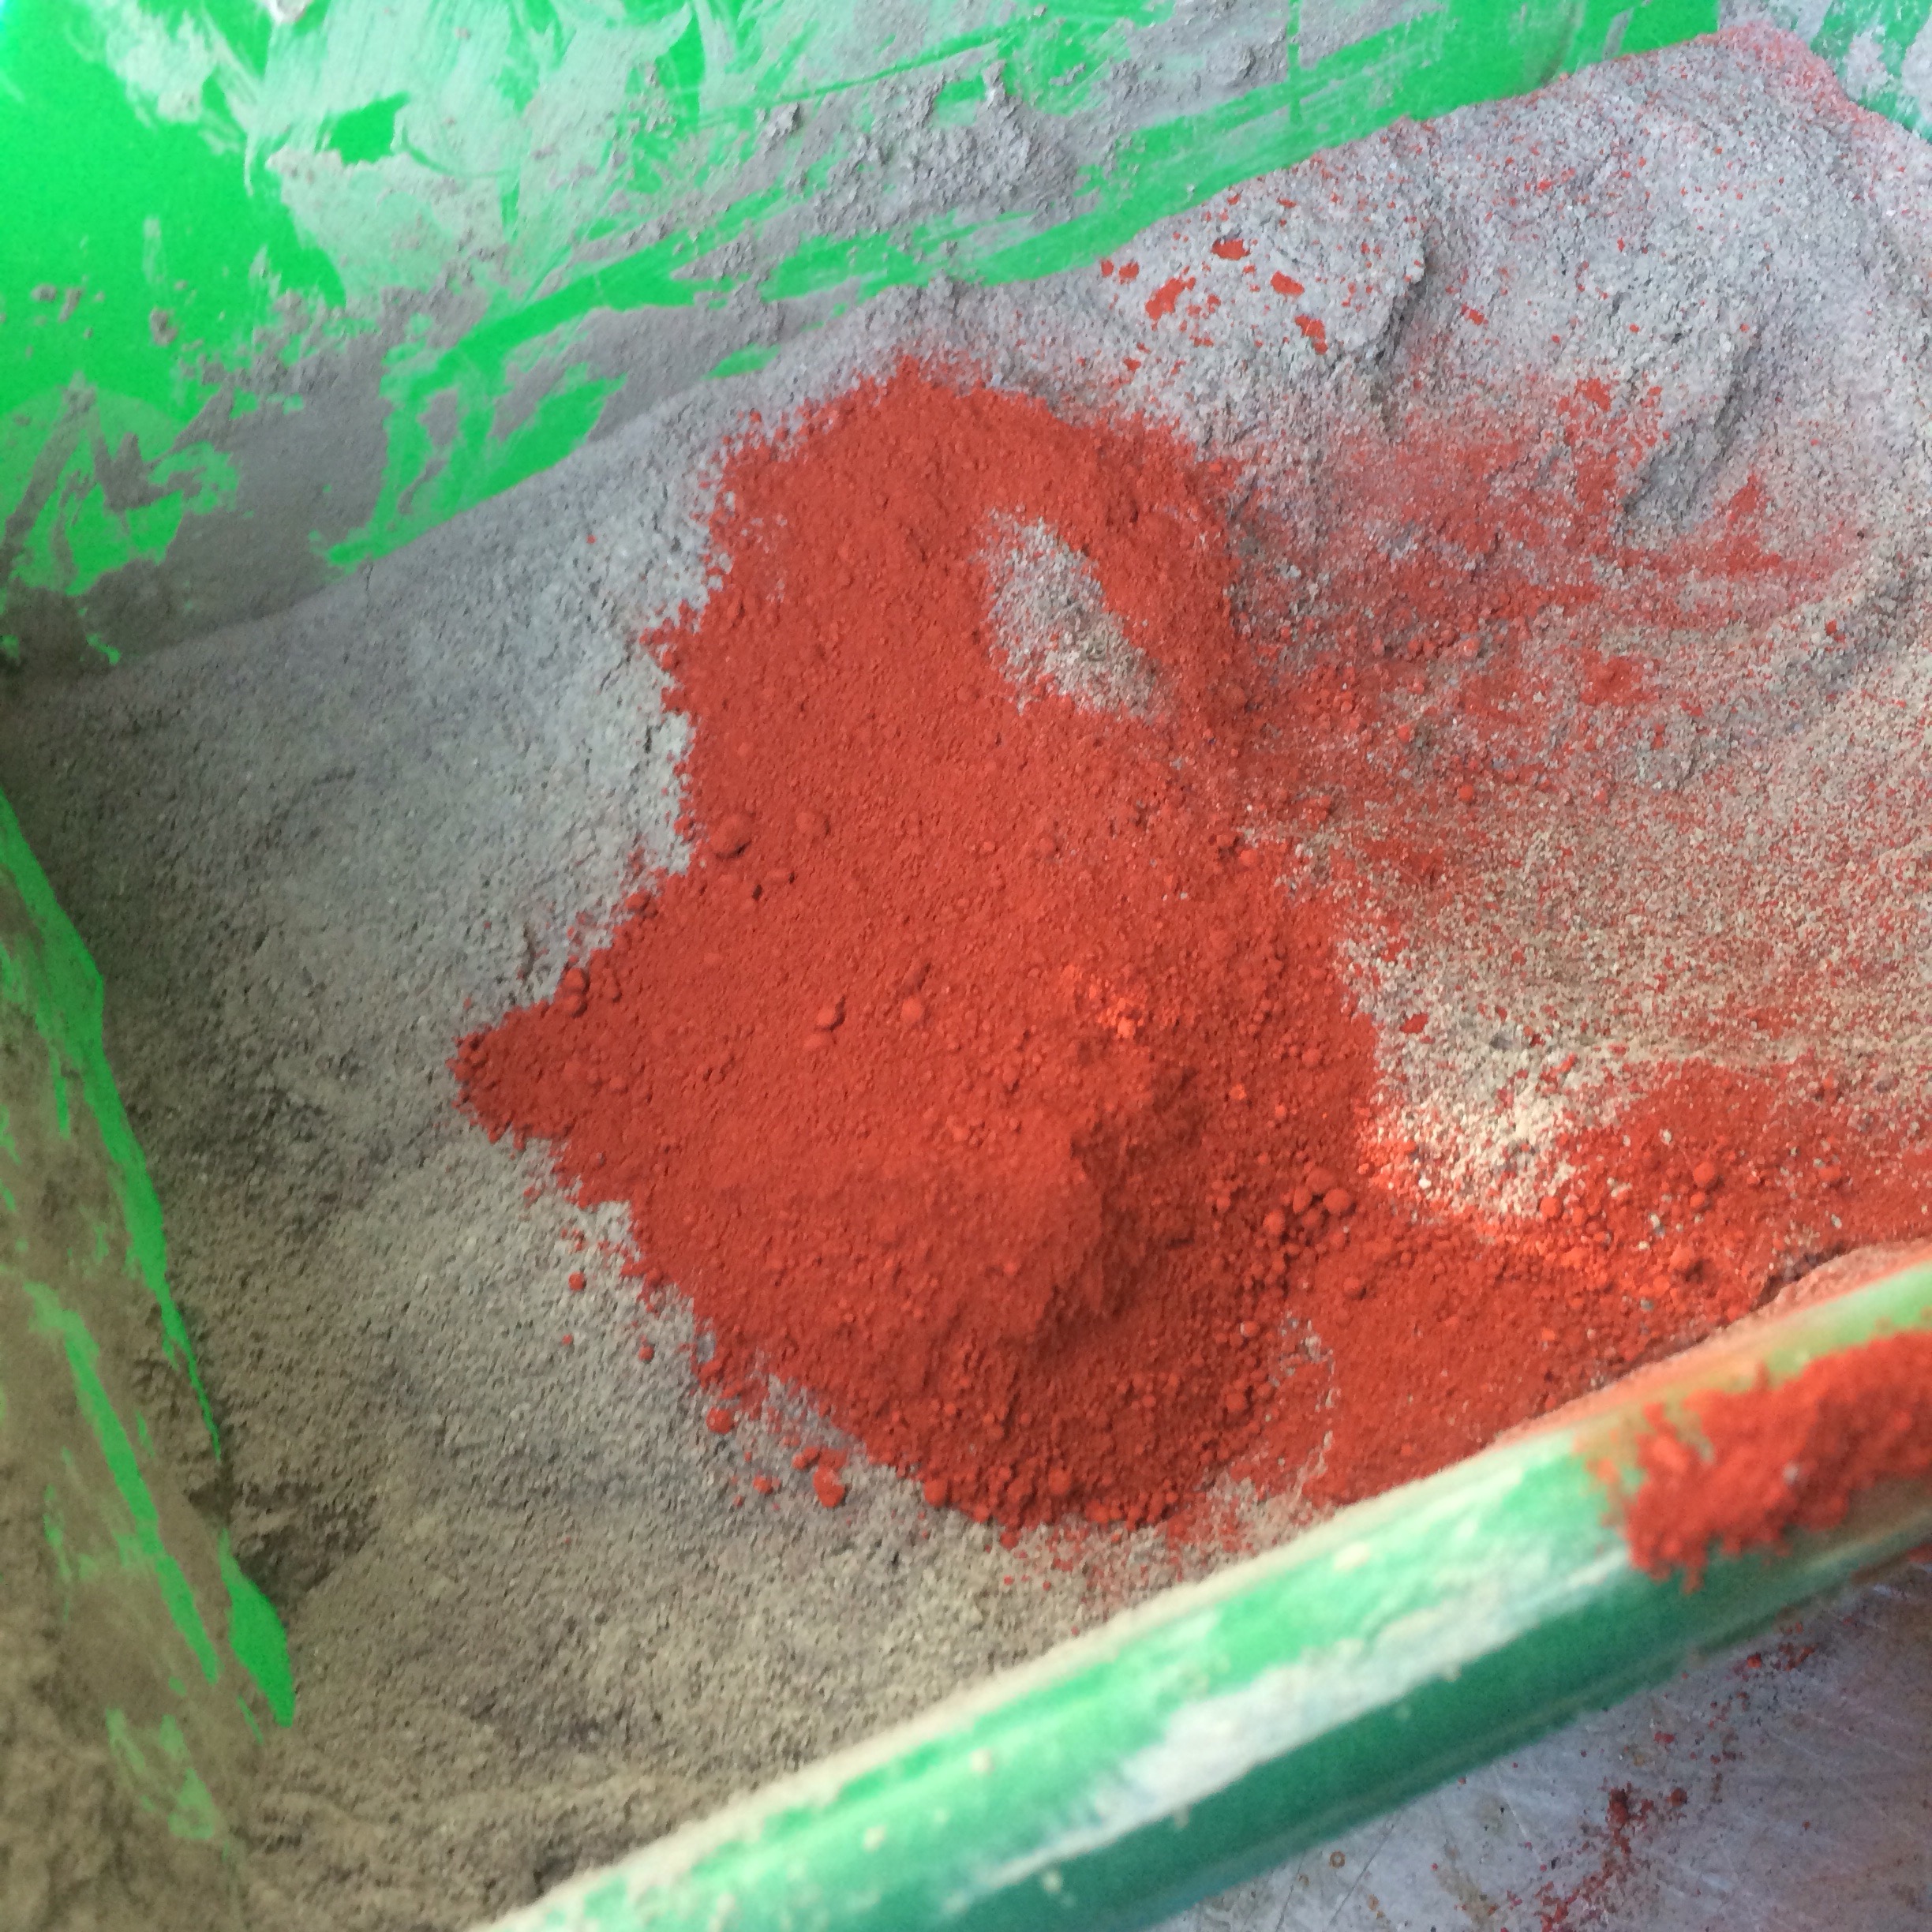
Then the concrete.
 Hmmmmnnnn. Not much difference. Maybe more red.
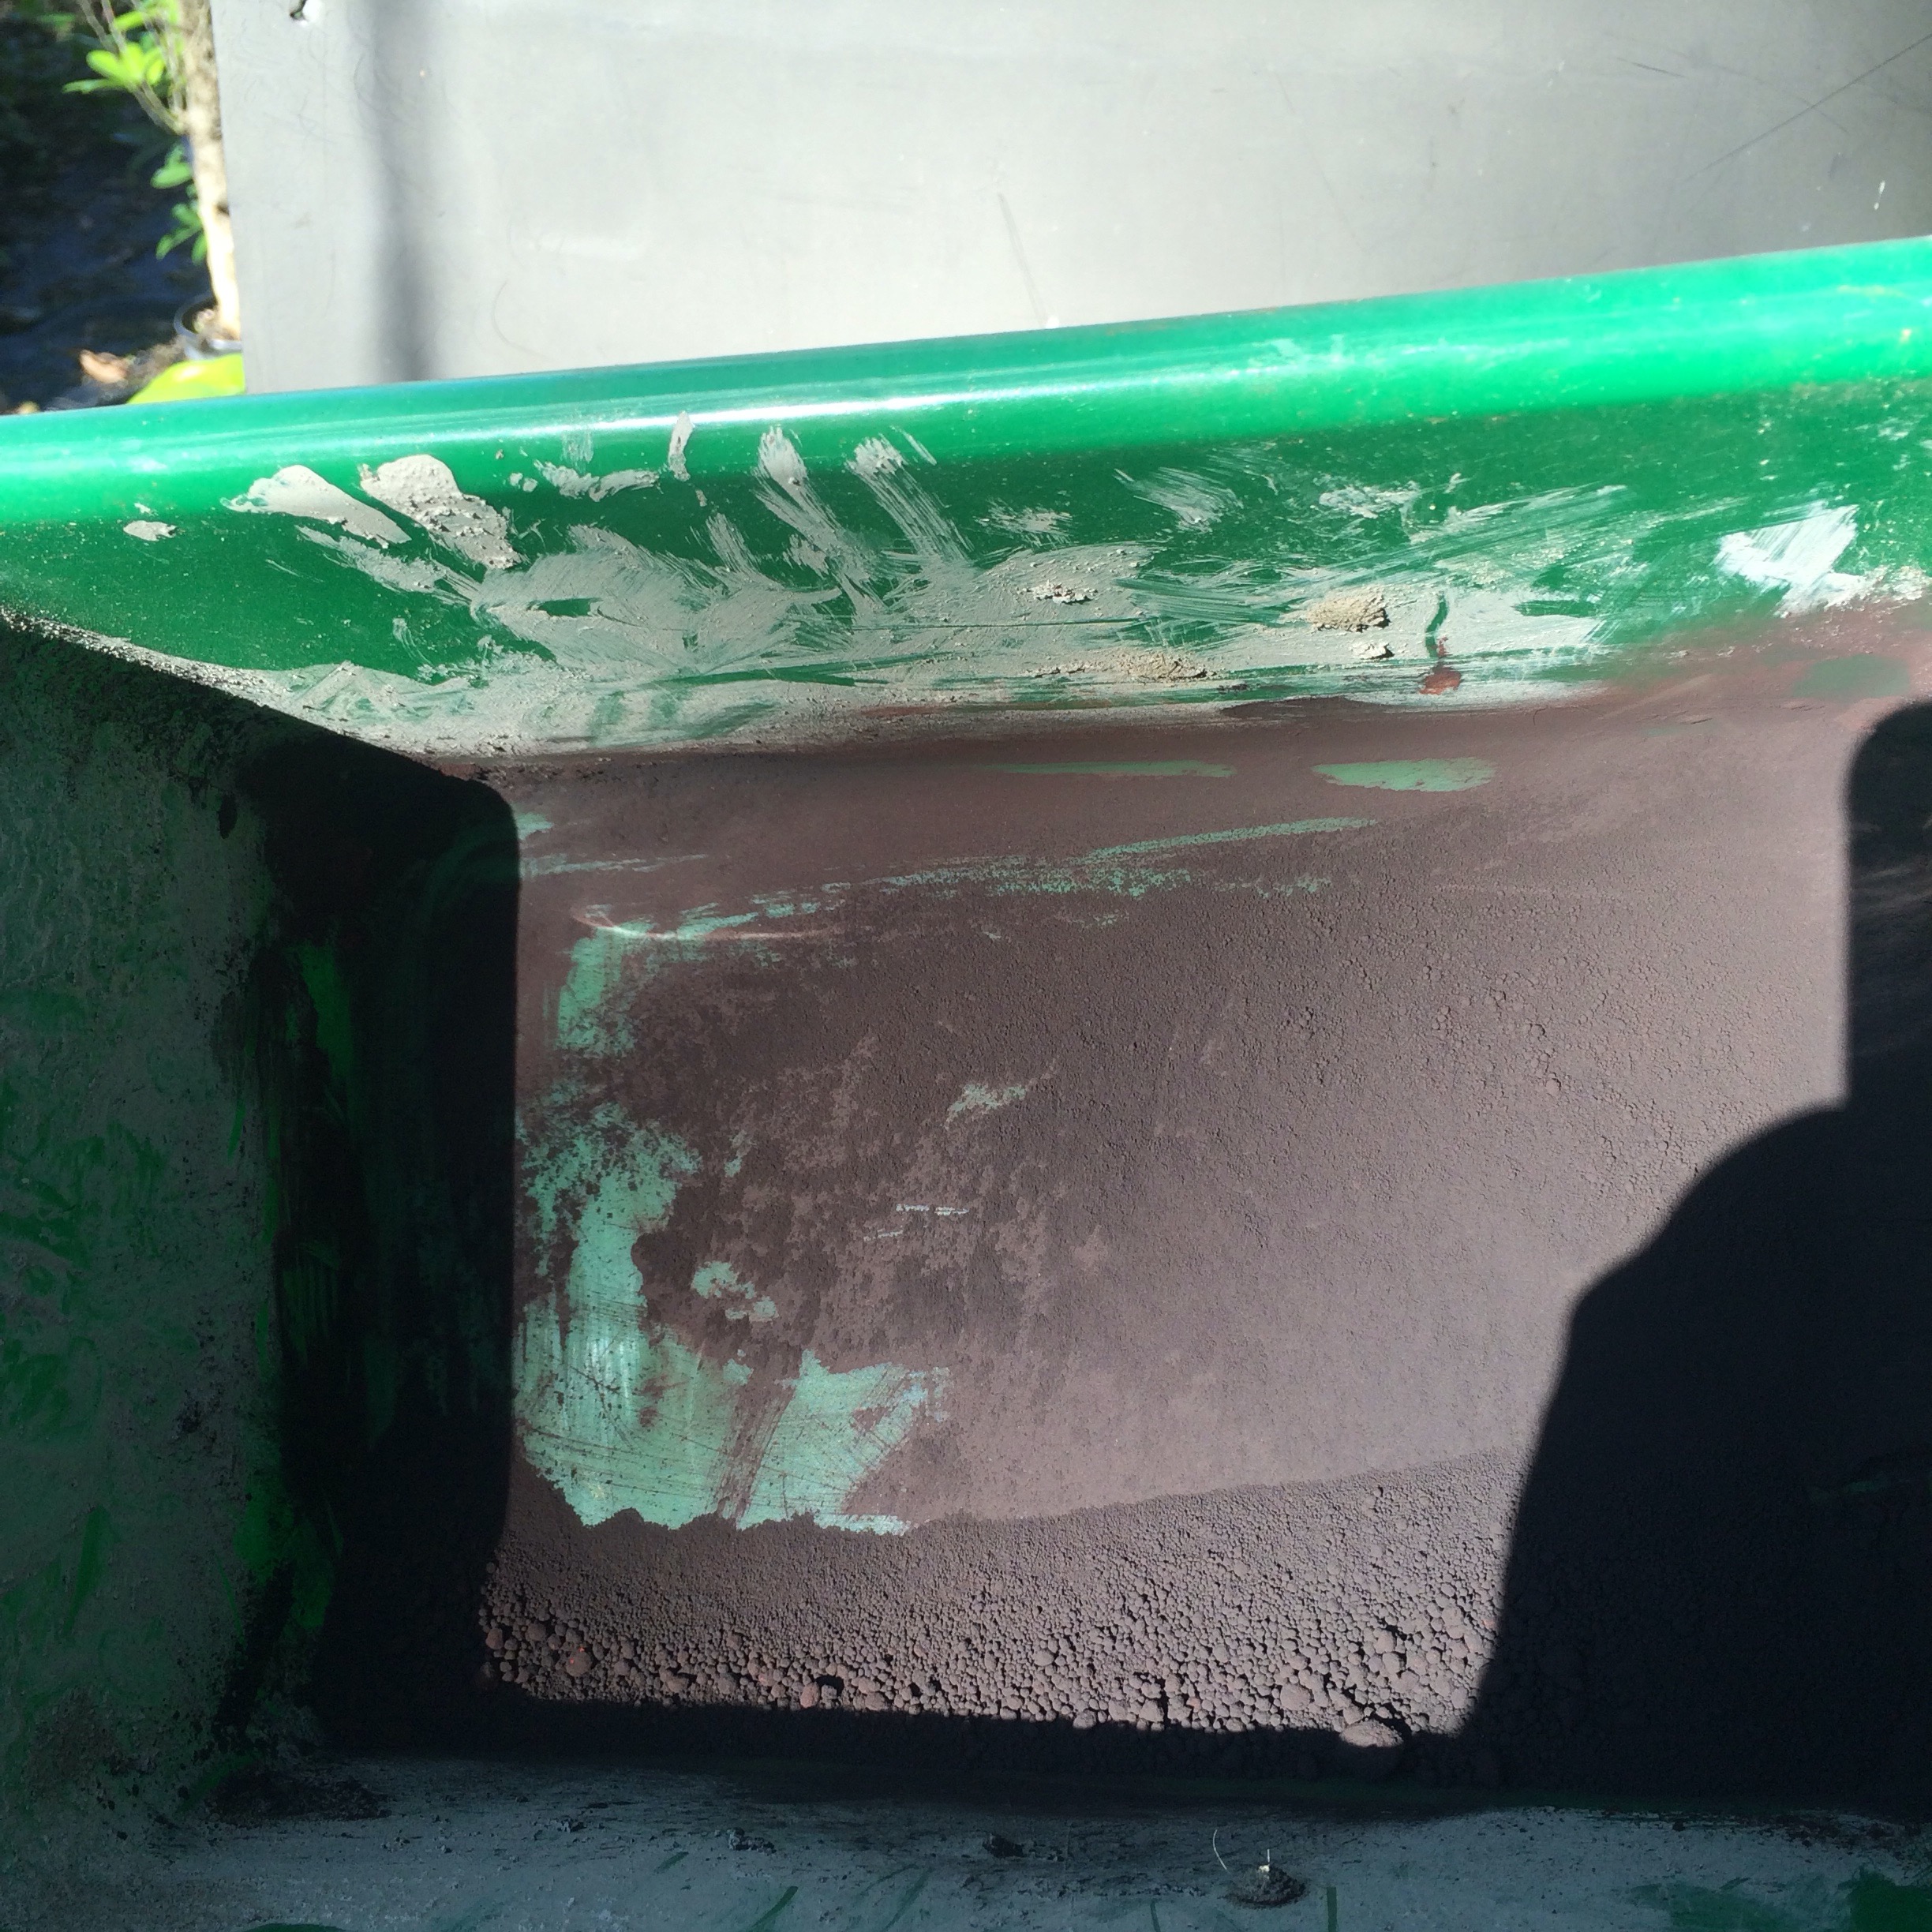
 And water.
 Aha! It gets darker with water! Doh!
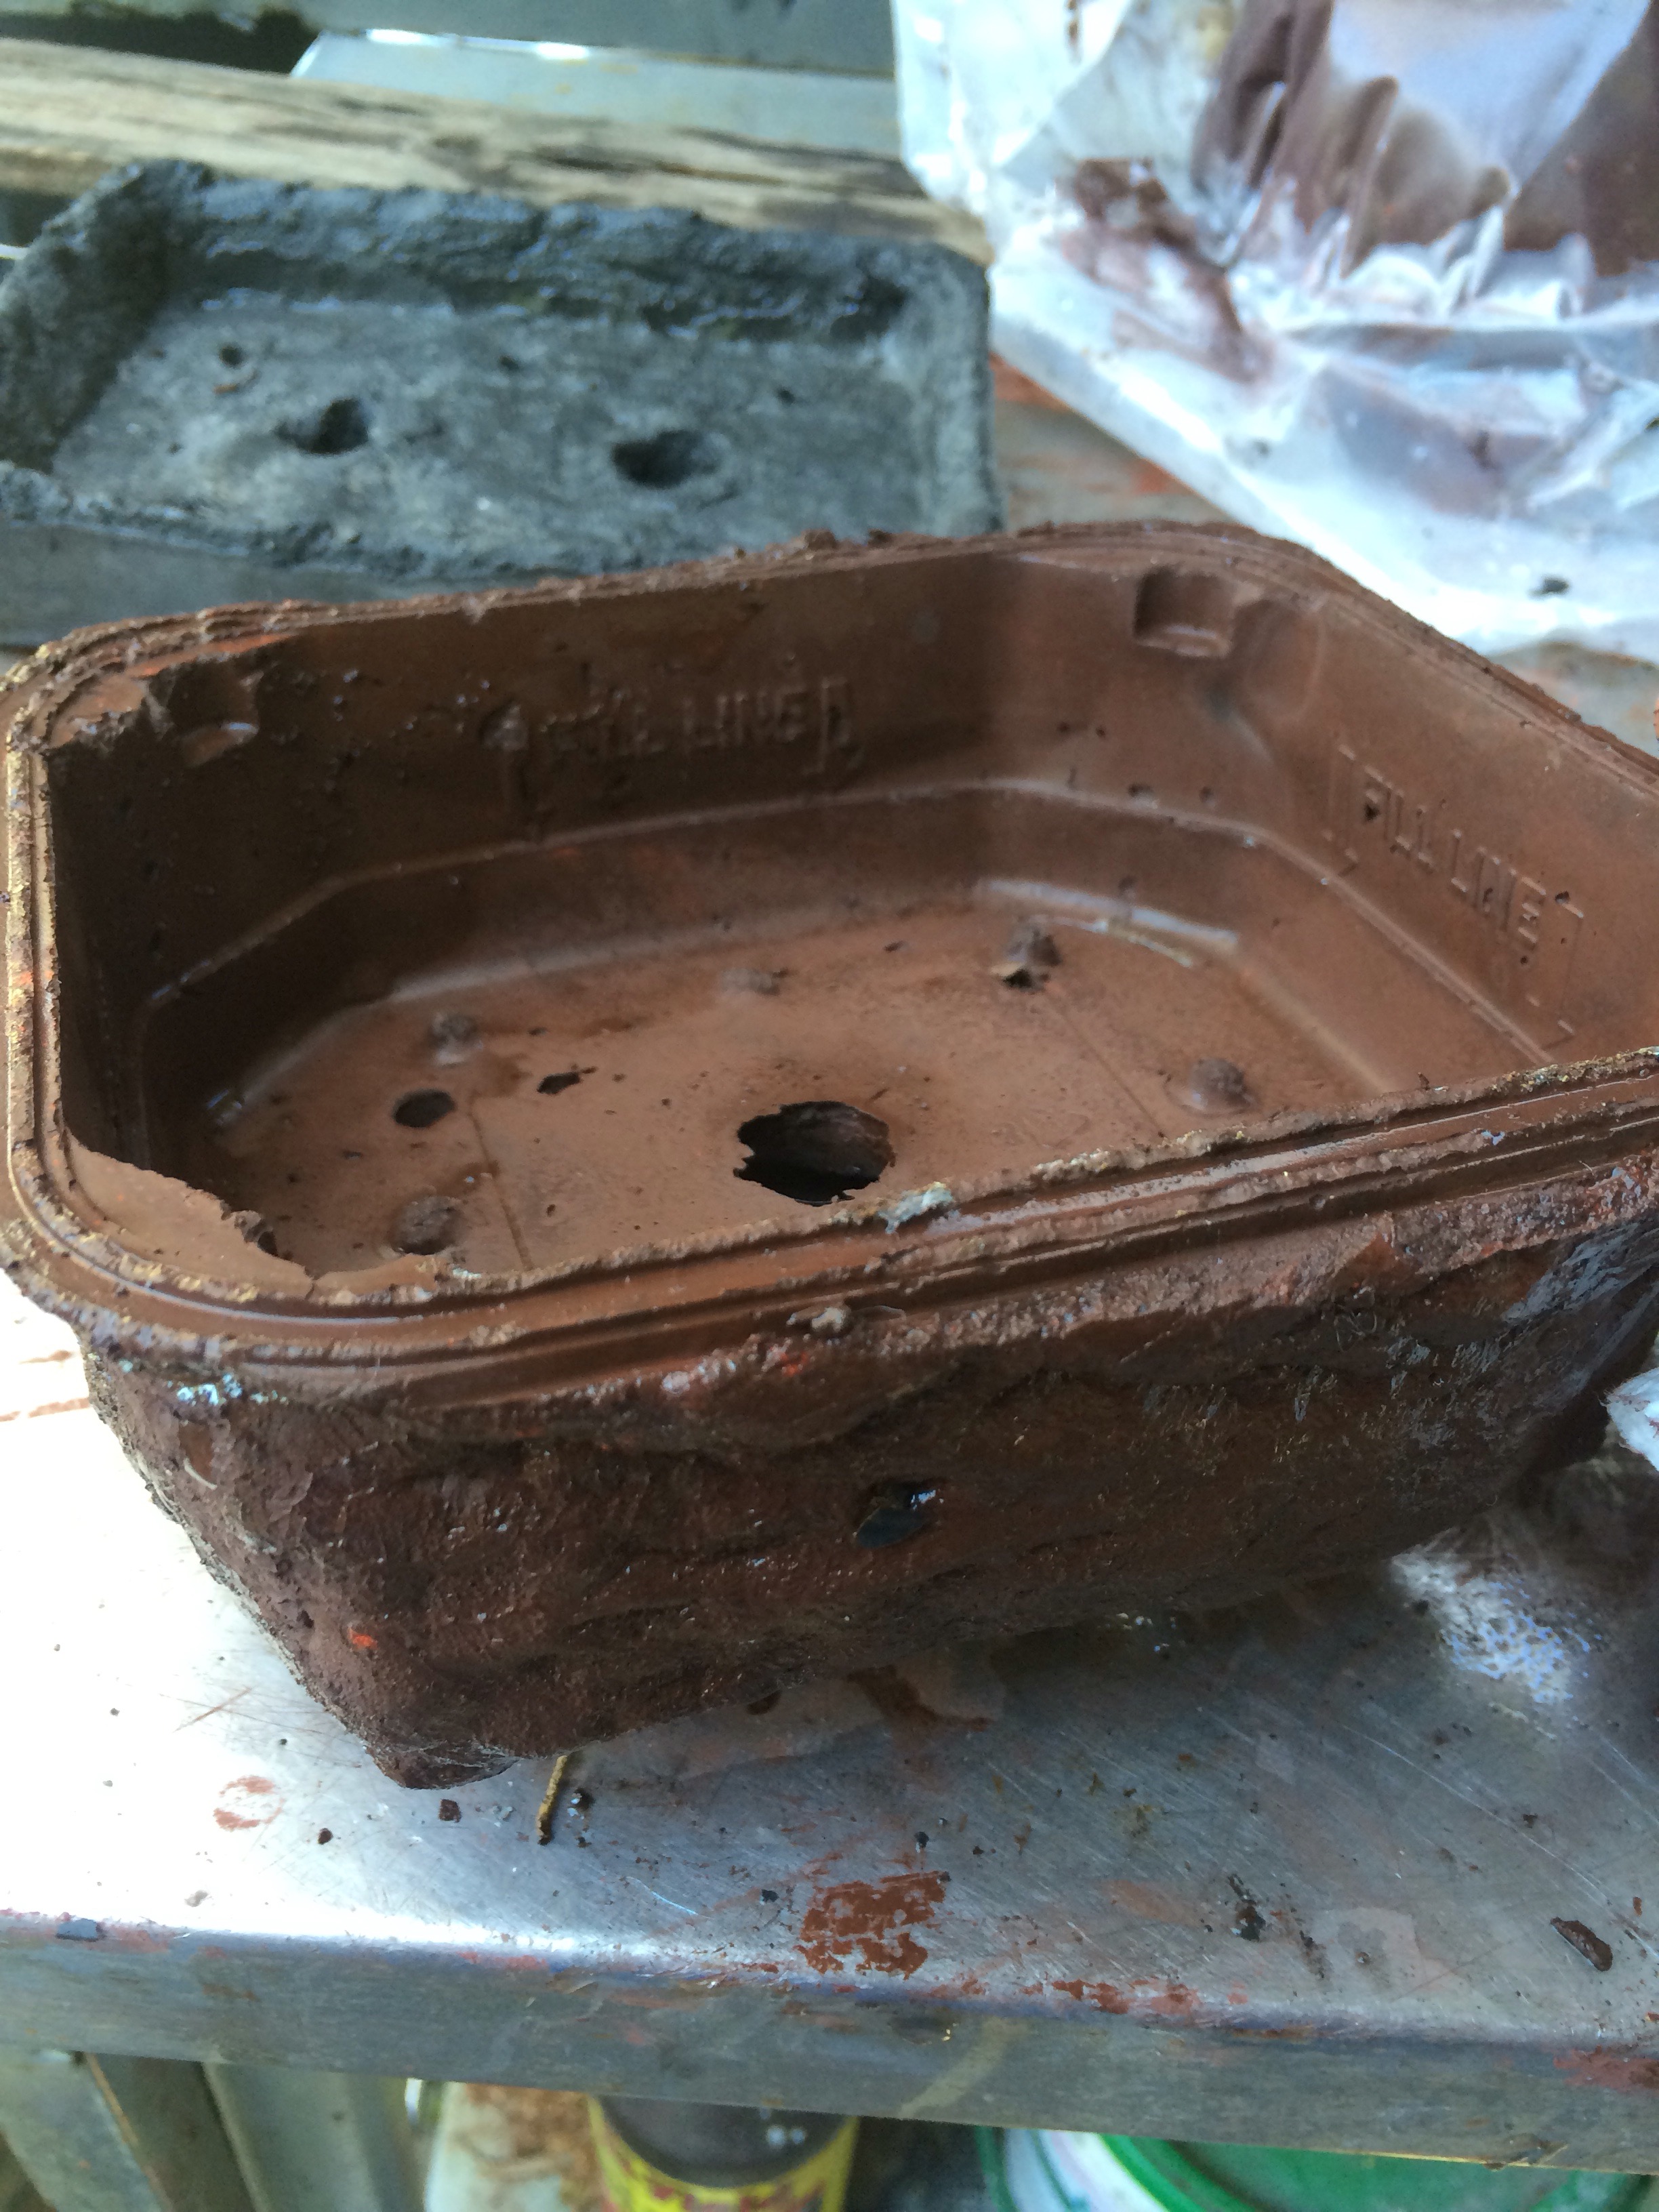
This time I’m using a plastic training pot as the mold.
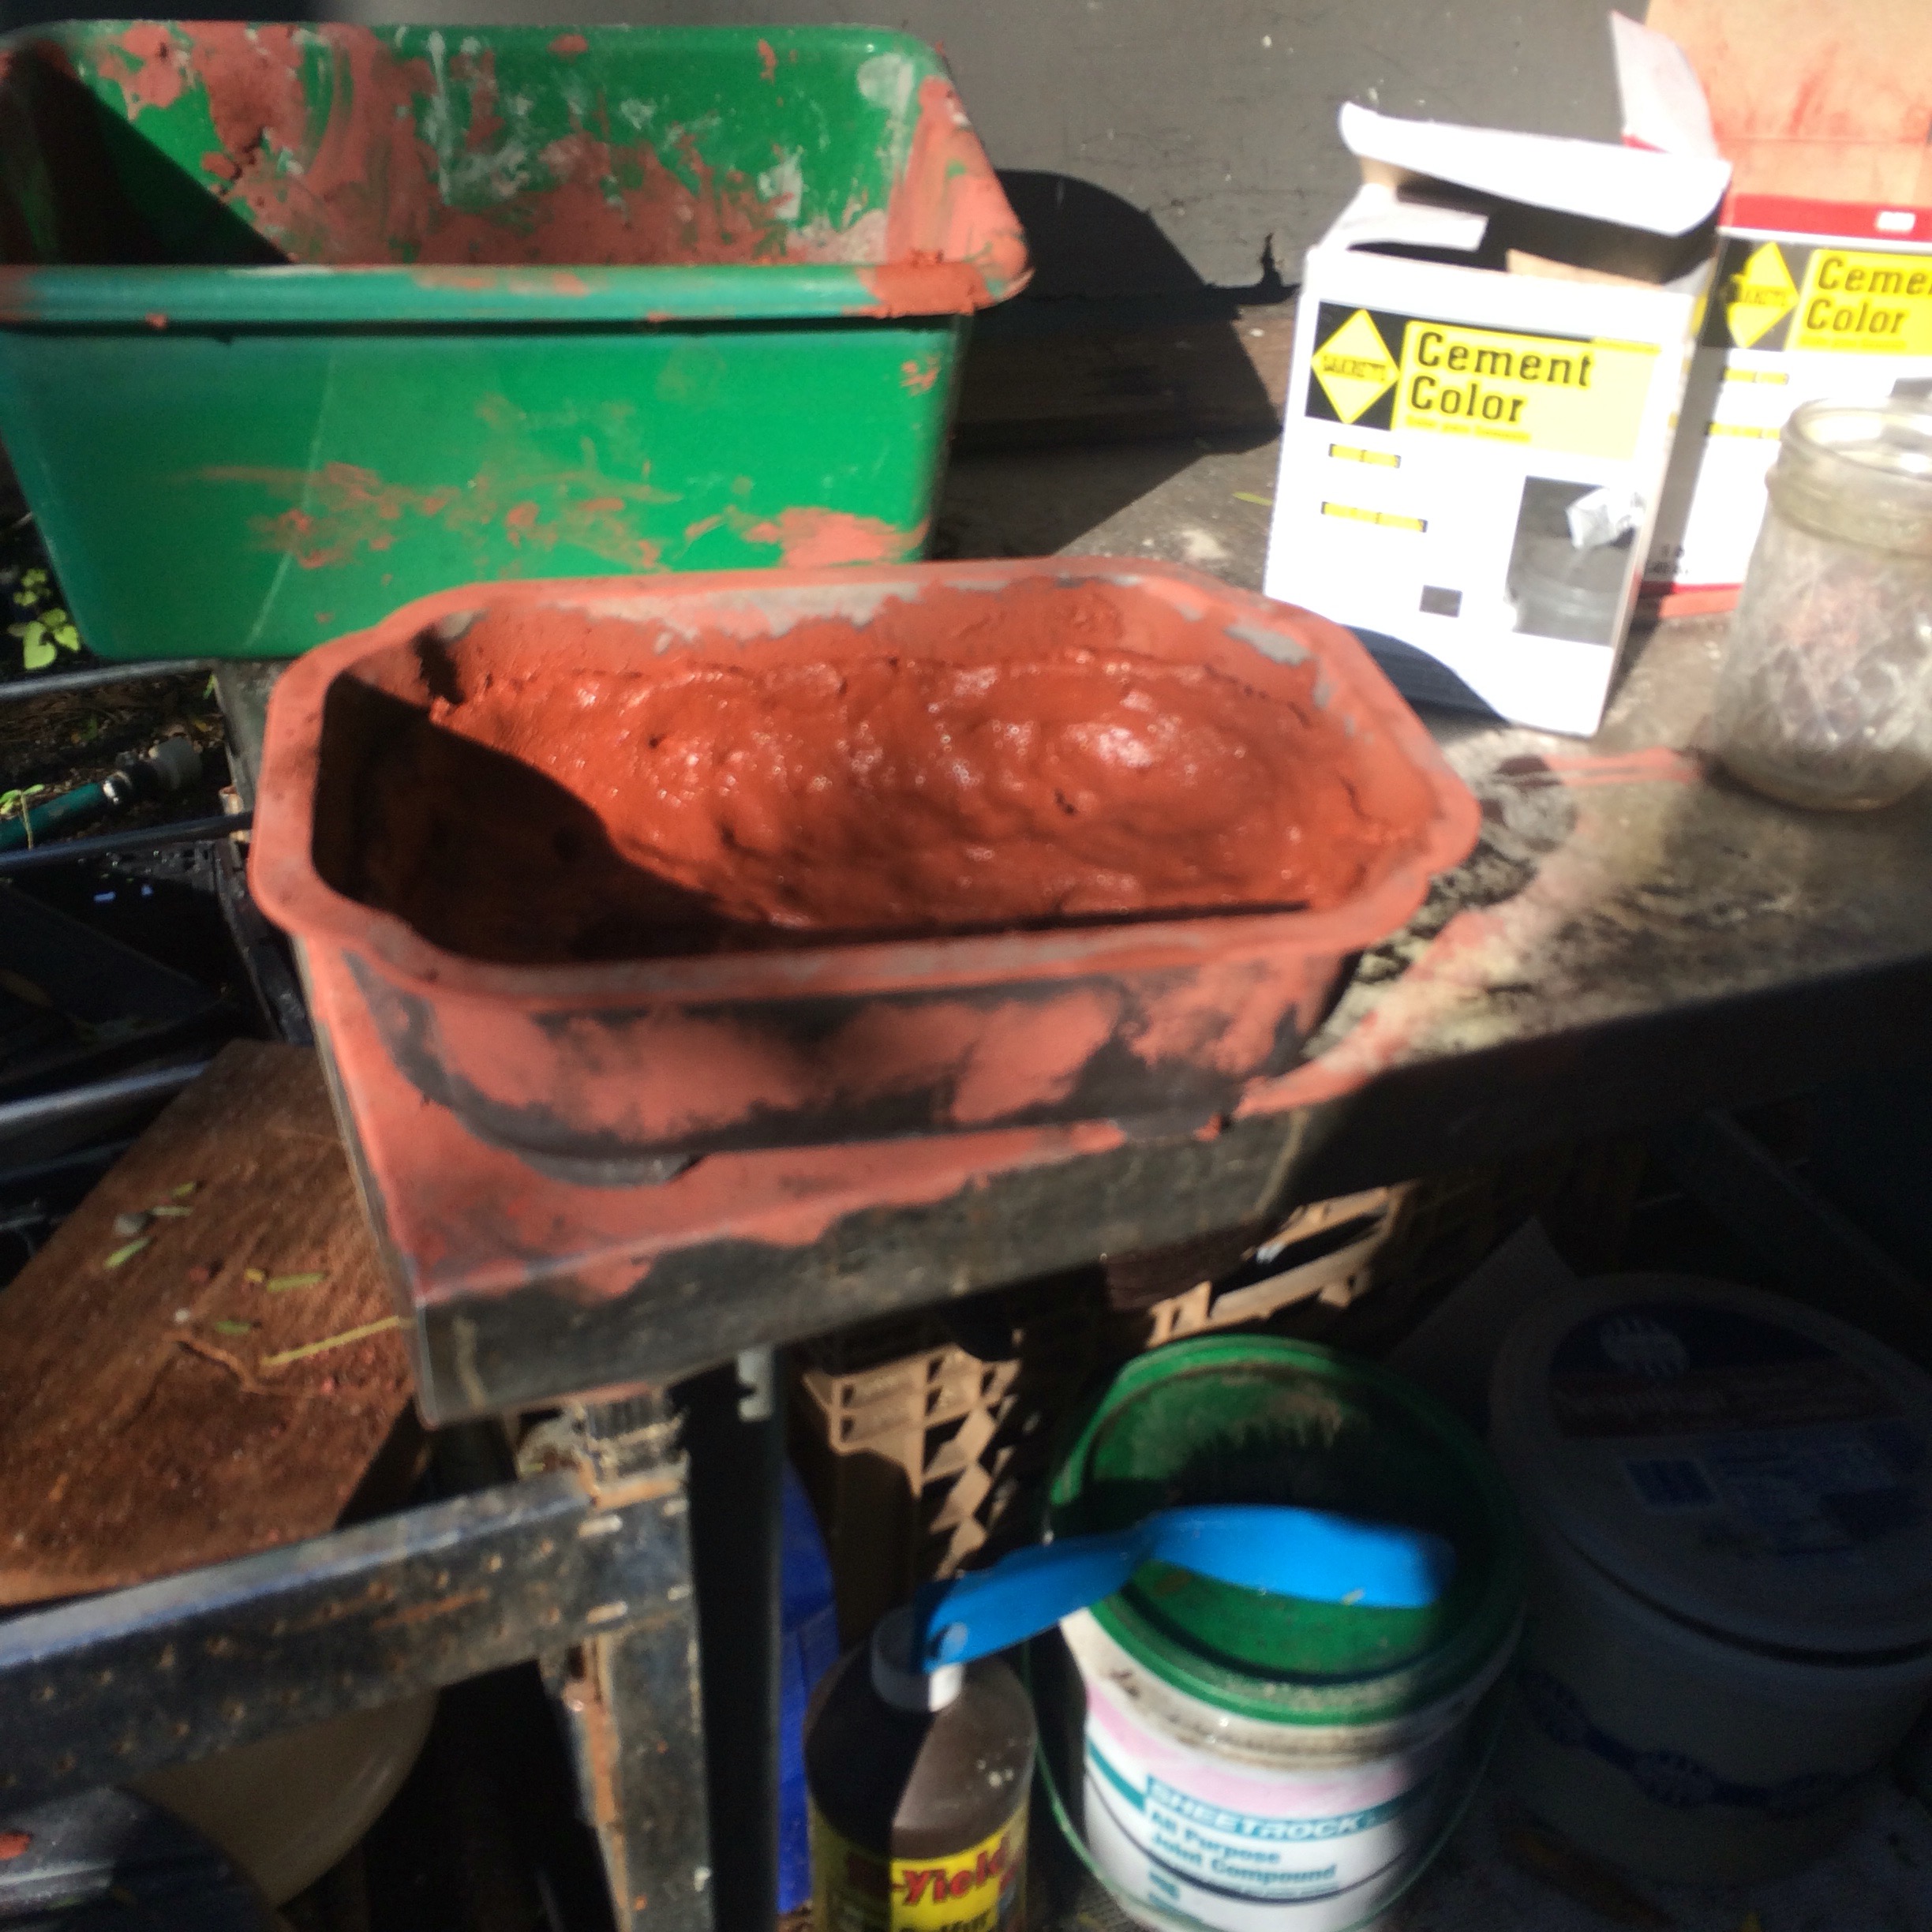 Yes, I’m making a mess.
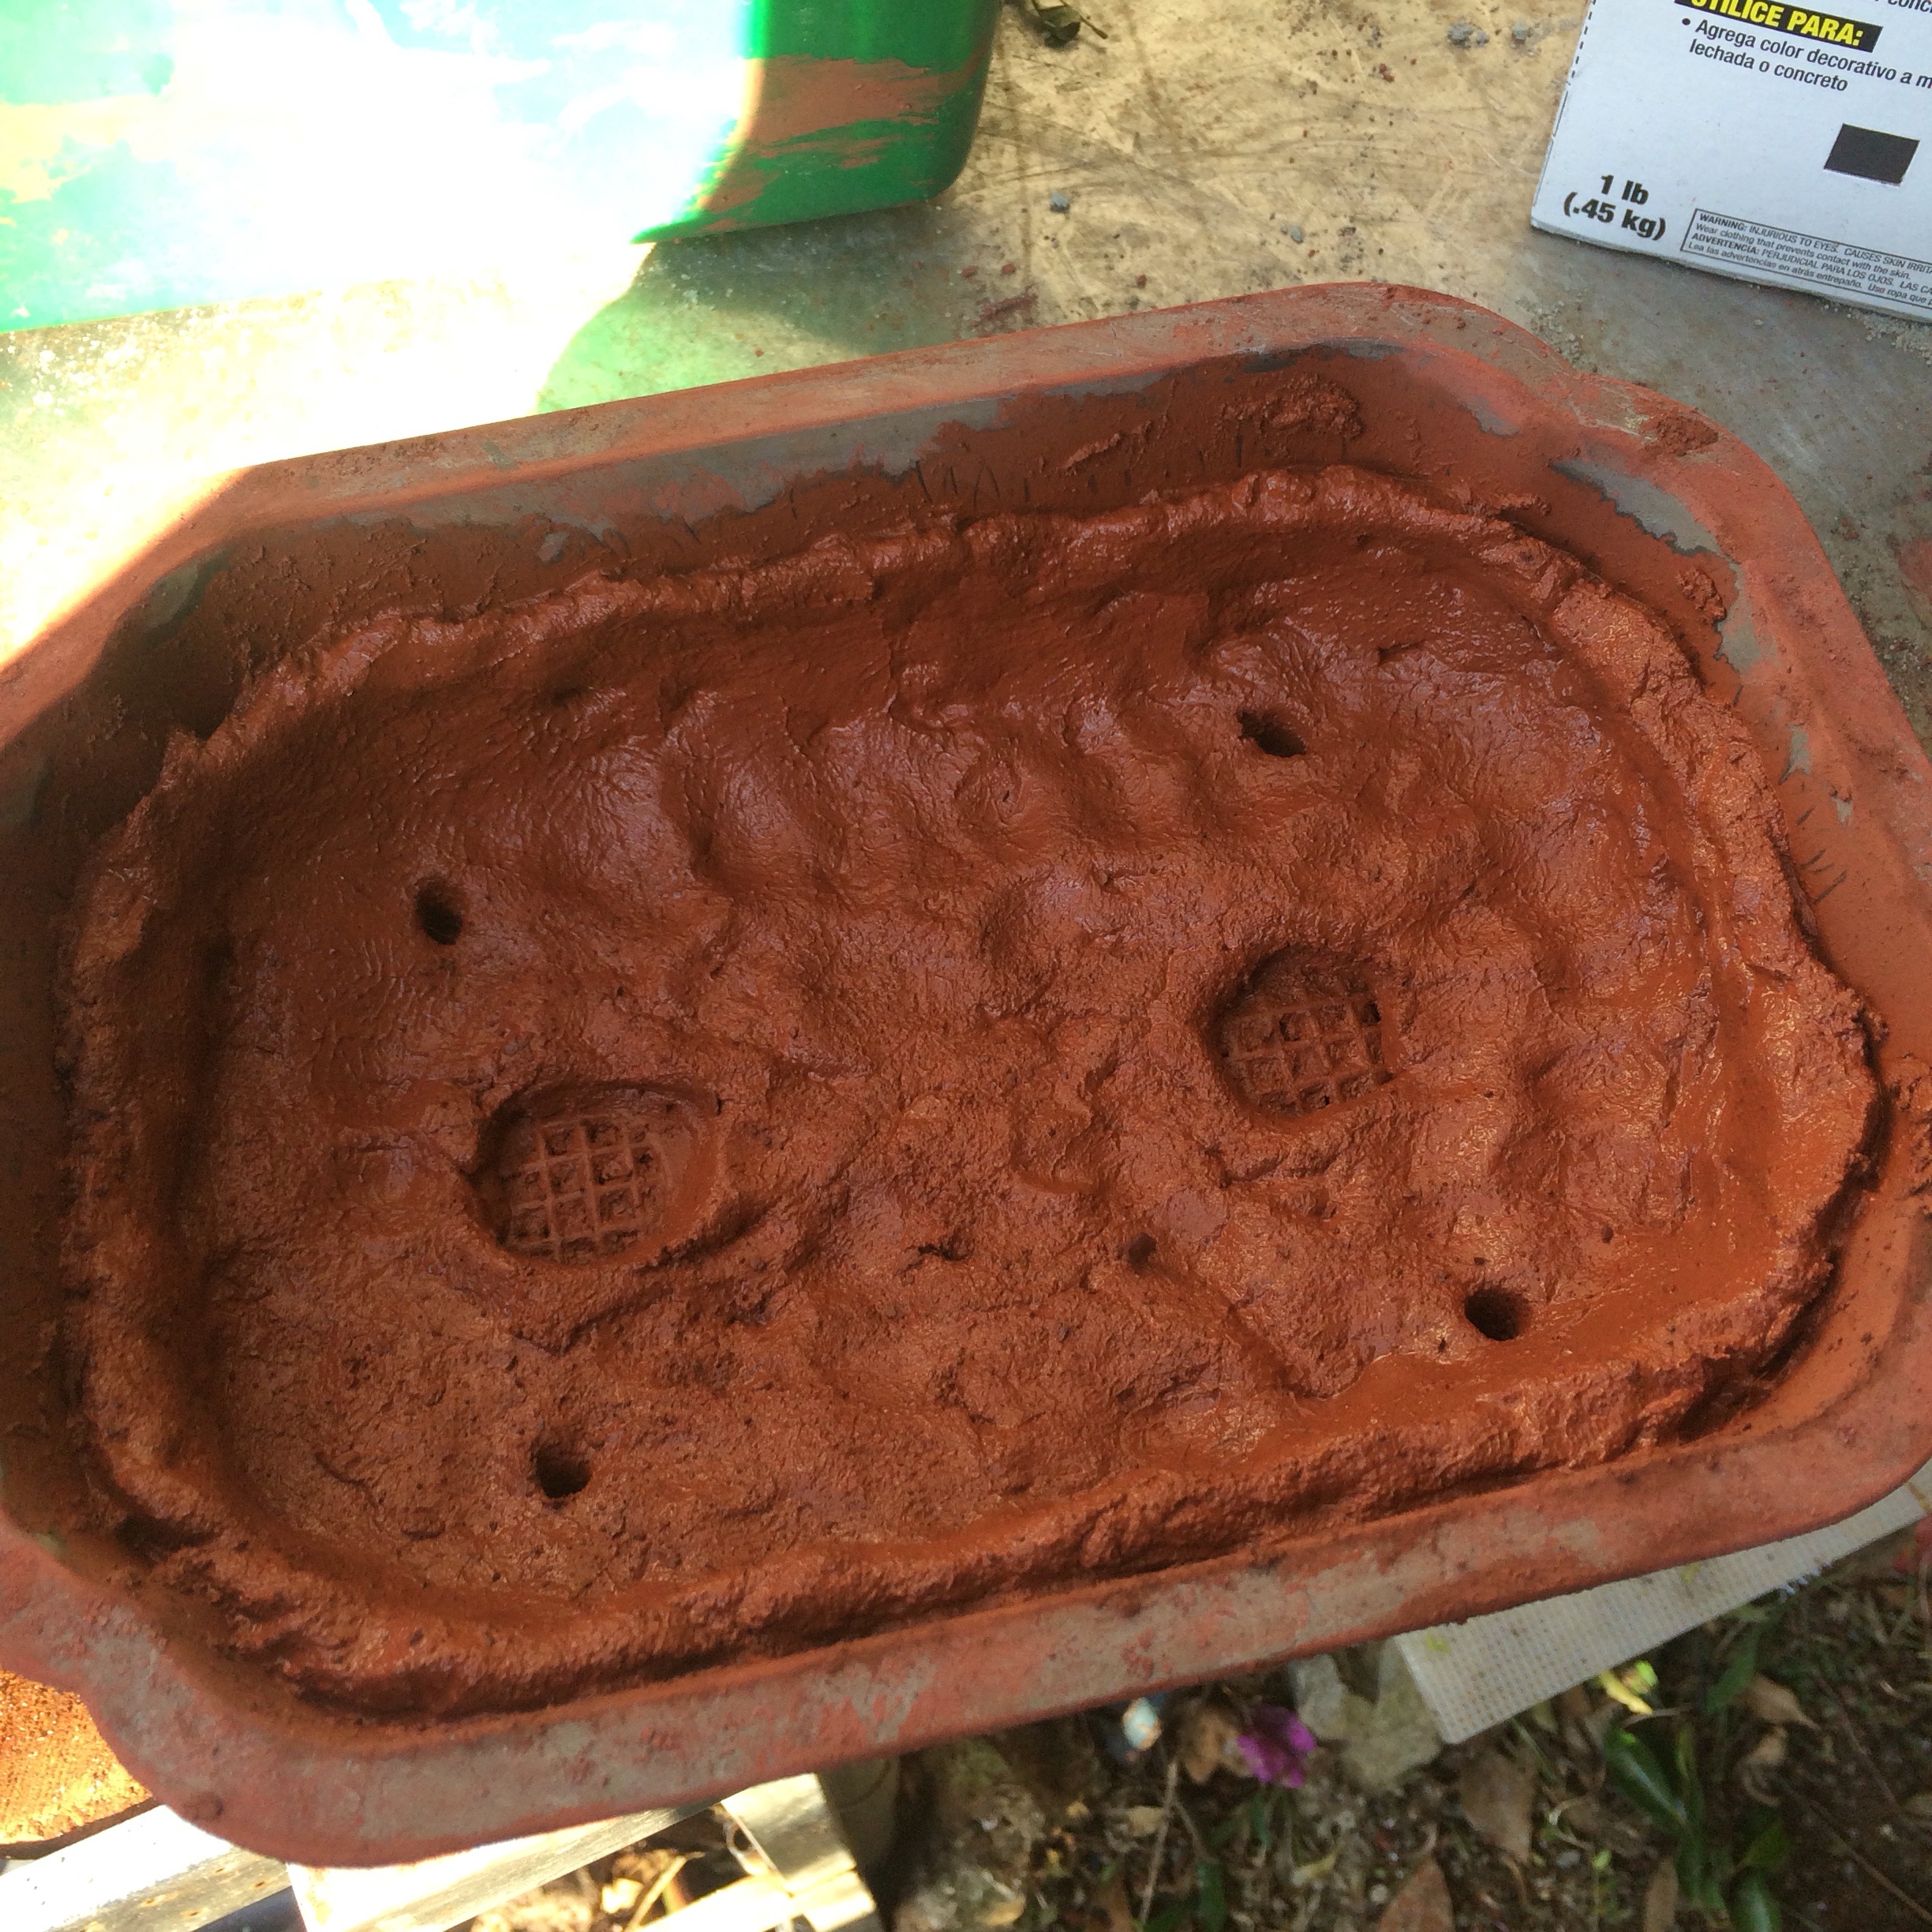
I had some leftover concrete so I made a freeform pot.
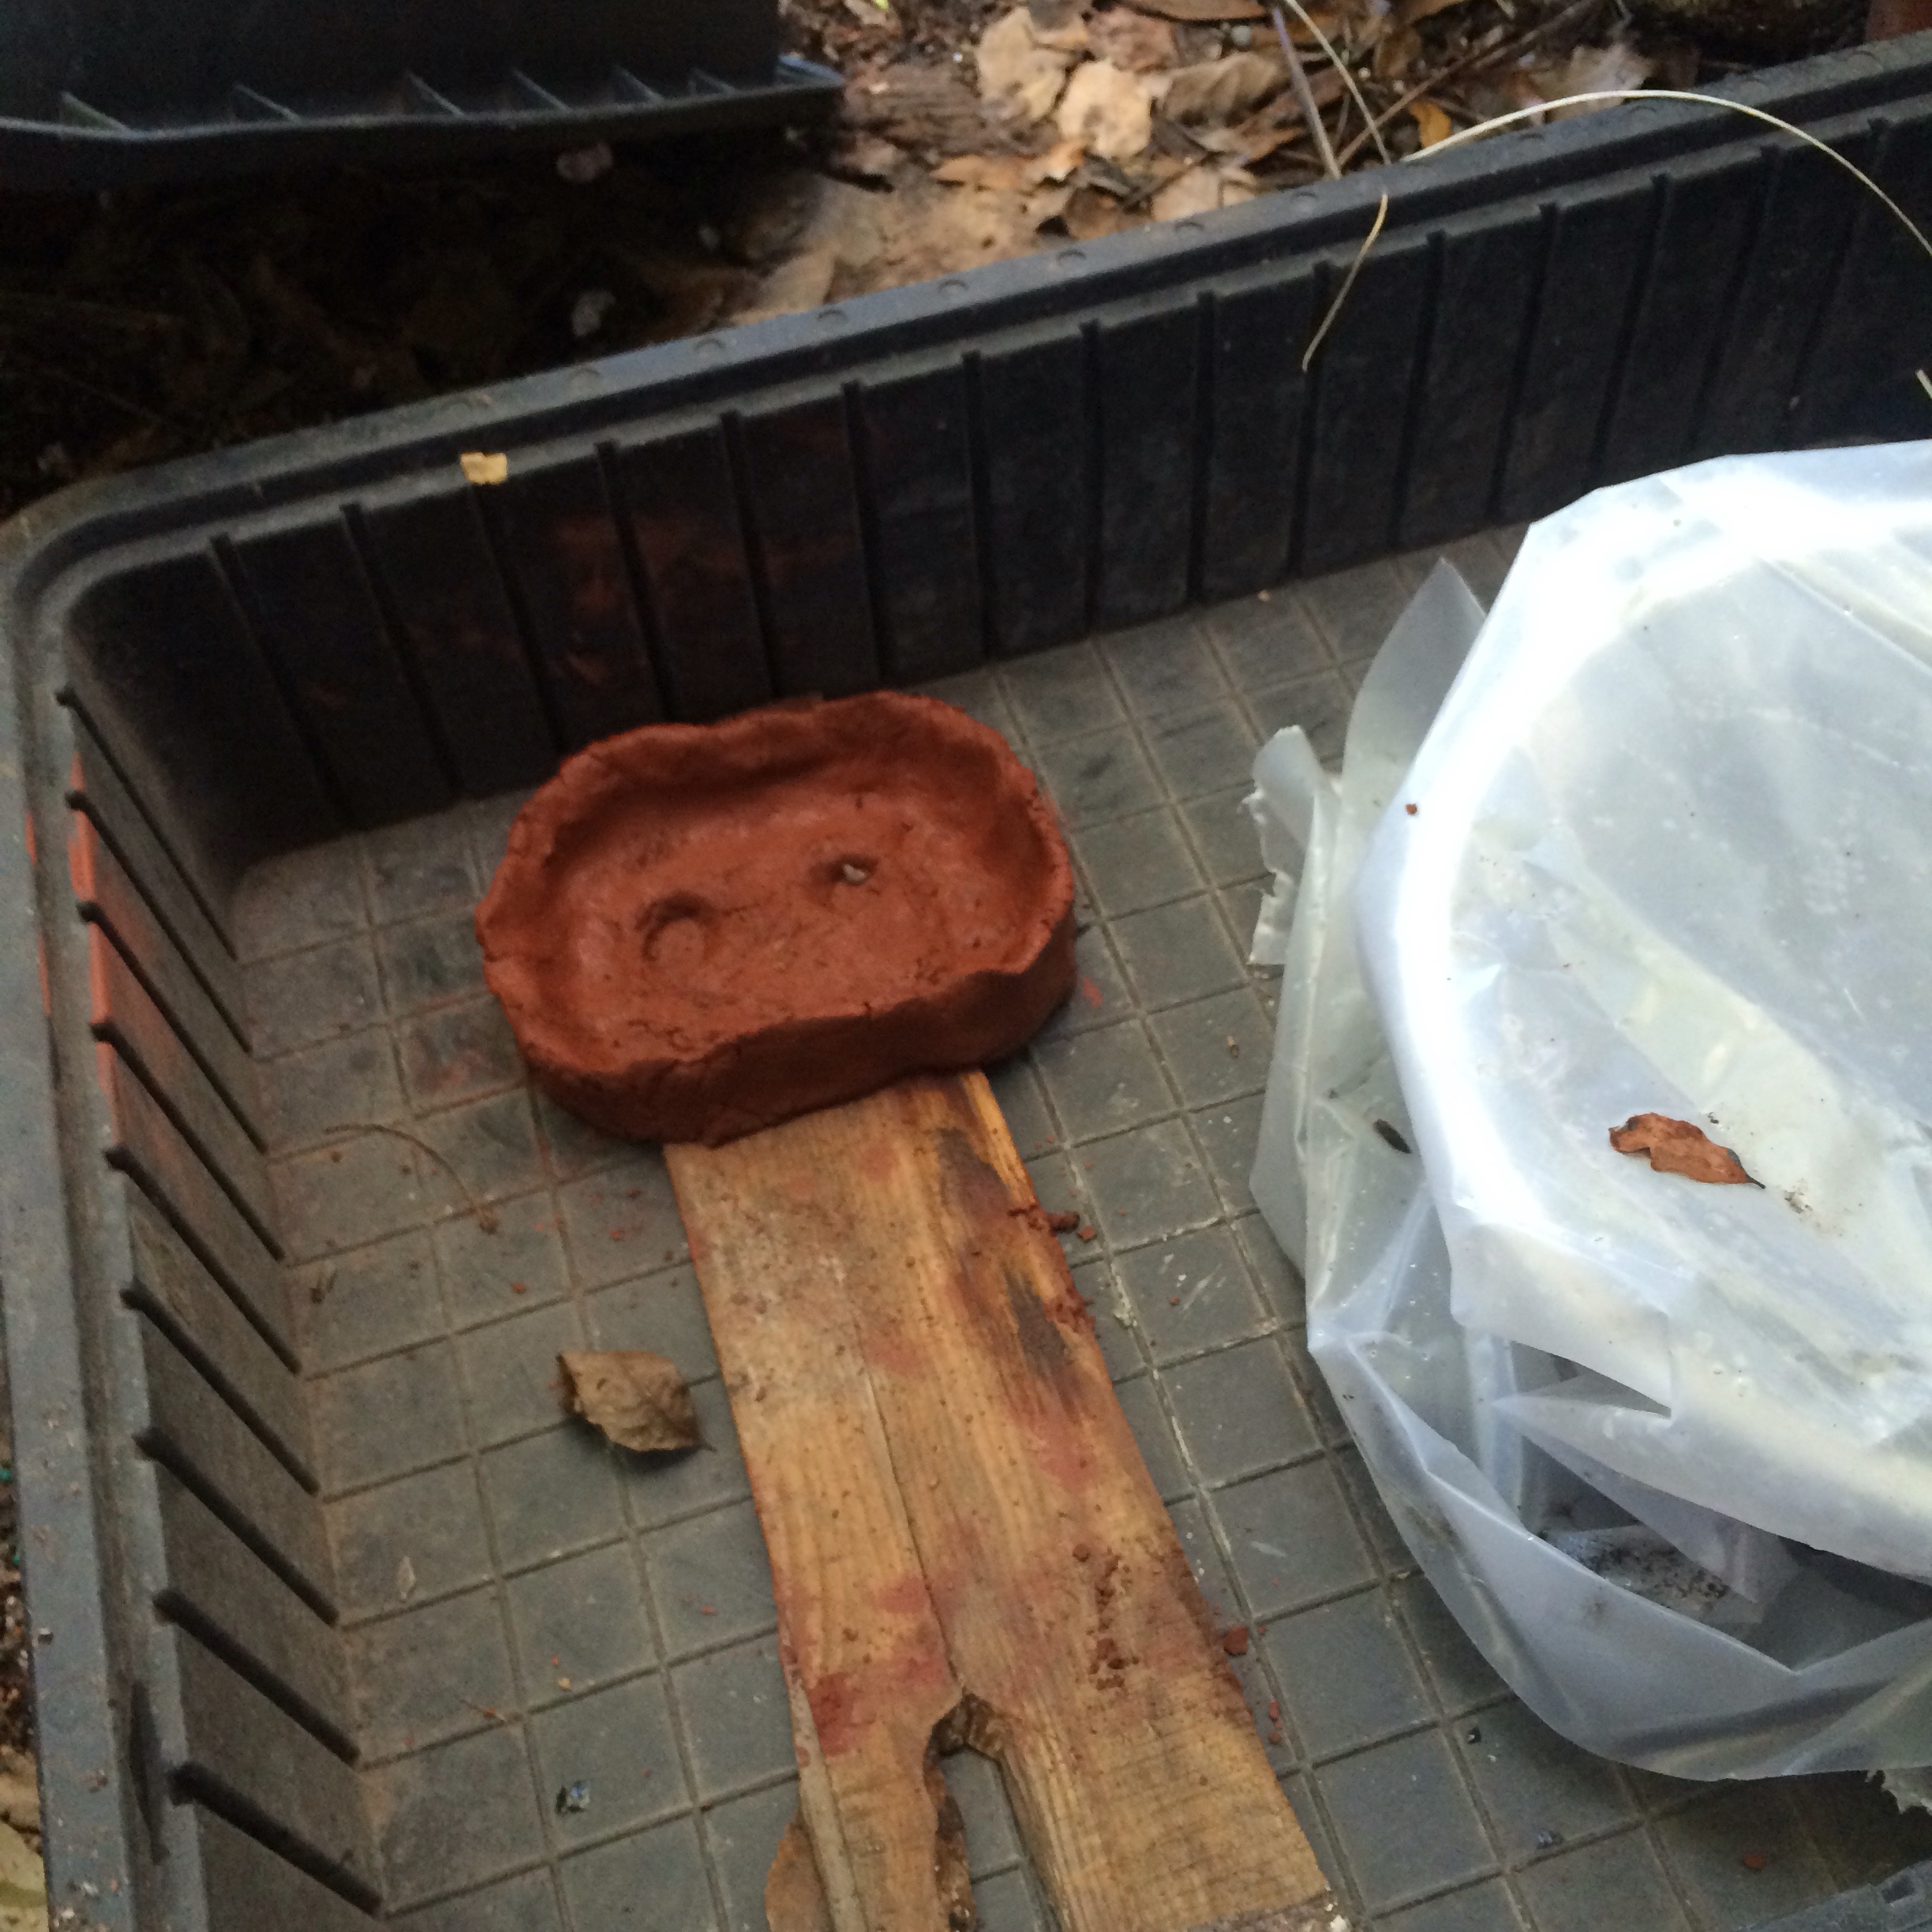 It’s kinda crooked. It’s sitting on a board to make feet. Or things that kinda look like feet.
I wrap them all up in plastic and then cover with a tub.

Now I have a mess to clean up.

TWENTY FOUR HOURS LATER…..
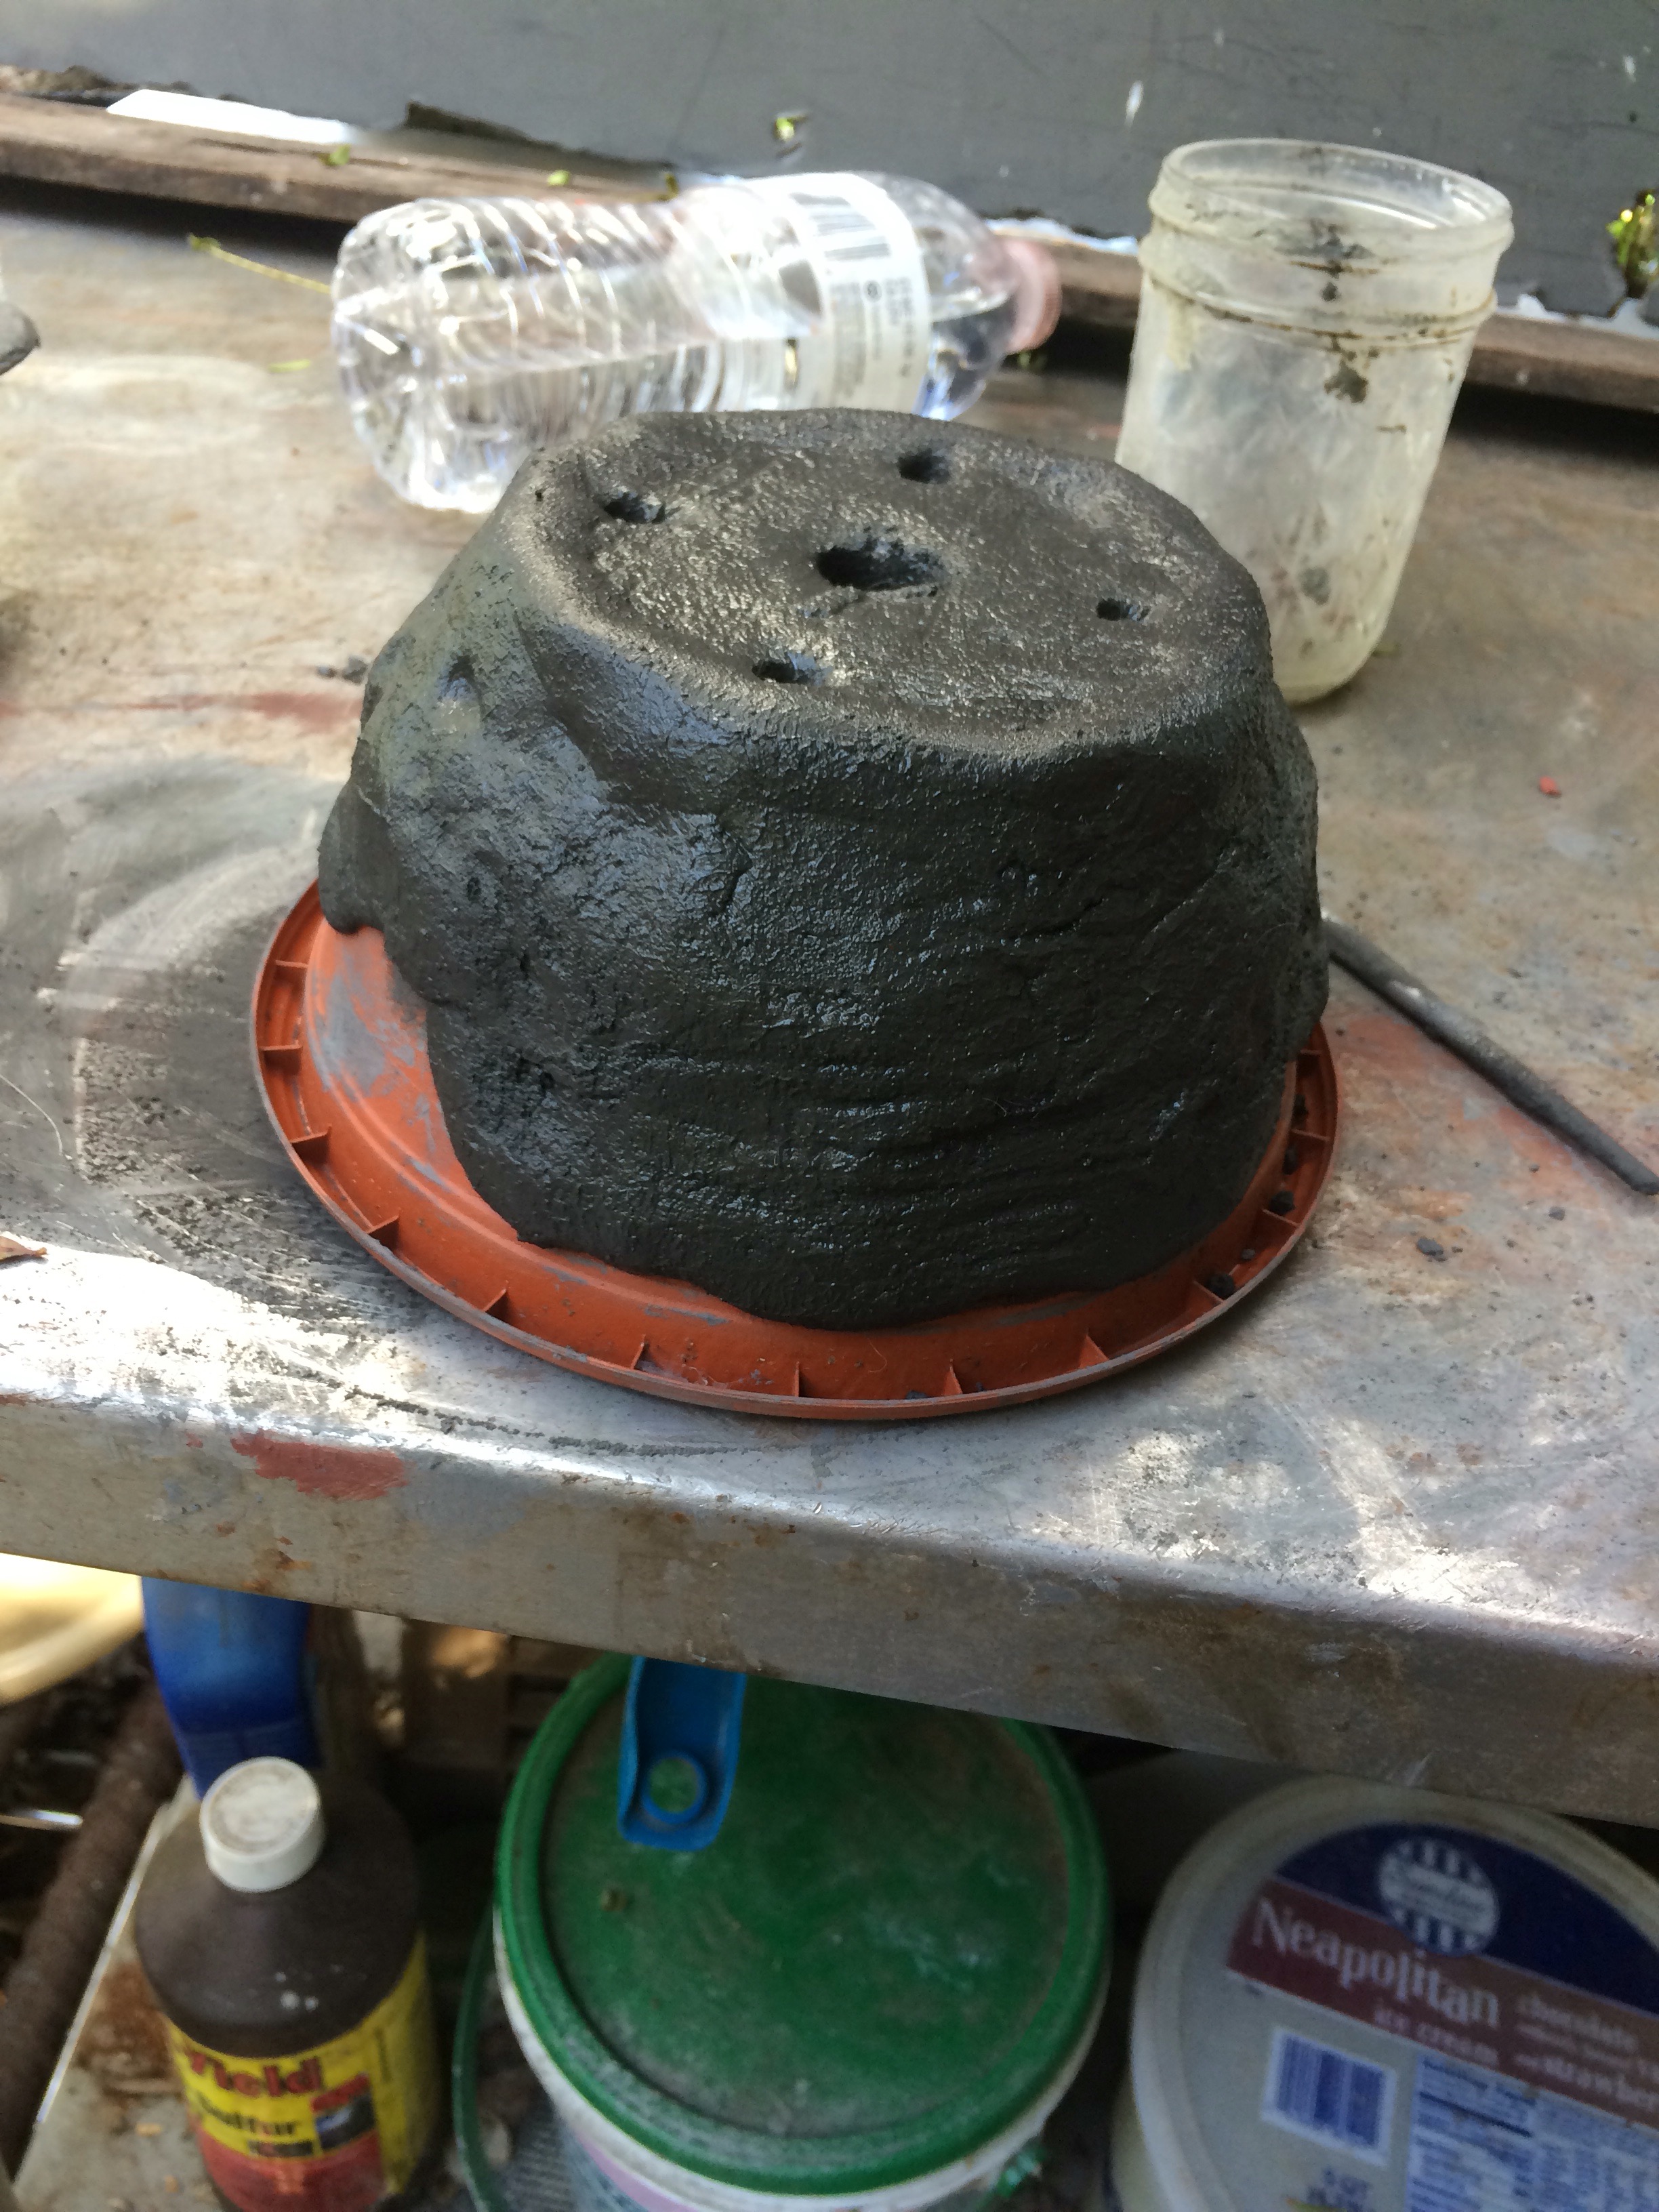
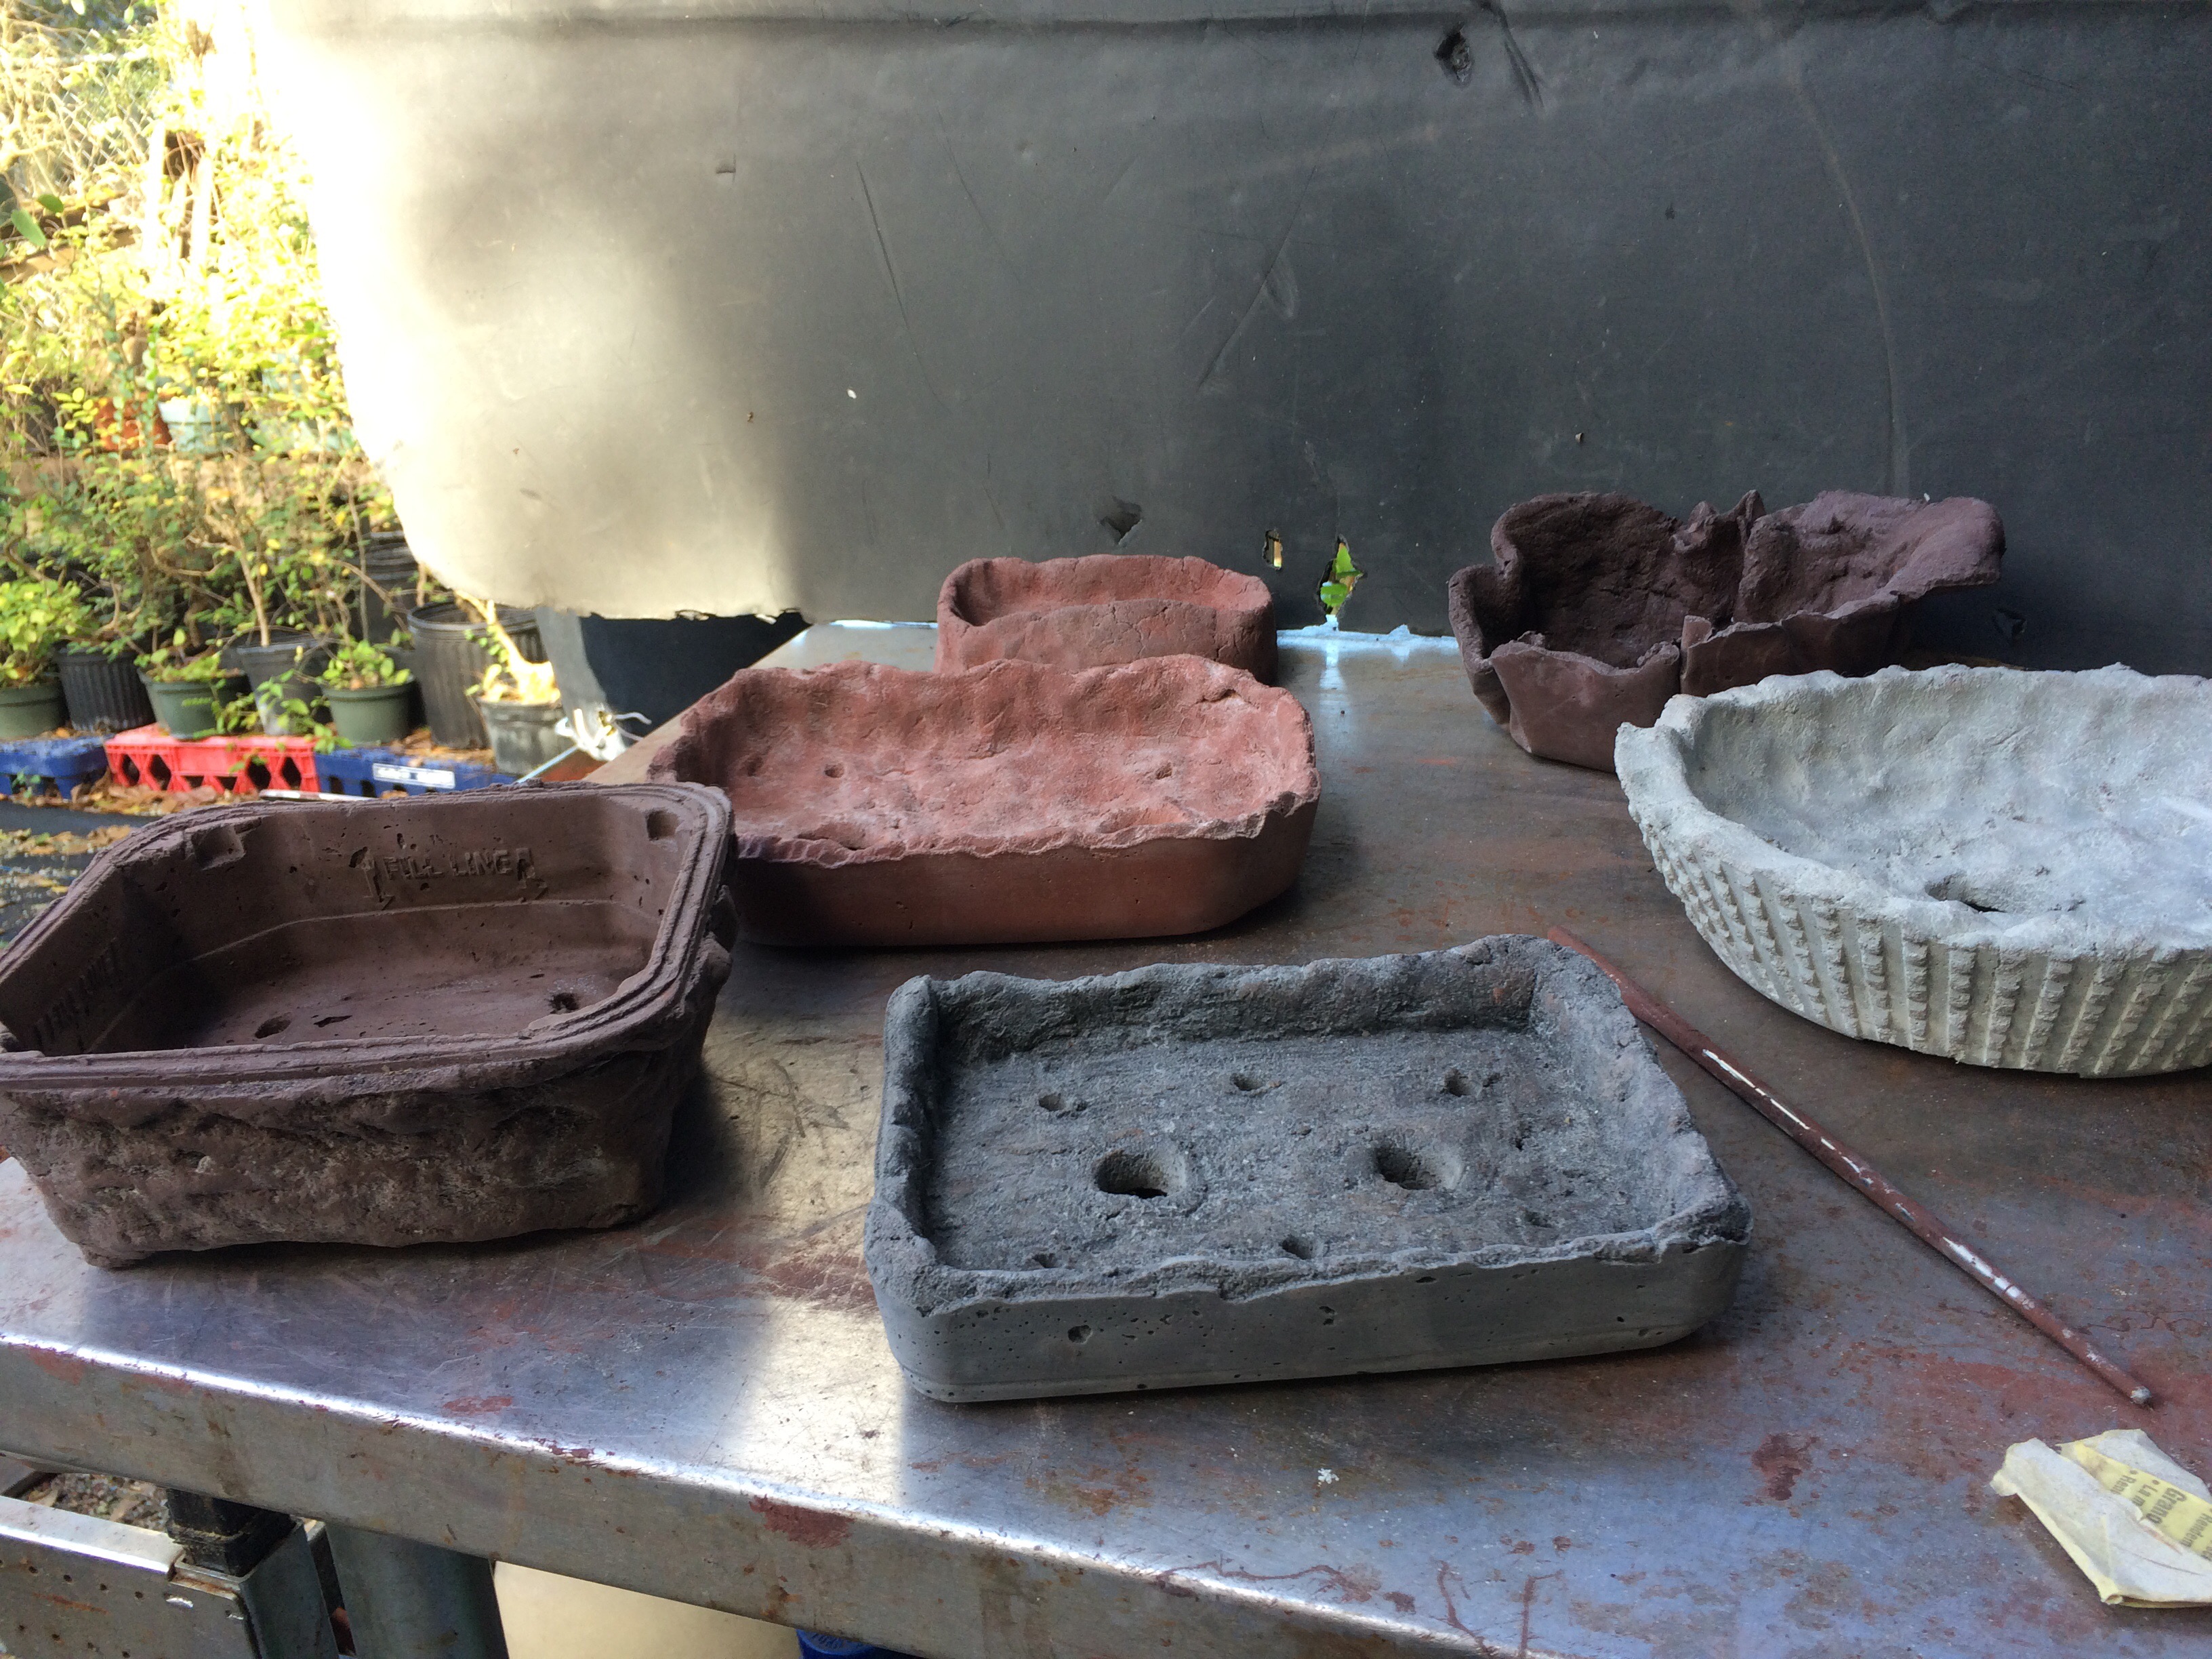
Colander. 
Freeform. 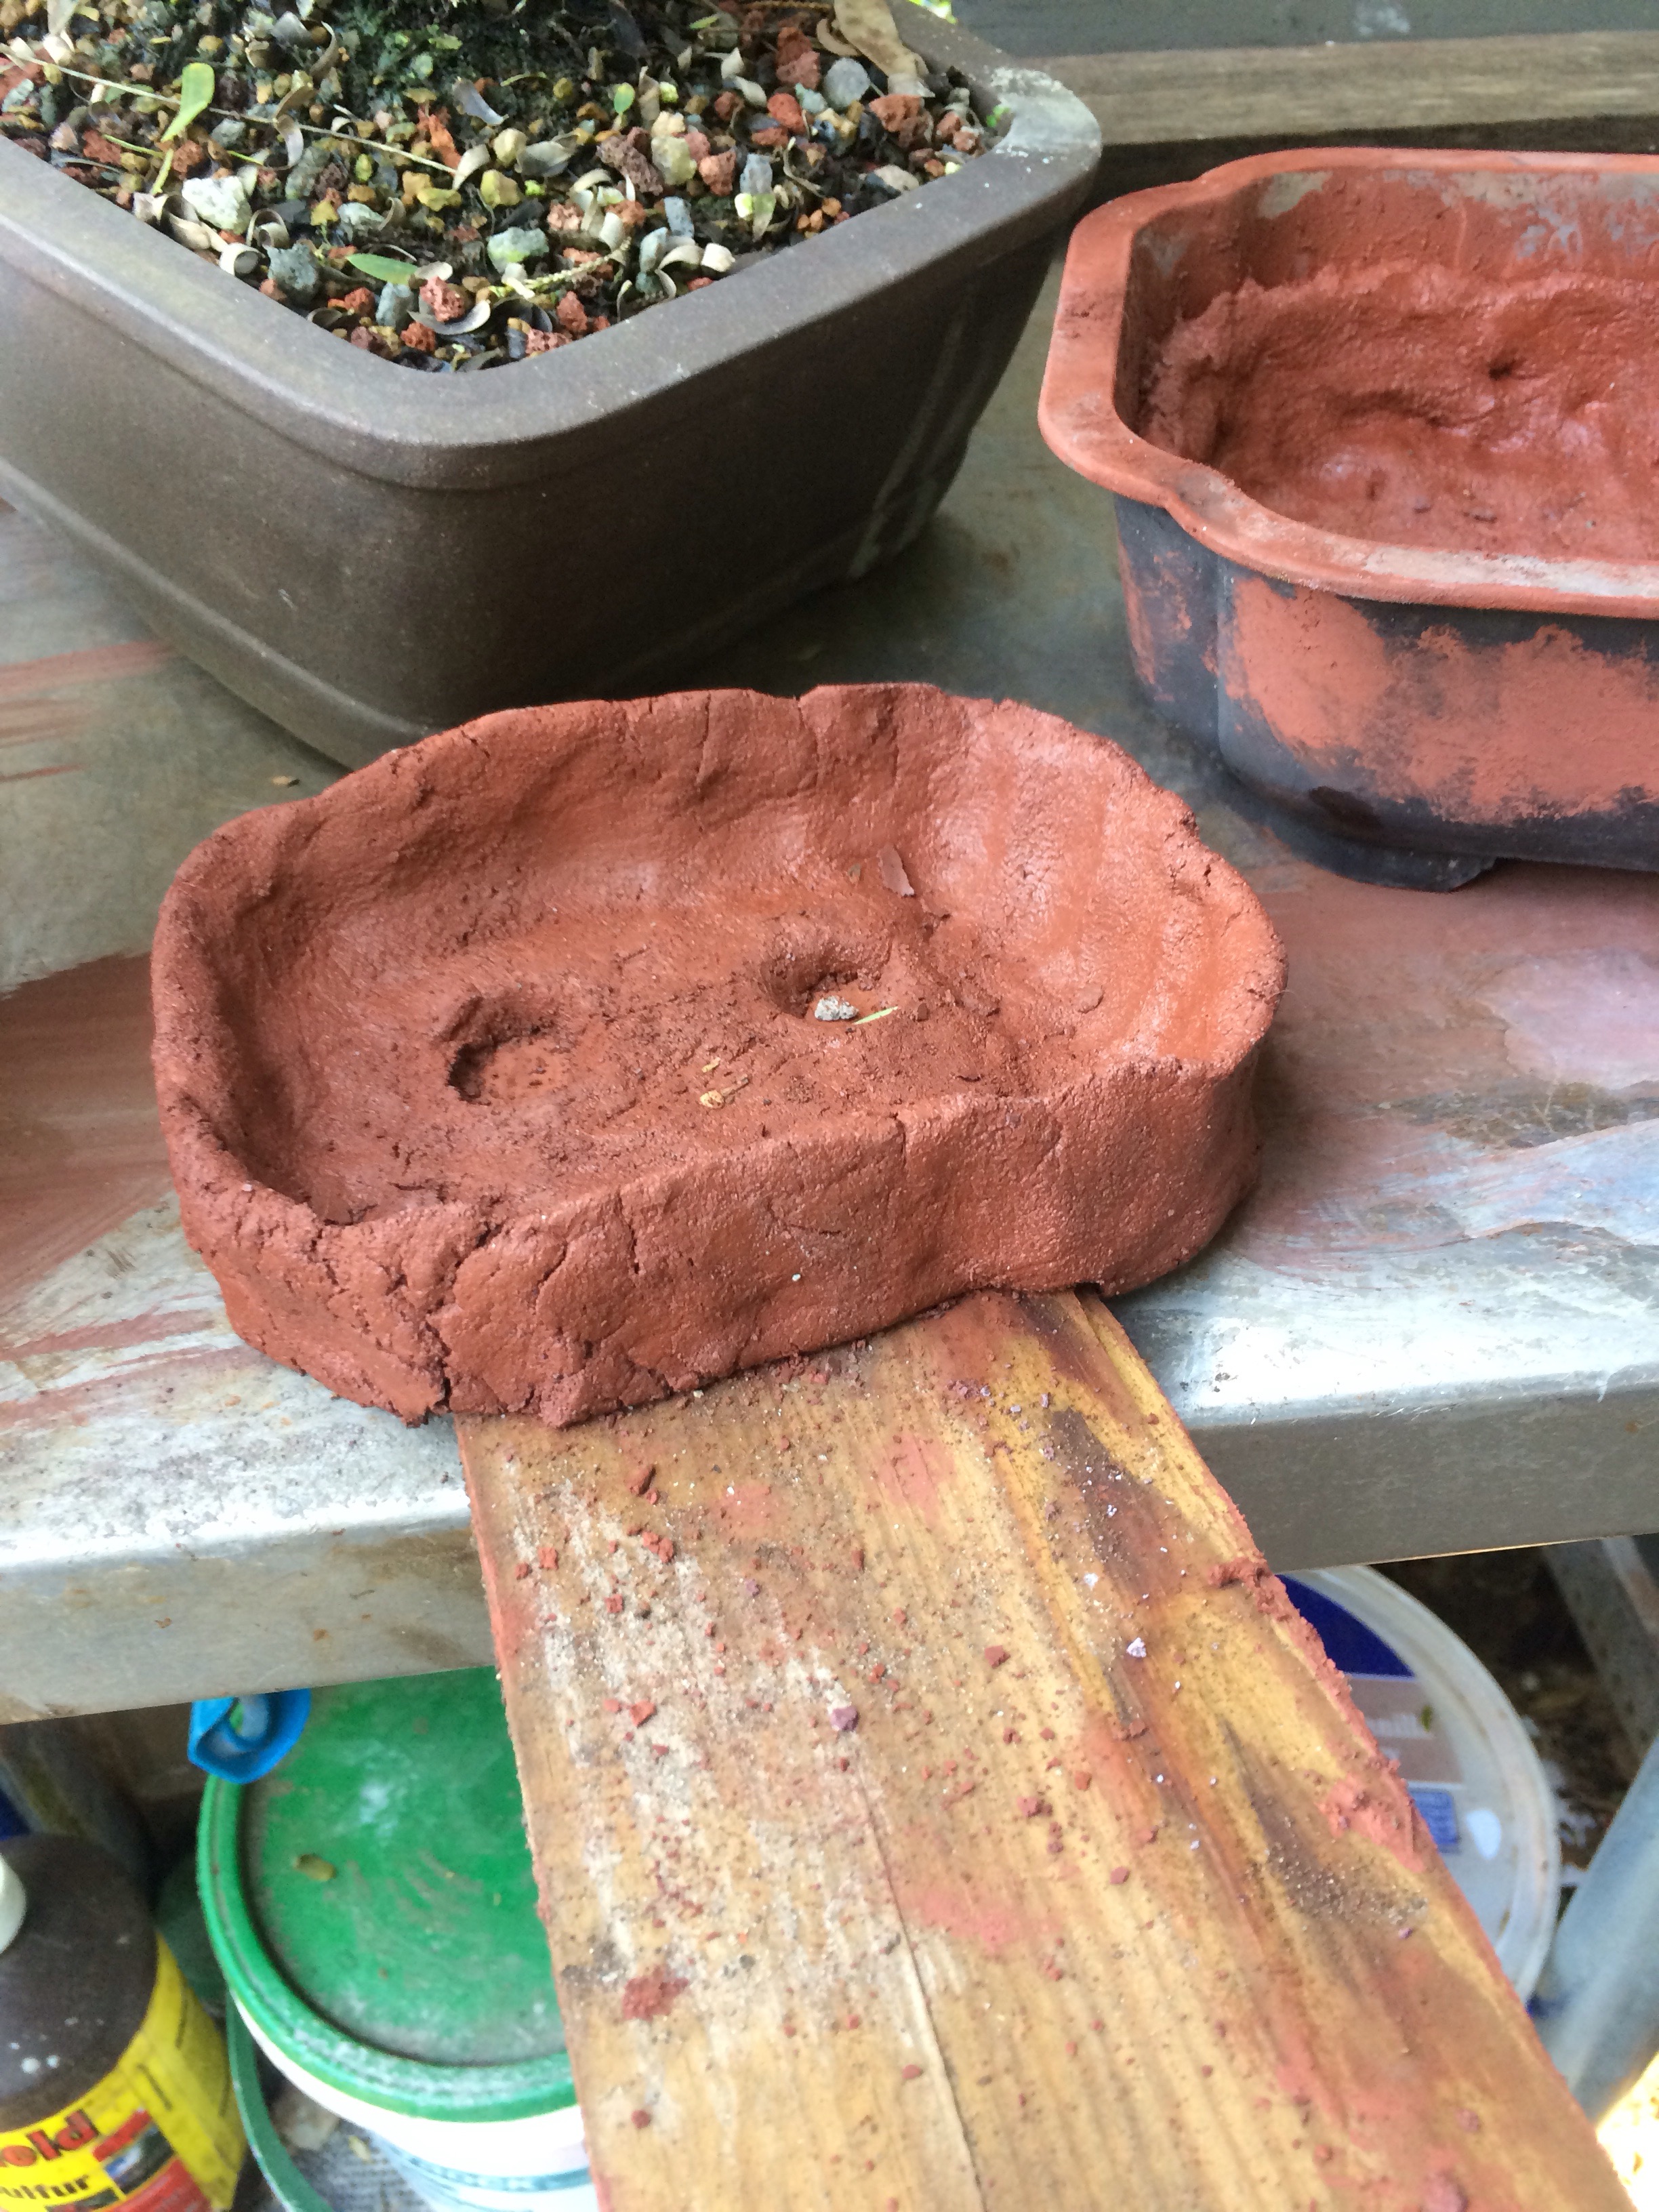
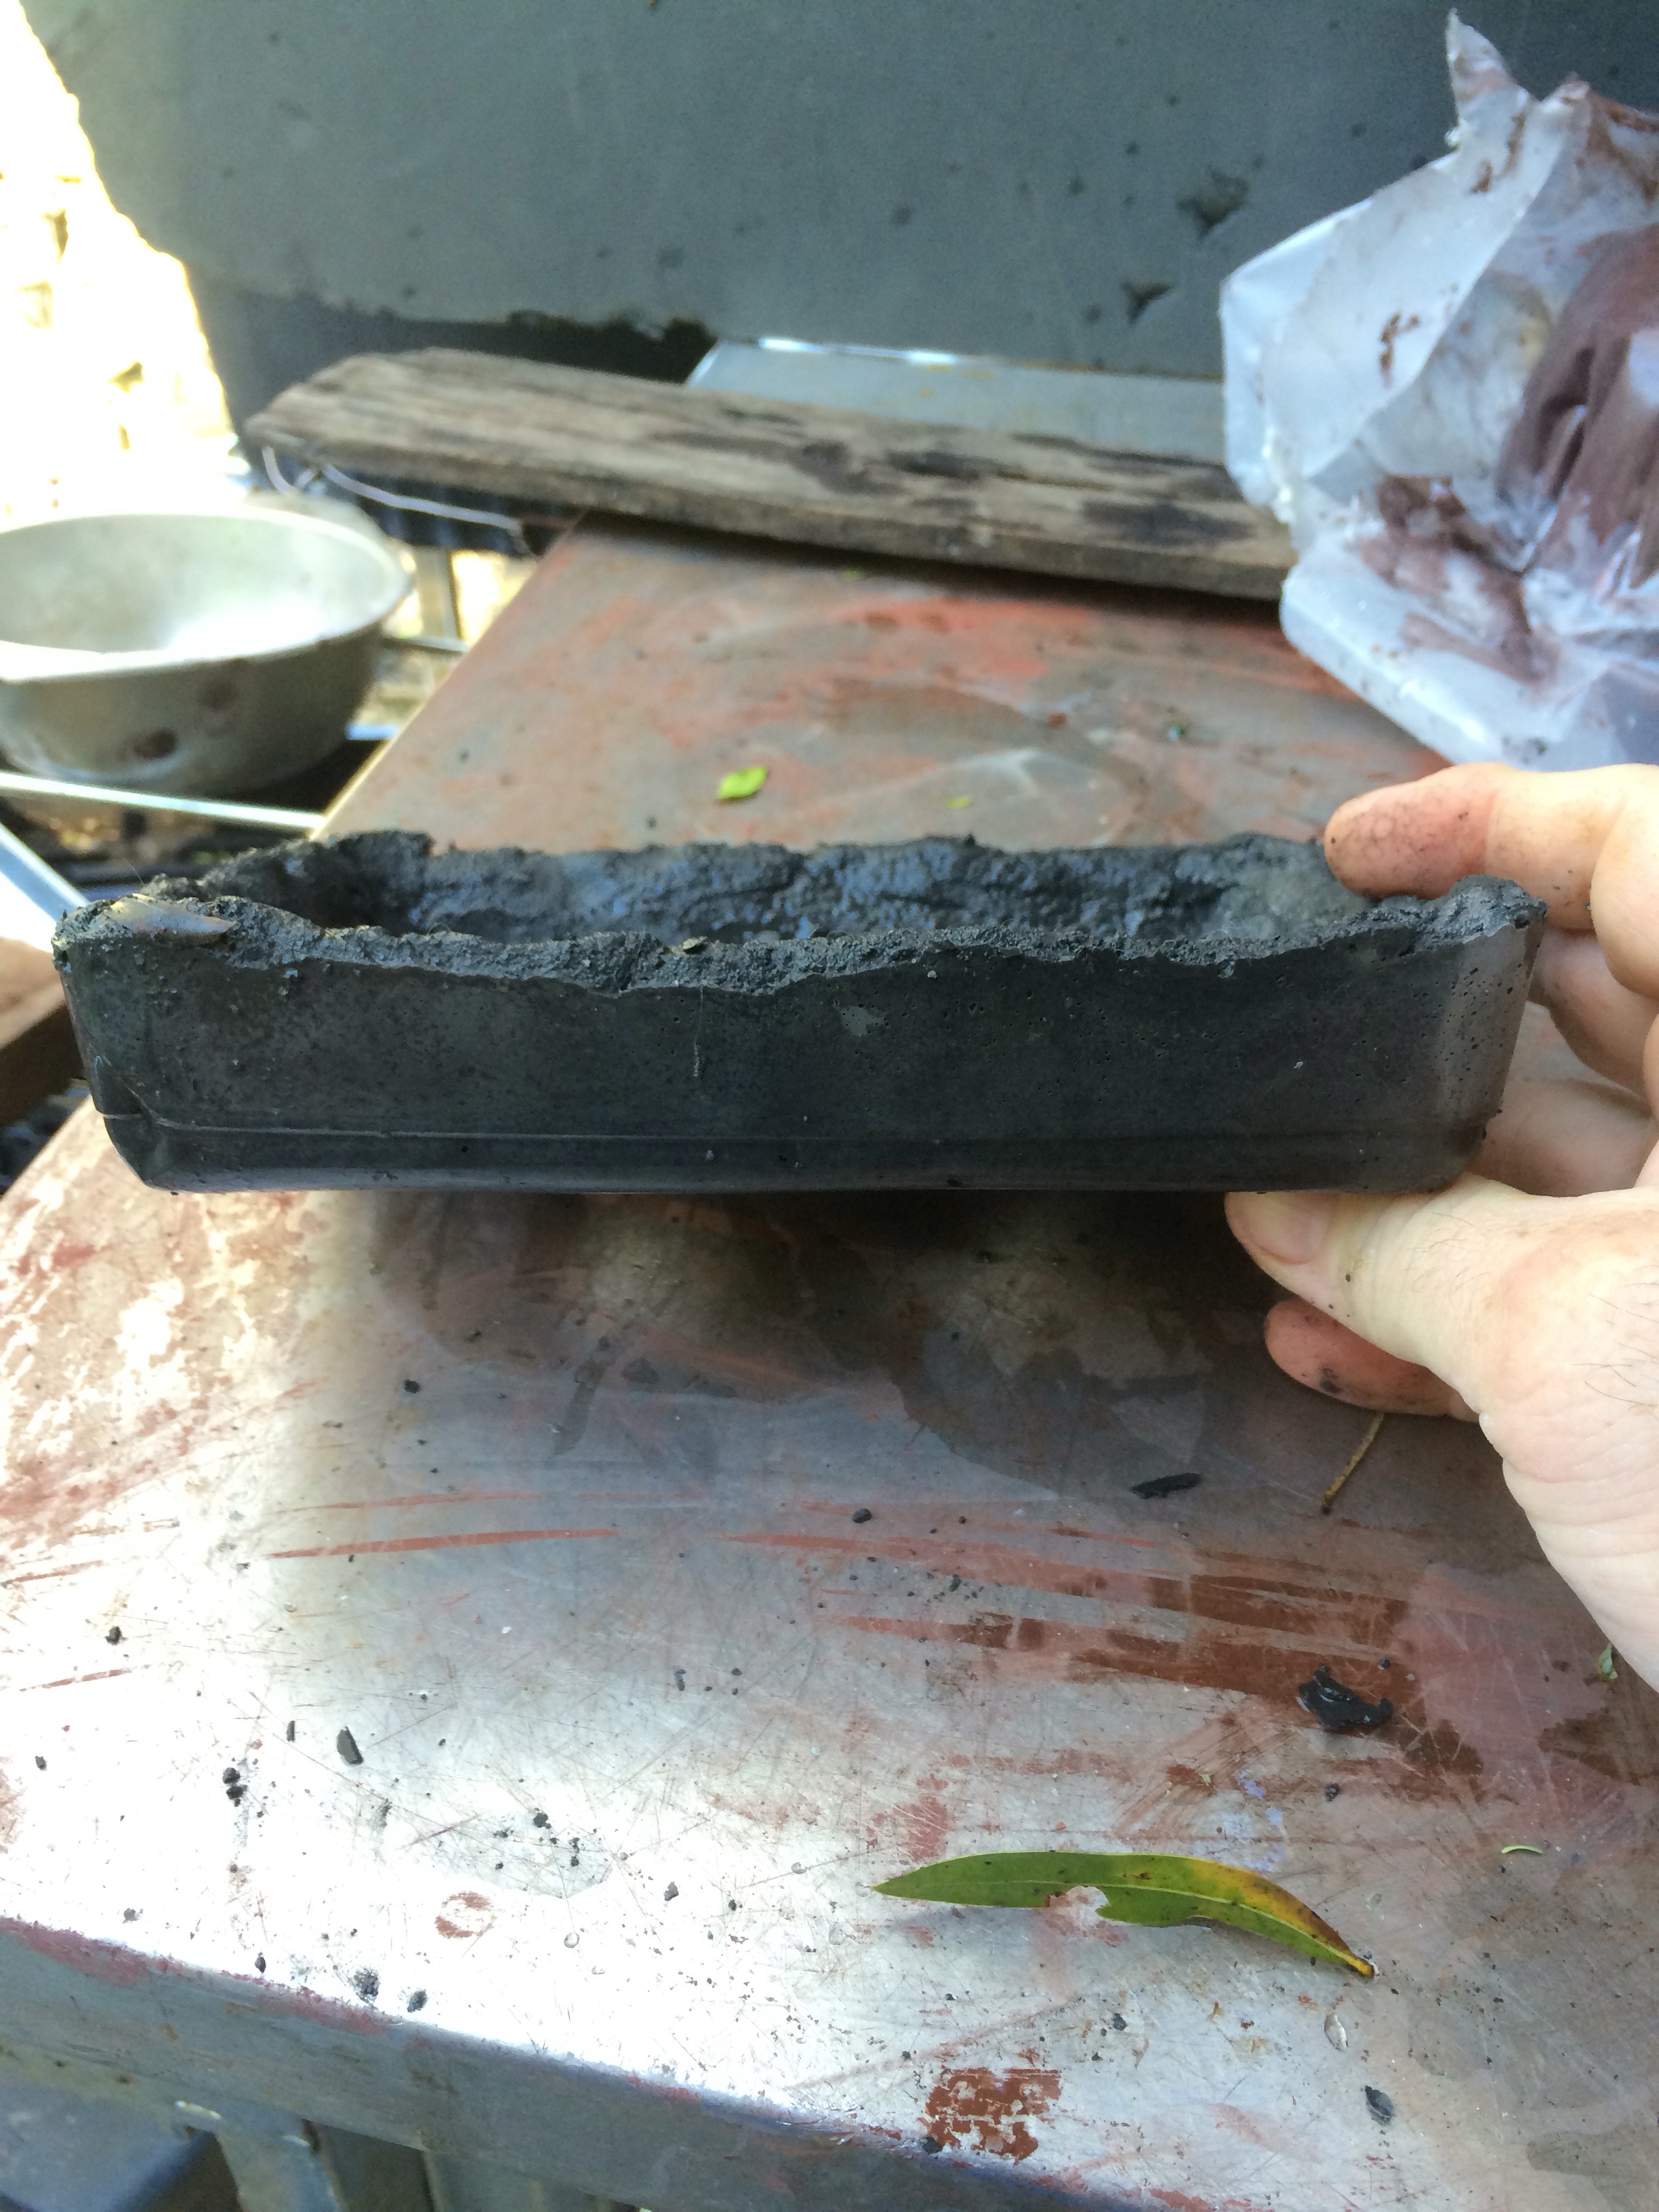
And the Plastic Pot Series© 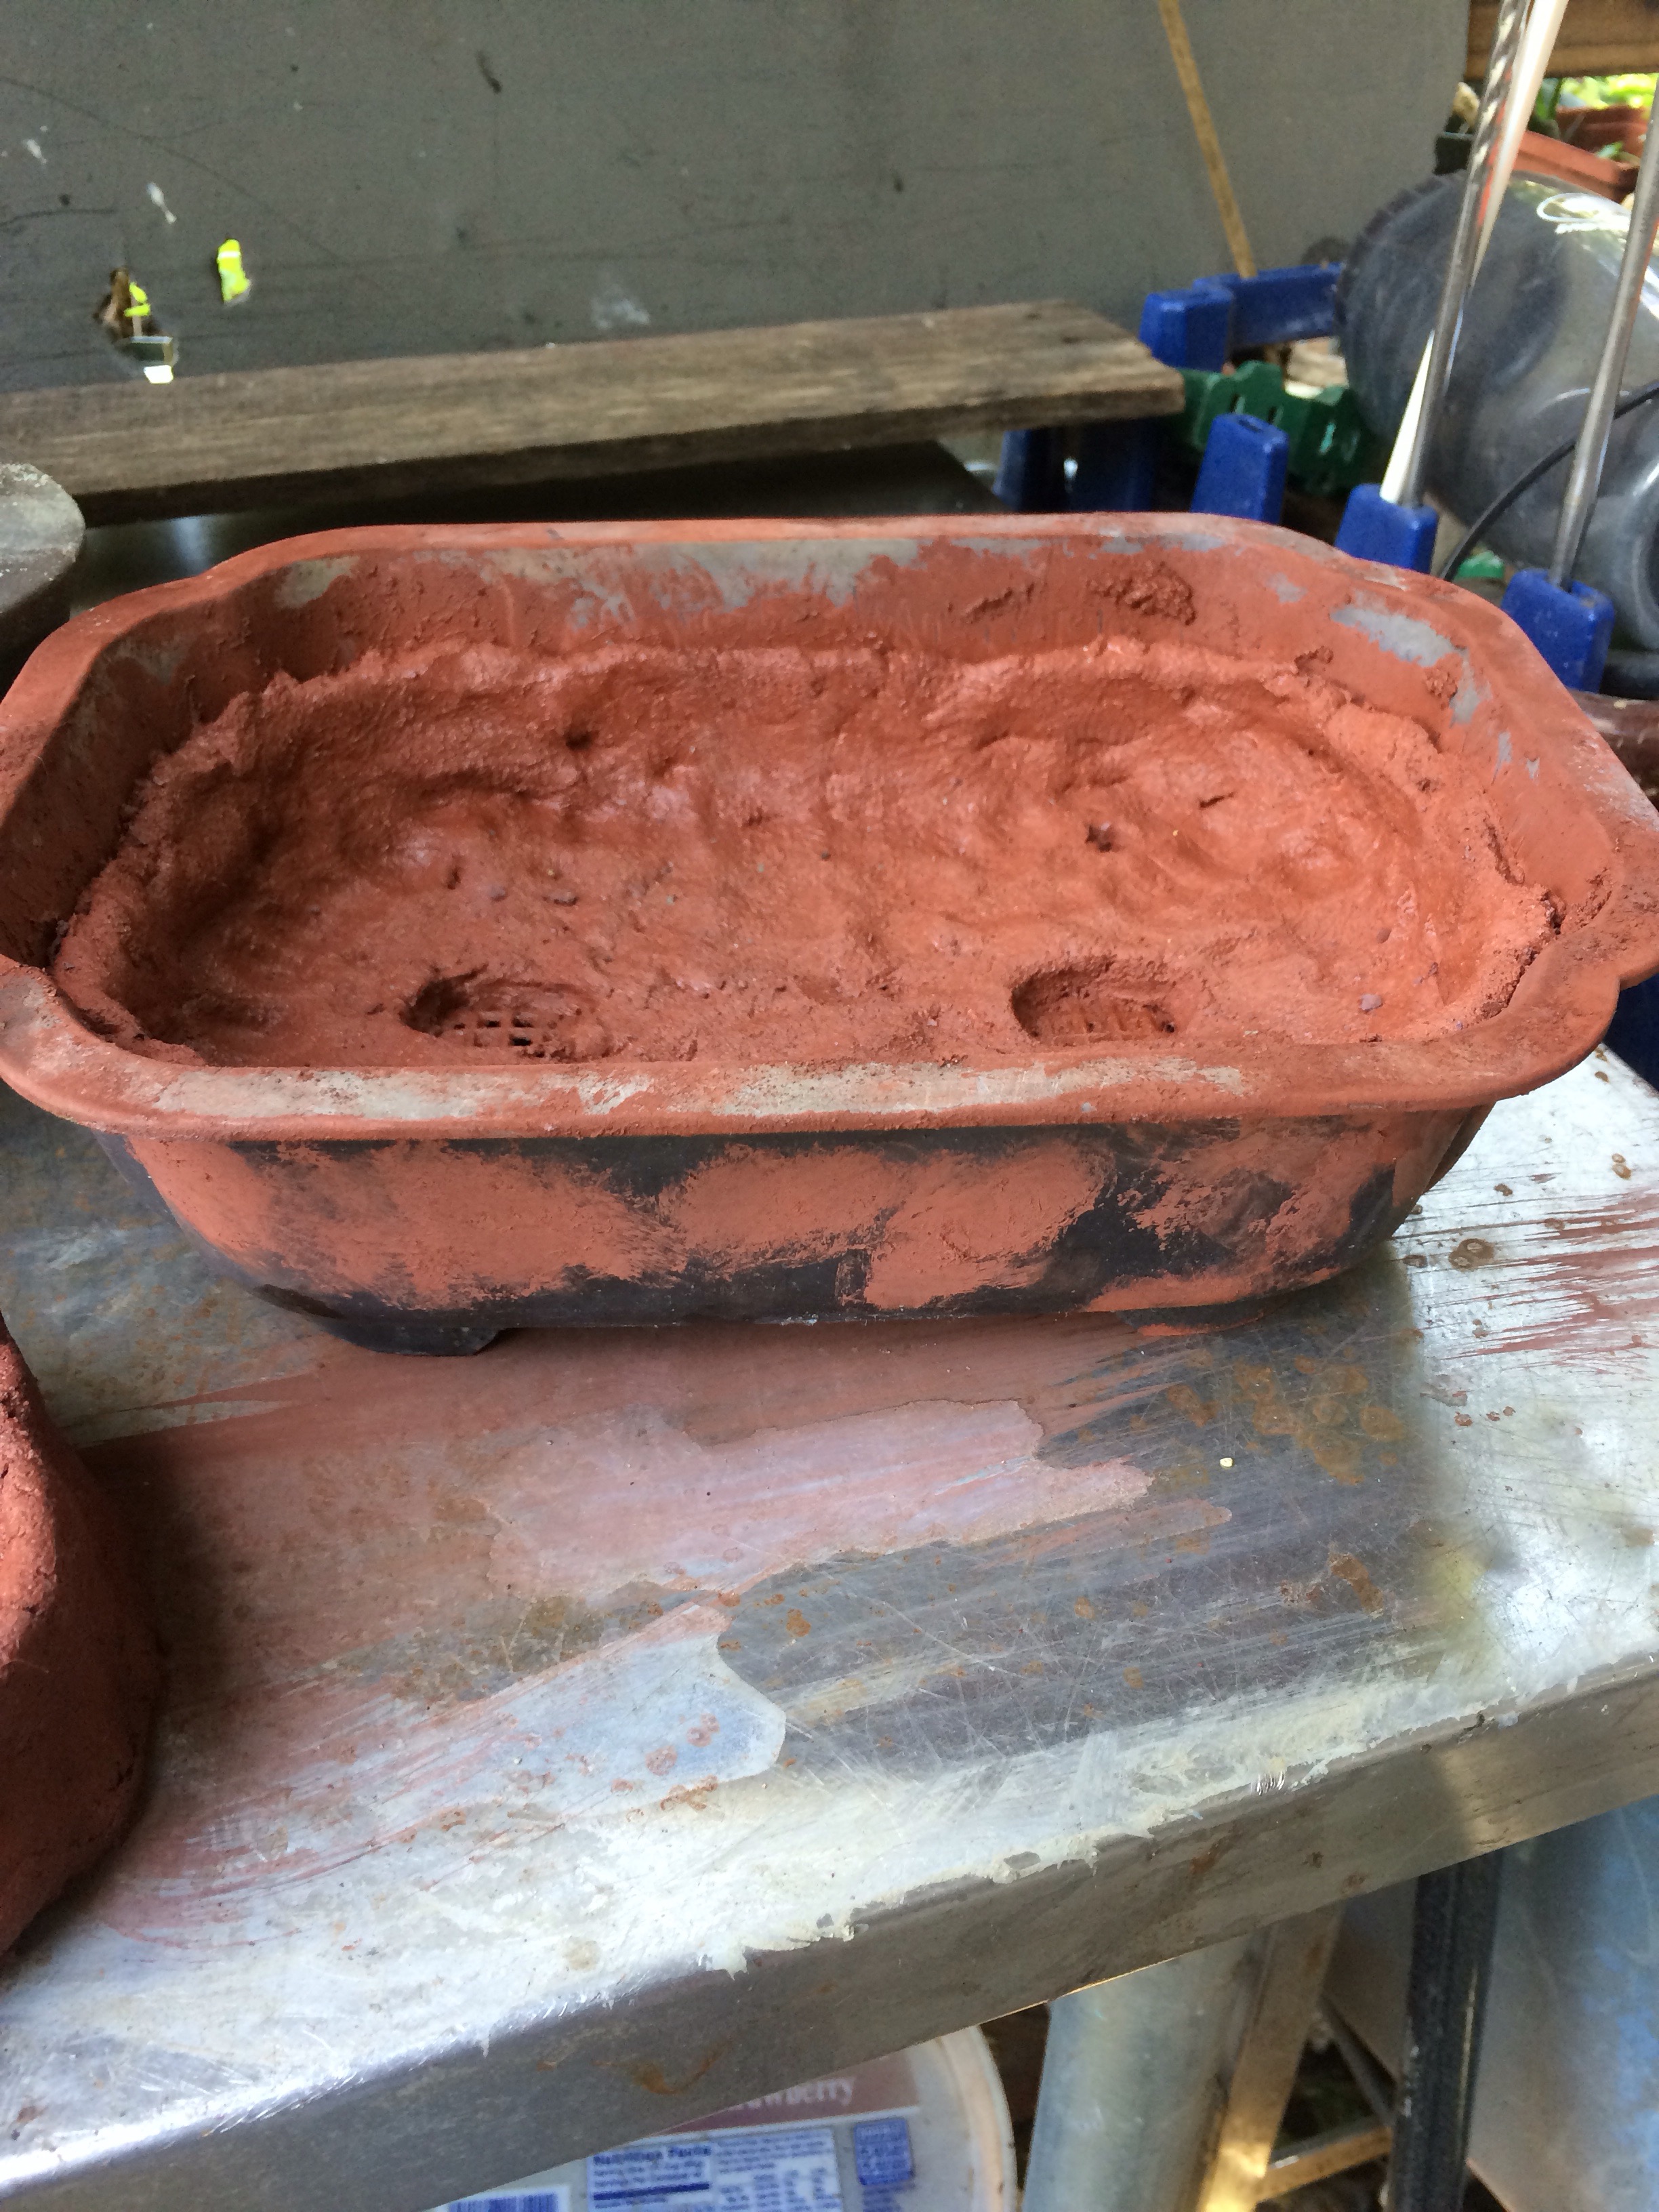
Let’s look at the freeform pot first. 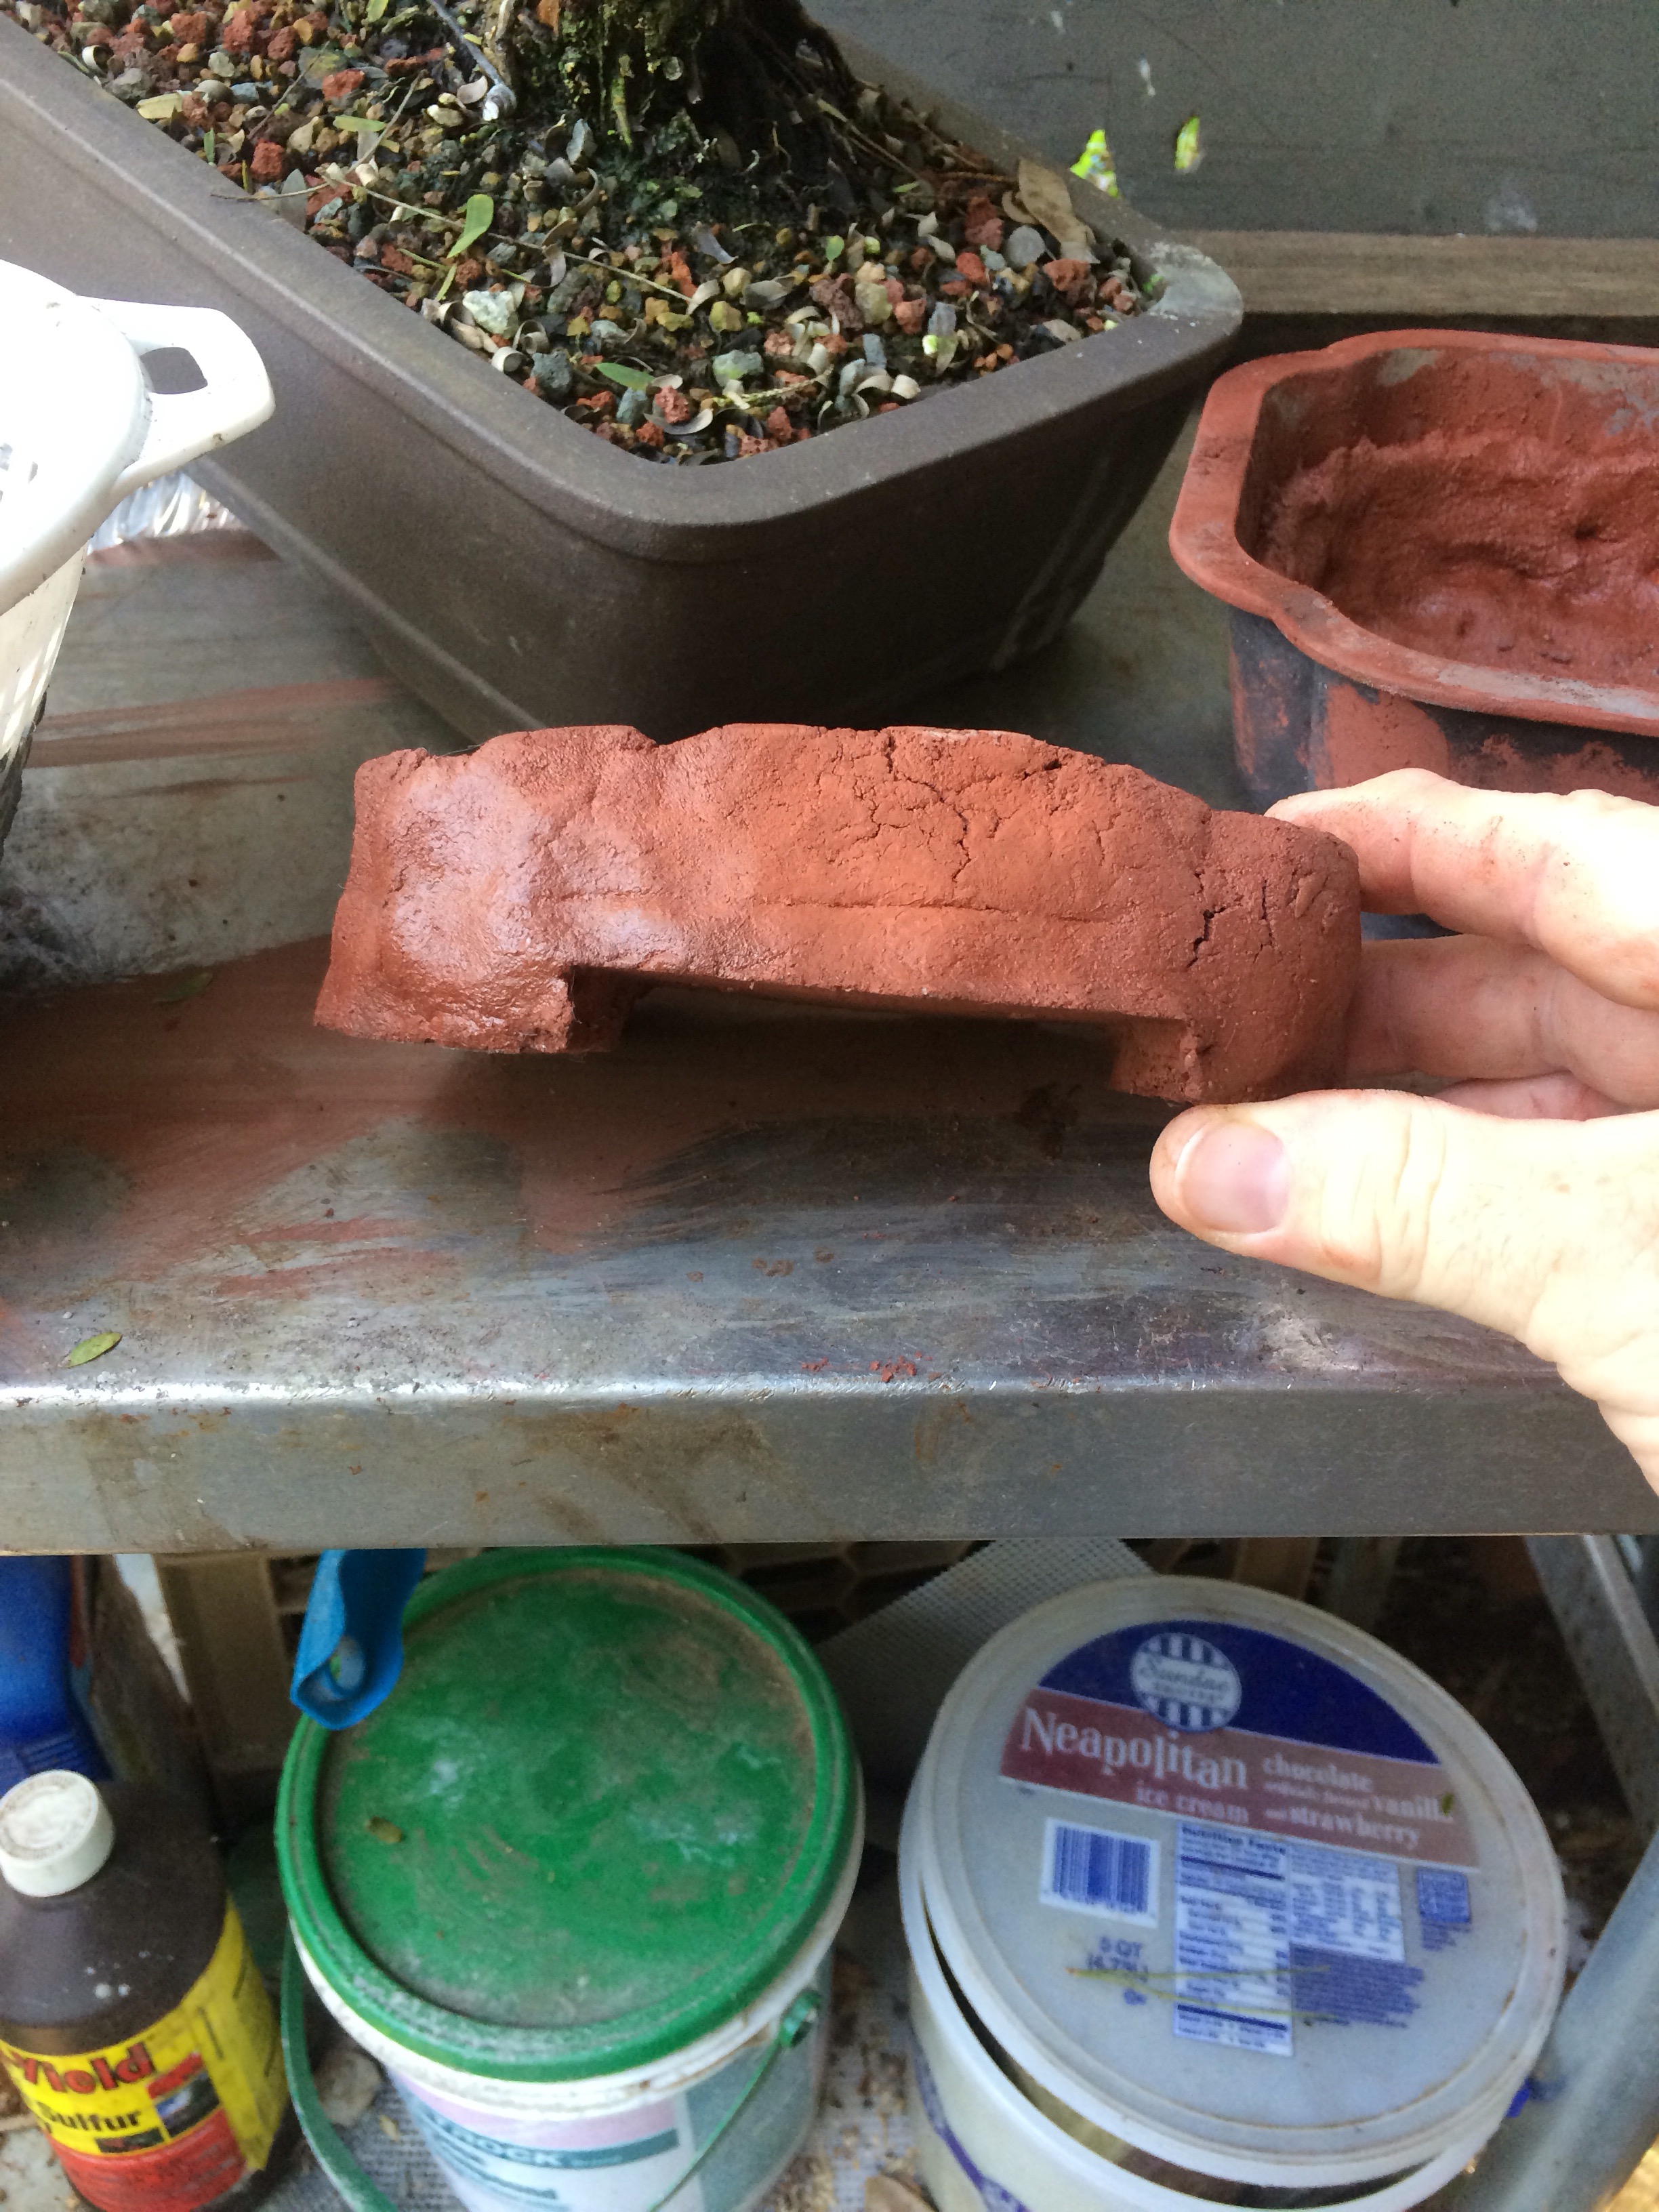
 Ummm, yeah. Someone will like it. Maybe.
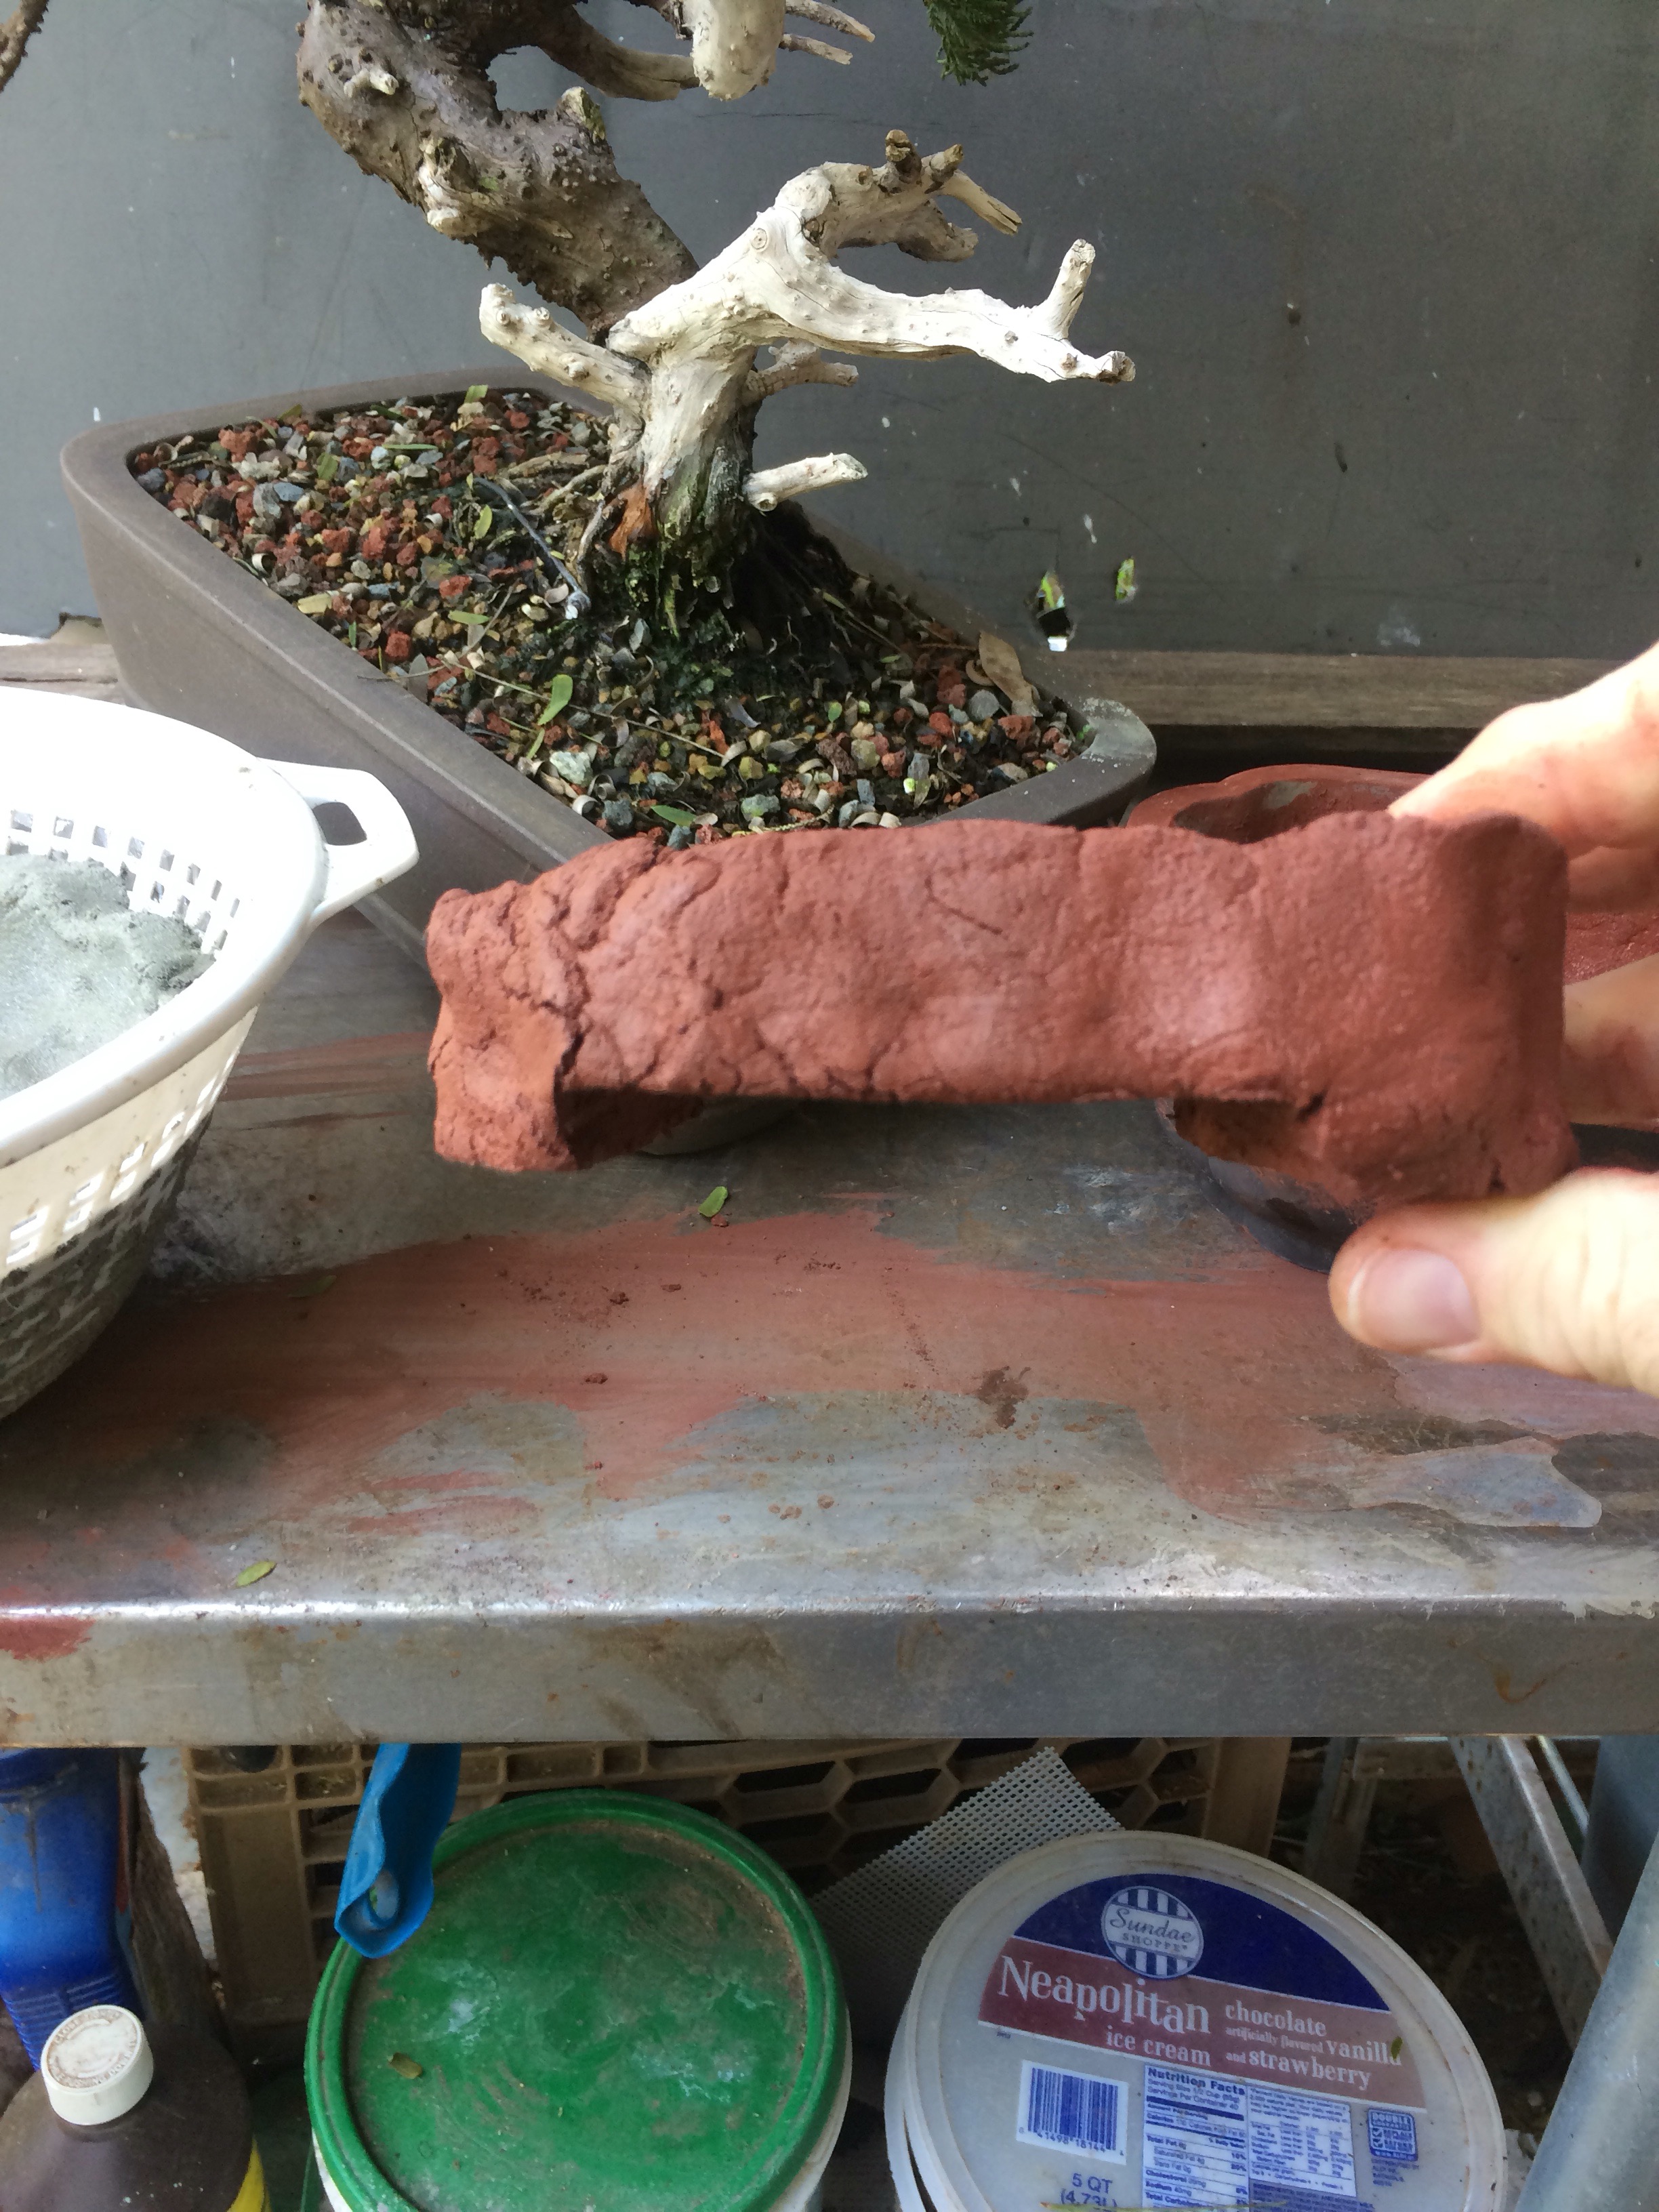
Next is the Plastic Pot Series© 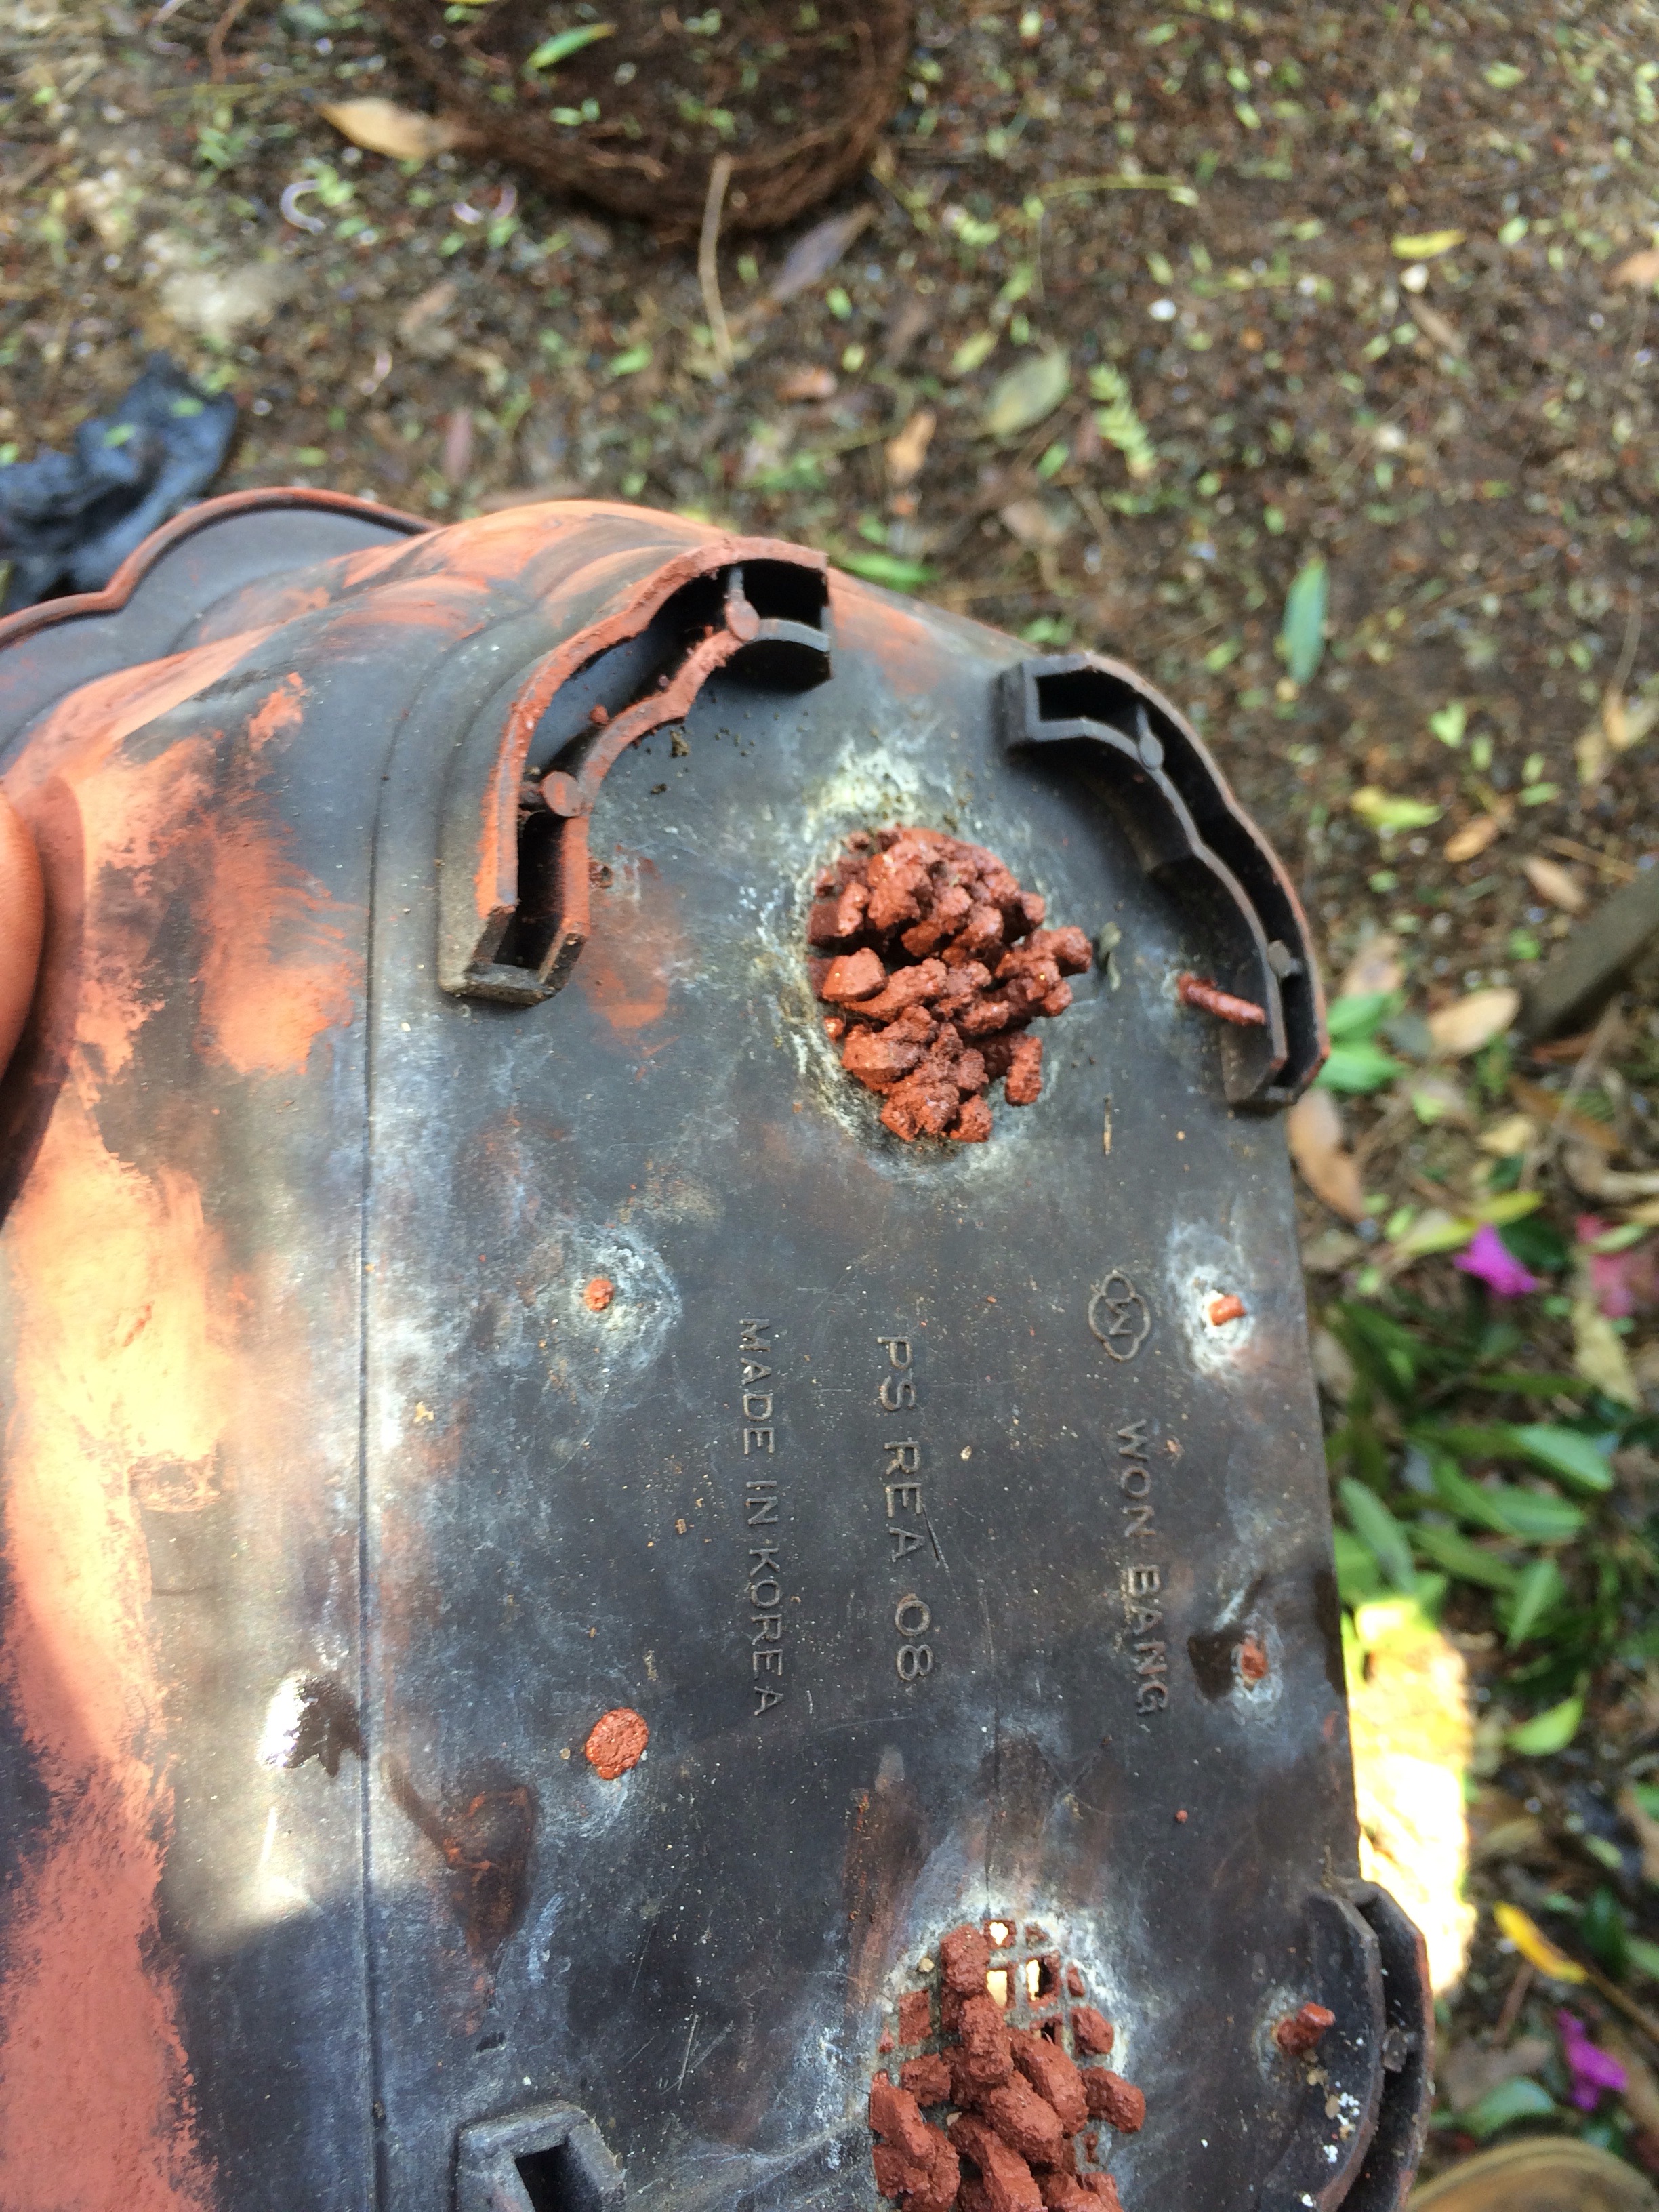 I had to break off these…squirts.
And….nice! 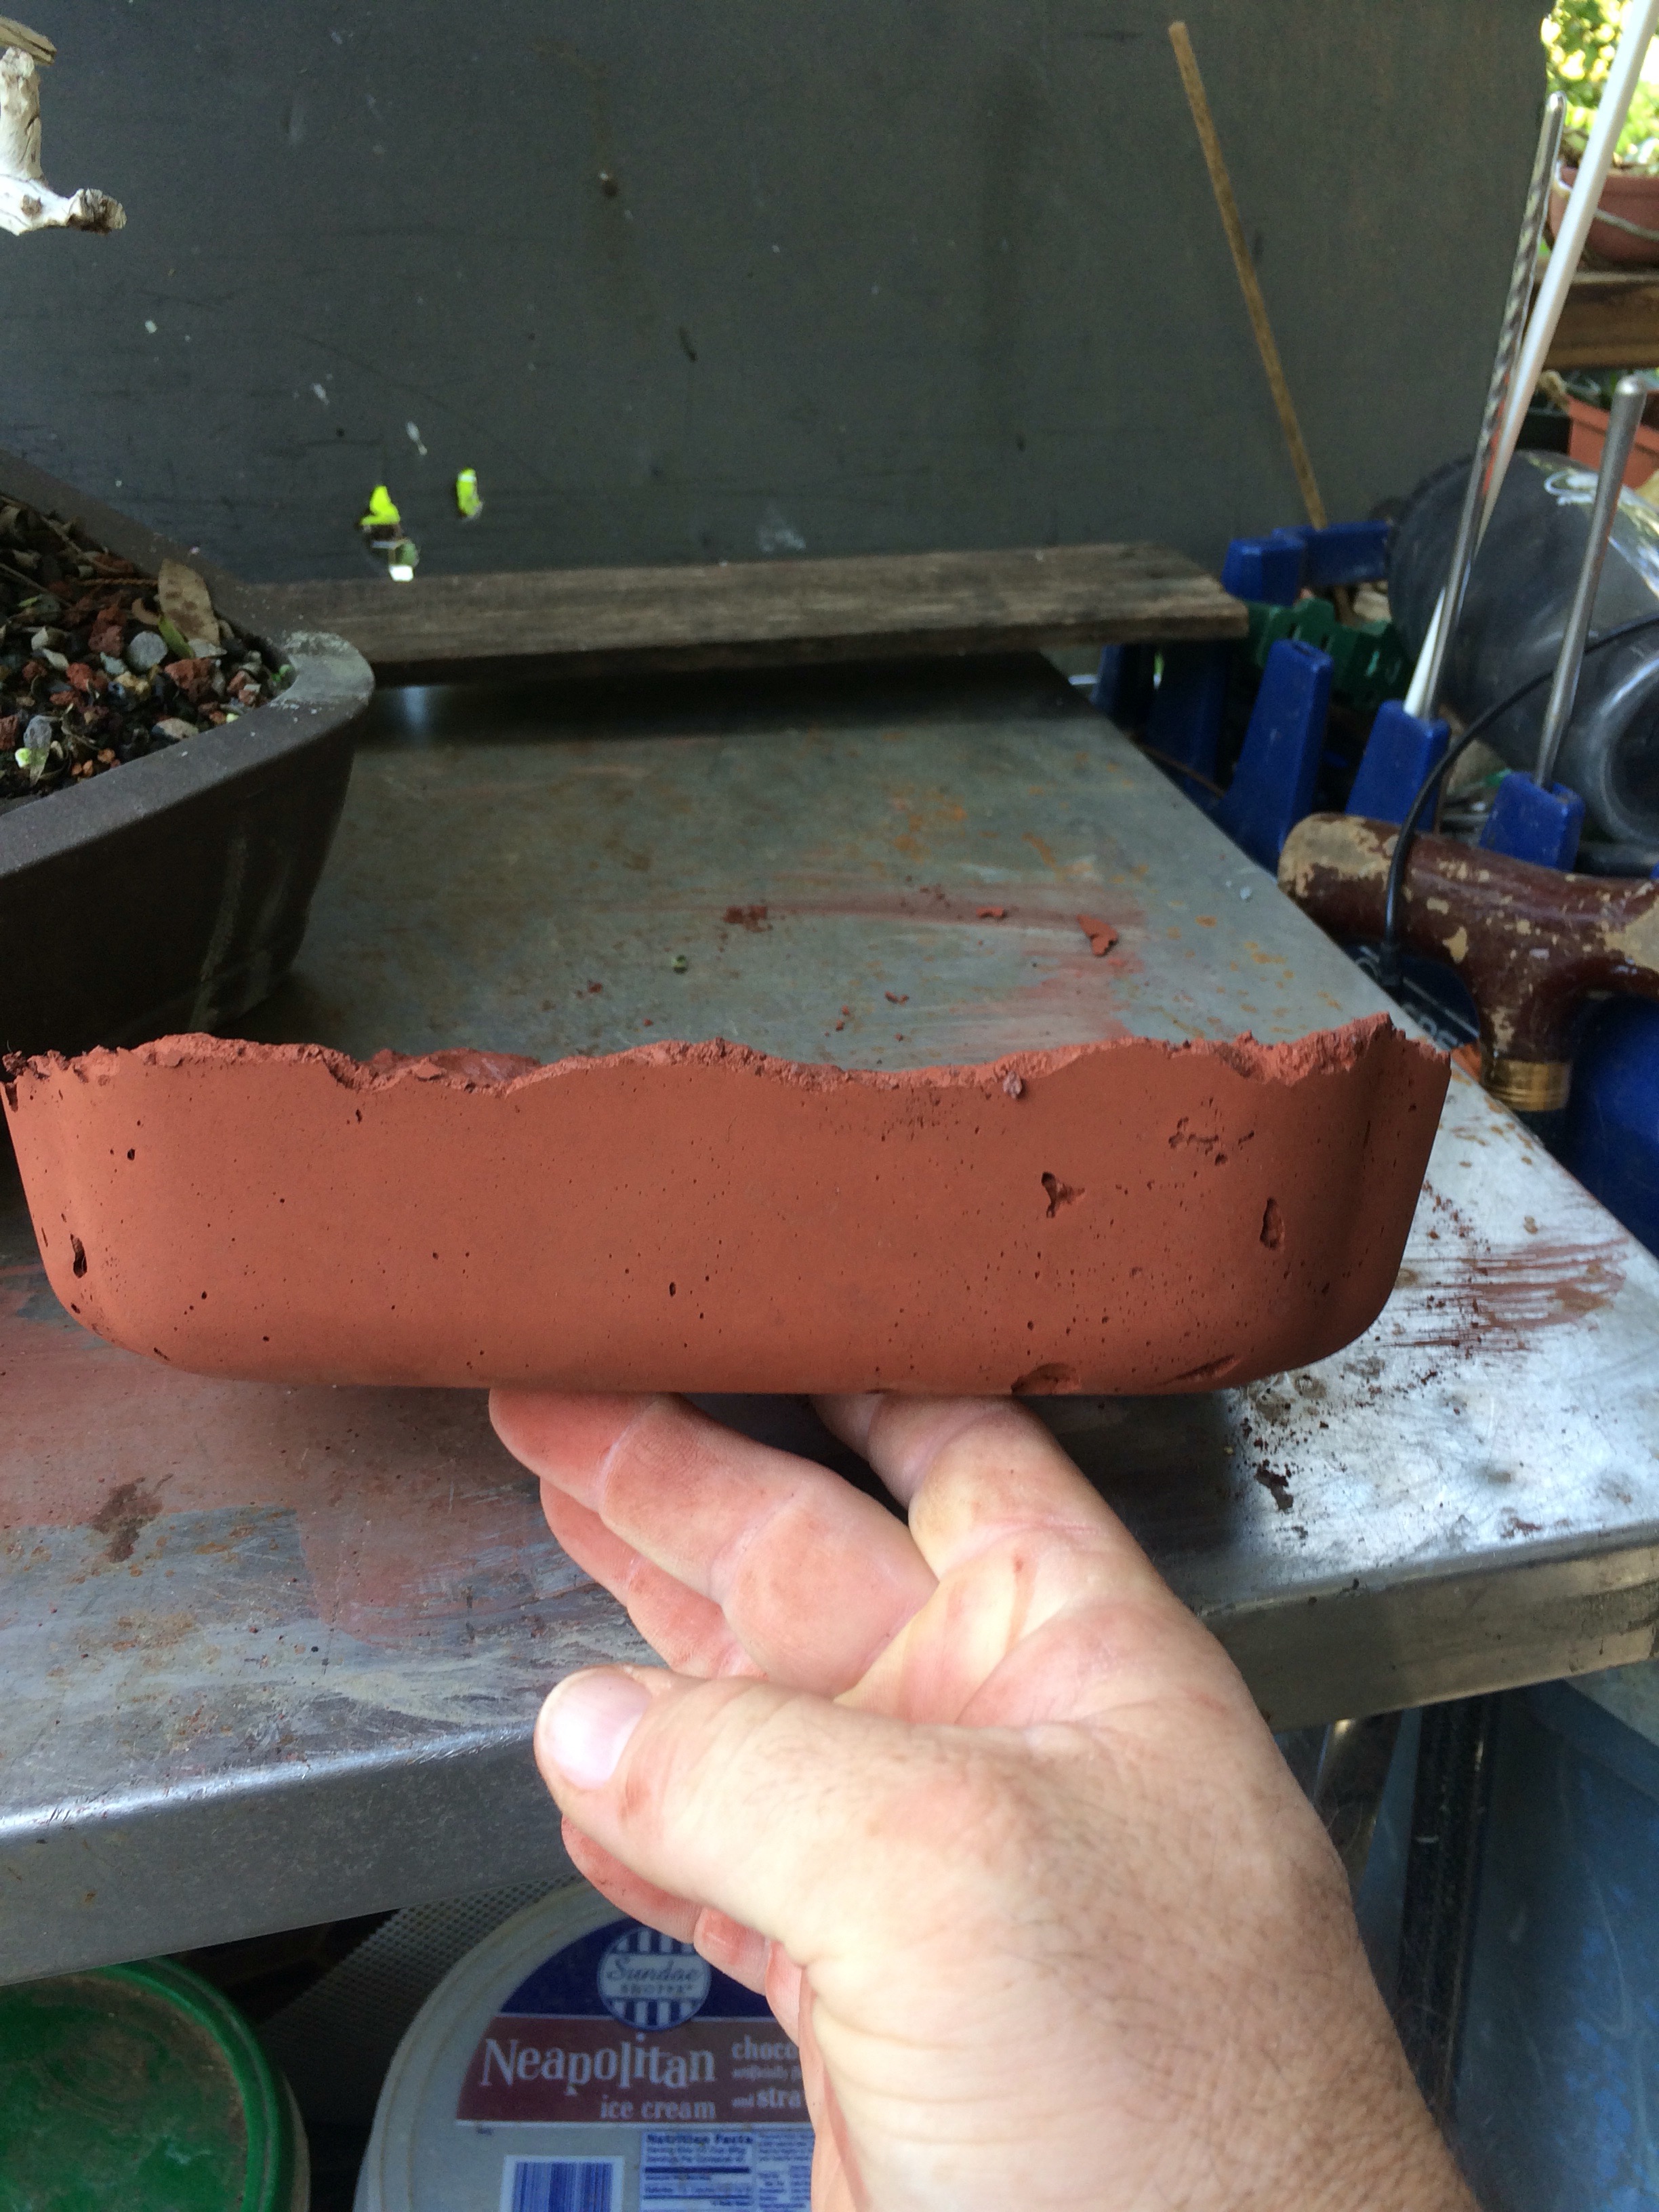
 I like the smooth texture and the air pockets.
And that edge! I like it! 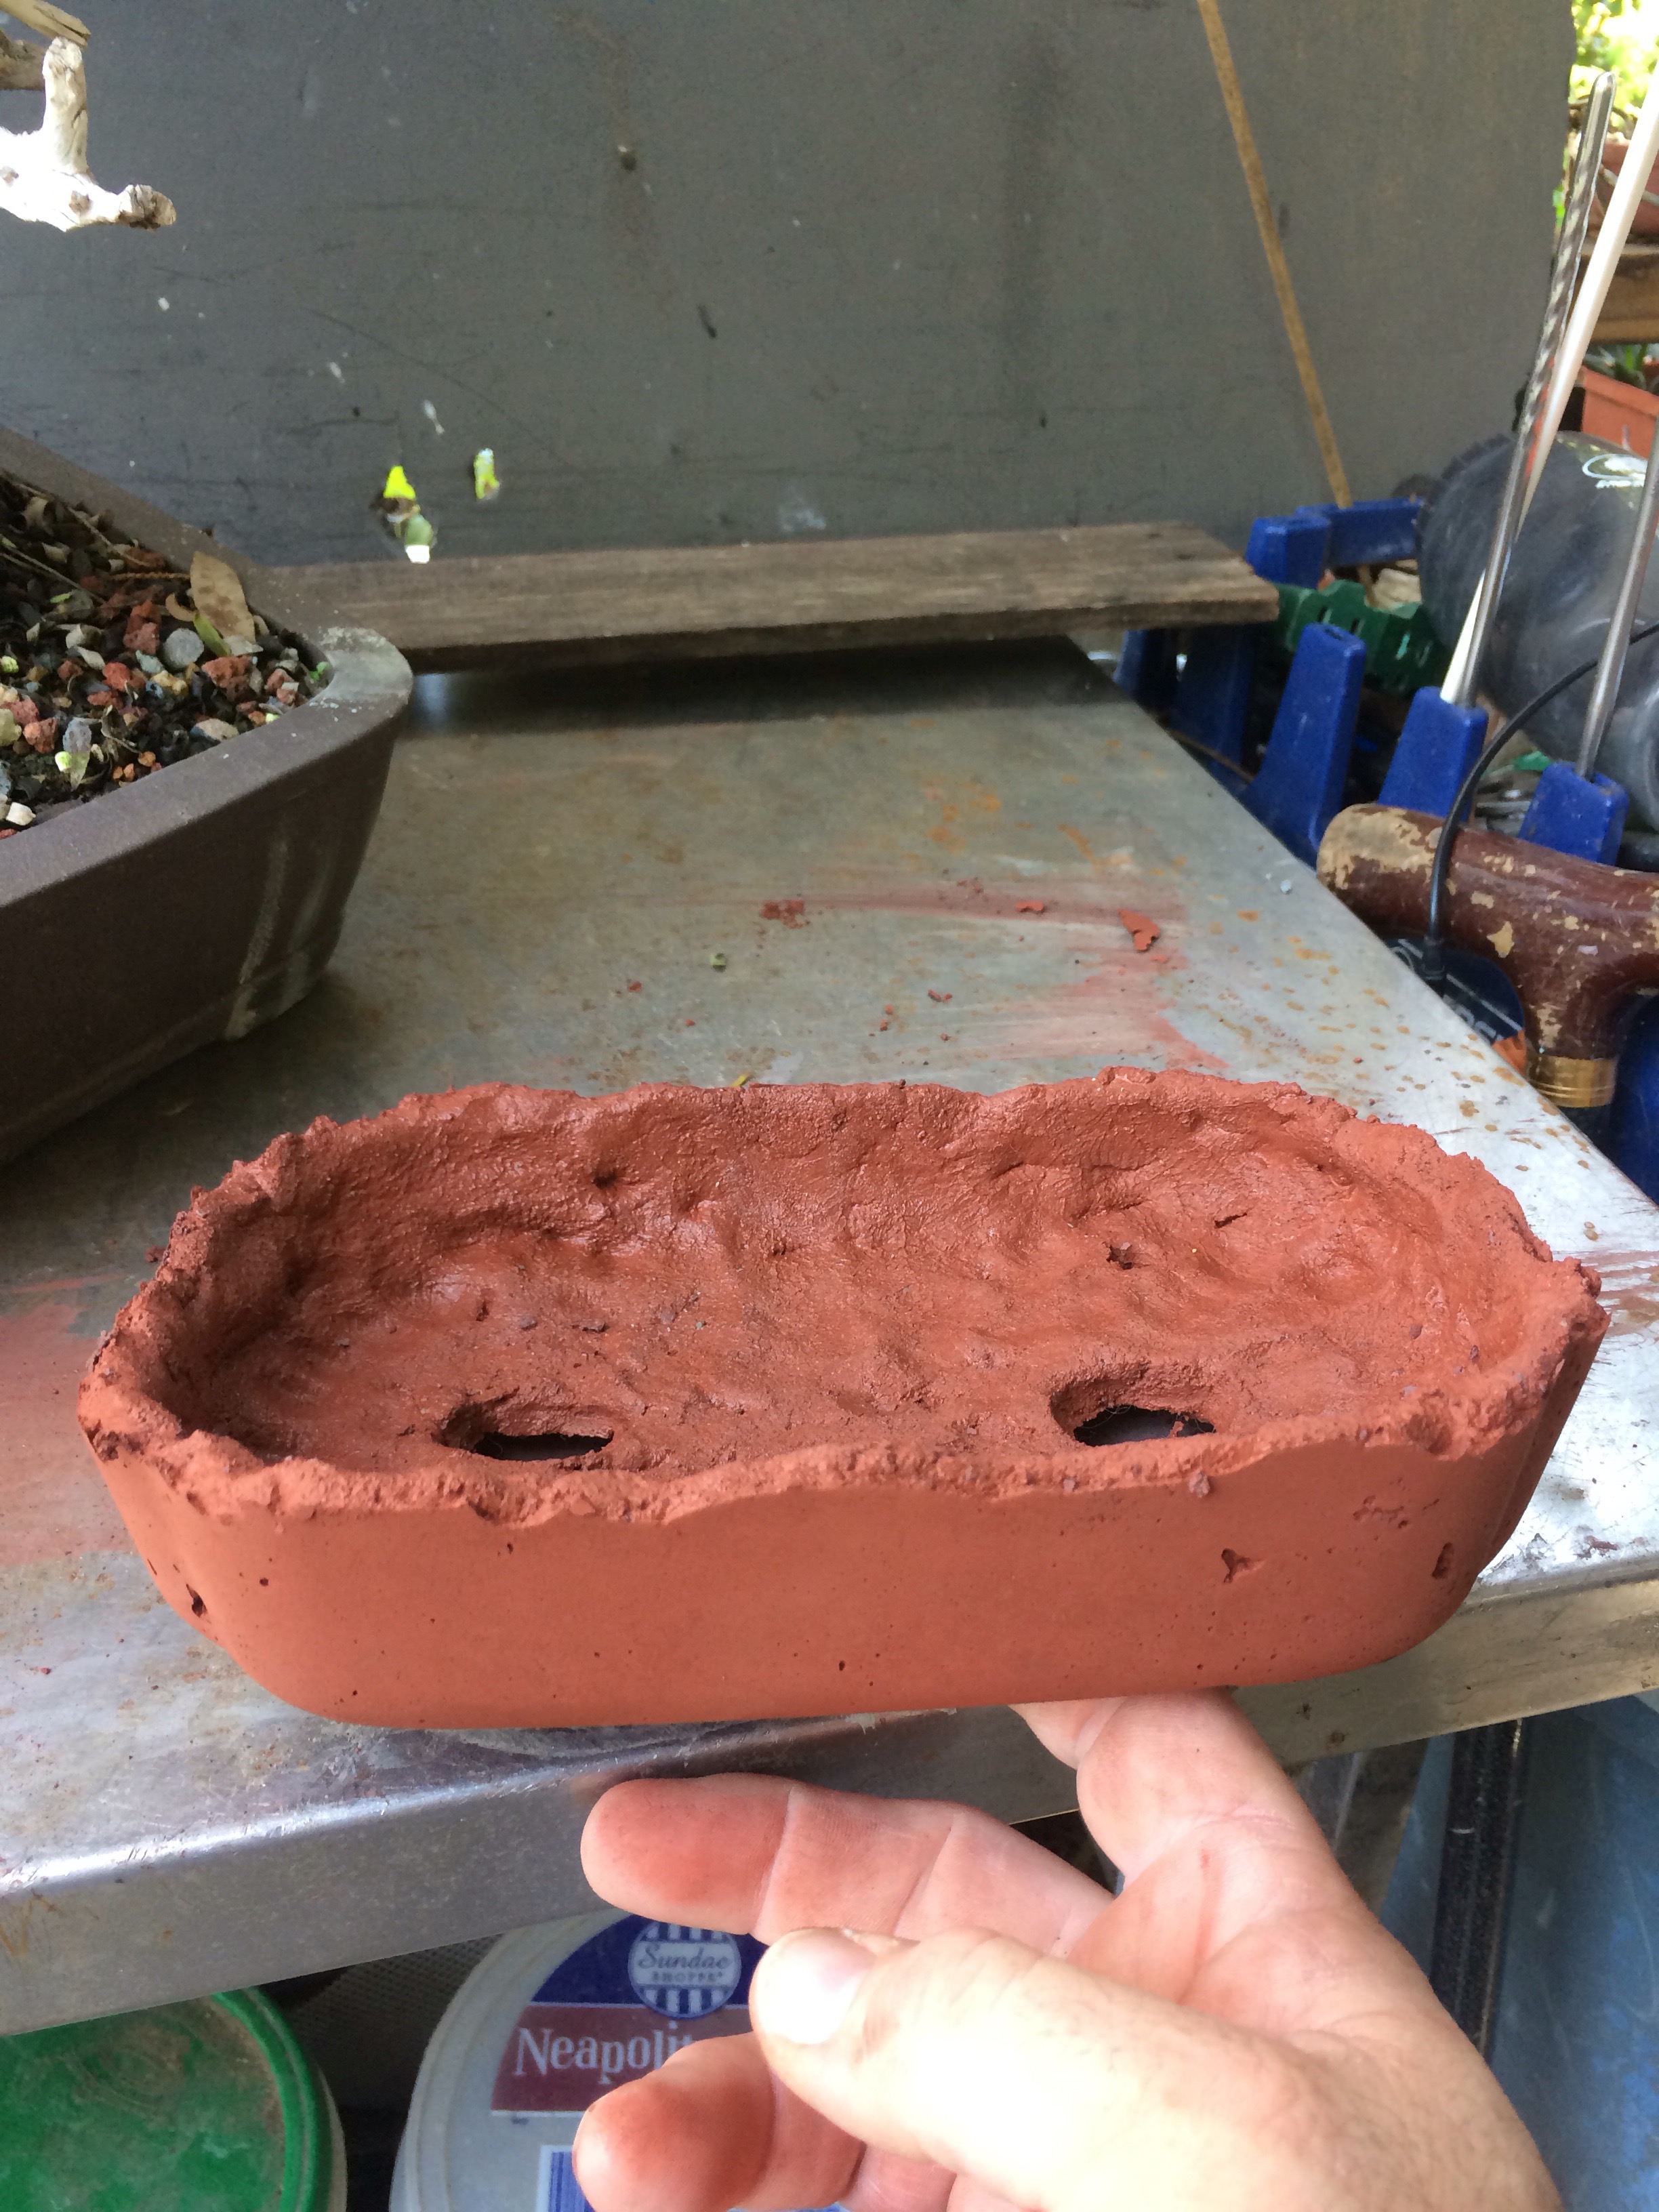
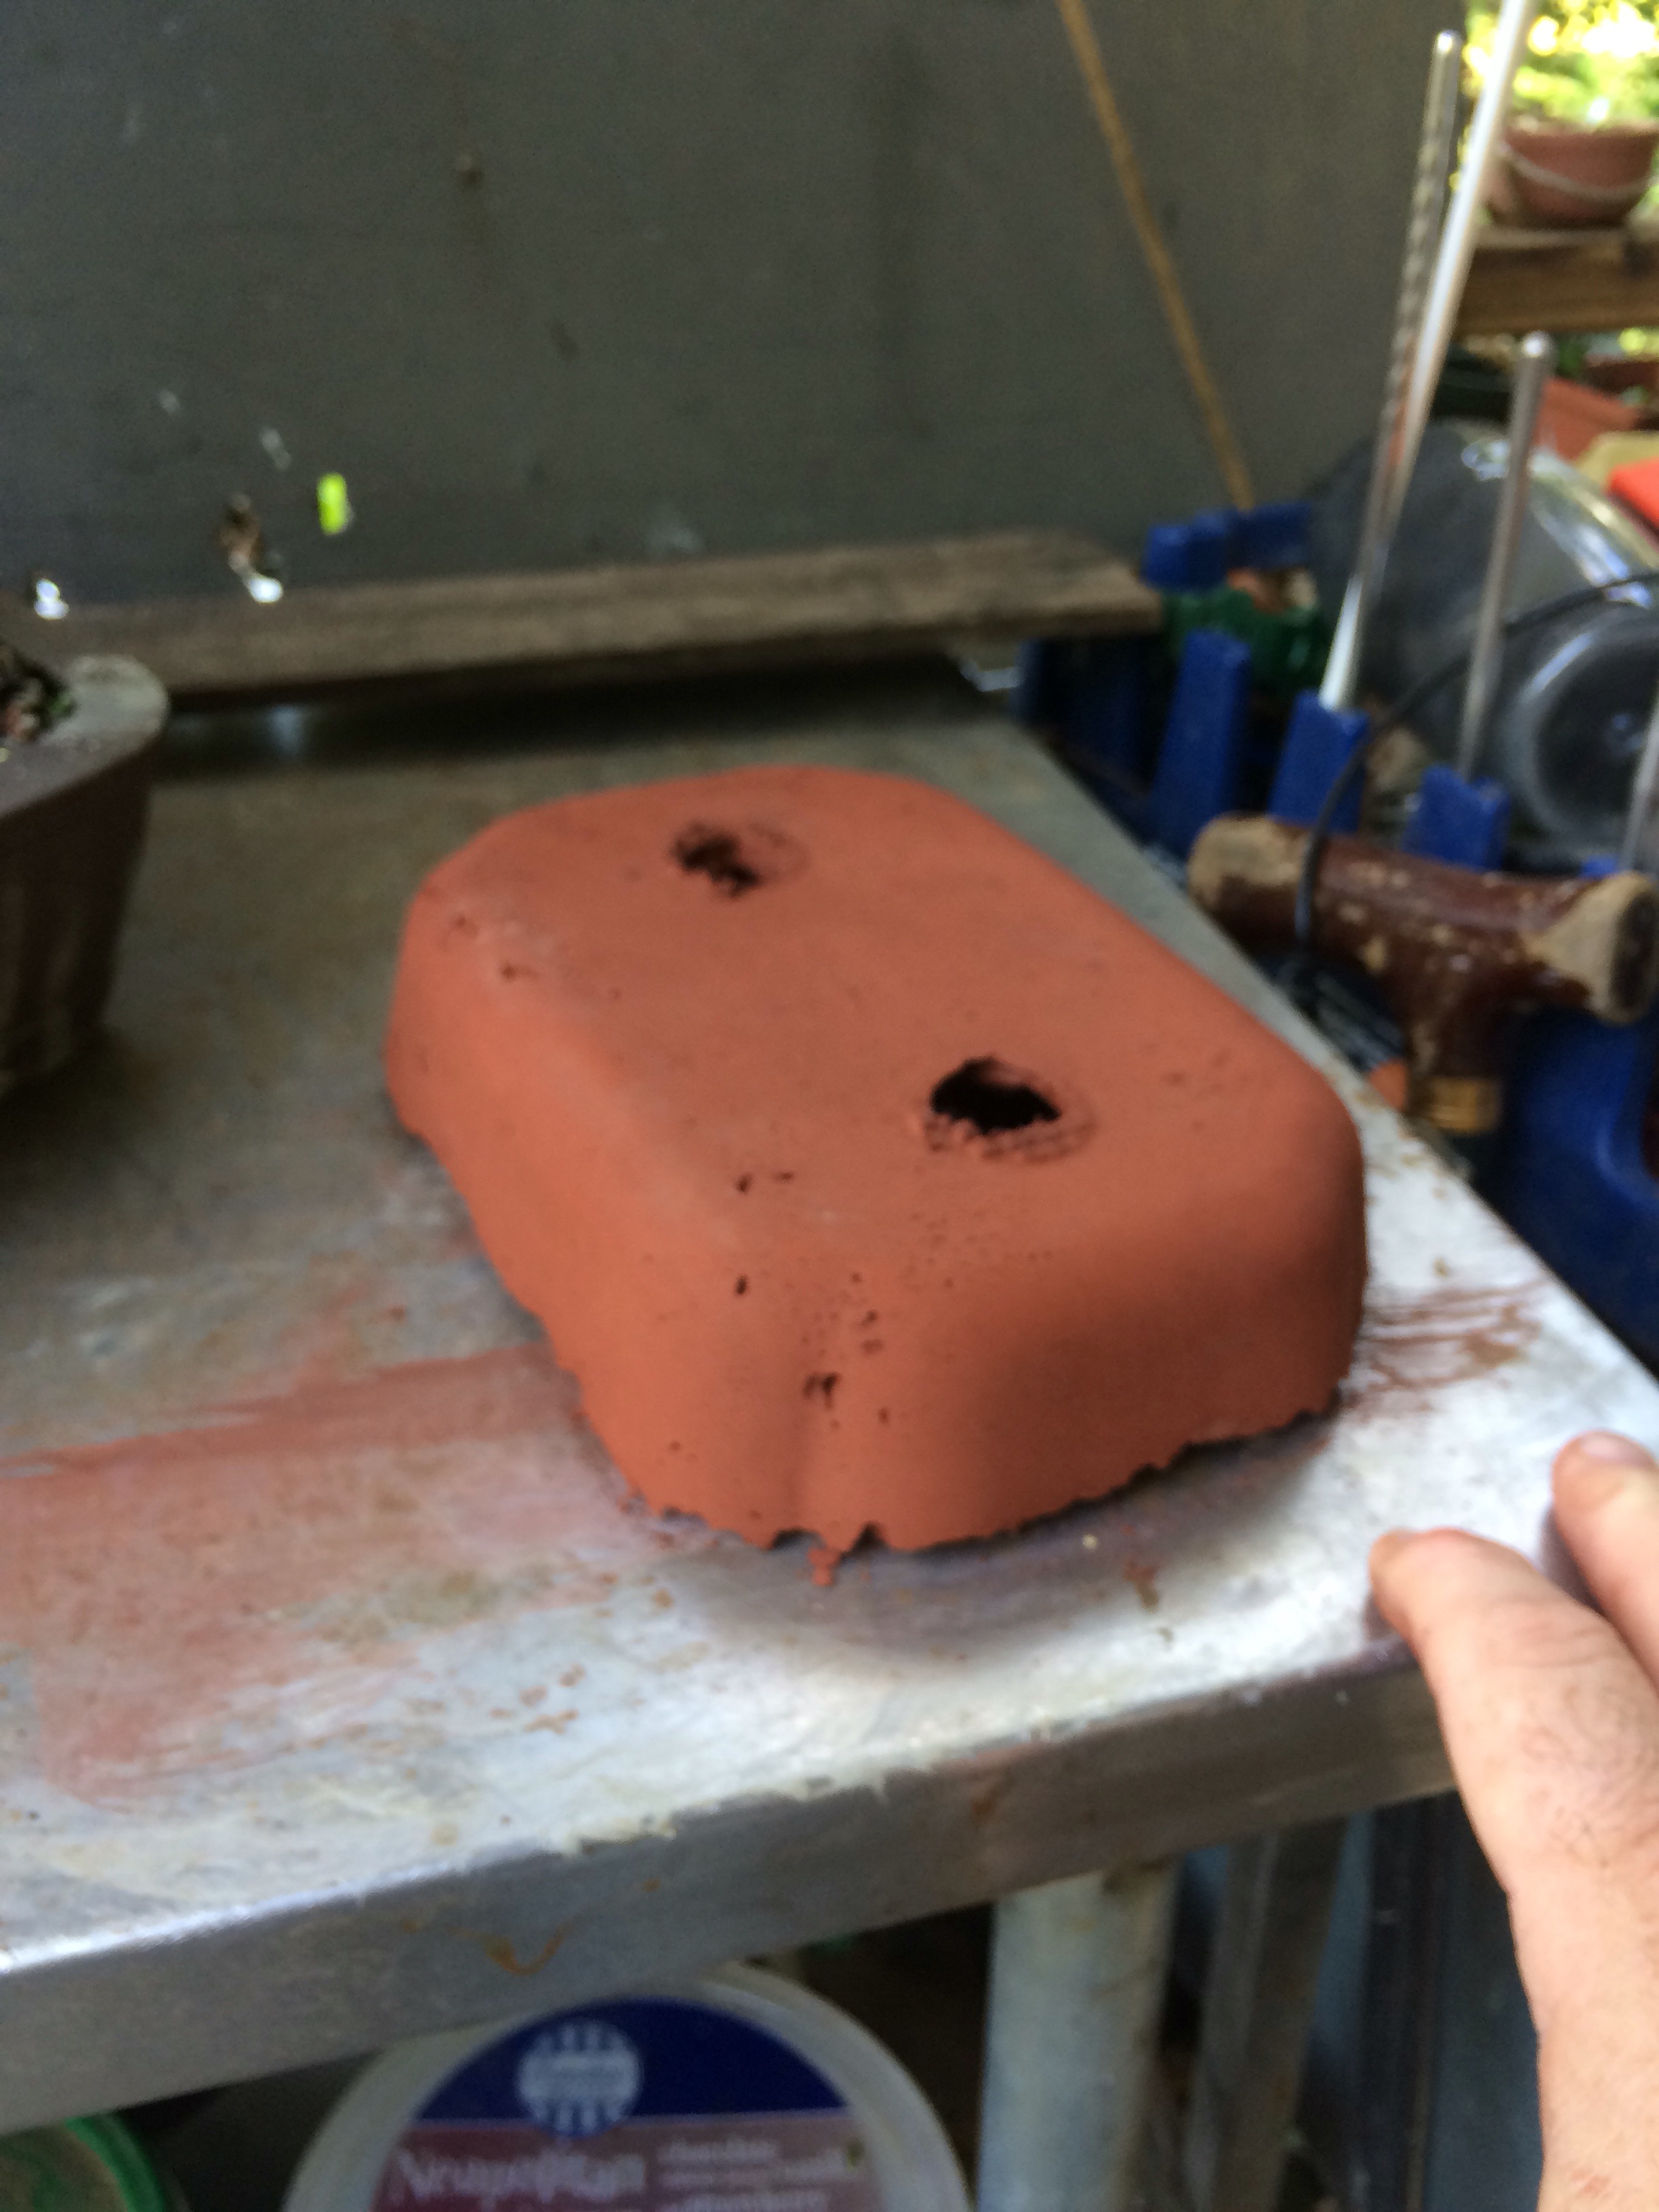
Now the colander. 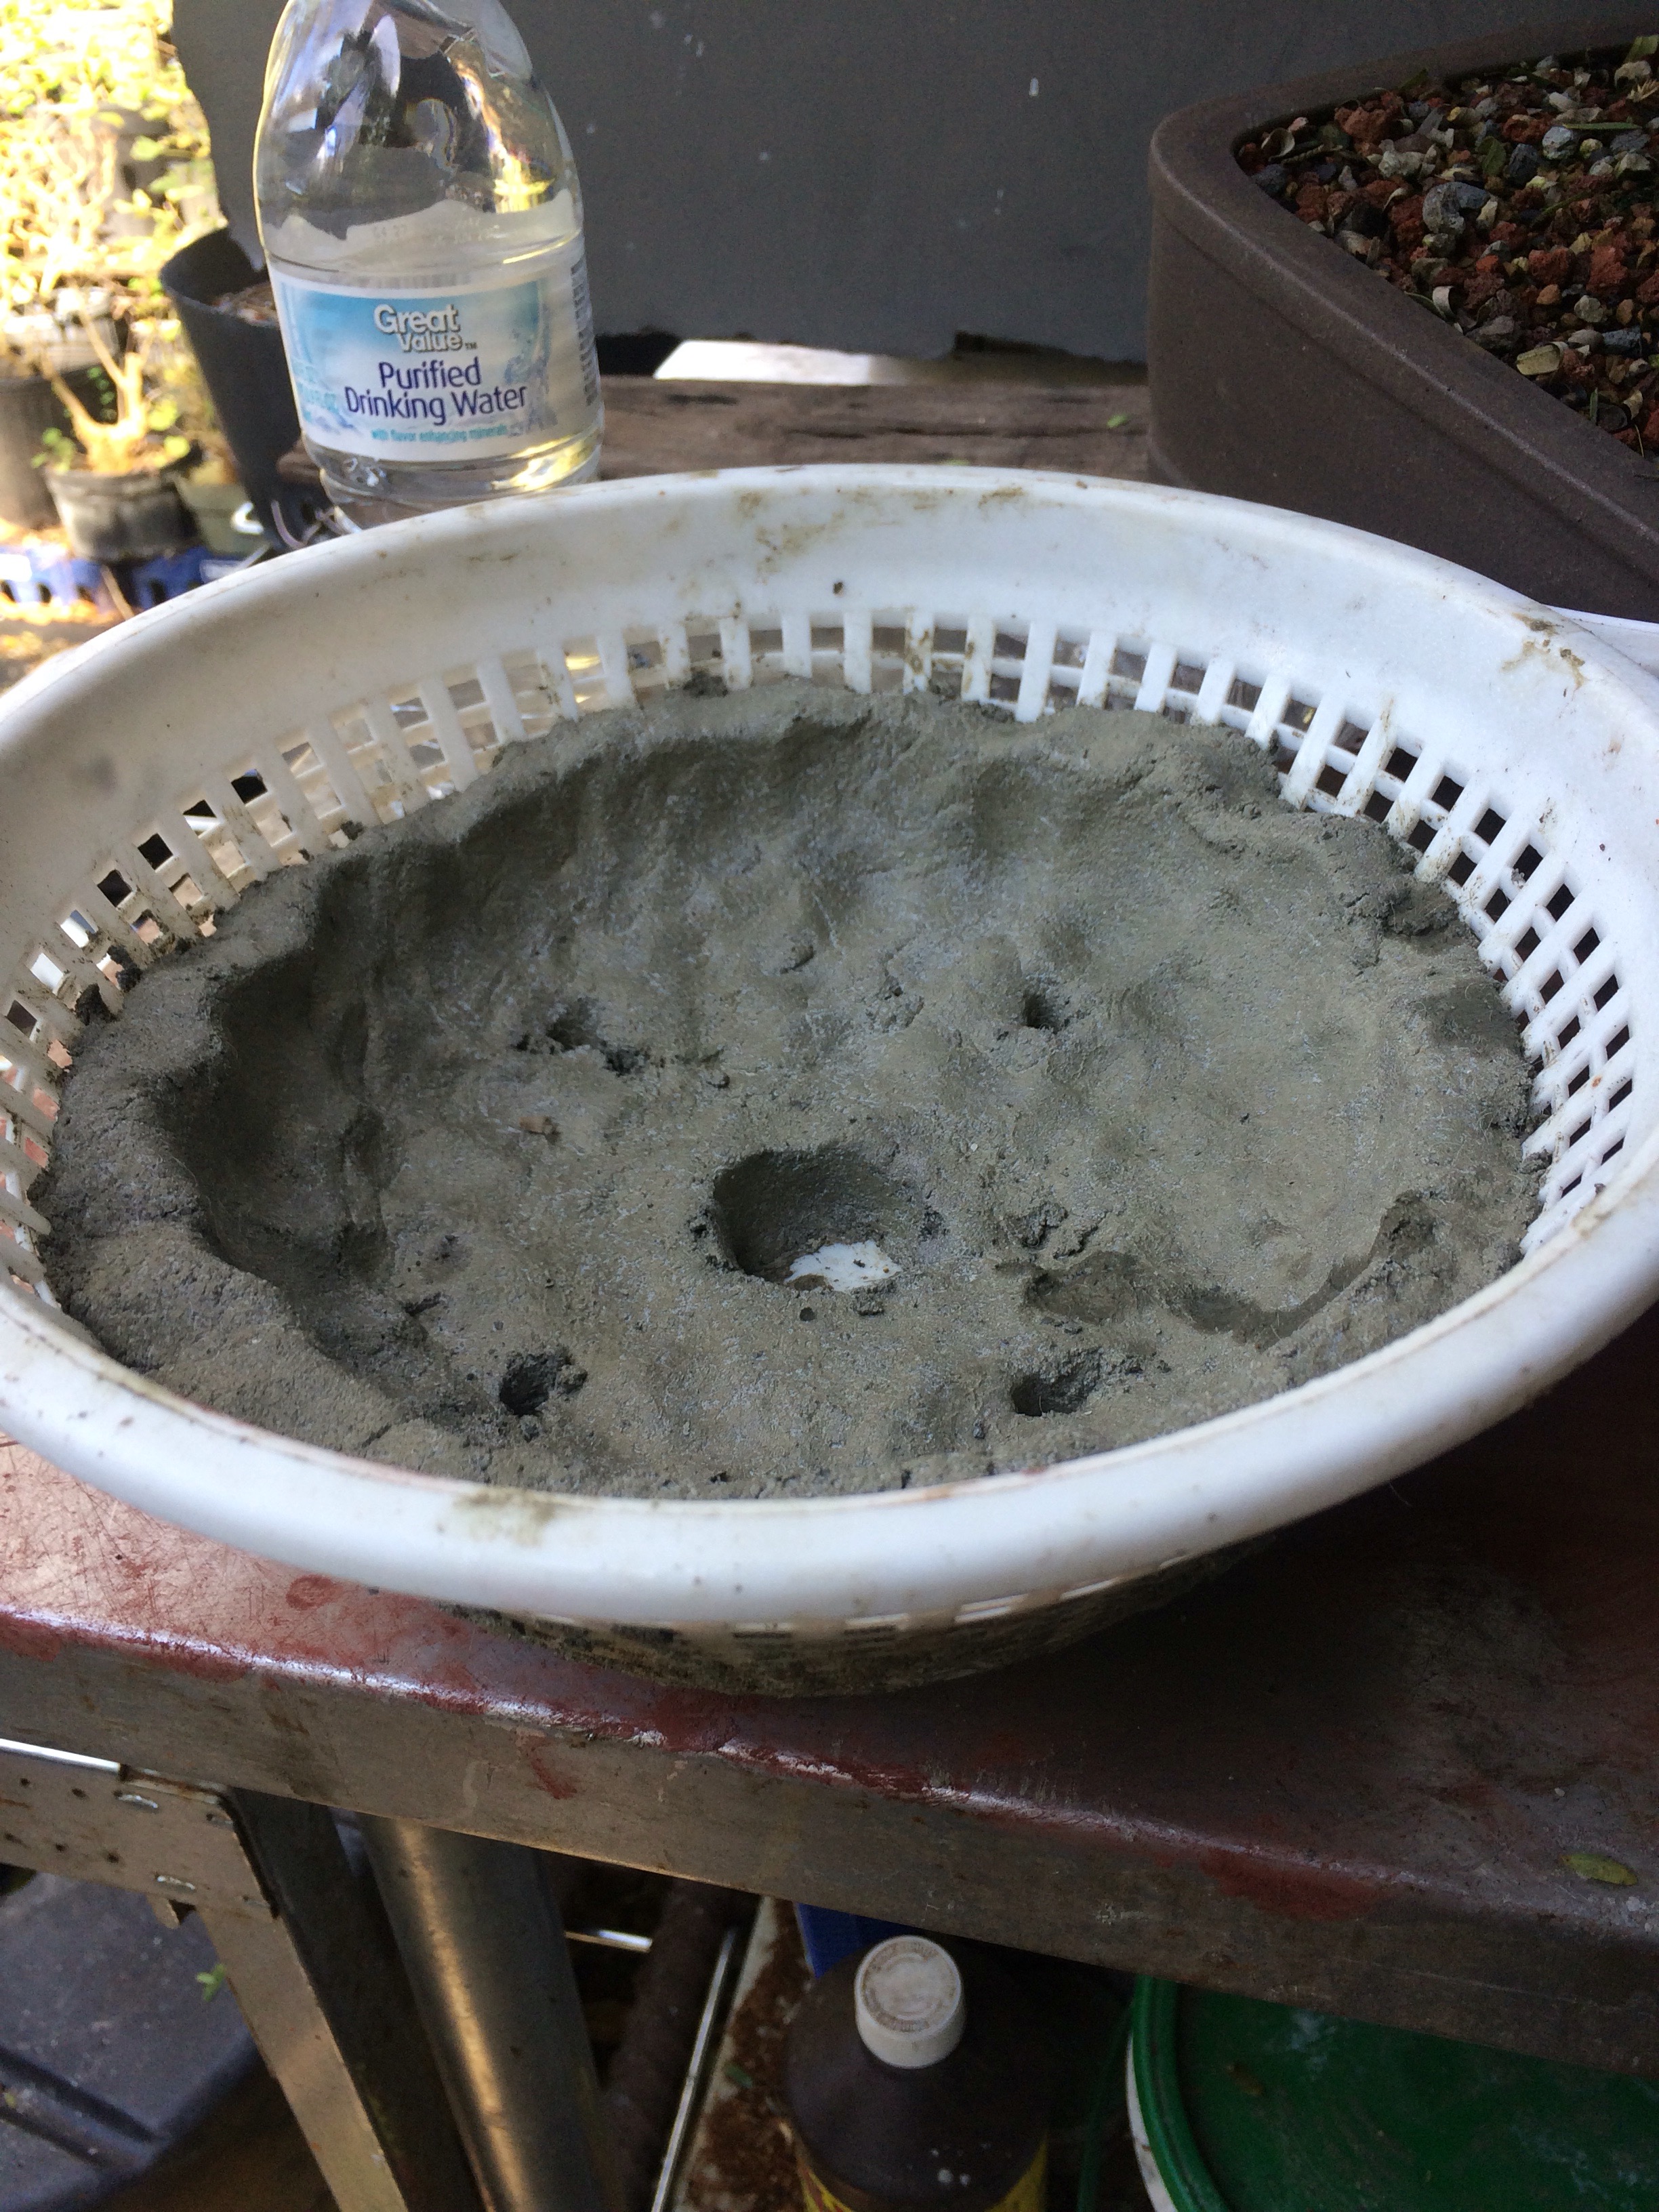
Lesson one: concrete squirts out of holes. Like when you vomit and cover your mouth, it squeezes out between your fingers. And when it cures, it’s very difficult to remove from your mold. Very much like vomit.
Hammer?

Scissors?

Brute force! 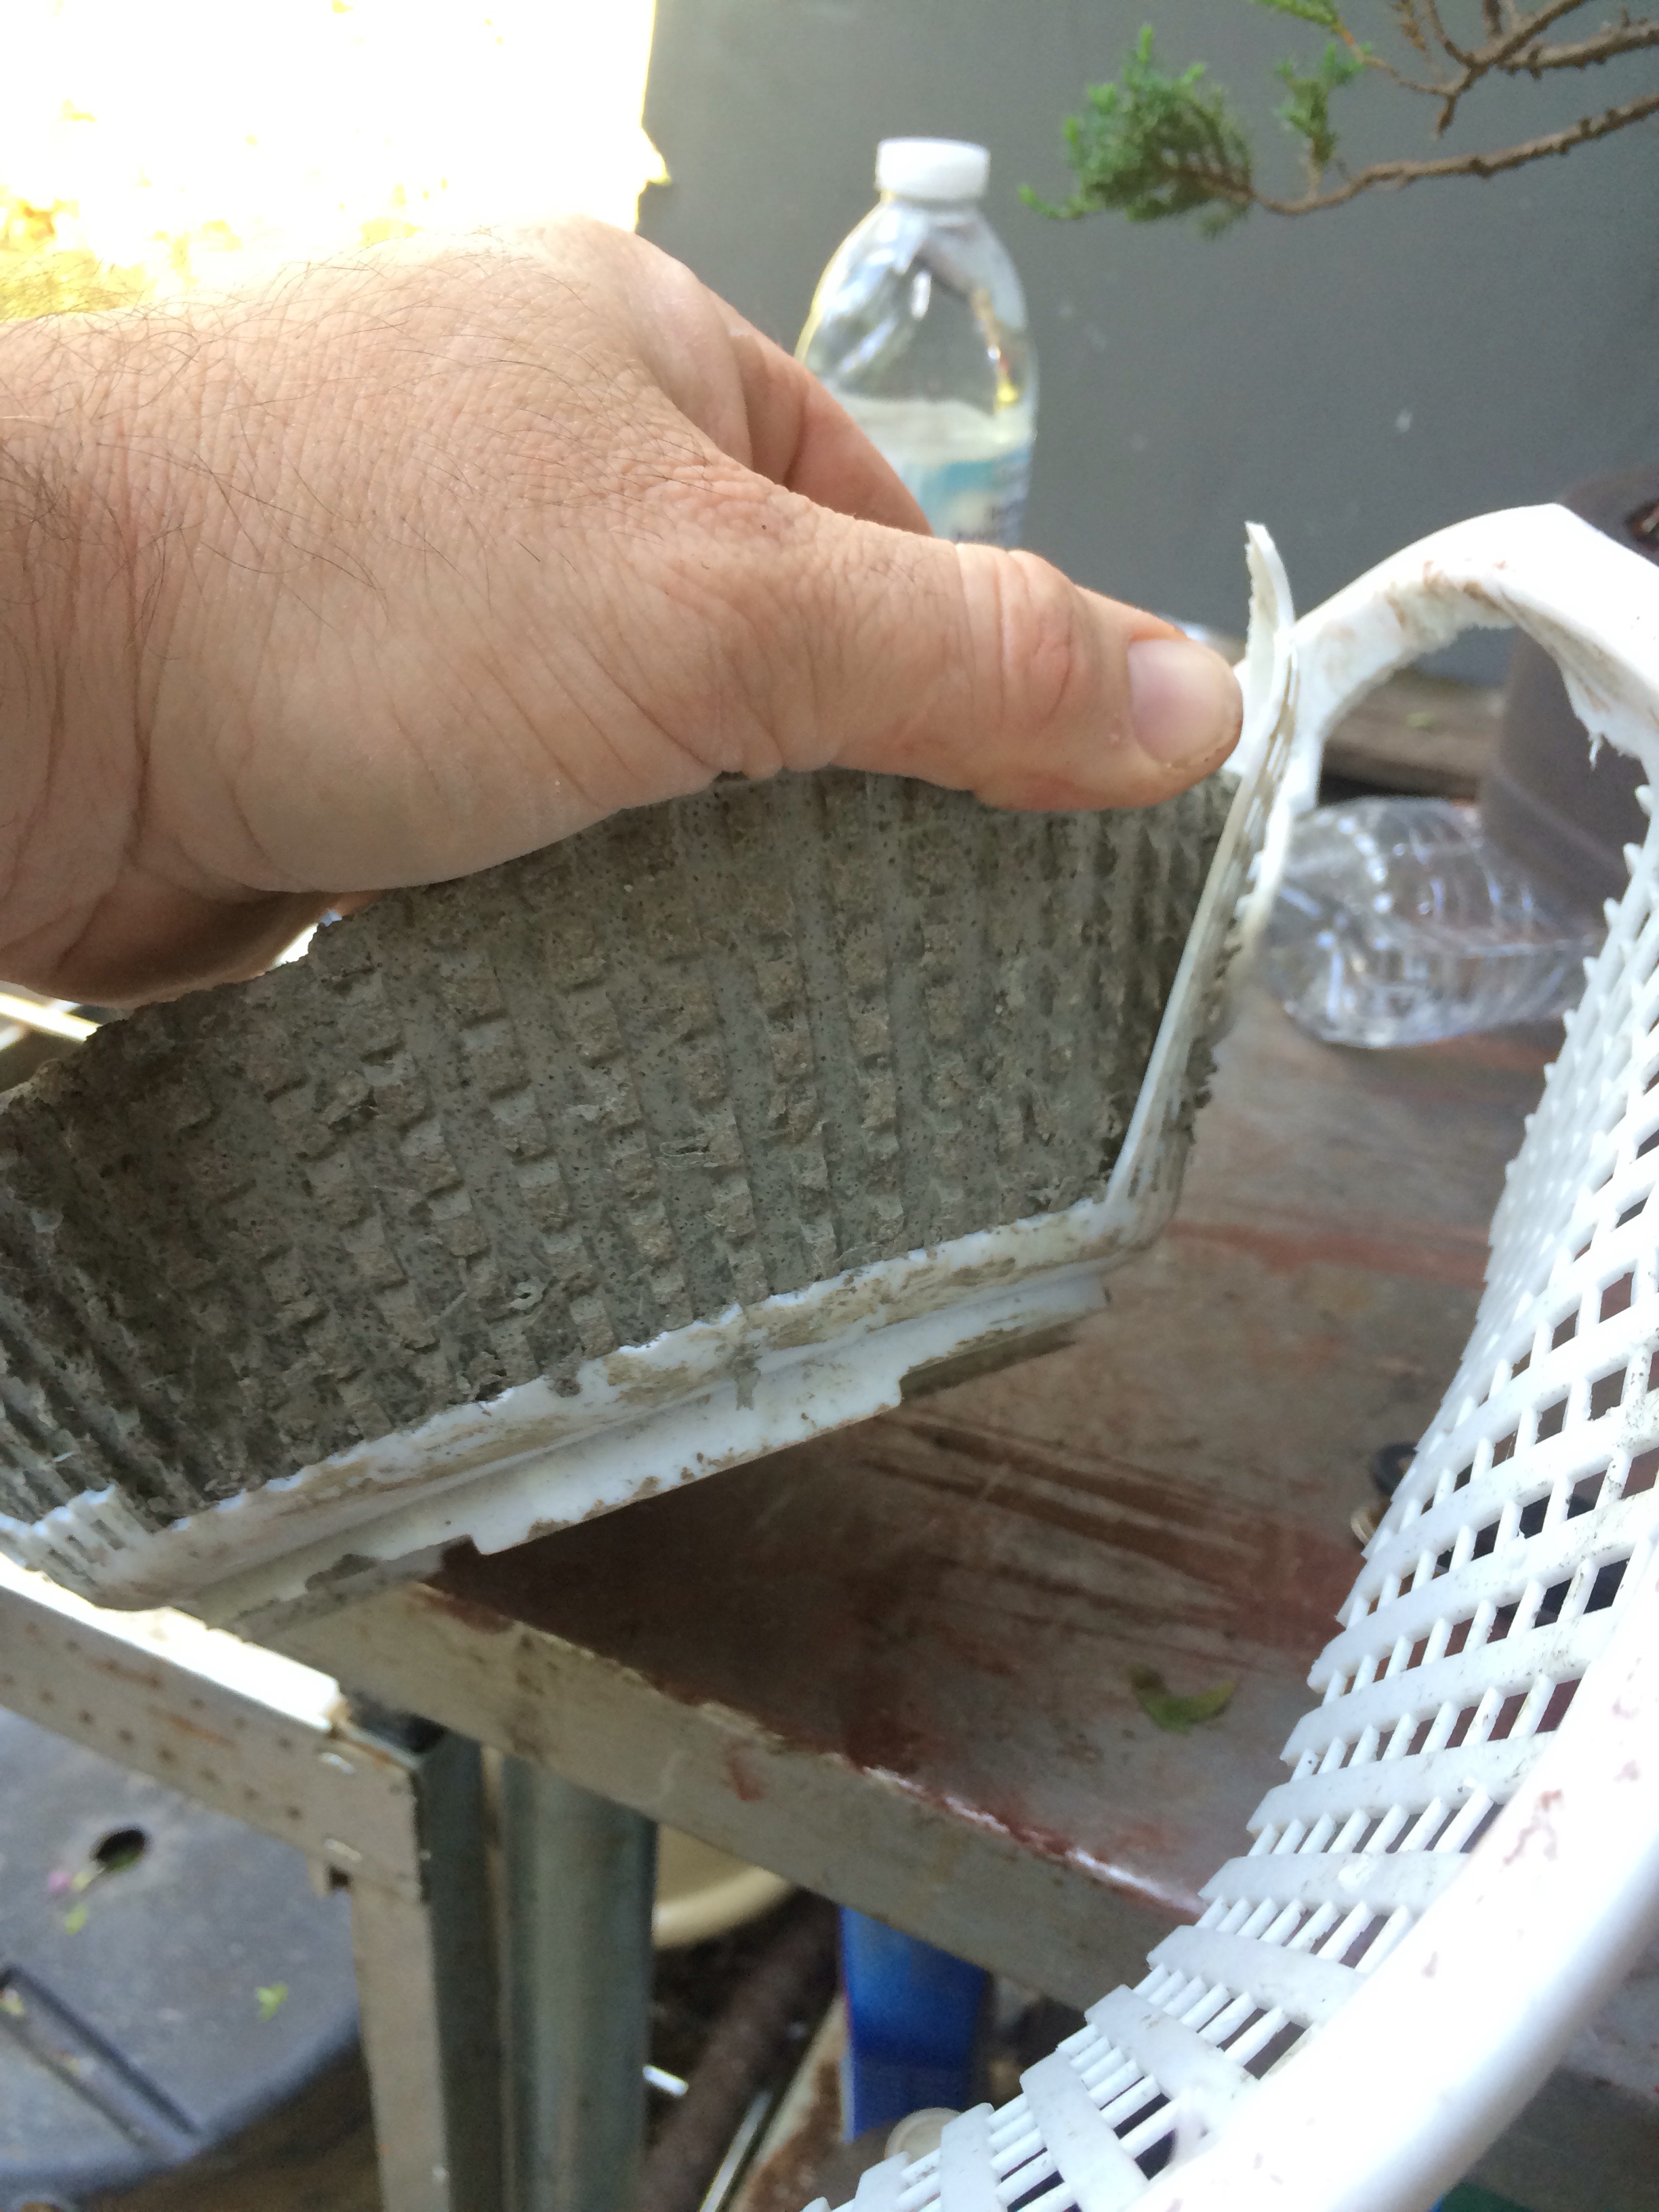
Poor colander, many a pasta dish thou hast played part in. Never again shall thou drain the wet from the noodle. 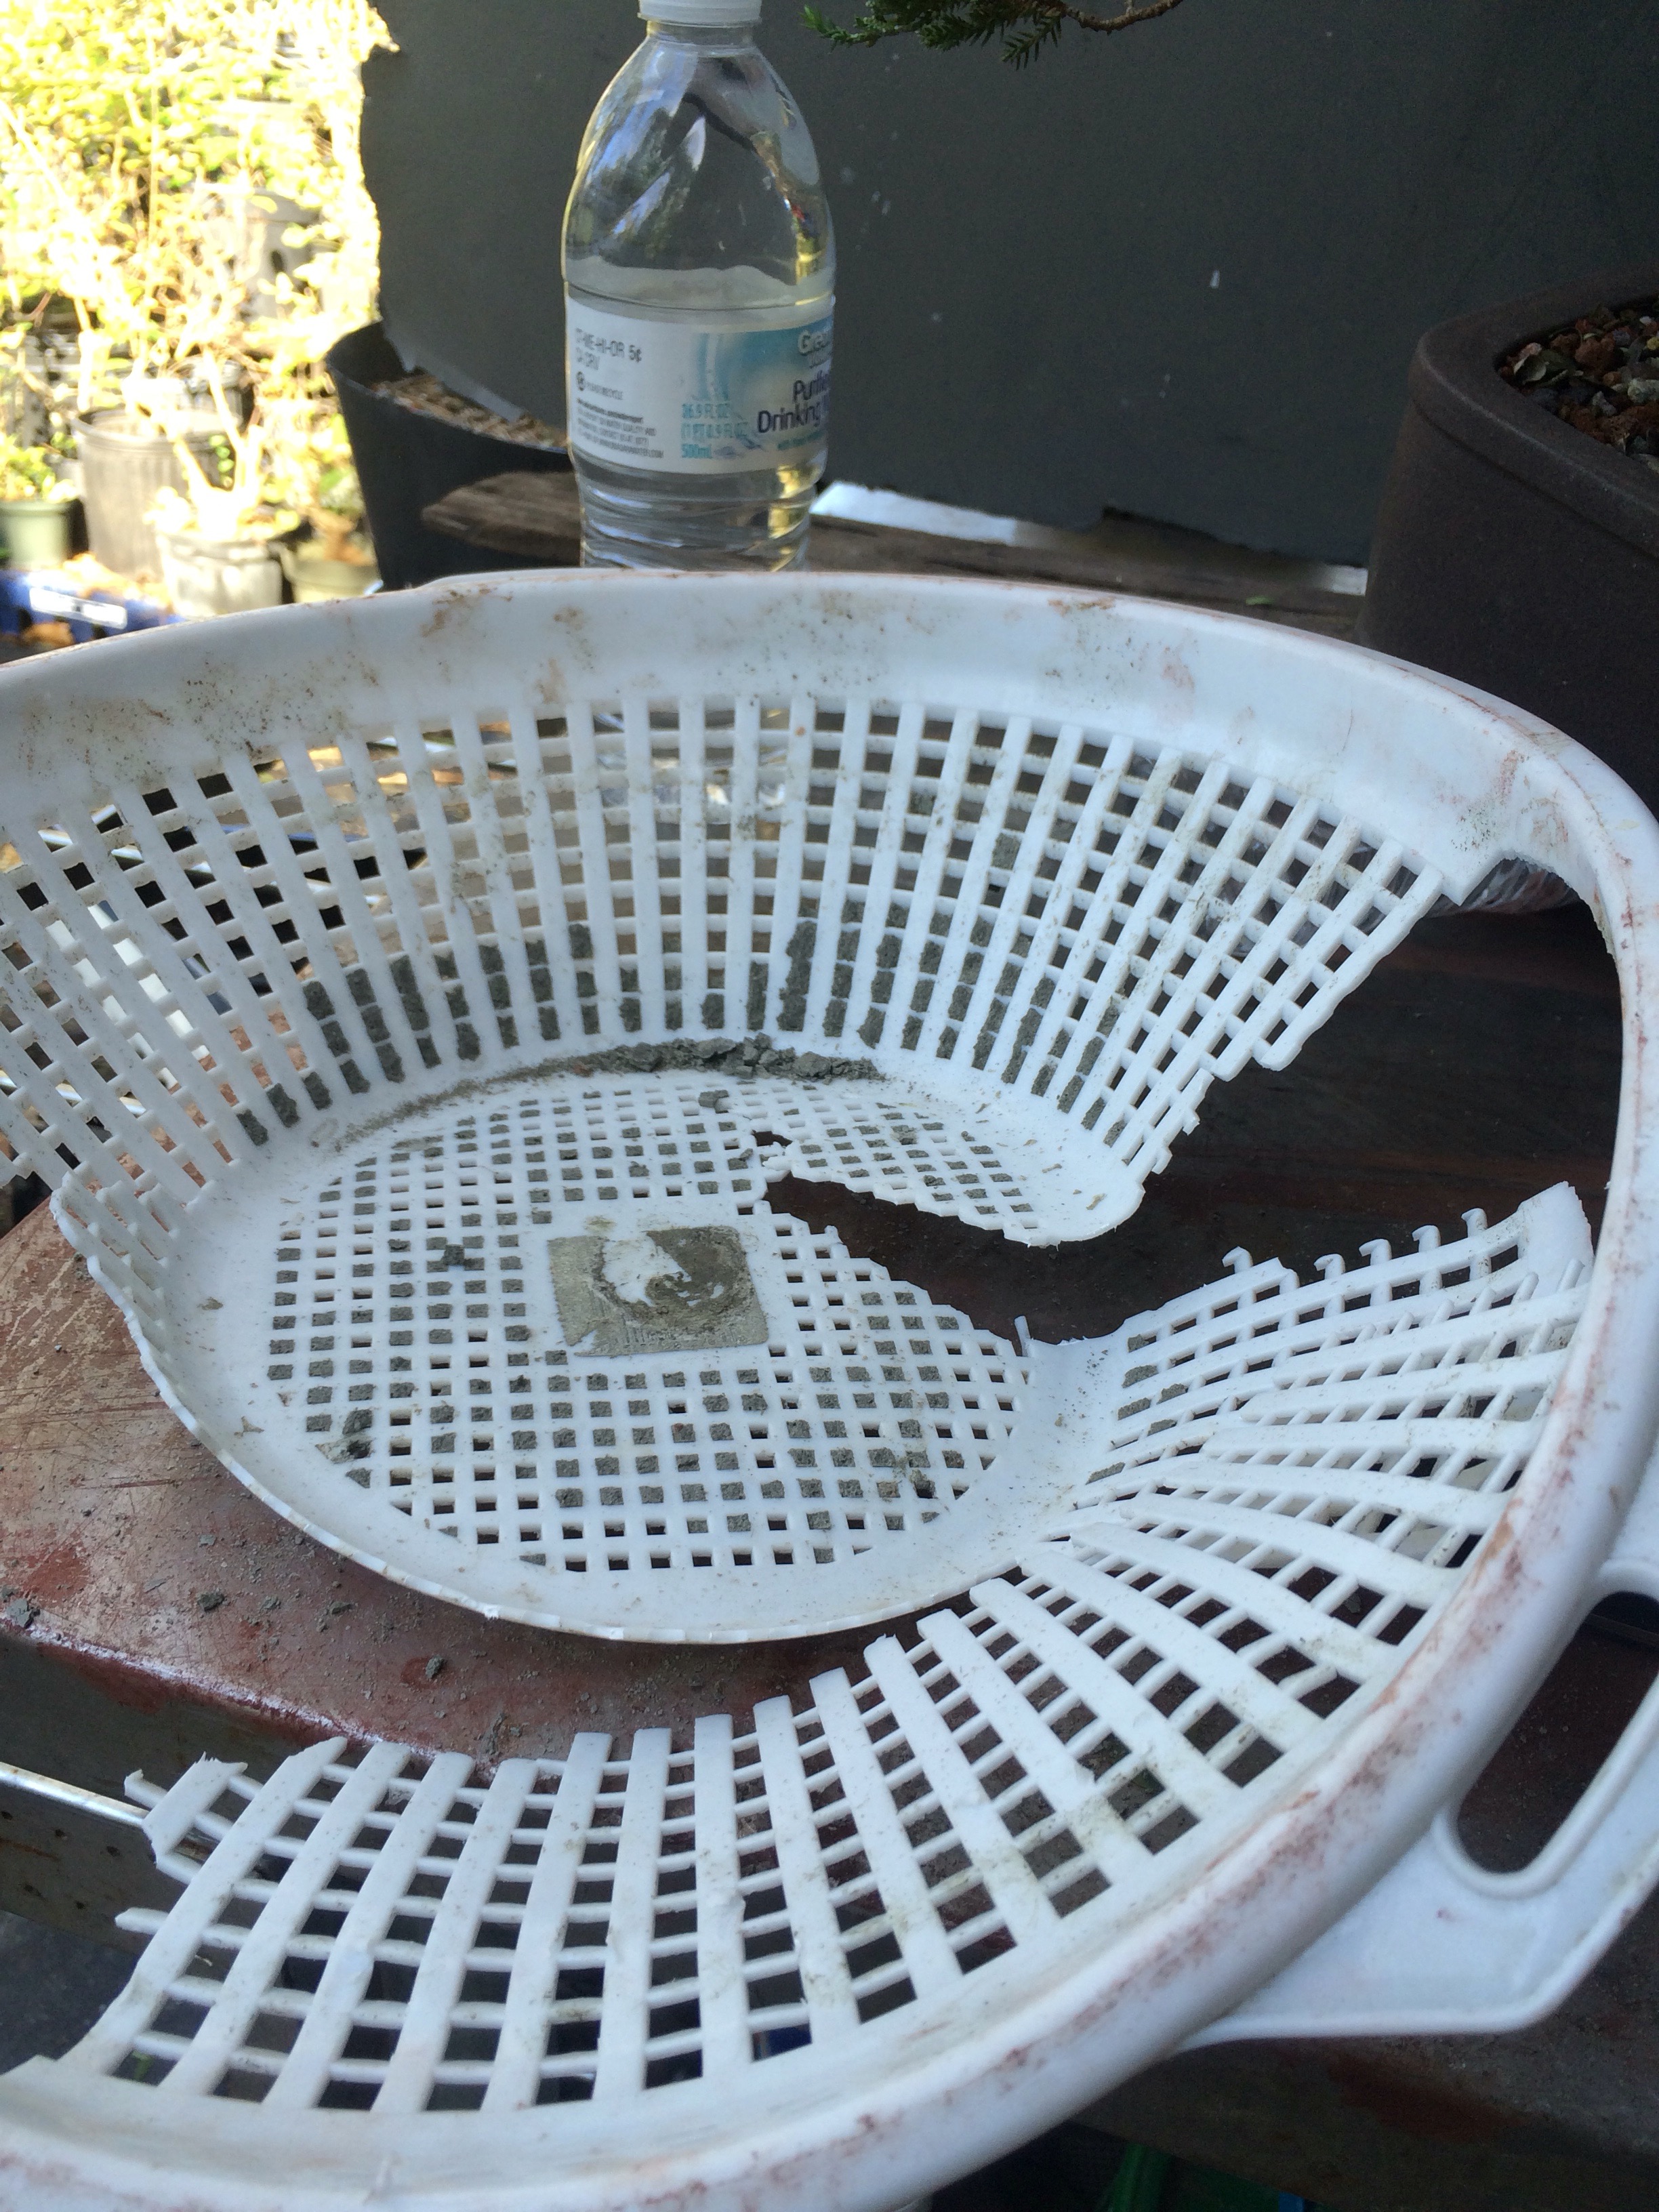
Let’s see how it looks.
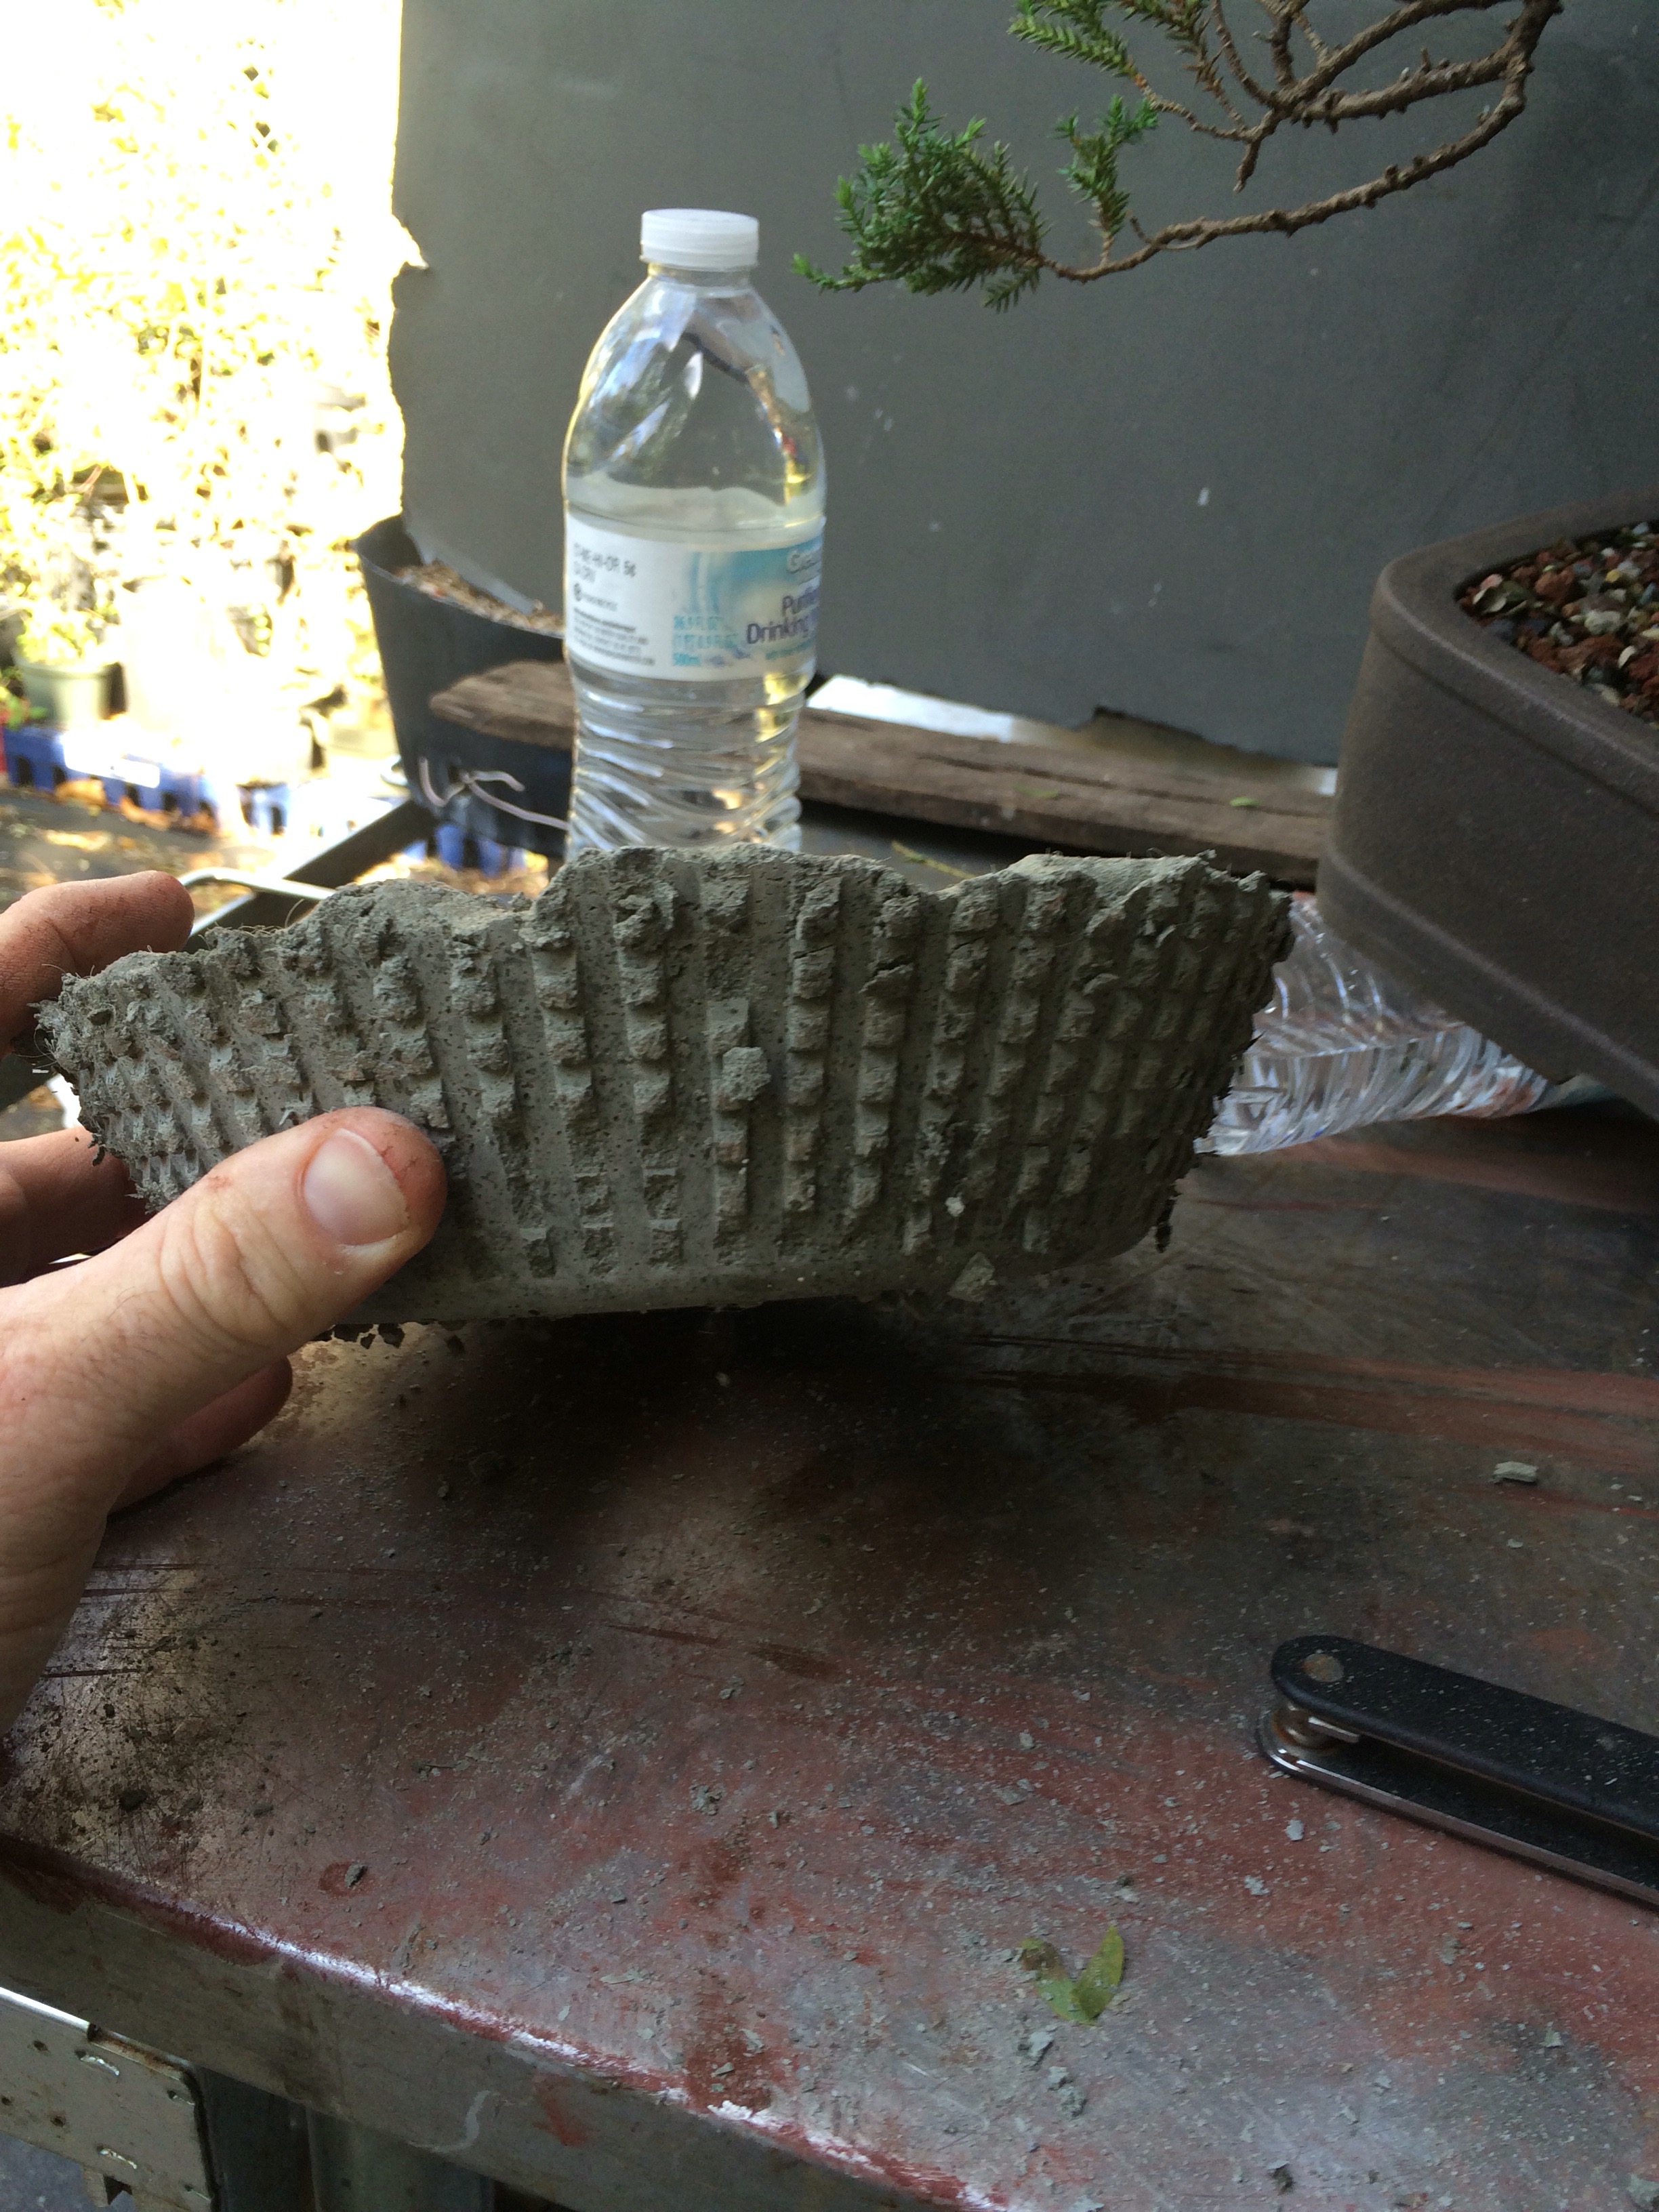
 Not too bad. I could have made the walls thinner though. Next time.
 The next step (which is not part of the official instructions by the way) is to submerge the pots in water for at least thirty days. This will ensure full cure and strength, but it will also (very importantly for plants!) leach away the excess lime that is in concrete. Lime will affect the soil ph by making it more alkaline.
I can hear the peanut gallery saying “A more alkaline soil is best for flowering plants!”
It is, but we tend to adjust it a little more scientifically by testing the ph and adding the proper amount of dolomite to the soil.
Anywho, more pots?!
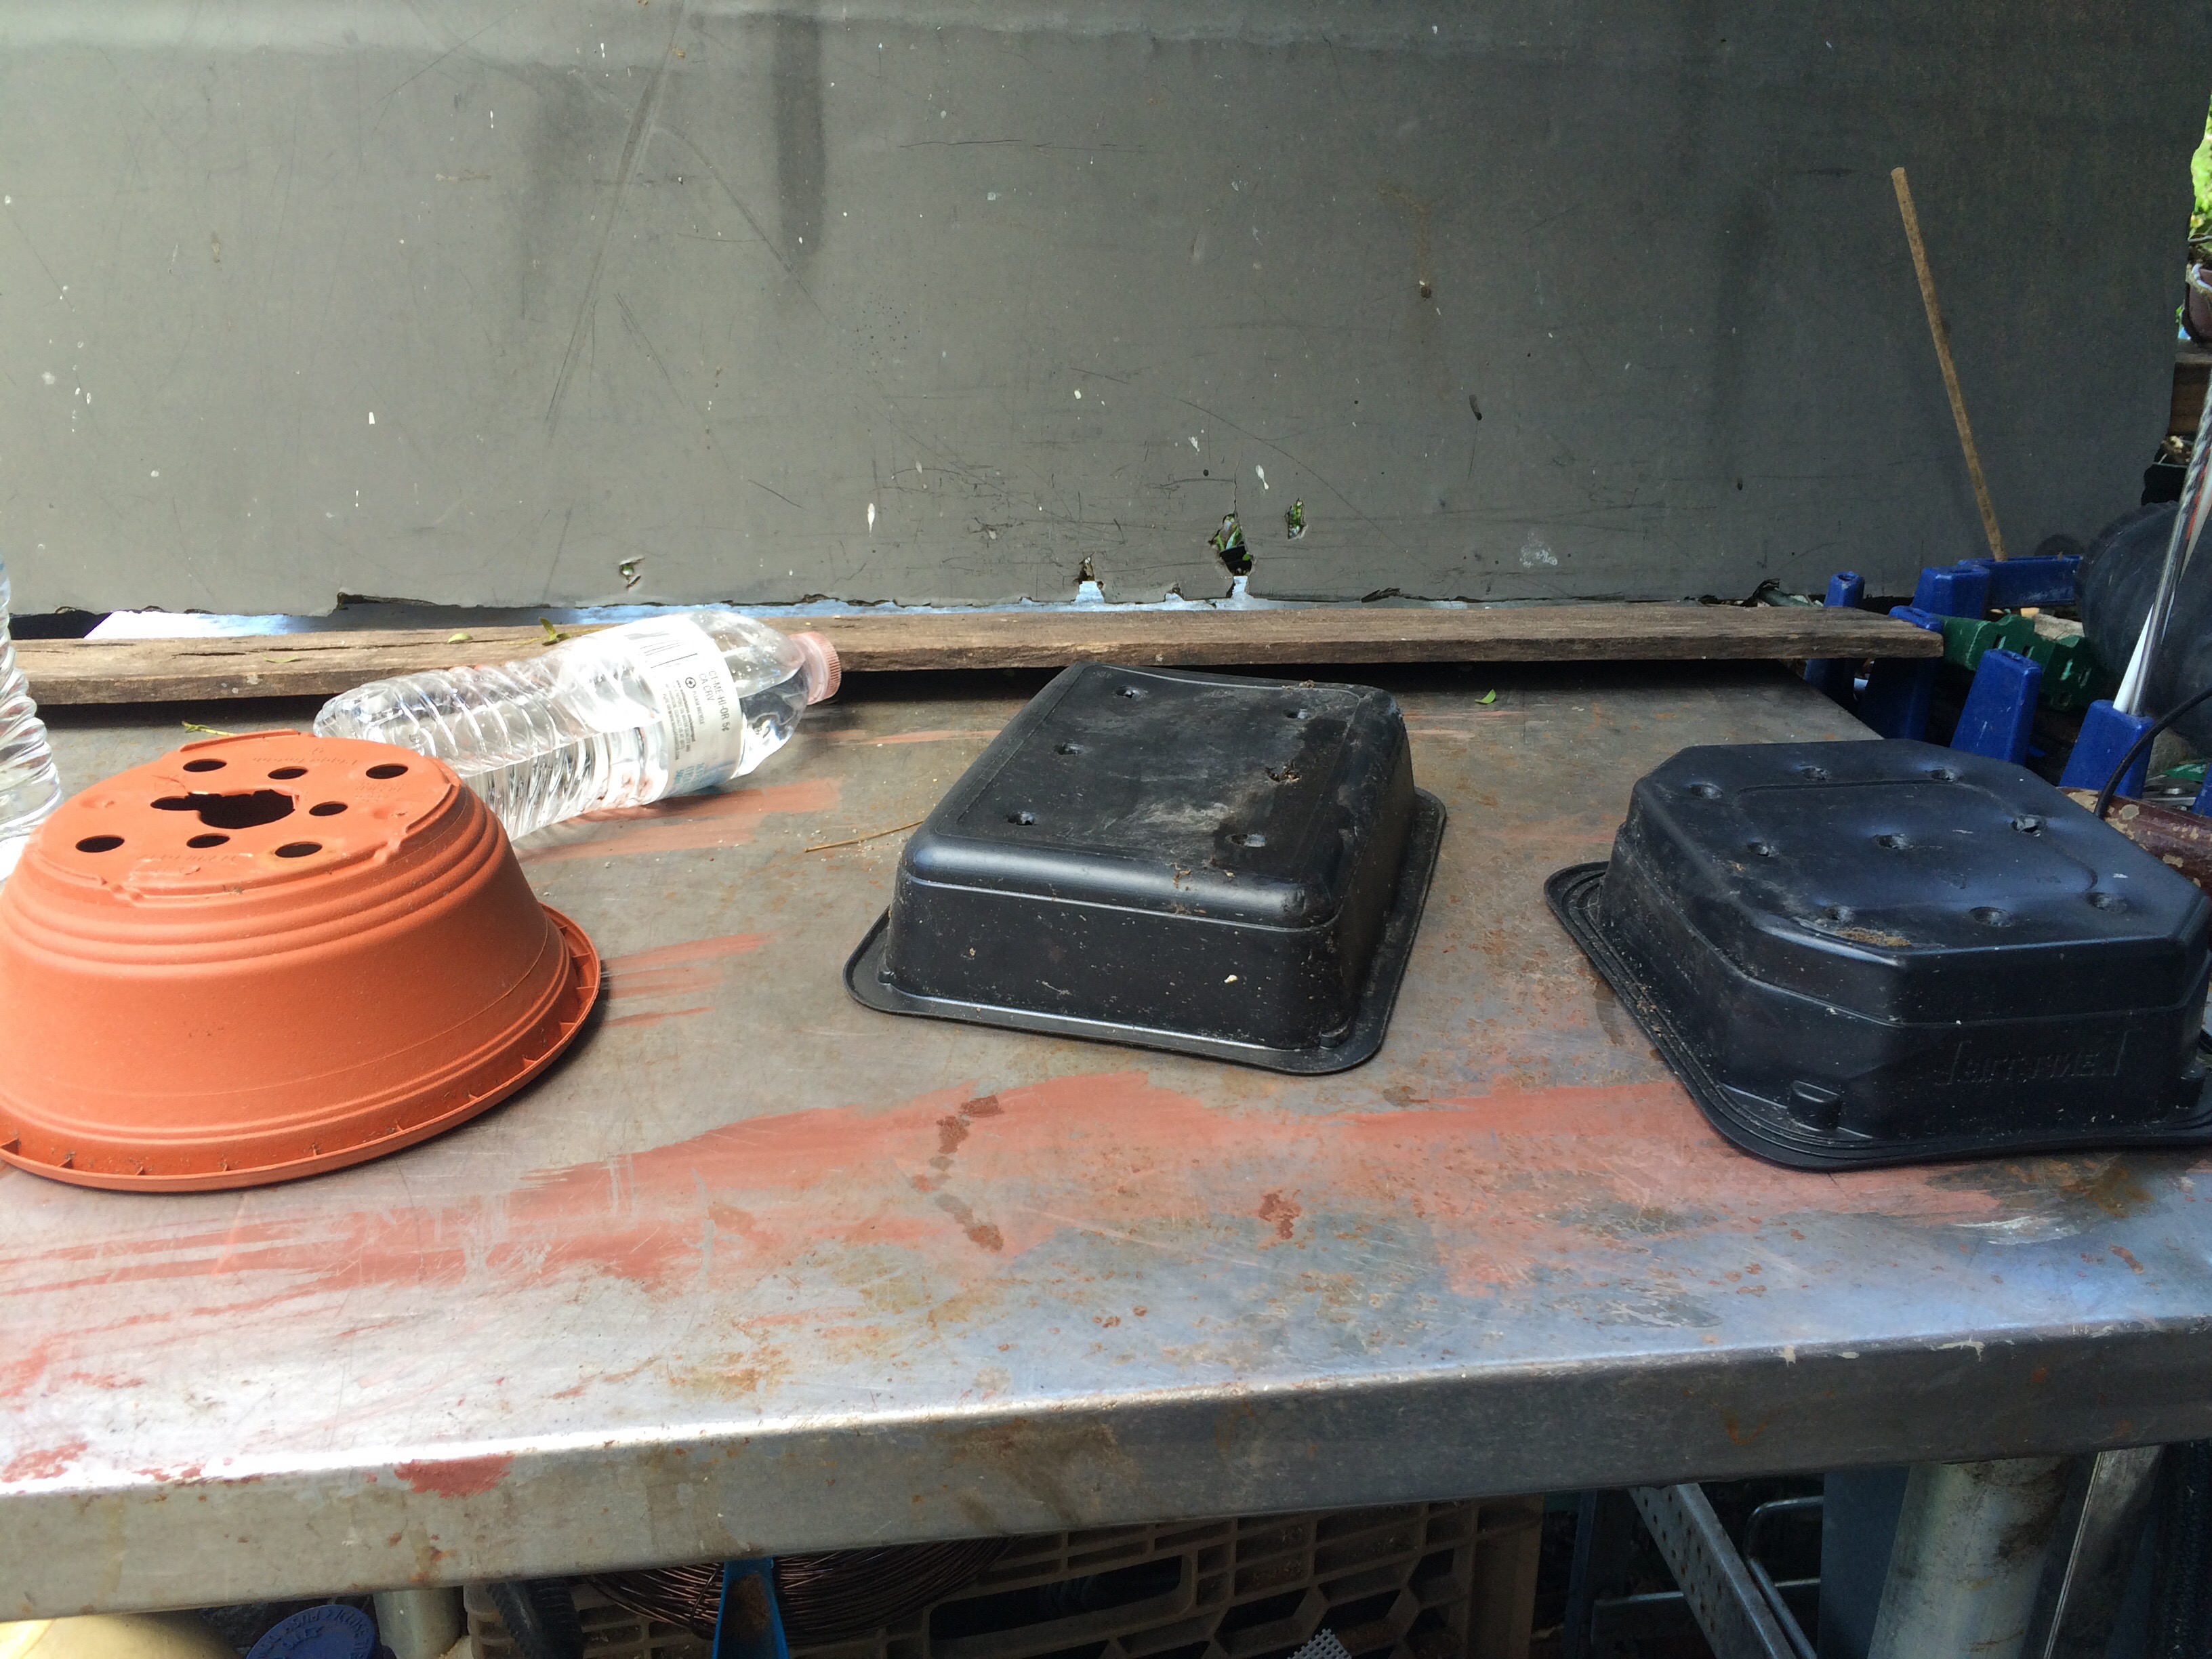 These are the molds this time. A round bulb pot, and two different ramen noodle containers. I use them normally as training pots (talk about up-cycling).

This time I’m building the pots on the outside as well as the inside.

Oh, and another technique too. See the one in the back that looks like fudge wrapped in wax paper?
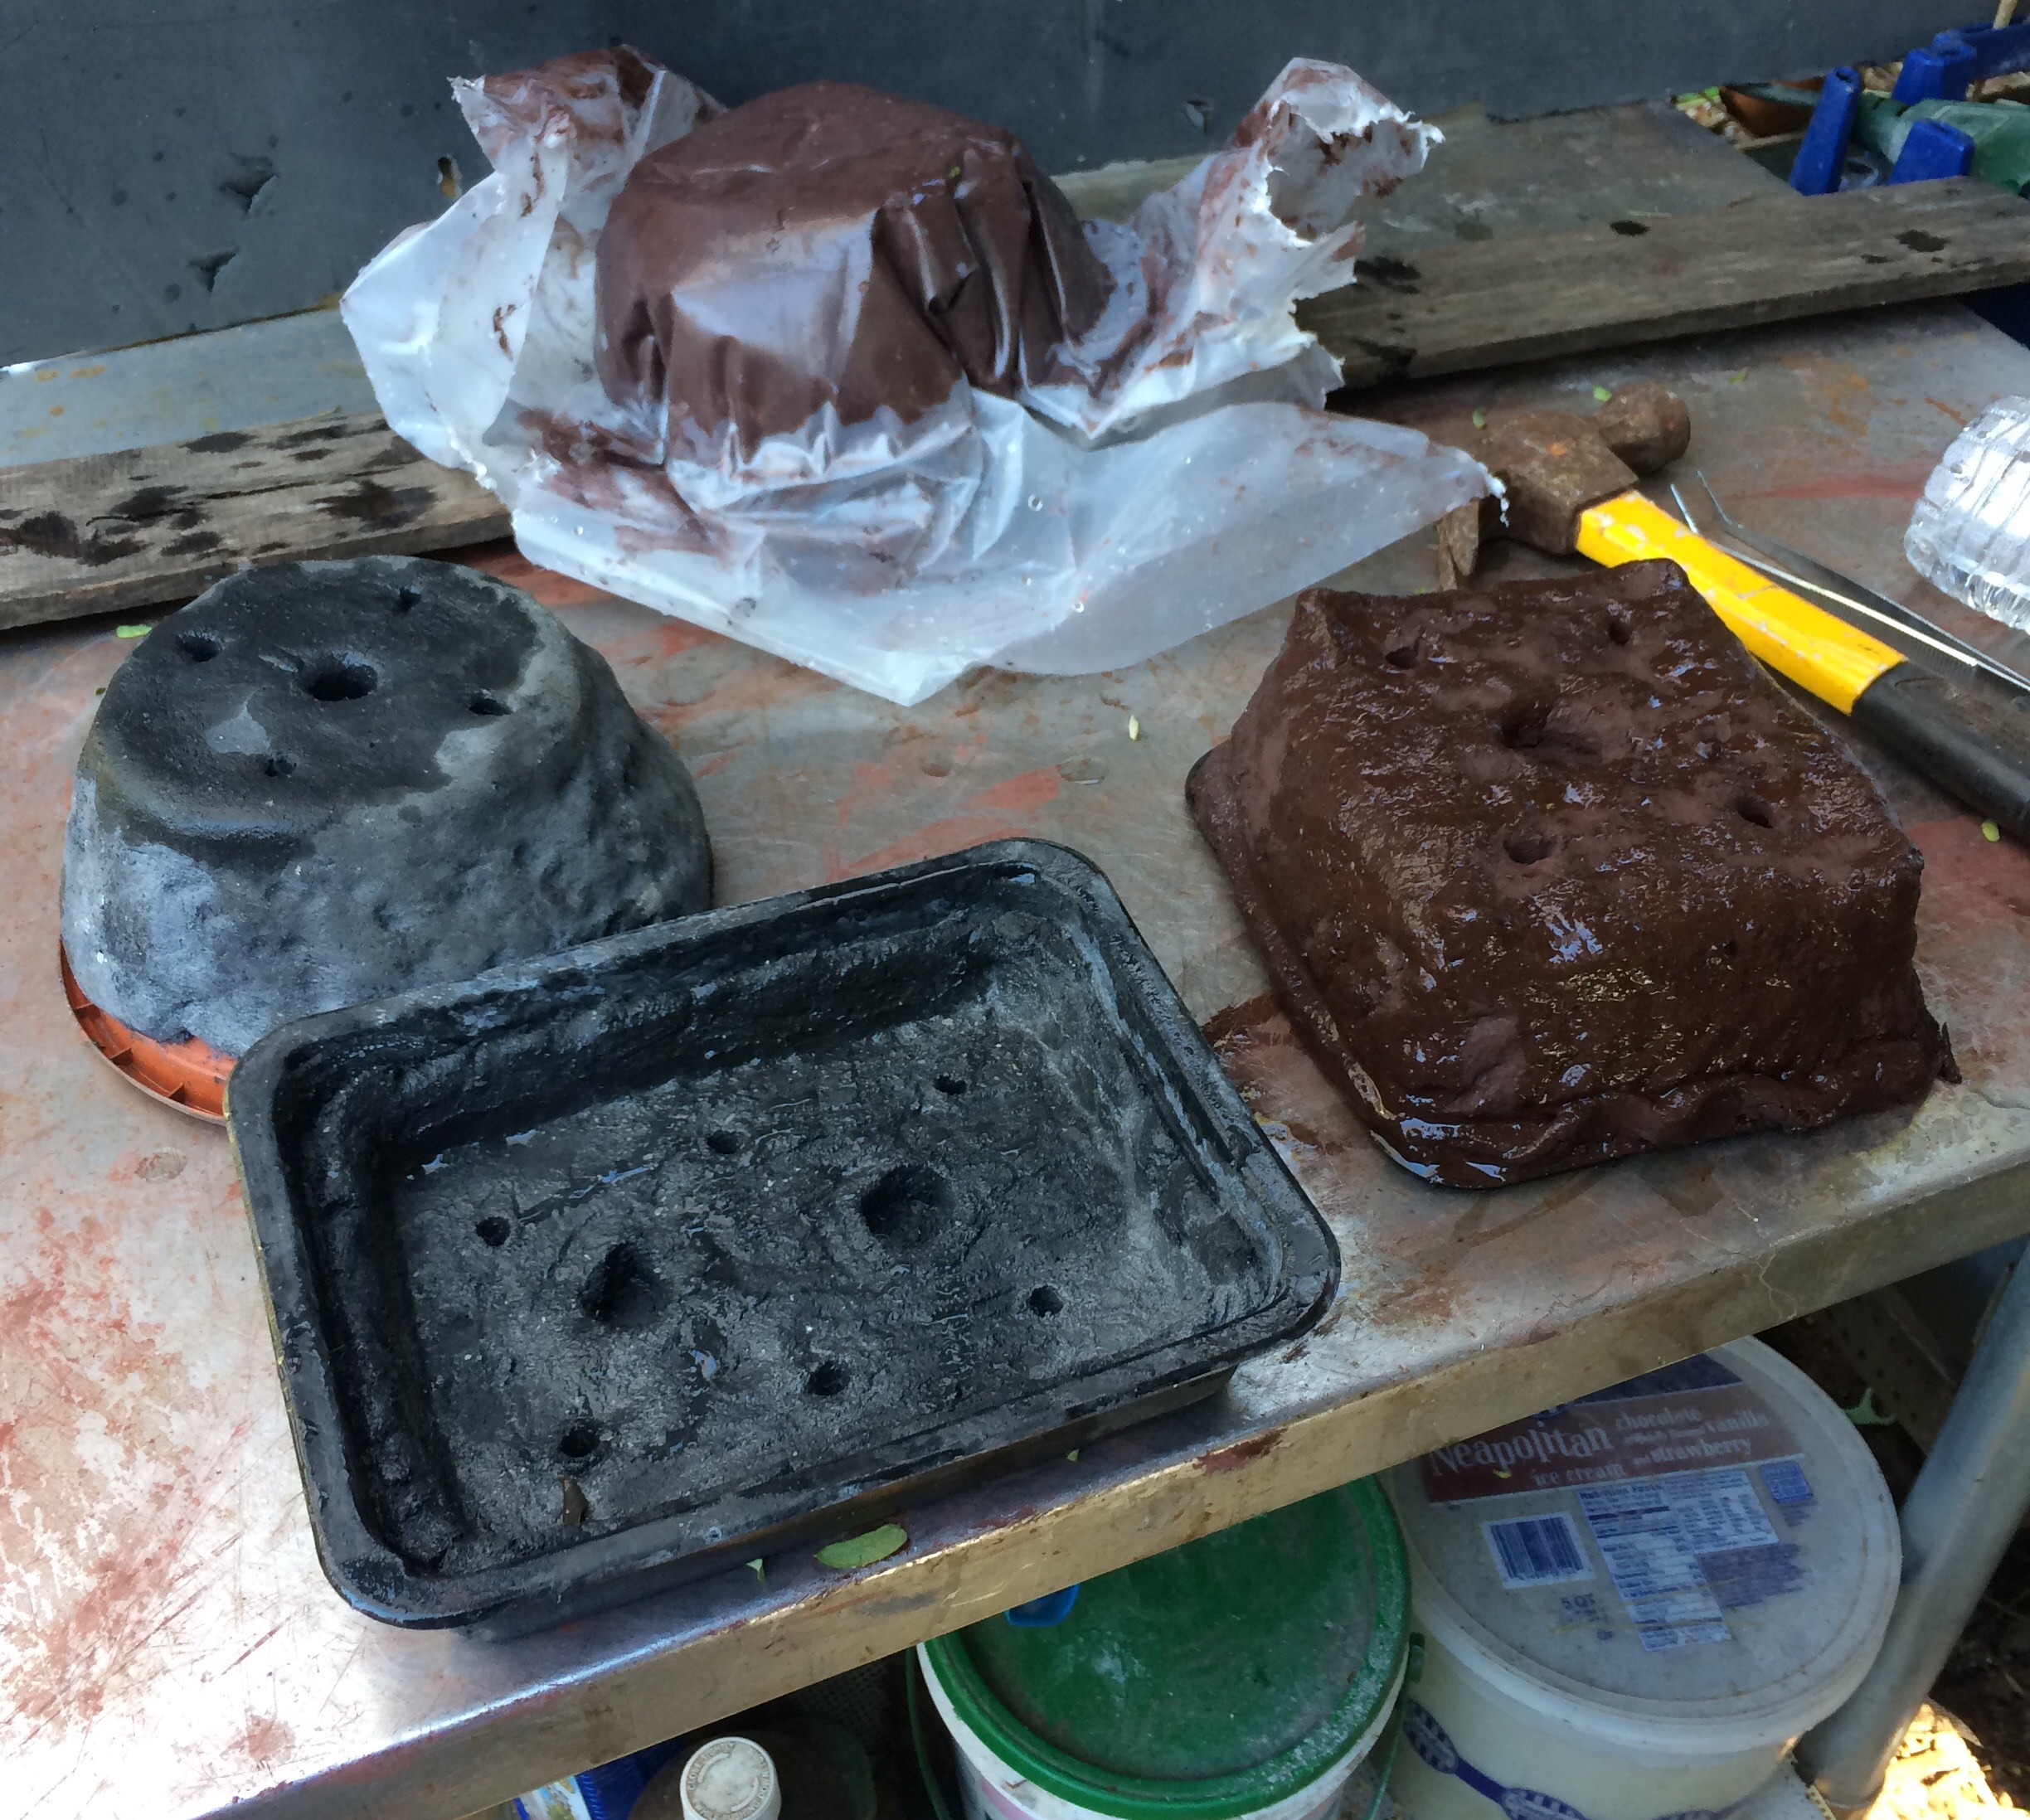
Put down a piece of plastic or some other waterproof fabric of your choice.
Plop down some concrete and roll it out. Maybe about 1/4″ thick.
Pick up the plastic and put it into a bowl. Here’s what you get. 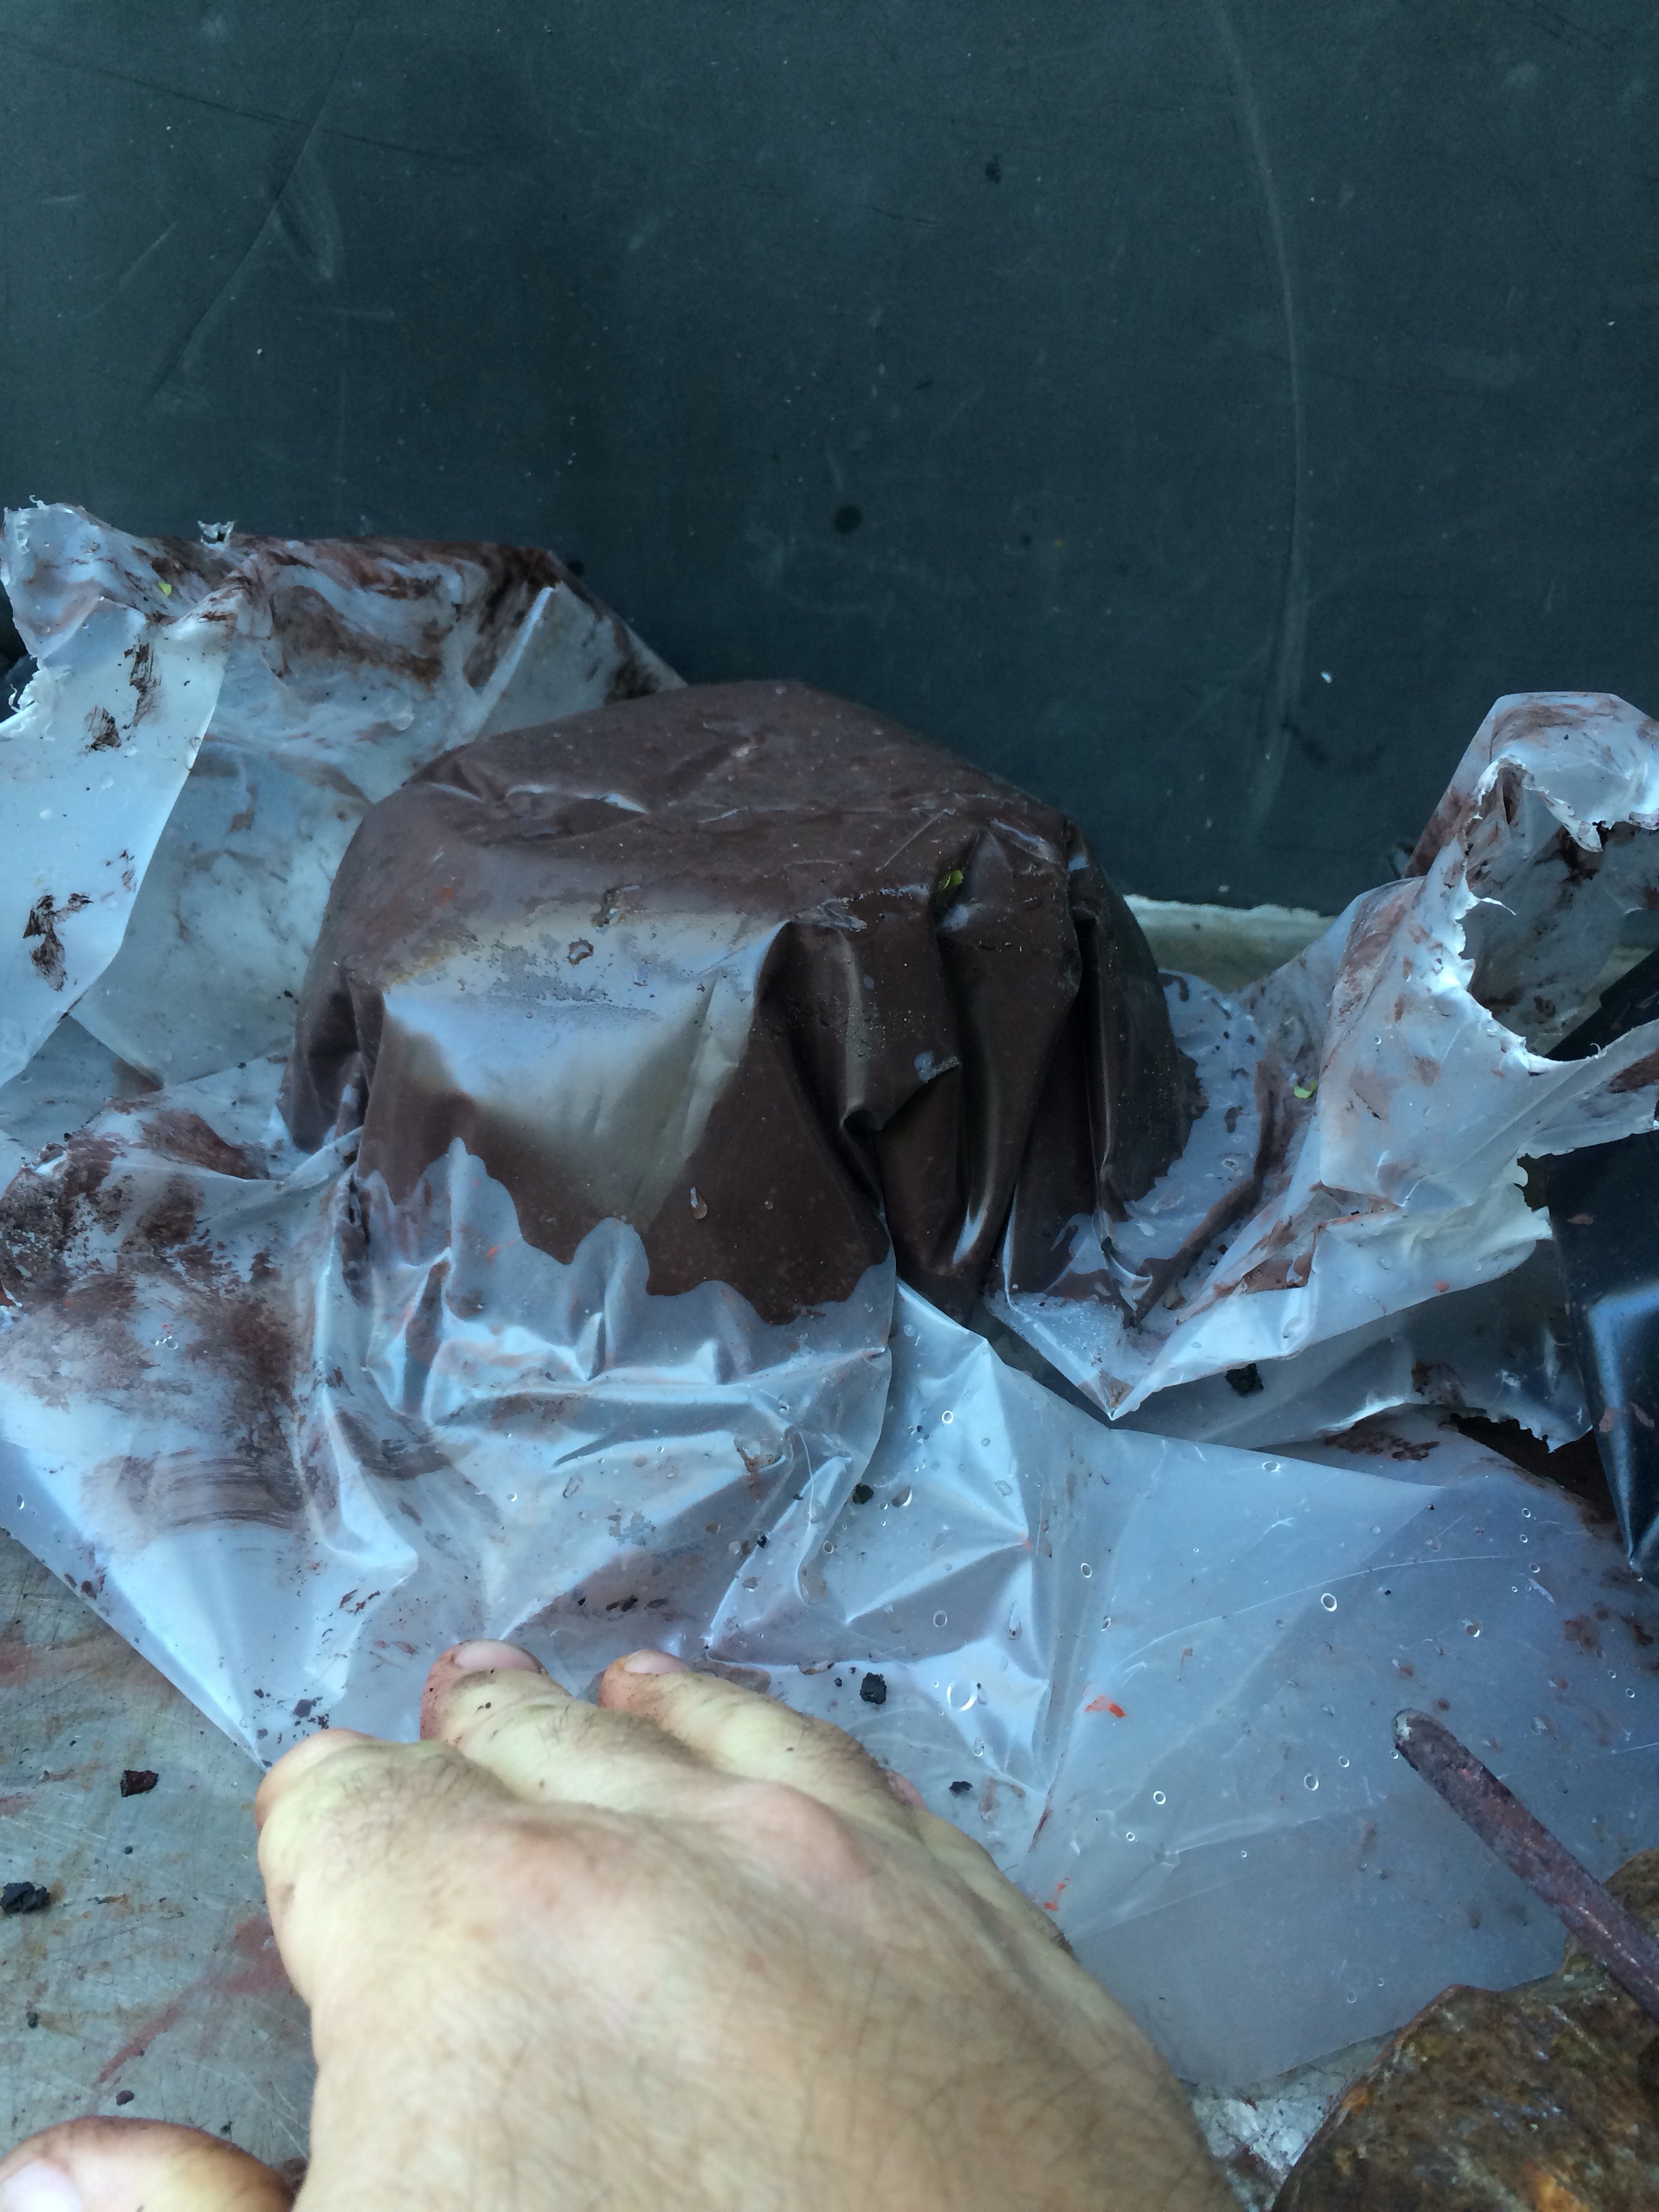
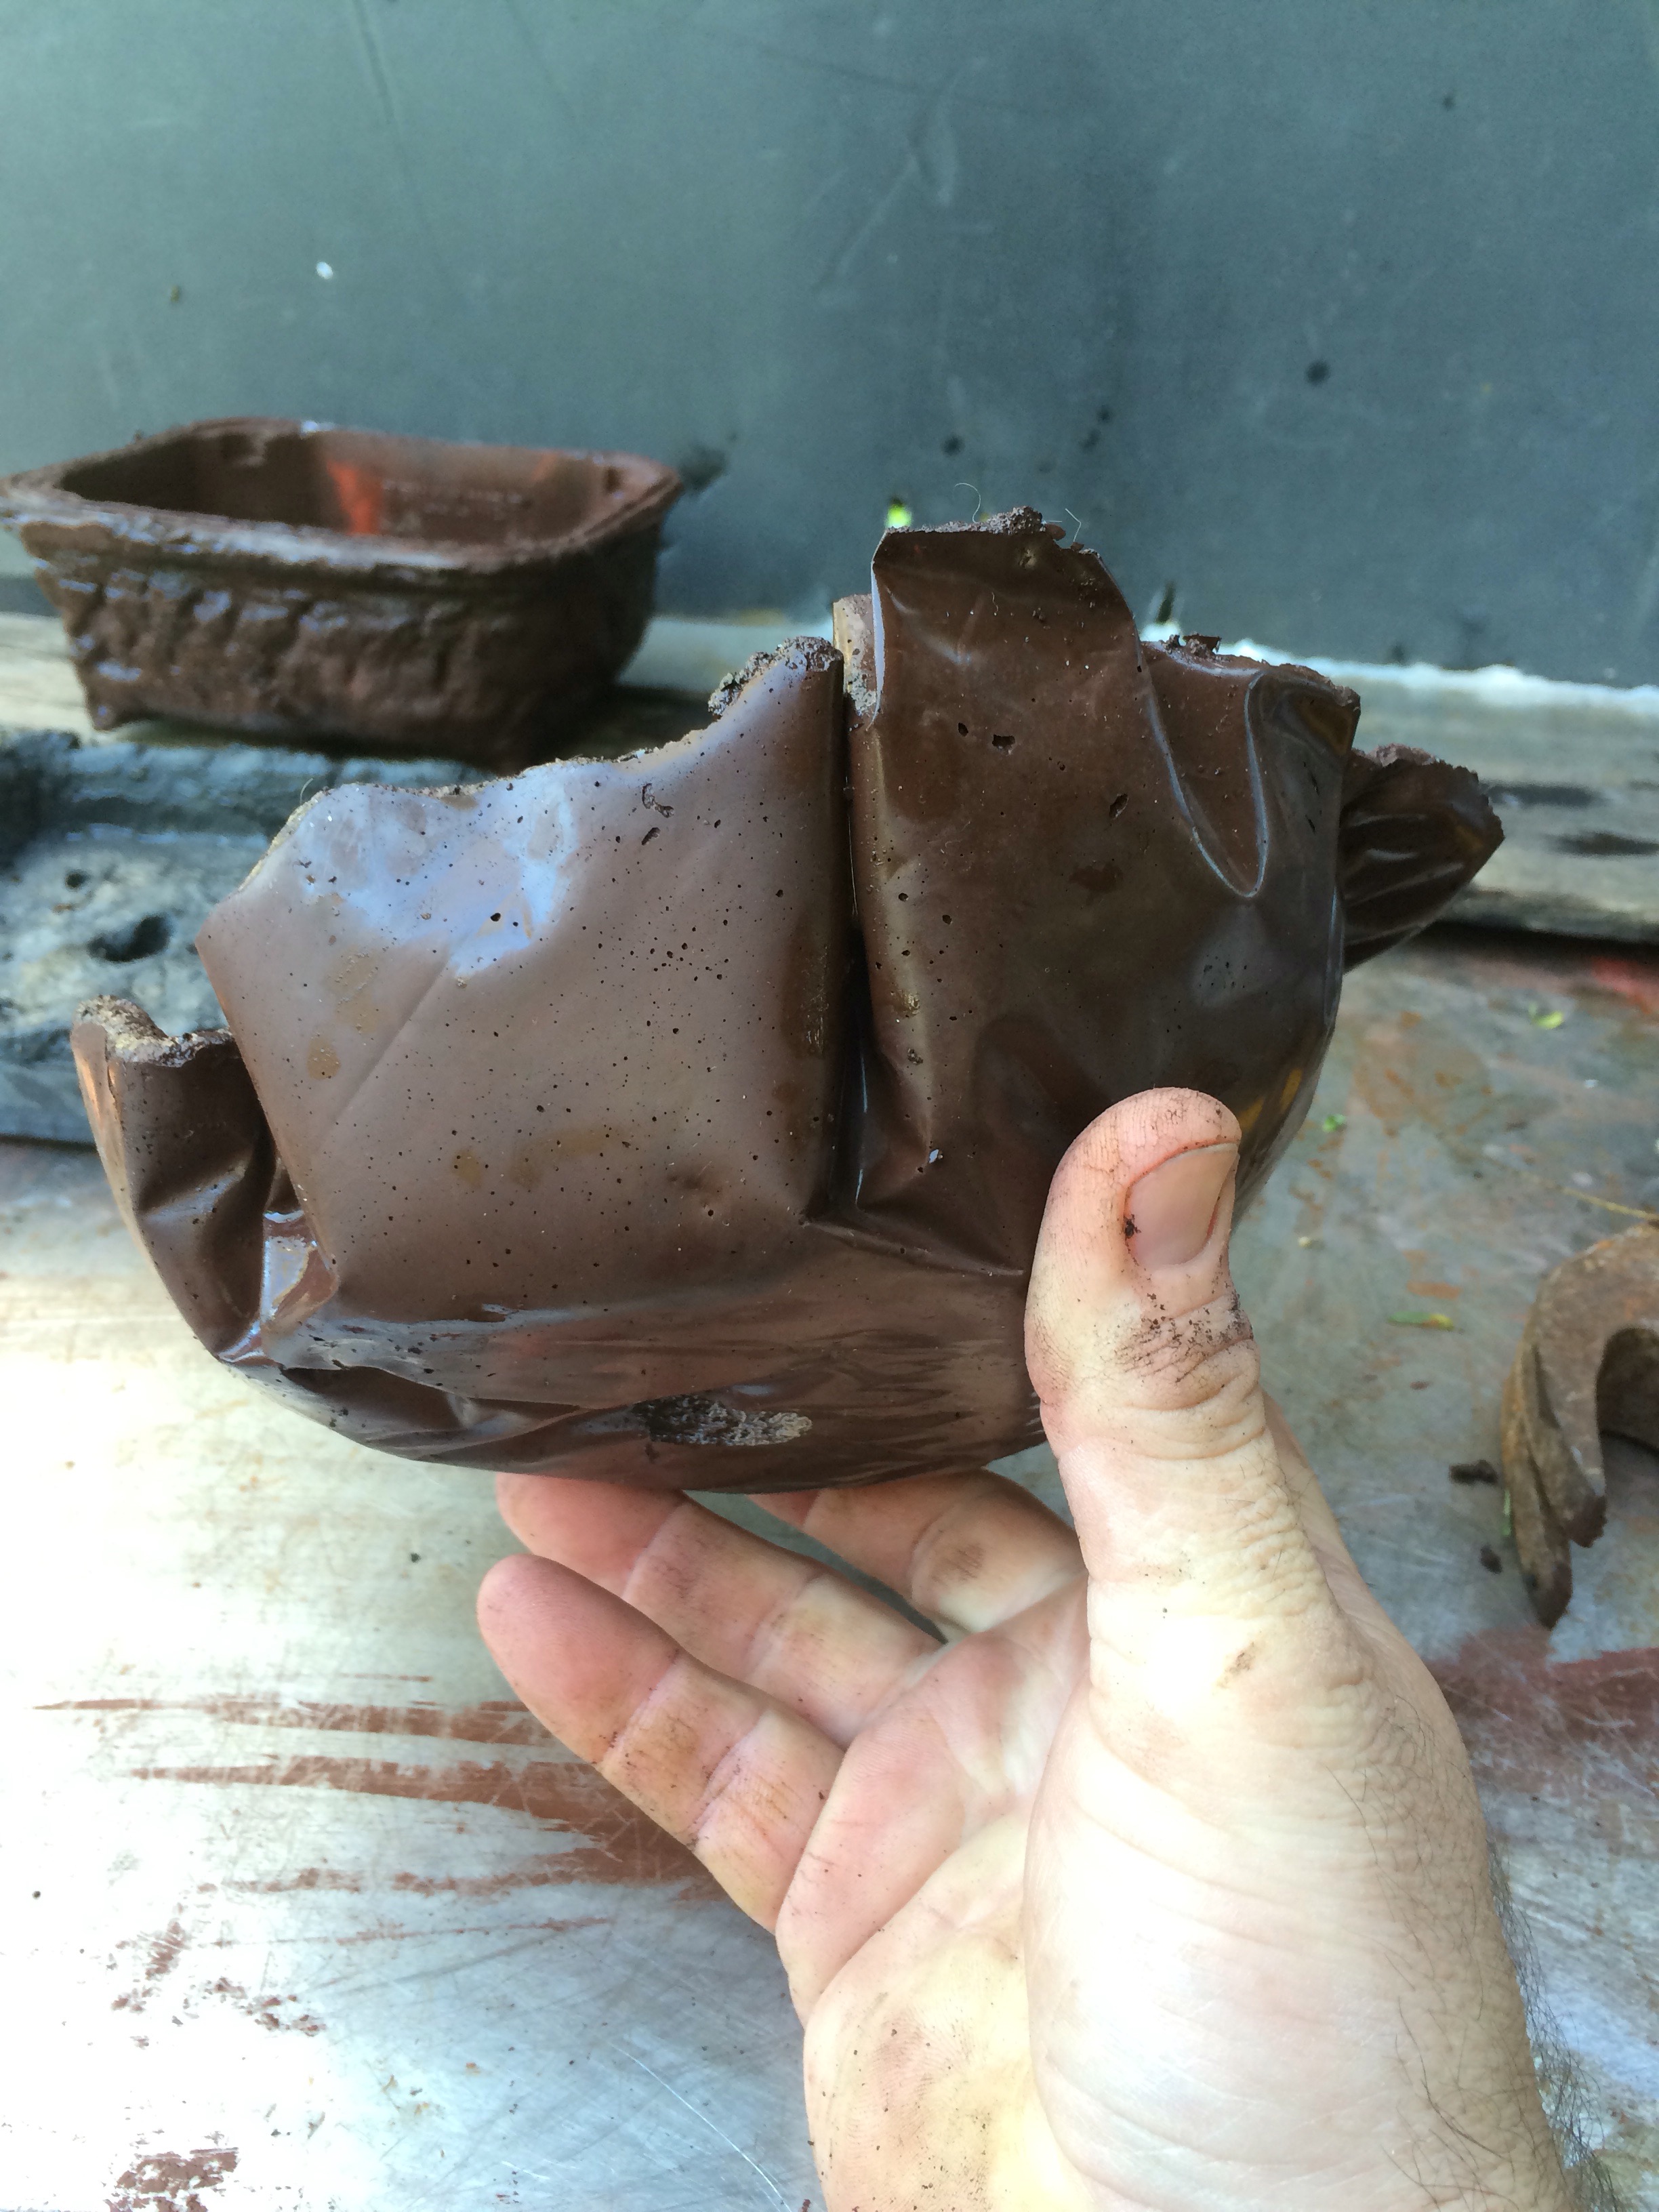
 It’s like chocolate! Like sexual chocolate. SEXUAL CHOCOLATE! If you don’t know what that is, go Here. You won’t regret it.
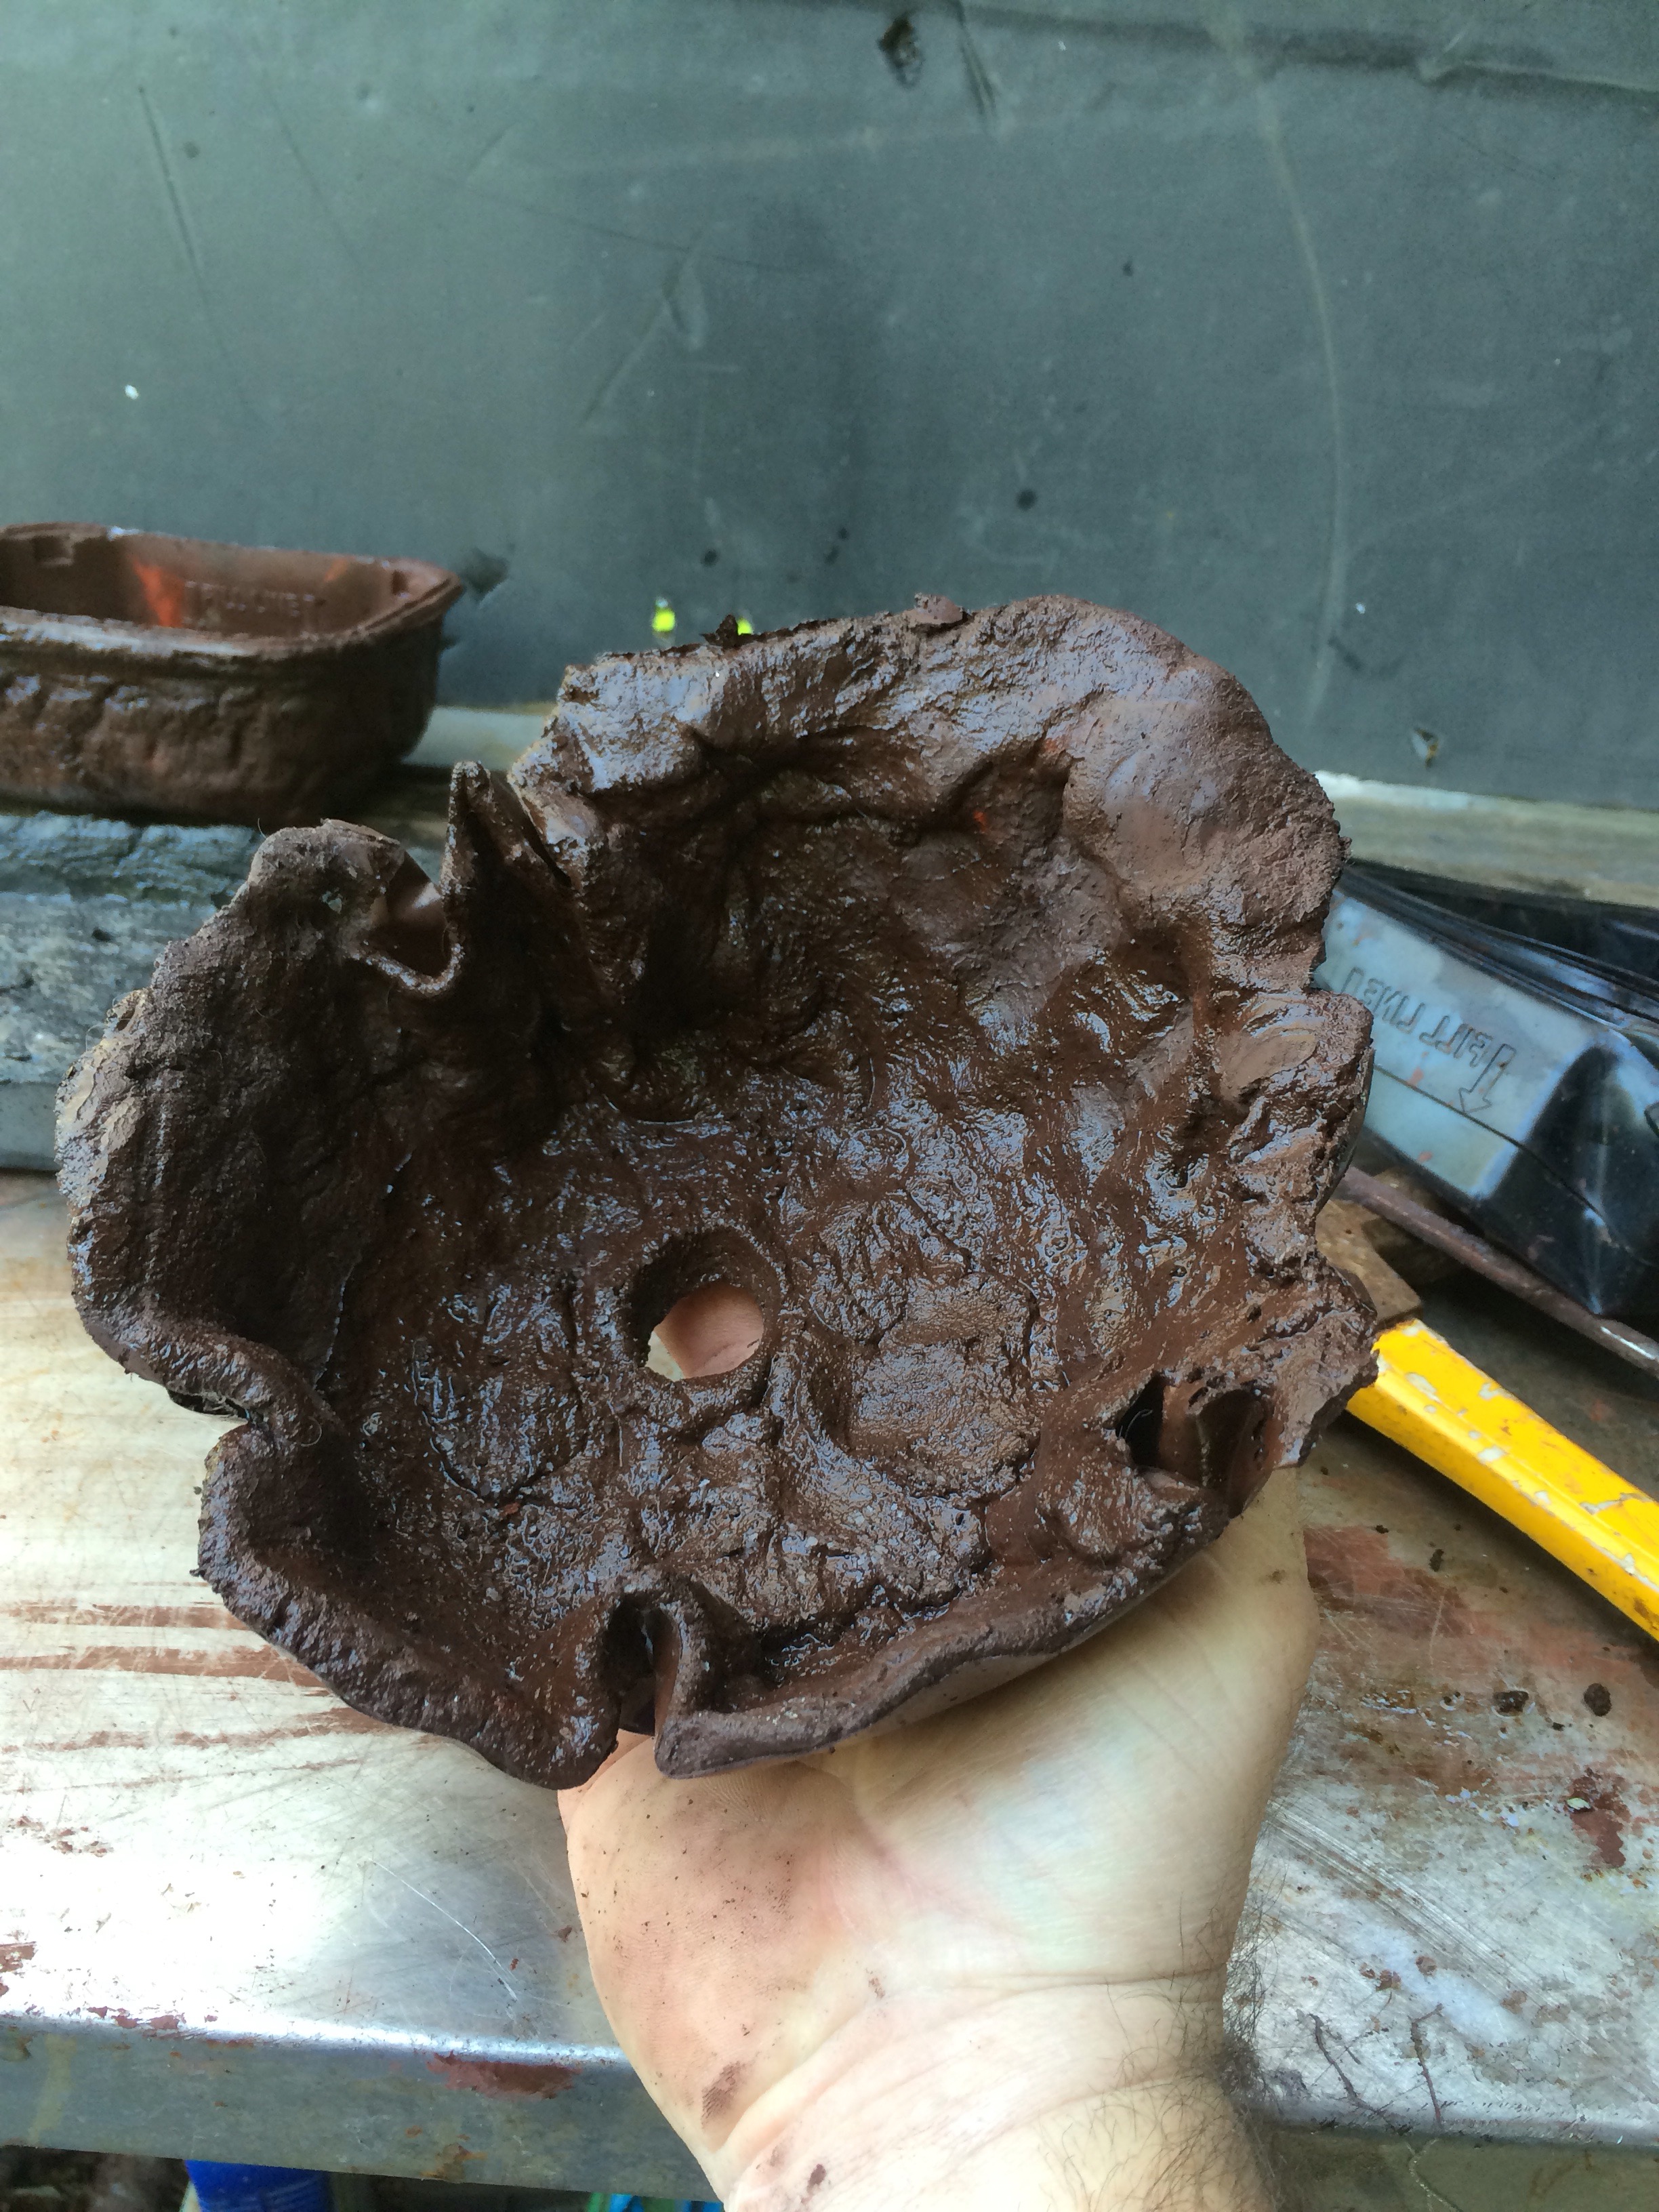
I had one failure with this batch.
 I played with it too much before it was hard enough. There’s a joke there. This was the one I put over the top of the round pot.
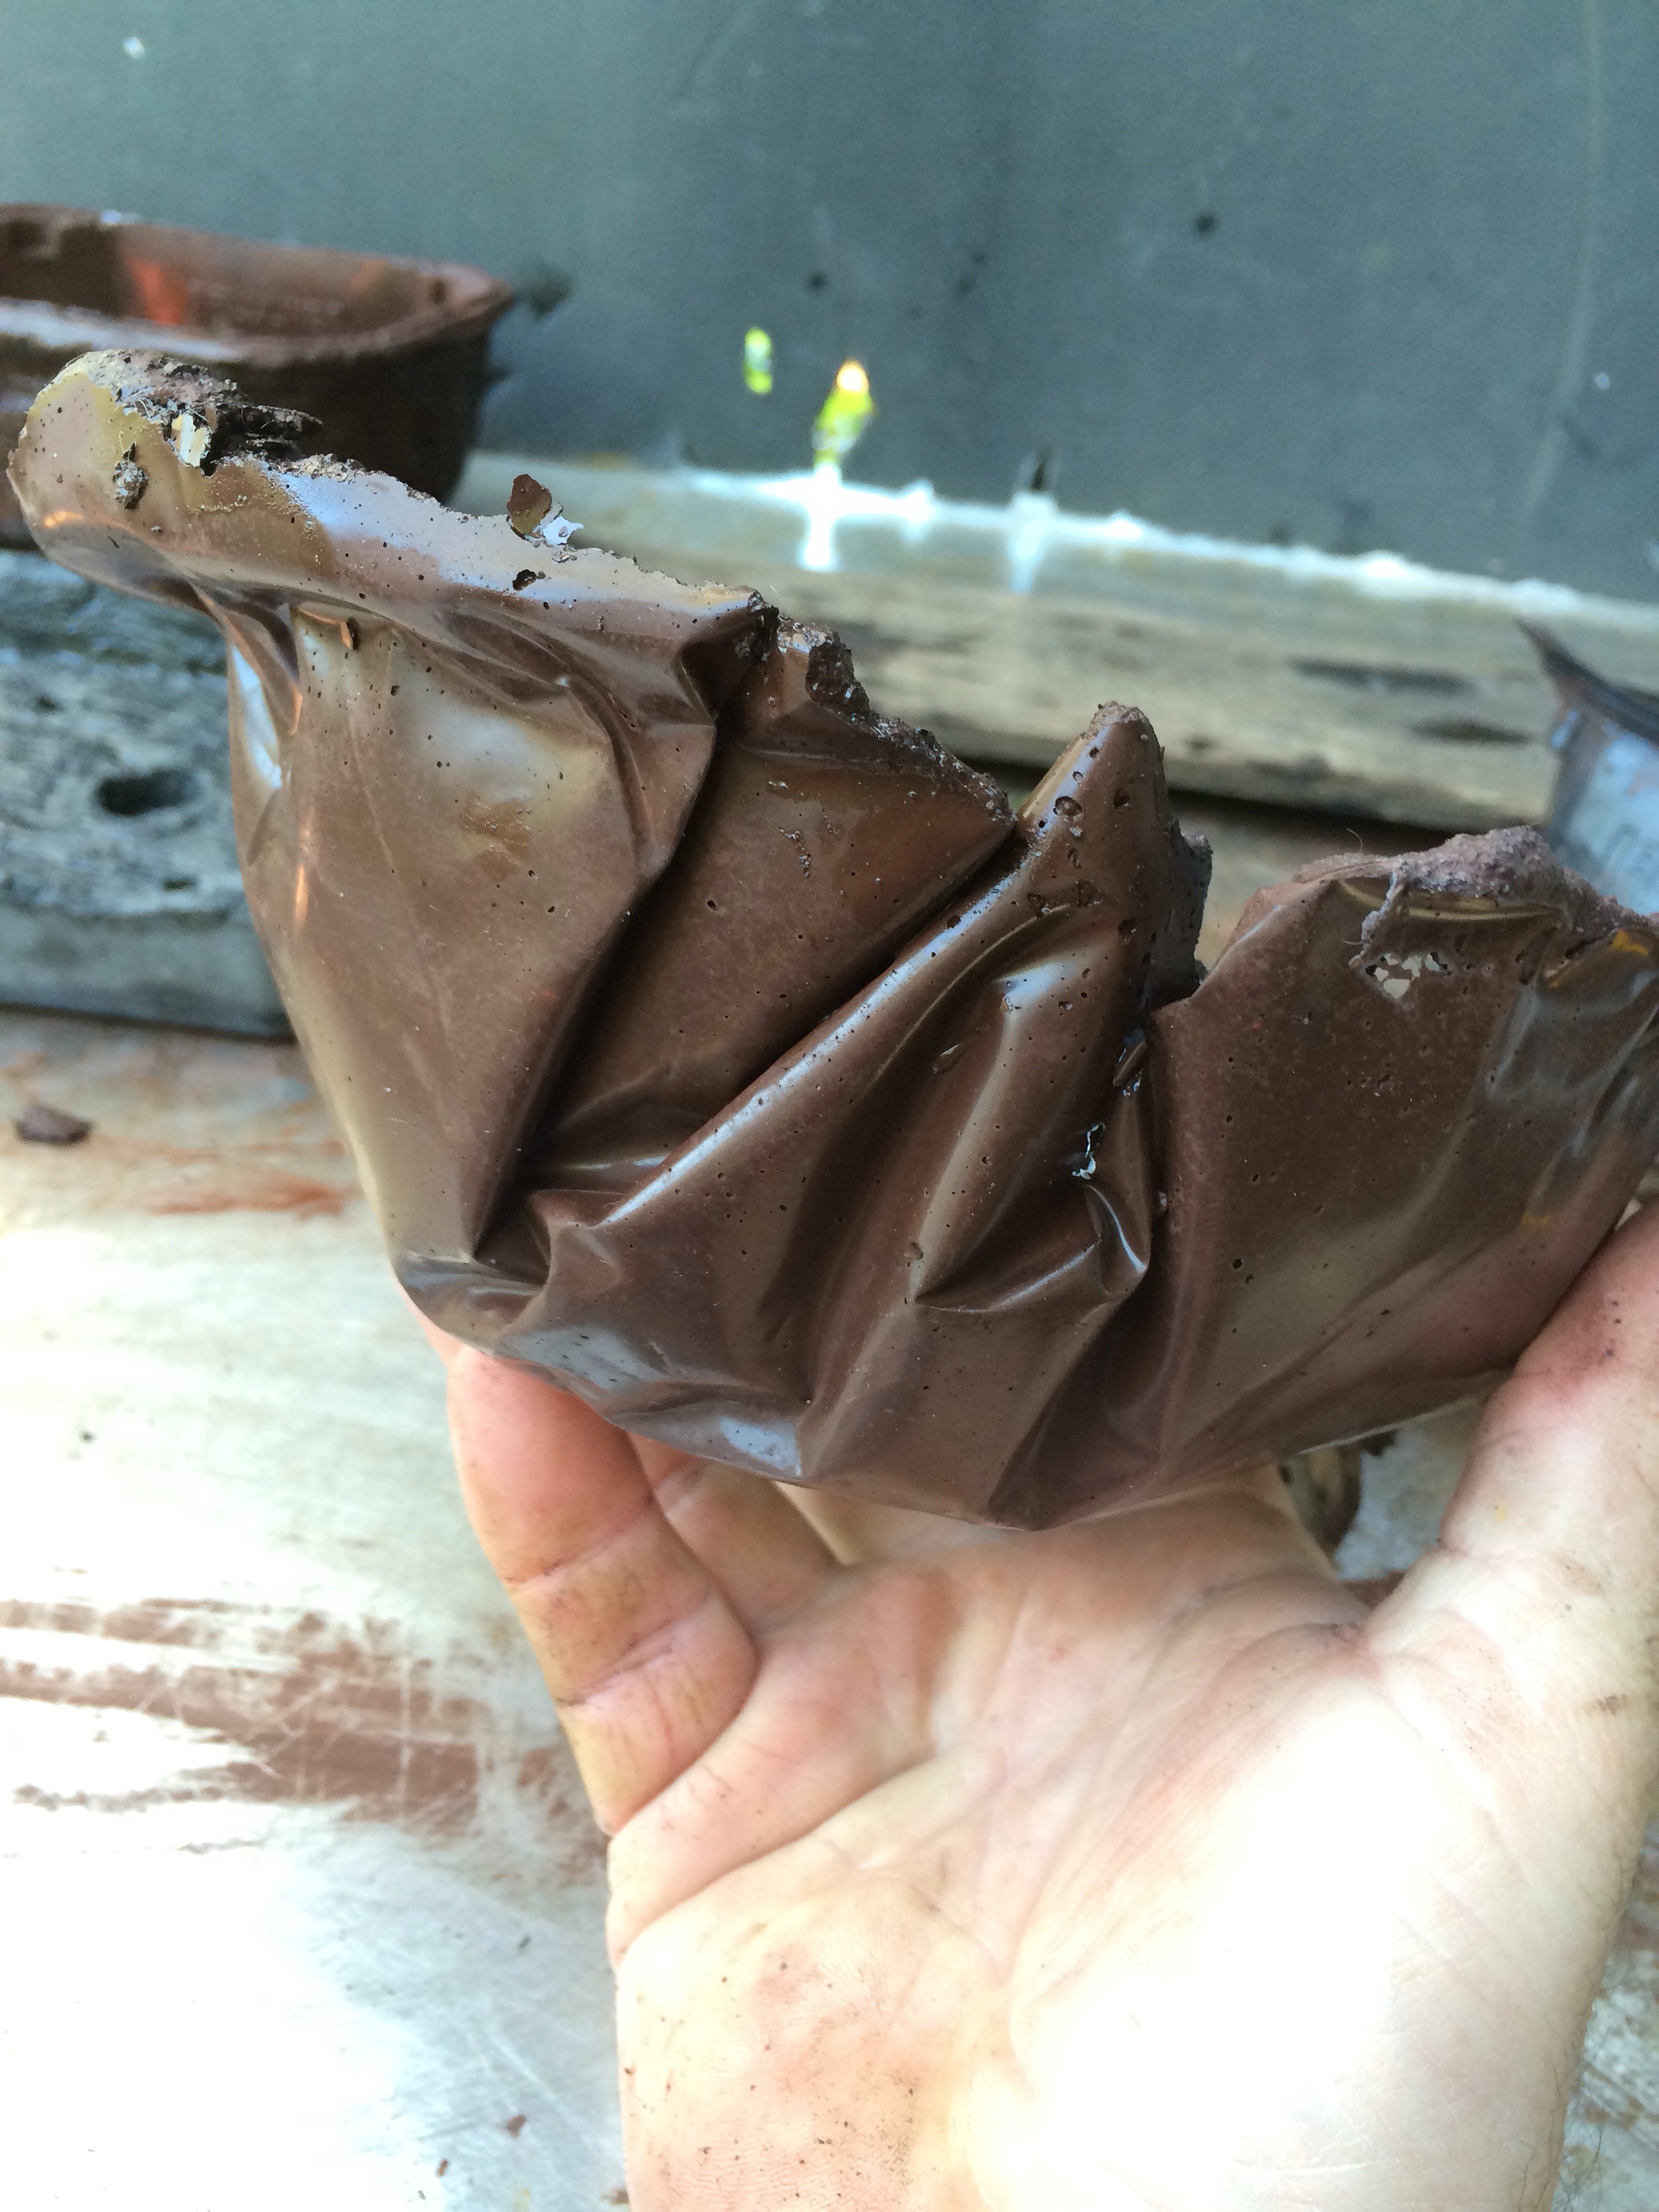
This one came out cool though.
And this one.
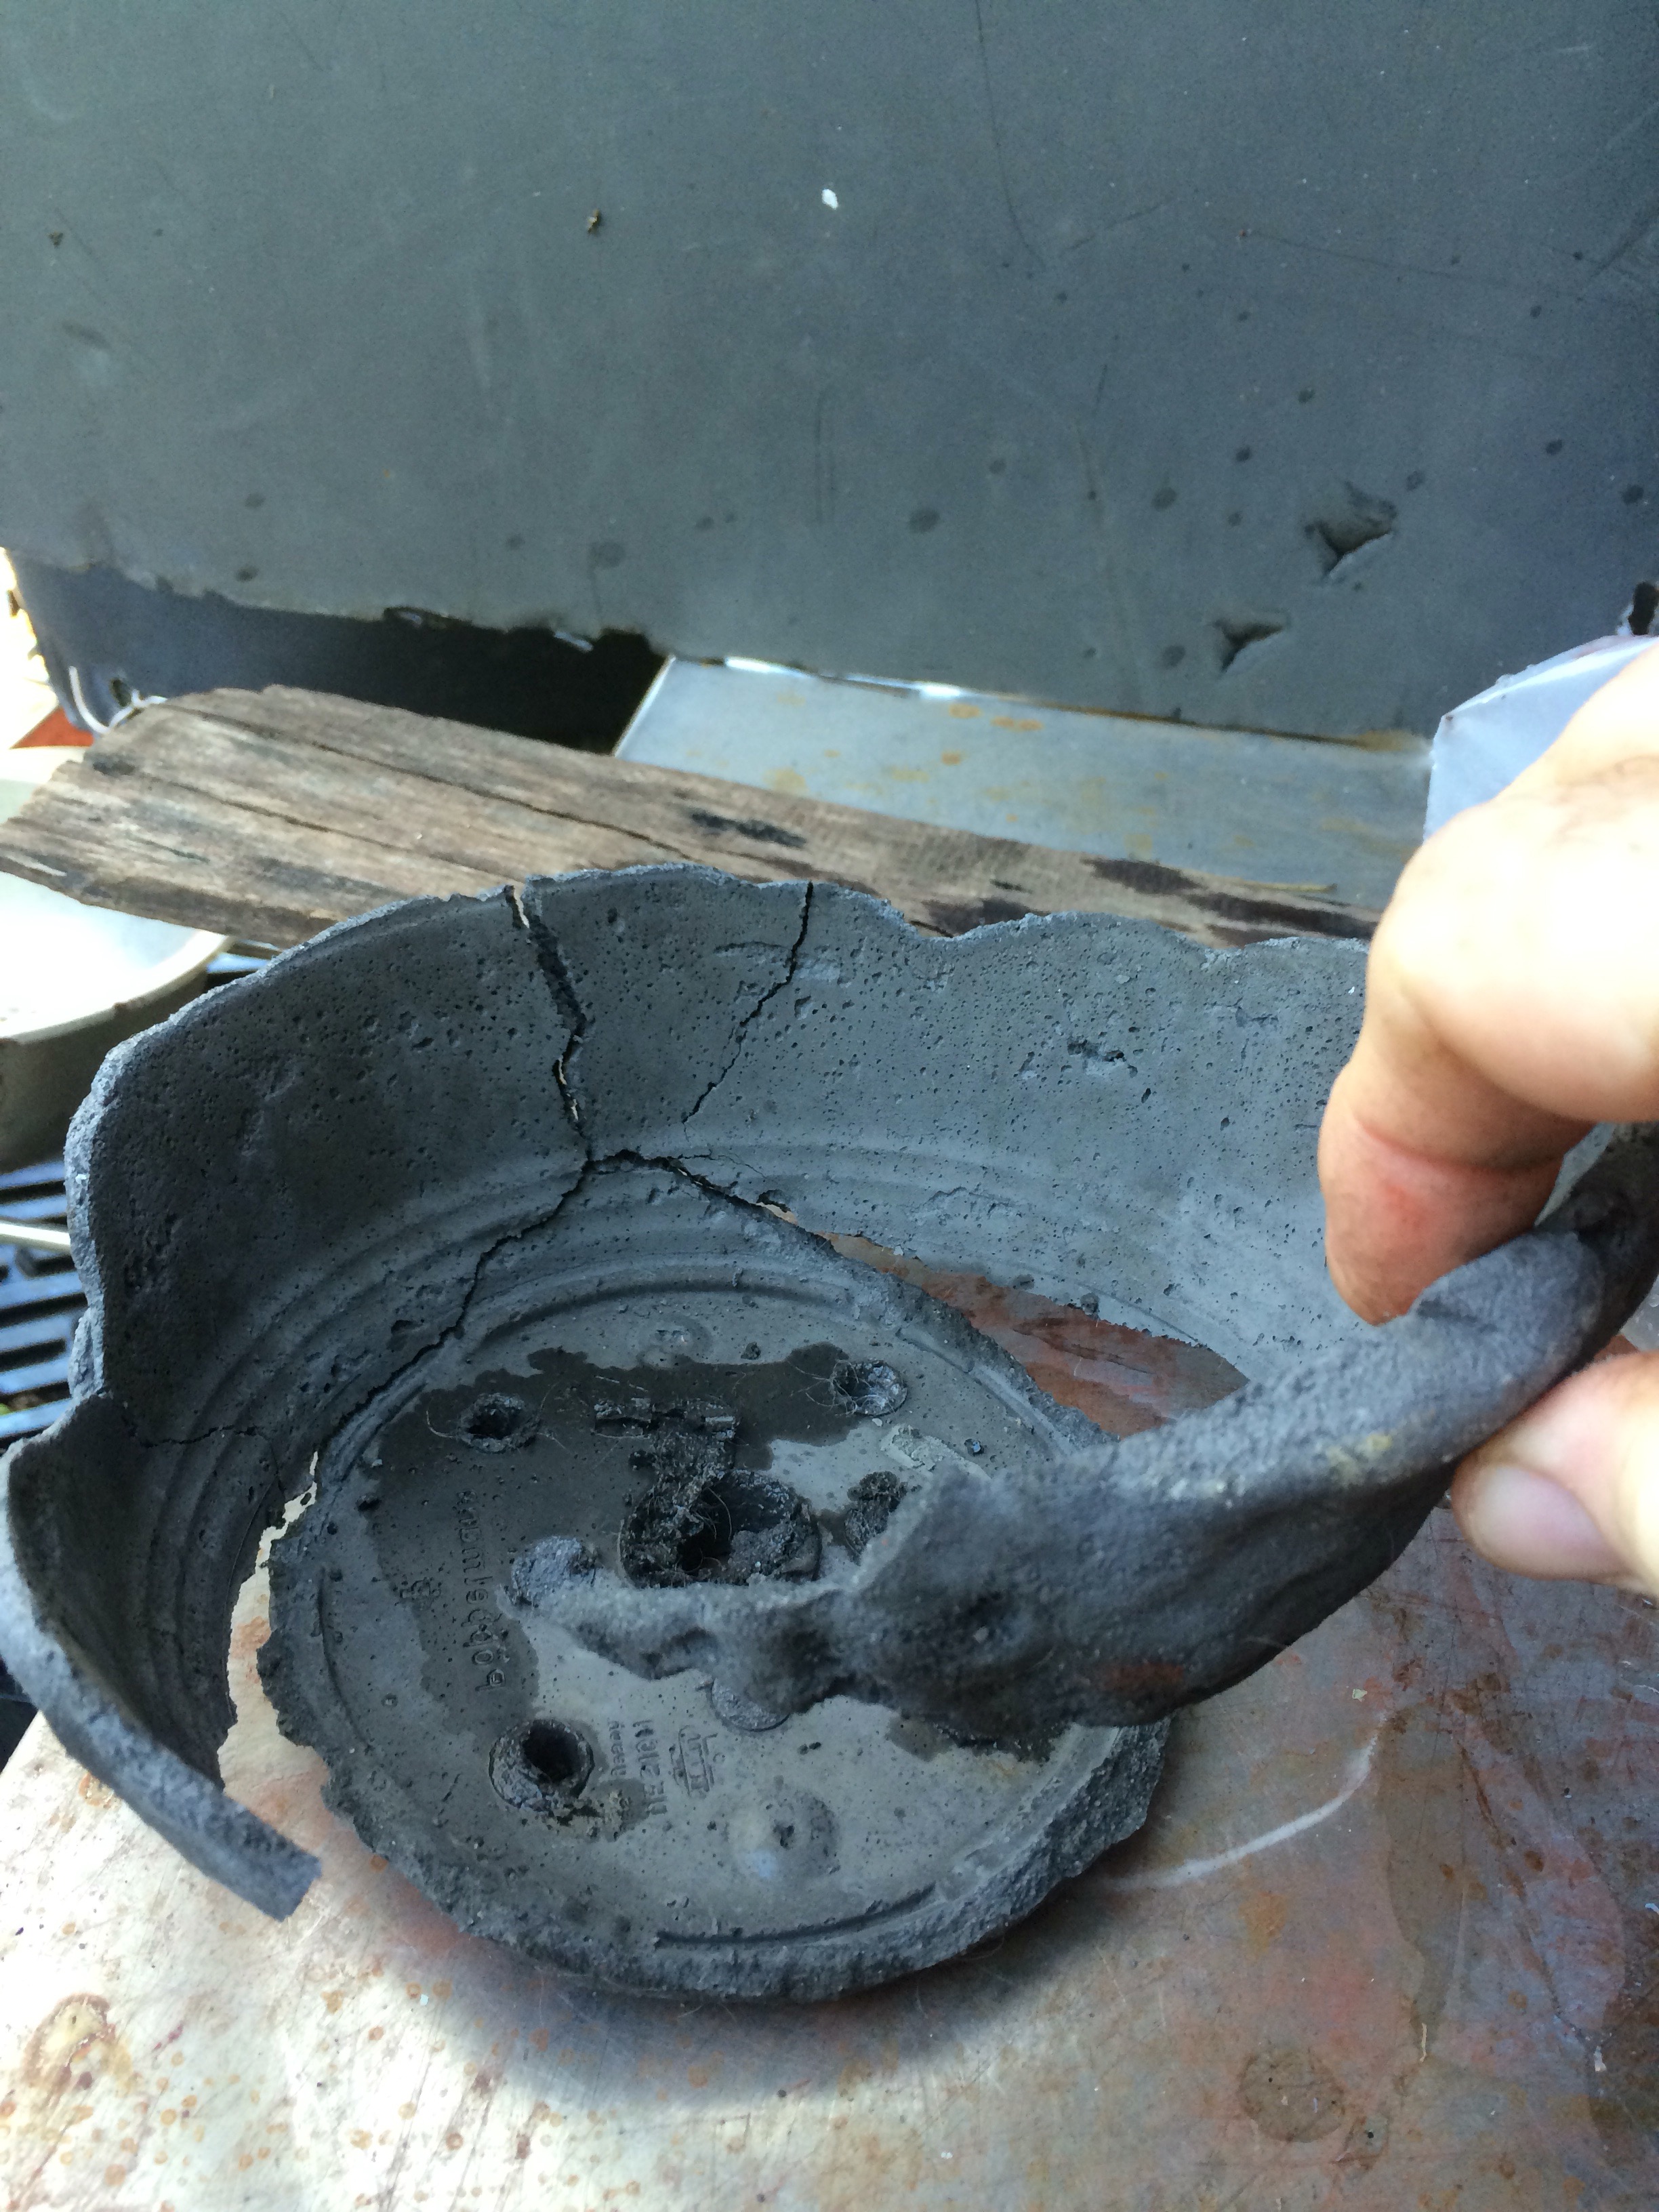
The final step, after they are fully cured, is some cutting to make space for tie down wires.
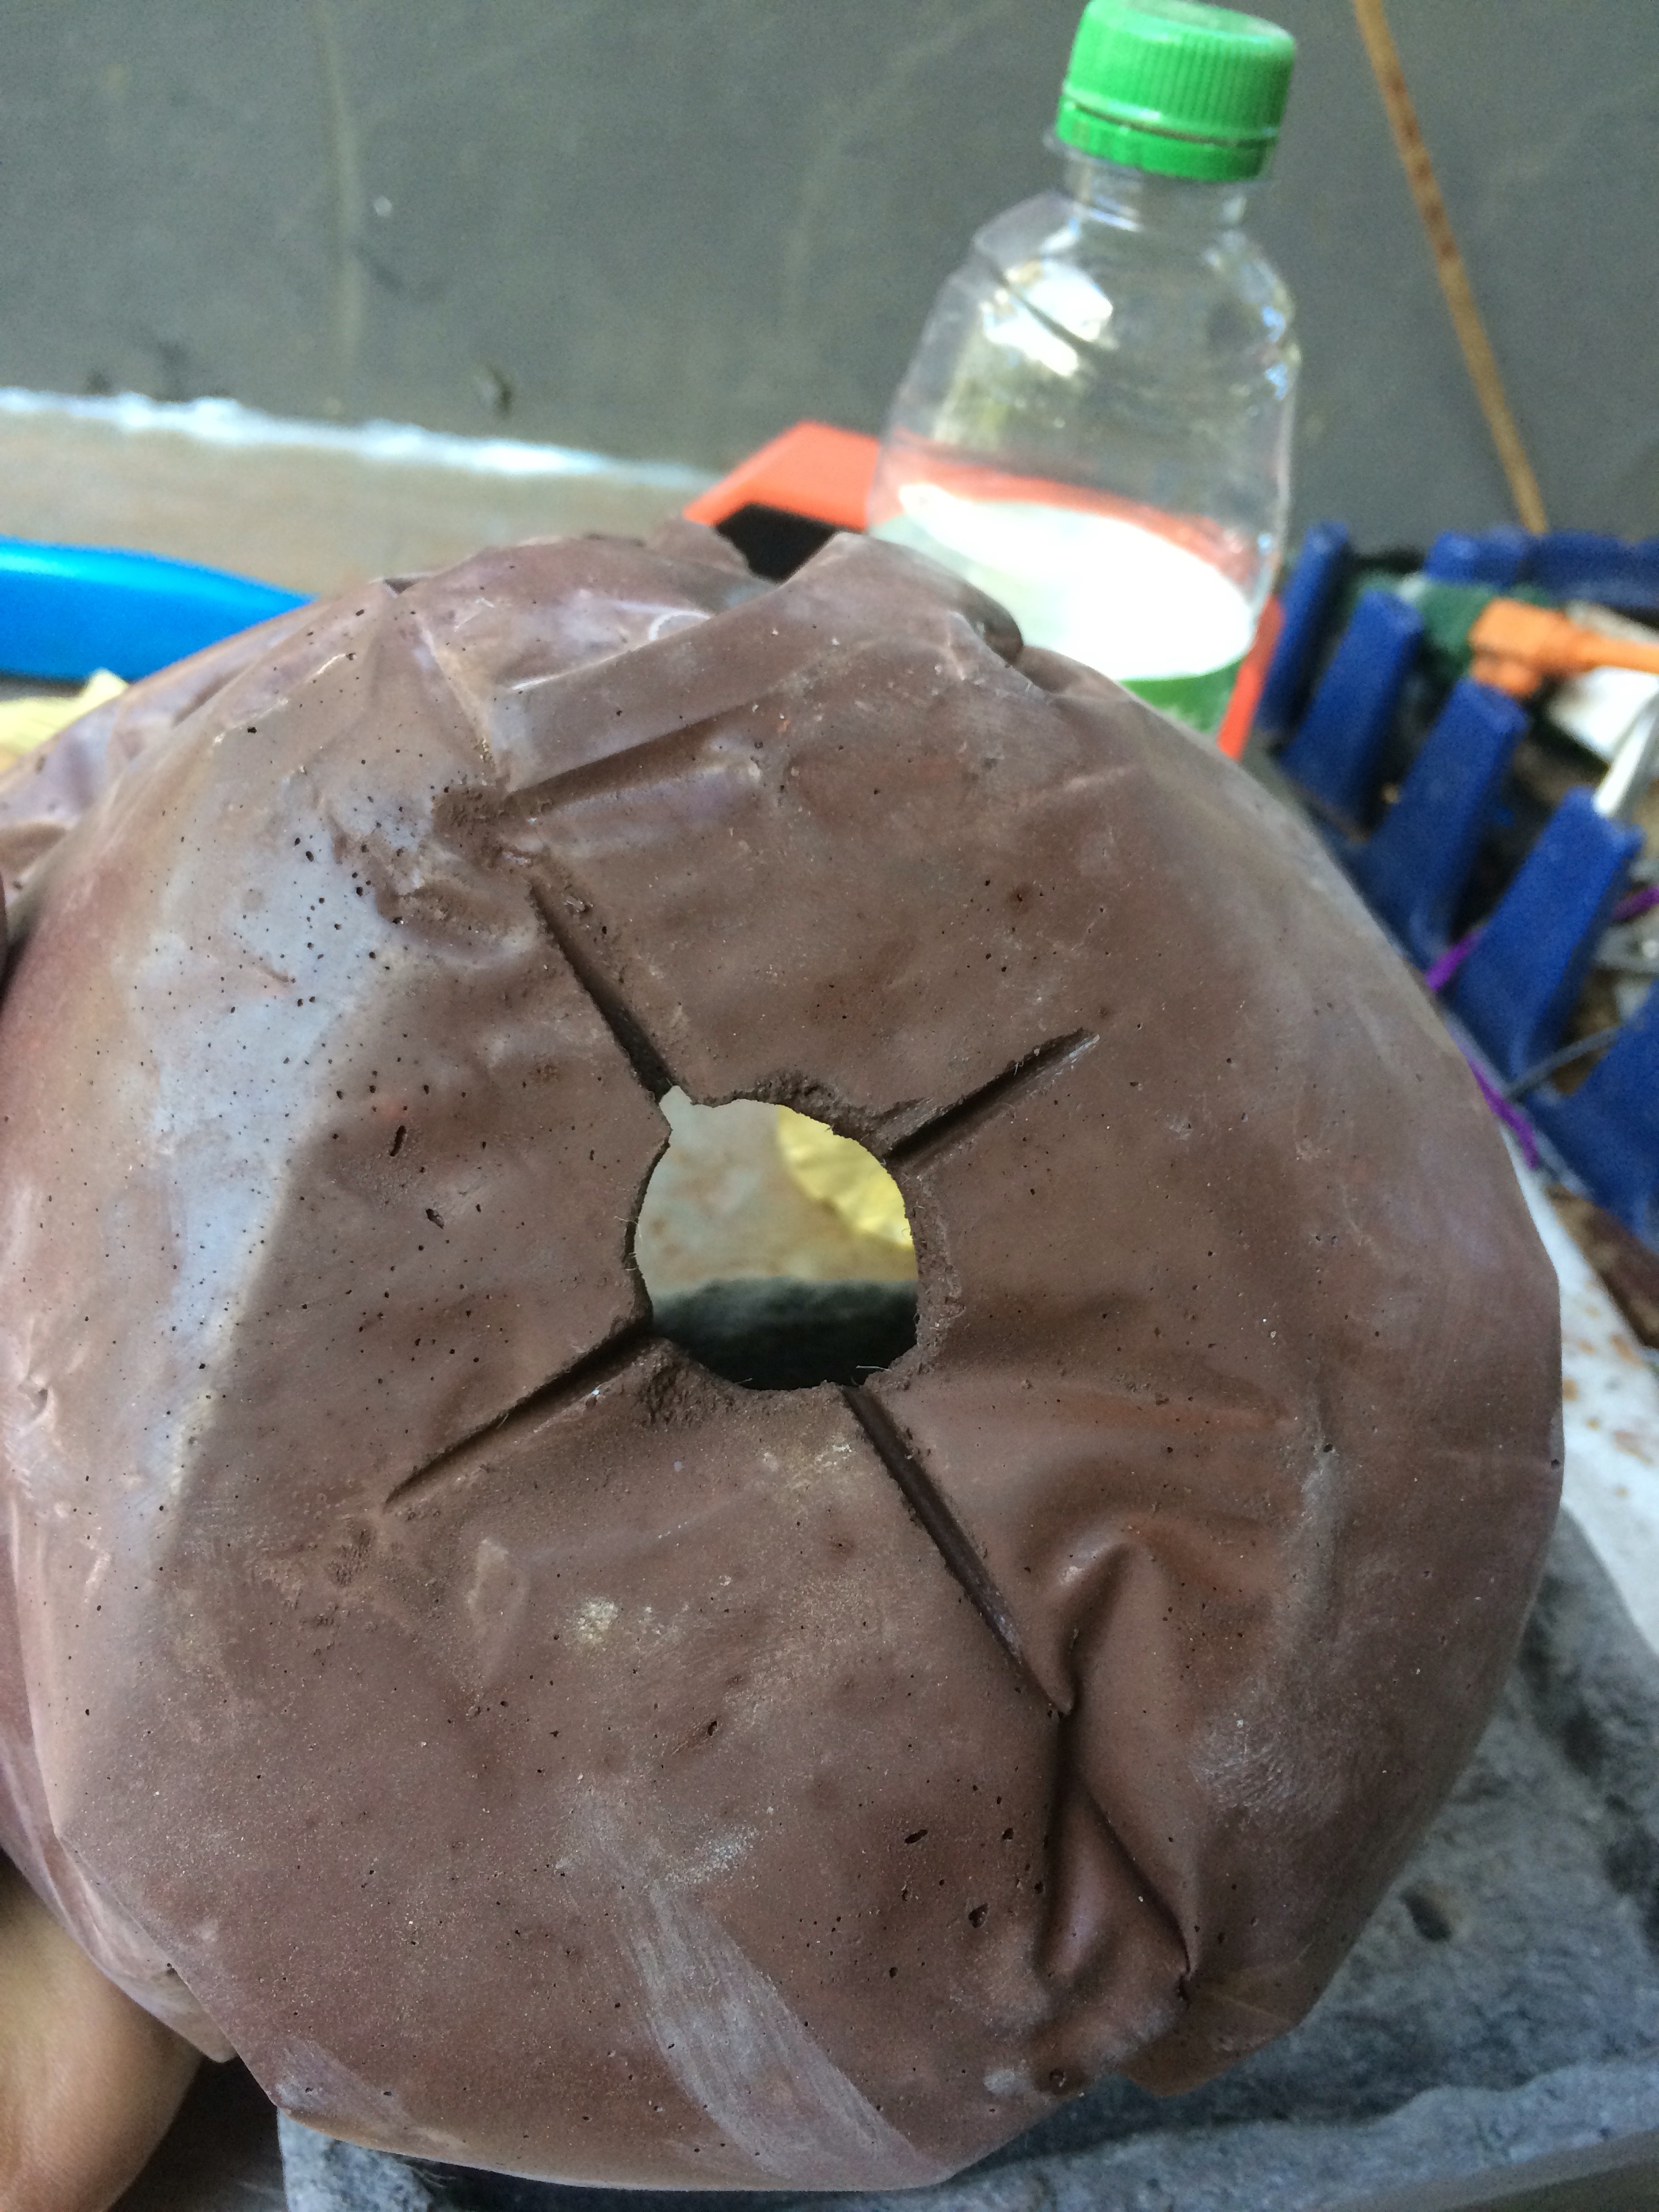

I used my angle grinder with this wheel.
Look for these to be for sale, if I ever get my sales area built on the adamsartandbonsai.com address. Or at this year’s Bsf convention at the end of May in Orlando.

Reminds me of the hyper tufa (spelling?) pots I’ve seen online. I bet you could use something like a little rolling pin or a lint roller to smooth out the finger indentions and clean up the edges of you were so inclined.
LikeLike
Hypertufa is very coarse and tend to be thick. It’s cement mixed with perlite and peat moss.
With practice I think one can get the walls only 1/4 inch using the ShapeCrete. Go to the website and watch the videos
LikeLike
what about Papercrete?
LikeLike
I’ve never used that but I would think the paper may not hold up?
LikeLike
Reblogged this on whotony's Blog.
LikeLike
How do you take pictures in the middle of making these without ruining your camera?
LikeLike
It’s not easy, but this time I had gloves so I just removed them and took the pics and then put new ones on
LikeLike
Ah! I am going to have to follow you or something. Hm, that sounds stalkerish. Sorry! A man after my own inclinations. I was considering making my own pots as well and was TRYING to research if the lime would hurt the trees. Thanks for the information, esp the soaking it part. Have you considered making a wire mesh frame and pressing the crete into it? Sort of like the sculptures they make from cement and concrete.
LikeLike
I have considered a mesh frame and that’s in the works for some future pots. But the tensile strength of this means it’s not really needed in most cases
LikeLike
In thinking of my own diy pots plan, I’m considering fiberglass threads in the mix to add strength. Much like the “hairs” in this product.
LikeLike
That’ll work!
LikeLike
Are you making any more pots this year? Adam, have you send this web page yet? ‘Paper’ Training Pots for Bonsai – http://www.bonsai4me.com/AdvTech/ATPaperBonsaiPots.html
LikeLike
I’ll probably make a few more. Not sure if it’ll make it into a blogpost
LikeLike
There are some neat videos on youtube about making pots with cement. Like this one: “How to make Mold and tree pot.”
LikeLike
SEXUAL CHOCOLATE! I spit my coffee out when I read that!! And now I have watched the clip about 12 times and my son thinks I’m a goof. Randy Watson’s belly in that powder blue tux still makes me laugh!
LikeLike