This’ll be a quick look at a client’s buttonwood and how I try to match new carving to old deadwood. Not easy but you can get close.
Here’s the buttonwood, ready for work. 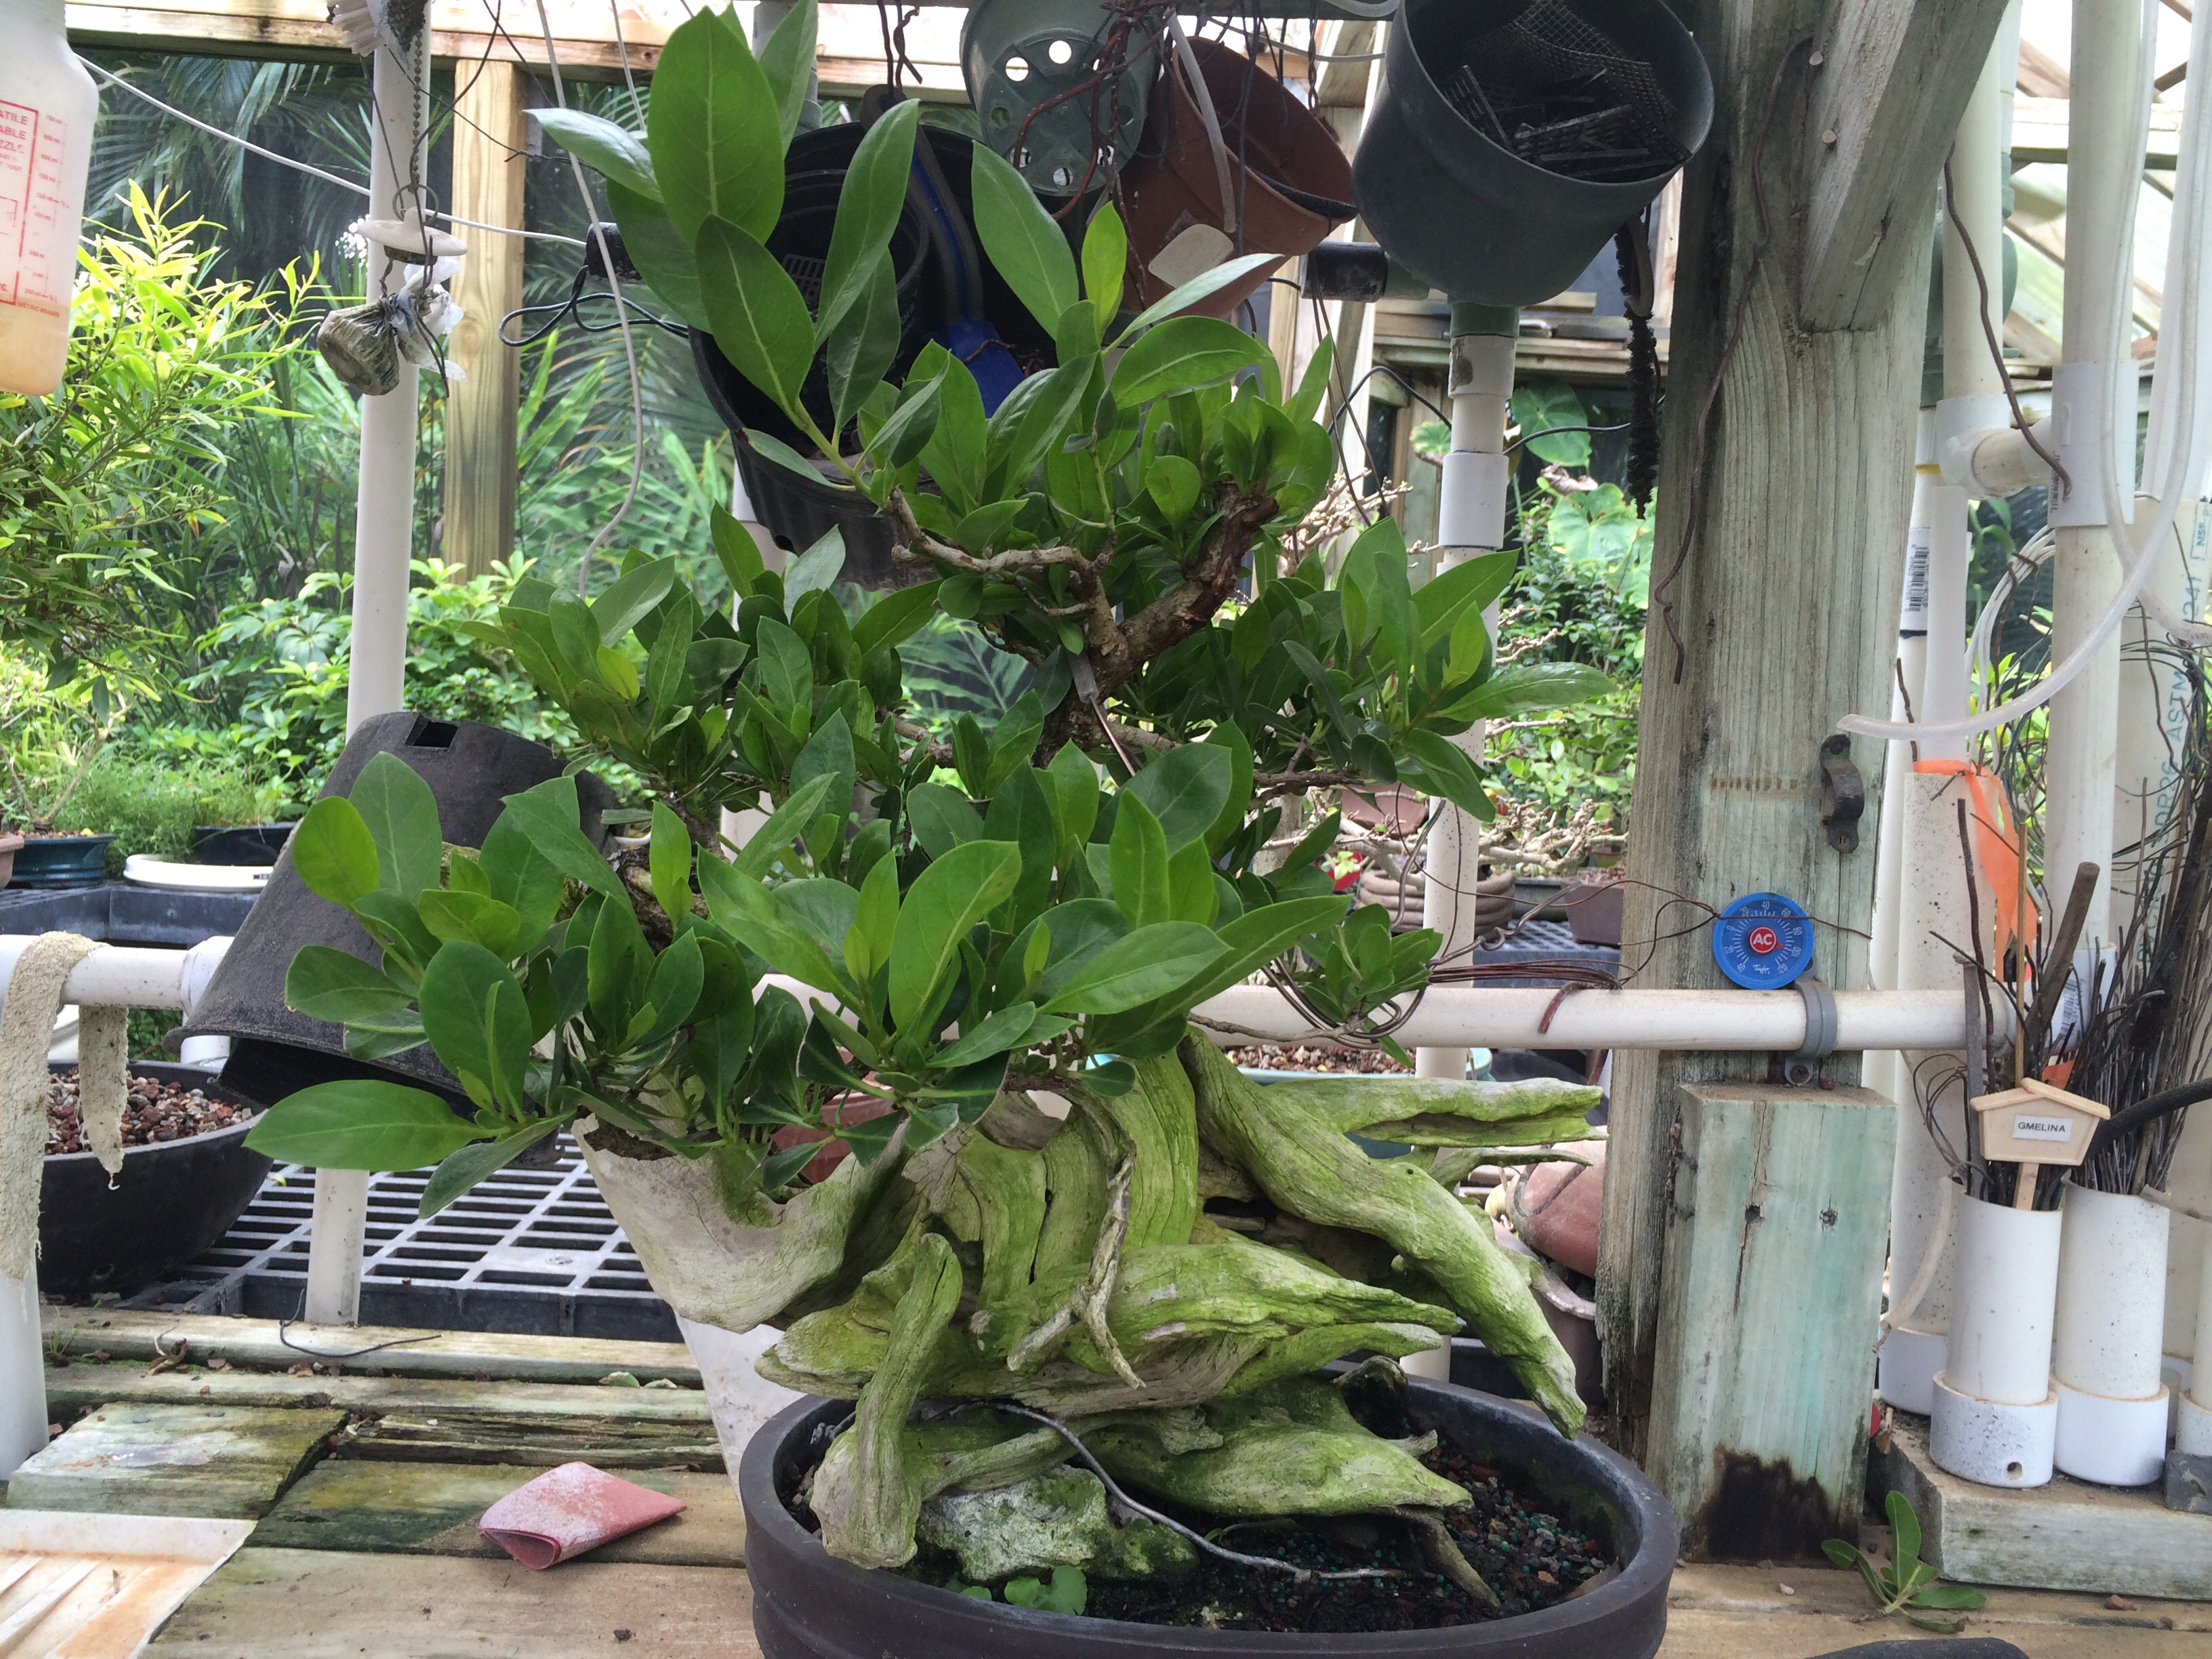
It’s a little green, I know. The deadwood, I mean. The leaves should be green. Unless it’s a silver buttonwood. Then the leaves are a kinda silvery green. But I digress.
Some alcohol or a coating of lime sulphur cures the green. It’s just algae. 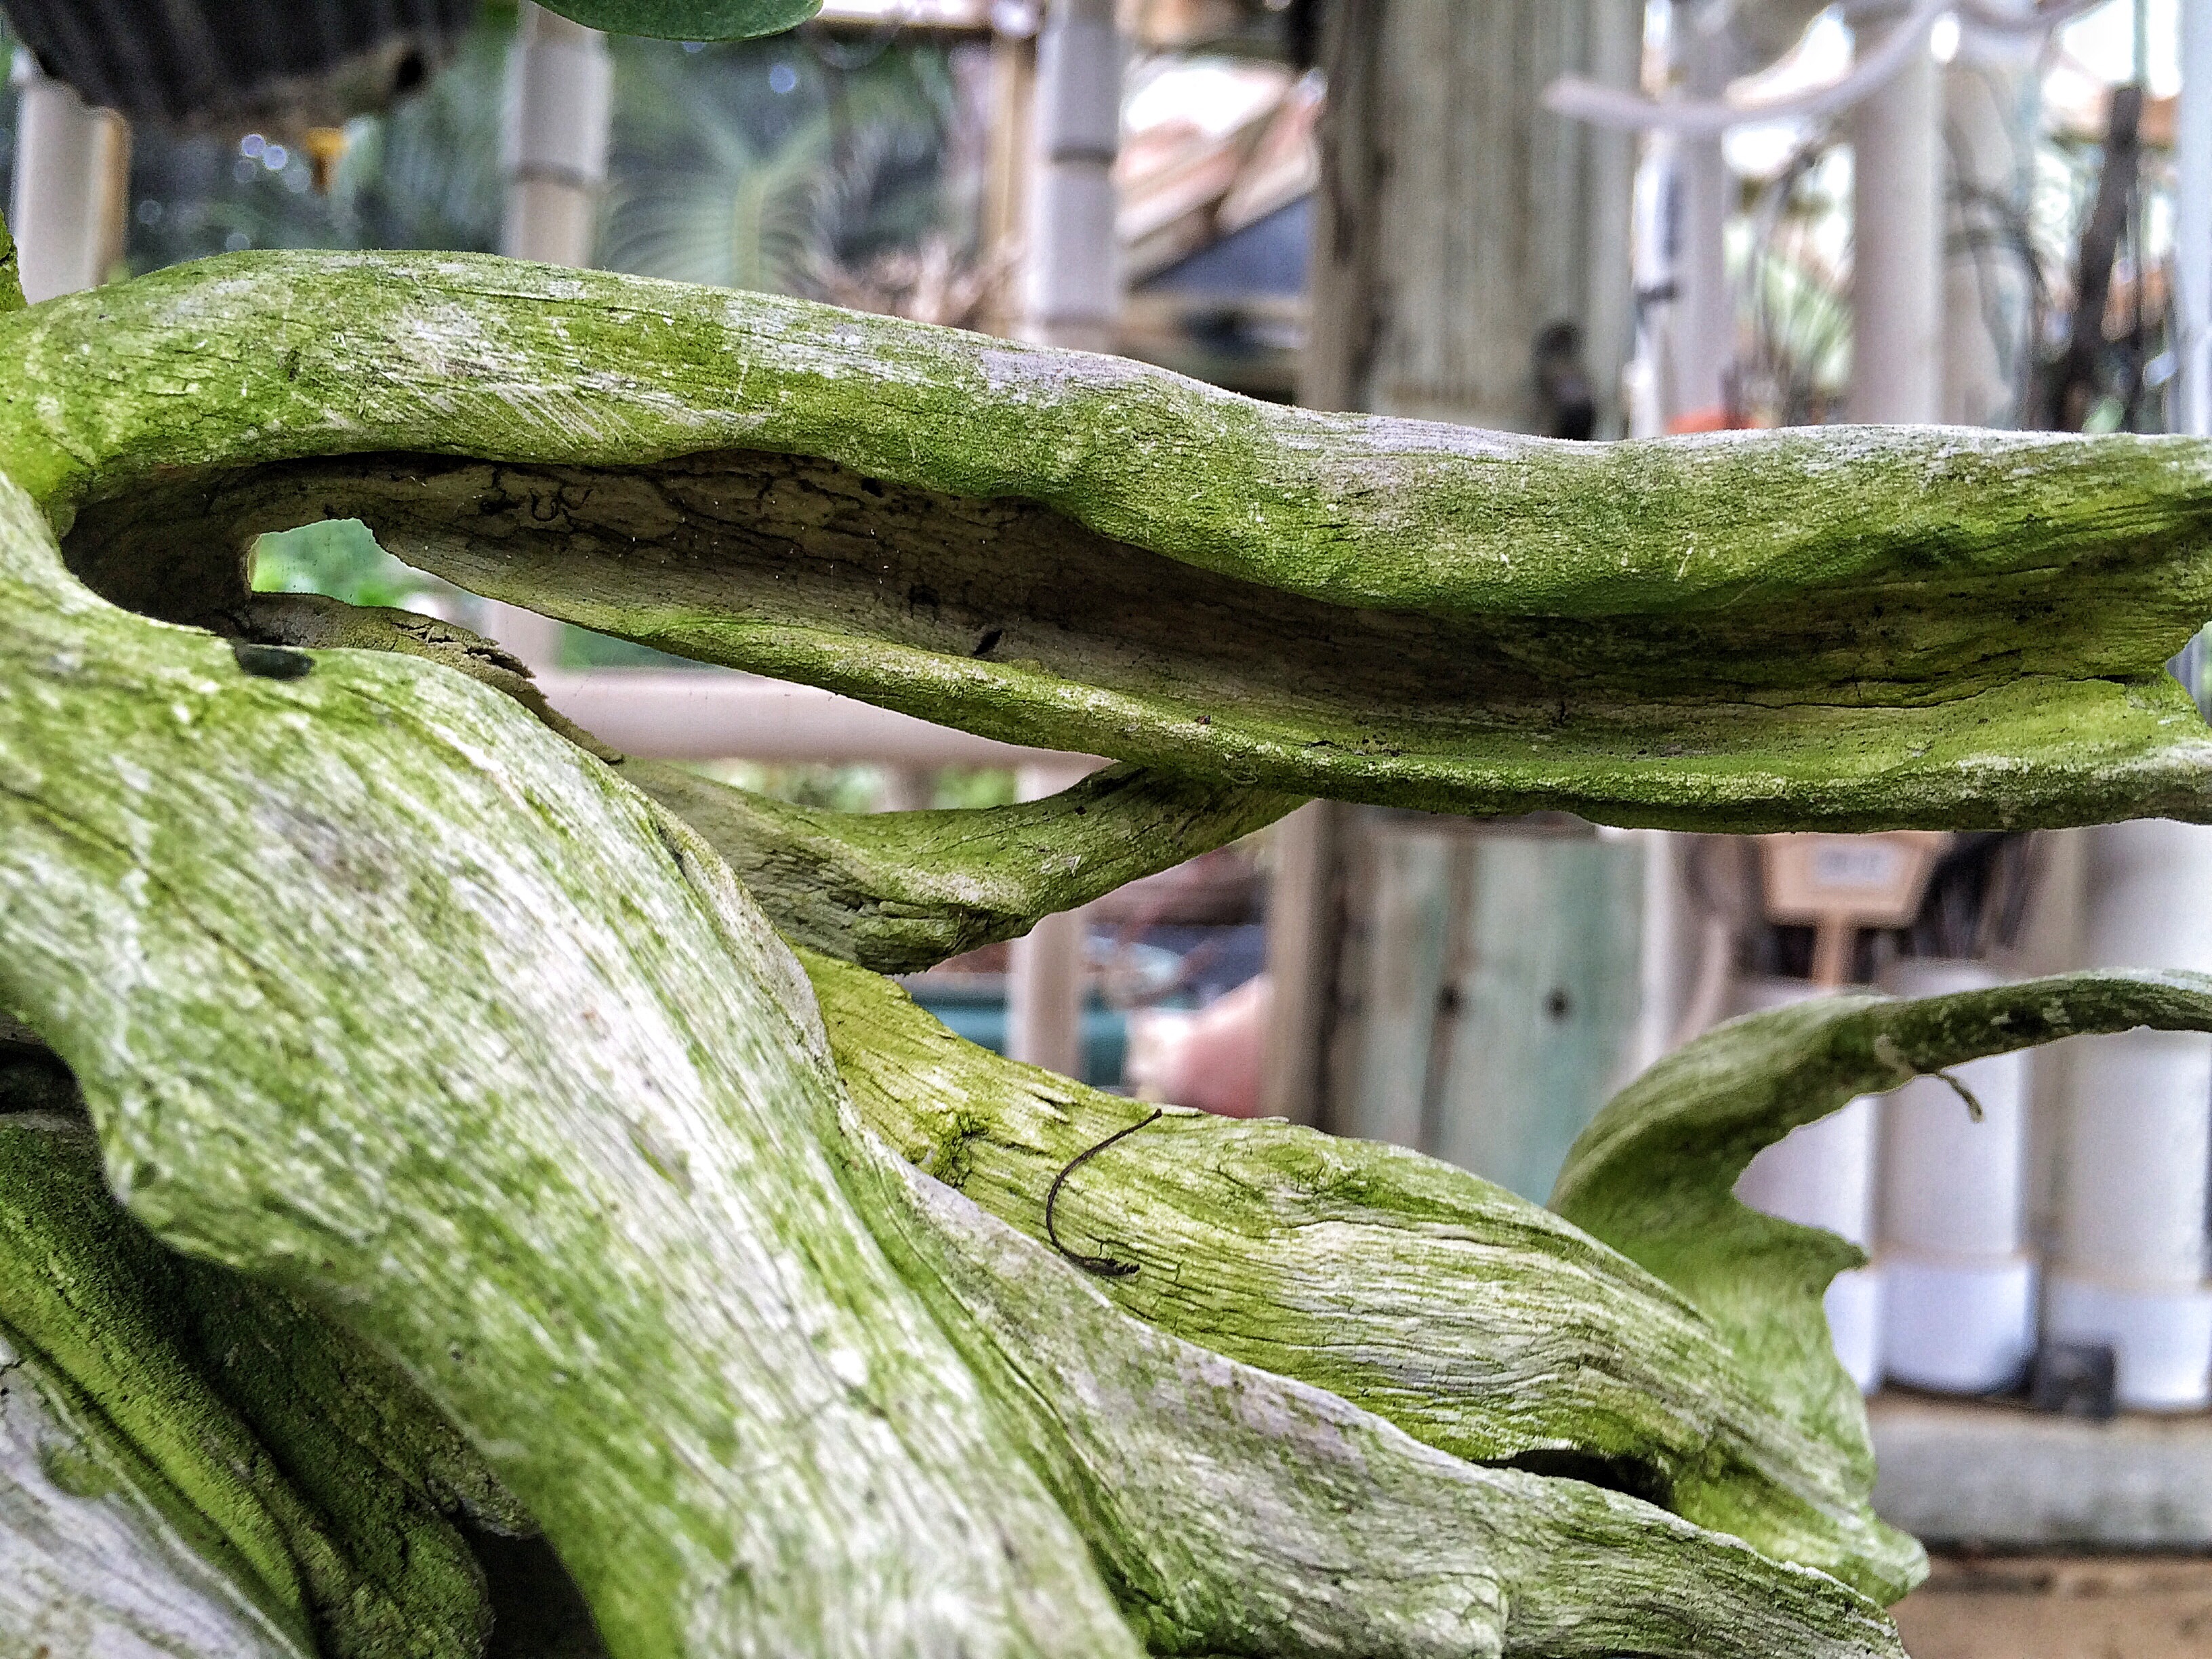
A wire brush too. I’ll leave that to Judy, the owner. I’m here to carve. 
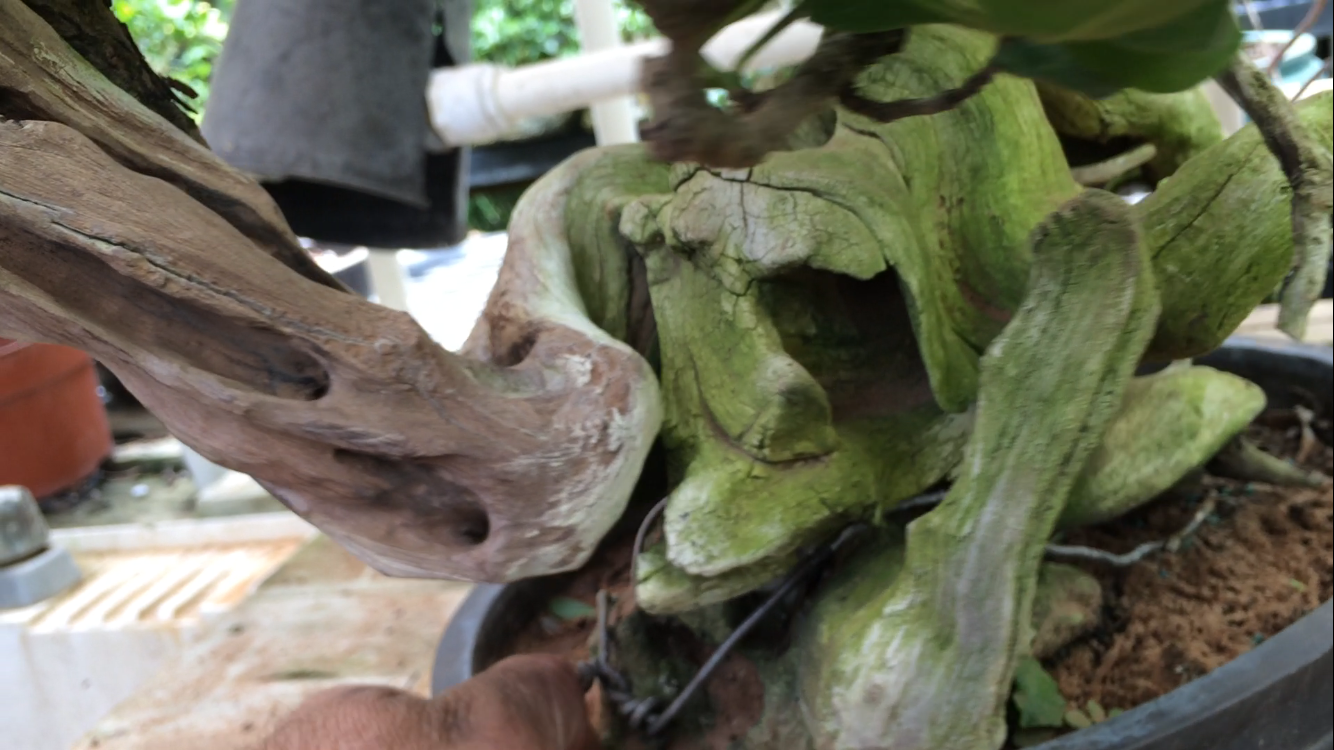
Pretty elaborate deadwood. It’ll be a challenge to match. 
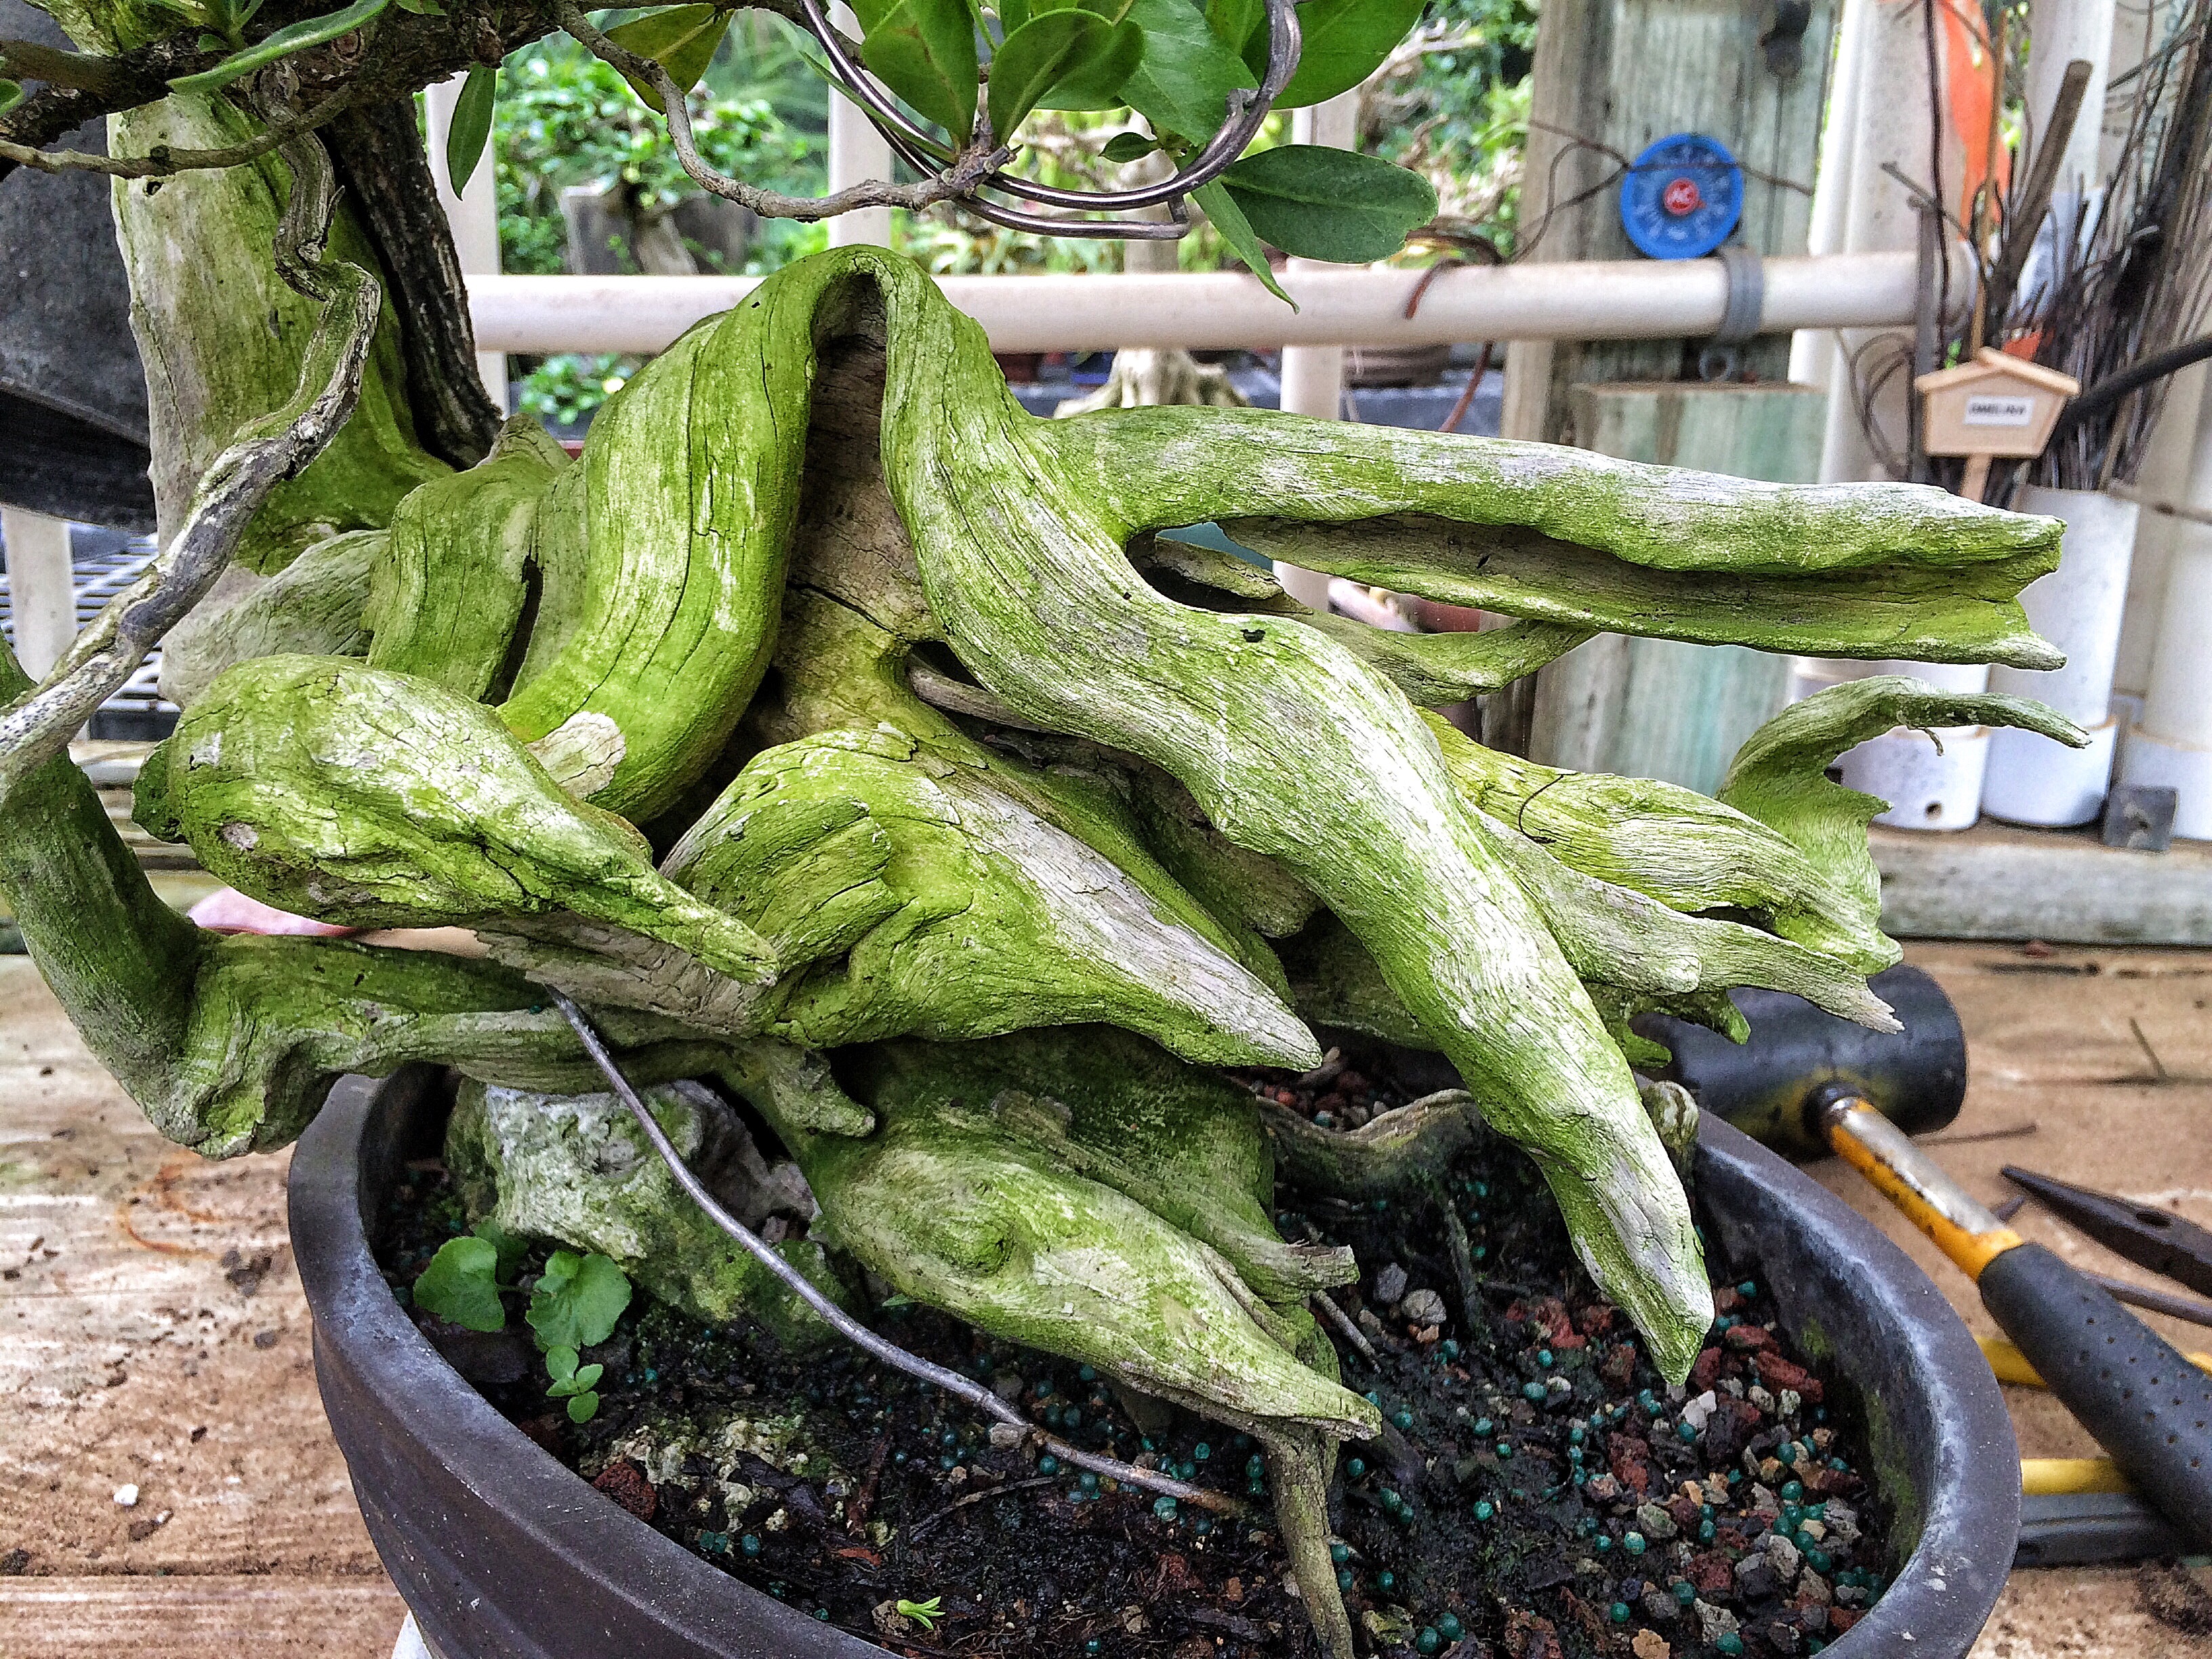
The backside, which used to be the front. 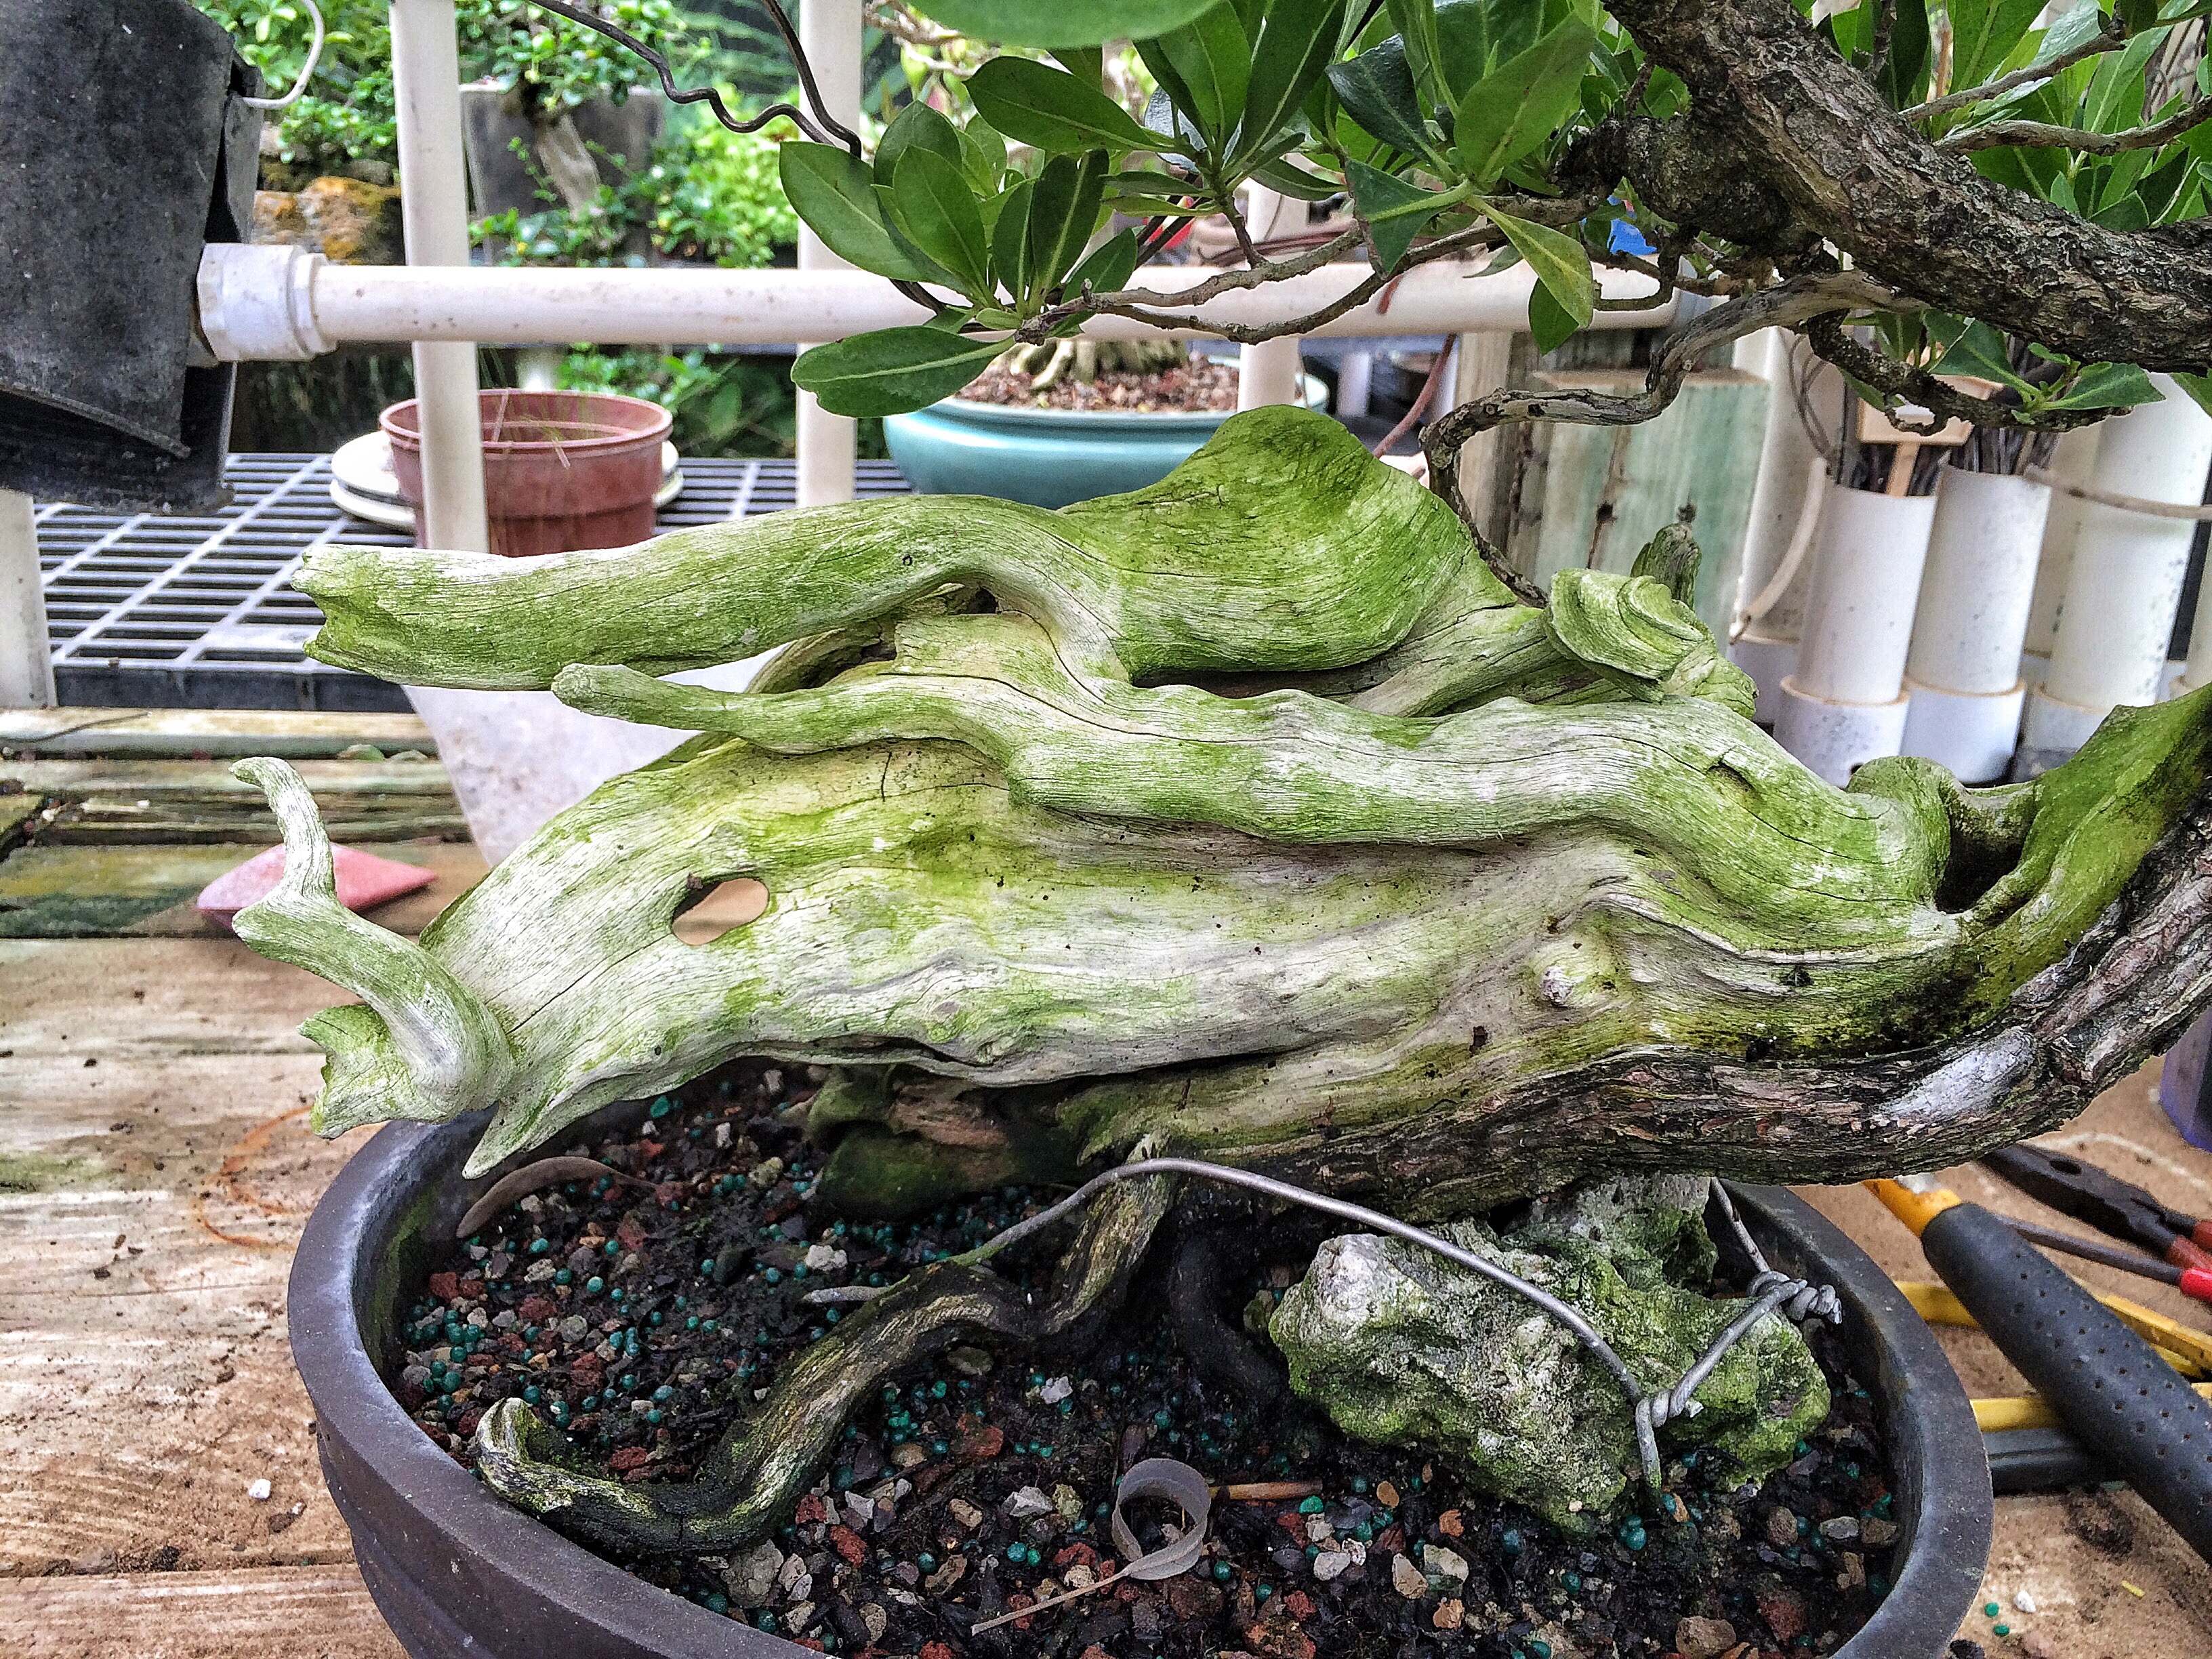
This area is where I need to focus. 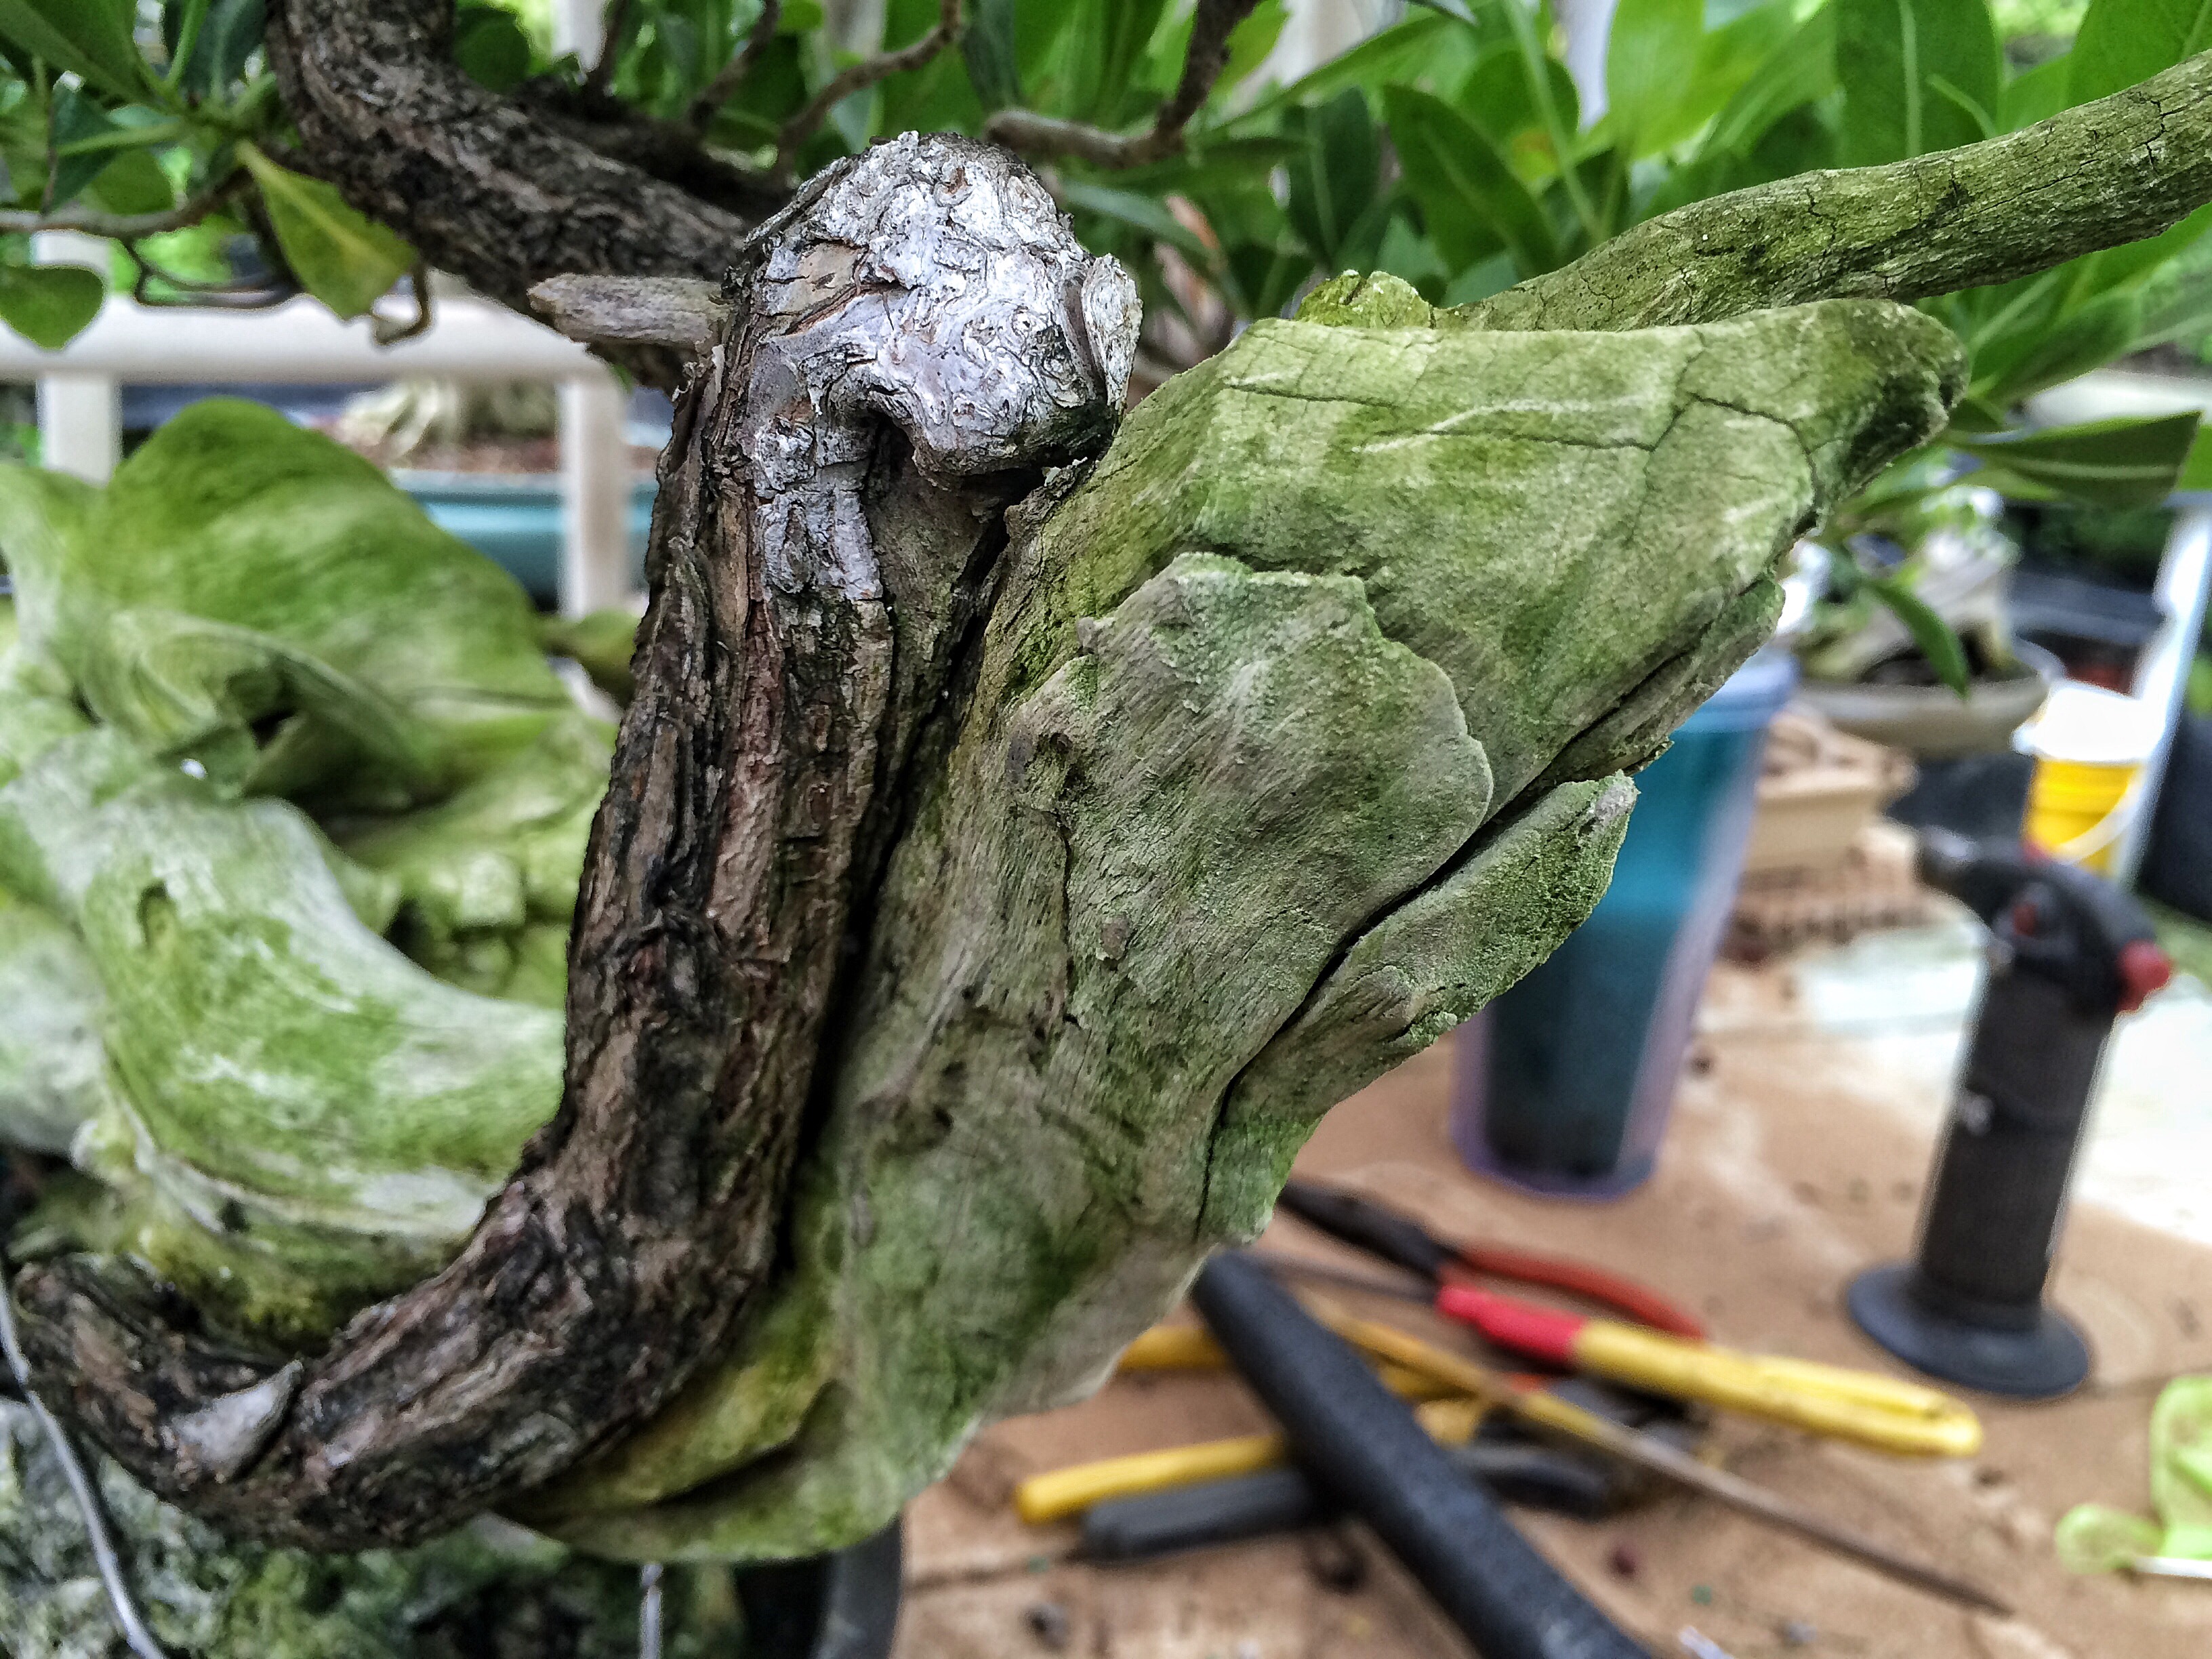 It’s a bit chunky and plain.
 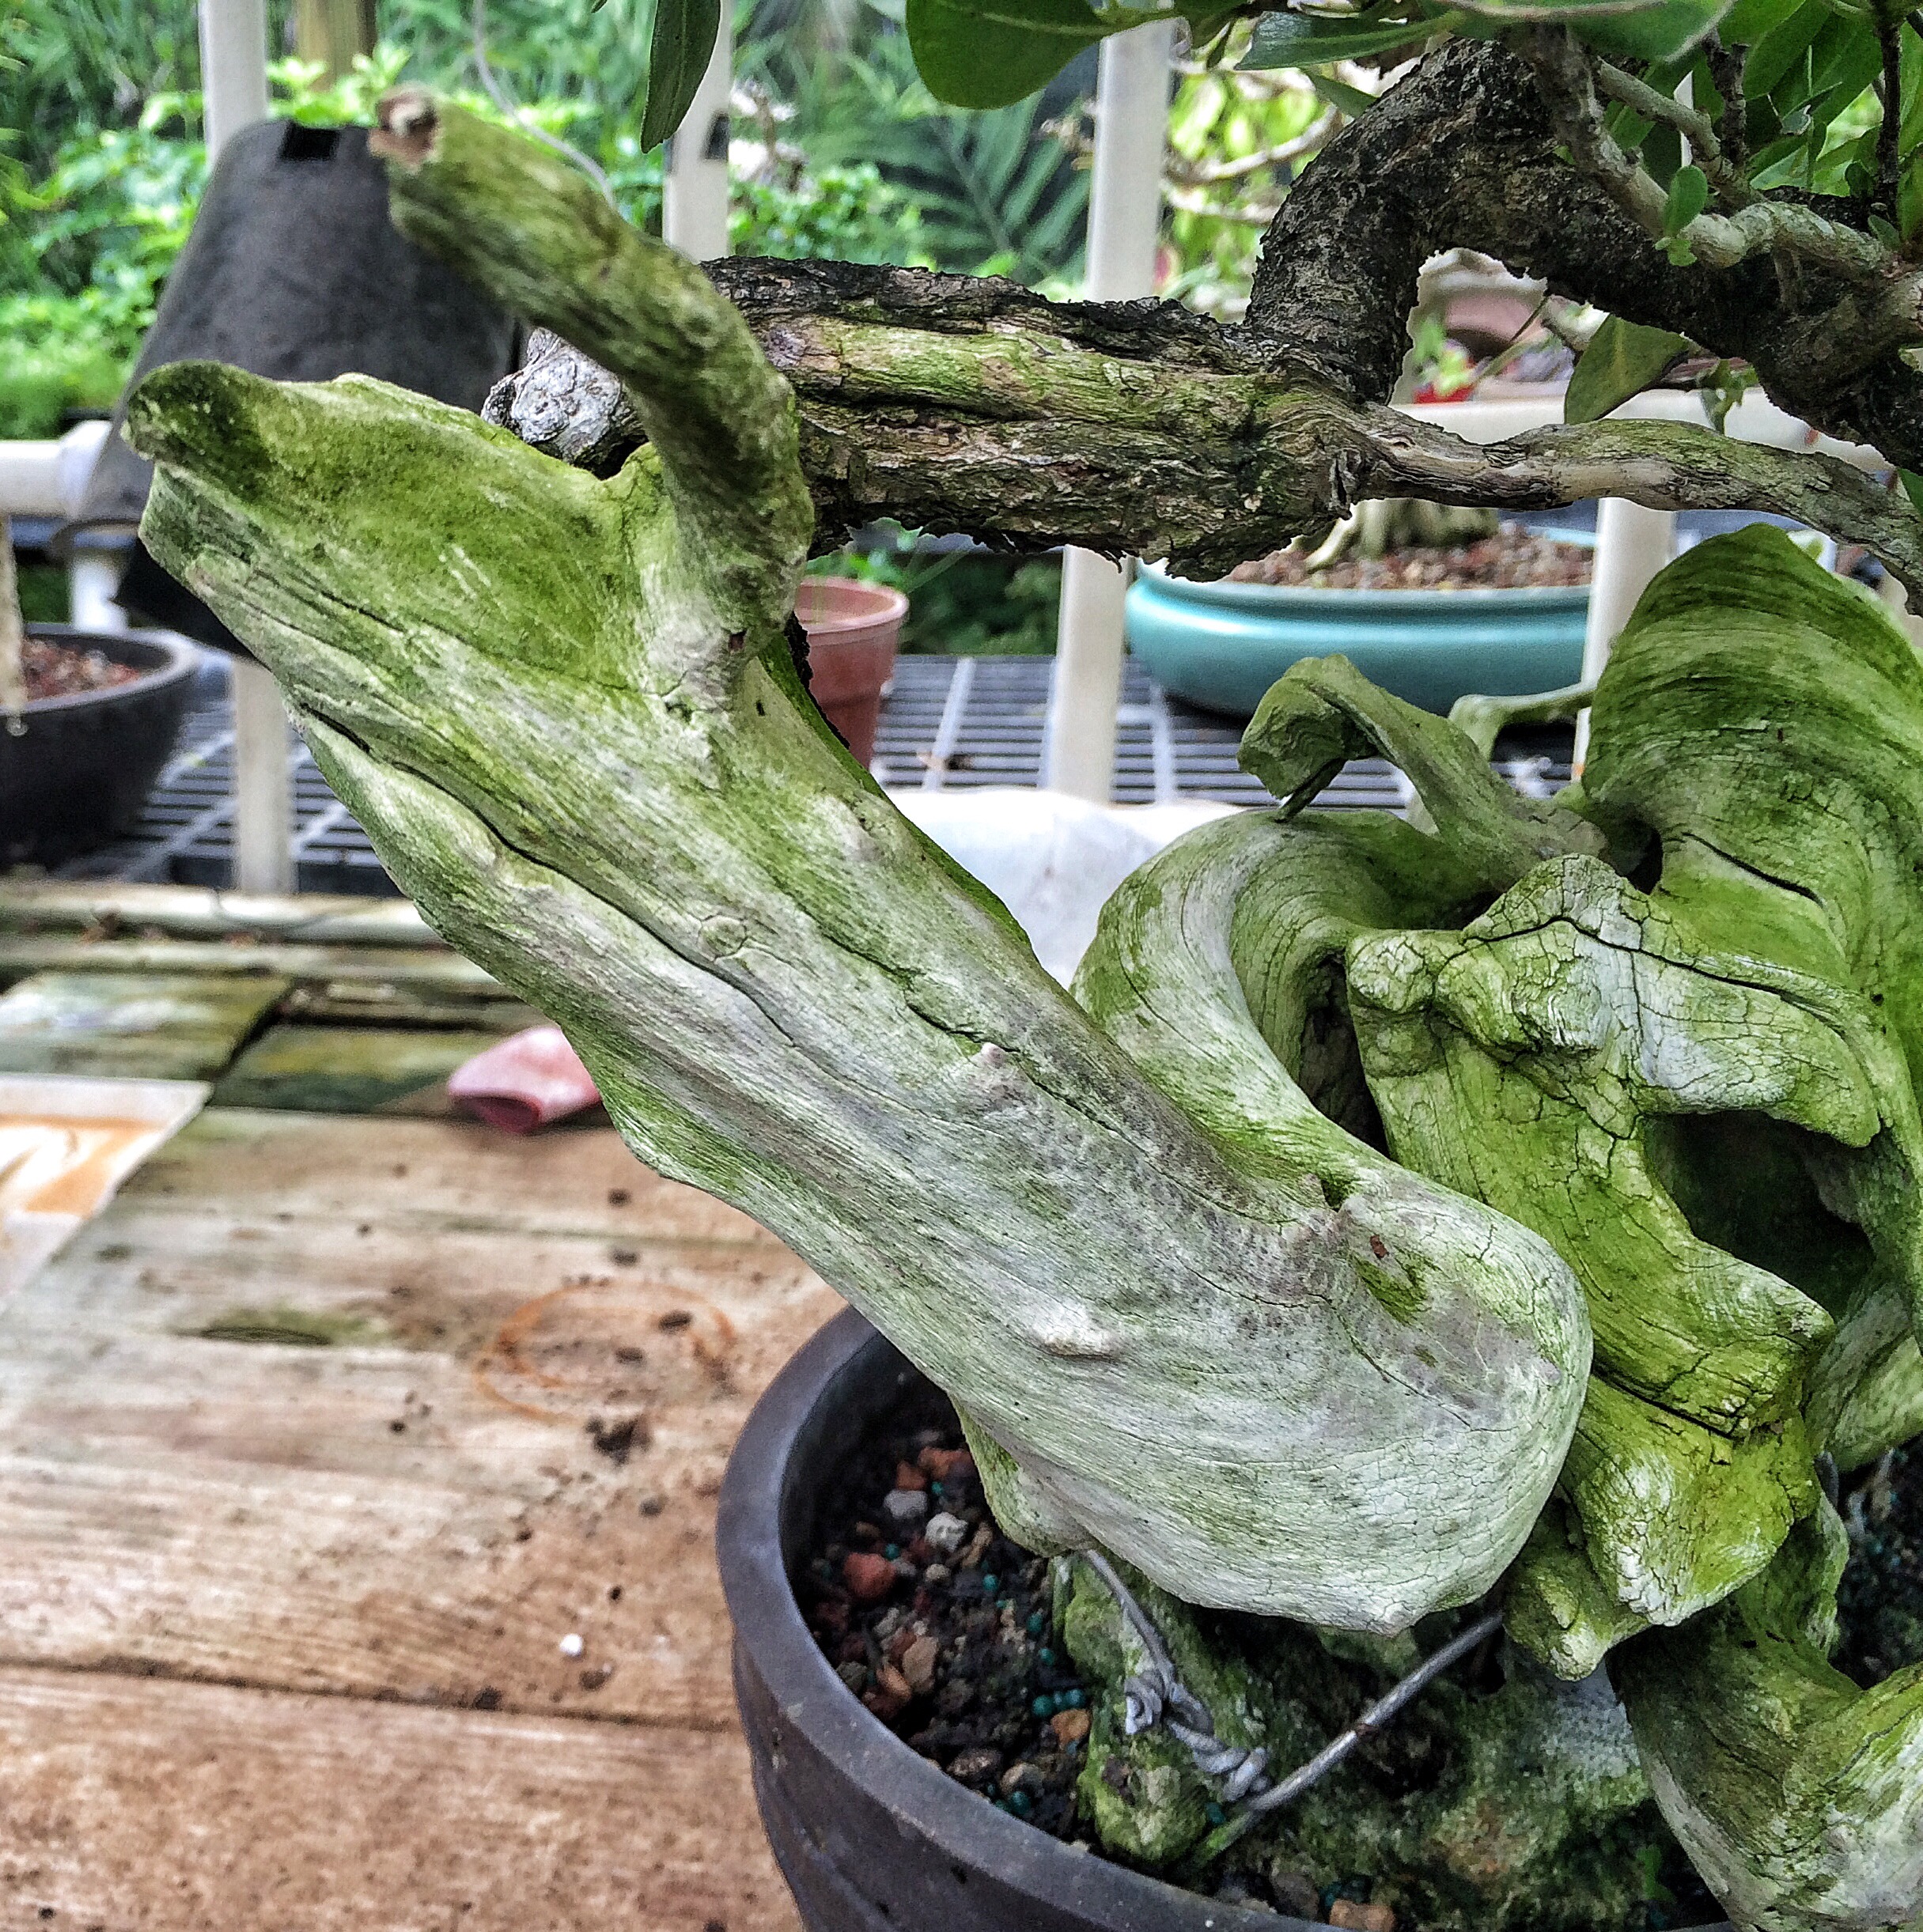 There was probably a longer Jin or branch that someone broke off and whittled down with Jin pliers (or their teeth). That’s how deadwood treatment is usually taught with buttonwood in la Florida . There’s almost a mystical aversion to using power tools when carving them. But, in the name of progress (and continued employment and a living wage and food for my family), I’ll try my best to convince you that there is a place for their use. Wish me luck.
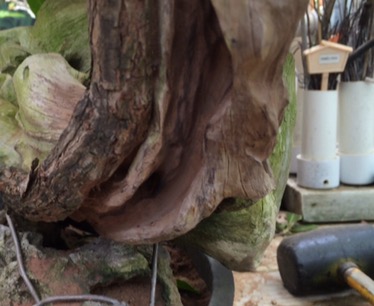
The idea is to match these types of features and the textures. 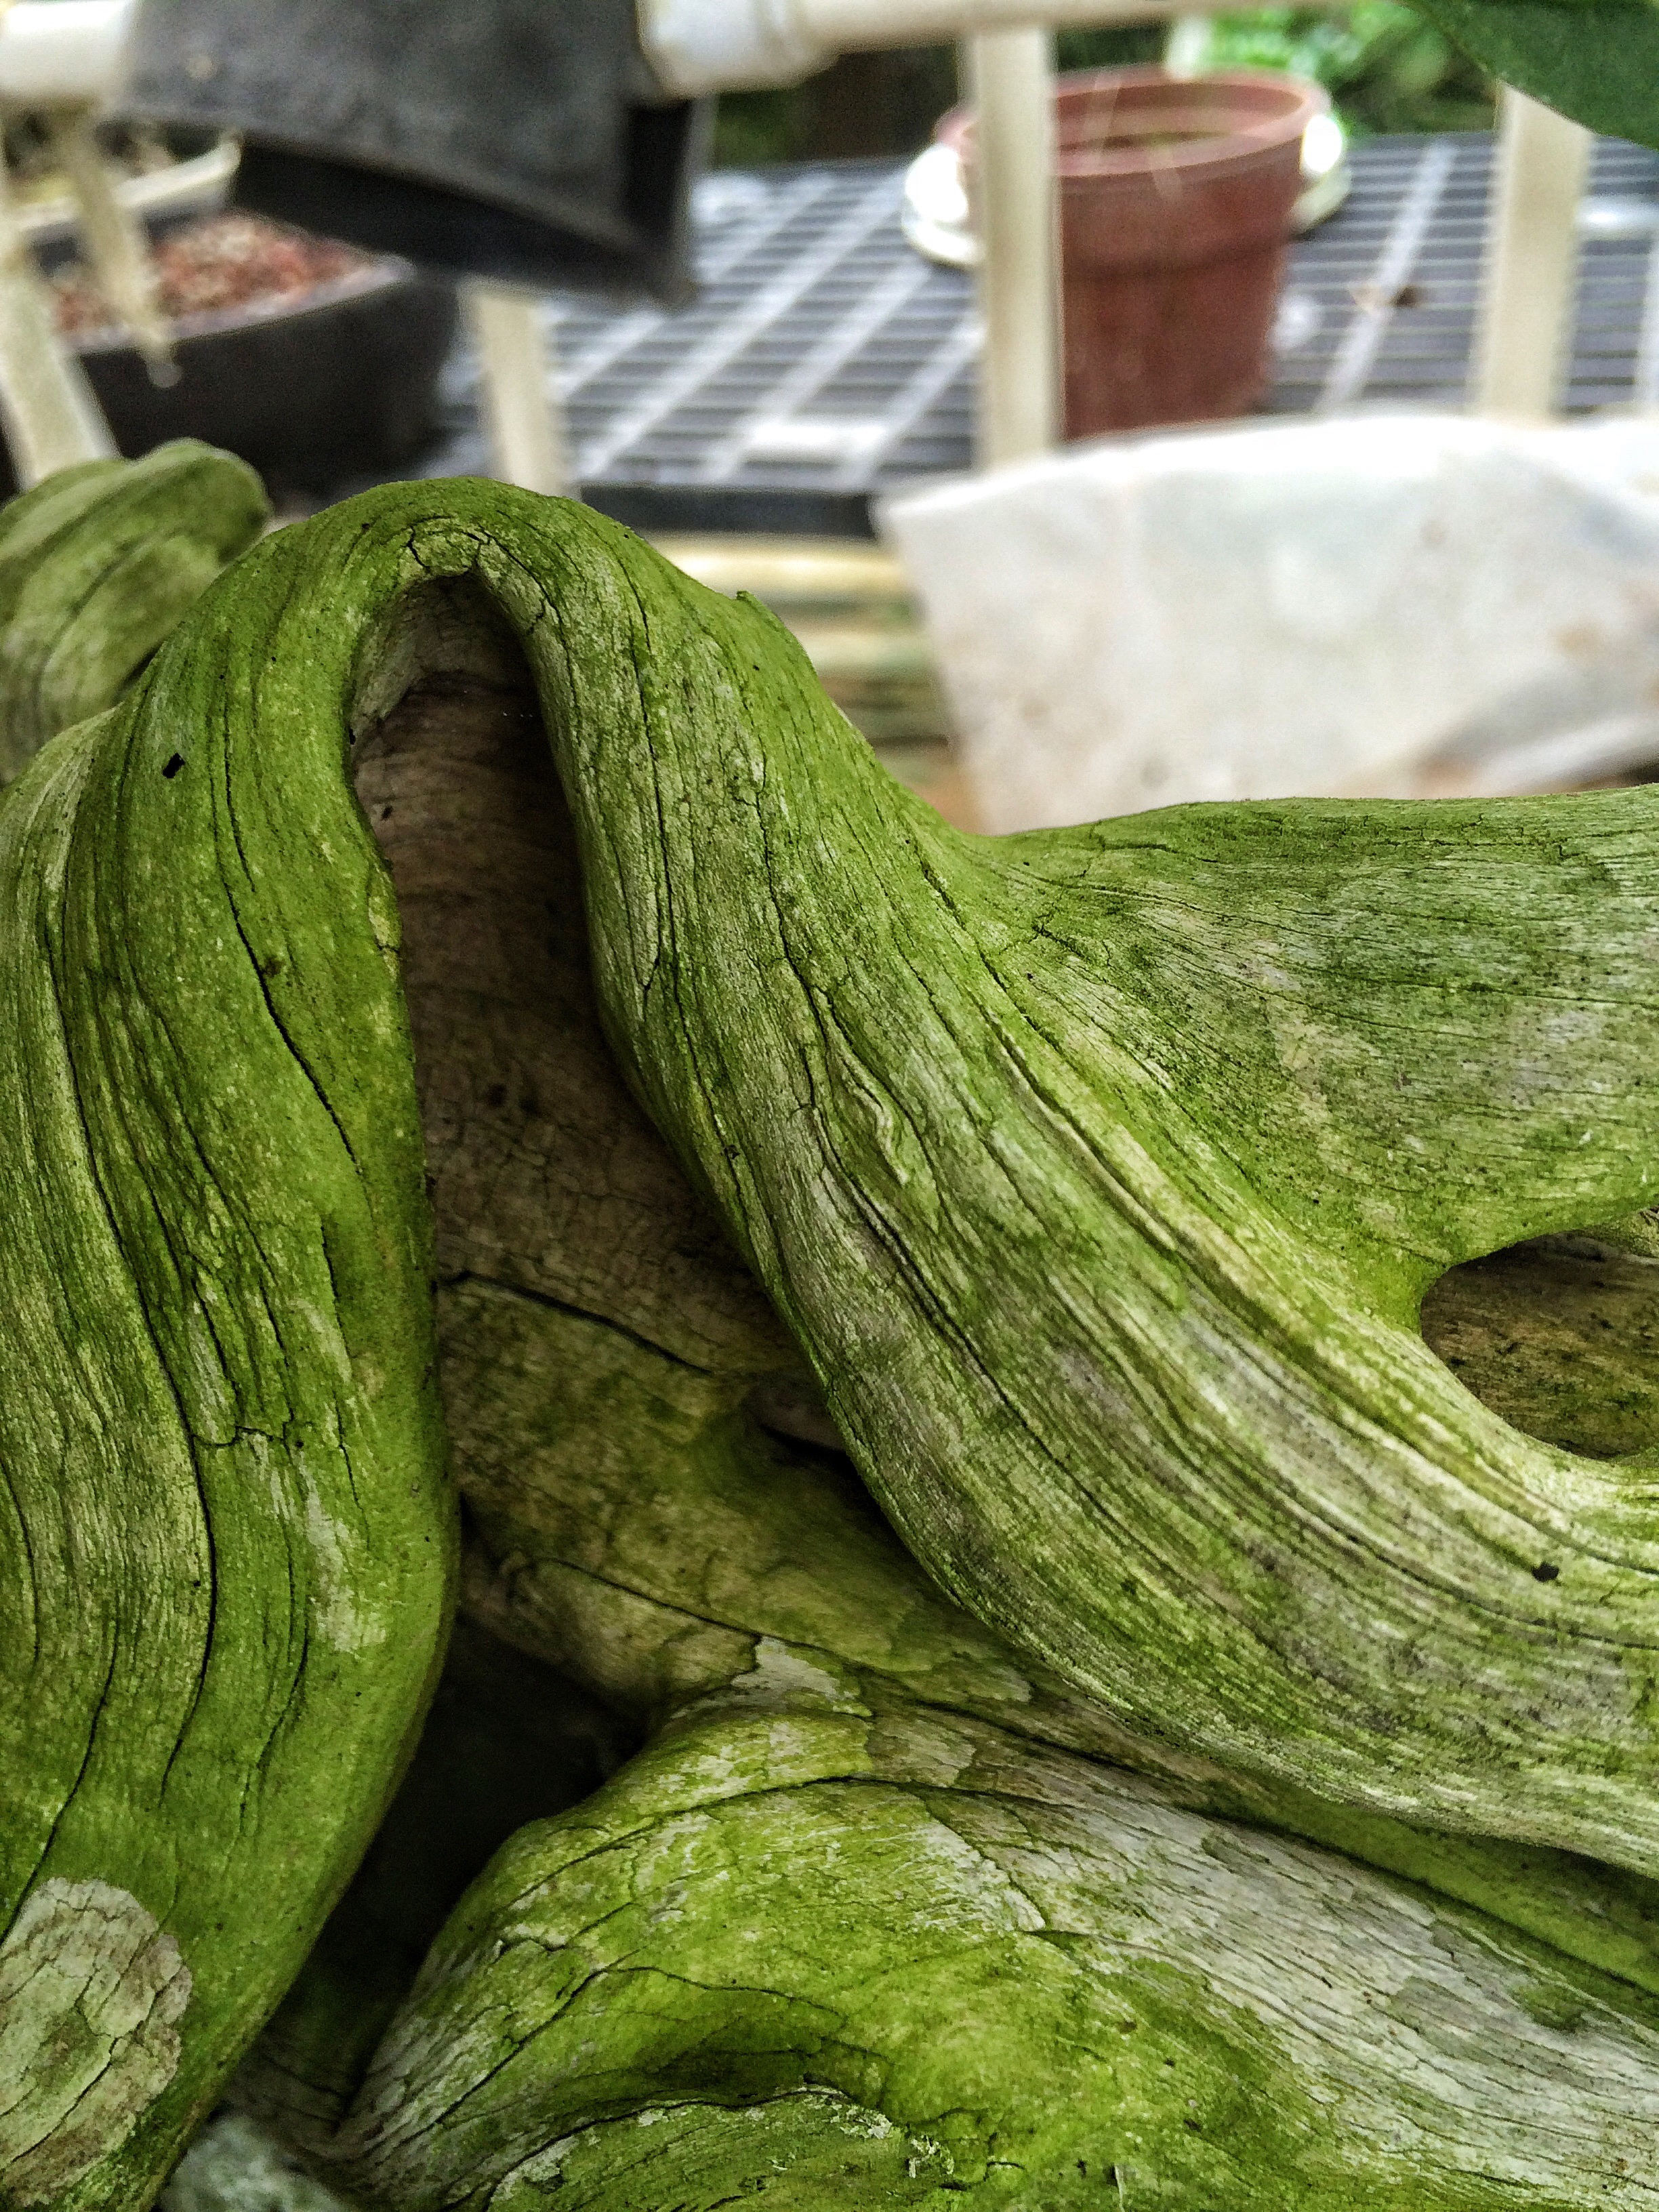 Unfortunately, some details only happen with time.
Sorry, a little blurry. 
Looking at this chunk again, you can see how out of character it is. It’s flat, boring, inelegant. Like watching me dance. 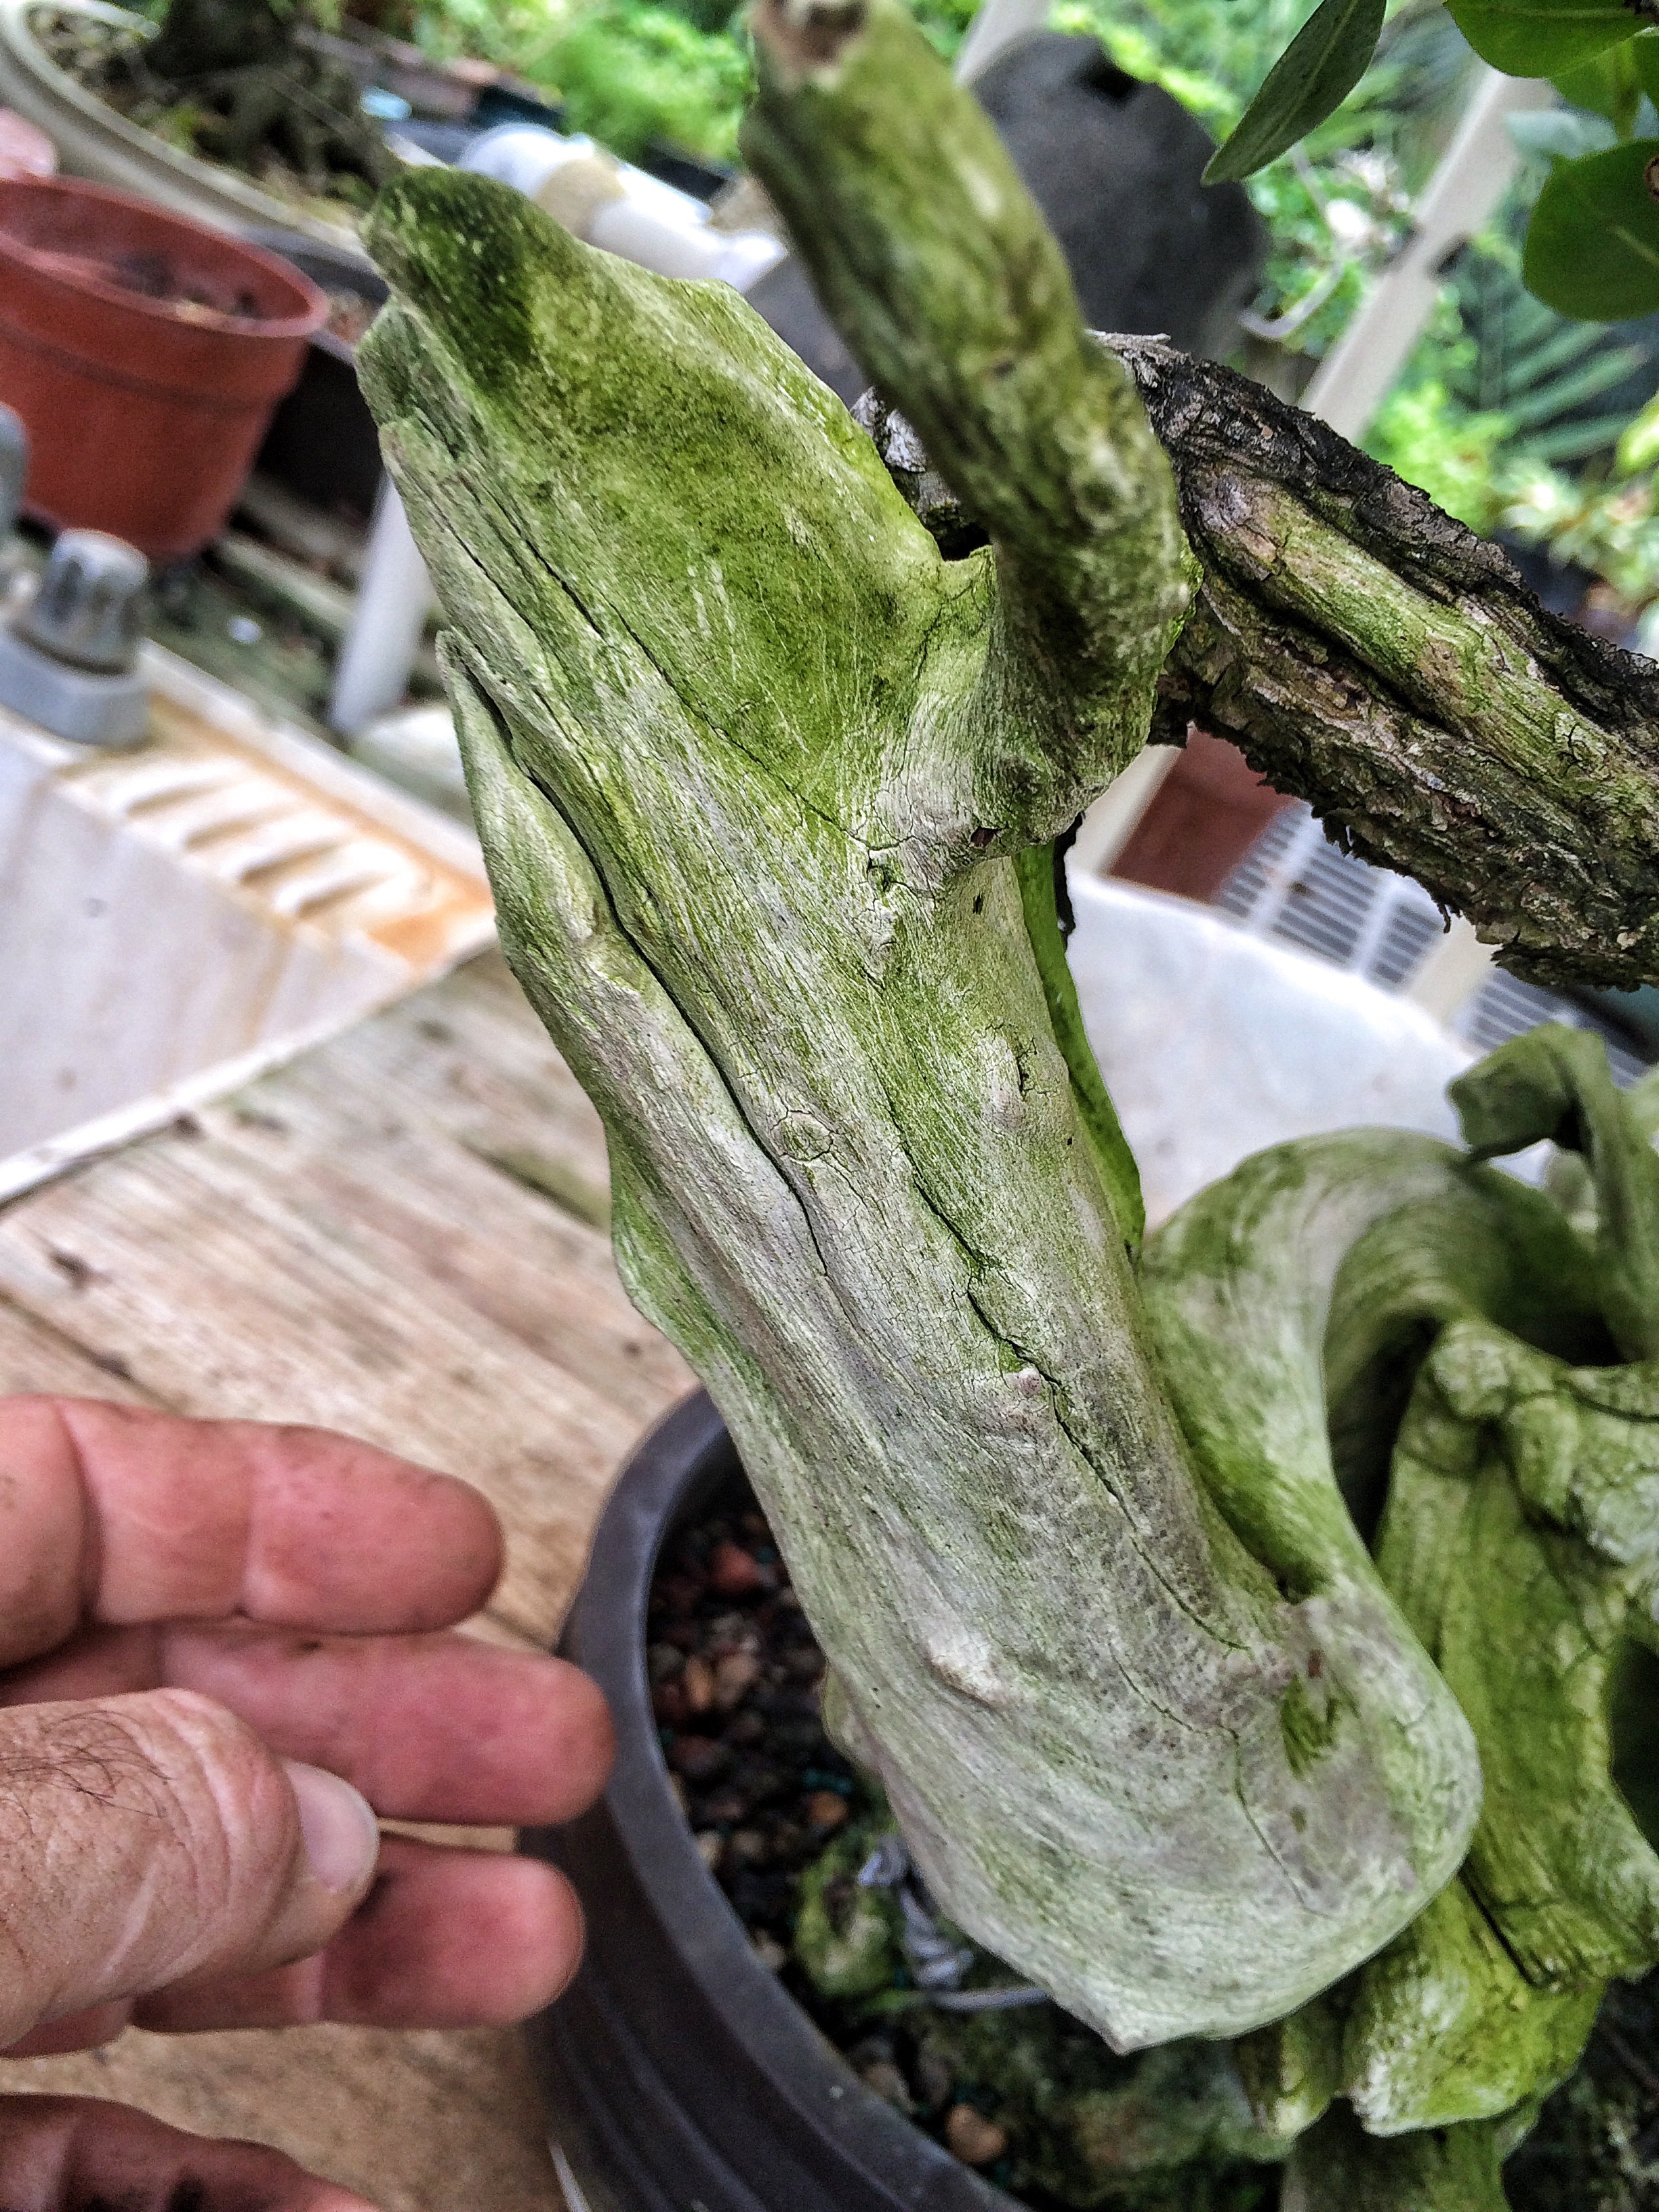 My “dancing” happens when I carve. Using the magic of alternating current, the pure power of lightening, pulsing through my carving tools, channeling out from my gnarled hands and into the tortured, ancient wood.
Trying to build drama…..
The tool I’m using is called a Mastercarver®

Stole that pic directly from Woodcarverssupply.com. Wish I had a sponsorship from them…….hint hint……
I get all my carving bits and tools from them.
A roto saw carbide bit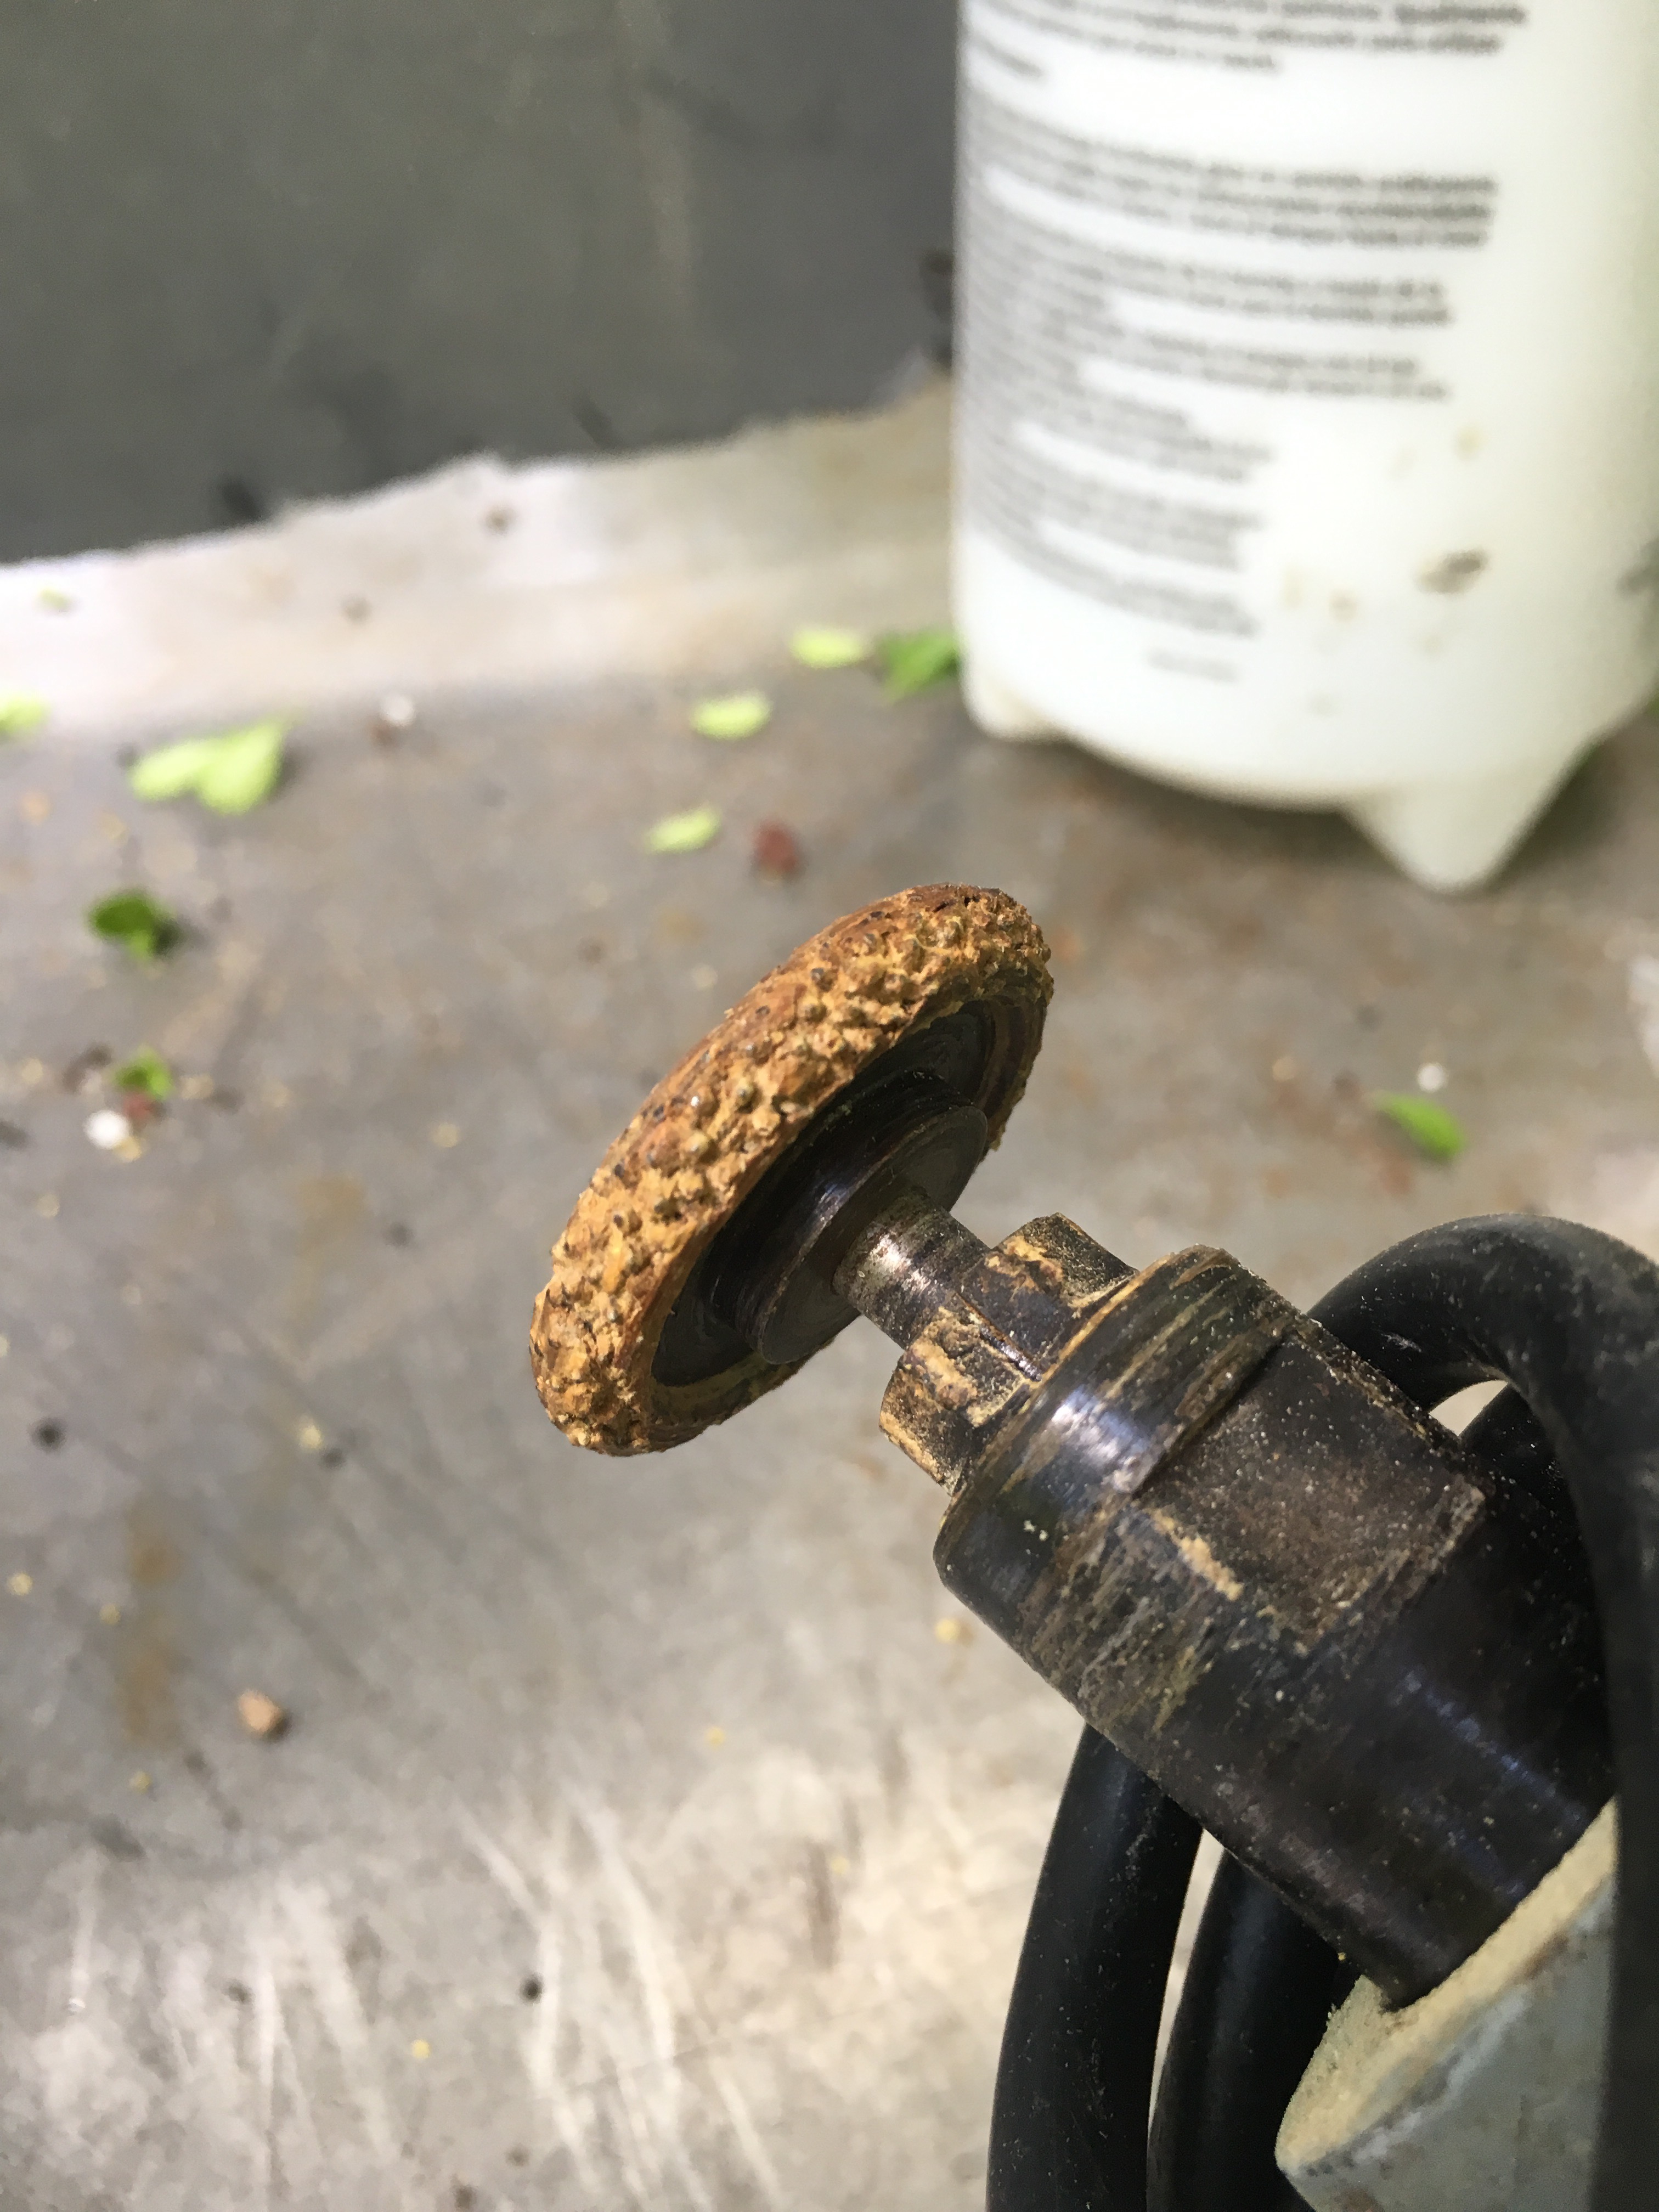
Small flame carbide burr.

Large flame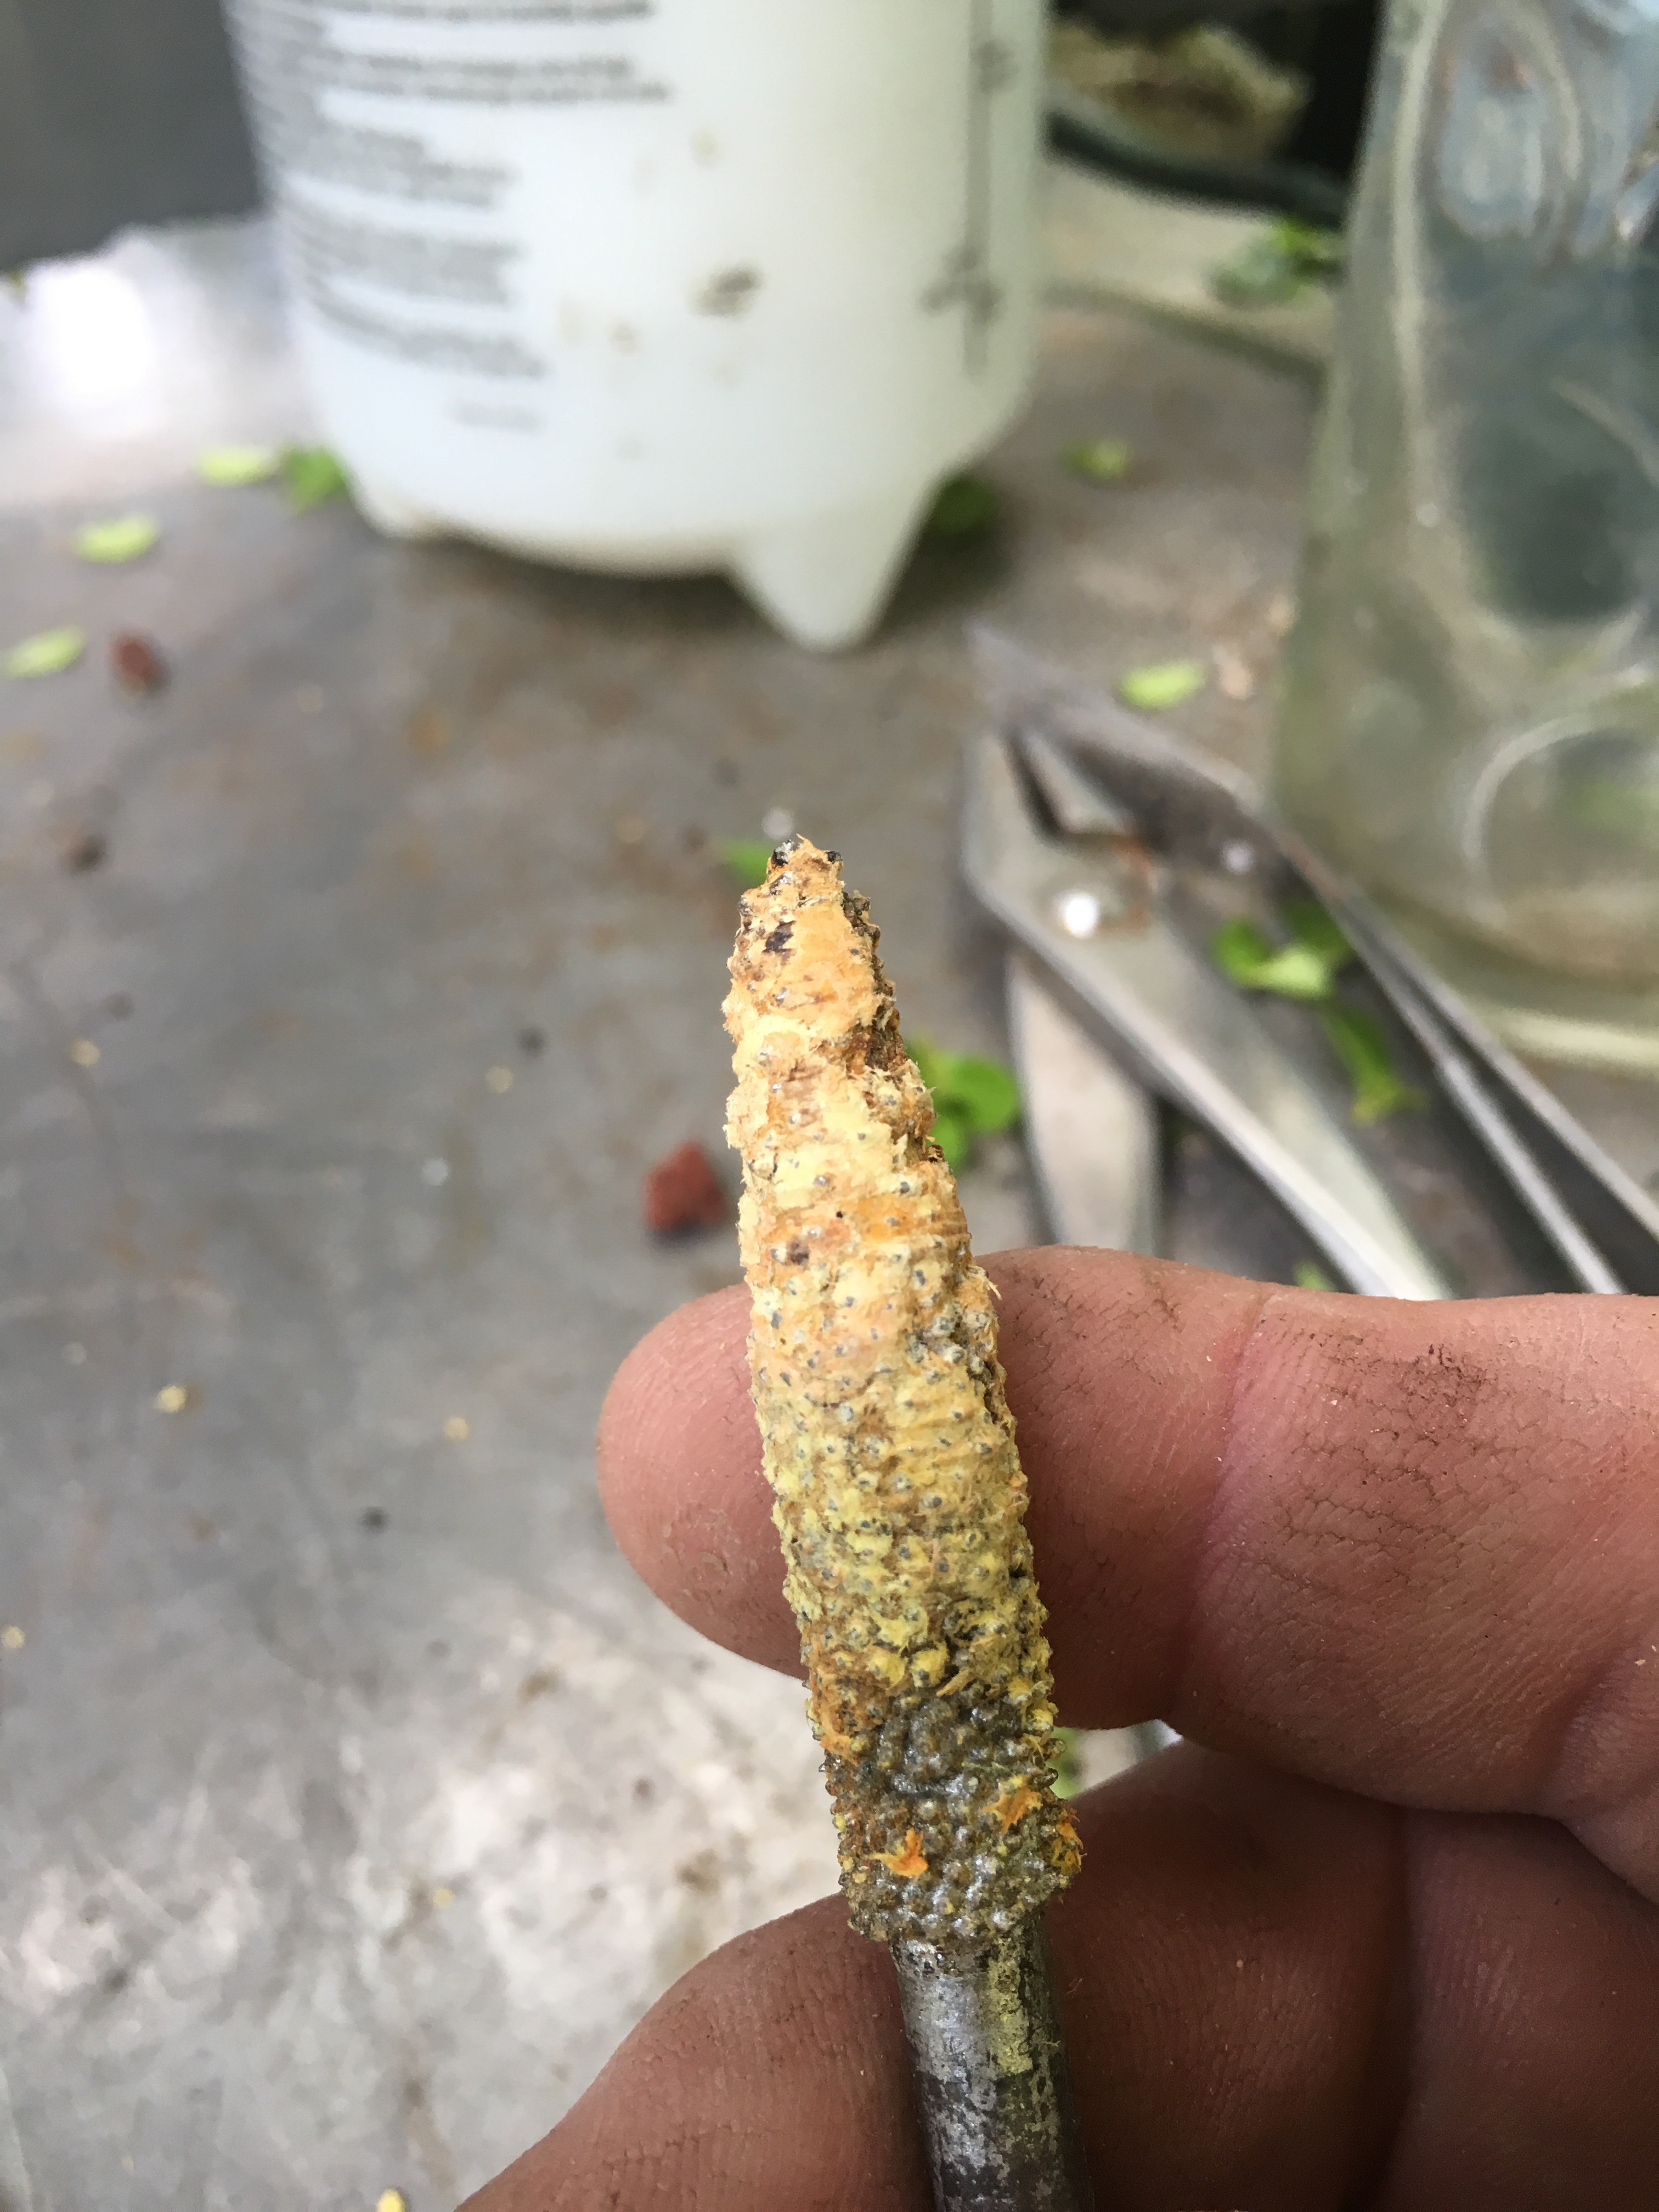
Teardrop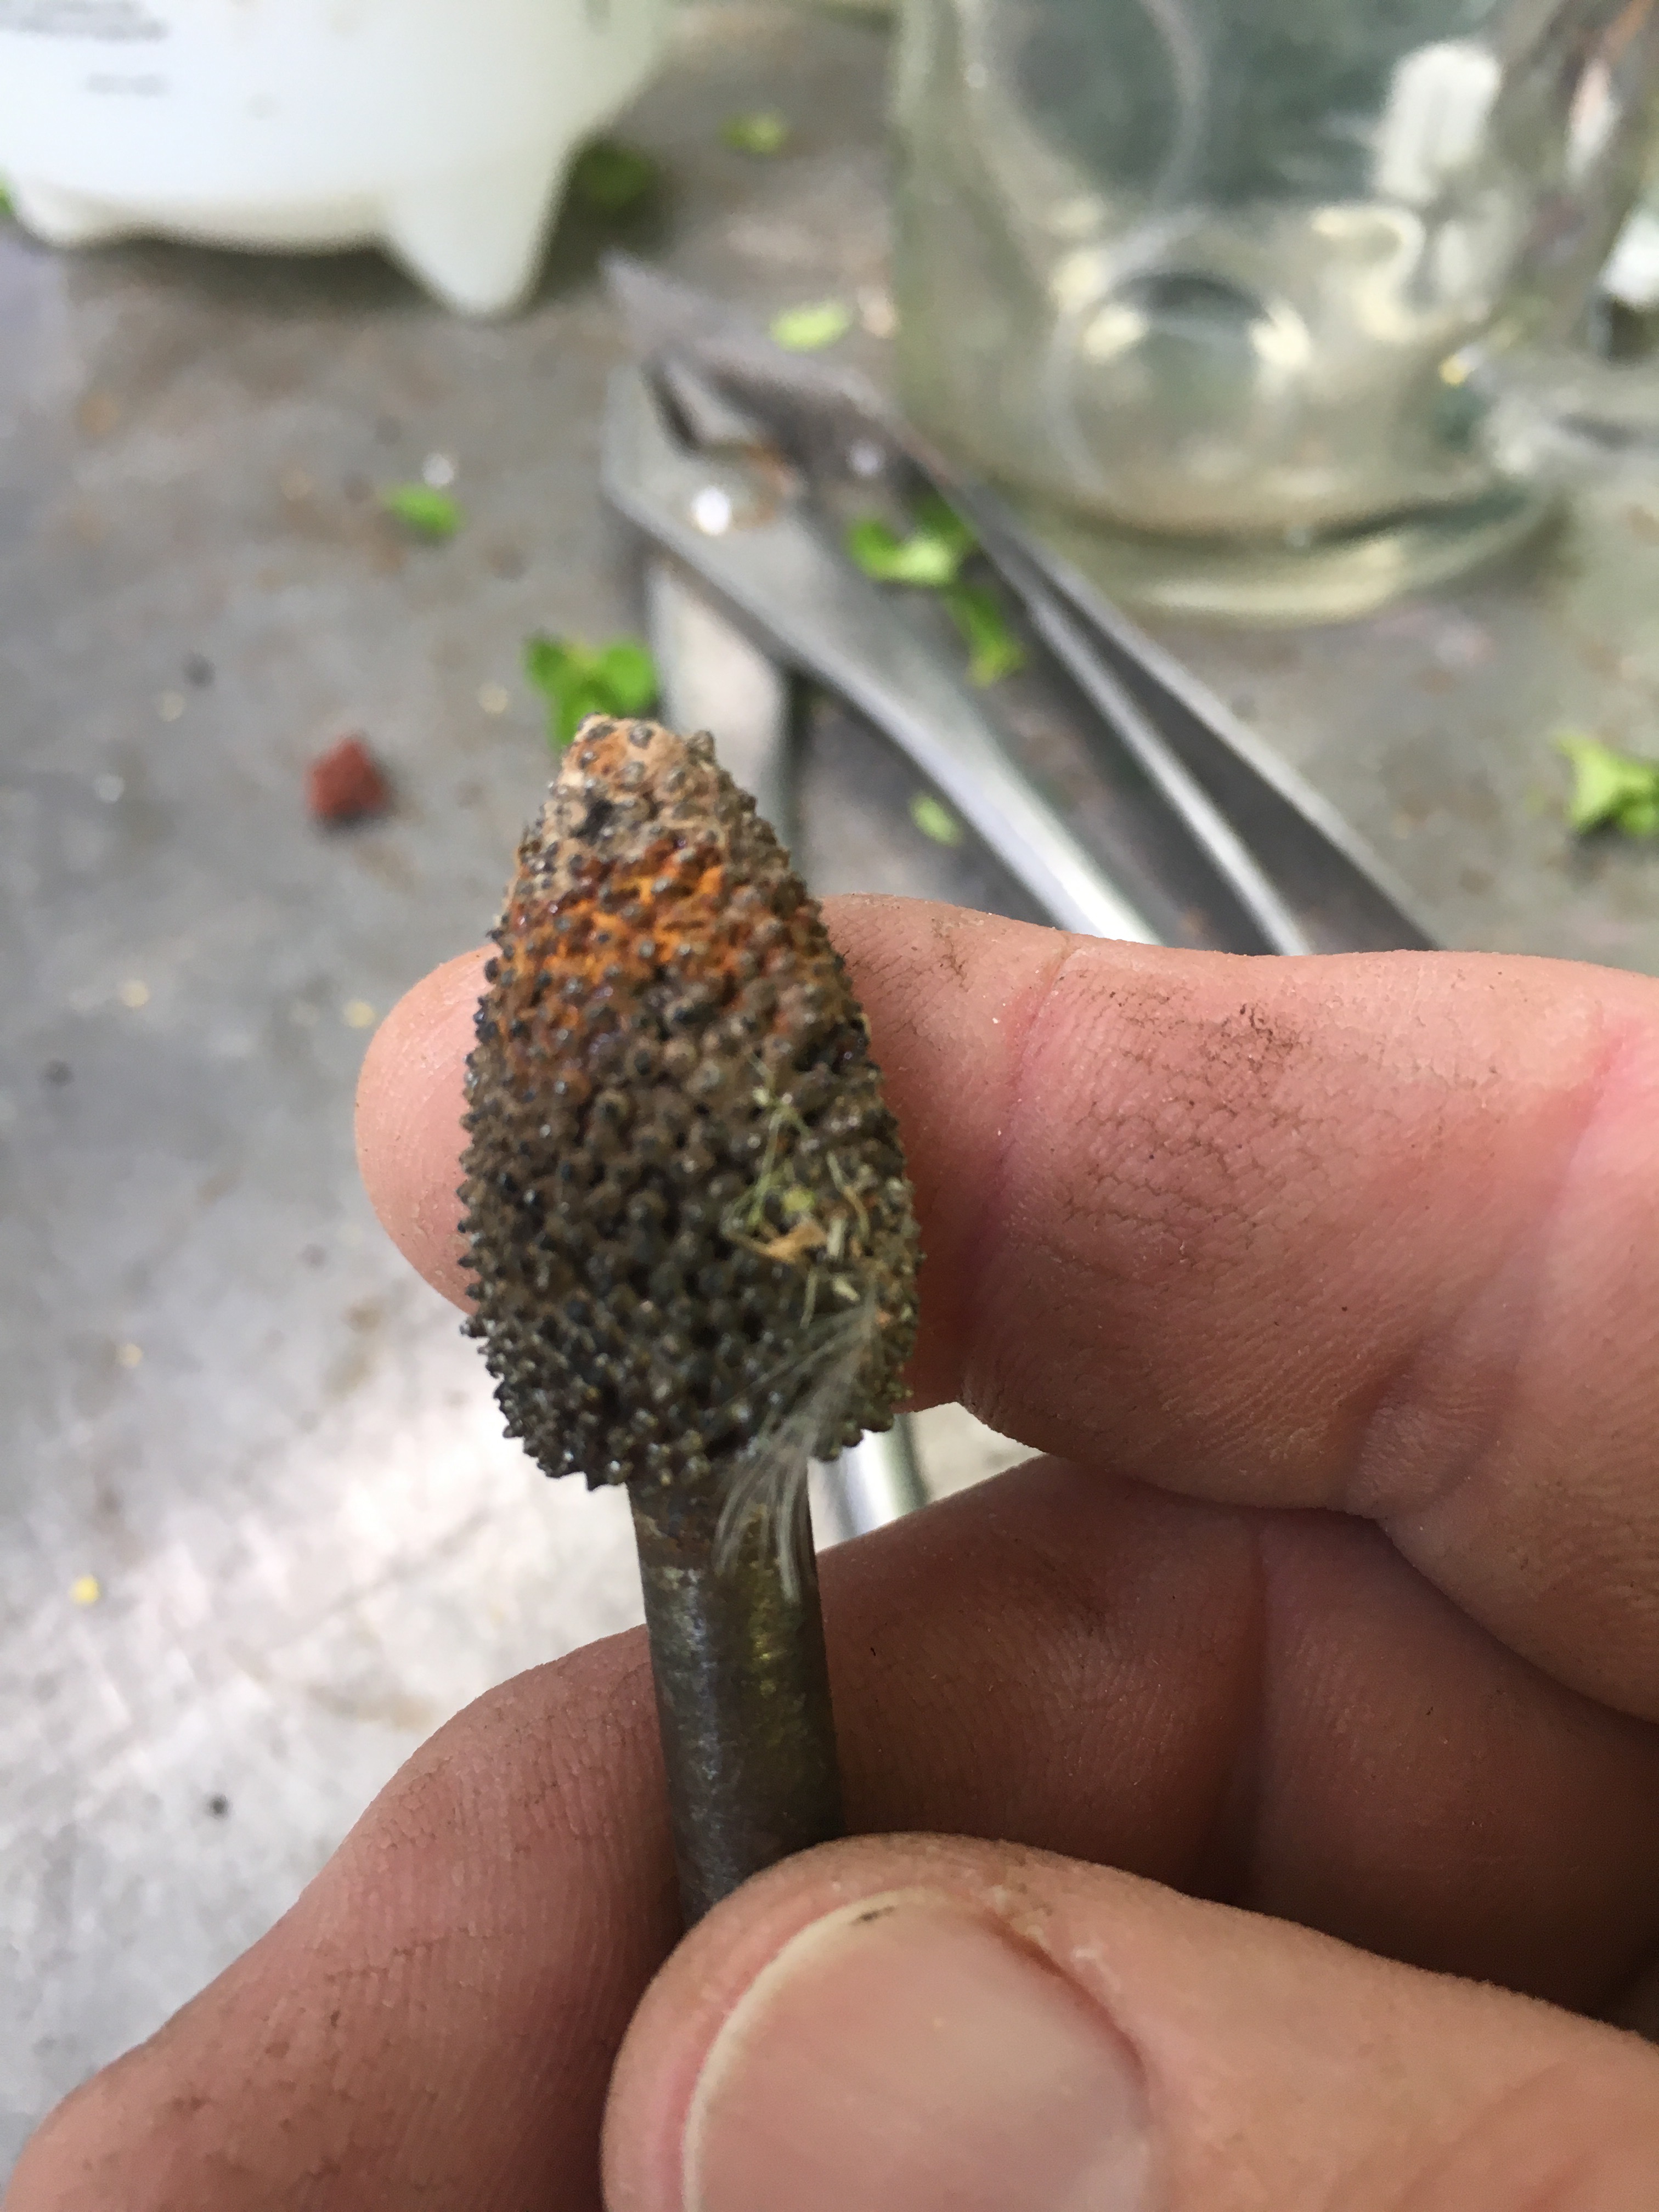
The small hand piece with a small roto saw. This combo is the best for detail work. I can do so much with this in my hands. 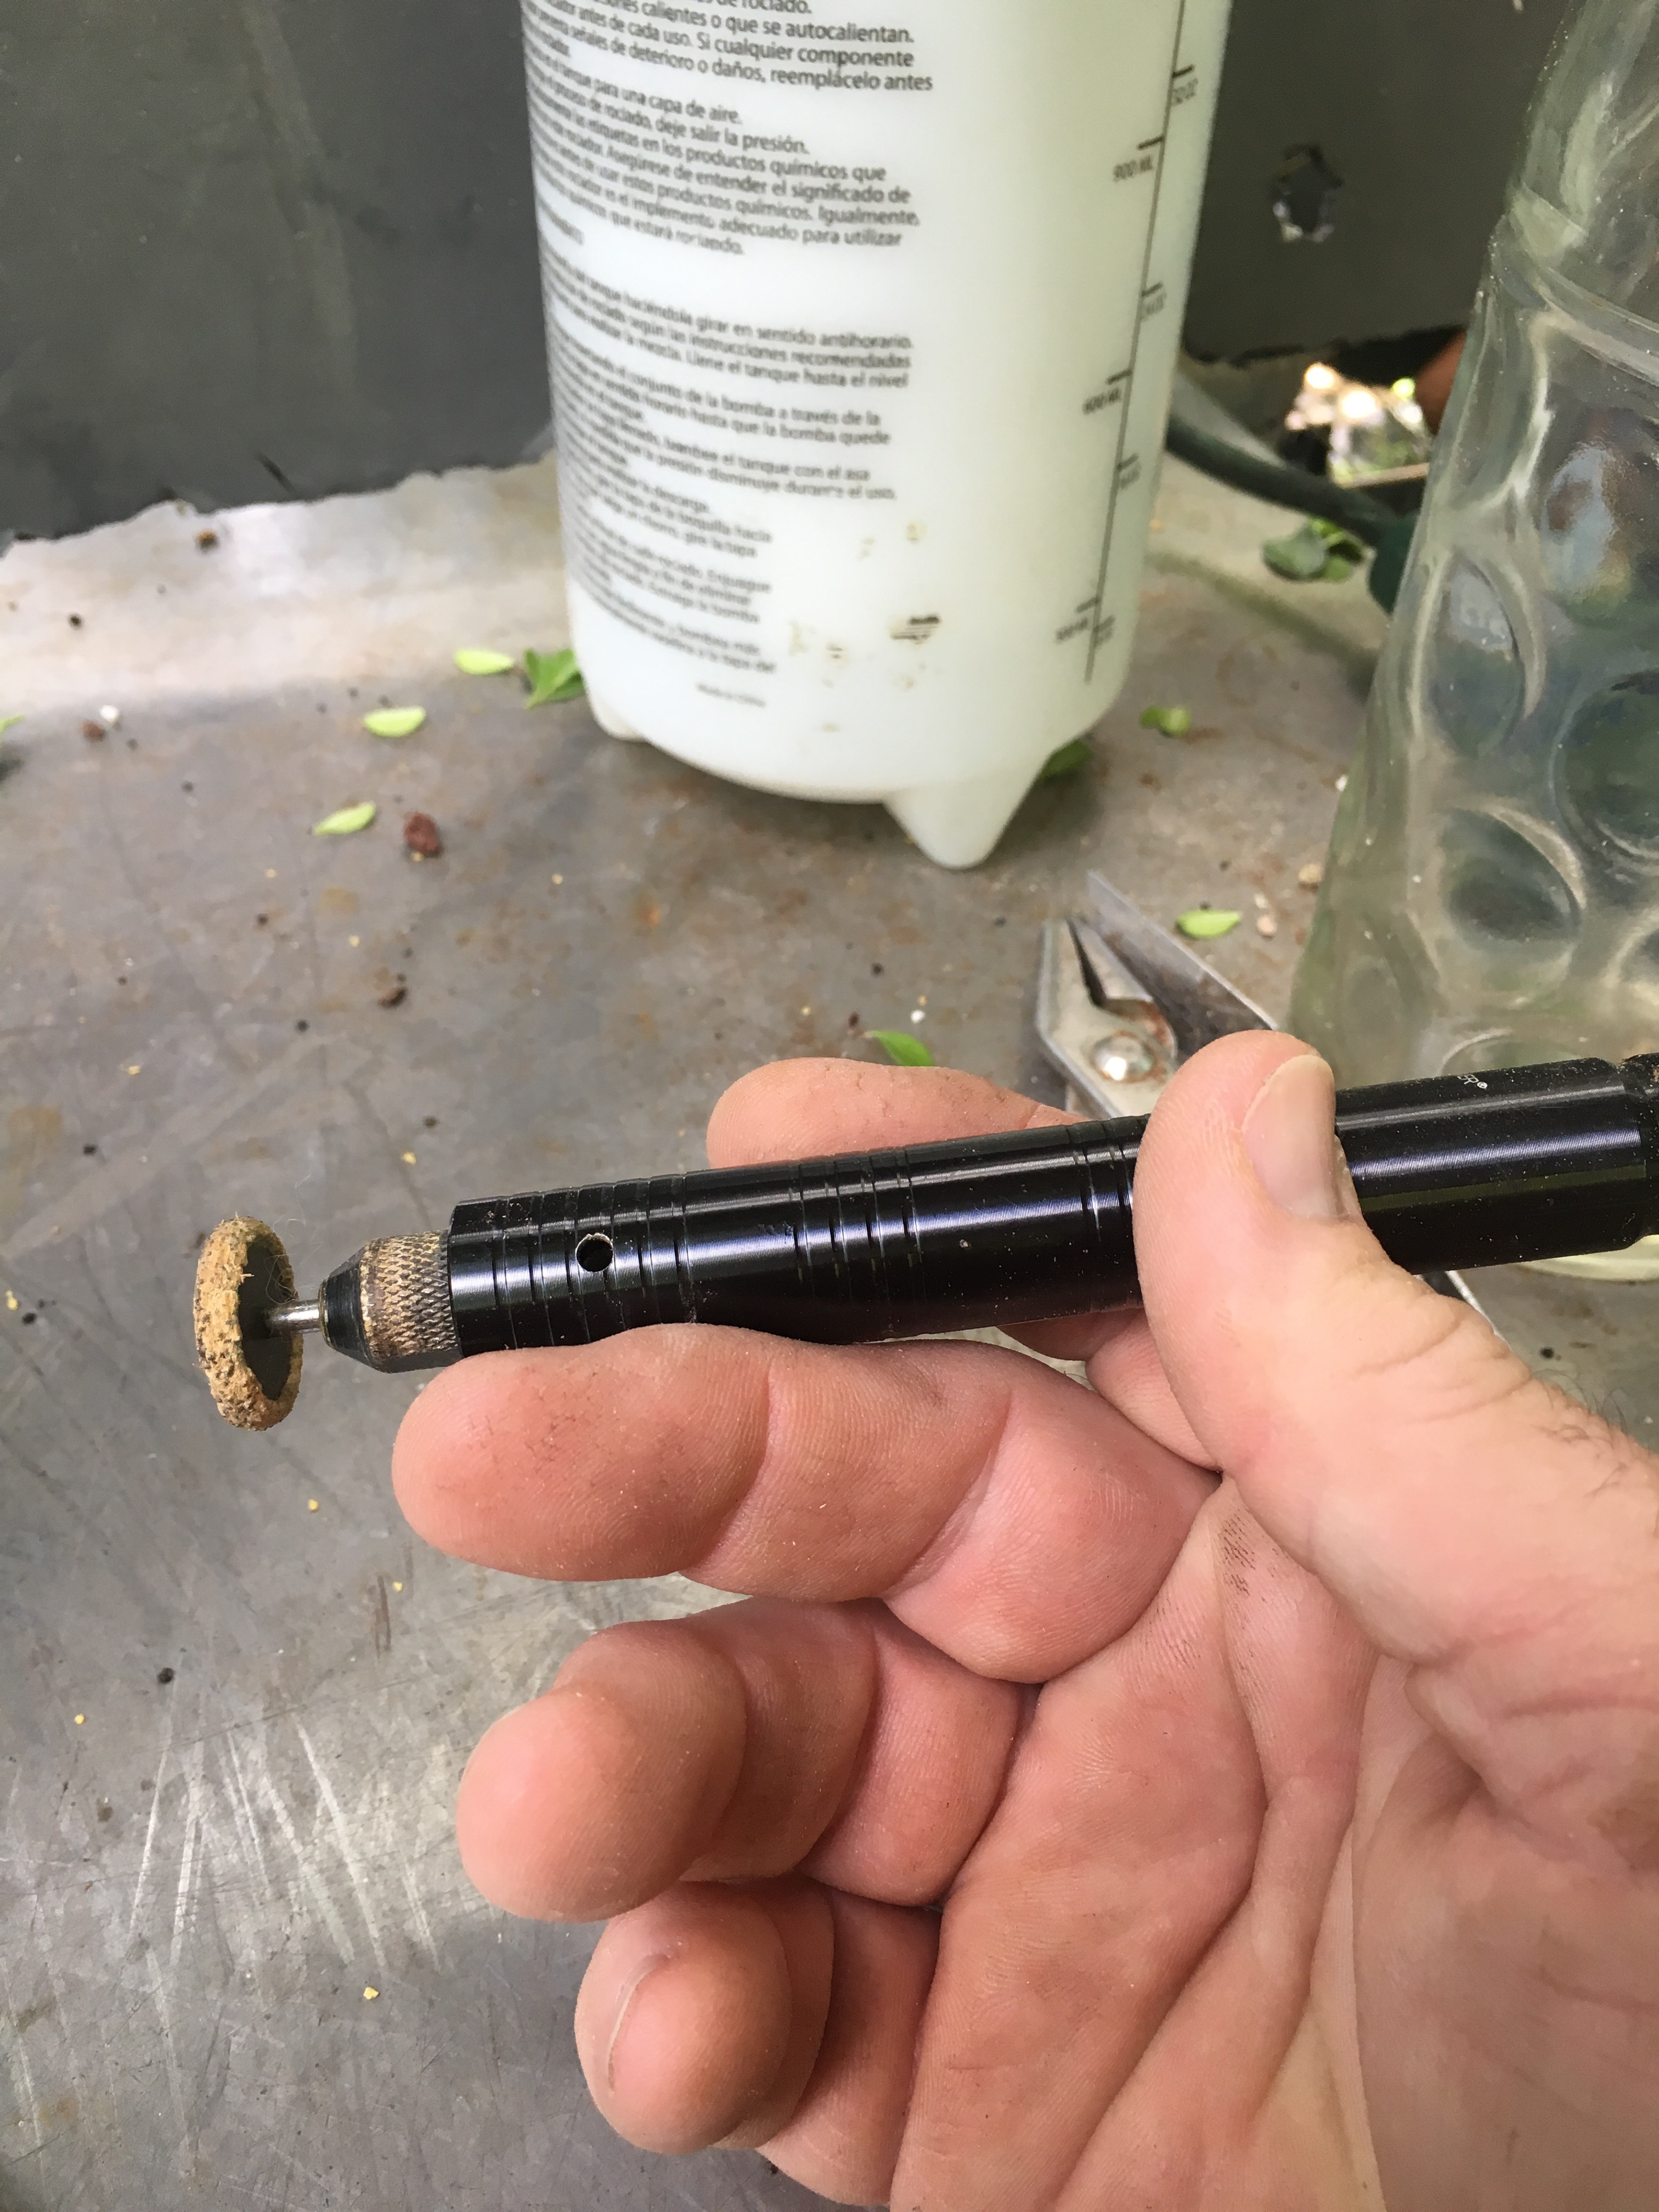 You can tell I use them often. You might say that I should be cleaning the gummed up wood from the carbide. Not too necessary, really, but if you need to, soak in plain water overnight and use a brass brush to remove it. You don’t need that expensive gunk sold for that purpose (and there goes the possibility of a sponsorship…..)
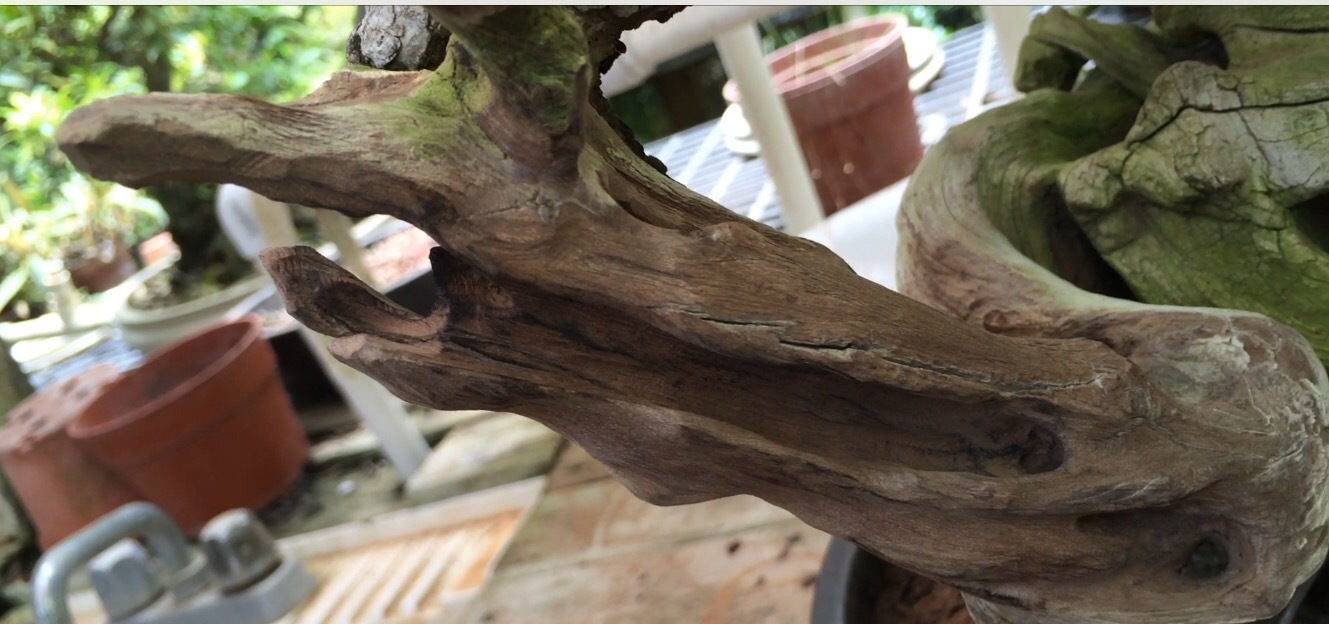
The buttonwood after about an hours worth of work. 
By hollowing it out and creating ribbons and channels, the hunk of wood is now light and airy. 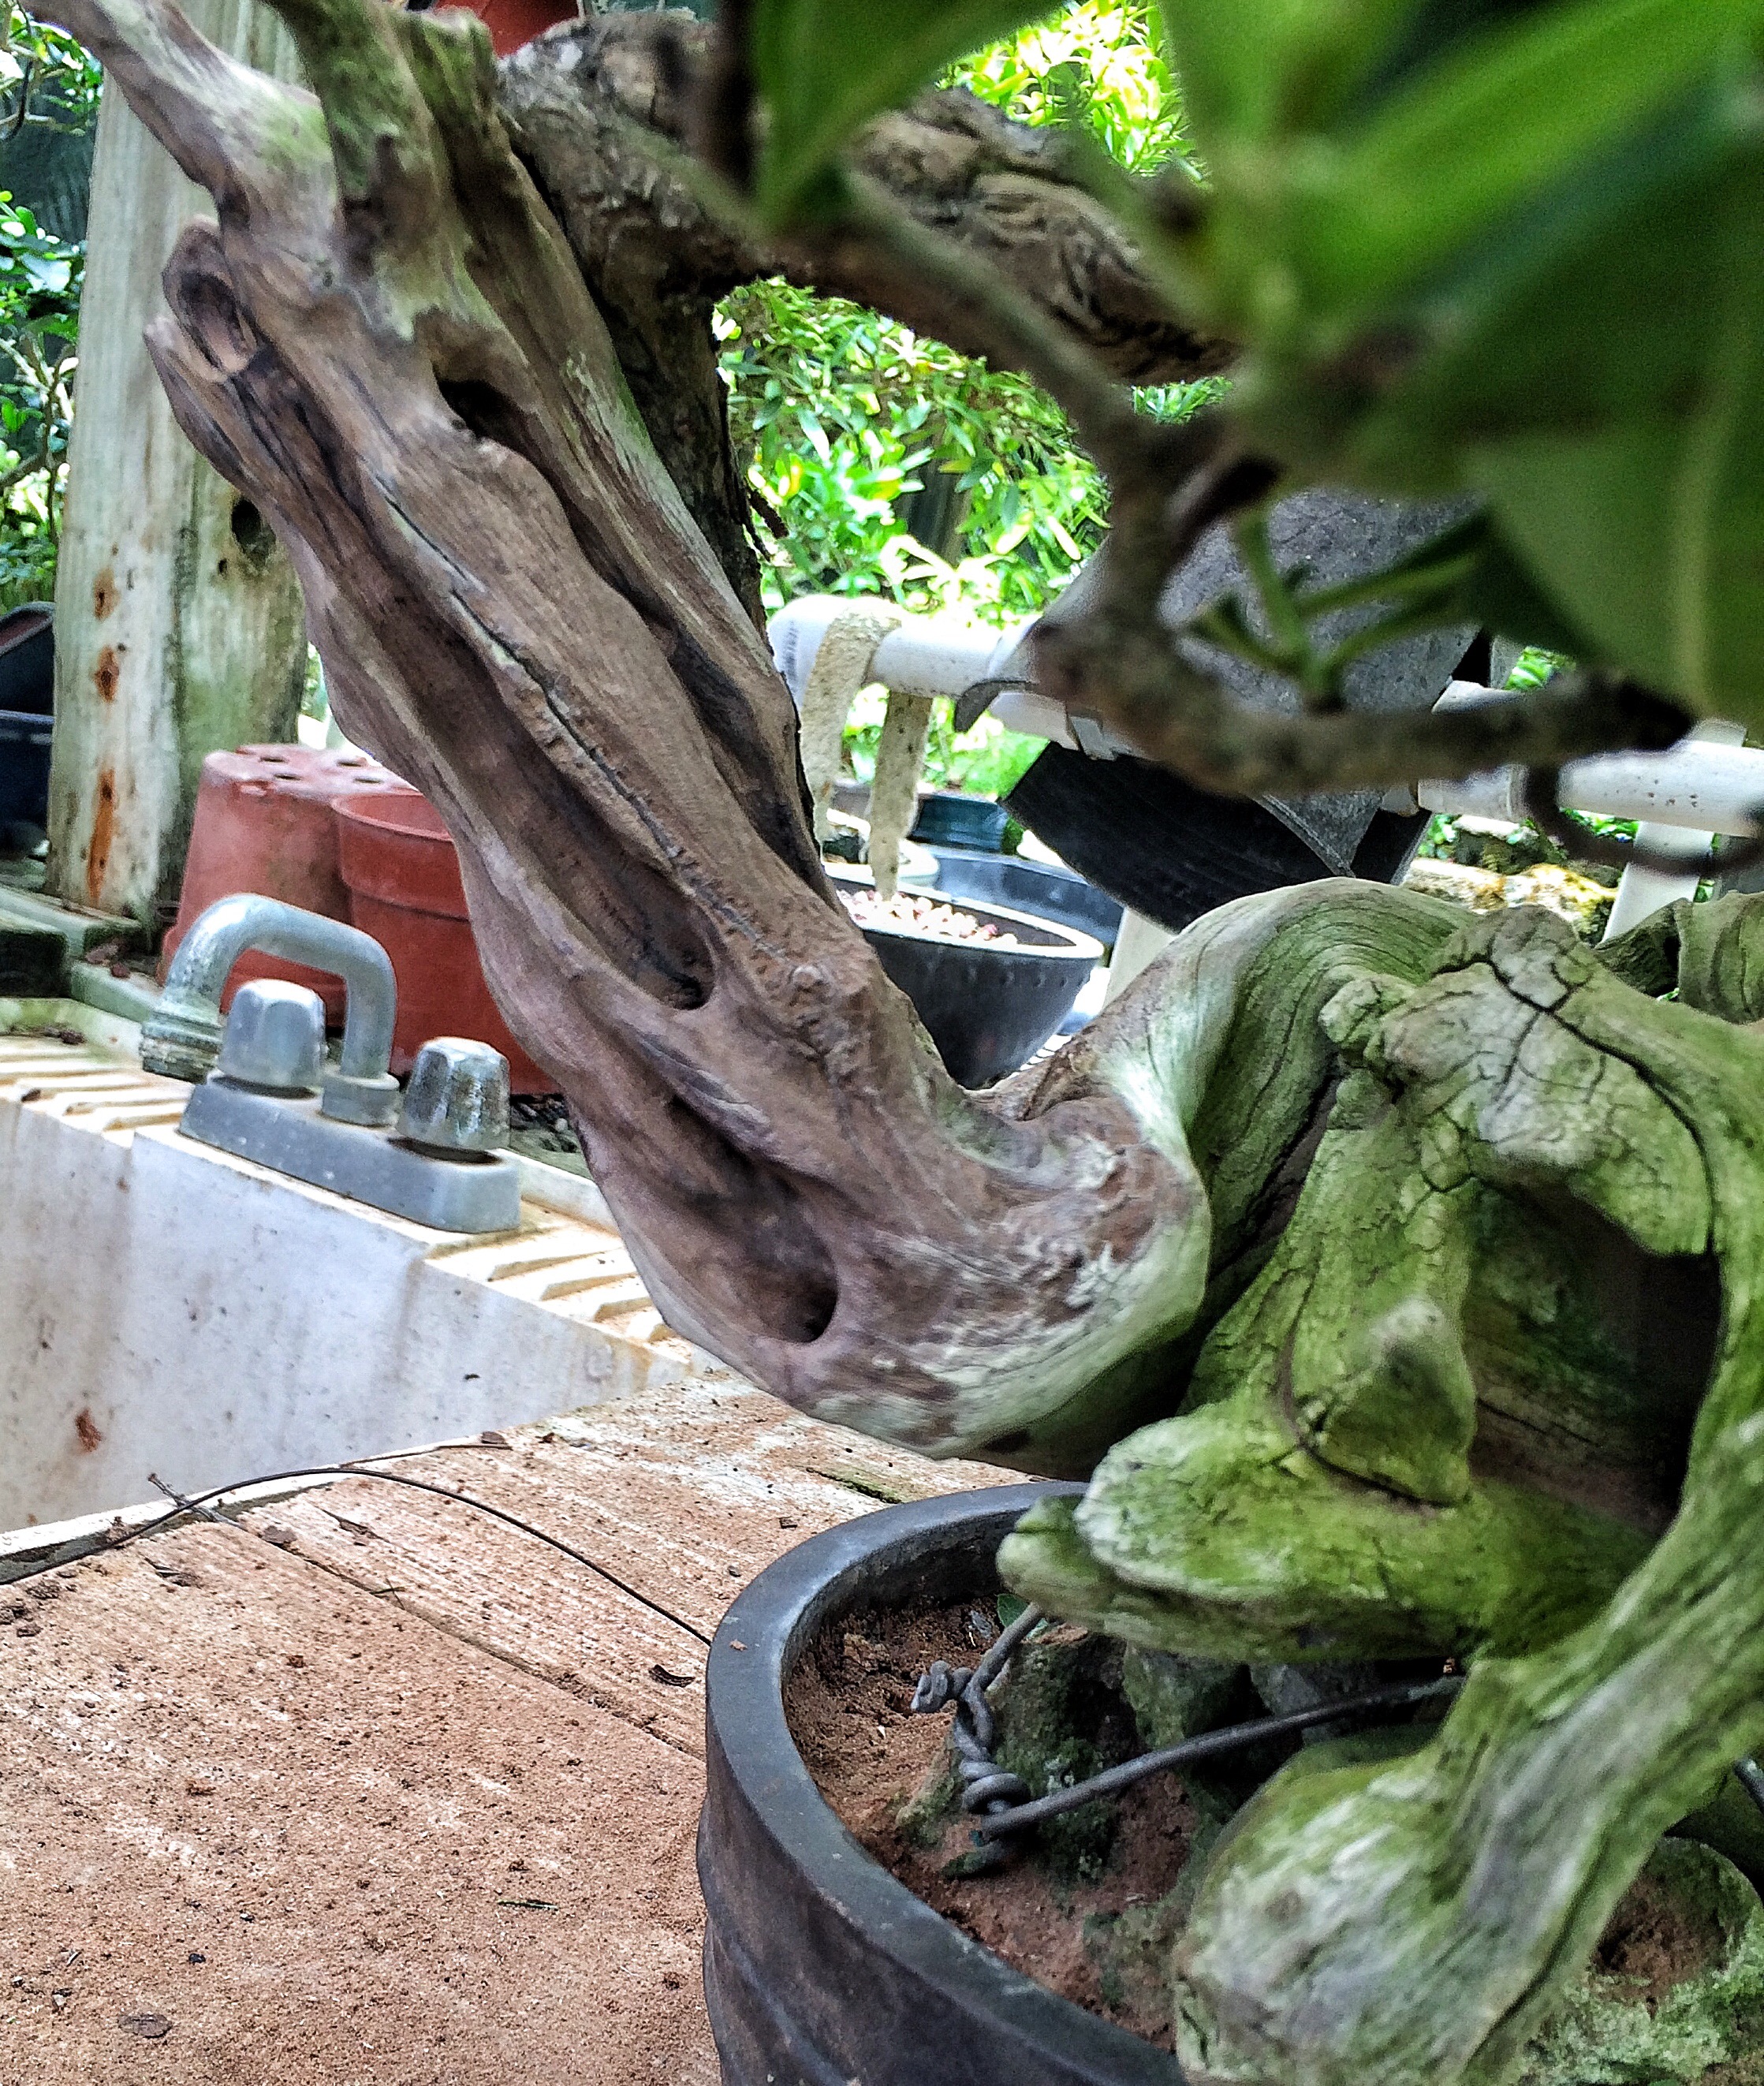
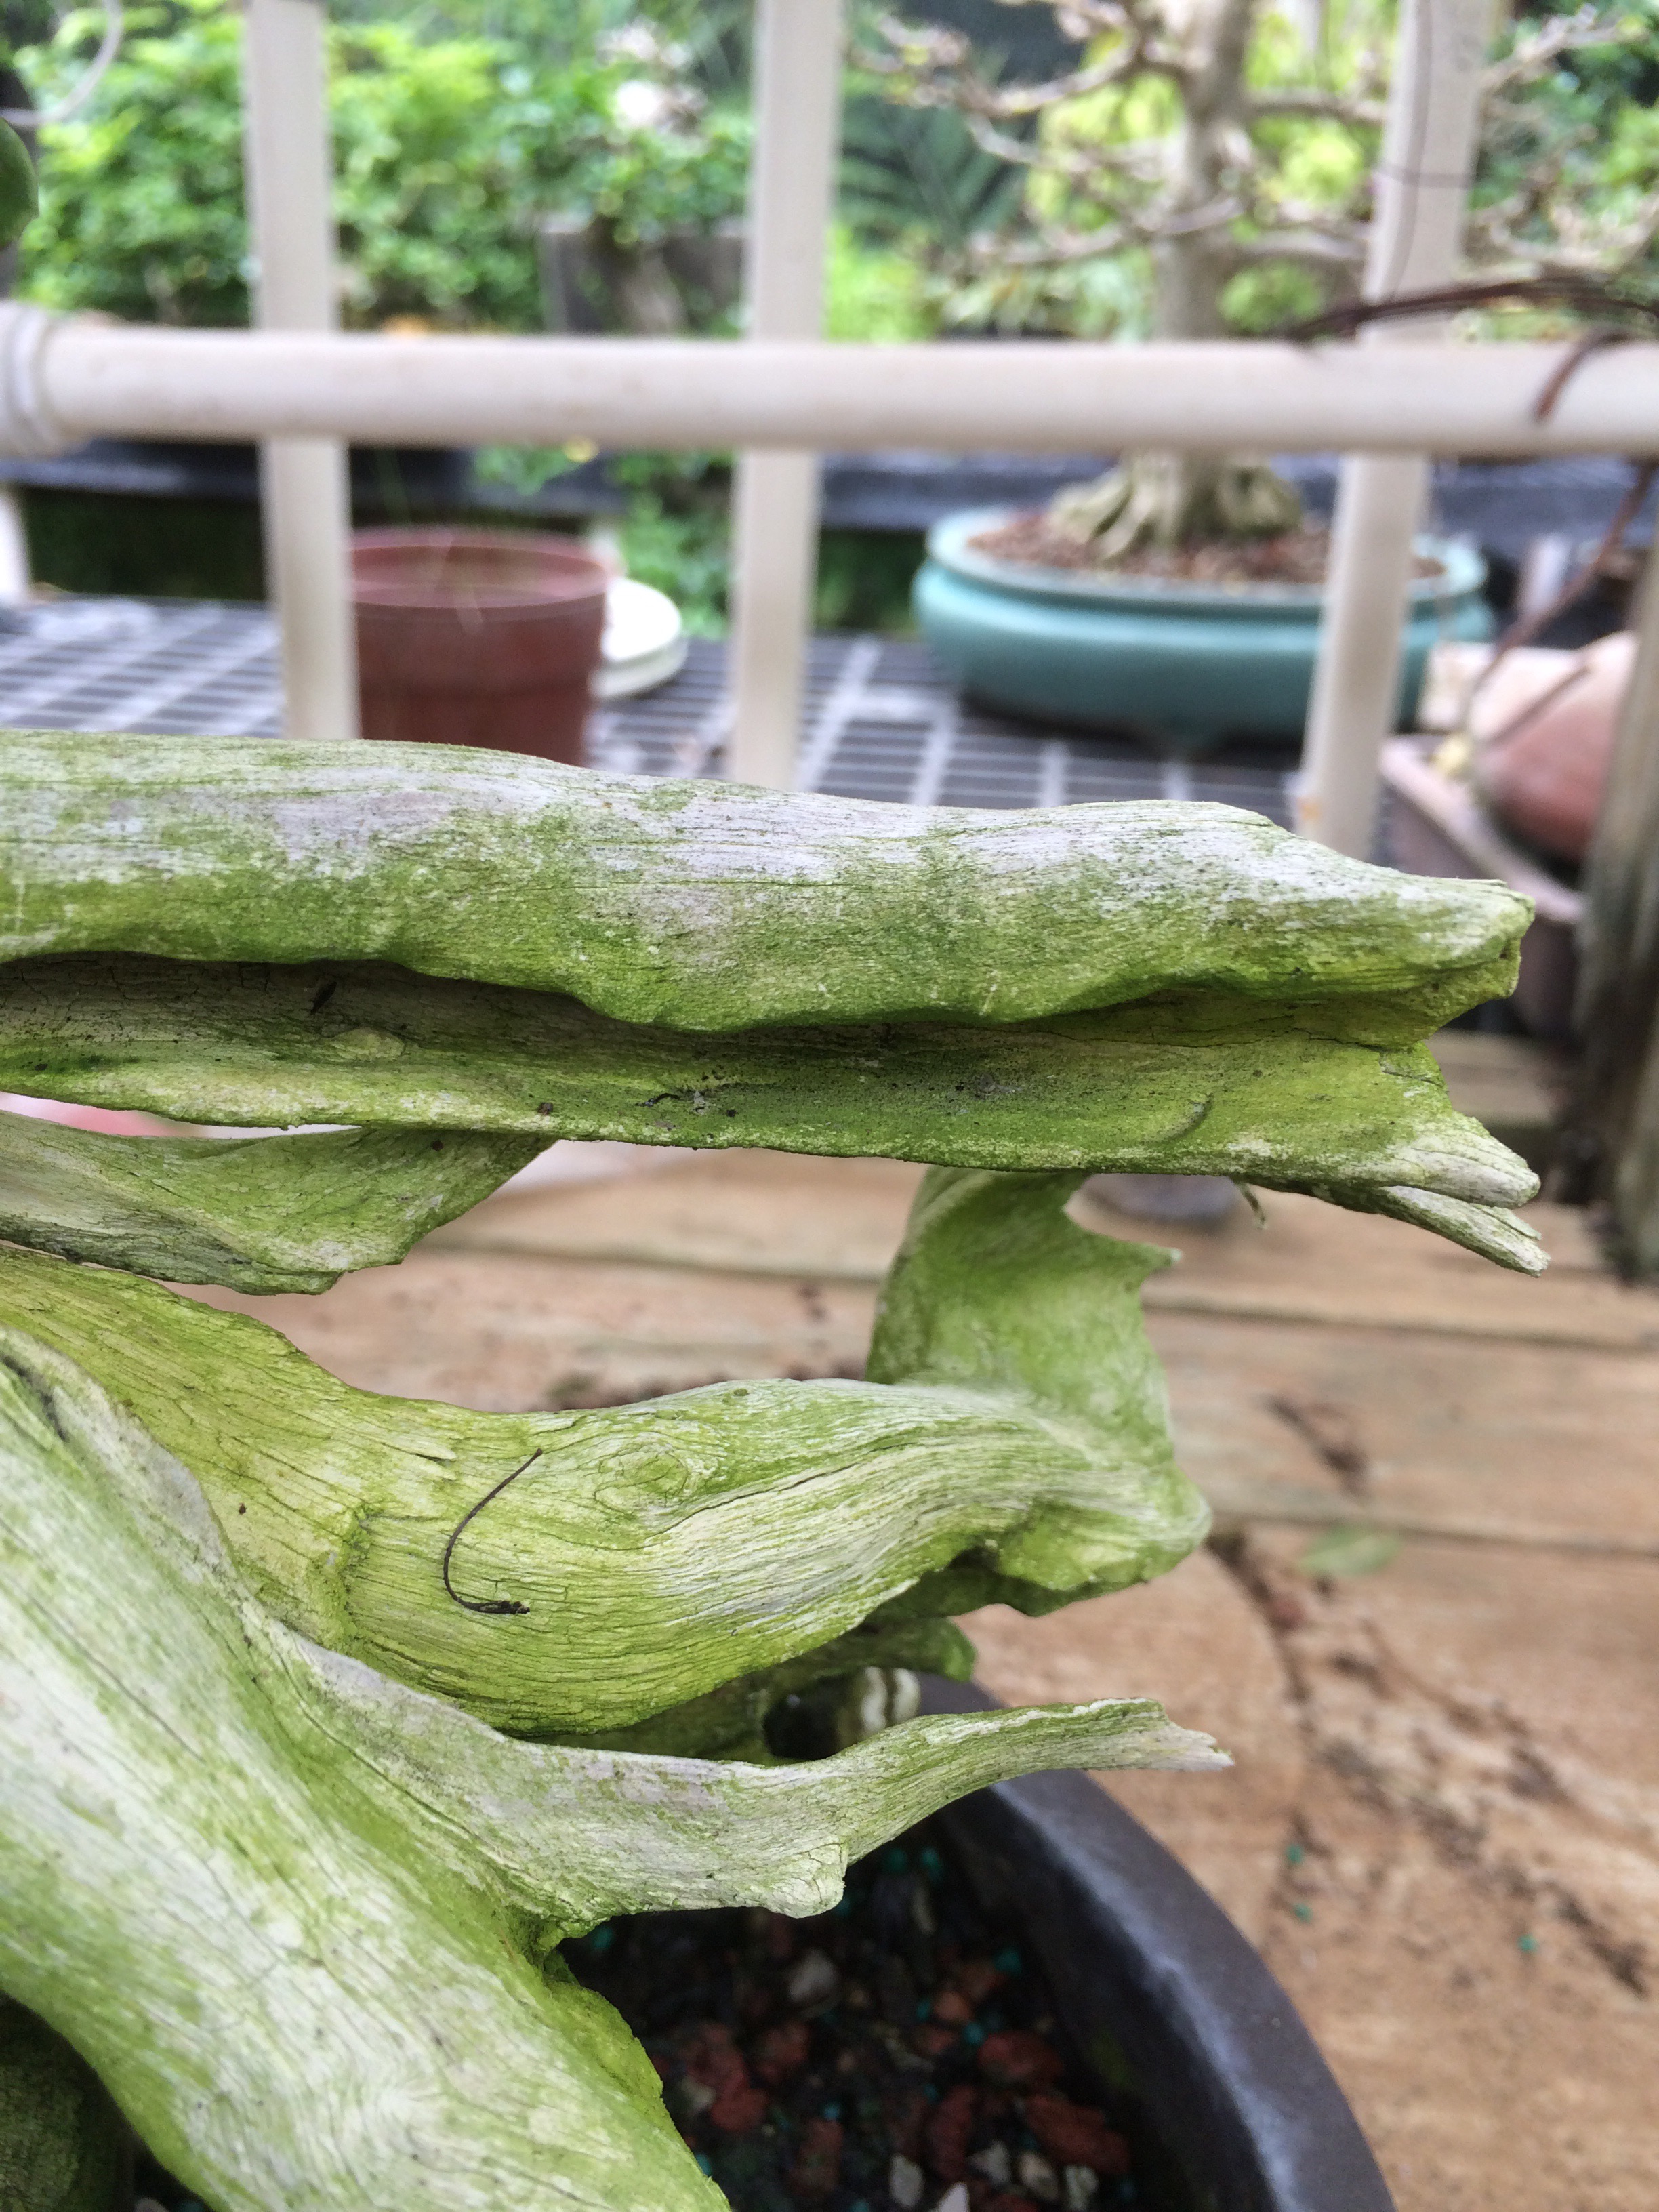
When carving, to get a natural line, try to imagine water flowing down the wood grain. That helps in matching the movement. 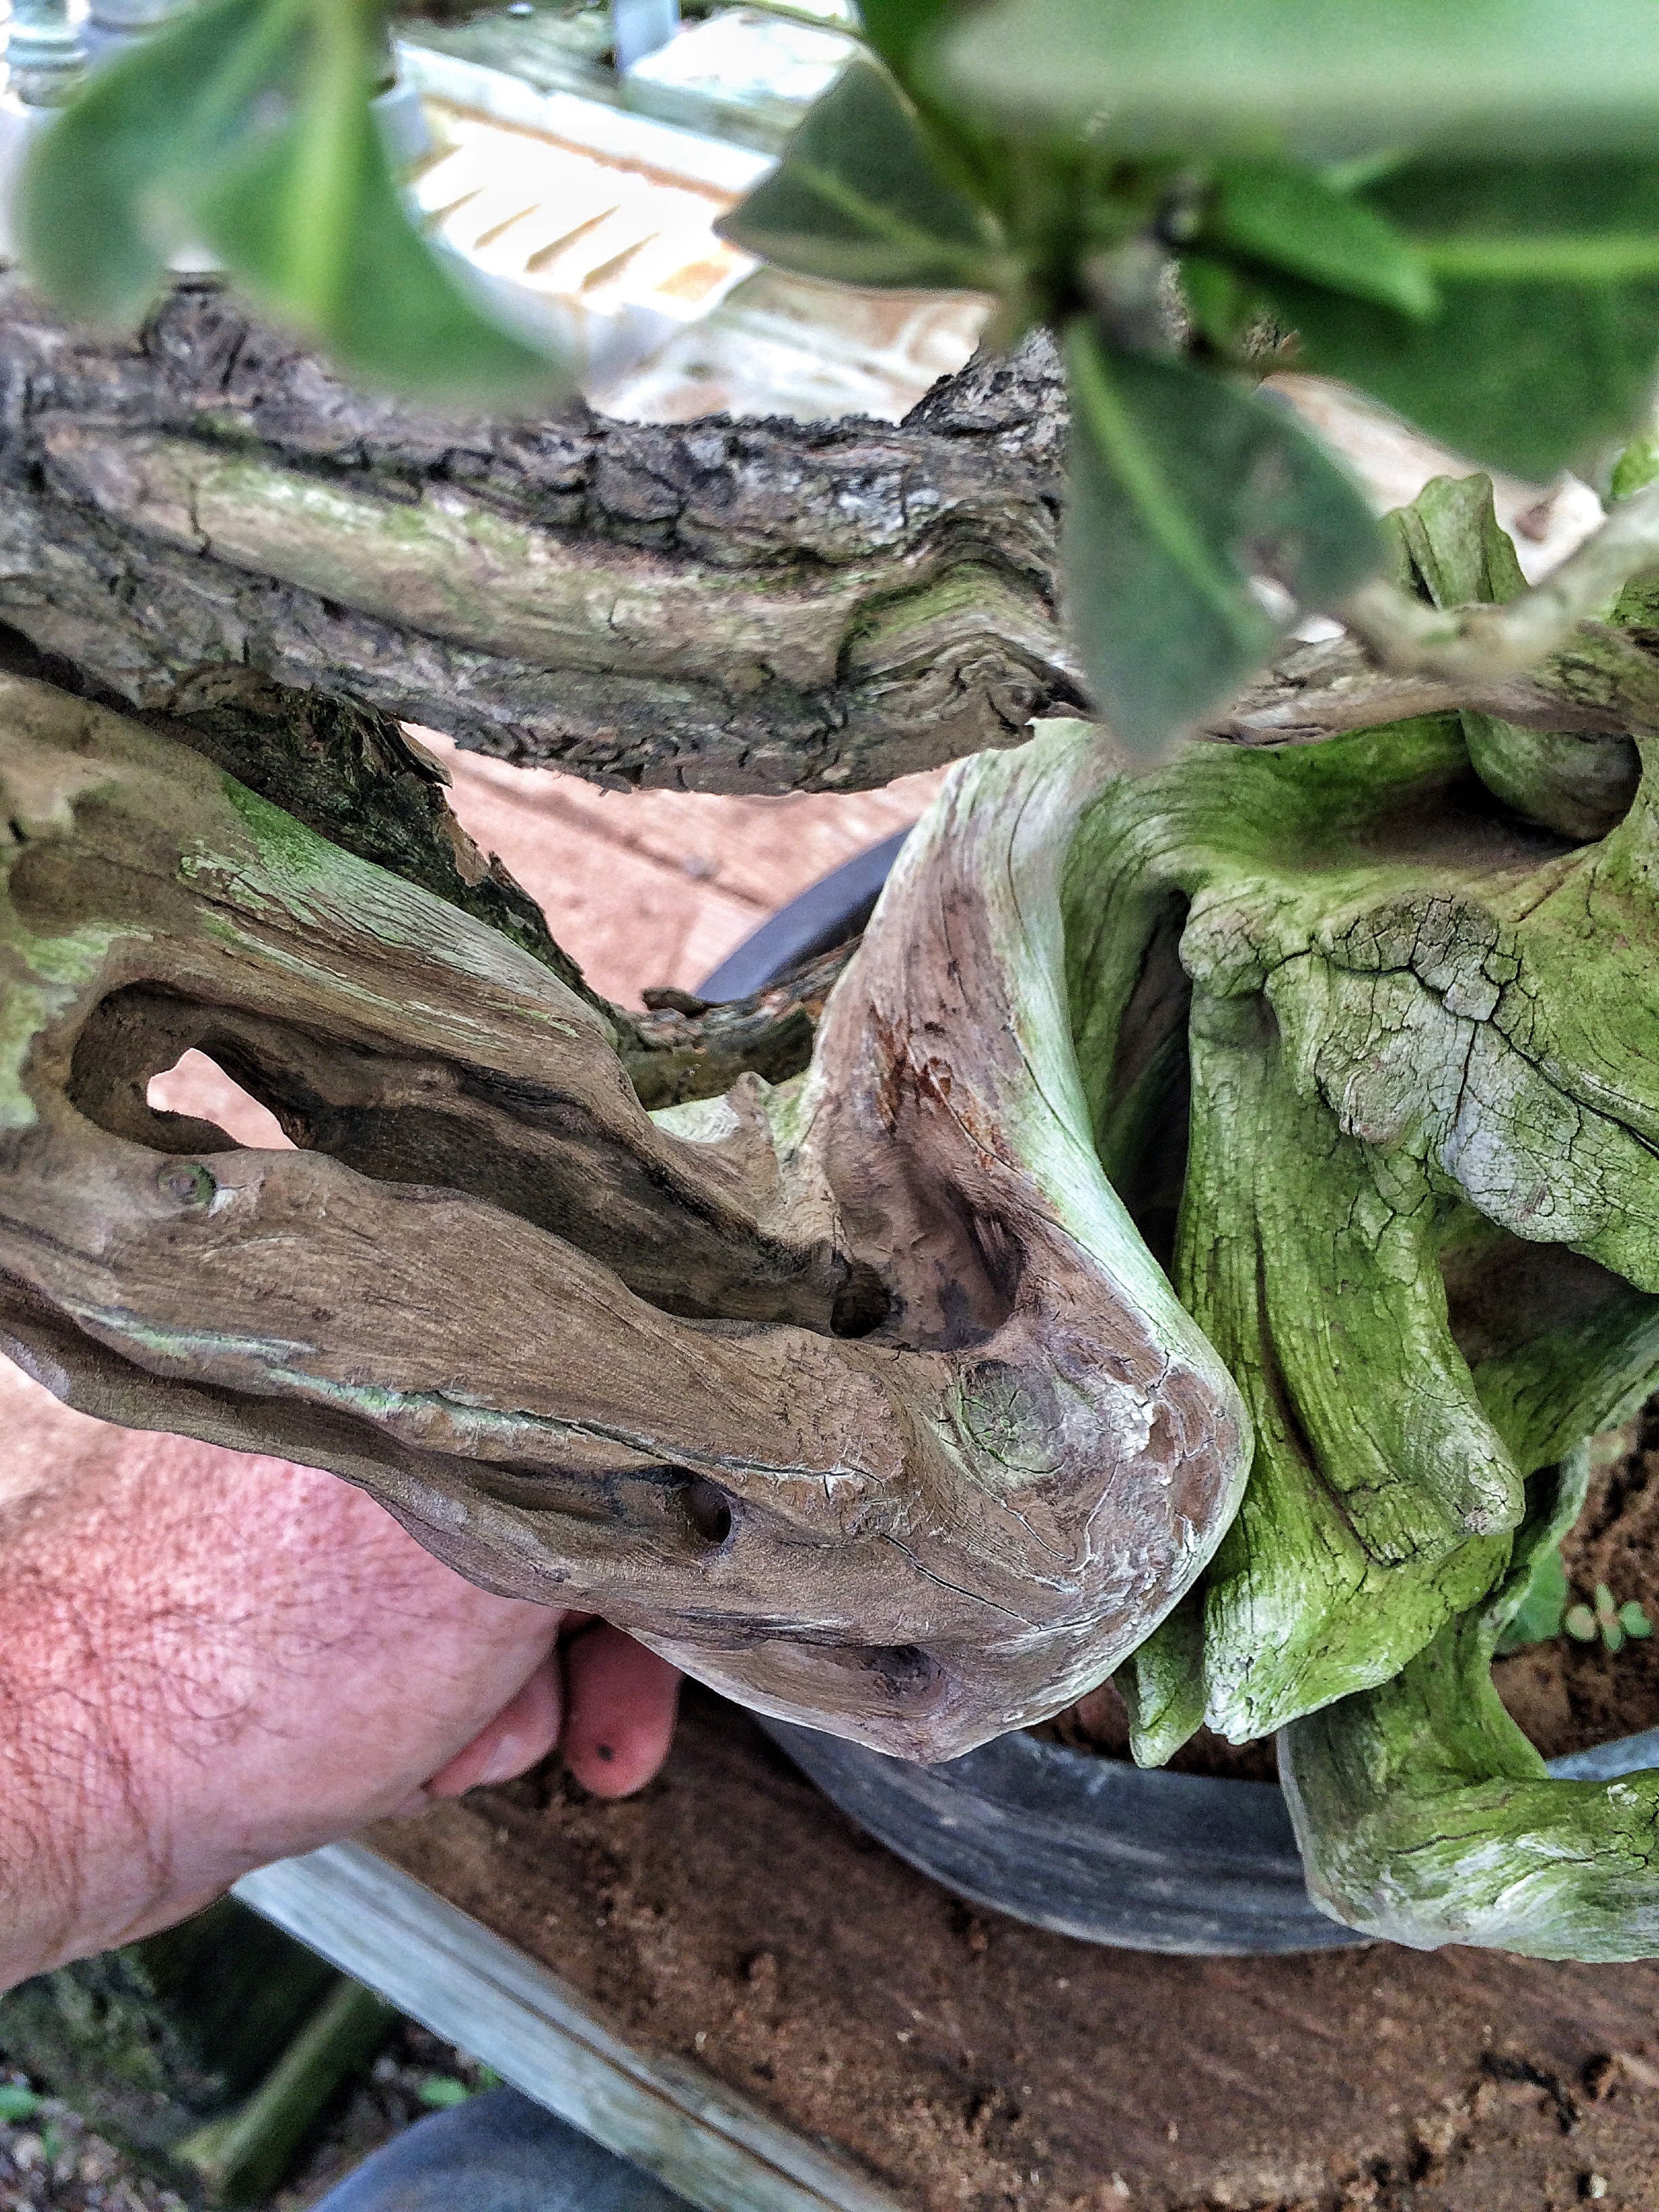
Create drain holes as well. 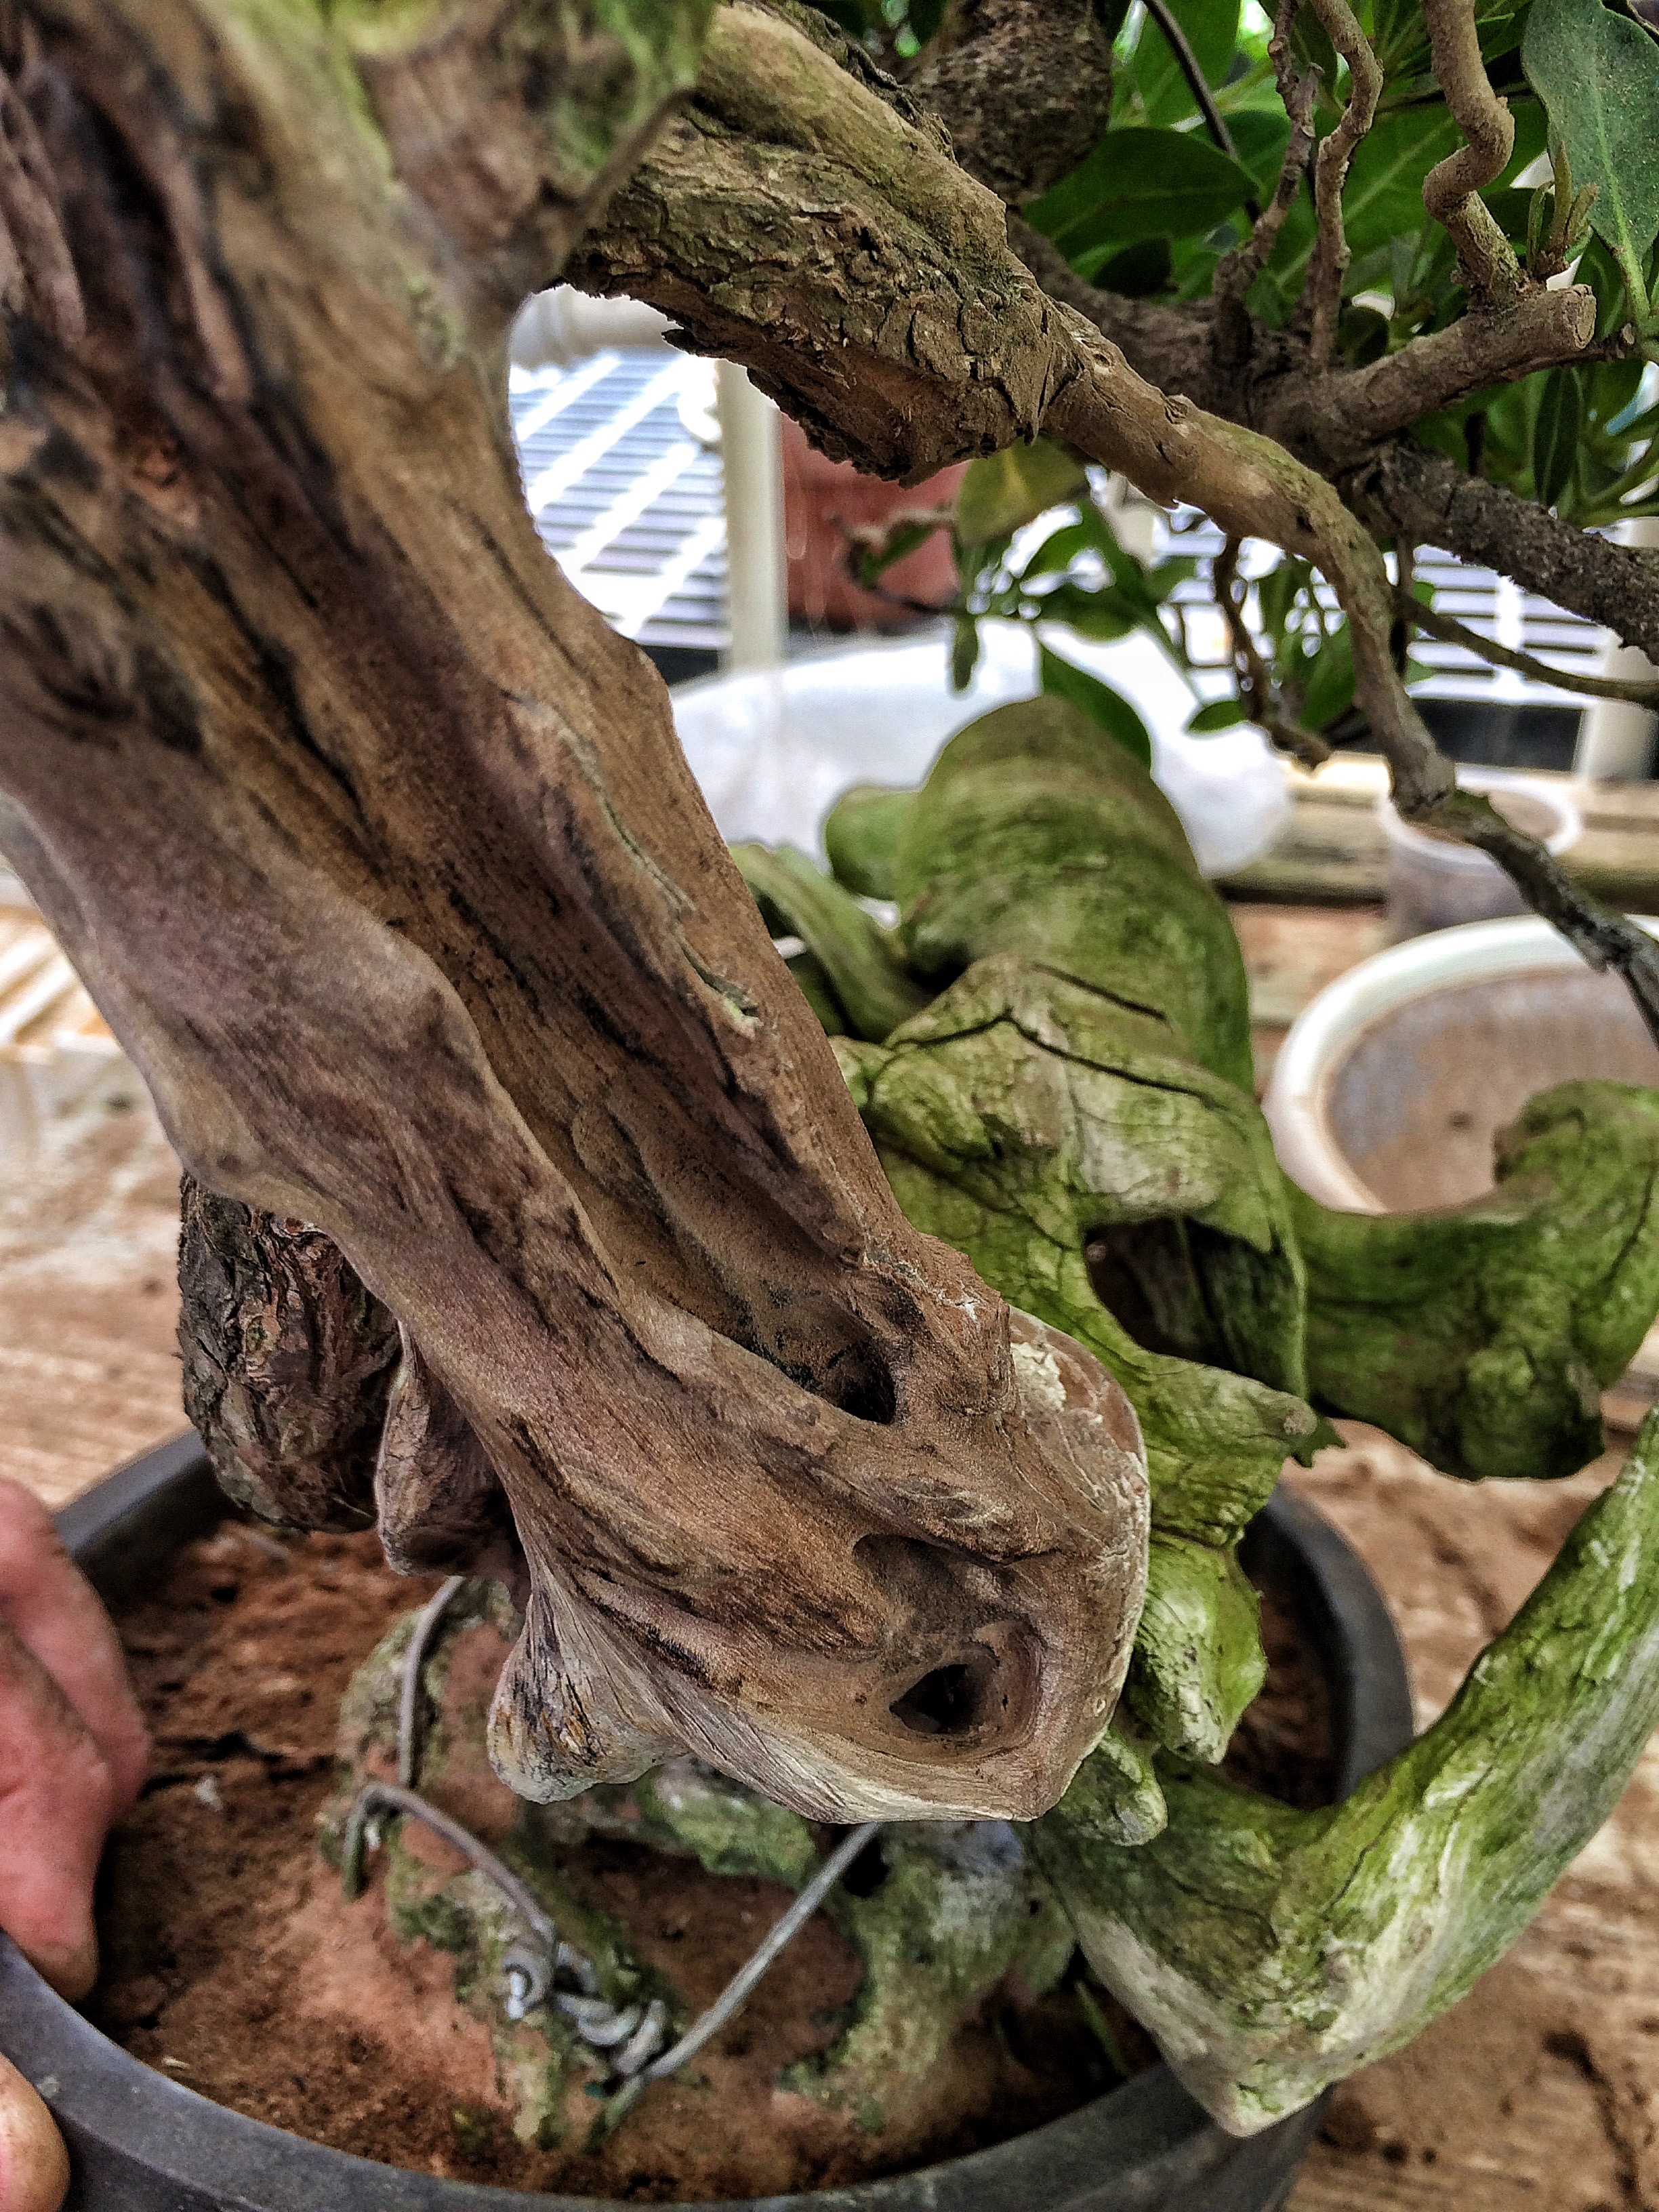
Try to mimic the work of insects like ants and termites. 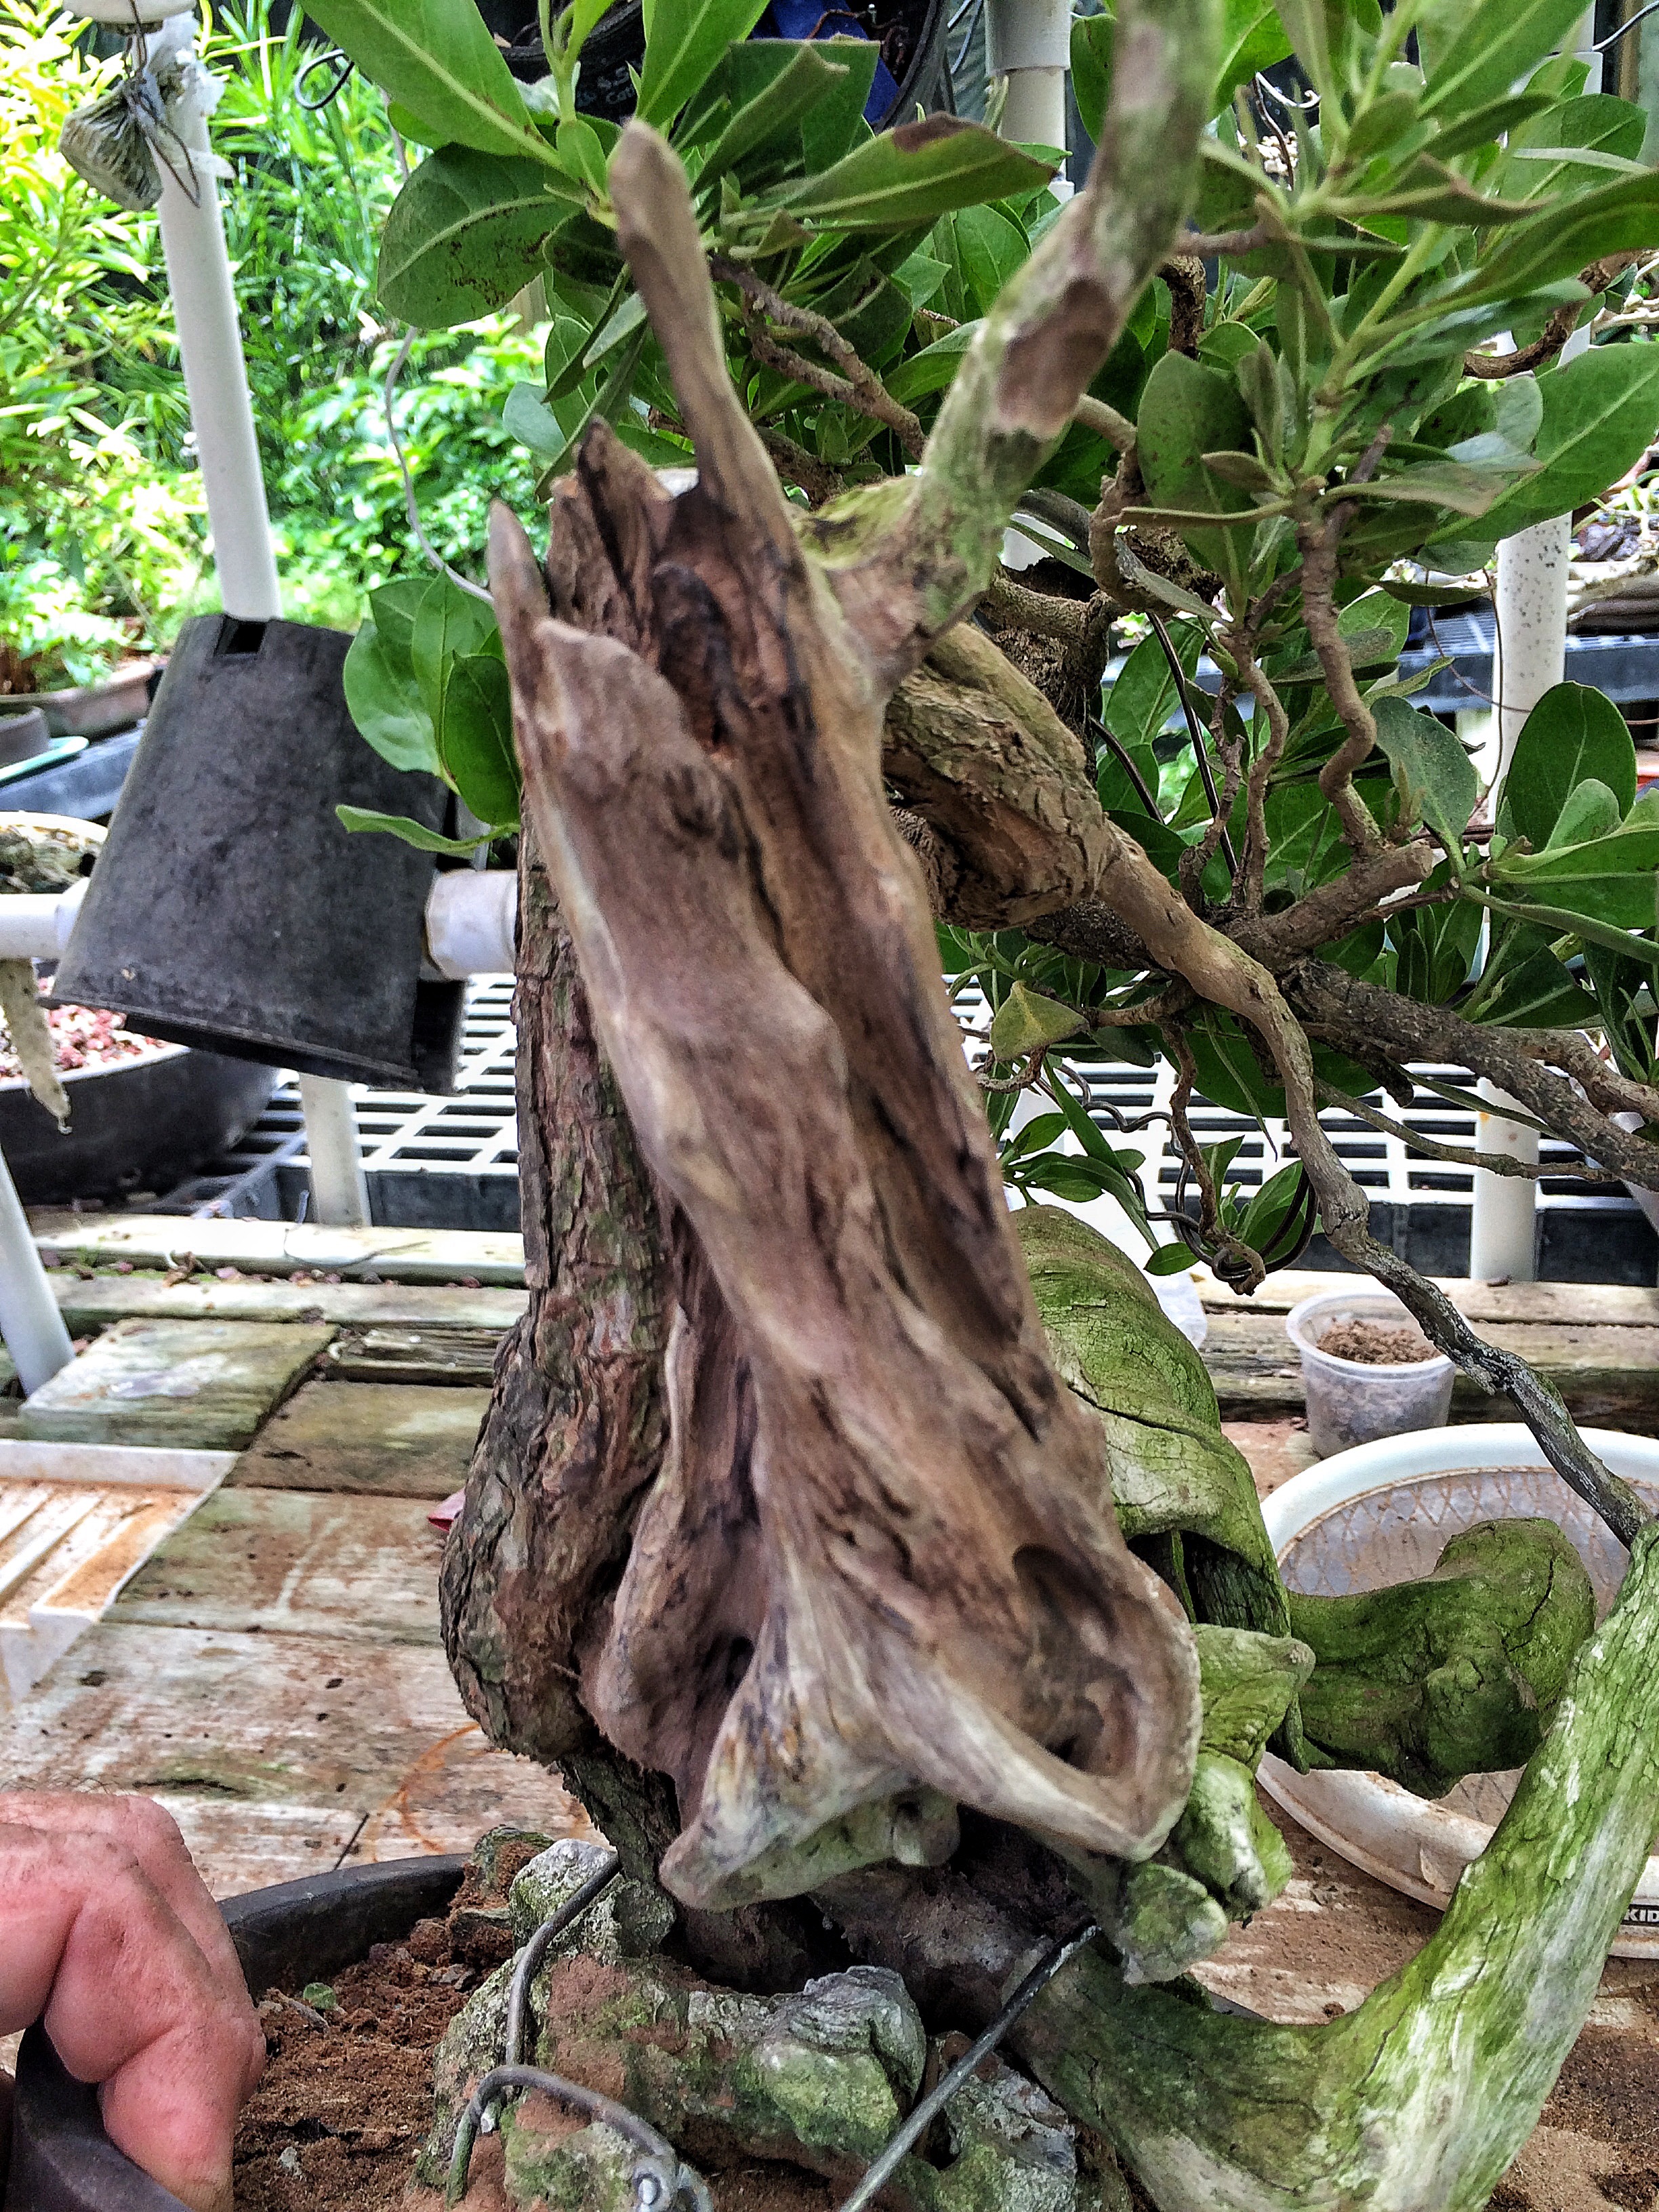
Each type of wood is different too. Hardwoods like oak or maple will rot from the inside out. The heartwood is soft. Junipers or pines heartwood is full of resin and don’t rot easily, so they tend to have sharp points (the stereotypical Jin) as the softer sap wood (the outside) rots.
Buttonwood has resin throughout the entire branch and trunk body so you can get either sharp points or hollows. They also have salt and wind-blown sand that act on the wood, softening the features in some instances but sharpening them in others. 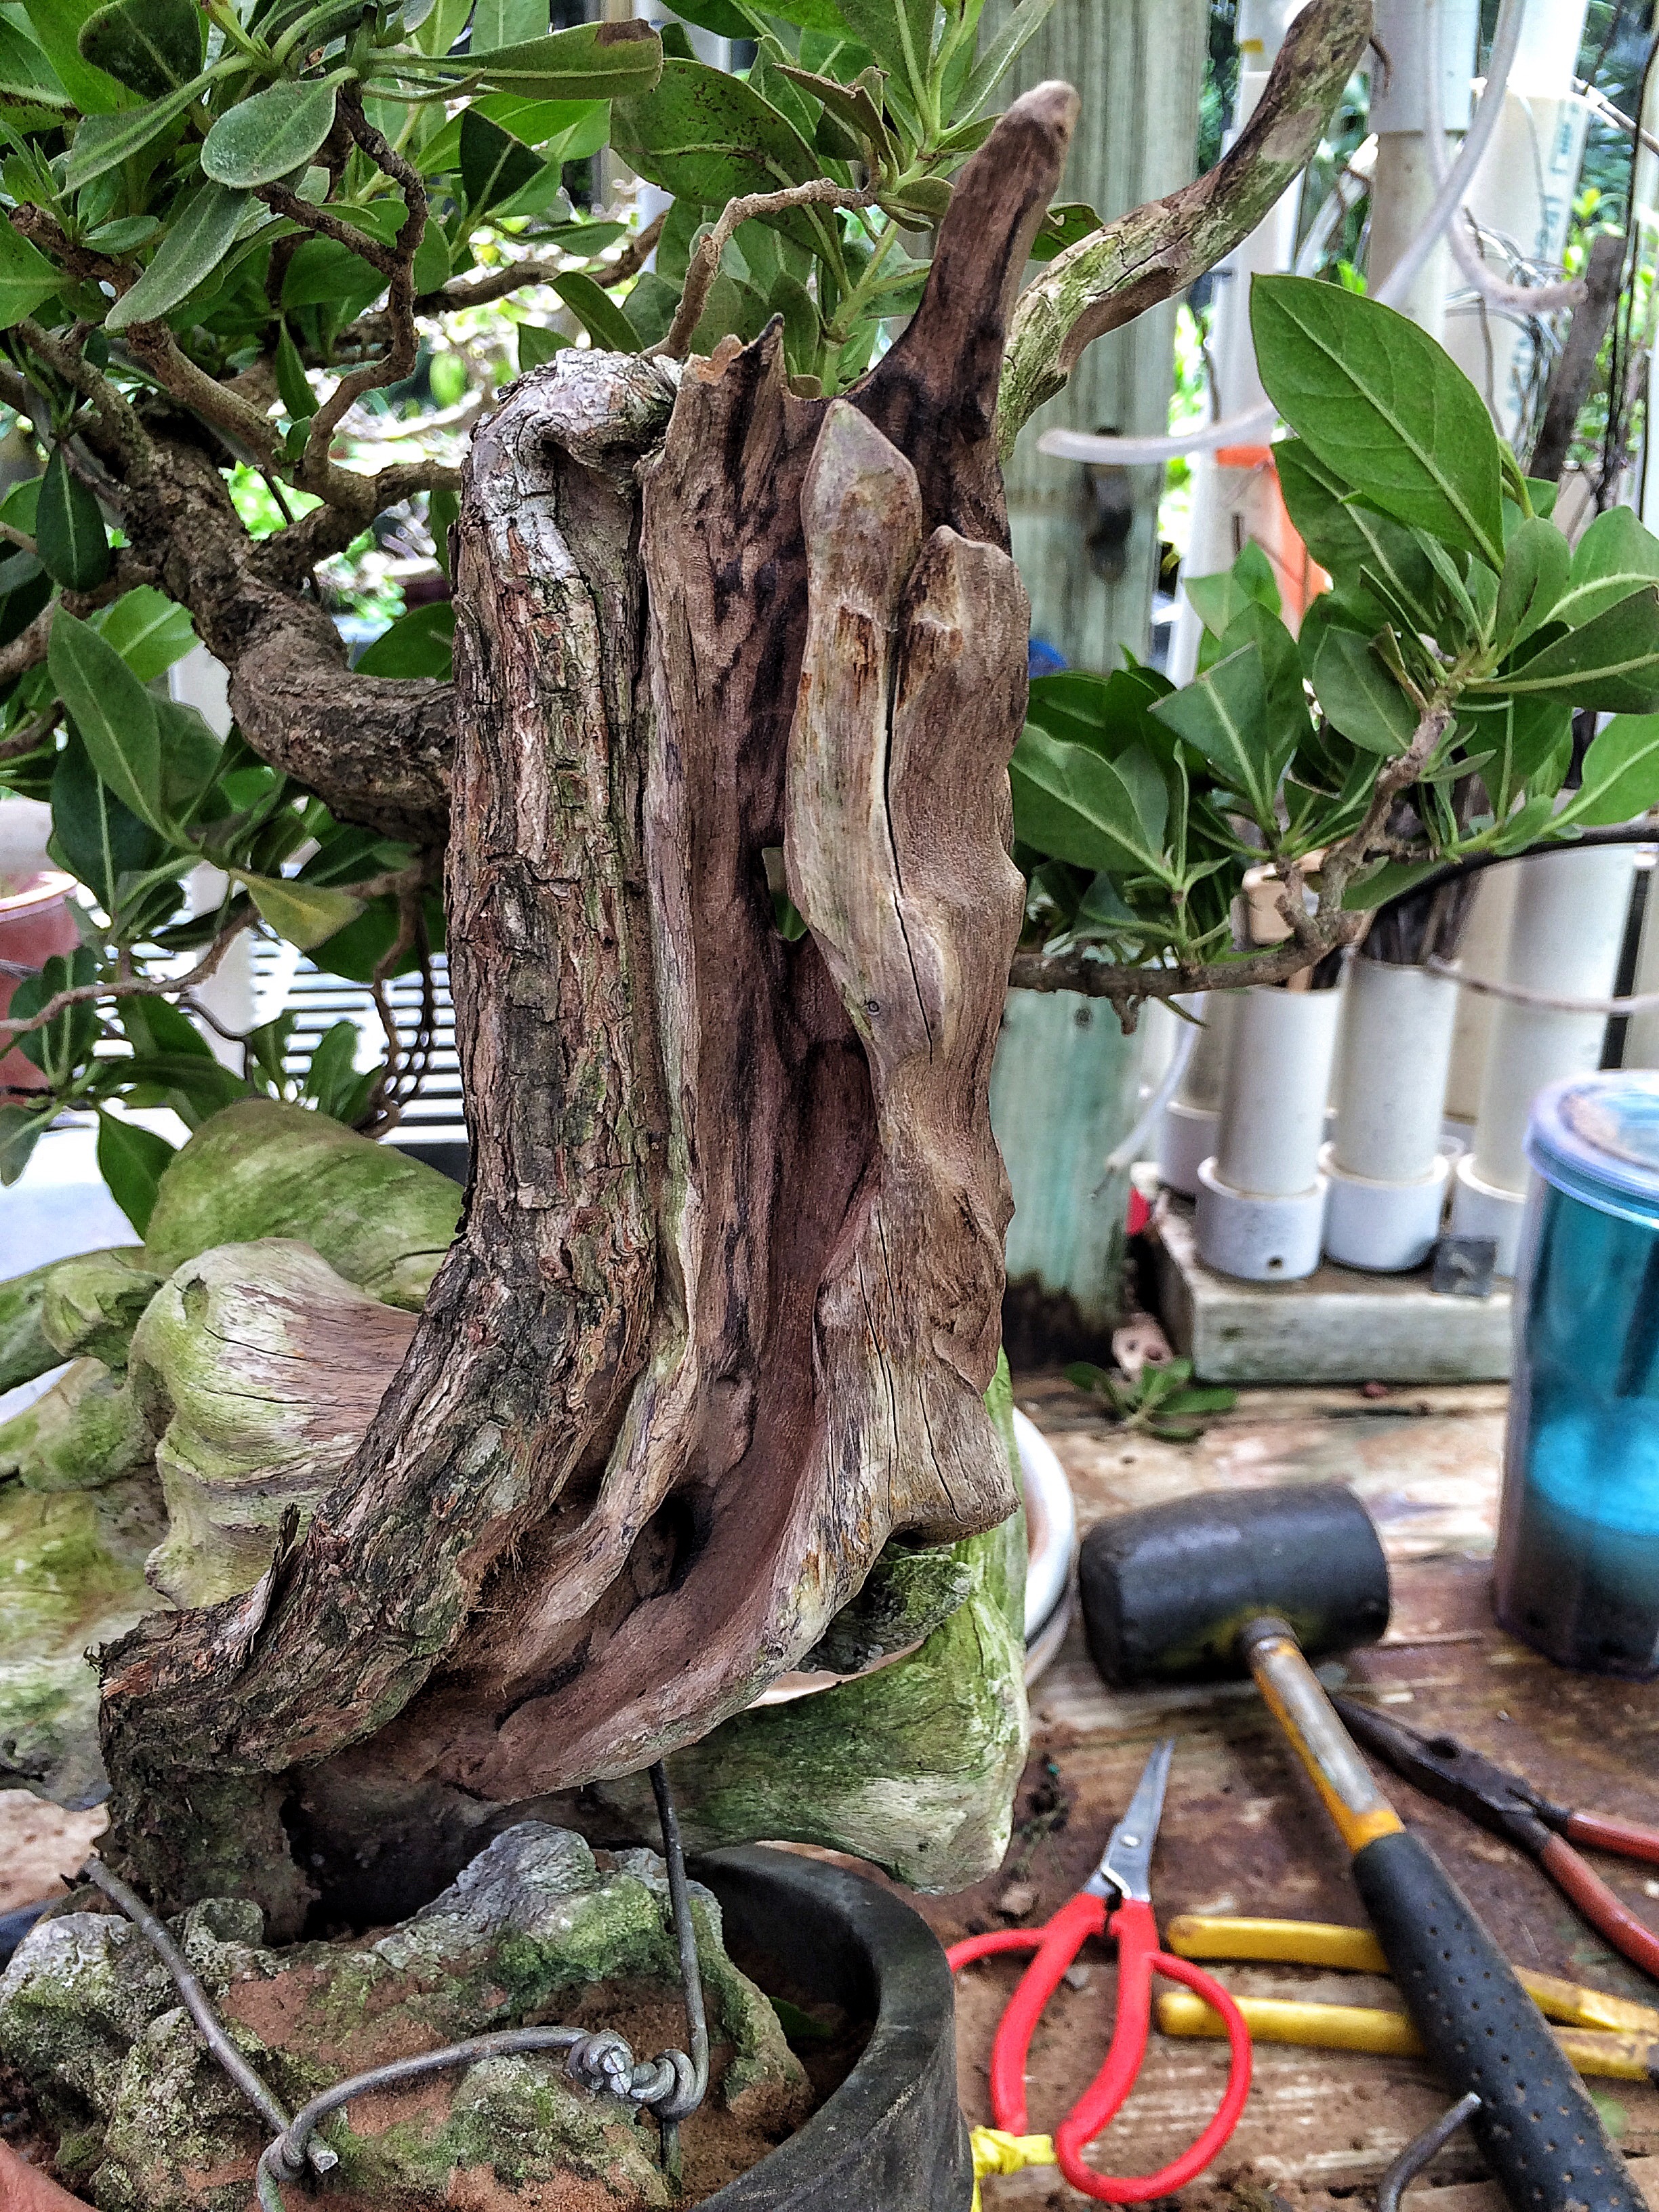
Ants like to make holes in them and they are subject to mechanical damage from hurricanes. Or tourists. 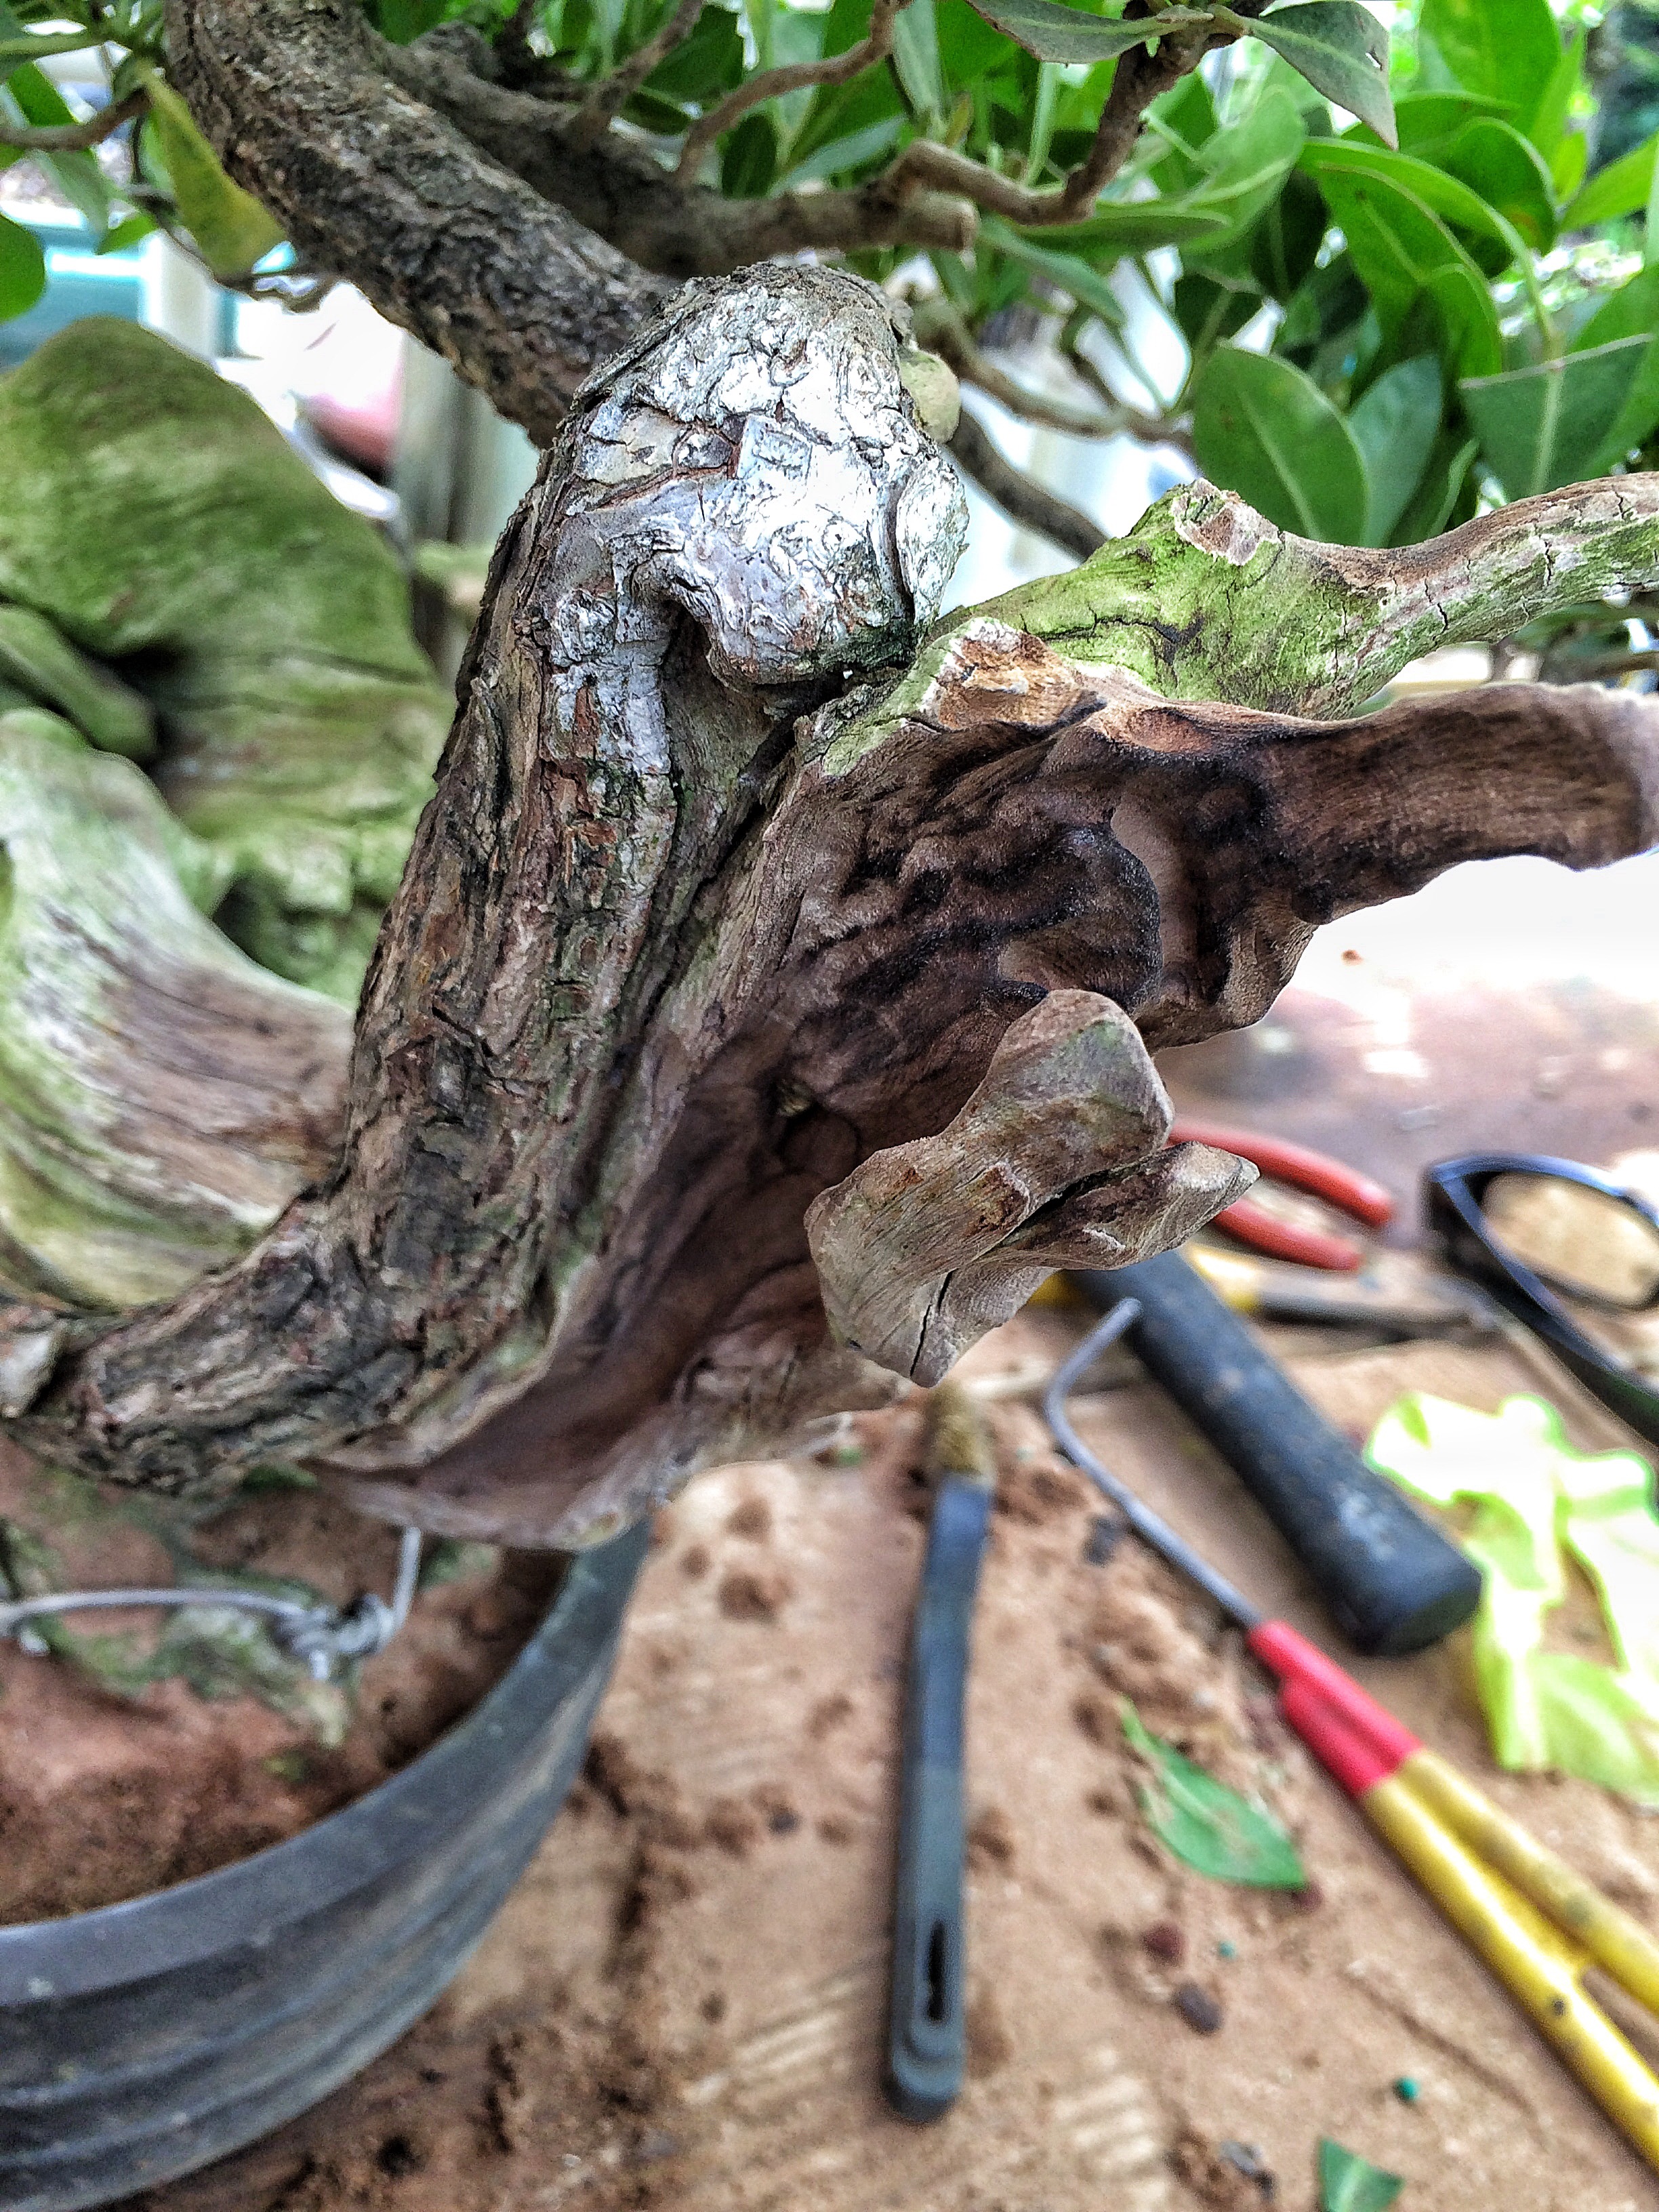
I use fire and a brush attachment….
 ….to mimic the erosive effects of the sea shore on a buttonwood’s deadwood. And it’s important, even if you don’t like the bleached white look, to use lime sulphur…..
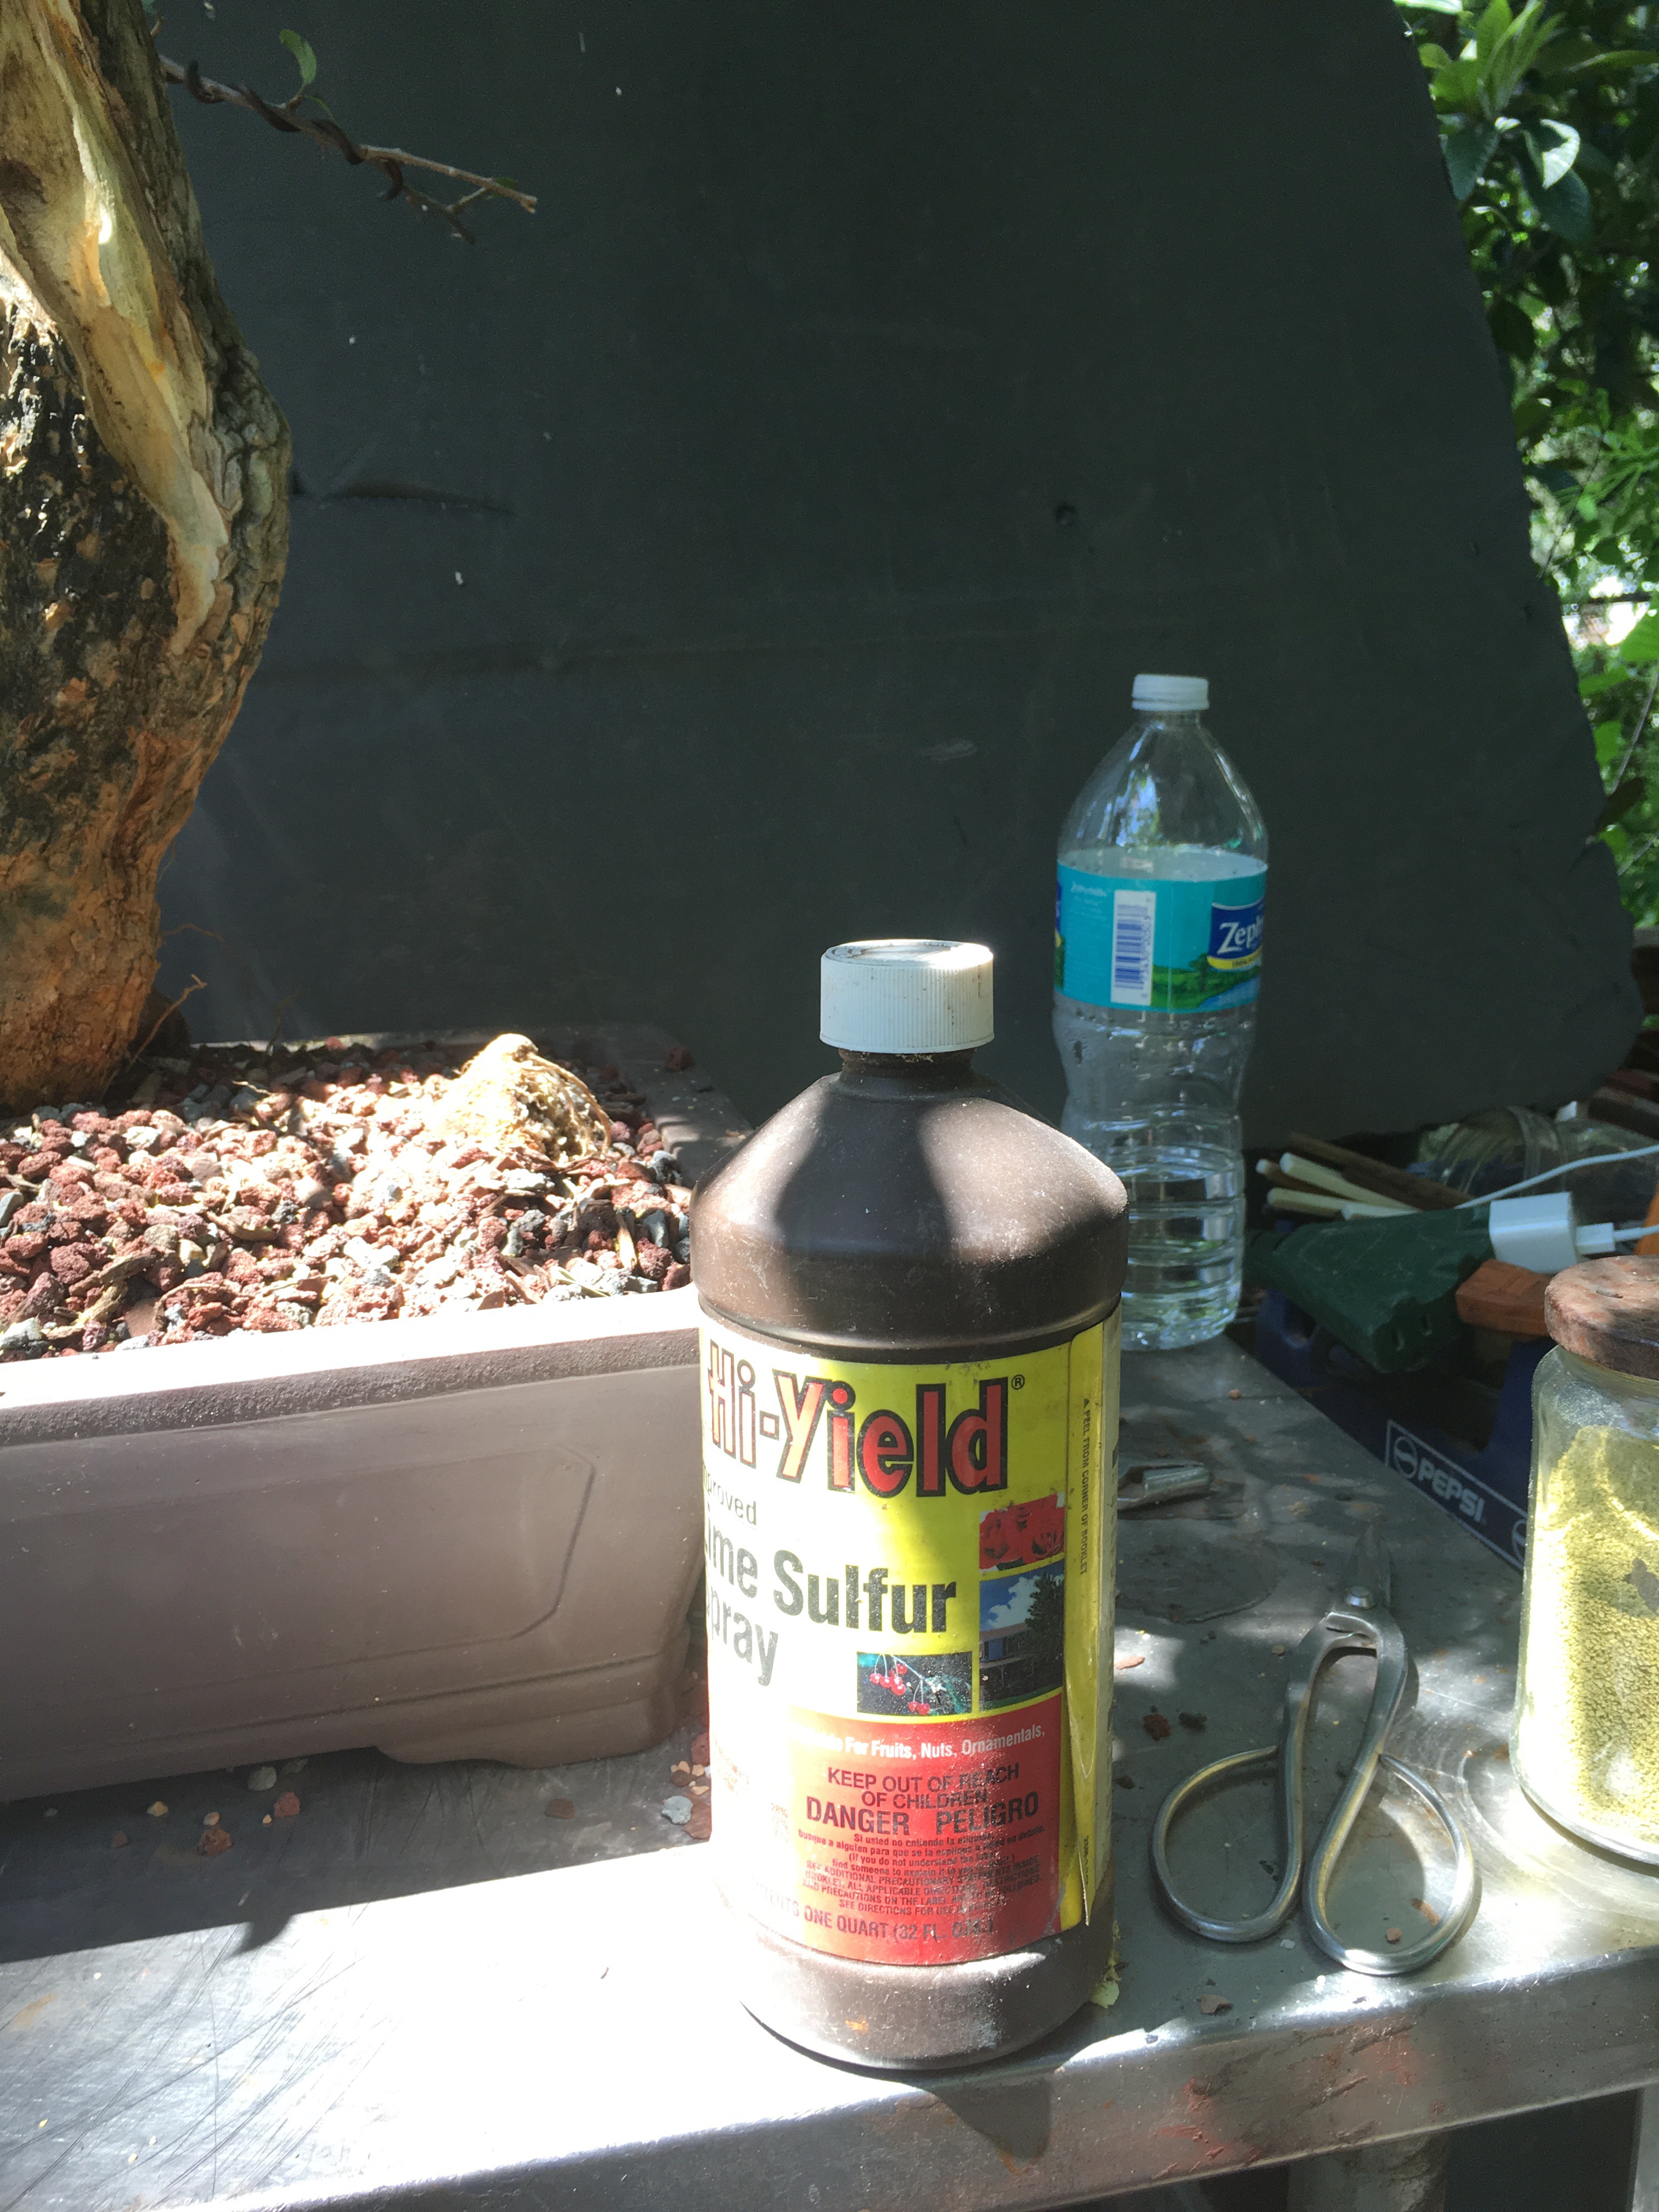 ….the reason is simple, because the tree has been preserved (and bleached) with the salt spray from the ocean, any new carving will rot easily without protection and the lime sulphur is a good surrogate. No, I don’t recommend using salt water. A buttonwood can tolerate it, but they really grow best without salt.
Here is a Link to a YouTube video of the finished carving.
And some more finish shots.
 The wood just needs lime sulphur.
 And time.
The funny thing is, in the view from the front, you can’t see the carving I did.
 Oh well.
But that’s why we put them in round pots now, isn’t it?
Who’s up for another carving post? I just worked on a big bougie with extensive carving.
Or maybe some ficus?

Thanks for the URL for the carving tool. My old dremel passed away recently but the cost of replacing it just sticks in my craw. Question – is all the deadwood from the Buttonwood or is this a ‘wrap-around’ Tanuki . Cheers Craig
LikeLike
You’re welcome. Personally, I don’t use dremels, they’re junk, underpowered and plain a waste of money.
The buttonwood is one hundred percent a natural tree (except where it was carved I guess) the main bulk and shape of the deadwood was probably once the roots and the tree was knocked over and it re-rooted at that angle. That’s pretty common. Most collected buttonwood that’s a cascade or an upright but with a twisty trunk was laying down and then repositioned by the collector (usually Mary Madison)
LikeLike
Your blog is more educational than most books. You should condense it all and write one. Great stuff. Thanks for doing it.
LikeLike
Great stuff…… Love your blogs. Keep them coming. Would love to see some more carving blogs or videos. Or on treatment post carving on common species.
LikeLike
Great stuff…… Keep those blogs coming. Would love to see more carving blogs especially post carving treatment on most common species.
LikeLike
Oops. Double post….
LikeLike
flow like water… great post!!! wishing you the best!
LikeLike
Mas carving!! Great job on a really interesting bwood. Keep it up.
Vern
LikeLike
Reblogged this on Wolf's Birding and Bonsai Blog.
LikeLike