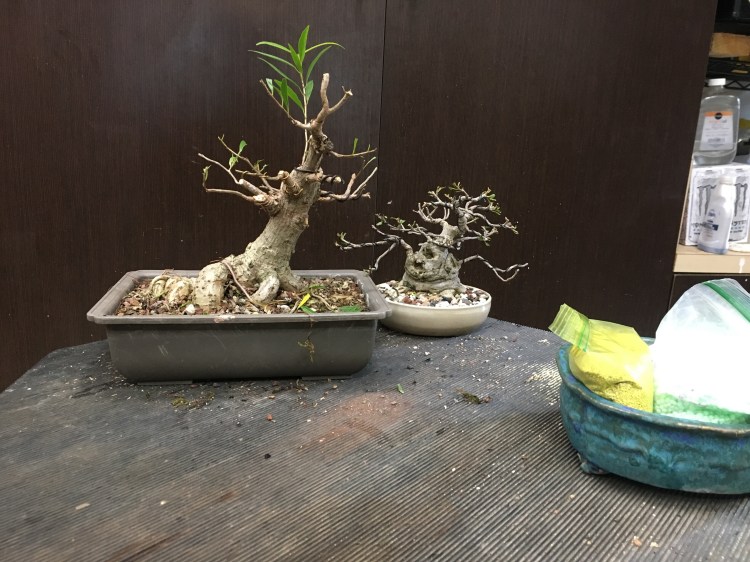
I have two ficus trees for you to ponder today.
This sweet sumo:

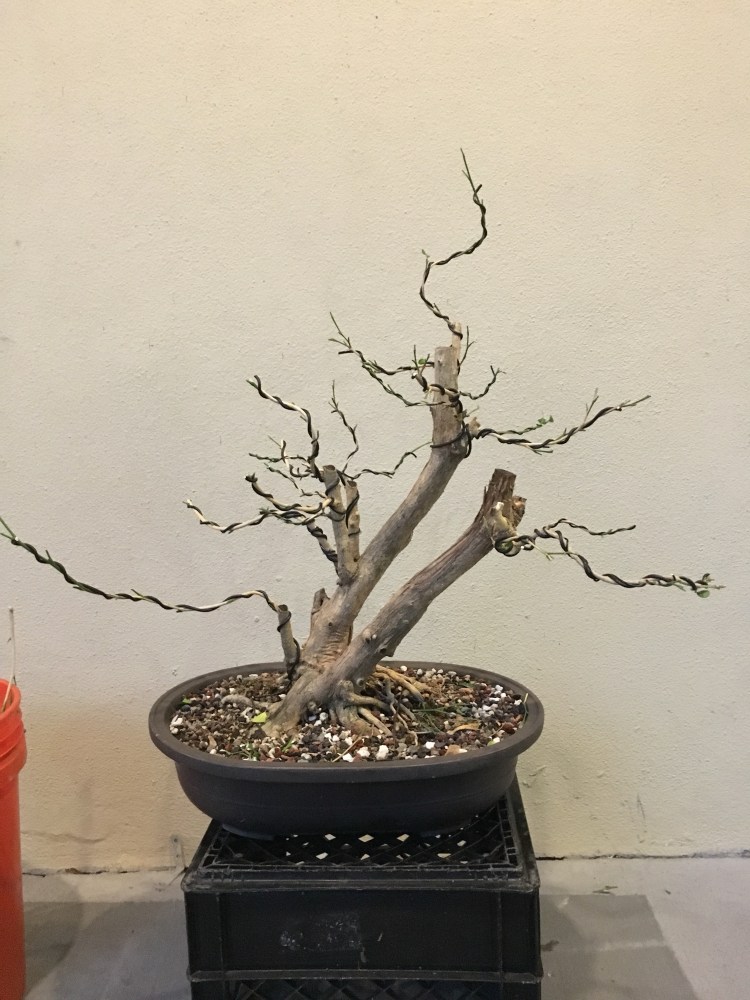
….and this one that’s in serious training. Let’s look at it first.  My daughter removed most of the wire on it already for me…..
 ….but she left me the bigger wire. I should probably have had her do it about a month ago…..
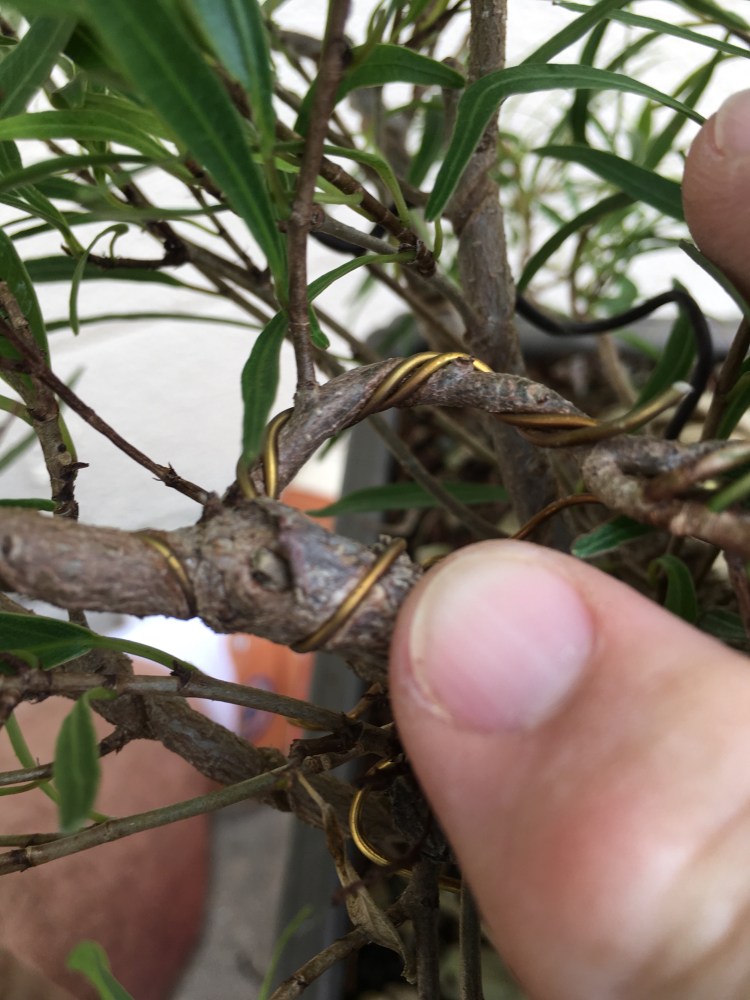
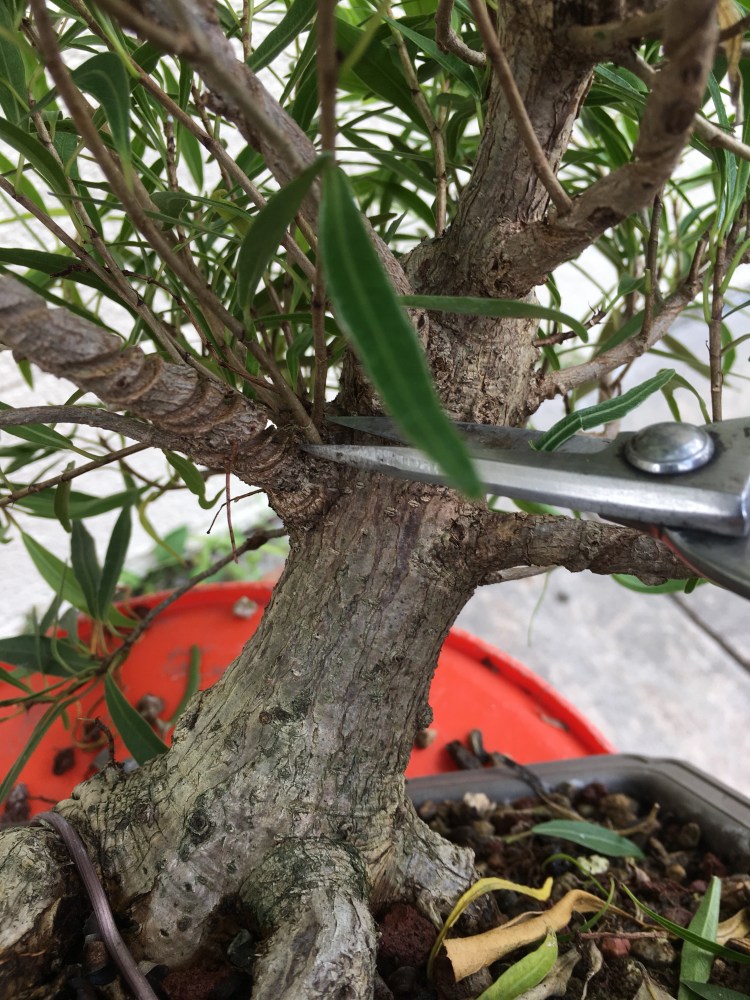
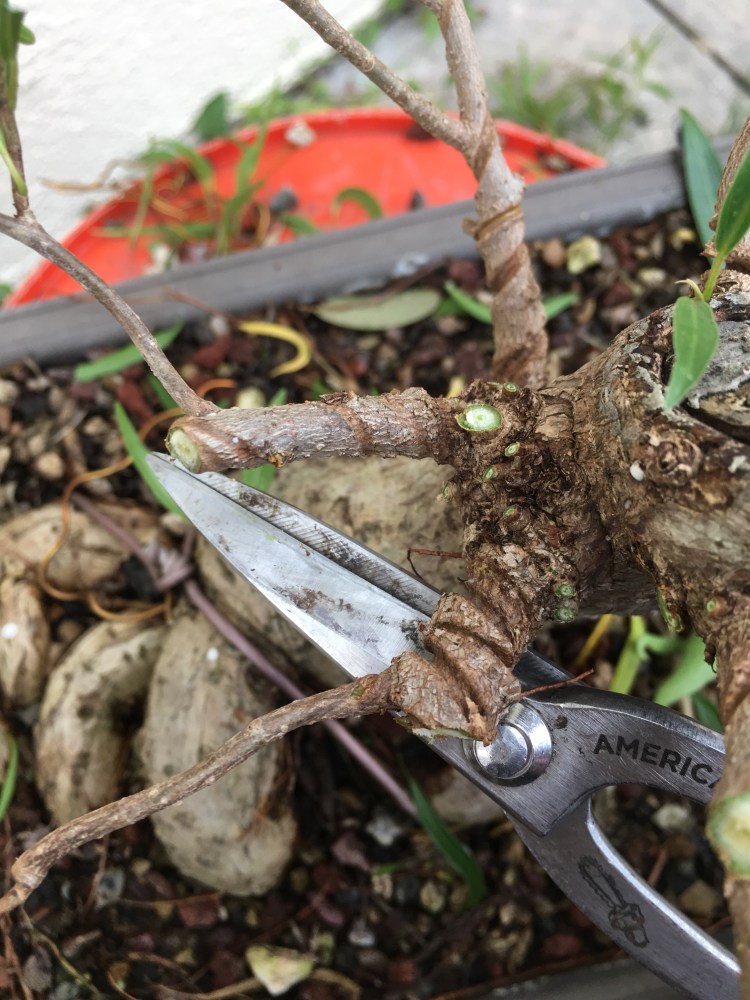
…..the wire is cutting in…just a little……
…..OK, a lot. Don’t worry, it’s a ficus.

I got the tree as stock material from Dragon Tree Bonsai down in Palm City, FL. An amazing place where old time Florida bonsai attitudes still prevail.
I picked out like 5-6 for development and resale. I only have this and another one left.
As is the case, though, I usually fall in love with the trees I work on the most. So it may not be for sale soon.
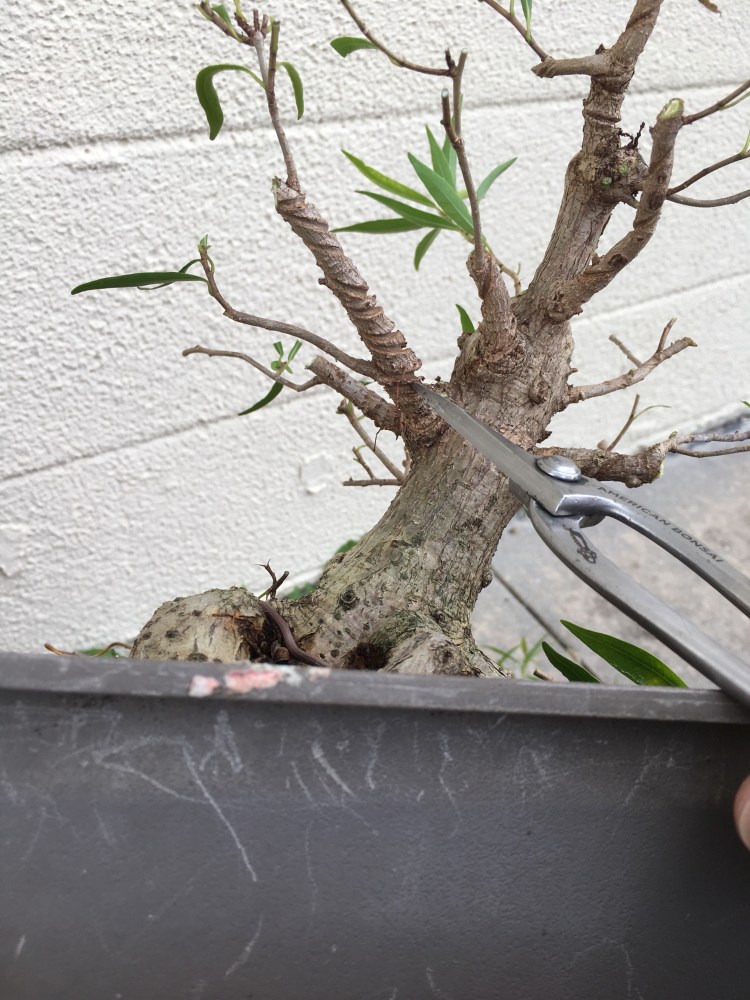
Just some clean up and elimination of superfluous branches.
Snip snip snip.
This ficus had most of the main branches in place when I got it and they stayed with the first styling, which is why they’re so thick and well developed. I find too many people cut off bigger branches when they do an initial styling because they see others do it.
But leaving the bigger branches allows me to chop back for taper sooner than later.

My students get a little nervous when I do this. They usually say “it took me months to grow that and this jerk just chops them off”
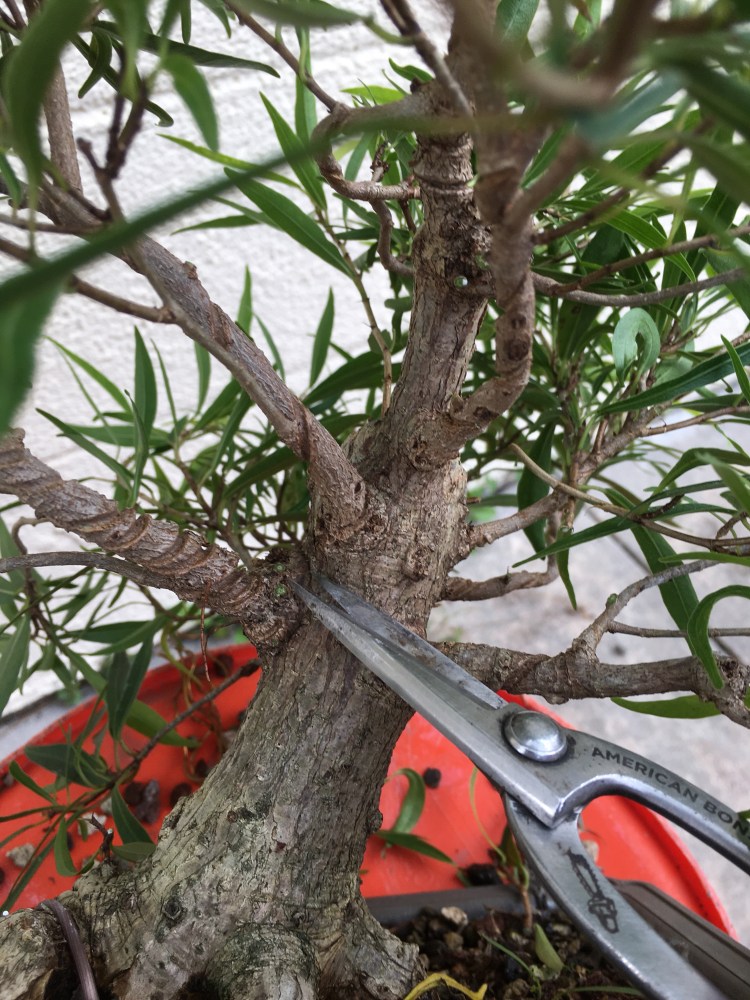
I’m thinking I need to cut back that first, left branch just a little more.
My daughter won’t be happy that she removed all the wire just so I could cut the branch off.
Chop!
 Taper is one of the design principles that help with perspective….making a small tree look bigger.
This branch will be left as a back branch.

It’ll help heal the chop as well. It’s better to have one on top and bottom of a wound as it closes a wound fast. But, alas, I just have the one.

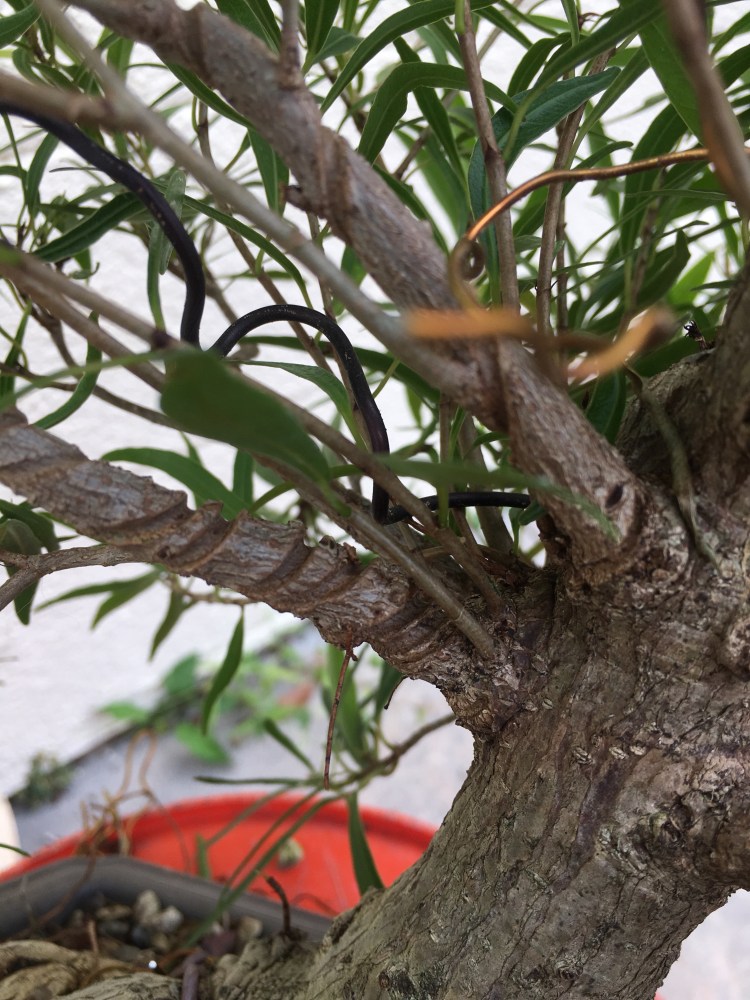
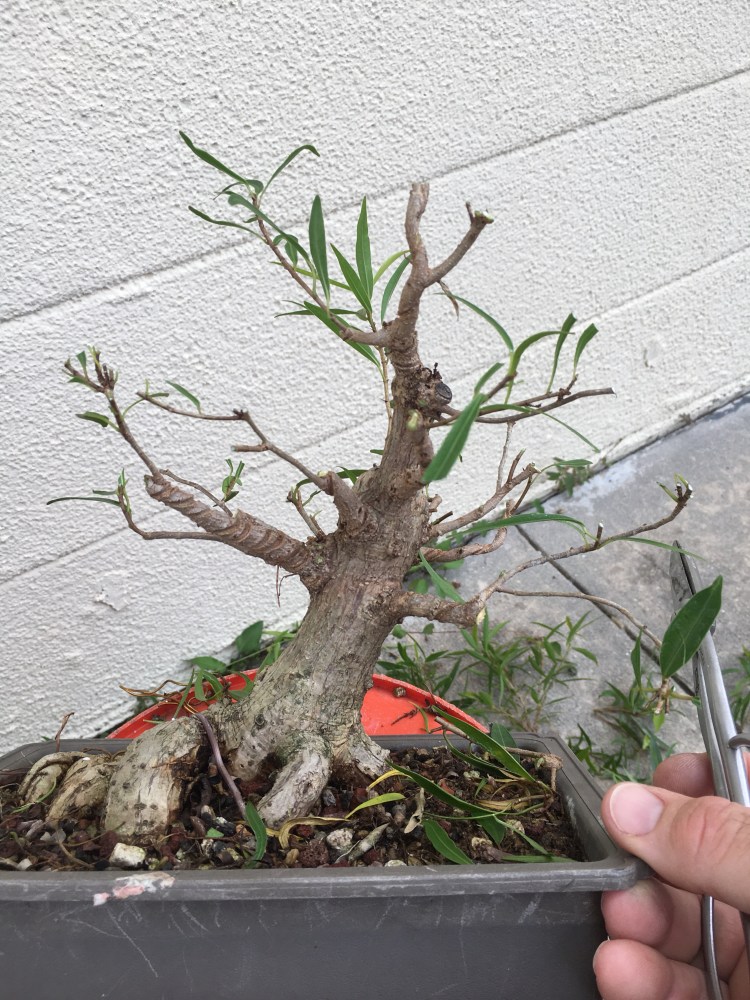
Looking at my structure now, I’m seeing a problem.
 The branch I’m pointing to above is at the same point as the one below….
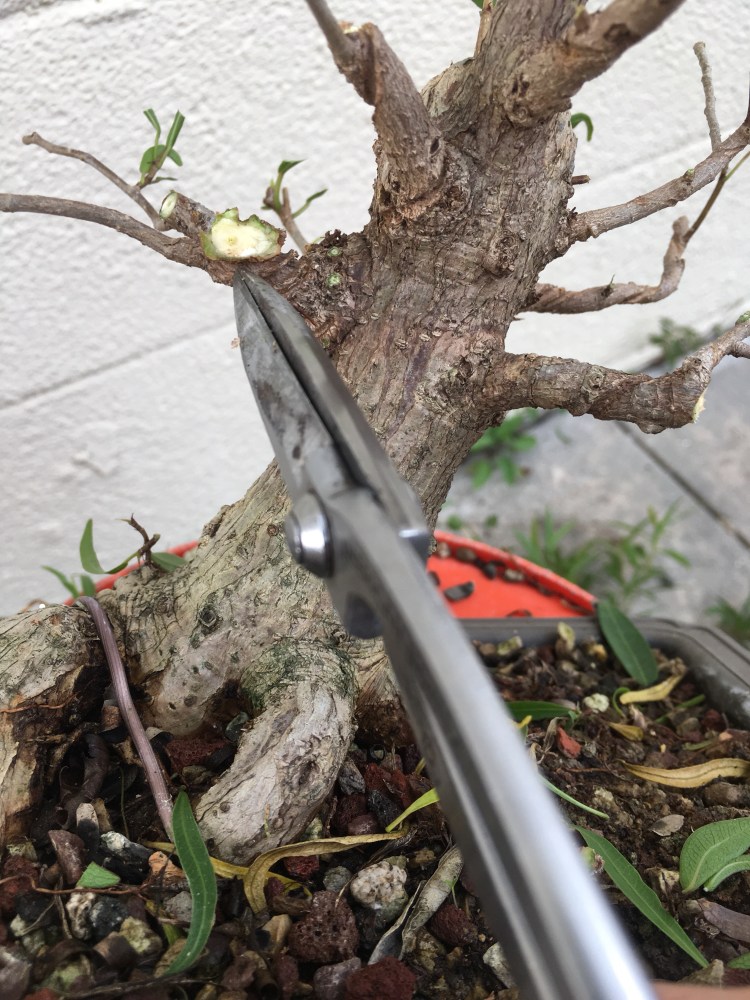
What will happen is, as the tree develops, the trunk will thicken and you’ll get a knob.

It’s a toss up as to which I remove, and it’s really a design question and not horticulture, so the right one goes in this case.
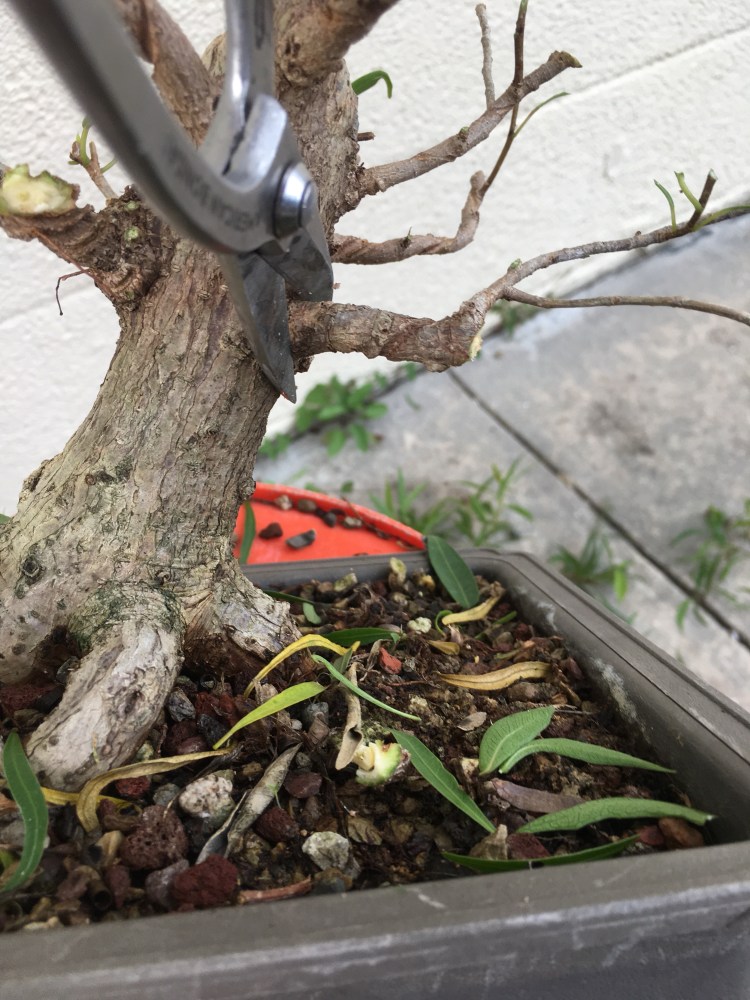
There we go.
And that’s all with this one.  The purpose of showing it was to show progression techniques. This would be a third or fourth level willow leaf. First would be a trunk chop, then branch selection from the Cousin It stage. Then a real first styling.
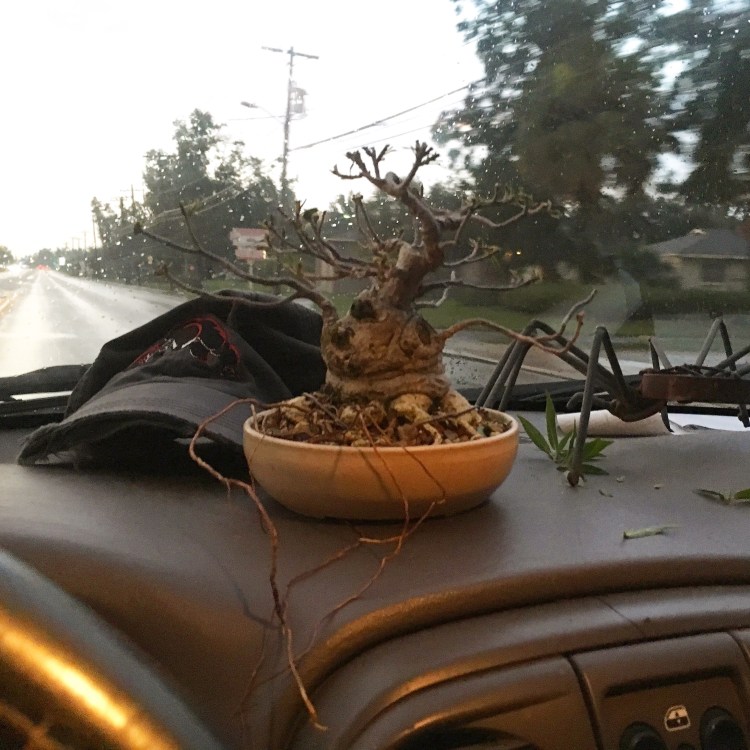
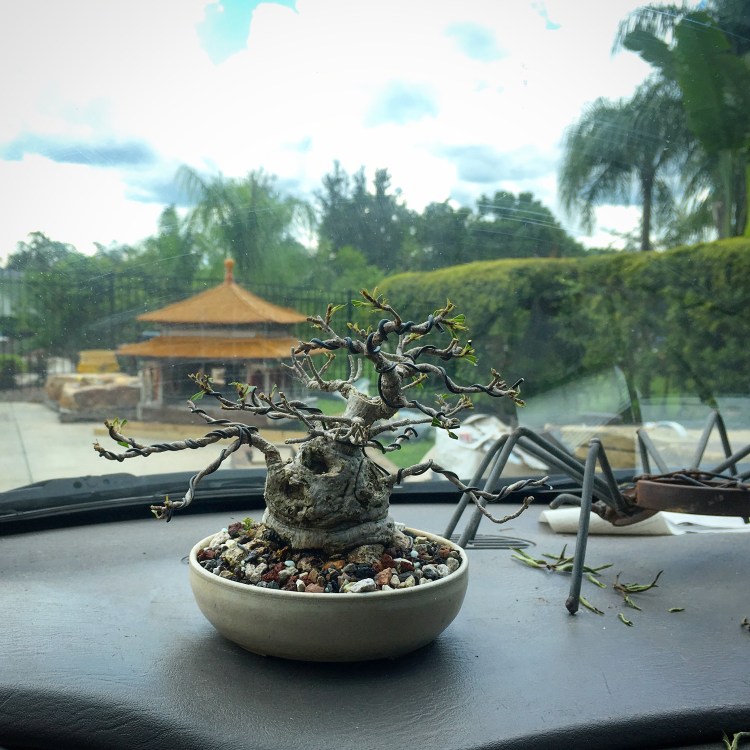
Now to the short and fat one.
Background on it:
It was styled several years ago by Jim Van Landingham at a Bonsai Societies of Florida convention. I won it in an auction, beating out some unsavory types who only wanted it for resale purposes (which means I paid too much for it).
 It’s in a very refined Taiko Earth pot, by Rob Addonizio. It’s almost egg shell thin. Very dainty and subtle.
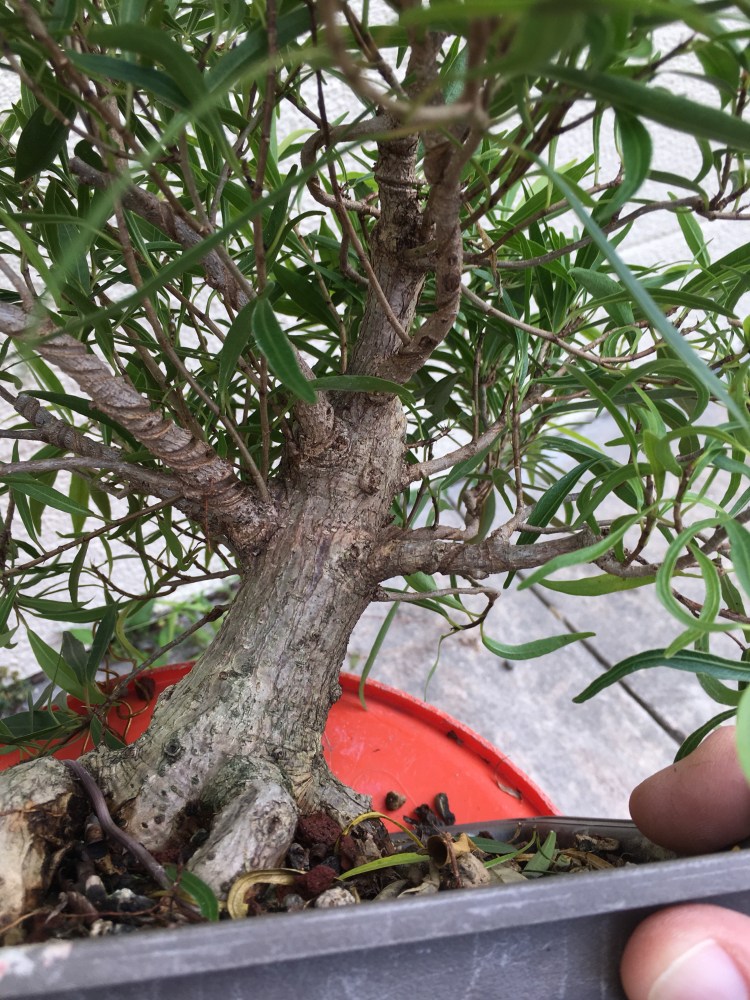
Here’s the tree last October.  It was looking fine even then.
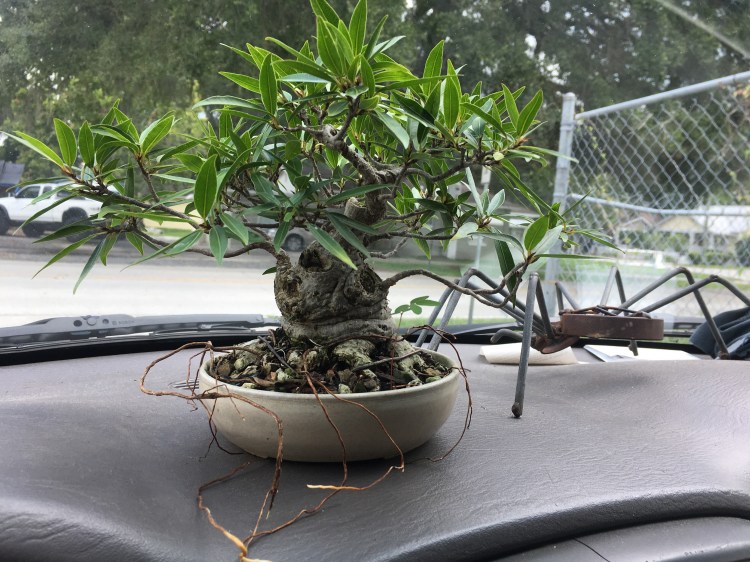
And here’s the now, after I snipped all the grow tips (which are called stipules, on a ficus. Pay attention, there’ll be a quiz).
It’s a tree on the move now….a tree in motion.
Have you ever eaten at Freddy’s Steakburgers and Custard?
That’s where I’ve ended up, and things are about to get good.
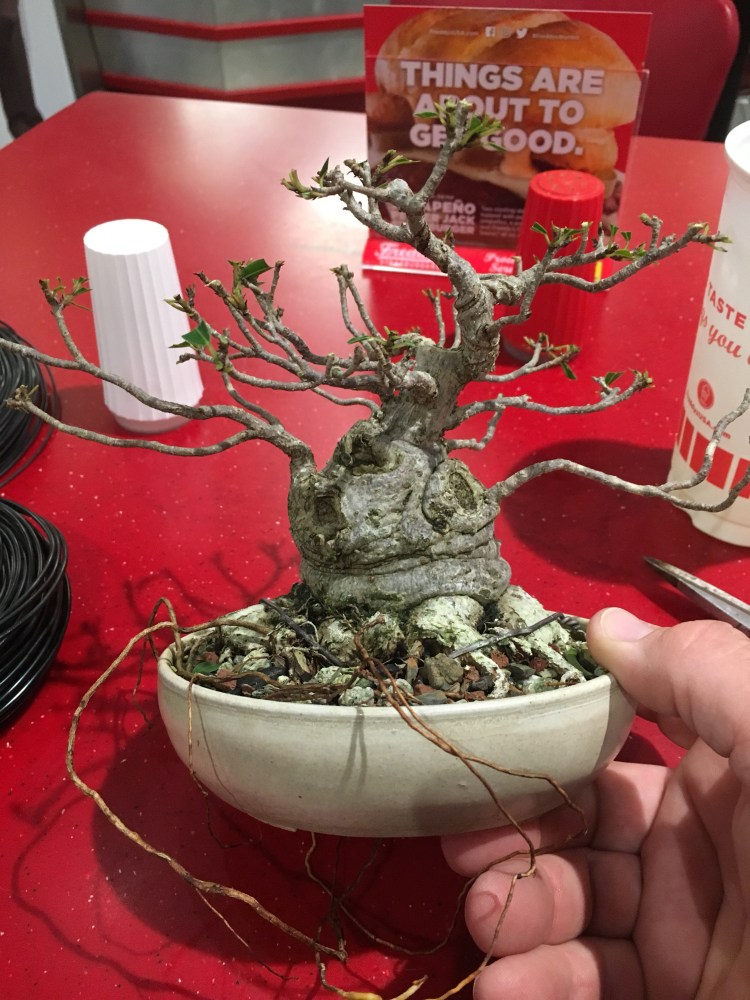 At least that’s what the sign says.
Burgers and fries ensue.
And the bonsai wire. The tree abides it all. Especially the funny stares from the other diners.

After a meal that couldn’t be beat, and custard so rich it’s in a higher tax bracket, it’s time to go home.
But I’m not done yet with the tree.
 And it still has one more stop on its tour.
It’s a beautiful and bright morning and somehow I’ve ended up here… in Agresta Gardens studio!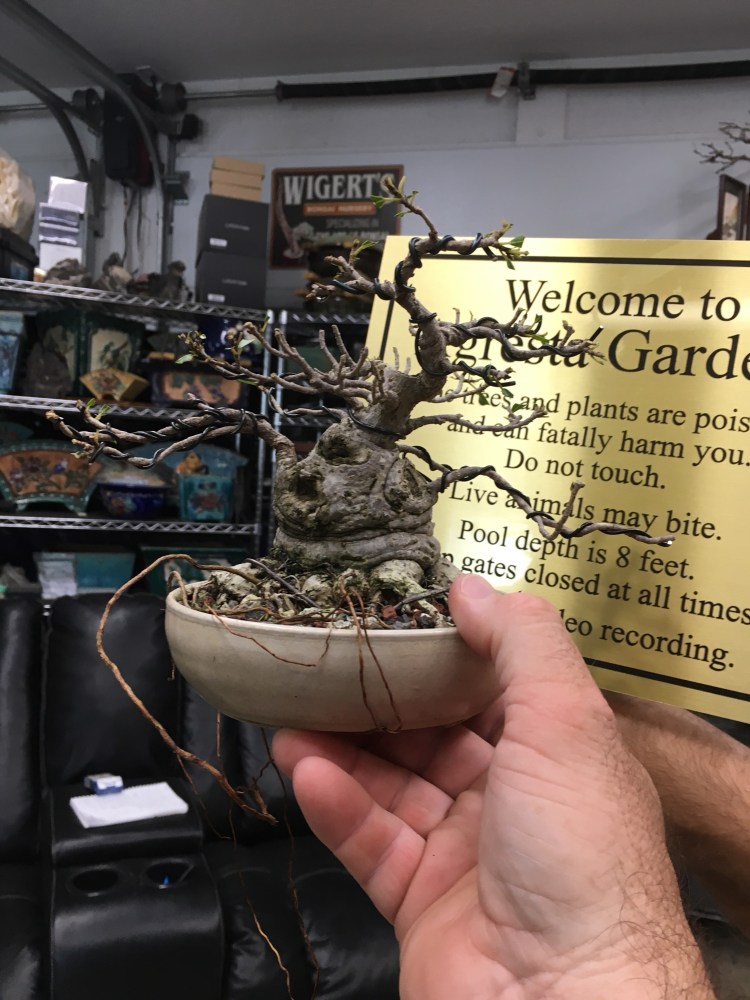
I’m here mostly to steal soil and fertilizer. And to get Ben to buy me lunch.
I should do a tour of the Garden eventually. Not today though. I’ll wait for the weather to cool off a bit.
He too, has a Wall of Pots, but it’s a little more….organized than mine. And bigger sizes too.
 But I’m not here to marvel at all the variety of pot he has, I still have work to do.
Time to repot!
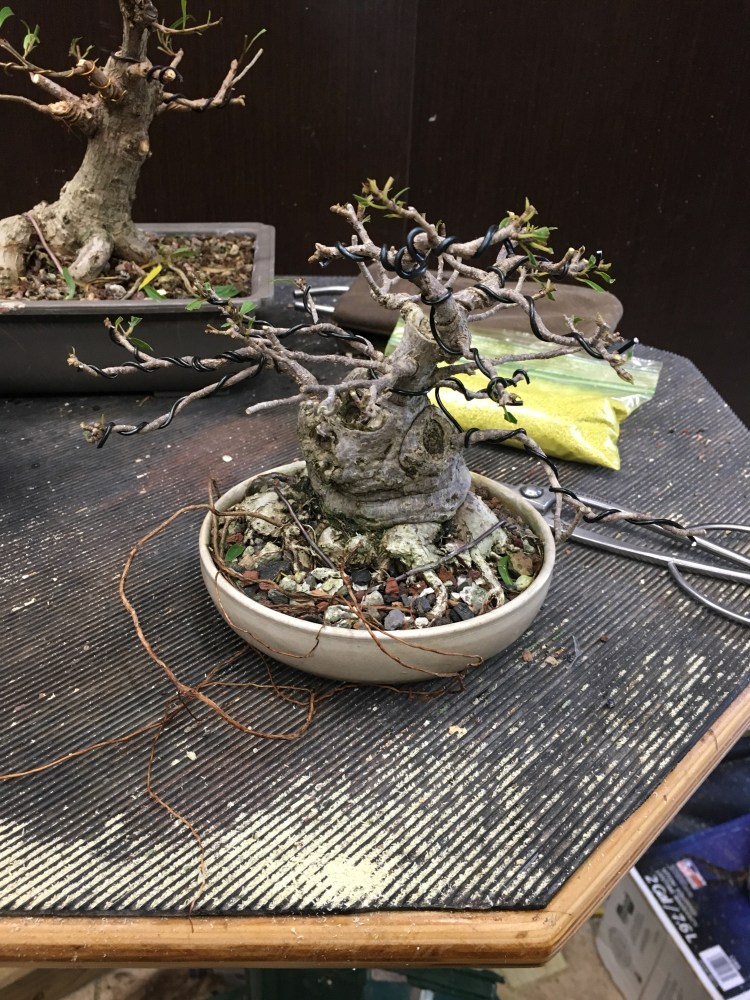
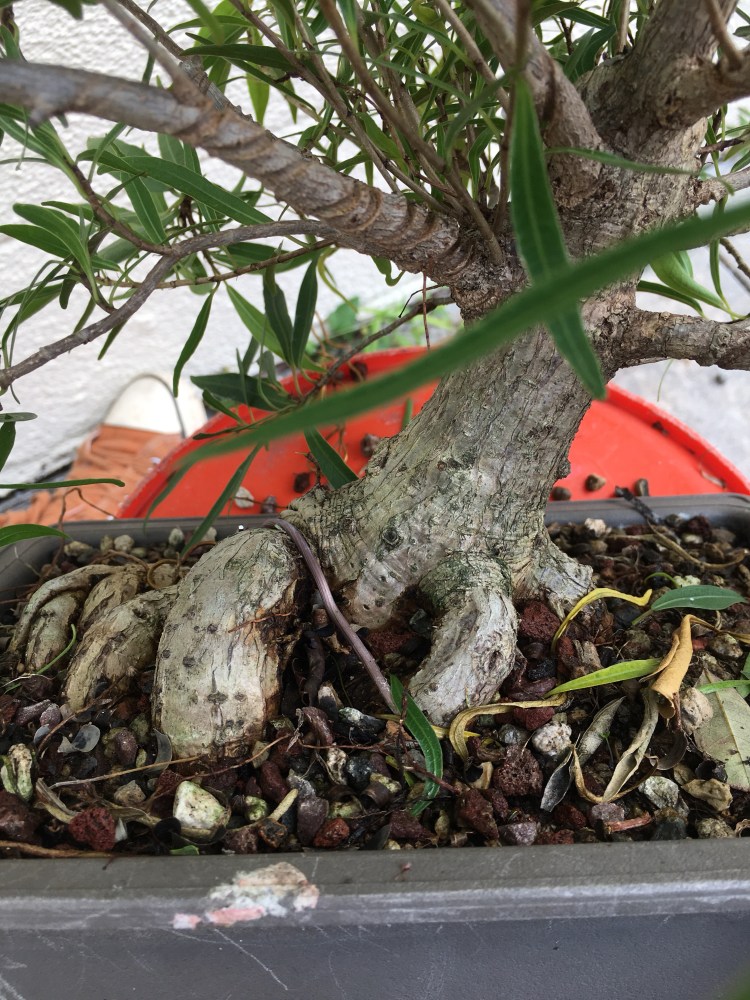
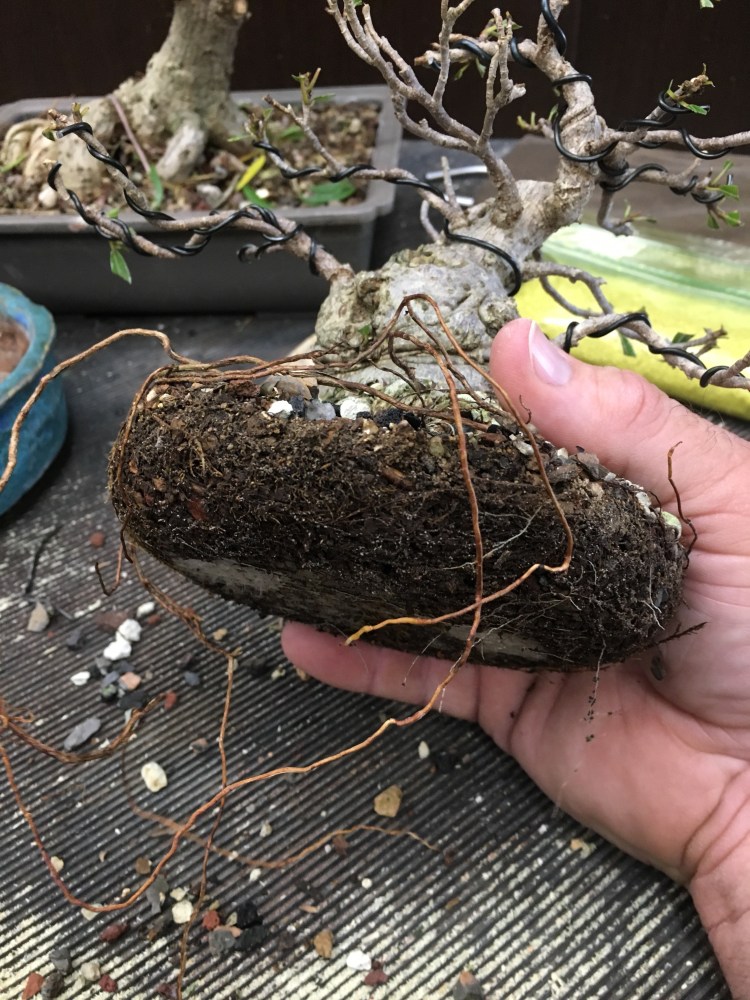
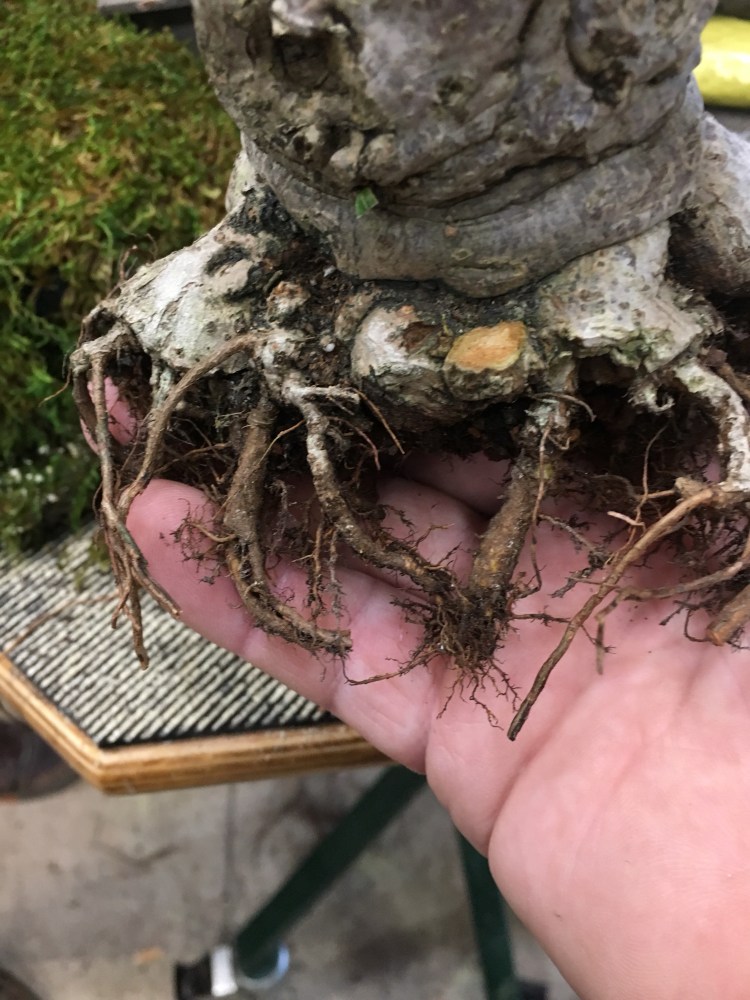
Now you’ll see why I haven’t cut off those long air roots.
Nice root ball!
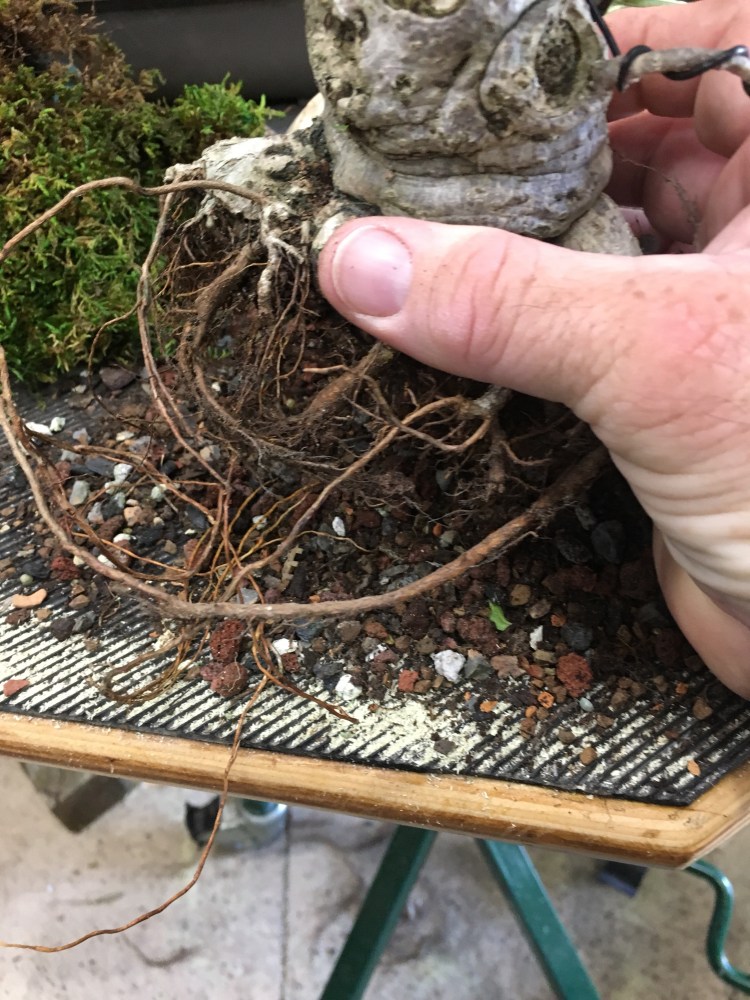
The roots that grew above the soil can now be folded under the tree when I place it back into the pot, improving the root spread (nebari in Japanese. Remember, there’ll be a quiz).
I’ll also need to shorten those roots that were circling the pot
This one in the back decided to get real big. 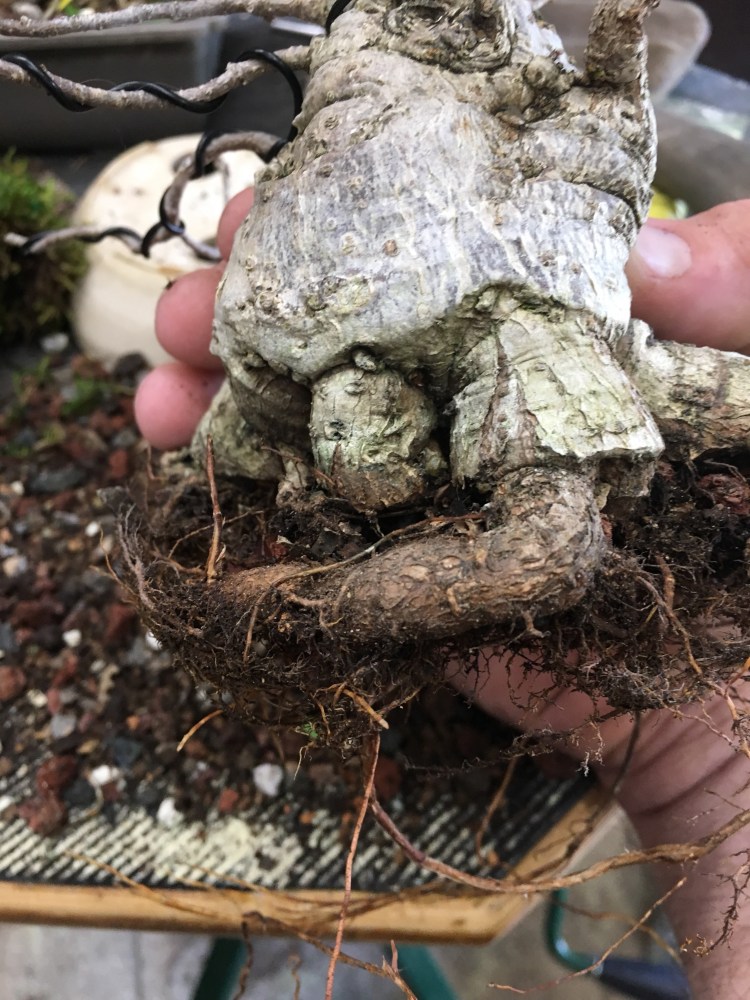 The initial potting, done by Jim V, consisted of cutting all the downward pointing roots flat off, and treating the stump like a big cutting. I’d say it worked.
Now I do the same, but with the secondary roots that have come off those original stumps.
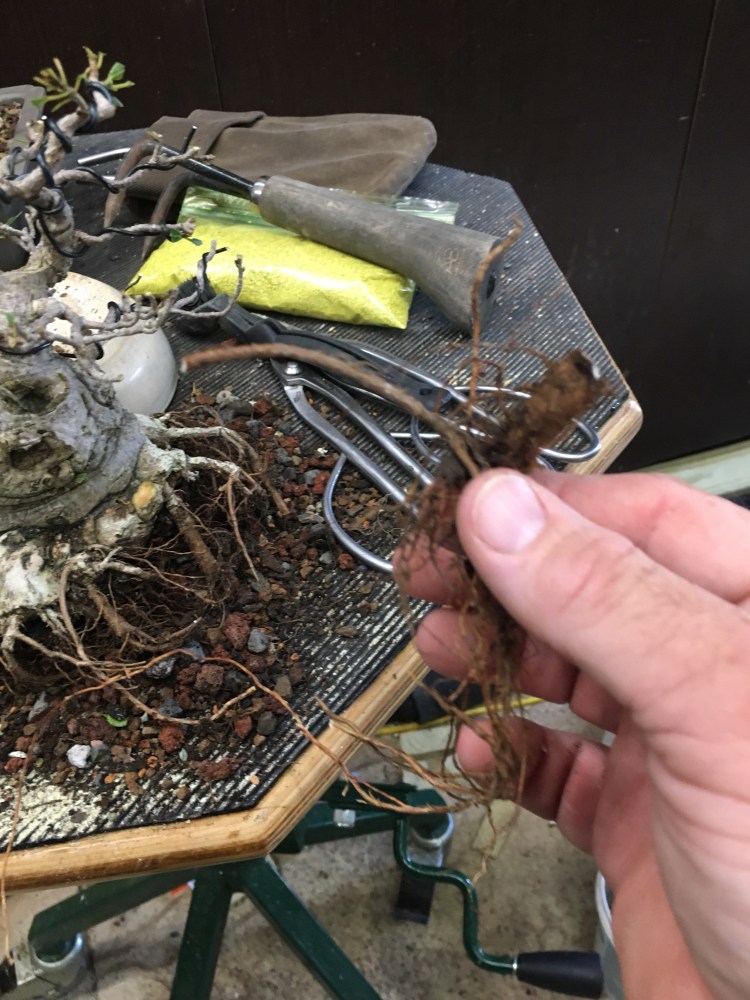 And just like on a branch, you “ramify” the roots.
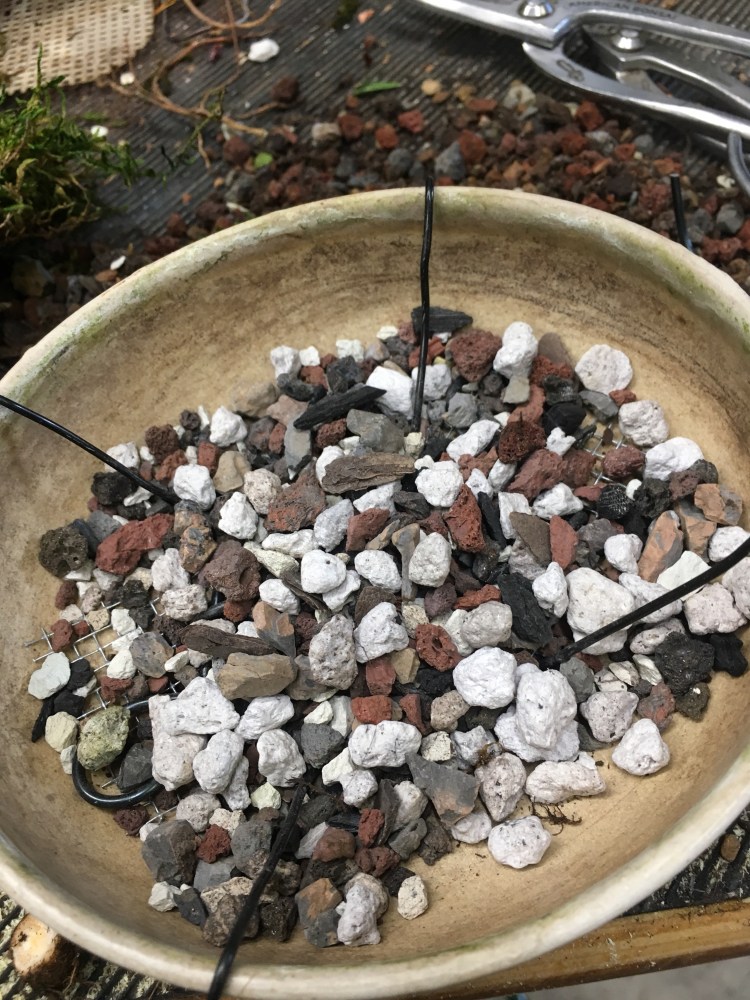
The pot has been prepared.
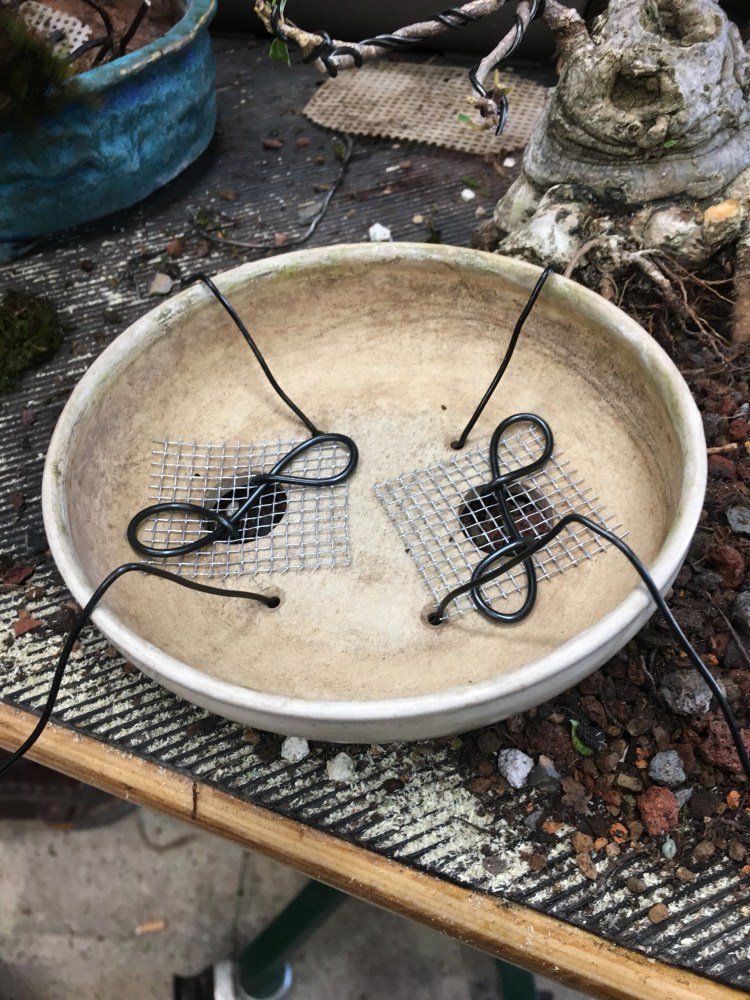
The roots are spread out….
The soil is clean and sifted (for those who are wondering: 2 parts scoria (lava) and one part everything else, pumice, expanded shale, charcoal, zeolite, and maybe an oak leaf or two. Just for fun.
I tie all my trees in. It’s important for me as I have four children and so cats (at the moment. They keep showing up and I’m too much of a softy to chase them away).
Now for the fertilizer. I’m using this new one I made after hearing about it online. It’s homemade, by me, and it’s only two ingredients, dehydrated Powerade, infused into coffee grounds.
Look up on the Google machine “Powerade fertilizer method”.
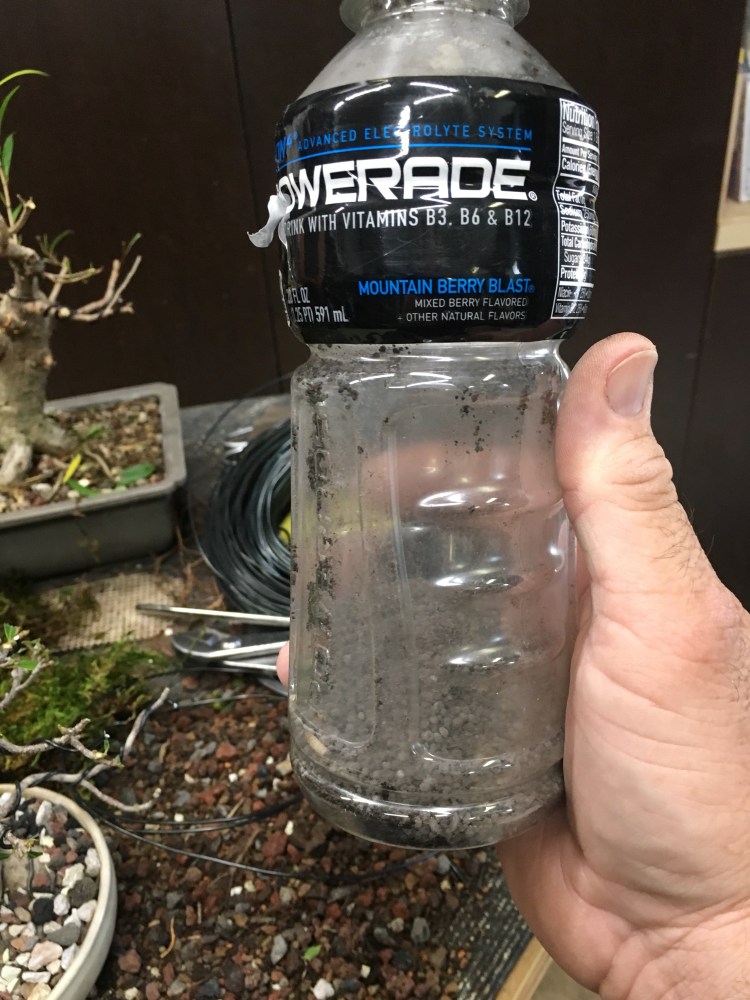
It has to be Powerade, as it has high potassium (like Gatorade) but it also has high levels of B vitamins (unlike Gatorade), which, as you know, are good for roots. It doesn’t have nitrogen but it does have sugars, which feed the bacteria in your soil, which in turn, precipitates nitrogen out of the atmosphere, and then gives it to the the roots in a symbiotic trade with the tree.
 The coffee grounds provide an acid environment for the bacteria to thrive in, and the caffeine acts as an organic pesticide, disrupting the nervous systems of insects and arachnids that are harmful to a plants roots. And they’re an organic medium that roots love to grow in.
Pour the Powerade in a pan and reduce by half, sprinkle in the coffee grounds and be careful, as the grounds absorb the Powerade and it’ll get dry very quickly. Don’t burn it! And viola…fertilizer!
Actually, all that above is a lie, I was pulling your collective legs. I was also just illustrating that, using partial truths and 25¢ words, one can concoct up a very plausible sounding narrative to make you believe anything. Just because it’s on the internet, doesn’t make it true.
The fertilizer above is actually Milorganite, my go to product. Which, ironically, doesn’t have any potassium. Too bad the Powerade fertilizer isn’t a real thing though…maybe…it could work……hmmm.
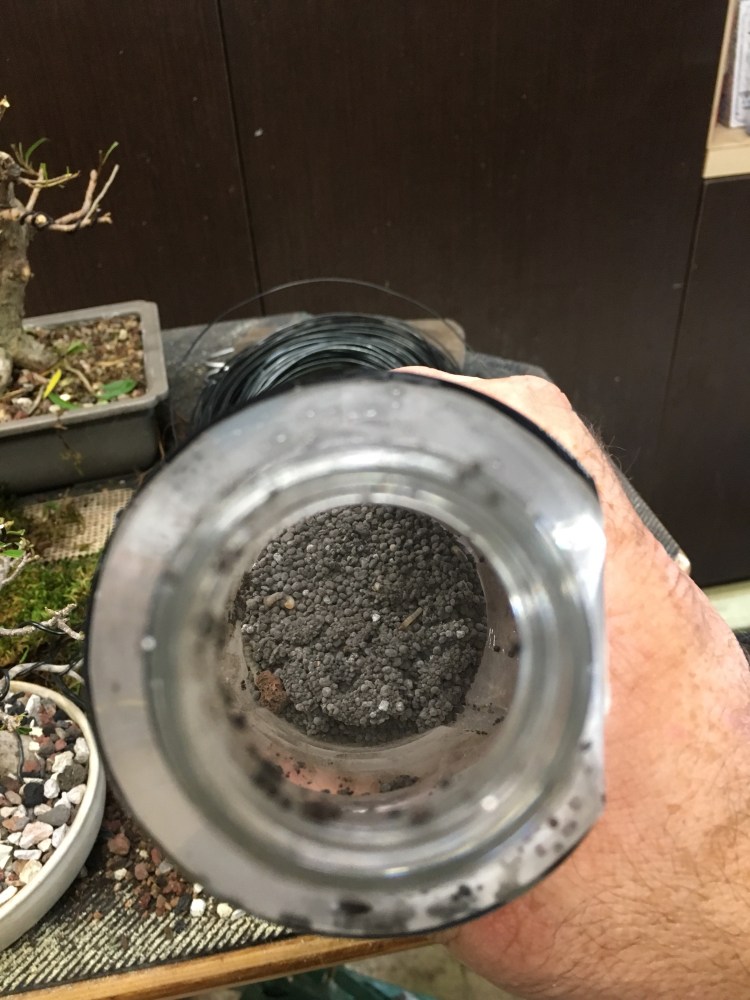
The fertilizer below is a real experimental one though. It was given to me by Zach from Ohio. The company developing it is called Biowish Technologies.
It is mostly nitrogen in an ammonia form.
But the cool thing is it has four different active bacteria that help the tree absorb other nutrients. 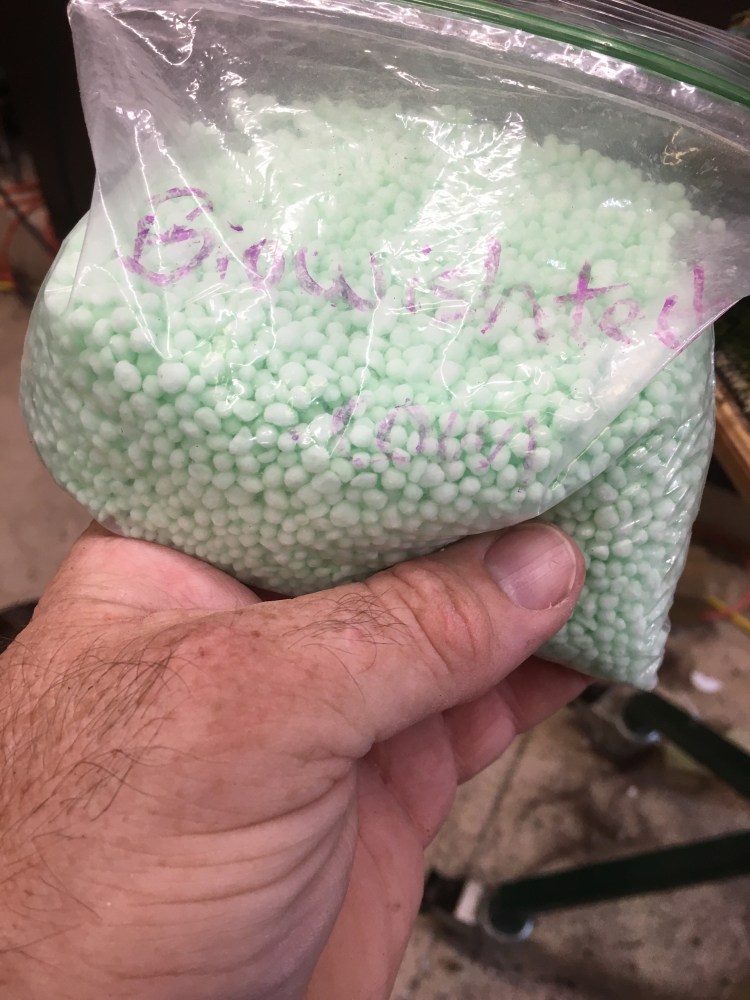
The nitrogen is very high so the application rate is low.
I’ll let you know how the trees respond to it. I’ve put it on both trees.
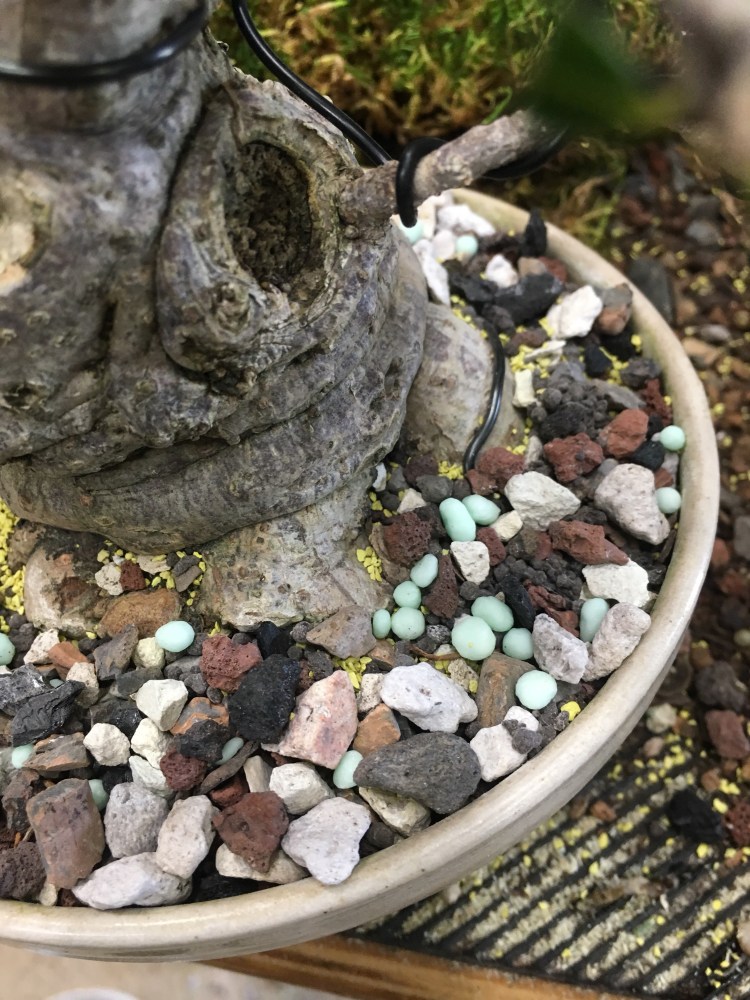
Just a little. 
And also on the orange jasmine from the last blog post.
Alas, except for a short ride home, our journeys are over.

A few last shots from Agresta Gardens….
 Which is becoming more SPLENDID all the time.
Here’s the tree again, for reference, last October (it’s the end of August now). 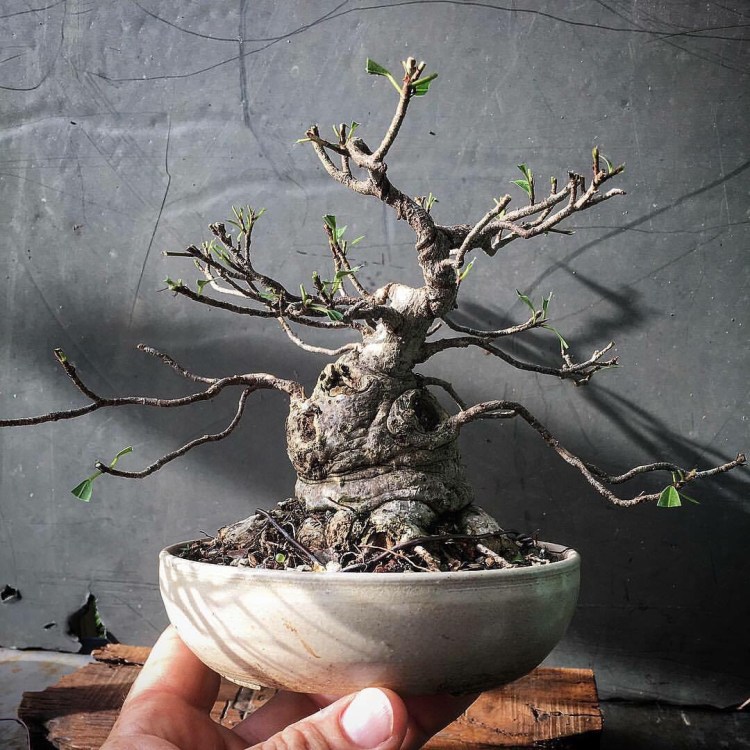
And now, in The Nook. It’s filled in and thickened some. 
Time. That’s the one thing we have to wait on with our trees. You can speed some processes up, especially with tropicals, but patience is a trait one must have with a tree.
And that’s the way it is.

nice
LikeLike
Loved your blog…never imagining the distance a tree travels when a companion of yours. You do amazing work…and had me on that powerade concoction bit. Lol Another good blog under your belt. And a good learning tool for ones taking their trees to the next level. Thanks Adam!
LikeLike
I don’t like Powerade anyway.
LikeLike
Reblogged this on Wolf's Birding and Bonsai Blog.
LikeLike
Nice job Adam!
When your ready to sell, let me know.
LikeLike
Nice job and nice post, as always. I quite started to believe the powered stuff XD
LikeLike