Man I’m getting around a lot here recently. I’m literally living a “Have bonsai, will travel ” lifestyle on the blog. 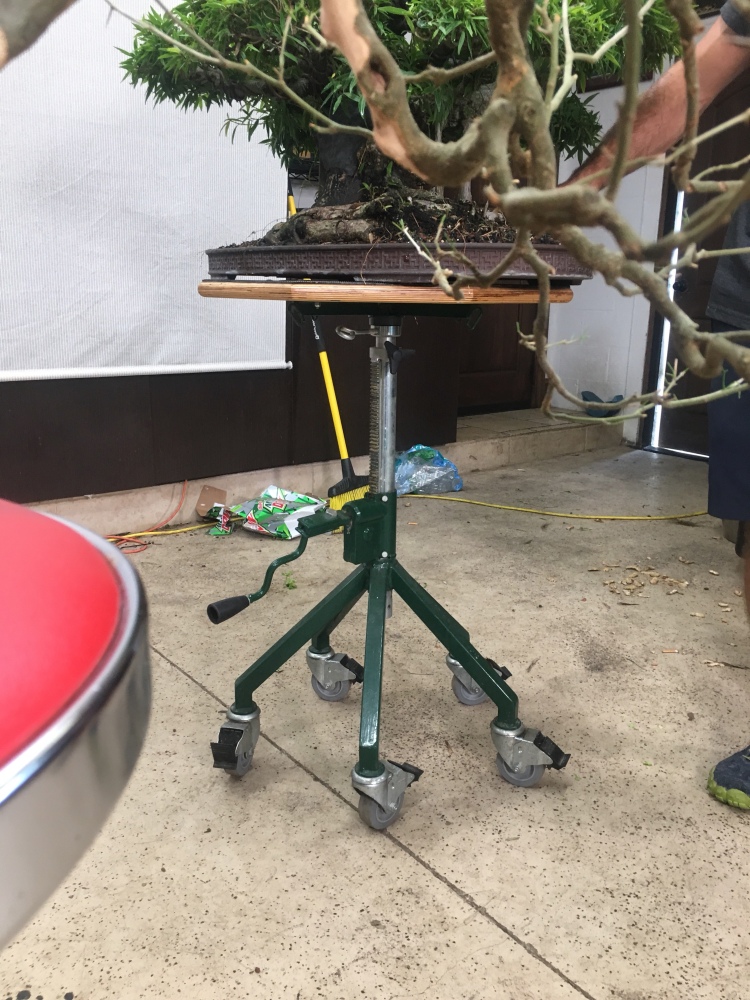
Today, as I work on a Brazilian Raintree (which you’ll see in the next post or so), I’m at Agresta Gardens, in the studio, assisting Ben (read that, taking pics and nodding my head in support when he waxes poetically about certain bonsai trials and tribulations) in the lowering of a big branch on one of Ed Trout’s signature ficus salicaria. Ben purchased it from Ed about a year ago and has been maintaining it since. You can see my little stick of a Brazilian (which has good movement, in its defense) in the foreground.
Ben had spoken with Ed about lowering the branch, and Ed agreed with the idea.  Ben is doing a slight defoliation, just to see the branching better.
That thick branch in the center of the shot, below, is the candidate for lowering. 
You can see a guy wire on a secondary branch. That’s part of the technique that’s being used here. It will get a bit more….invasive… in a bit. 
First, a screw is drilled into the root base so we have something to attach the bottom of the guy wire to. 
On the branch, some aquarium tubing is used, with a split cut into the topside so the wire can be twisted tight (I think that Ben came up with this himself) 
Pull it tight…..

Push down on the branch a little, so that when you twist the guy wire during the operation, you have more downward movement, without running out of twisting space.

He’s so delicate sometimes. You should watch him sipping afternoon tea….
With the wire in place, the next step is to mark the cut.
Wait?! The cut? Yes sir and or ma’am or they.
I’m sure you’ve heard of cutting a wedge in a branch to lower it? This technique is similar but instead of a wedge (which is hard to match the angle of the wedge-cut with the ultimate downward movement of a branch, ending up with a bad match of cambium layers, resulting in uneven or no healing at the cut site), we will be cutting a slim blade’s width, and then lowering the branch until it closes, then cut another slice, etc….until the branch is lowered adequately.
First, some Lysol to sanitize the saw.  Which is repeated several times during the operation
Then the cut…..
On a ficus, we want to go almost all the way through the branch, only leaving the bark layer on the top, intact 
My tree being ignored over there while I assist. 
Slice…..
Twist….

Slice…..

Twist….

Slice…..

Twist……

I think Ben performed the slice/twist technique (which is the opposite technique that’s performed by a מוהל) about six times or so. To clarify (thanks Peter) the slice is in the same exact place each time, just removing a blades width of material.
Ben added a second guy wire, which pulled the branch back a little, to get a few more degrees of twist to the pad.
 that’s my hand just to show you that I’m just the camera jockey today. I think the regular readers could tell anyway. Look at those nails, who bites them down so short, anyway….ewwww.

Twist…..
Slice……

Twist….

And I think he is done. For the record, Bob really is his uncle.

And there’s the end result. 
The before…..

The after….

Even though the amount of material taken out at the cut site was less than a quarter of an inch (>6mm) , the movement at the branch tip was probably about four inches (Ben says six. I’m not one to argue. That measurement is best left between him and his wife….)
He didn’t seal the cut site as a ficus “bleeds” it’s own latex, effectively sealing itself (interesting to note, the white latex from a ficus is not its sap, but, depending on whom you listen to, is either a defense mechanism against chewing bugs and animals, or a sealant for when wounds occur and it helps the tree heal faster).
The tree went back into the bench to get some sunshine and to let it grow.
Next post, the friendship BRT.

Reblogged this on Wolf's Birding and Bonsai Blog.
LikeLike
hi Adam – love your posts!! to clarify the technique used, more specifically the cuts, are there several next to one another effectively removing a rectangular portion from the underside of the branch, or is there a space left between each successive cut? Cheers Peter (Adams Art blog follower, resident, and paying taxes, in South Africa)
LikeLike
You cut in the exact same spot as each previous cut, after the gap has been closed with the twist
LikeLike
got it Adam!! Thank you!!
LikeLike
I heard about wedge technic and its variants but I had never seen it applied. So thanks Adam for your will to share all the techniques and principal operations.
LikeLike
I was at my Bonsai class at Eric’s @ Wigerts this morning
Kaye from Sho Fu suggested that I contact you
I am interested in joining a working group in addition to my monthly classes at Eric’s
I live in Boynton Beach
Do you have a workshop that meets near me or know of a work shop that in might join
Thank you
Mark Kalish
301-466-1123
Sent from my iPhone
LikeLike
Can this same technique be used on a green mound juniper trunk to get more bend if it is too big ti wire form?
John
LikeLike
On a juniper you generally make the cut on top and “break it. Cutting on bottom, on a juniper, disrupts the sap line
LikeLike
This would be about 7″ up the main trunk near an existing downward bend. I would like some side movement at the location
John
LikeLike
Adam can I cut about 7″ inches up the trunk? I don’t understand what you mean by “break”. I am new to this and just getting my feet wet with these junipers. The one I am messing with is an older nursery tree that I am learning with
Tks,
John
LikeLike
Junipers have live veins that that go from the roots to the branch tips. If you cut that vein, generally, the root and the branch will die. That’s why you are only able to cut on top of the branch to try to bend it if you need to. Or break it.
LikeLike
thanks; I’ll take your reply as a NO
John
LikeLike