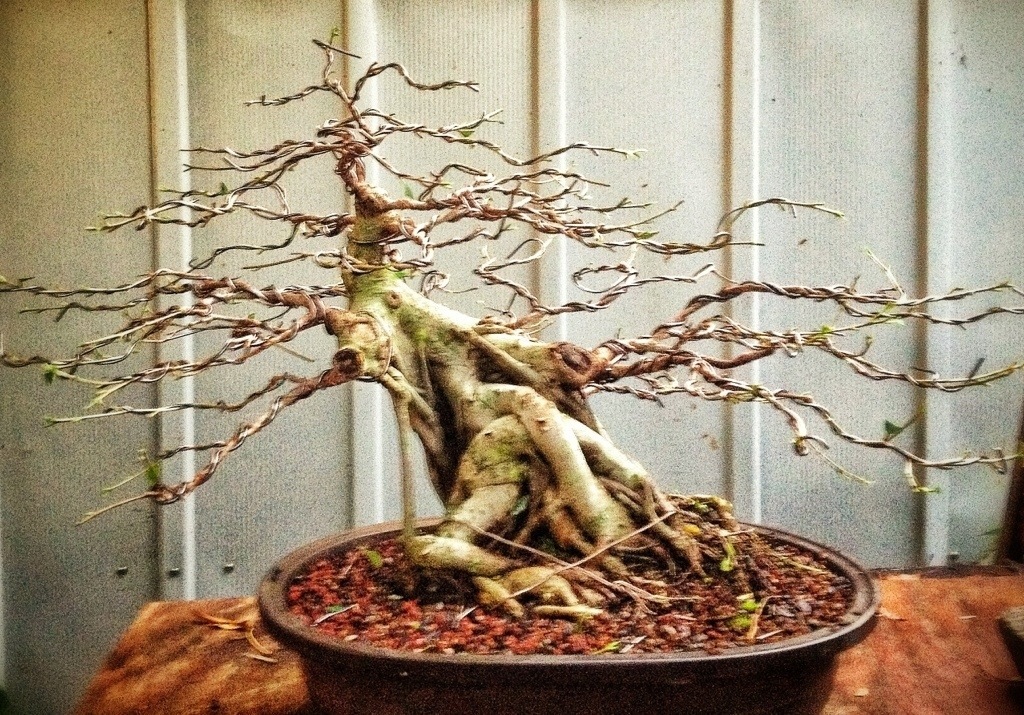
Just a scant 3 1/2 months later the wire is cutting in nicely

I love saying that the wire has to cut in. It drives people nuts. But it has to on a ficus.
I’ll show you why later.
This was the tree in the last post

(Which is here if you are interested)
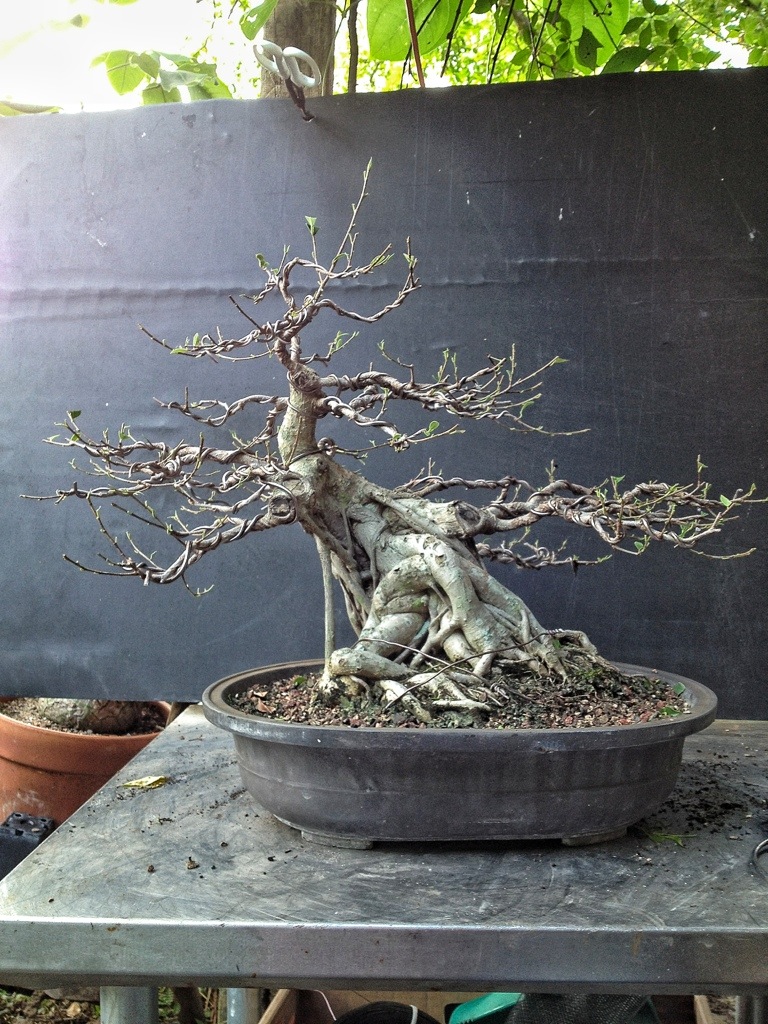
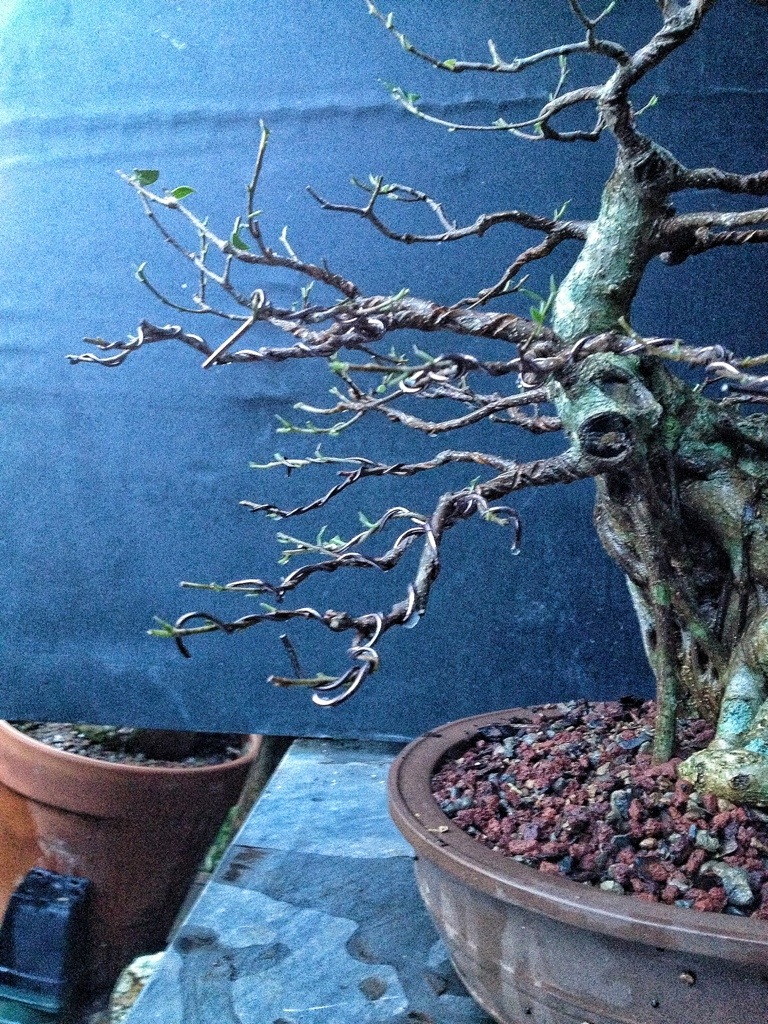
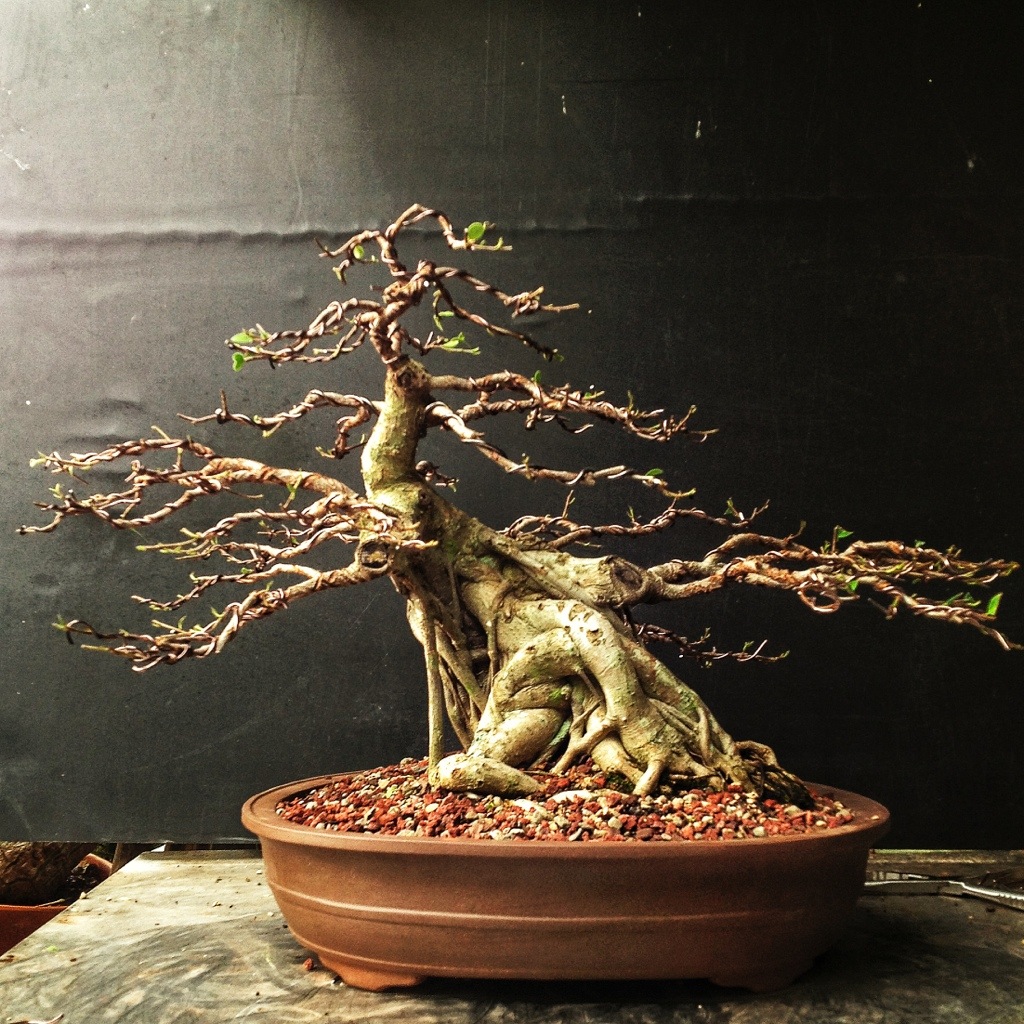
And today:
Right side-
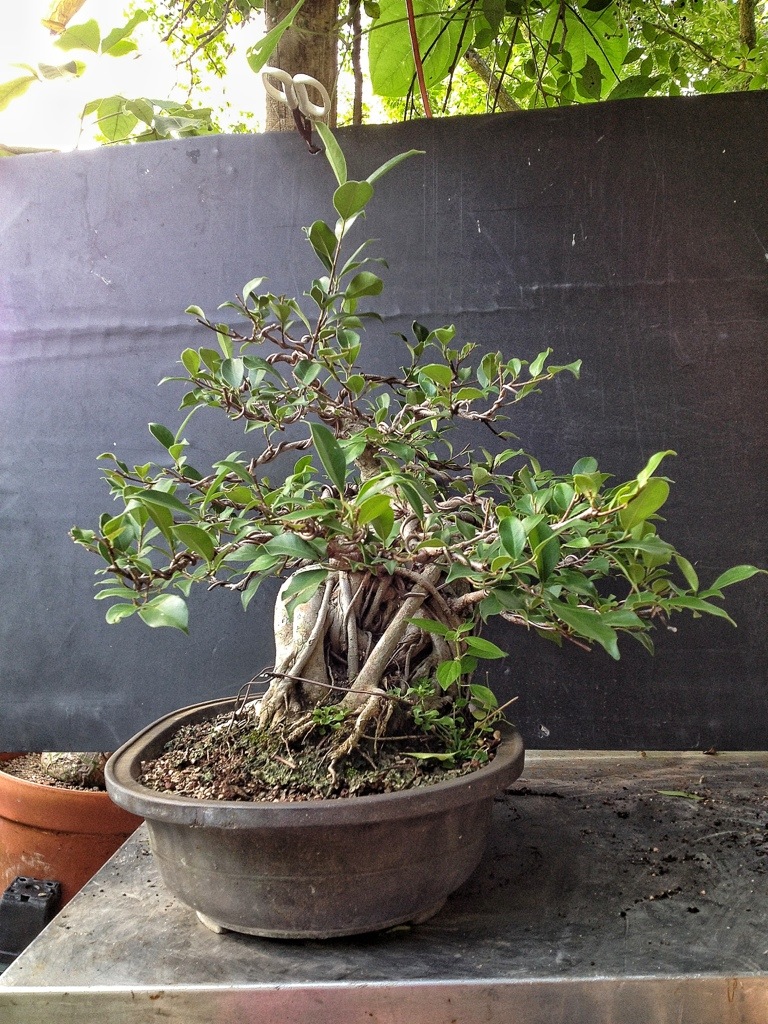
Left side-
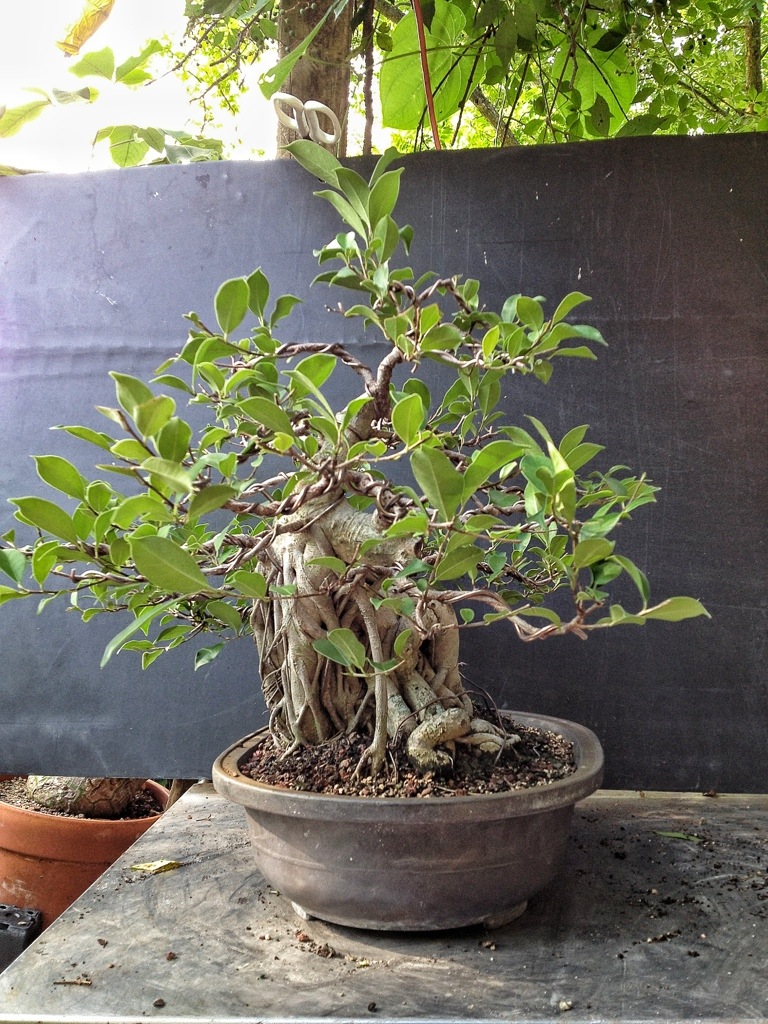
Back-

The growth is good

I’ve trimmed it once a few weeks ago.
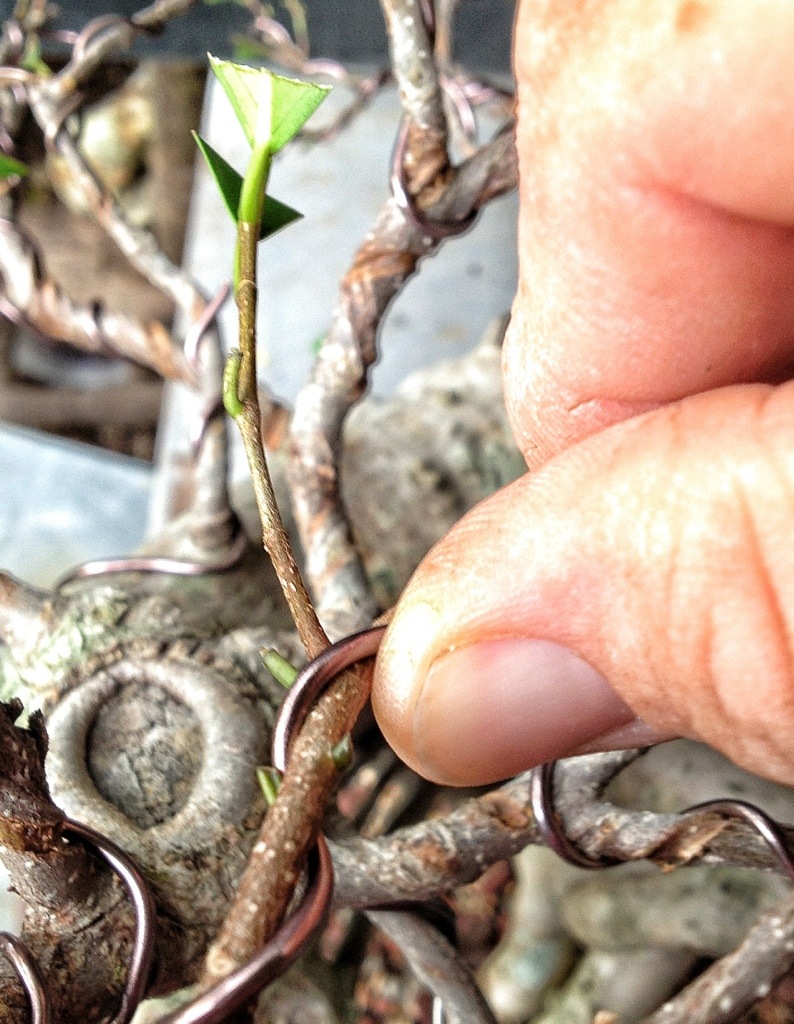
And the one branch I needed

last post, has grown up tall
The next few steps in this trees development are: a ceramic pot, more wire and more trimming for ramification.
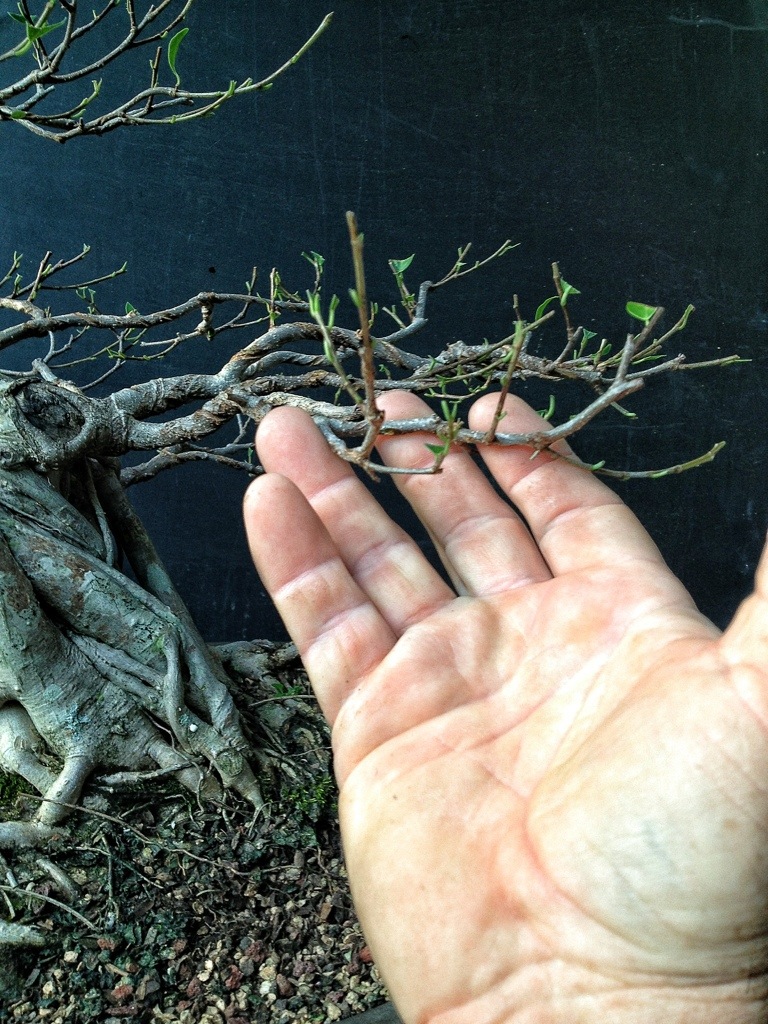
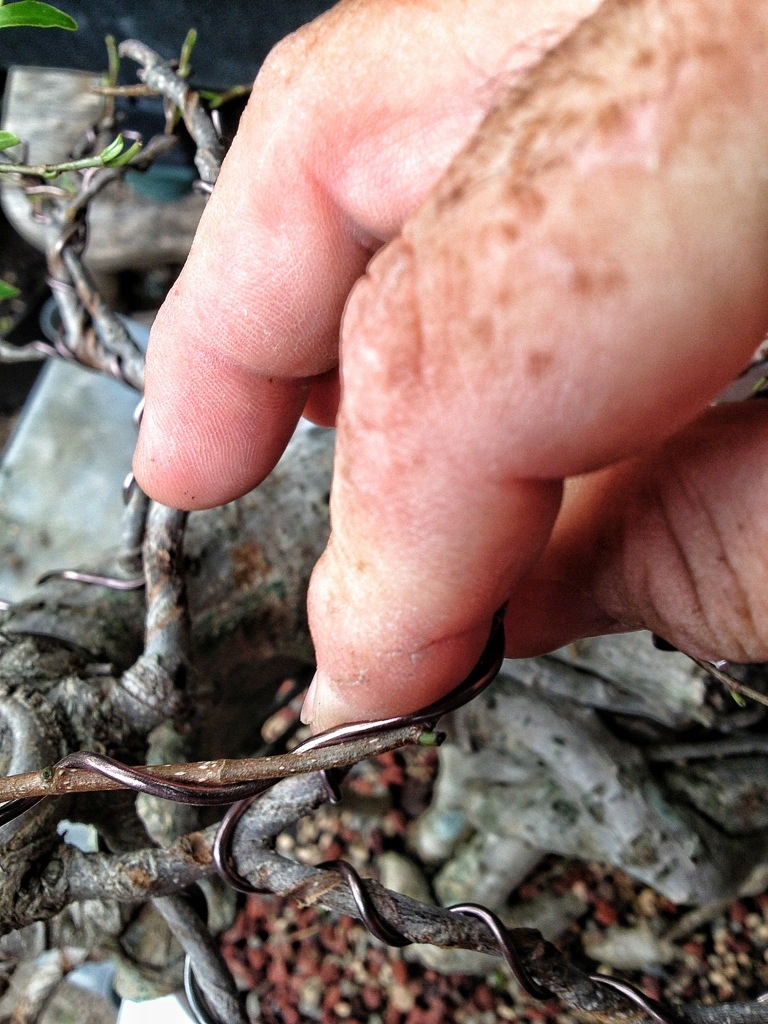
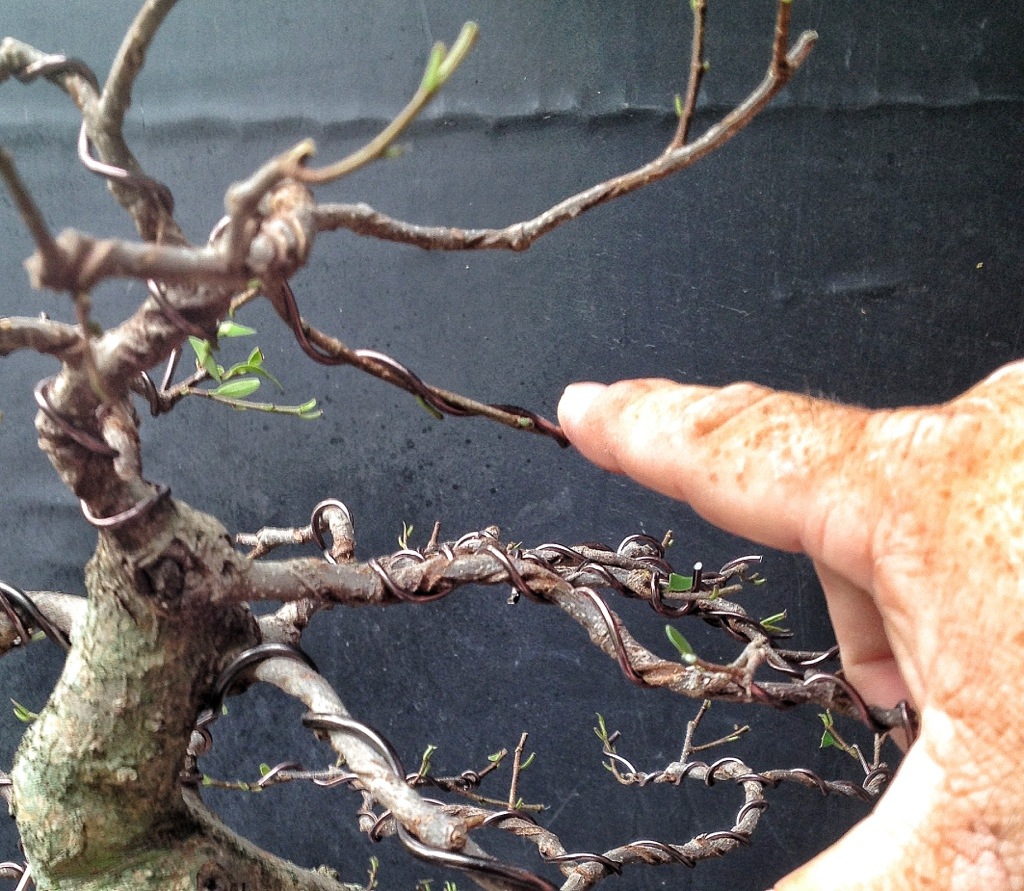
Rule of thumb:
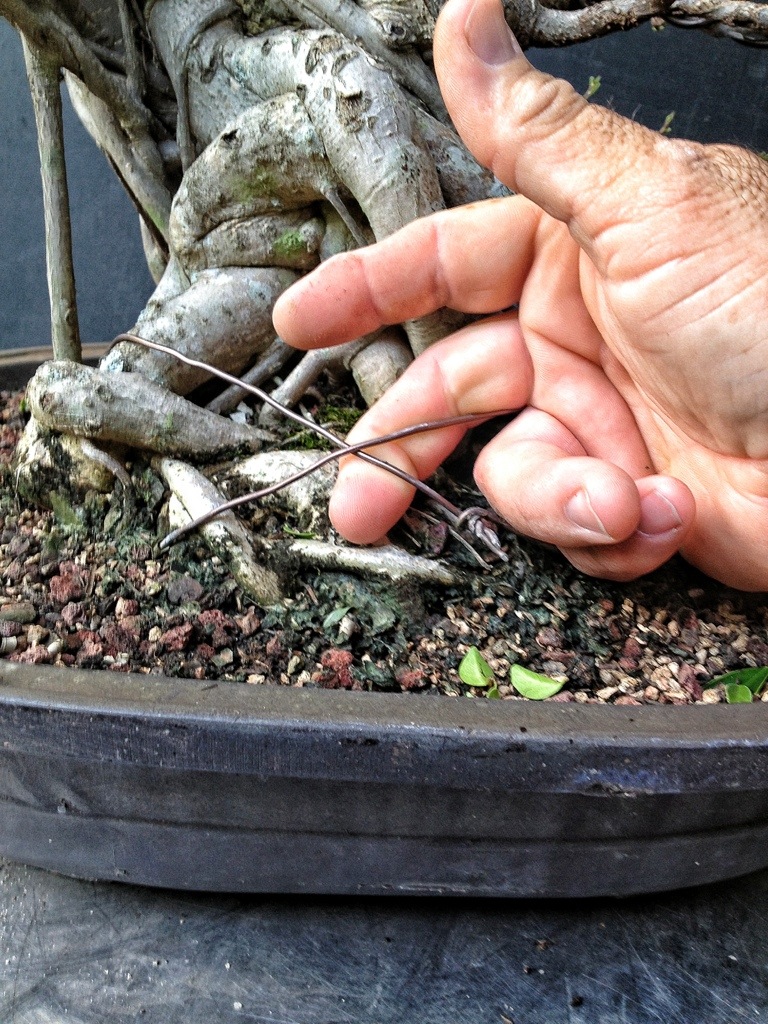
If your thumb (or middle finger in this case) will fit under the tie down wire, it’s time to repot.
First, defoliate so we can see what’s happening (and to balance out the root work I’ll be doing)
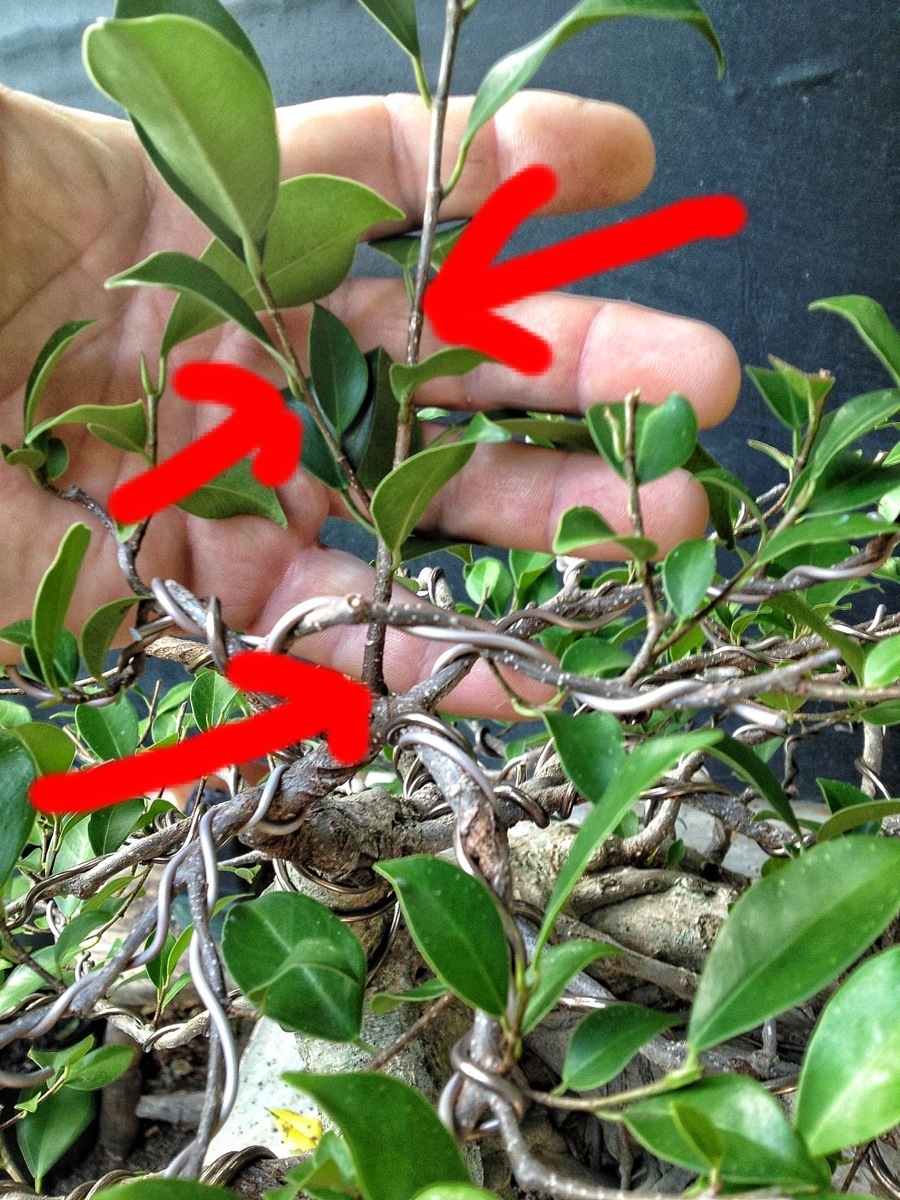
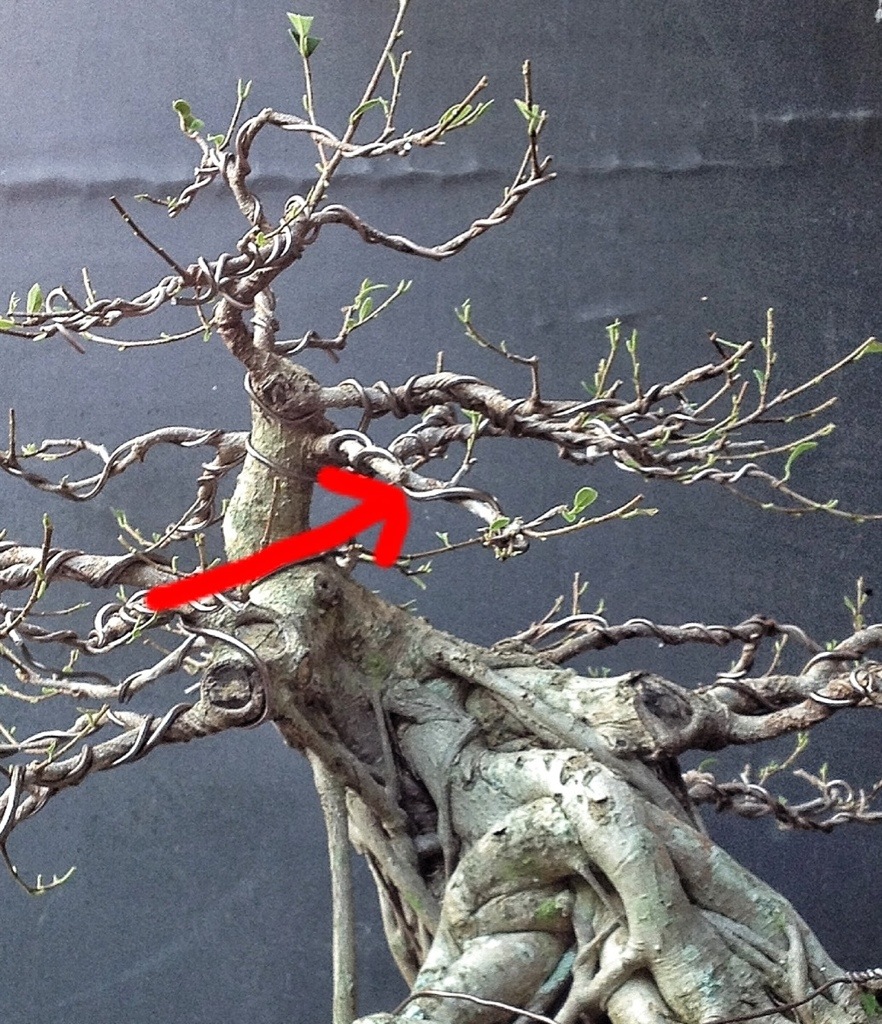
The wire is cutting in on some branches
Which is what I need, but it’s not cutting on all.
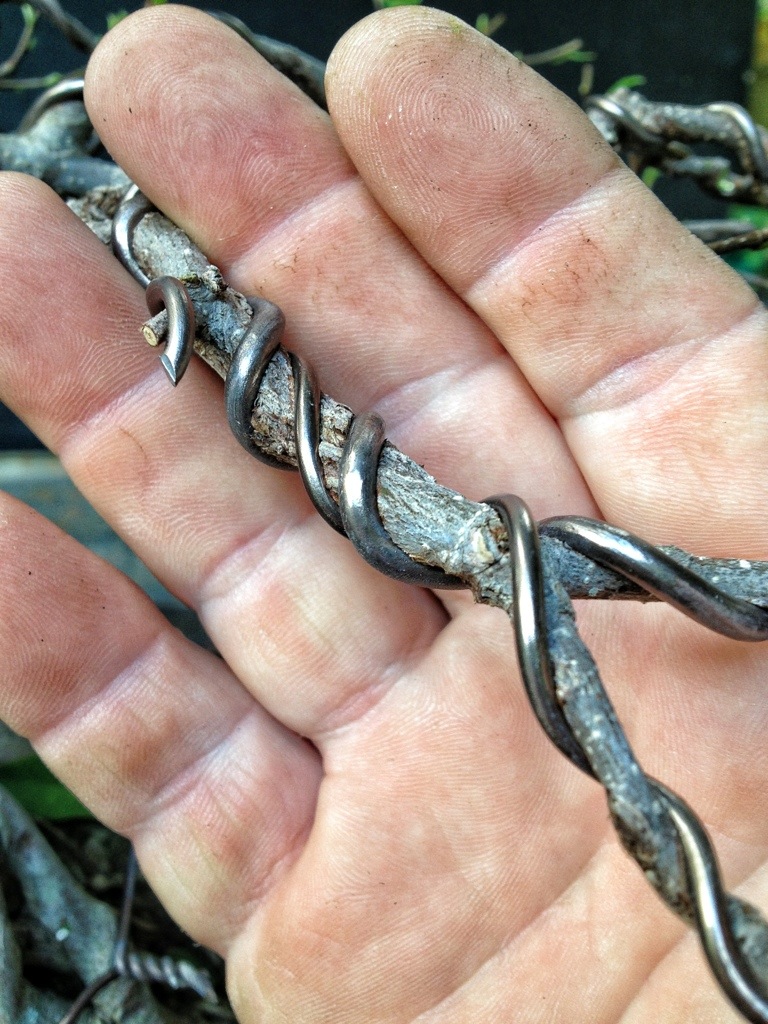
Note this branch
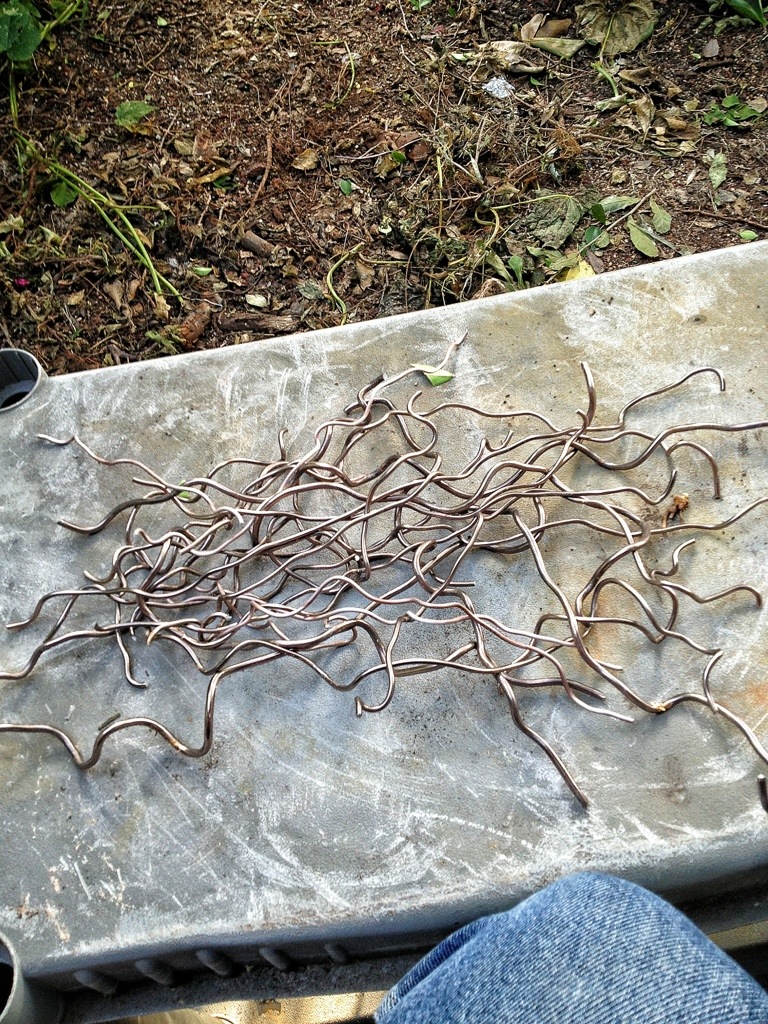
And after removing all the wire

There are no wire marks

At least none like the one just above my index finger.
I think this proves my point. If you want to wire a ficus, you have to keep the wire on until it cuts in.
All the new tertiary branches need to be wired, as well as those that creep back up
But first a repot

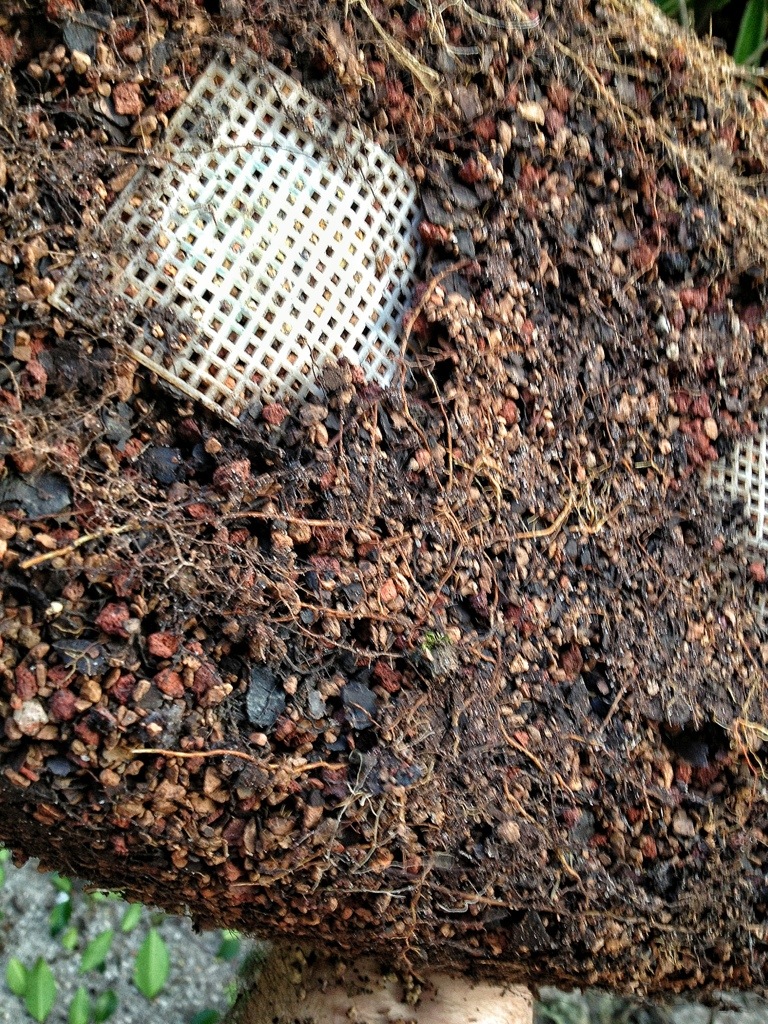
Not too root bound.
Some chop sticking

Hosing off
I need new boots looks like.
New soil (in the approved cone shaped mound)
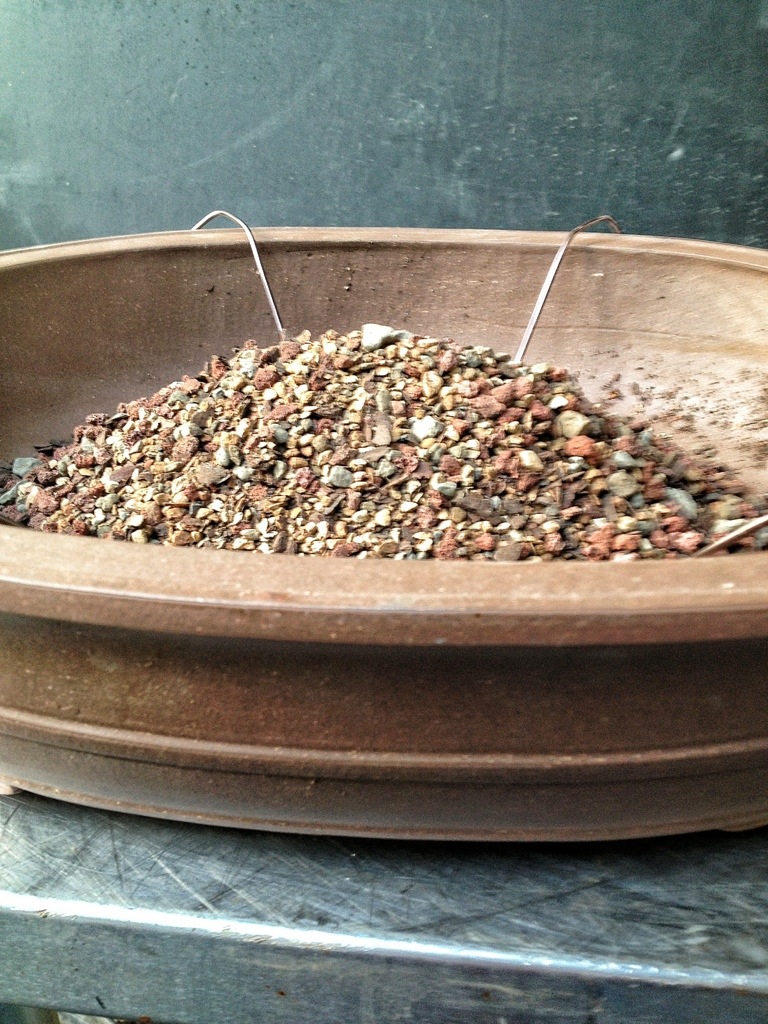
How’s that?

It’s not a fancy pot but its adequate.
And now for the magic: wire!
But, I’m running out of light.
I’ll be back tomorrow.
Zzzzzzzzzzzzzz……..
Did you have a good sleep?
Me too, back to work!
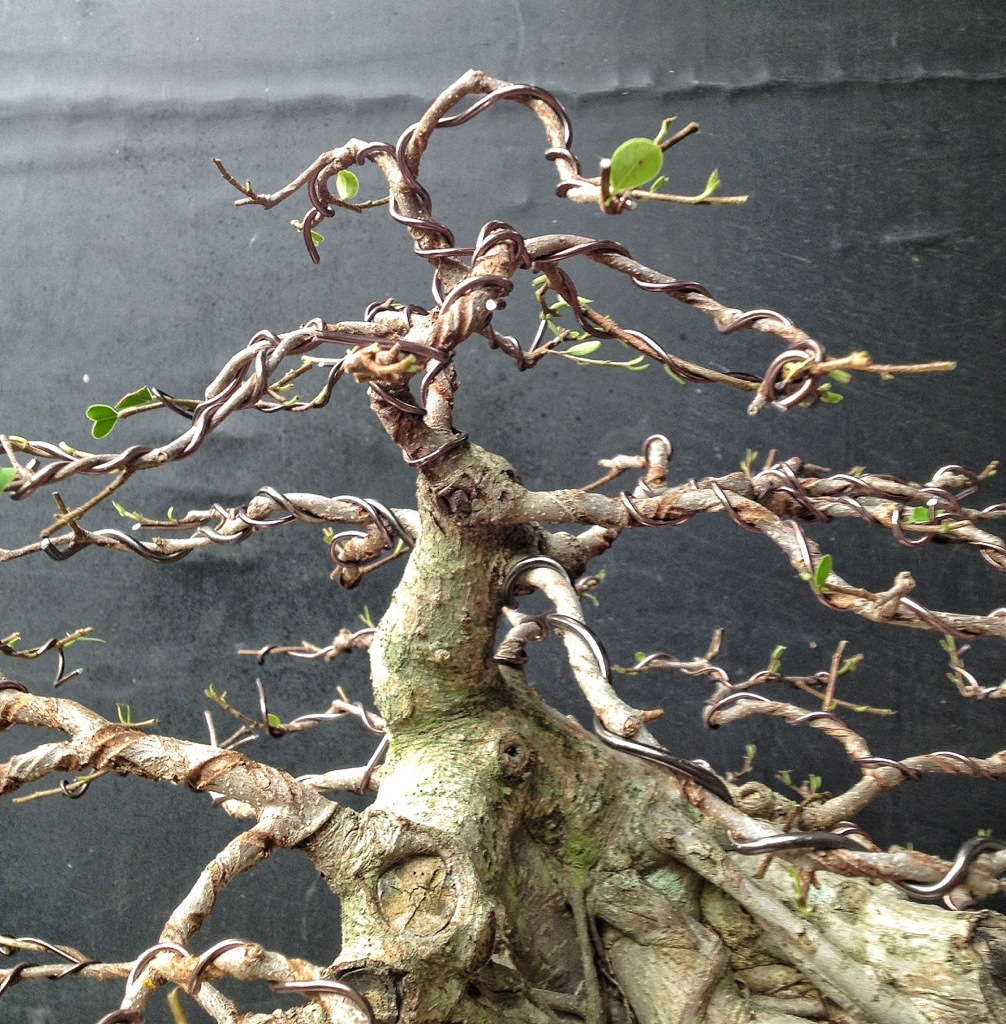
Lets start hither..

And to the top.
This is the one last main branch I needed.

I wire it, and bend it down and slightly to the left

And then I bend it to the right, at the secondary branch
And then to the left again
Which is really tough to see in photos so I sketched some step by step drawings
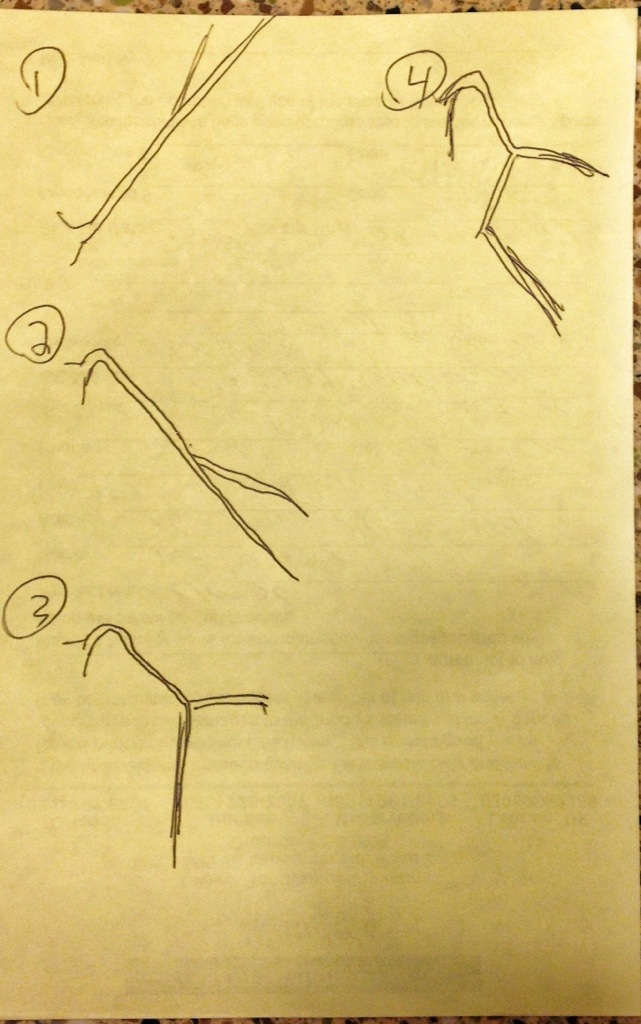
Is that helpful?
Wait, I left out the last step

Hi Snoopy!
That branch fills the hole well.
When you bend branches you should add up and down movement too.
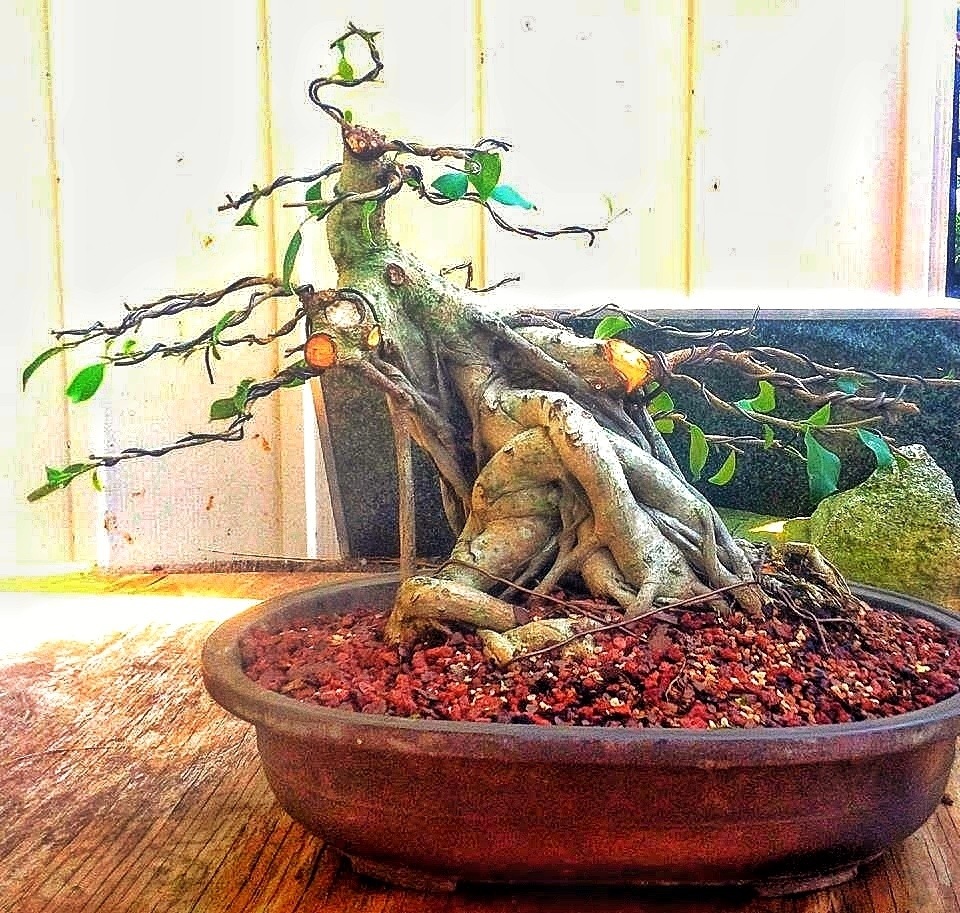
Finish wiring:
And the 360 view:
Right side-
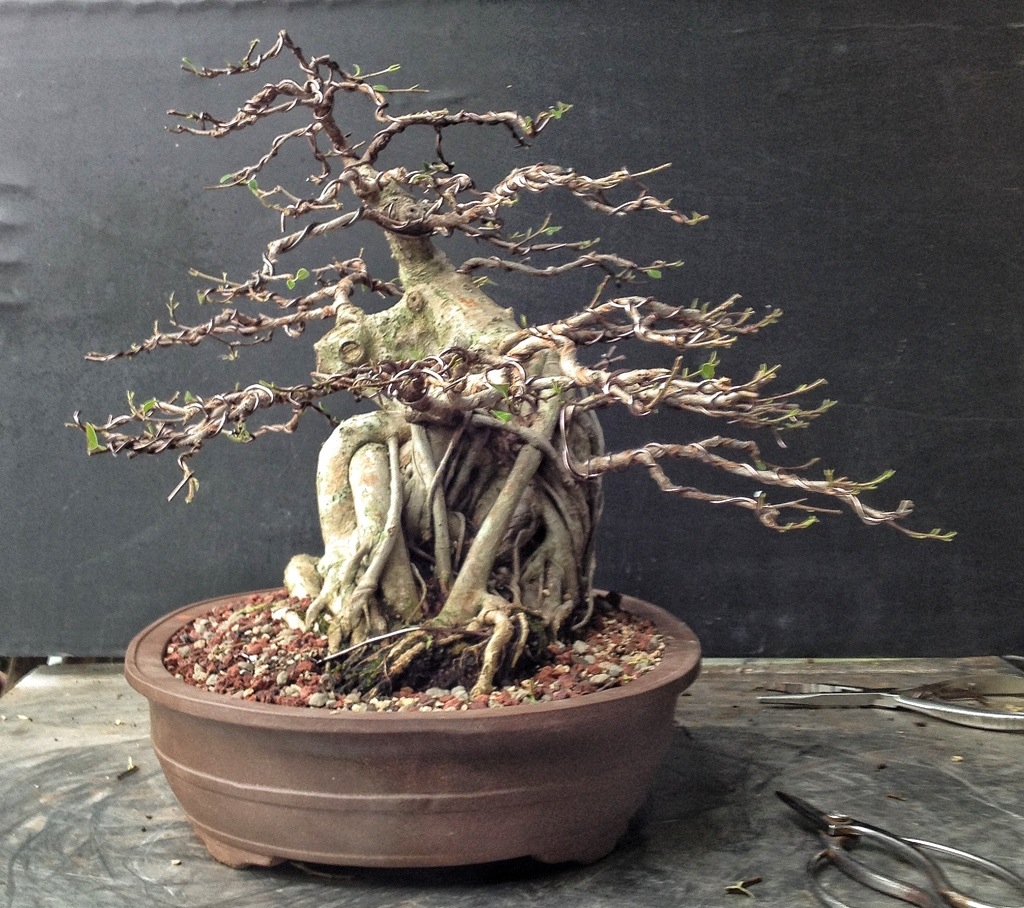
Left side-

Back-

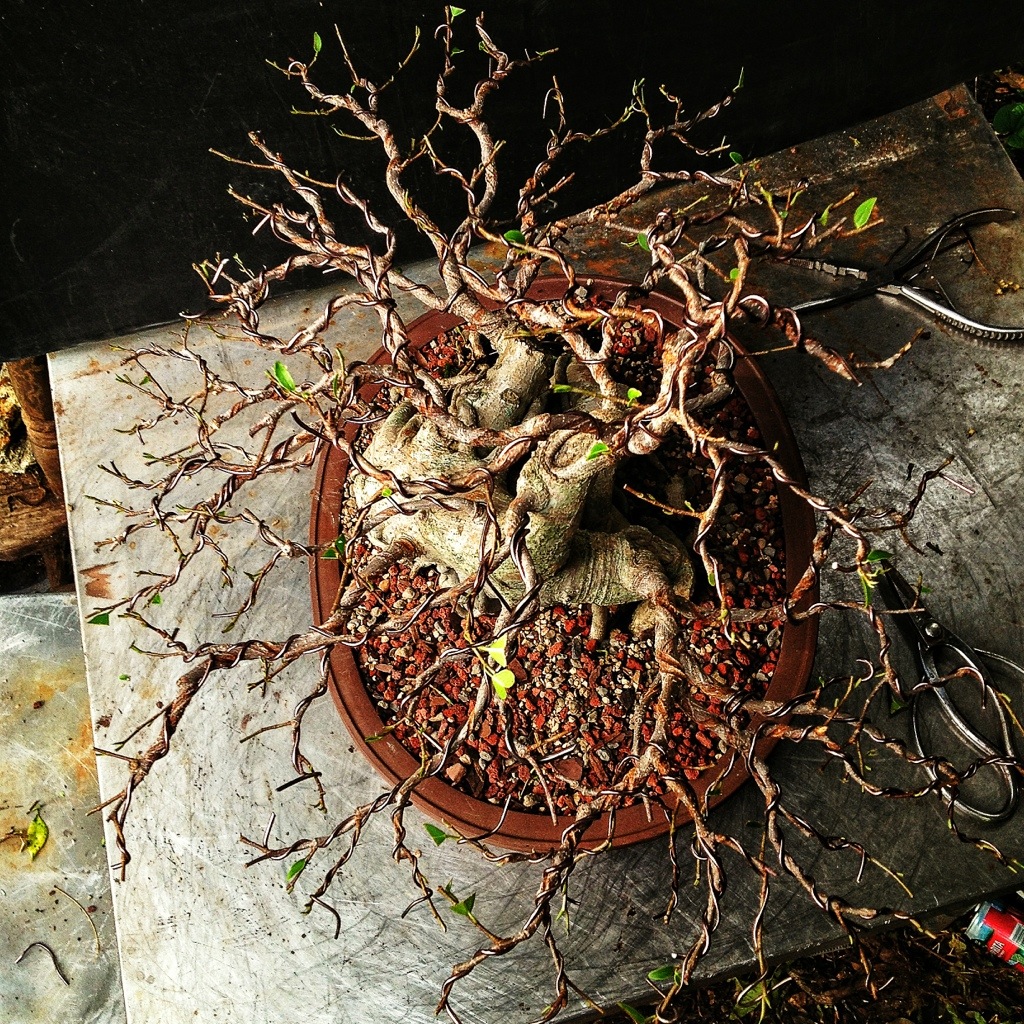
Birds eye view
And the front-
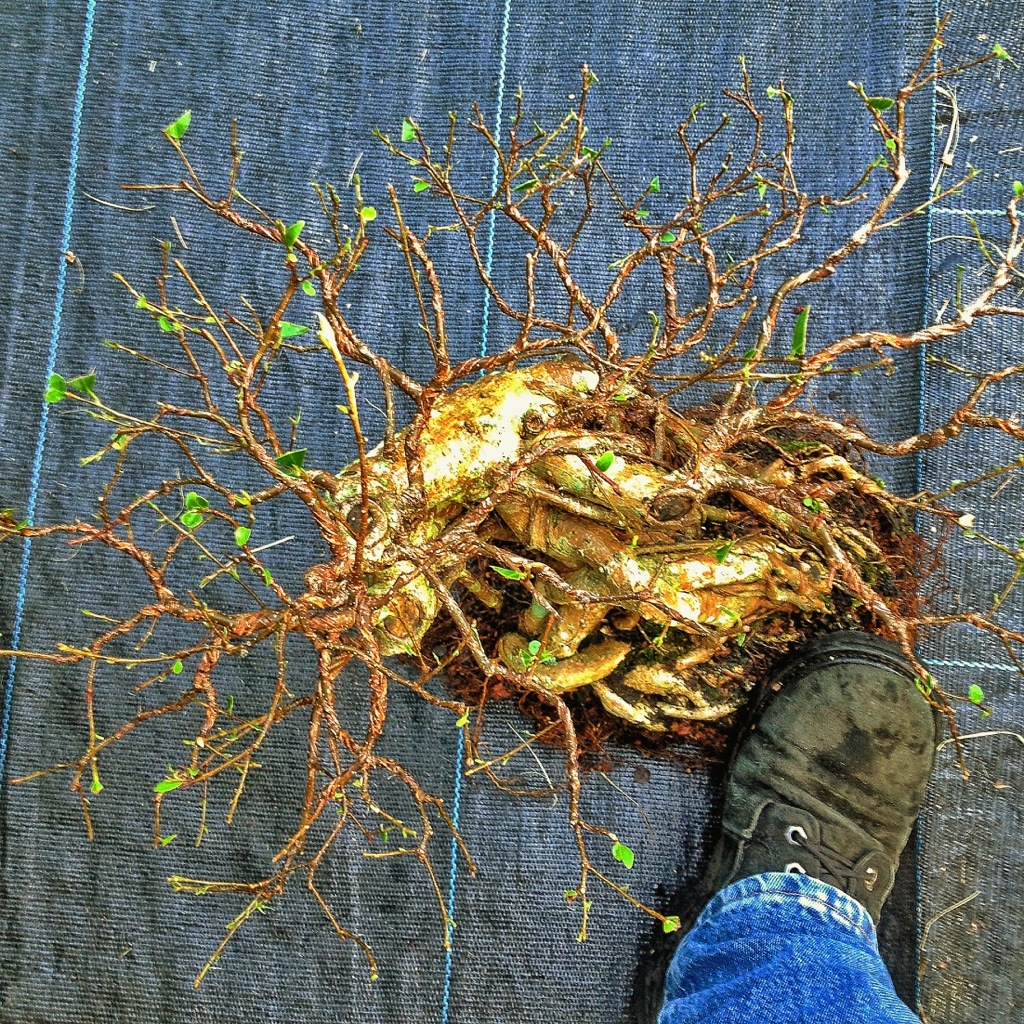
I had a discussion with a friend about the roots on this ficus
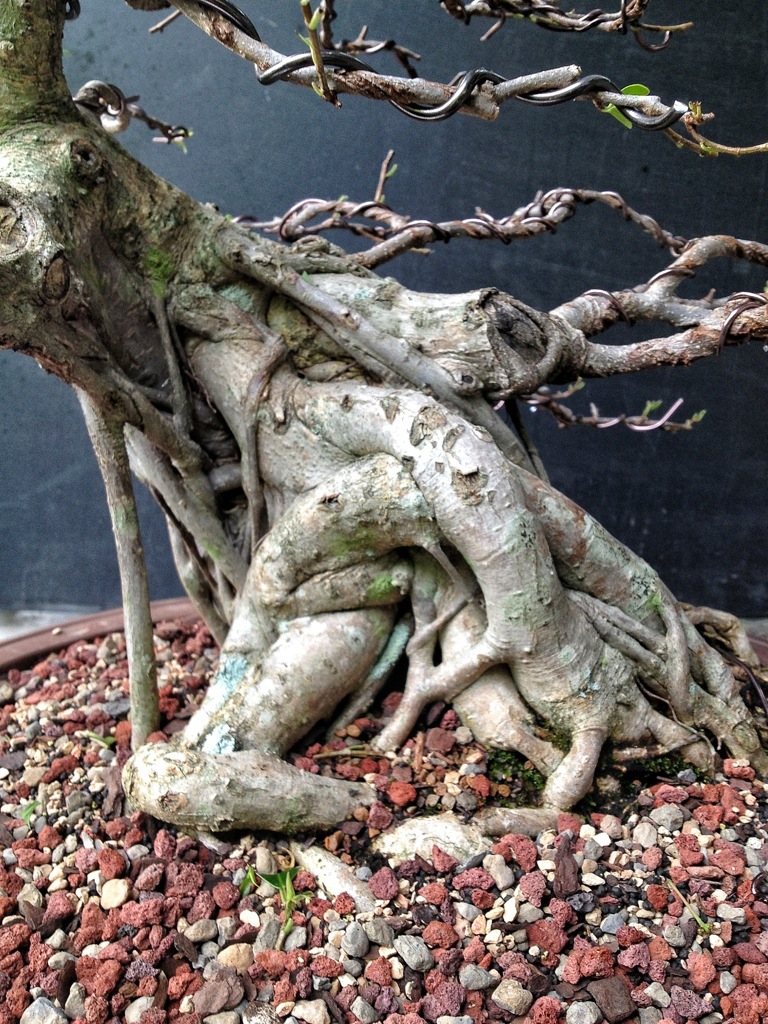
And, if you’ve read my ficus posts before, you’ll know that I don’t usually like twisted, disarrayed roots.
On this tree

they don’t bother me. It’s weird.
The movement of the tree, the overall shape and the branch placement all complement the contorted nature of the roots. It gives a liveliness to the tree, as though its twirling and dancing.
I think that for me to do my usual butcher job would remove the character that this tree has.
It is a quest I’m on to find trees that are individuals, that have something that make them unique; anyone can take a perfect tree and turn it into the cookie cutter bonsai. I’m after the challenge of turning something that is quirky, or has an obvious “flaw”, into a natural looking tree.
When I got this tree it had a big trunk, but long, non tapered branches with foliage only on the tips.
I chopped it back and let it grow.
After the first wiring I had this
The second wiring was here
The third wiring was here

Now, with most of the primary and secondary branches set and the tertiary branches wired it’s time to focus on the fine branching and increasing the foliage mass.
Creating some shade, as I like to say.
I don’t think I’ll worry about leaf size until next year. I may show this at next years BSF convention.

I’ll be trimming and readjusting the wires weekly at this point. Look for the next update in the early autumn.

nice (and informative) series of wiring stages. thank you.
LikeLike
This is a great tree with tremendous character. Sounds silly to say, but I love the tapering of all the branches. Seems to fit just right I think.
LikeLike
Thanks
LikeLike
This is a very nice tree, thanks for the update. Makes me think about how I need to wire my ficus and how things may look in a bit more time.
LikeLike
Thanks Tom. Now get to work!
LikeLike
nicely done….either you slept in late, or started early, as evidenced by the Modelo…
LikeLike
Thanks Evan. I was wondering if anyone would notice that. It was actually finished in the evening of the next day. I had to work at my regular in between.
LikeLike
Nice tree Adam, look forward to seeing it at a convention in a couple of years.
What is the soiless mix you are using?
Charlie
LikeLike
Thanks Charlie
The mix is the standard Florida mix plus expanded shale (haydite)
The mix is 1 part sifted pine bark. 1 part calcined clay (turface brand) 1 part expanded shale and 2 parts lava. I mix it myself
LikeLike
Another nice tree. It does have movement all about it – and a very nice canopy.
About your mix – I’ve just started to use a mix of 1 part (fertilized) potting soil and 1 part screened turface. I only recently found a Turface dealer in this area. I don’t know what results I’ll get yet, but I think I need to add at least some lava or granite chips. After crushing, what size particles should be used. And where do you think I could locate the expanded shale?
LikeLike
You should keep the 1/8-1/4 sizes. Give or take.
The bagged brand I found is called Ladybug Brand. Here’s a link. http://www.ladybugbrand.com/products/Expanded-Shale.asp
You’ll have to call them for a distributor in your area
LikeLike
What caused the space between the wire and the tree base?
LikeLike
The organic material breaking down causes extra space between the particles.
LikeLike