Considering the name of my blog is “Adam’s Art and Bonsai” I guess it’s time to post some art stuff.
Right?
Maybe I’ll do a painting post soon too.
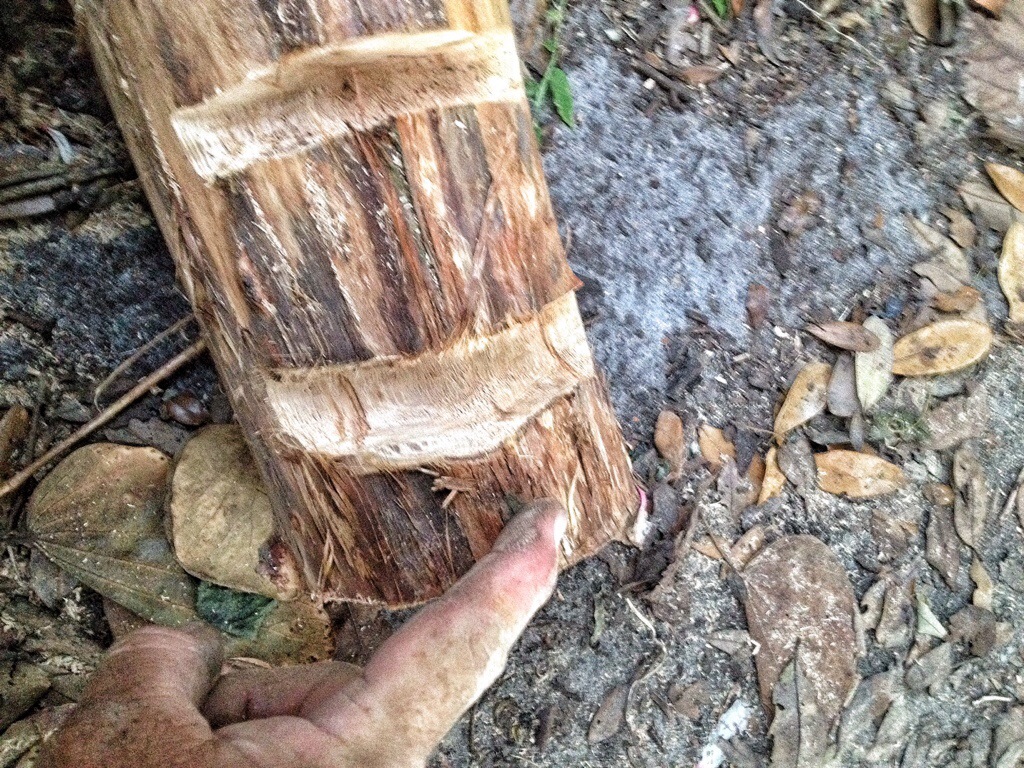
But now…….we have…..a log!

Almost as exciting as a blank canvas.

The wood is cypress (taxodium distichum). It was a tree I had collected for bonsai but unfortunately it didn’t make it.
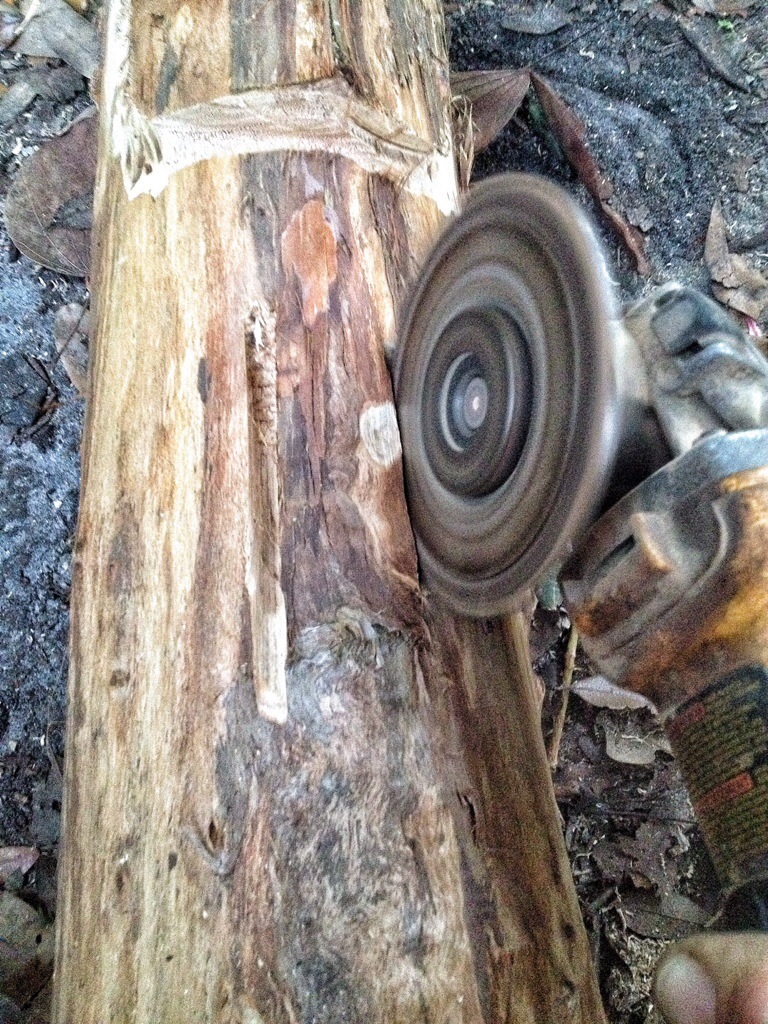
On a larger log I would start with a chainsaw but I will start with my angle grinder with the Lancelot chainsaw wheel on it (which you’ll recognize from 3 posts ago)

If you look at the piece of wood you’ll see that the top is wider than the bottom; it is actually upside down.
I’m doing that to give some character to the head I’ll be carving.
The first cut I make is to define where the end of the nose is-

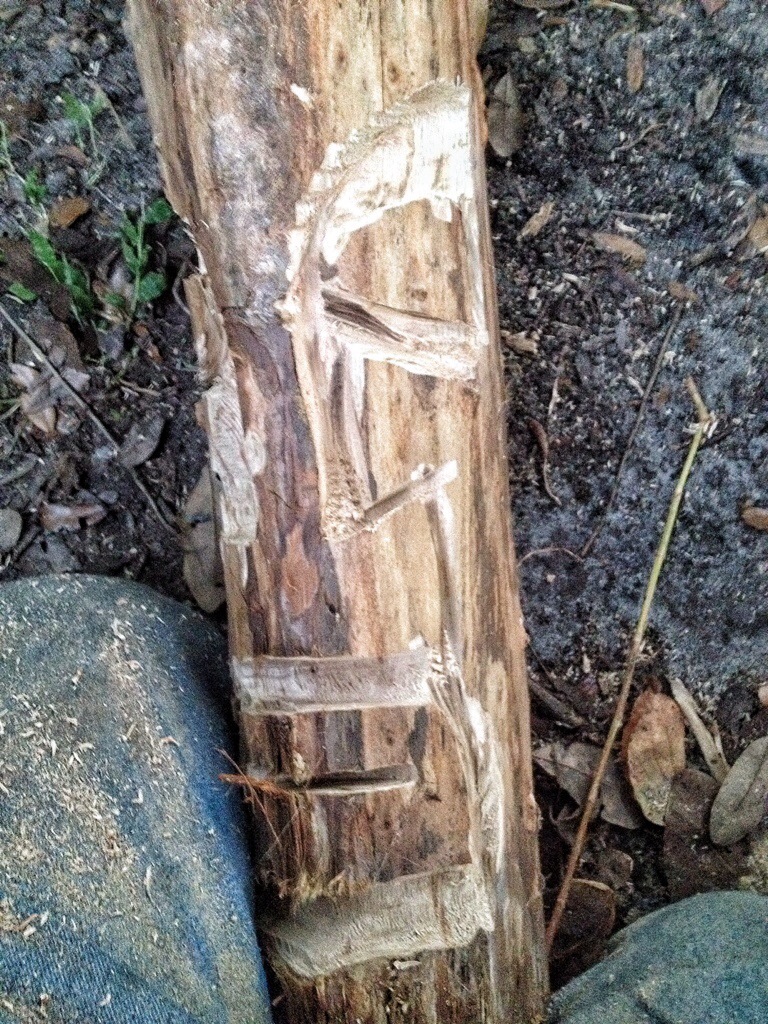
Then I widen it a bit and then define where the bottom of the lip is-
And then block out the sides of the mouth-

And the bridge of the nose-
At this point there are probably people out there who are wondering why I don’t draw on the wood first before I cut with the tool.
The answer is that I’ve done this basic shape many times and I don’t need to draw it out. I don’t mean to brag and I’m not but I am basically drawing with the tool because my brain sees what needs to be removed already.
If I were doing a new design like a pelican (which I guess I should learn to do if I’m going to sell these carvings on eBay) I would draw it out.
But I don’t need to on this carving.
I should also point out that one should never remove the guard on one’s angle grinder and safety glasses and gloves should be worn at all times.
The next cut is to define the brow-

And then the eye itself-
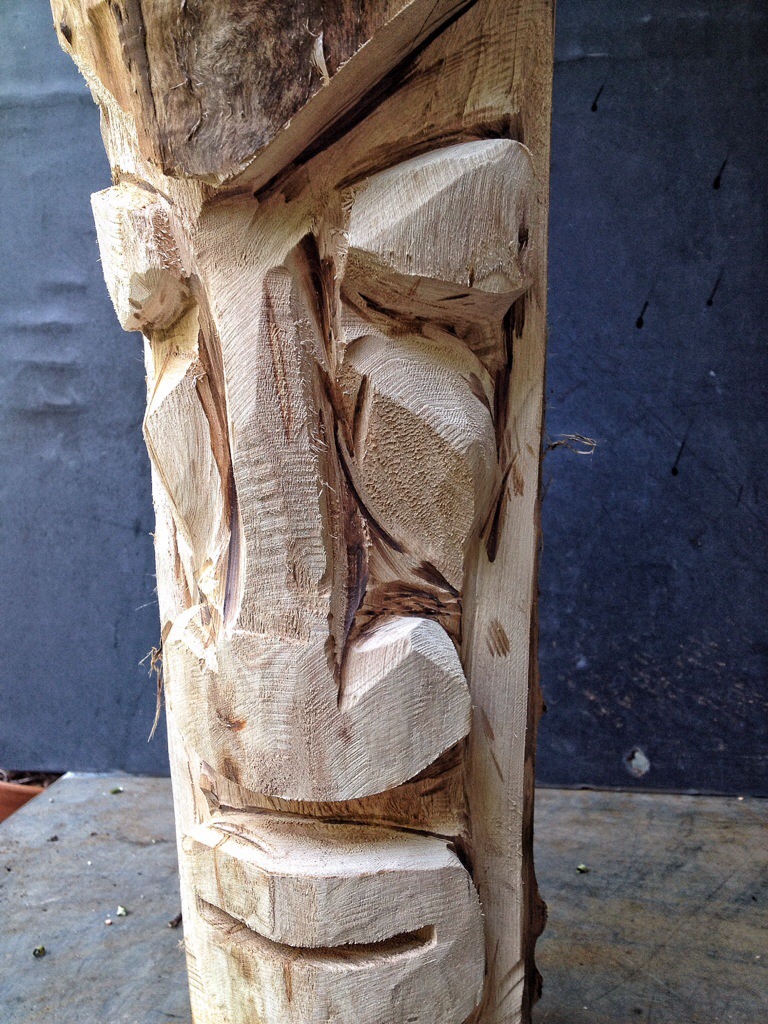
And at this point I’ll start to remove unneeded material.

The Lancelot wheel is best for the first, rough carvings, like this:
The bridge of the nose before-

And after-

The real detail work will be done (on the angle grinder that is) with this sanding disk-

First pass-

It’s this disk that, on wood like cypress with annoying fibers, will really bring out the details and grain of the wood.
One side done-

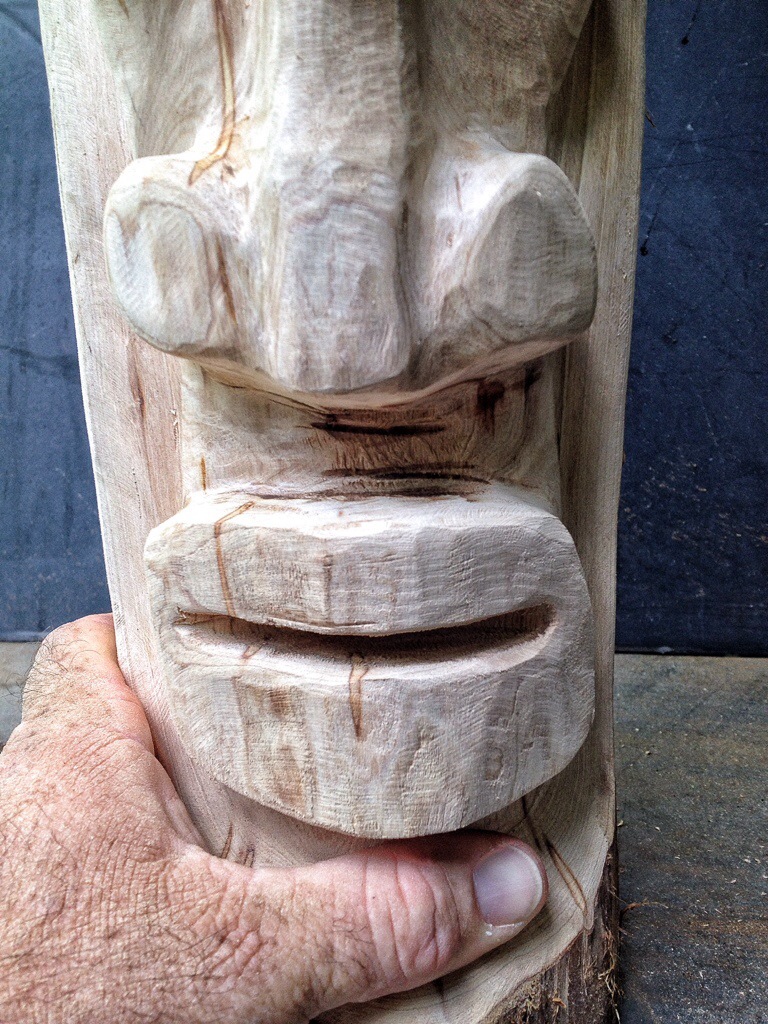
The other side finished and that’s as far as I can go tonight-
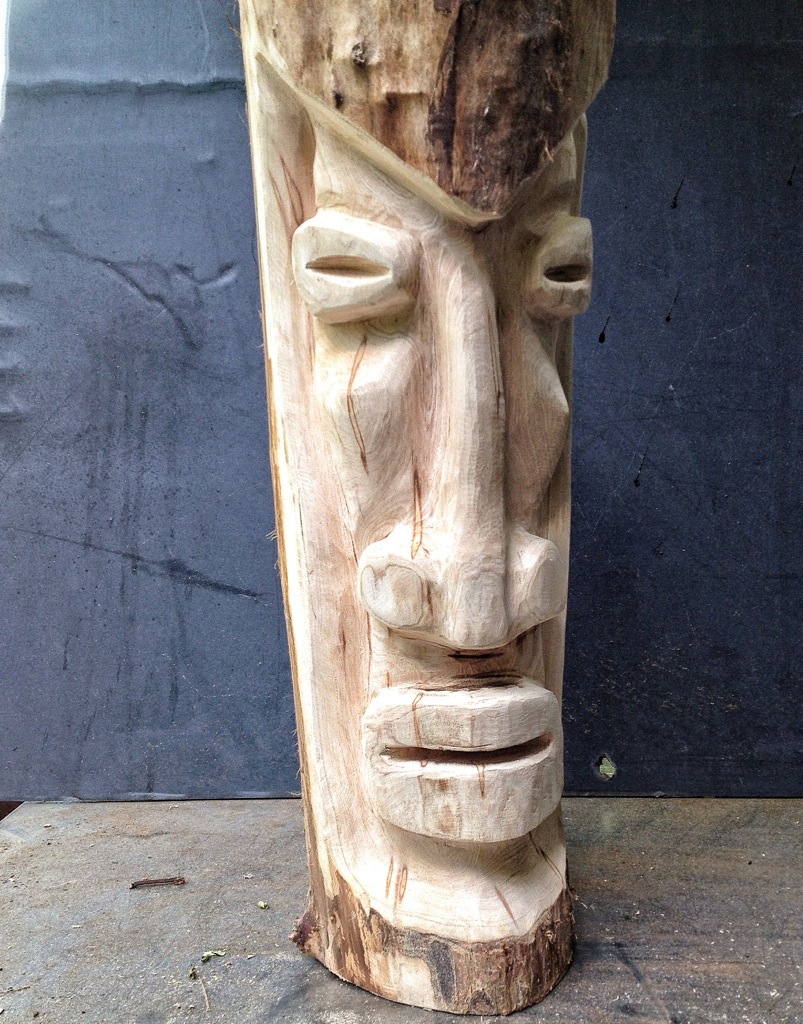
Let’s examine the tree in the light of the day……

I think it looks pretty cool but the wood deserves a little more finishing.
If it were a palm tree log that’s as far as I’d go.
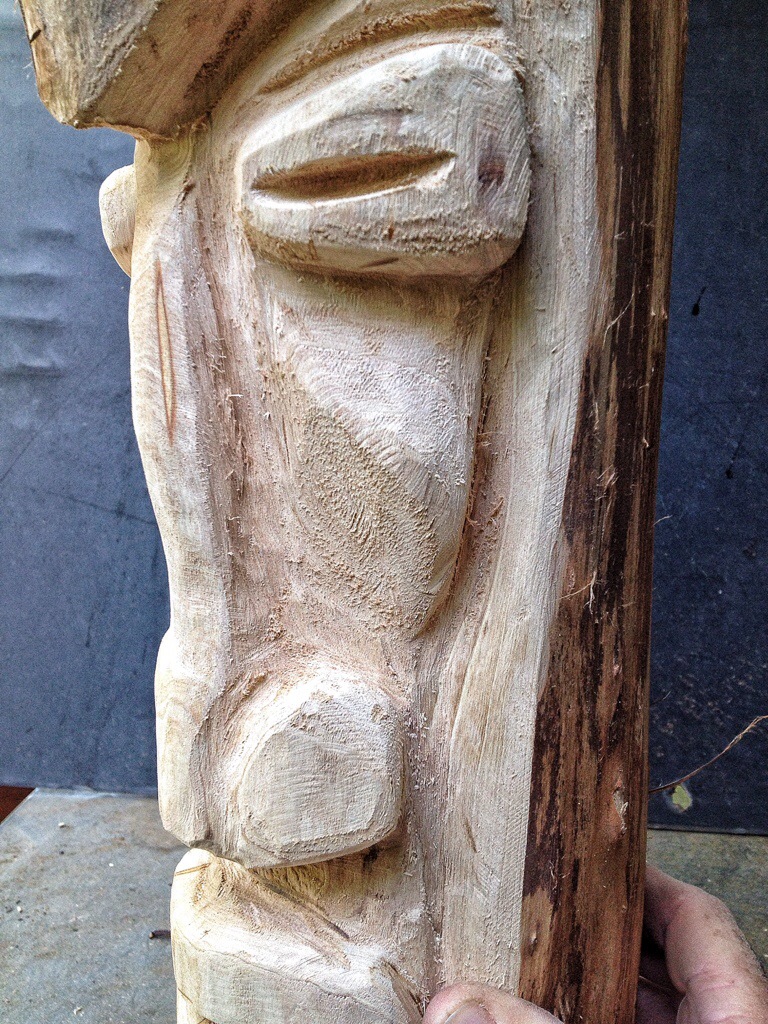
Switching tools I’m going to the mini angle grinder-

A close up view really shows how rough it is-
Just like a bonsai, the real art is in the refining of the work.
The wheel I’m using is a carbide carving disk-

This disk and the mini grinder are sold by King Arthur Tools as a set called The Merlin.
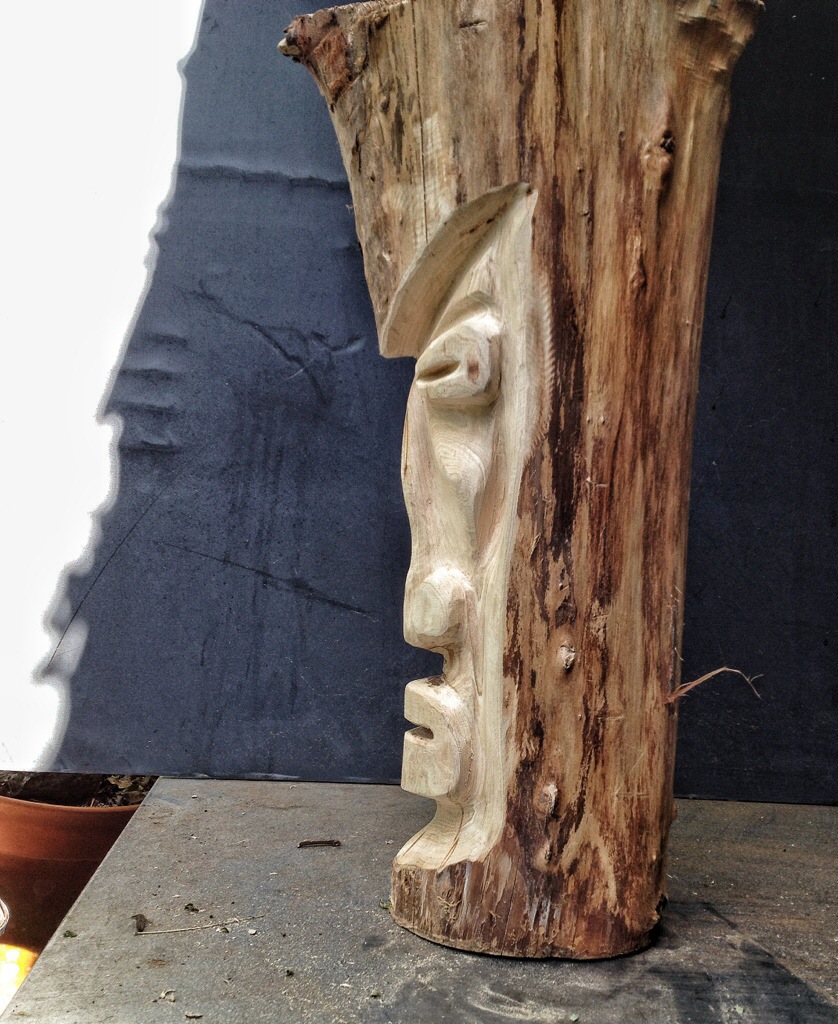
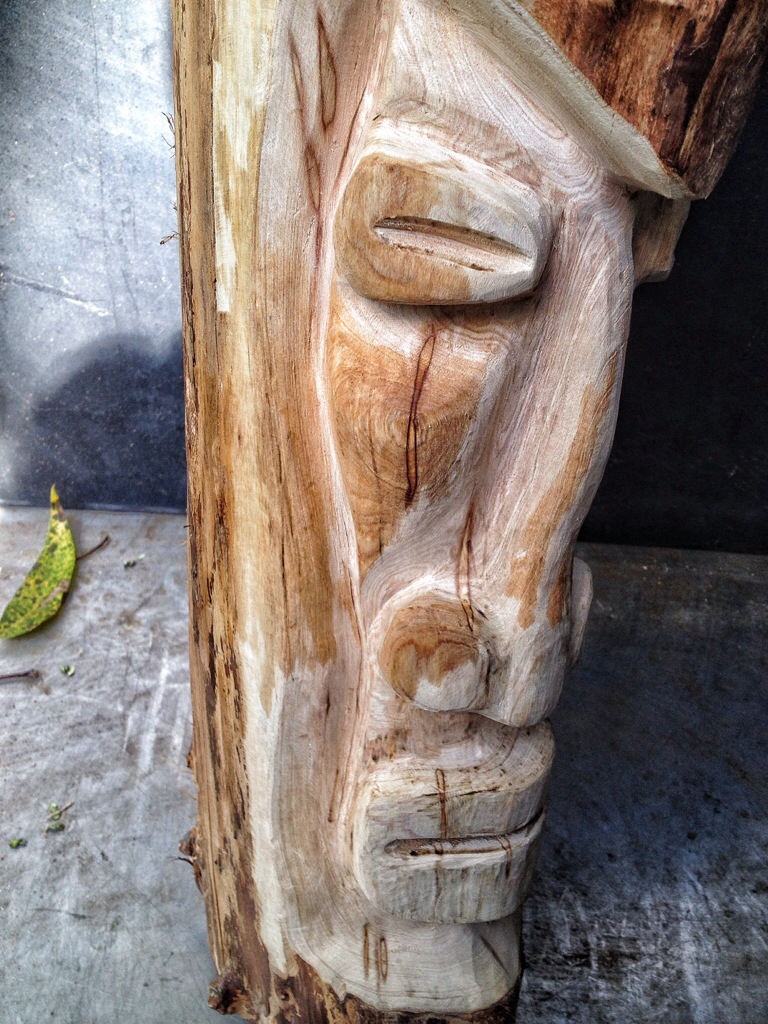
Here’s the first side-

Aha! An eye!
The other side before-

And after-

It’s still rough-
Now, as I said earlier, cypress wood has a lot of fibers that are hard to get rid of. On a bonsai I use a torch but on this I use a sanding disk (which is from Arbortech I believe)

Before the disk-

After-

It needs just a little more work on the upper lip-
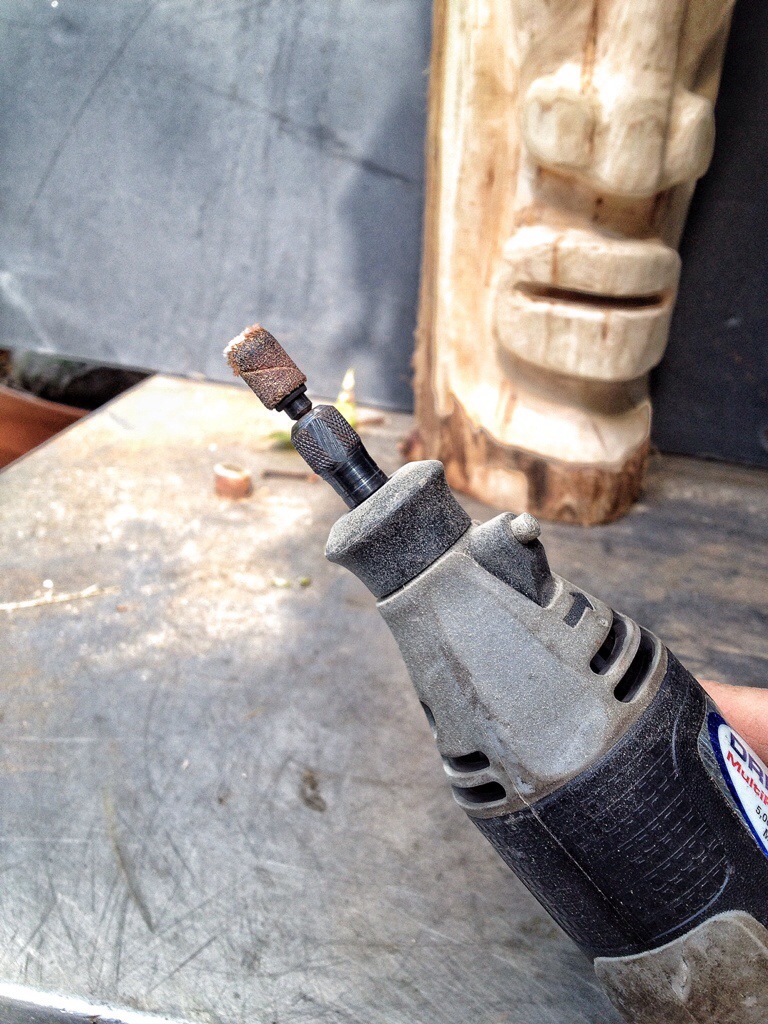
For that I switch to a die grinder and a Dremel (I know, you thought I hated dremels, but they do have a use in limited roles)
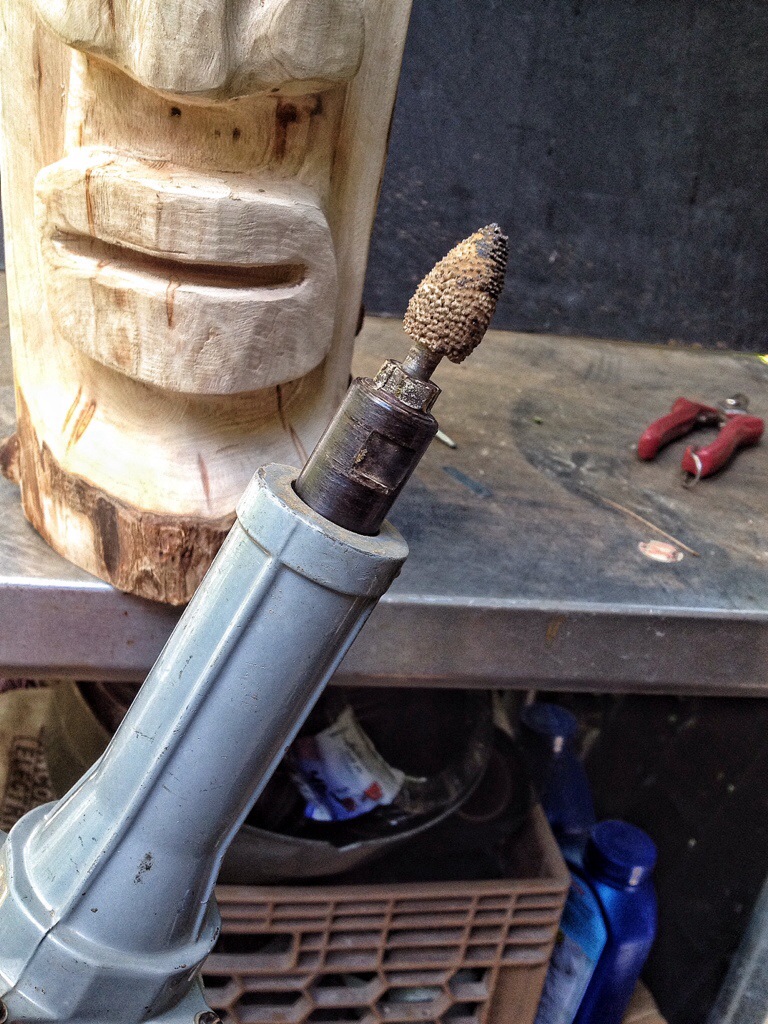
A flame tip carbide burr on the die grinder above and below, a small drum sander on the Dremel.
And the mustache is gone-

I also use the drum sander to remove some of the tool marks on the piece-

Now comes the decision to either apply a finish or not.
Whatever you use will change the color and look of the wood.
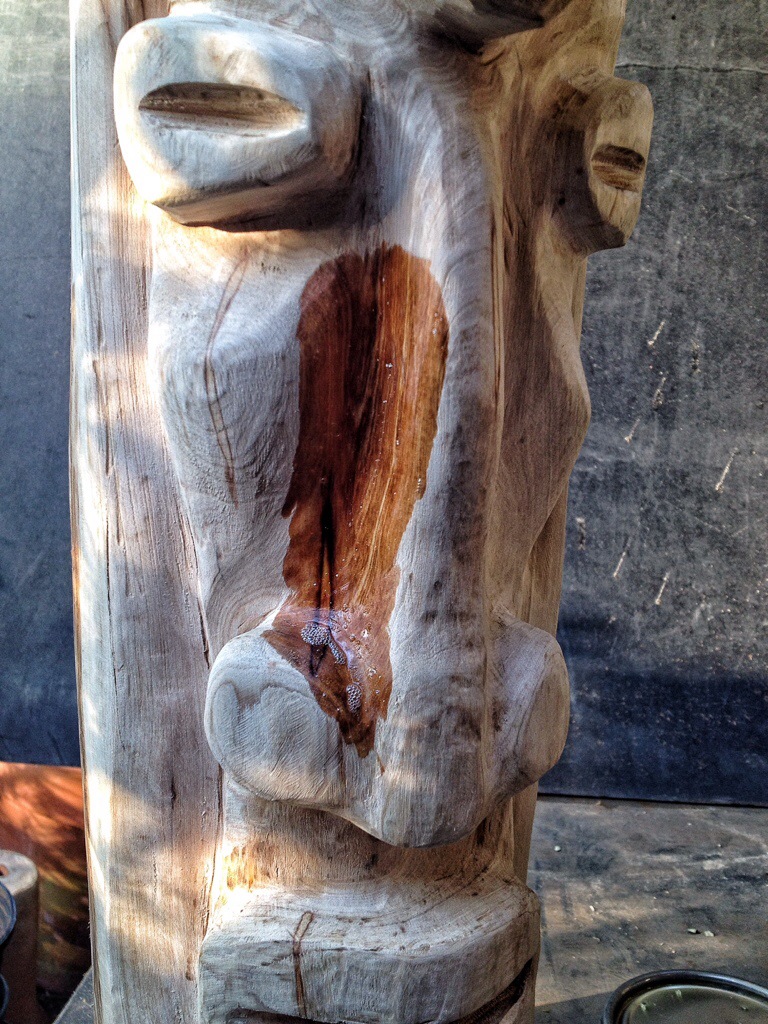
A good way to see what it might look like is to wet the piece.
In this case, and considering the wood is cypress, I will use some oil based polyurethane on it-

Why this product?
It’s what I was able to steal from my brother-in-law.
Polyurethane will be slightly darker than the water and it will add a yellow tone to the wood.
Like this-
If I didn’t use the finish on this cypress the wood would (ha!) age and turn grey.
This way, with the finish, the grain is emphasized and makes it much more interesting.
At least I think so.
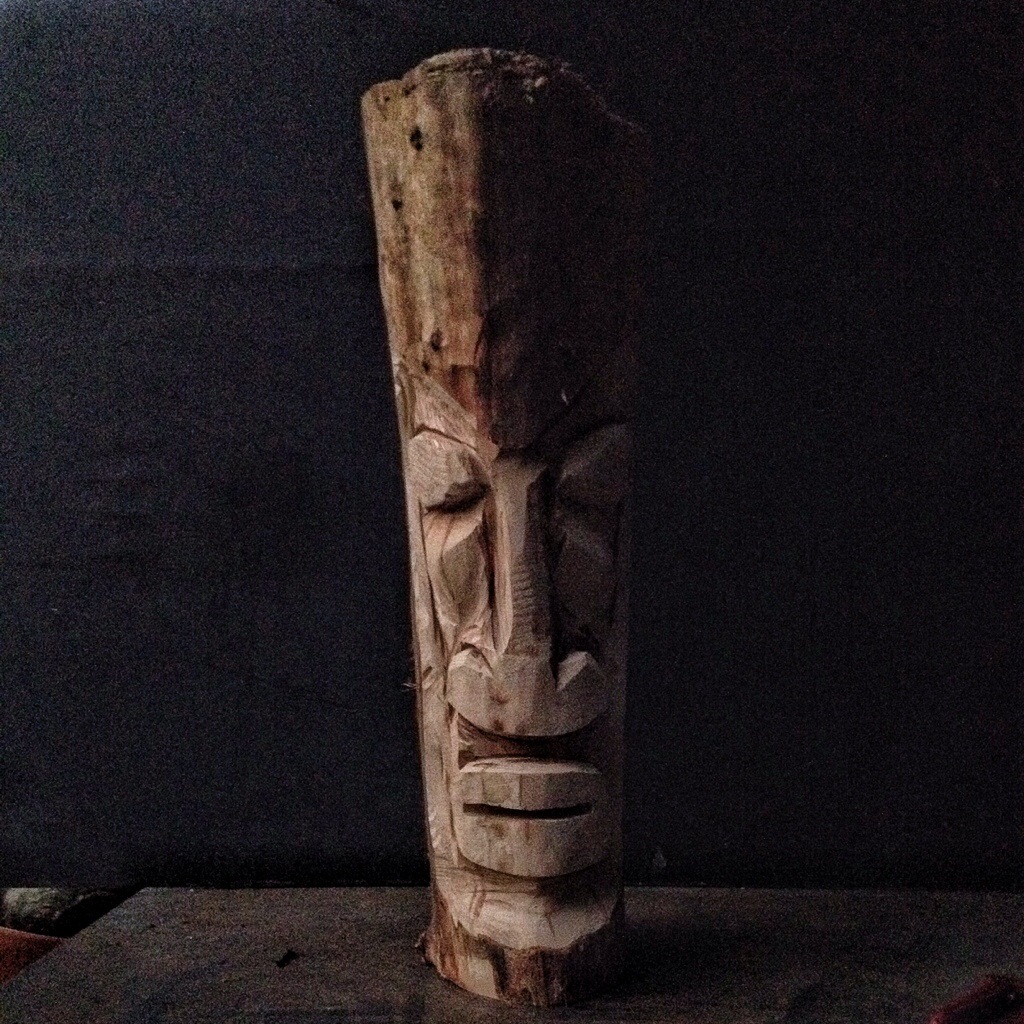
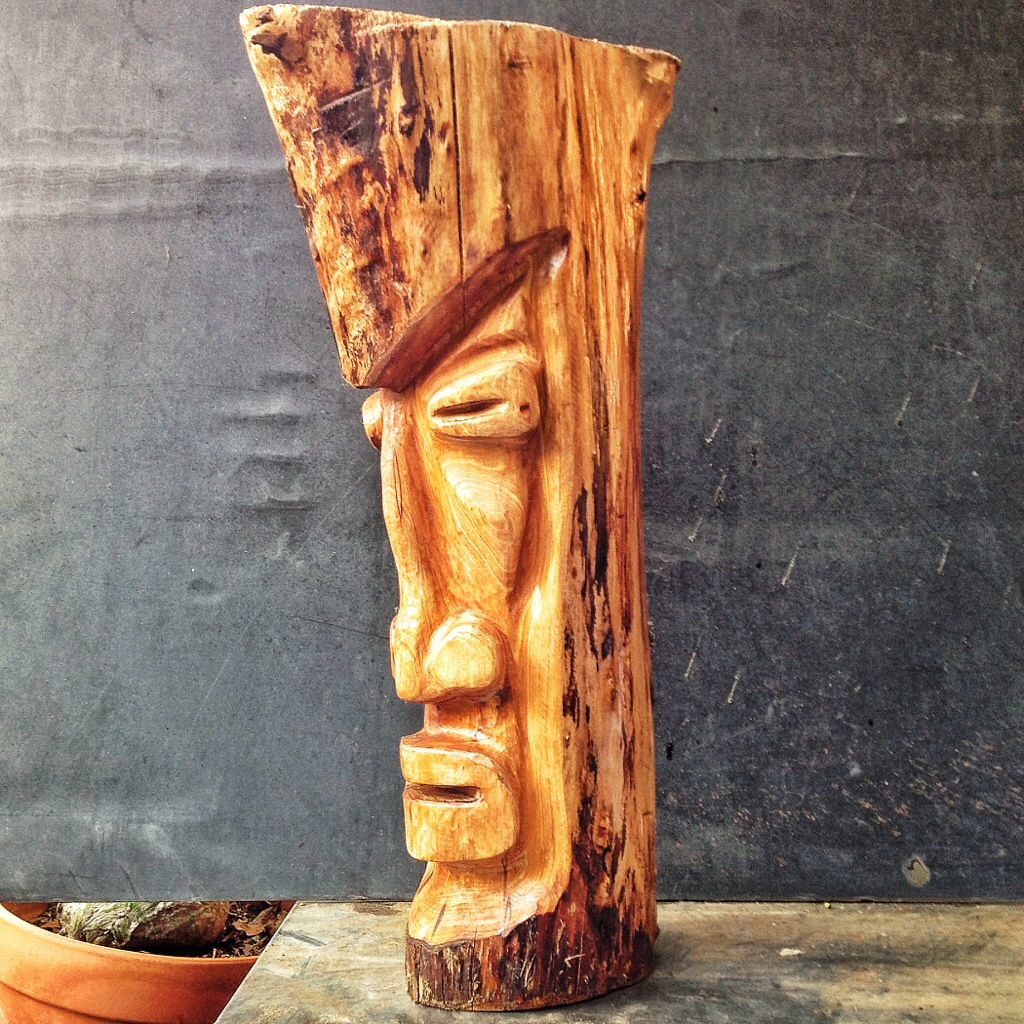
The finished tiki:


The next pic really shows the grain up close-

I hope you enjoyed the post.
We started out with a dead bonsai-

And finished with a tiki guardian for the house-
Maybe in the next post I’ll make soup.

Very cool Adam! I like it with the finish, it seems to enhance the wood’s grain, and the color looks richer.
LikeLike
Thanks. I thought so too. In person, without the polyurethane, the whiteness washed out the details.
LikeLike
Could you apply a torch to remove the fine fibers like in bonsai? It might add a cool shadowing effect if used only on certain areas. Although I suppose the contrast would diminish after the wood weathered for a while.
LikeLike
You could torch it but sandpaper works well.
There are some carvers who do use the torch to effect, say carving a bear and darkening the fur.
LikeLike
Wow, I’m genuinely so impressed! Thanks for sharing the process, it looks just awesome! I’d put it on my mantelpiece pride of place!
LikeLike
Thats fantastic! Nice one Adam!!
LikeLike
Thanks Craig
LikeLike
Almost to the end of 2013 and not one soup post…
LikeLike
There is a soup post
LikeLike
How did I miss that?
LikeLike
November 20, 2015.
Bonsai Noodle soup.
https://adamaskwhy.com/2015/11/20/bonsai-noodle-soup/
LikeLike
Ahhh, because I am not there yet. One of the problems with reading a blog straight through. Looking forward to that one!
LikeLike