To fulfill my contractual blogging obligations with the National Blogging Counsel, here is this year’s airlayer post. For kicks, I’m combining two different time lines, just to see if I can keep myself in the correct tense grammatically and time-wise. It’ll be fun. I like a challenge. Like watching a Dr. Who program or reading a Robert Heinlein bootstrap-paradox yarn. I just hope I don’t become my own grandfather, he was an asshole…..wait?! Too late……
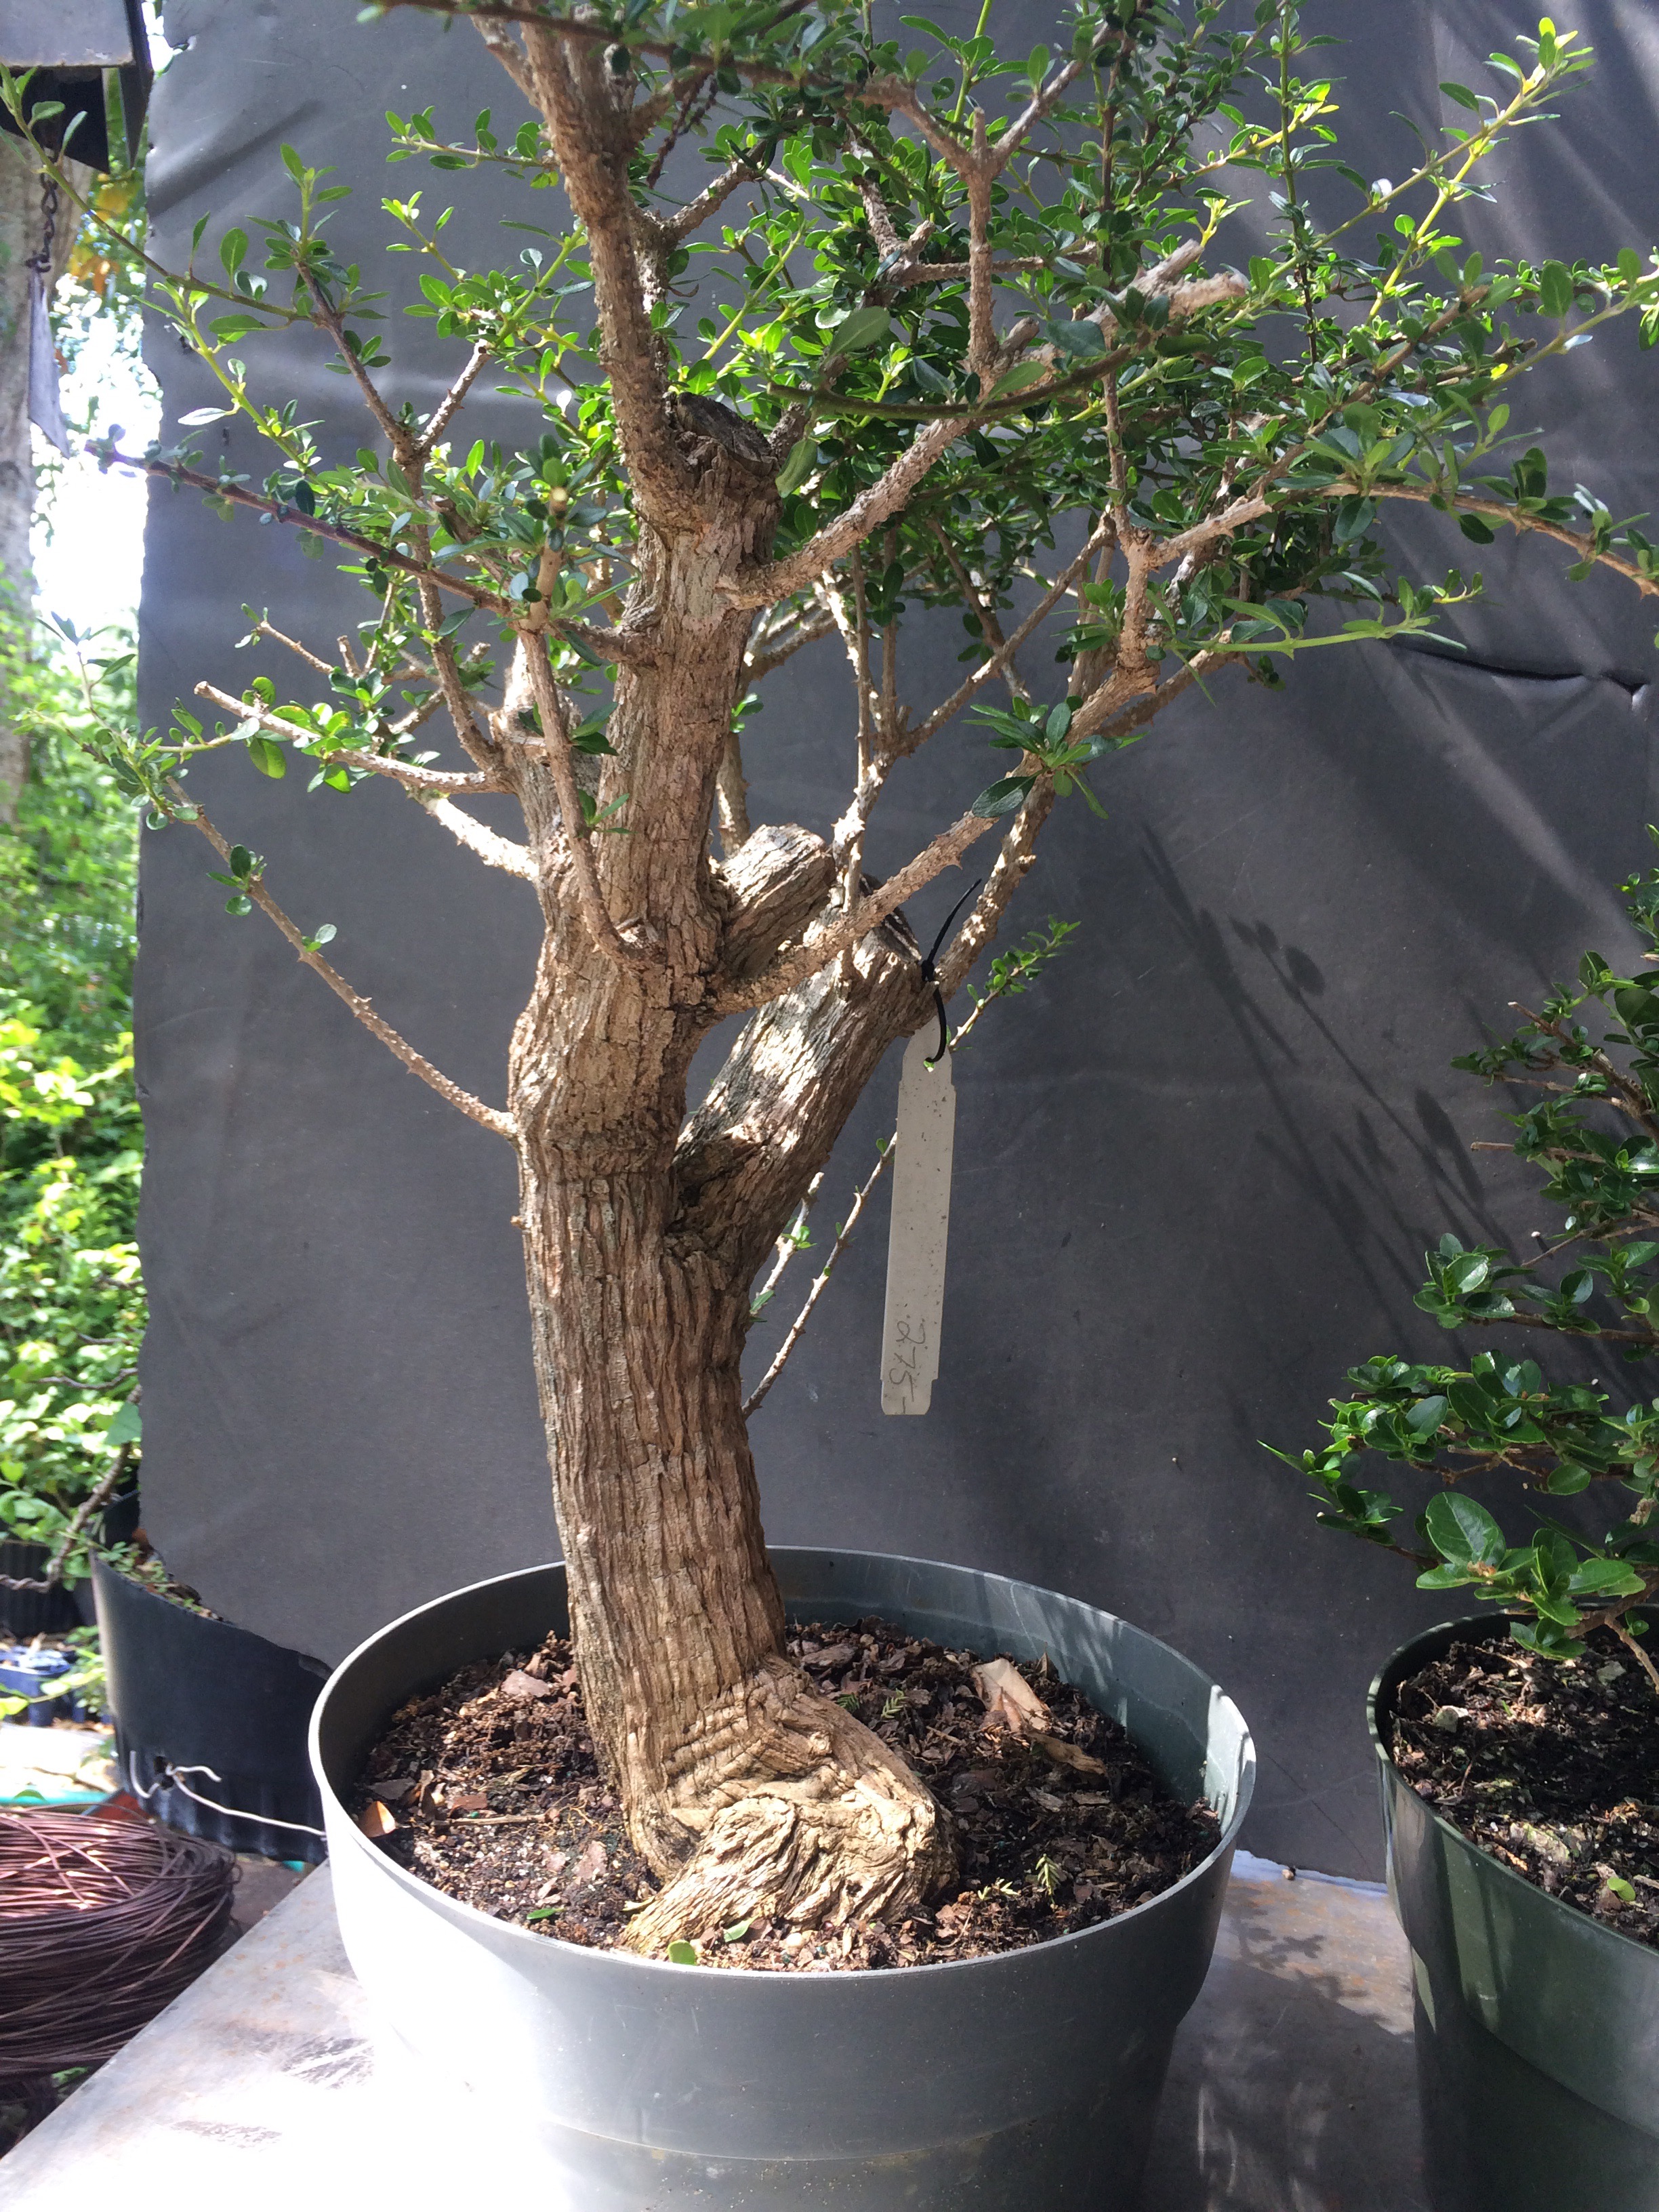
The first two trees in working (worked?) are from late April, after Jason Schley’s spring festival: an Escambron (claredendron aculeatum) and a premna microphylla.
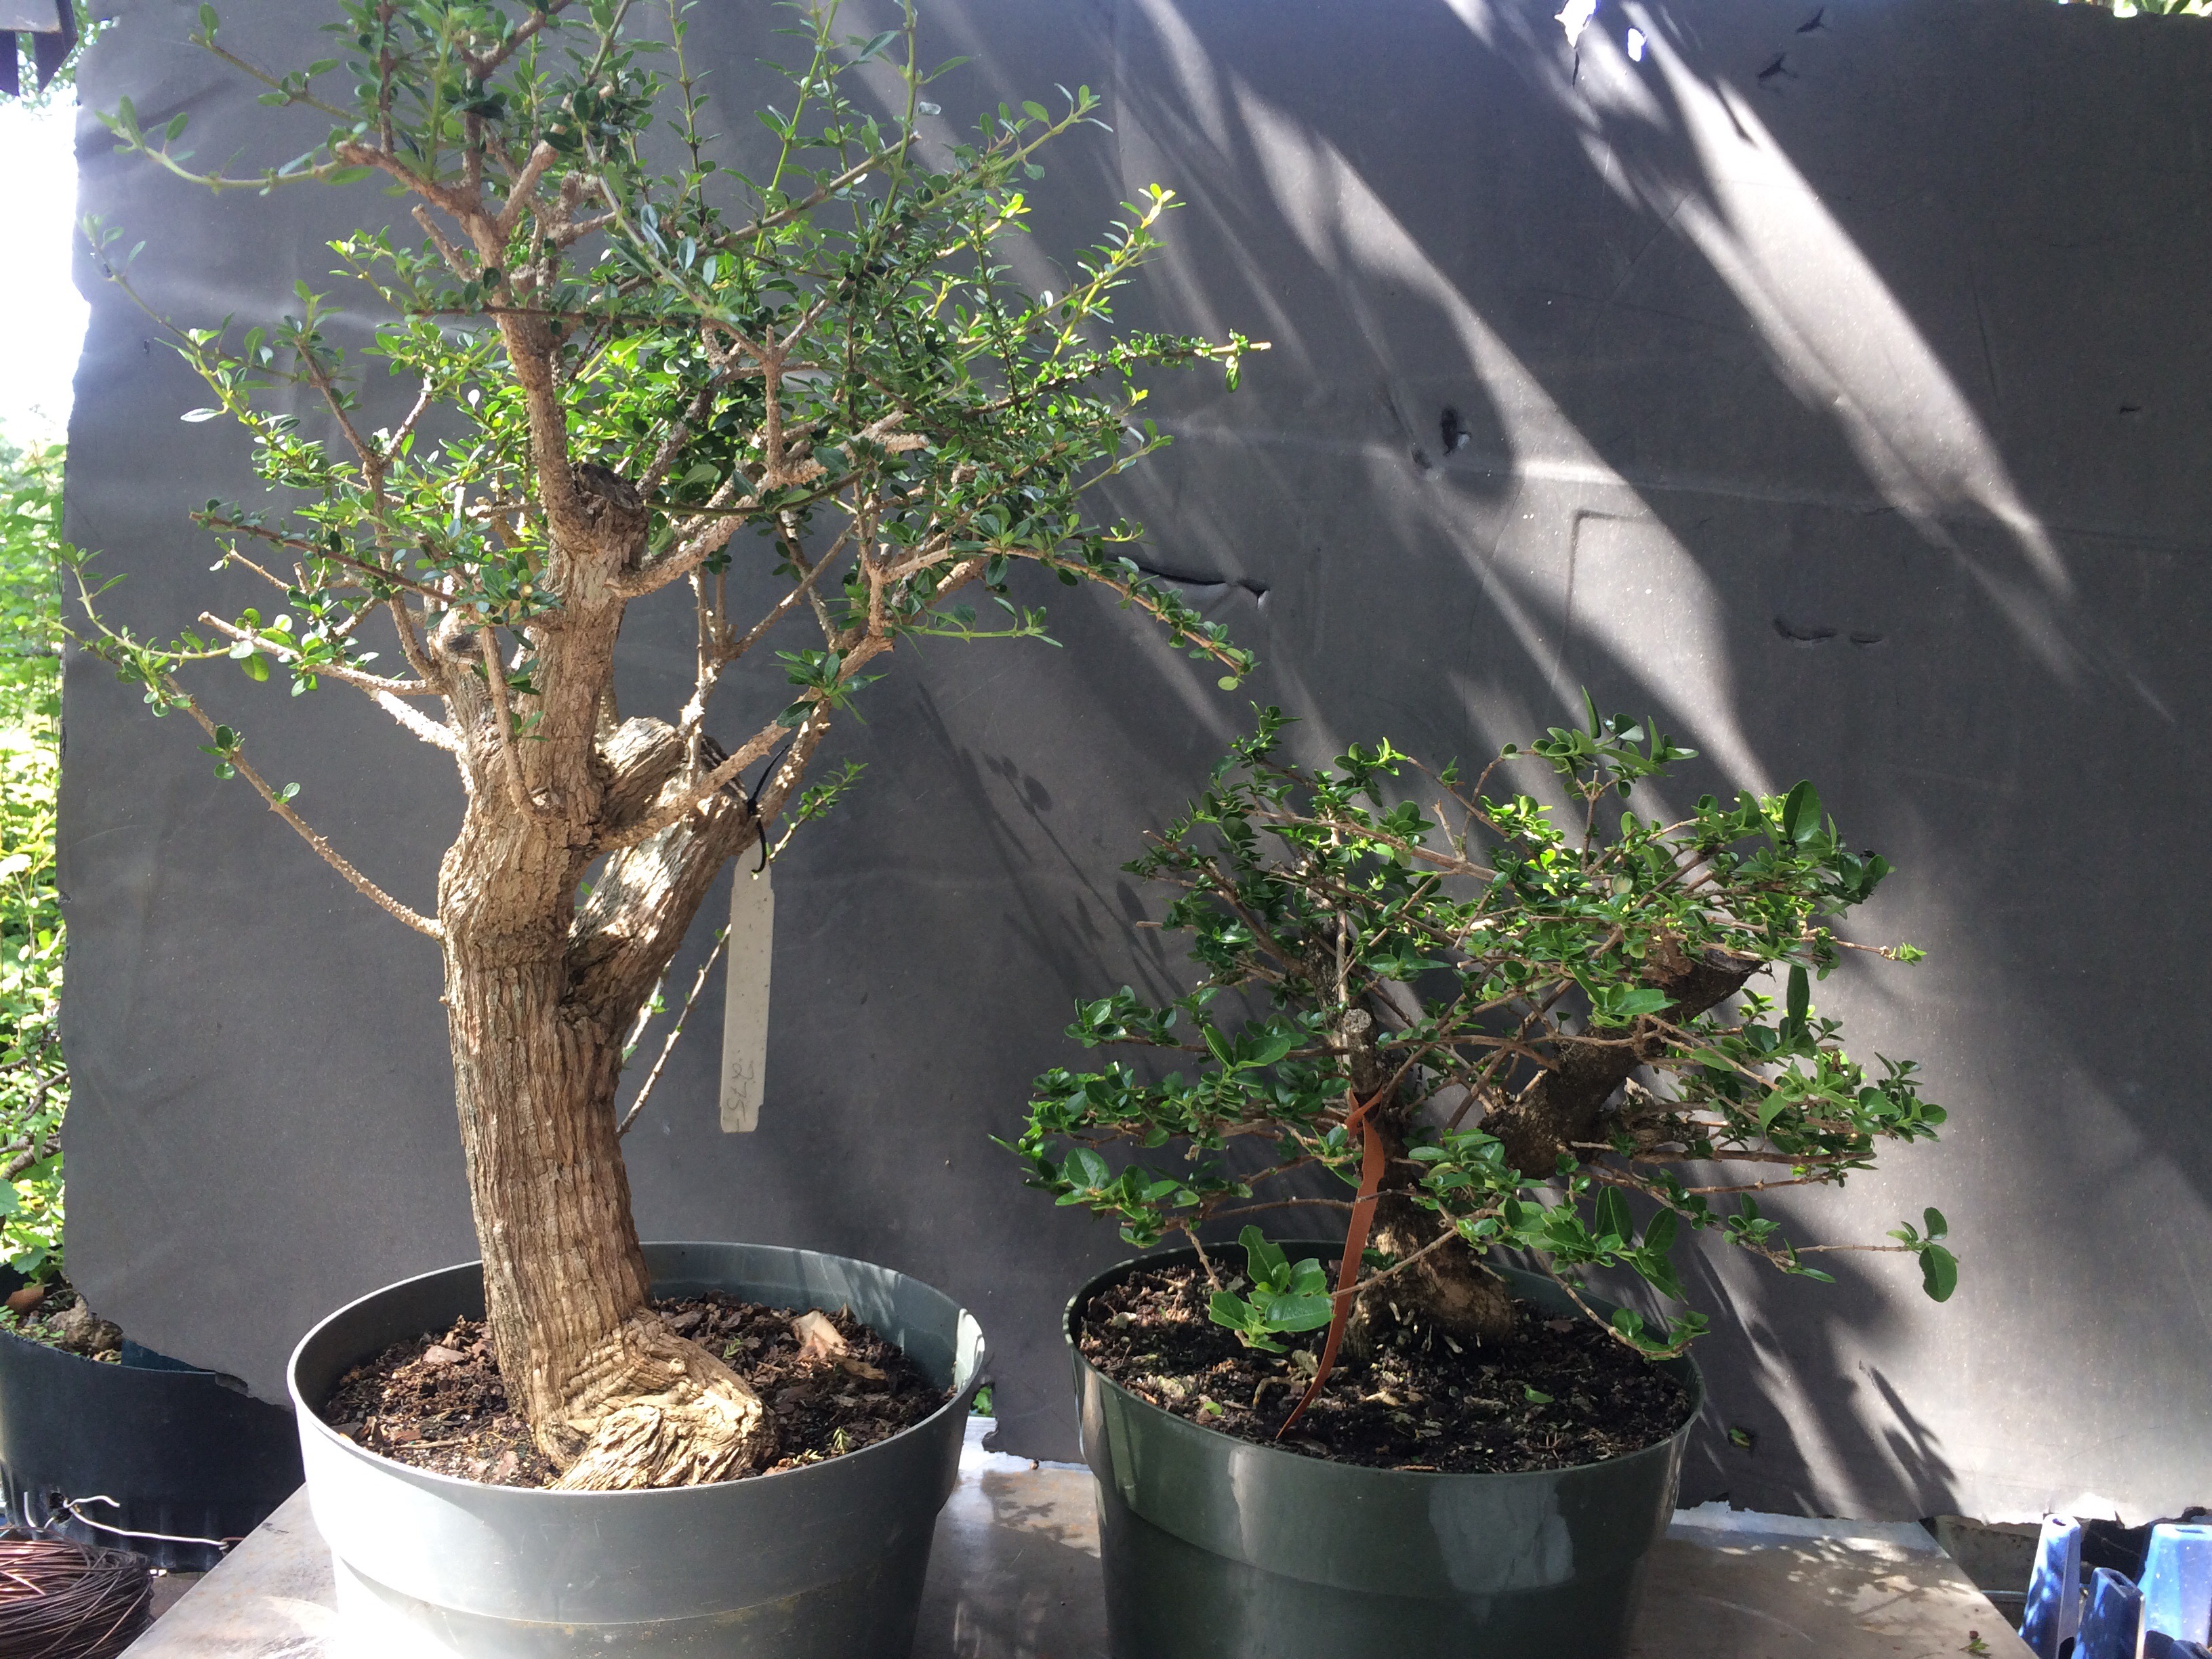 I’ll only be air layering (layered? Laid?) the premna. I carved the Escambron and I’m just going to be showing that off a bit. Let’s do the airlayer first. Get it out of the way.
Premna microphylla. It’s becoming more popular in the U.S but there still aren’t a lot available. Which is a good reason to airlayer. This one came from Erik Wigert, I’d say he is ahead of the market on quality and quantity of premna bonsai material (wigertsbonsai.com)
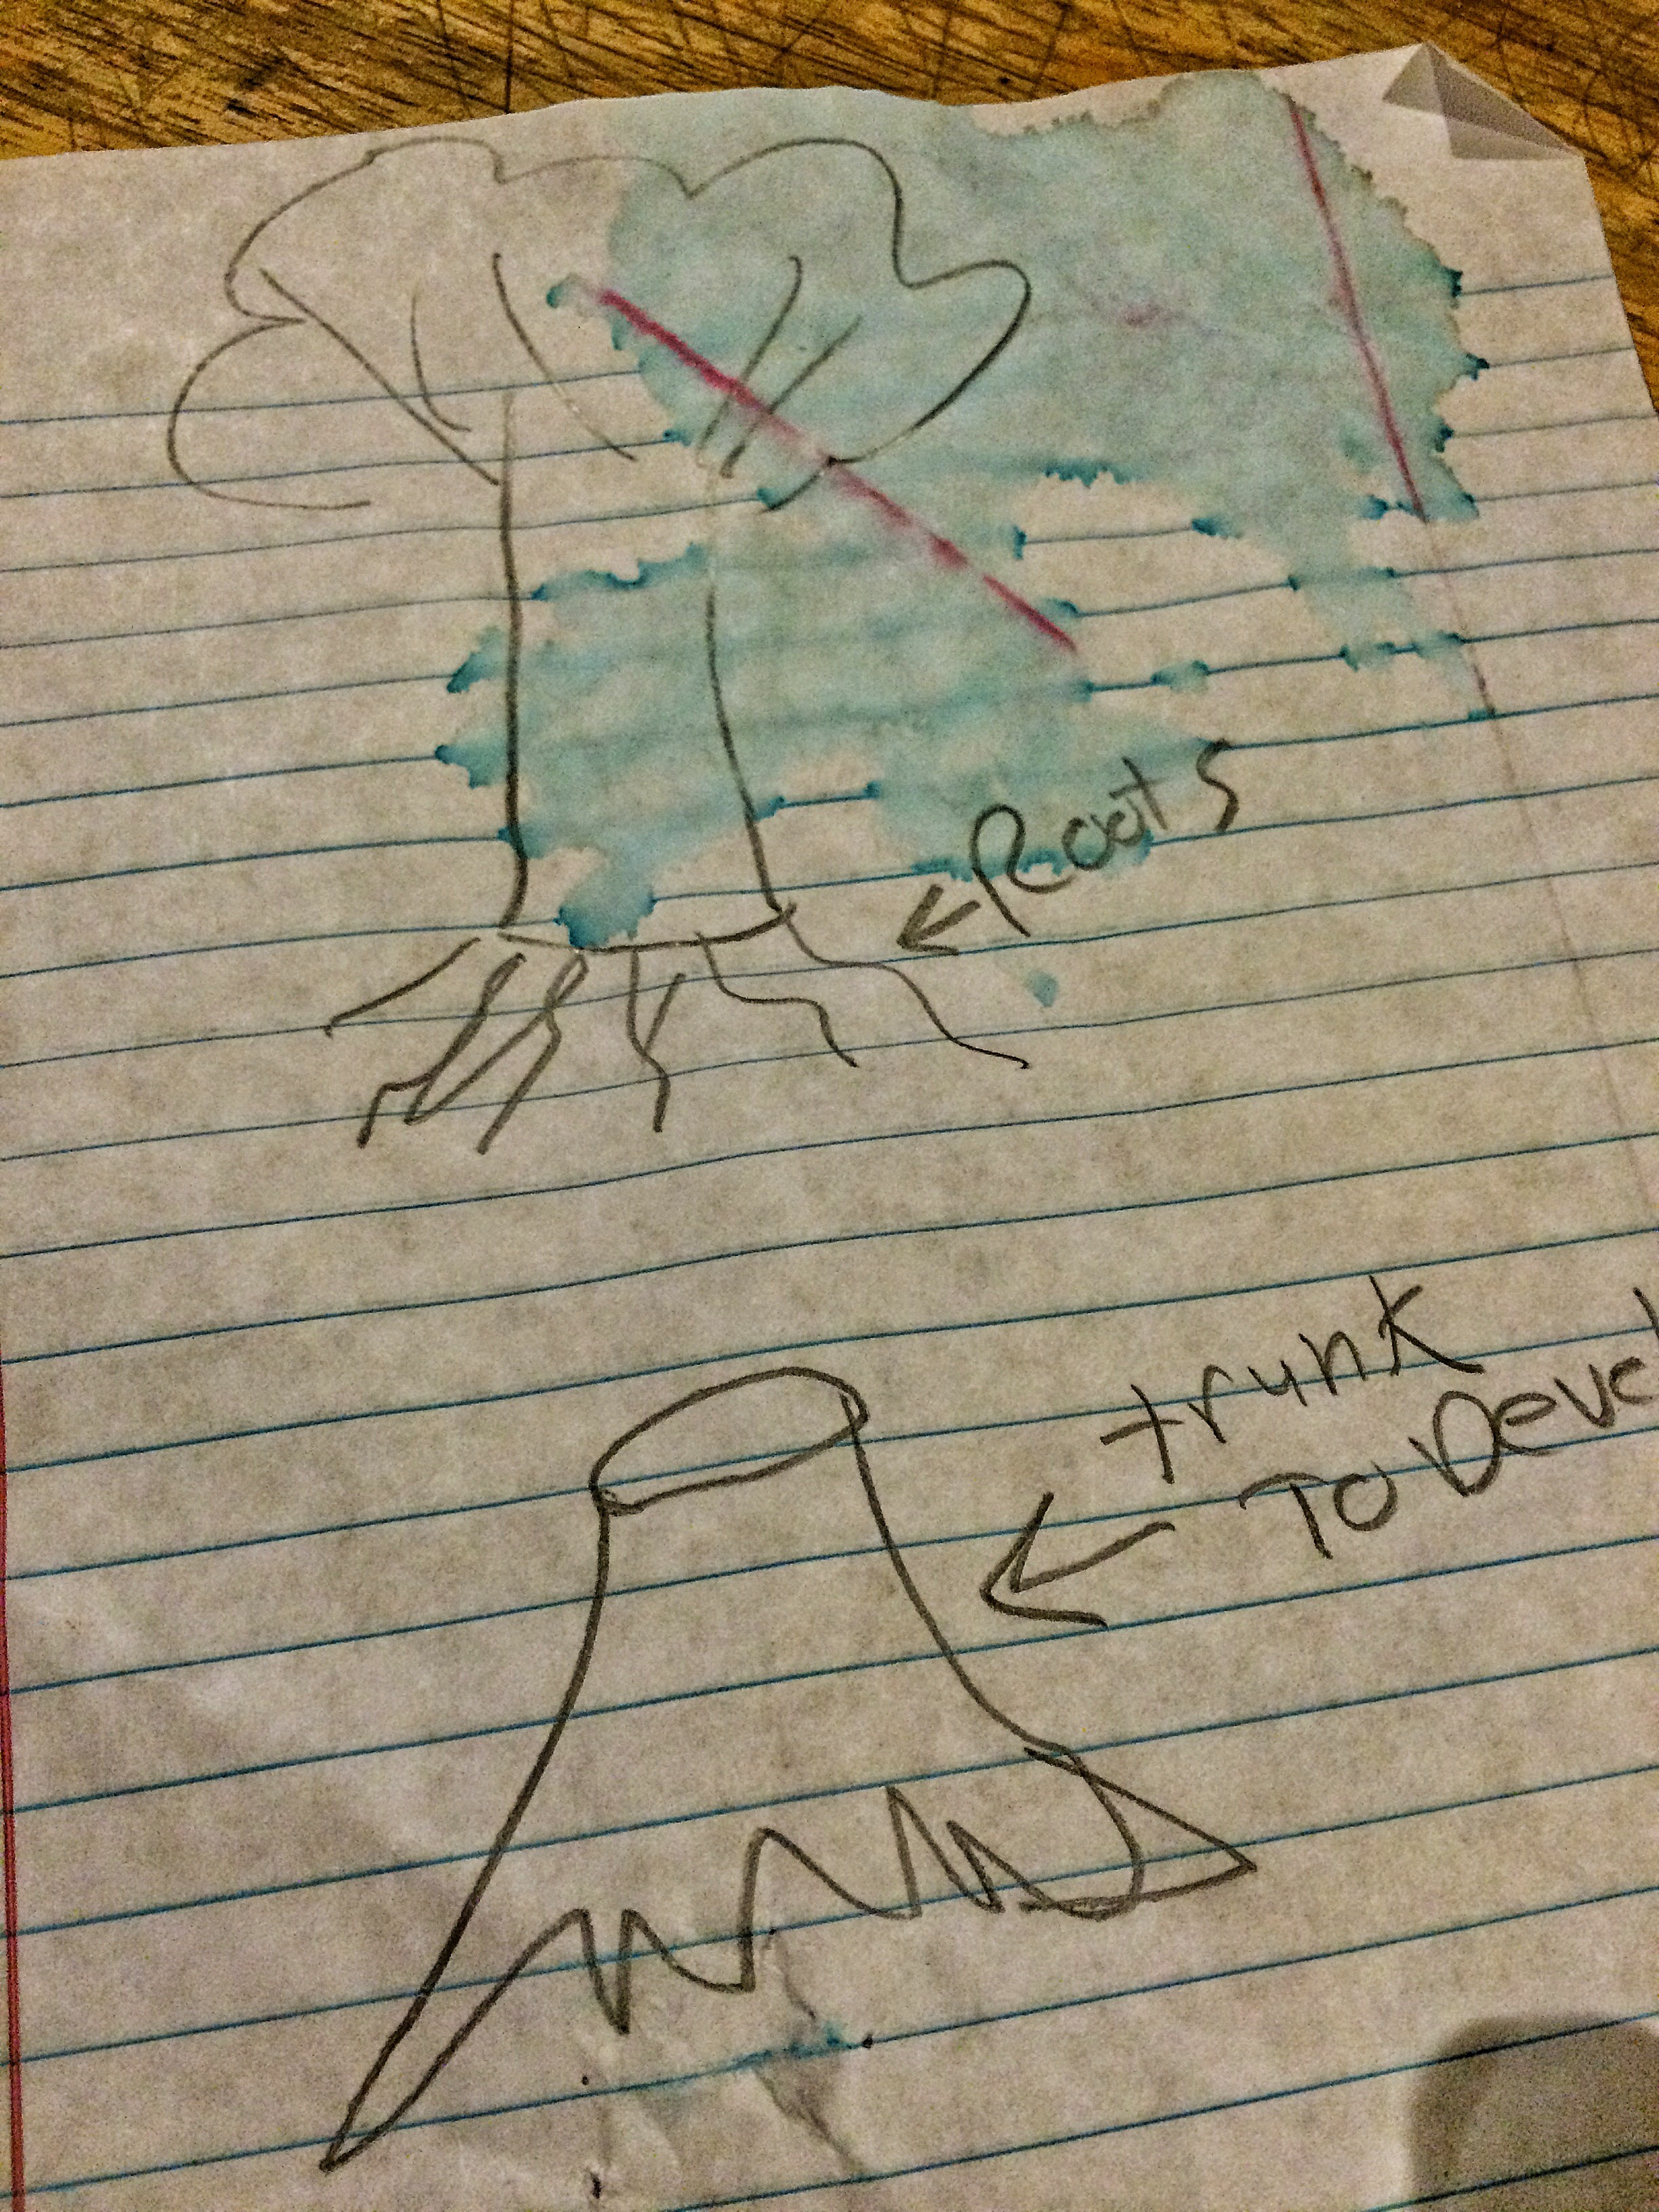
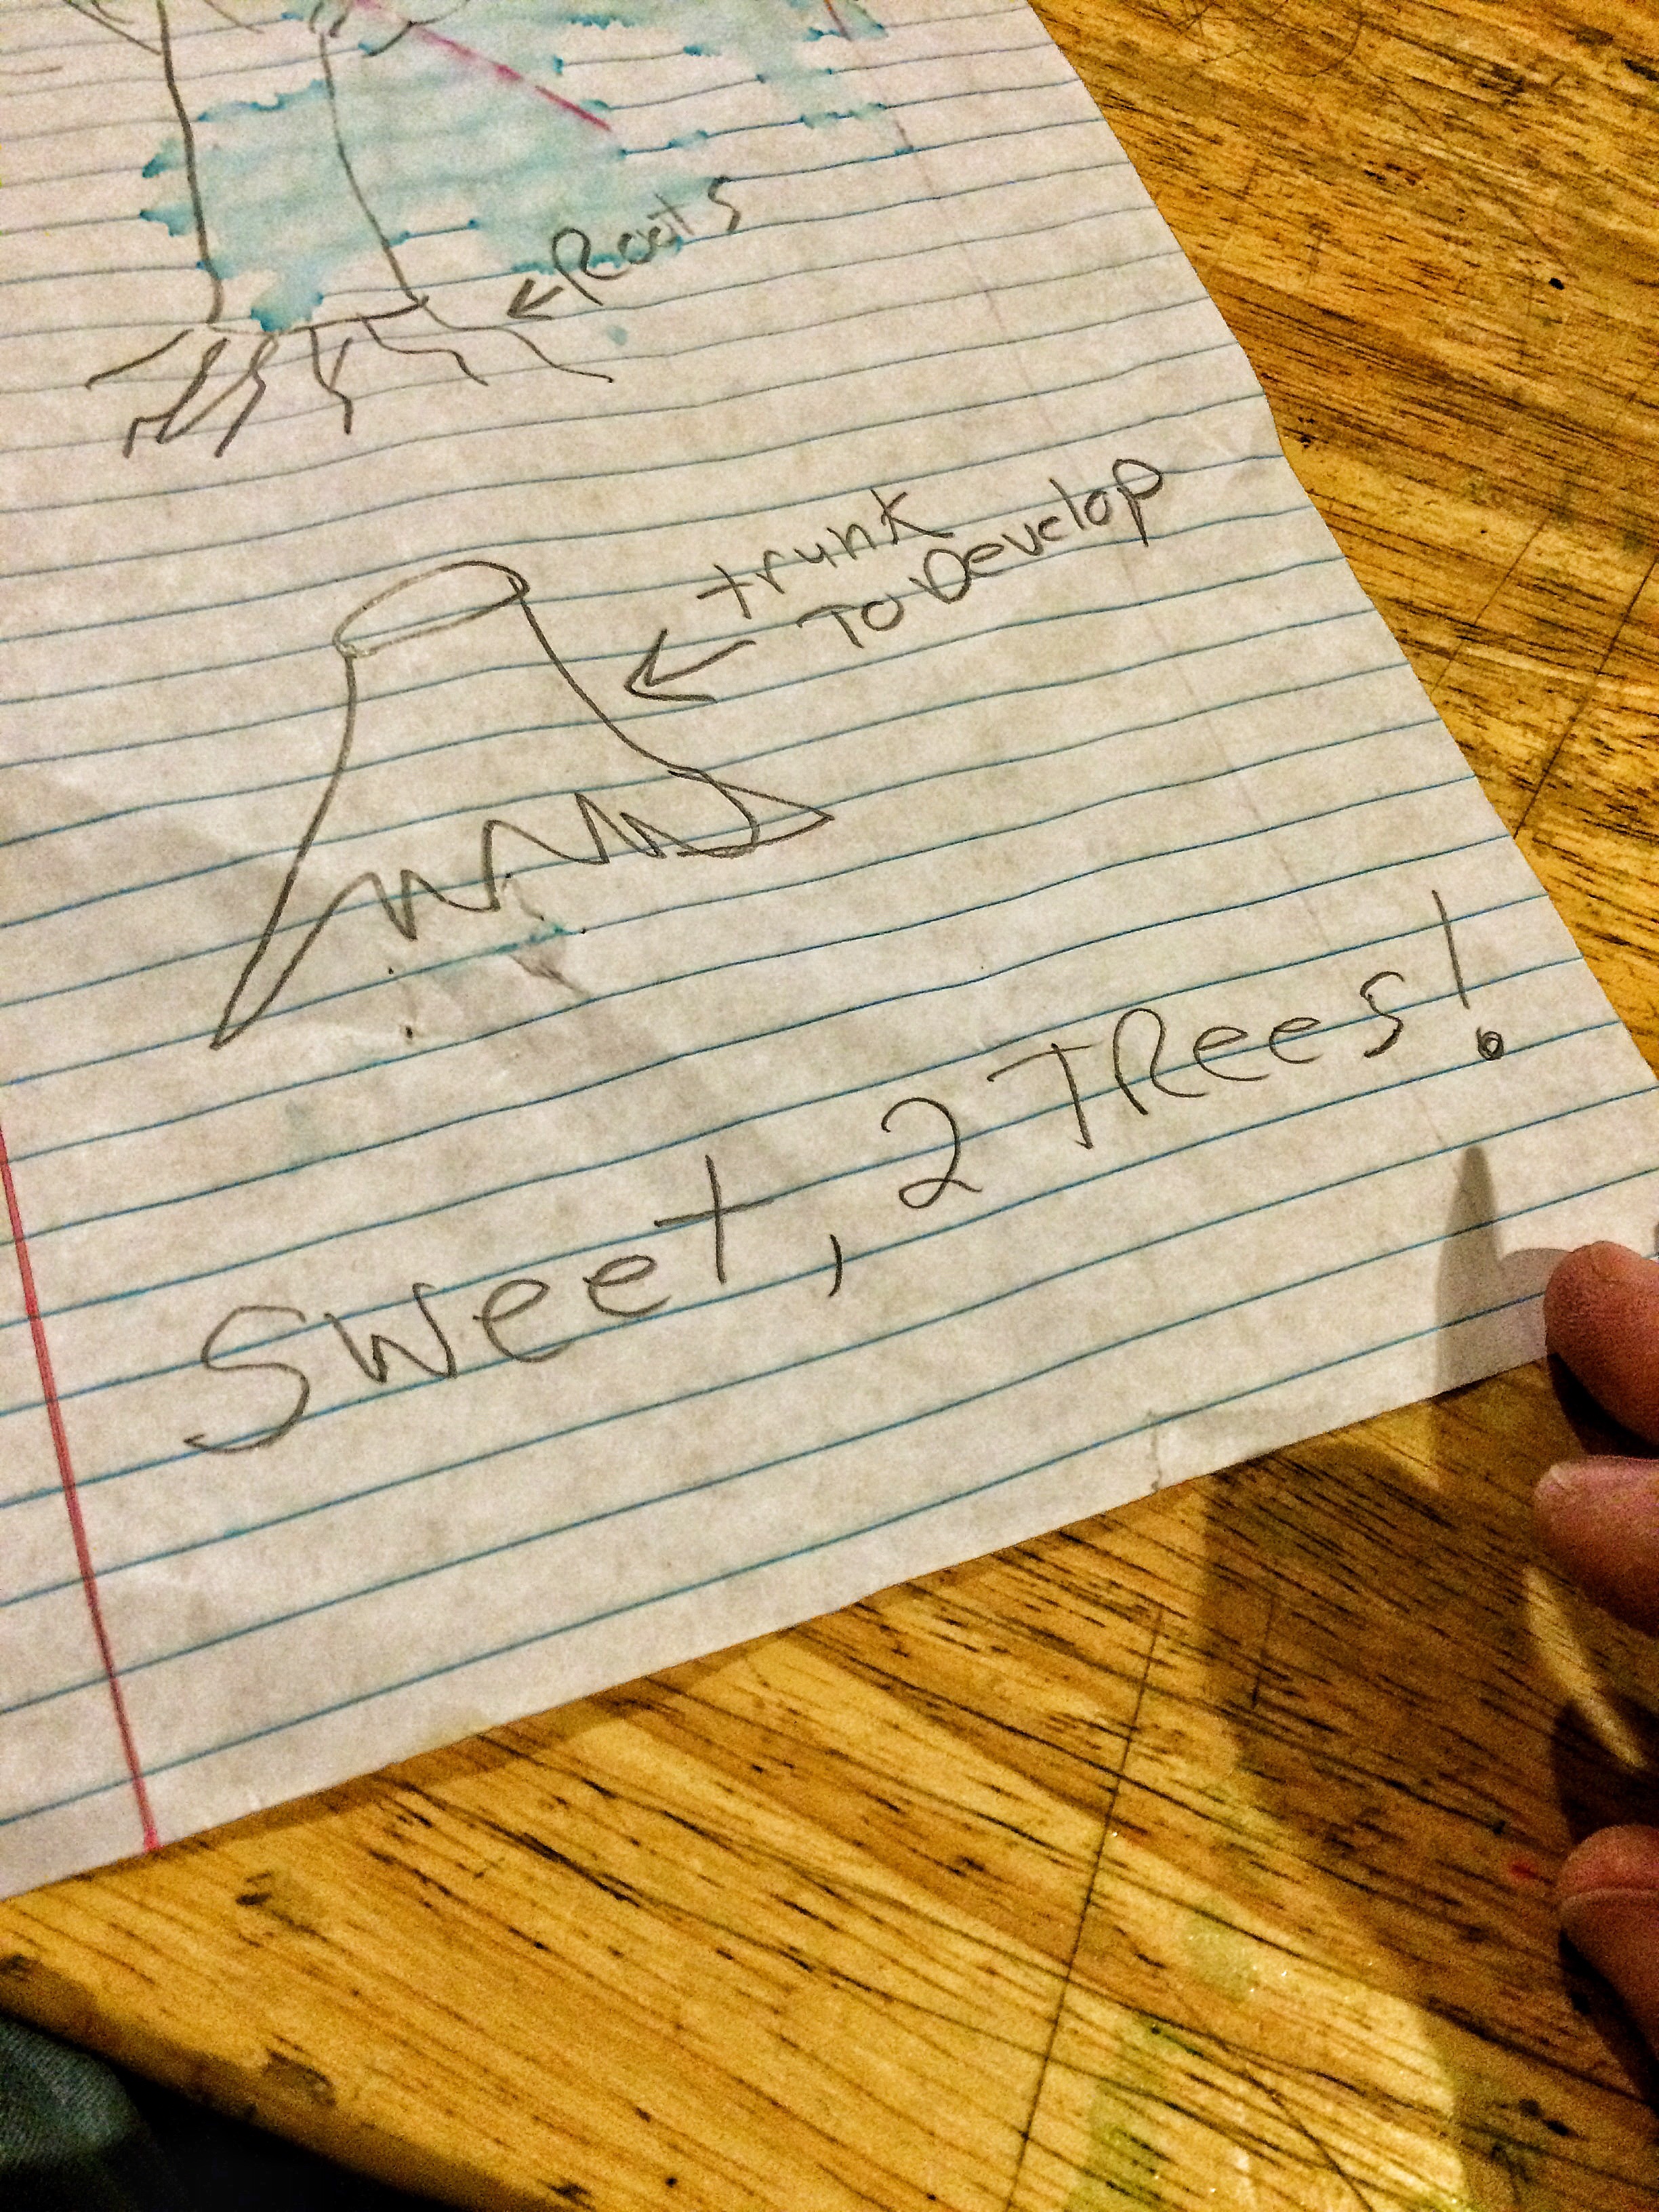
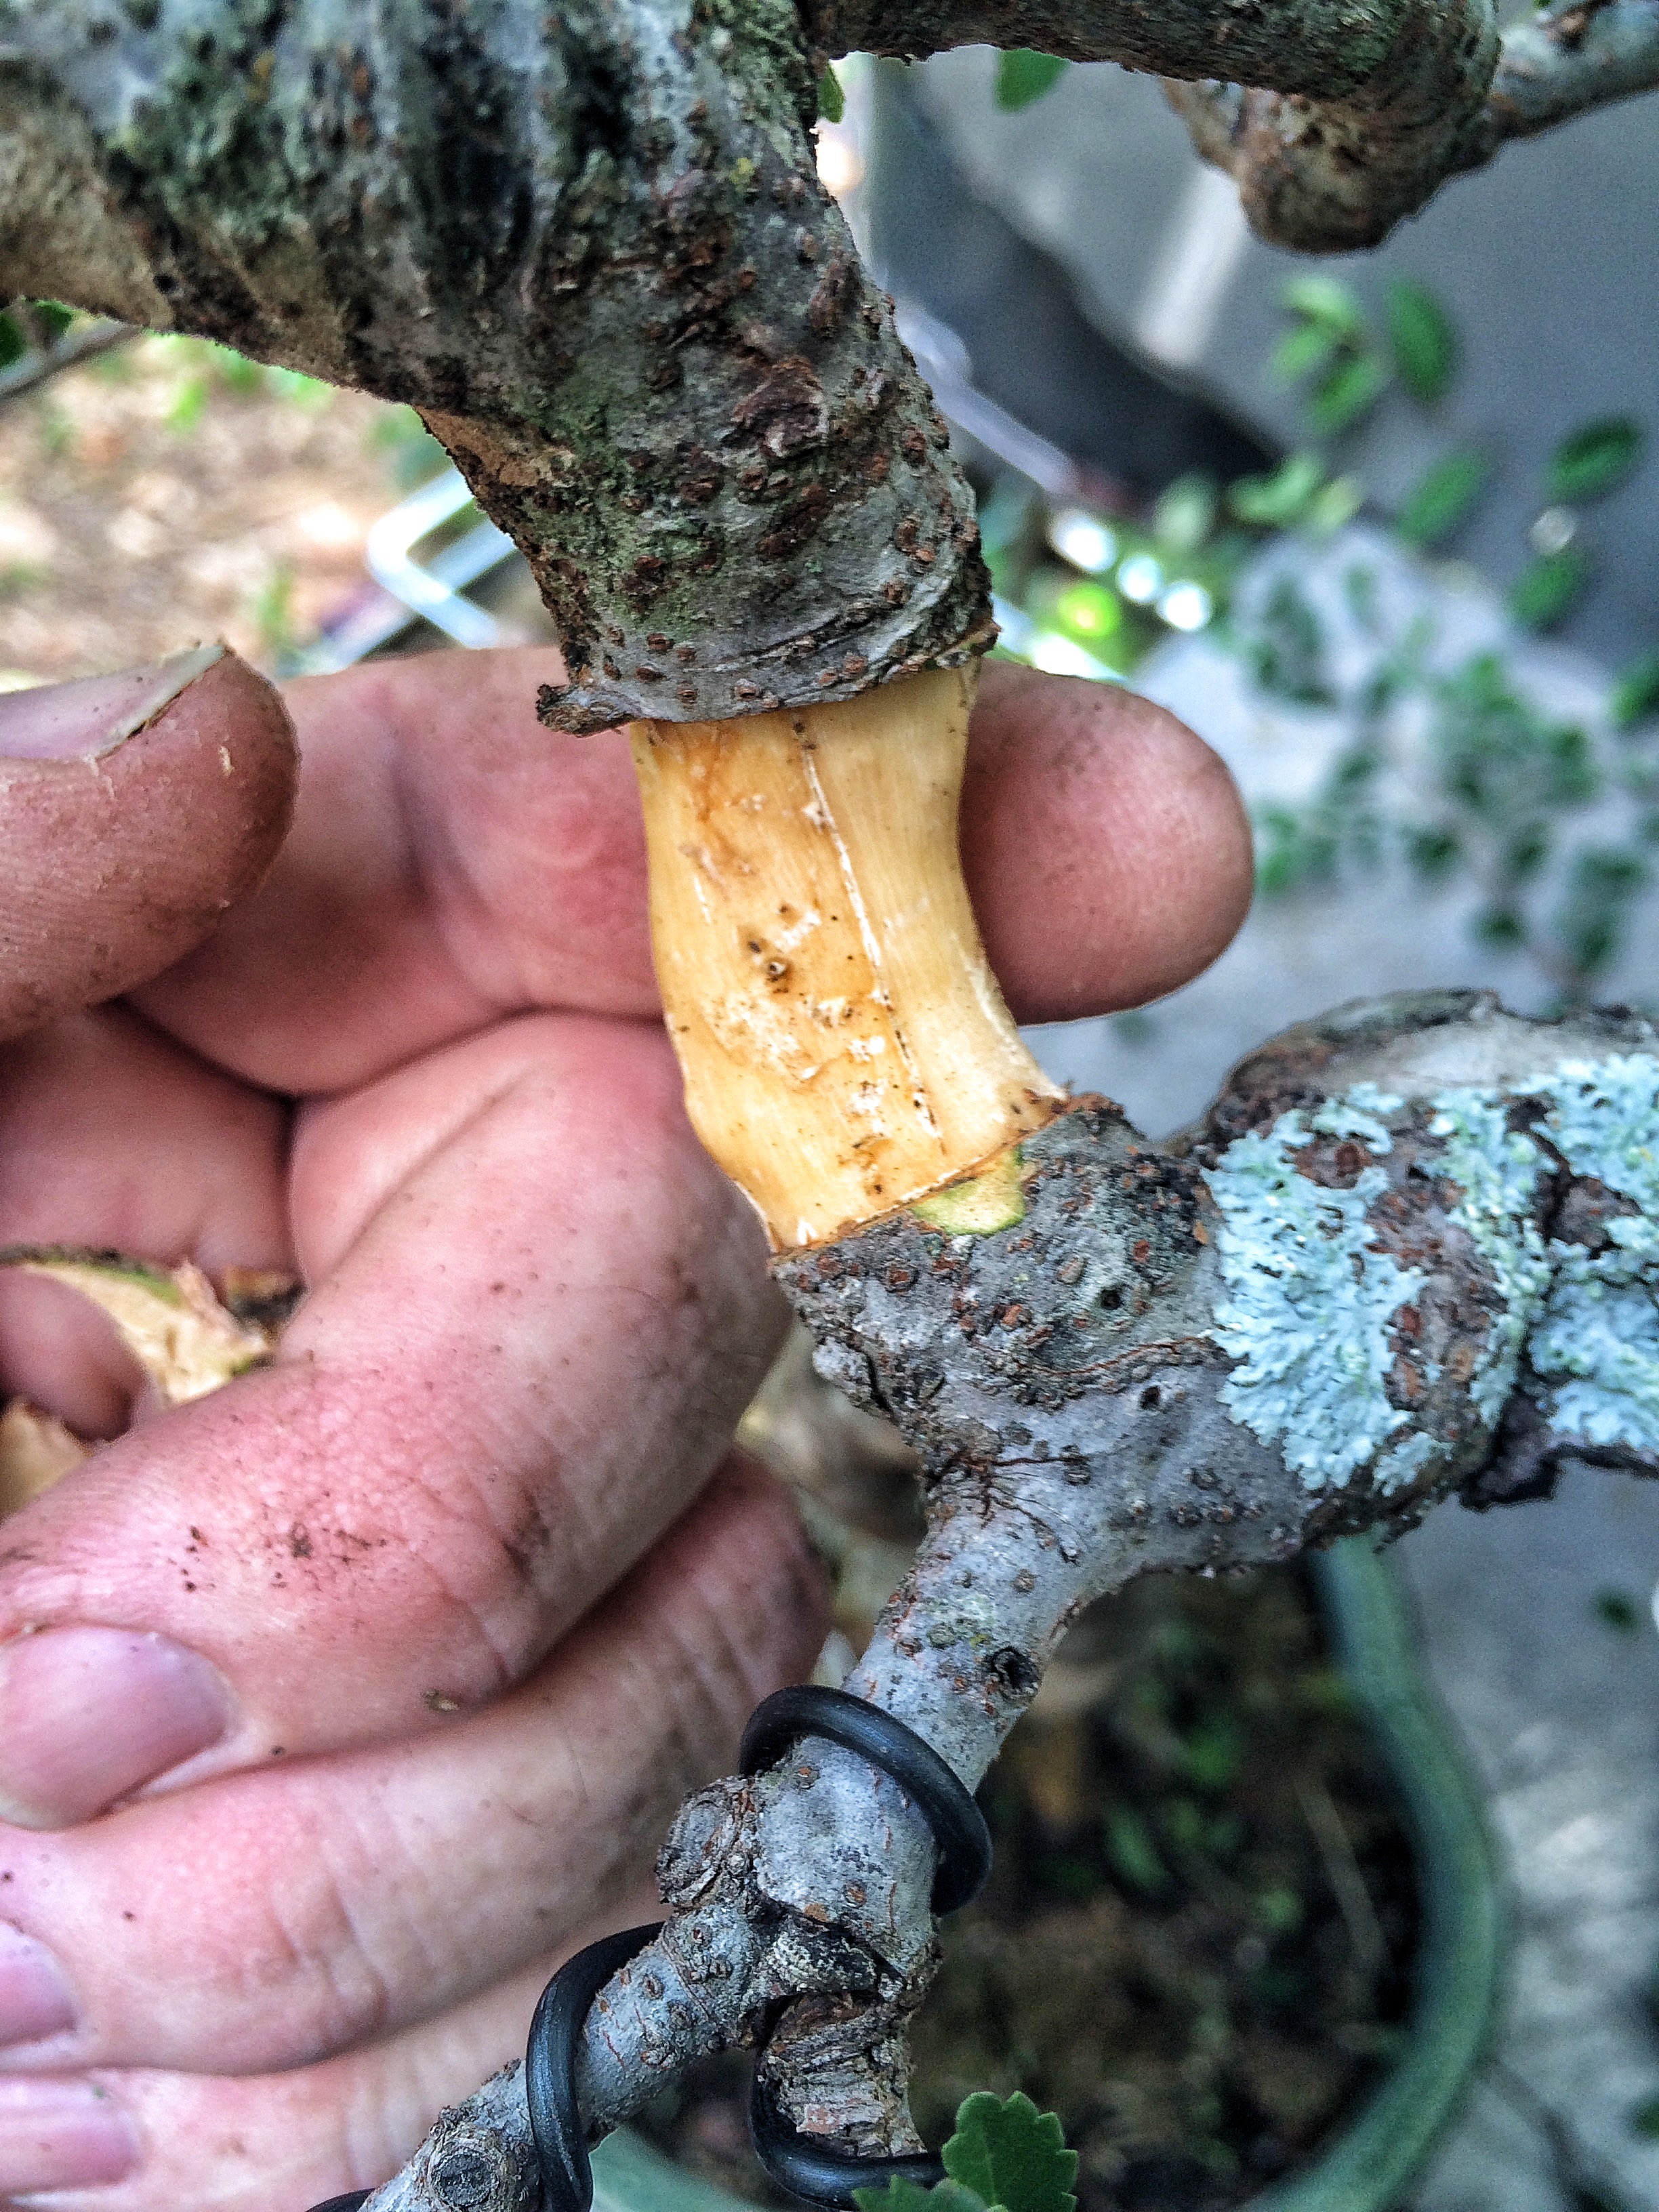
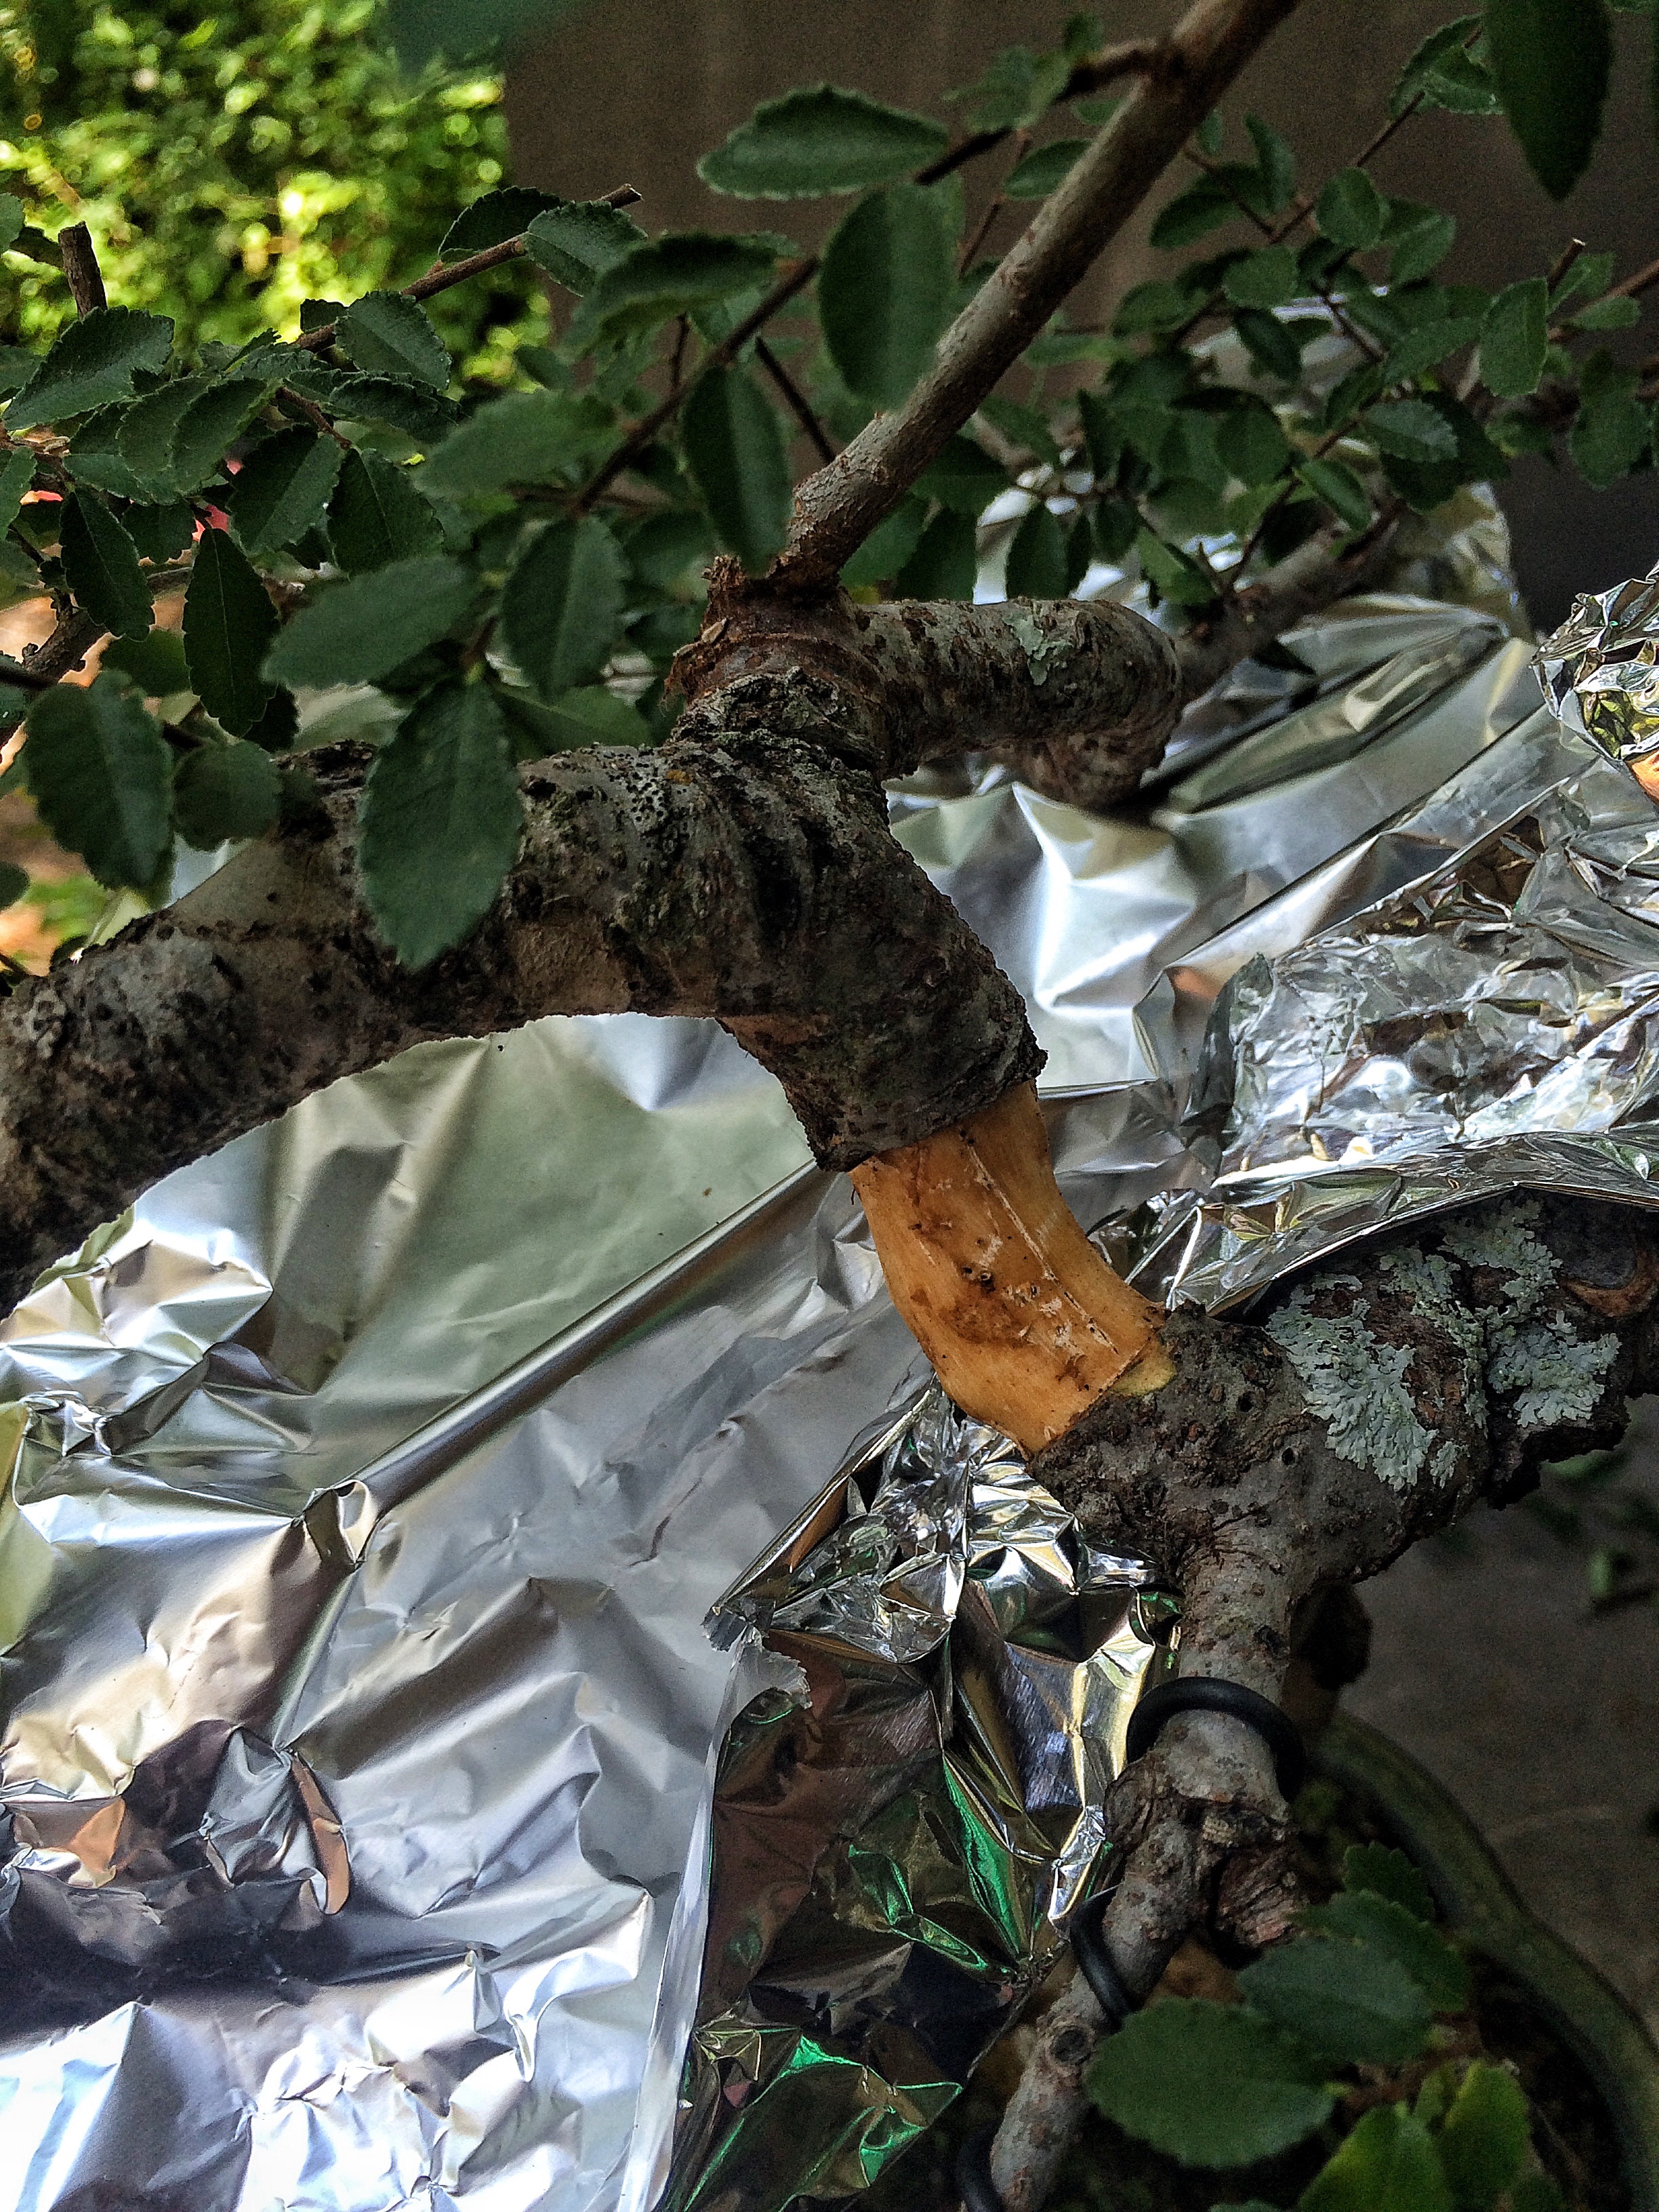
I’ve done the de-barking already (with a razor sharp knife) 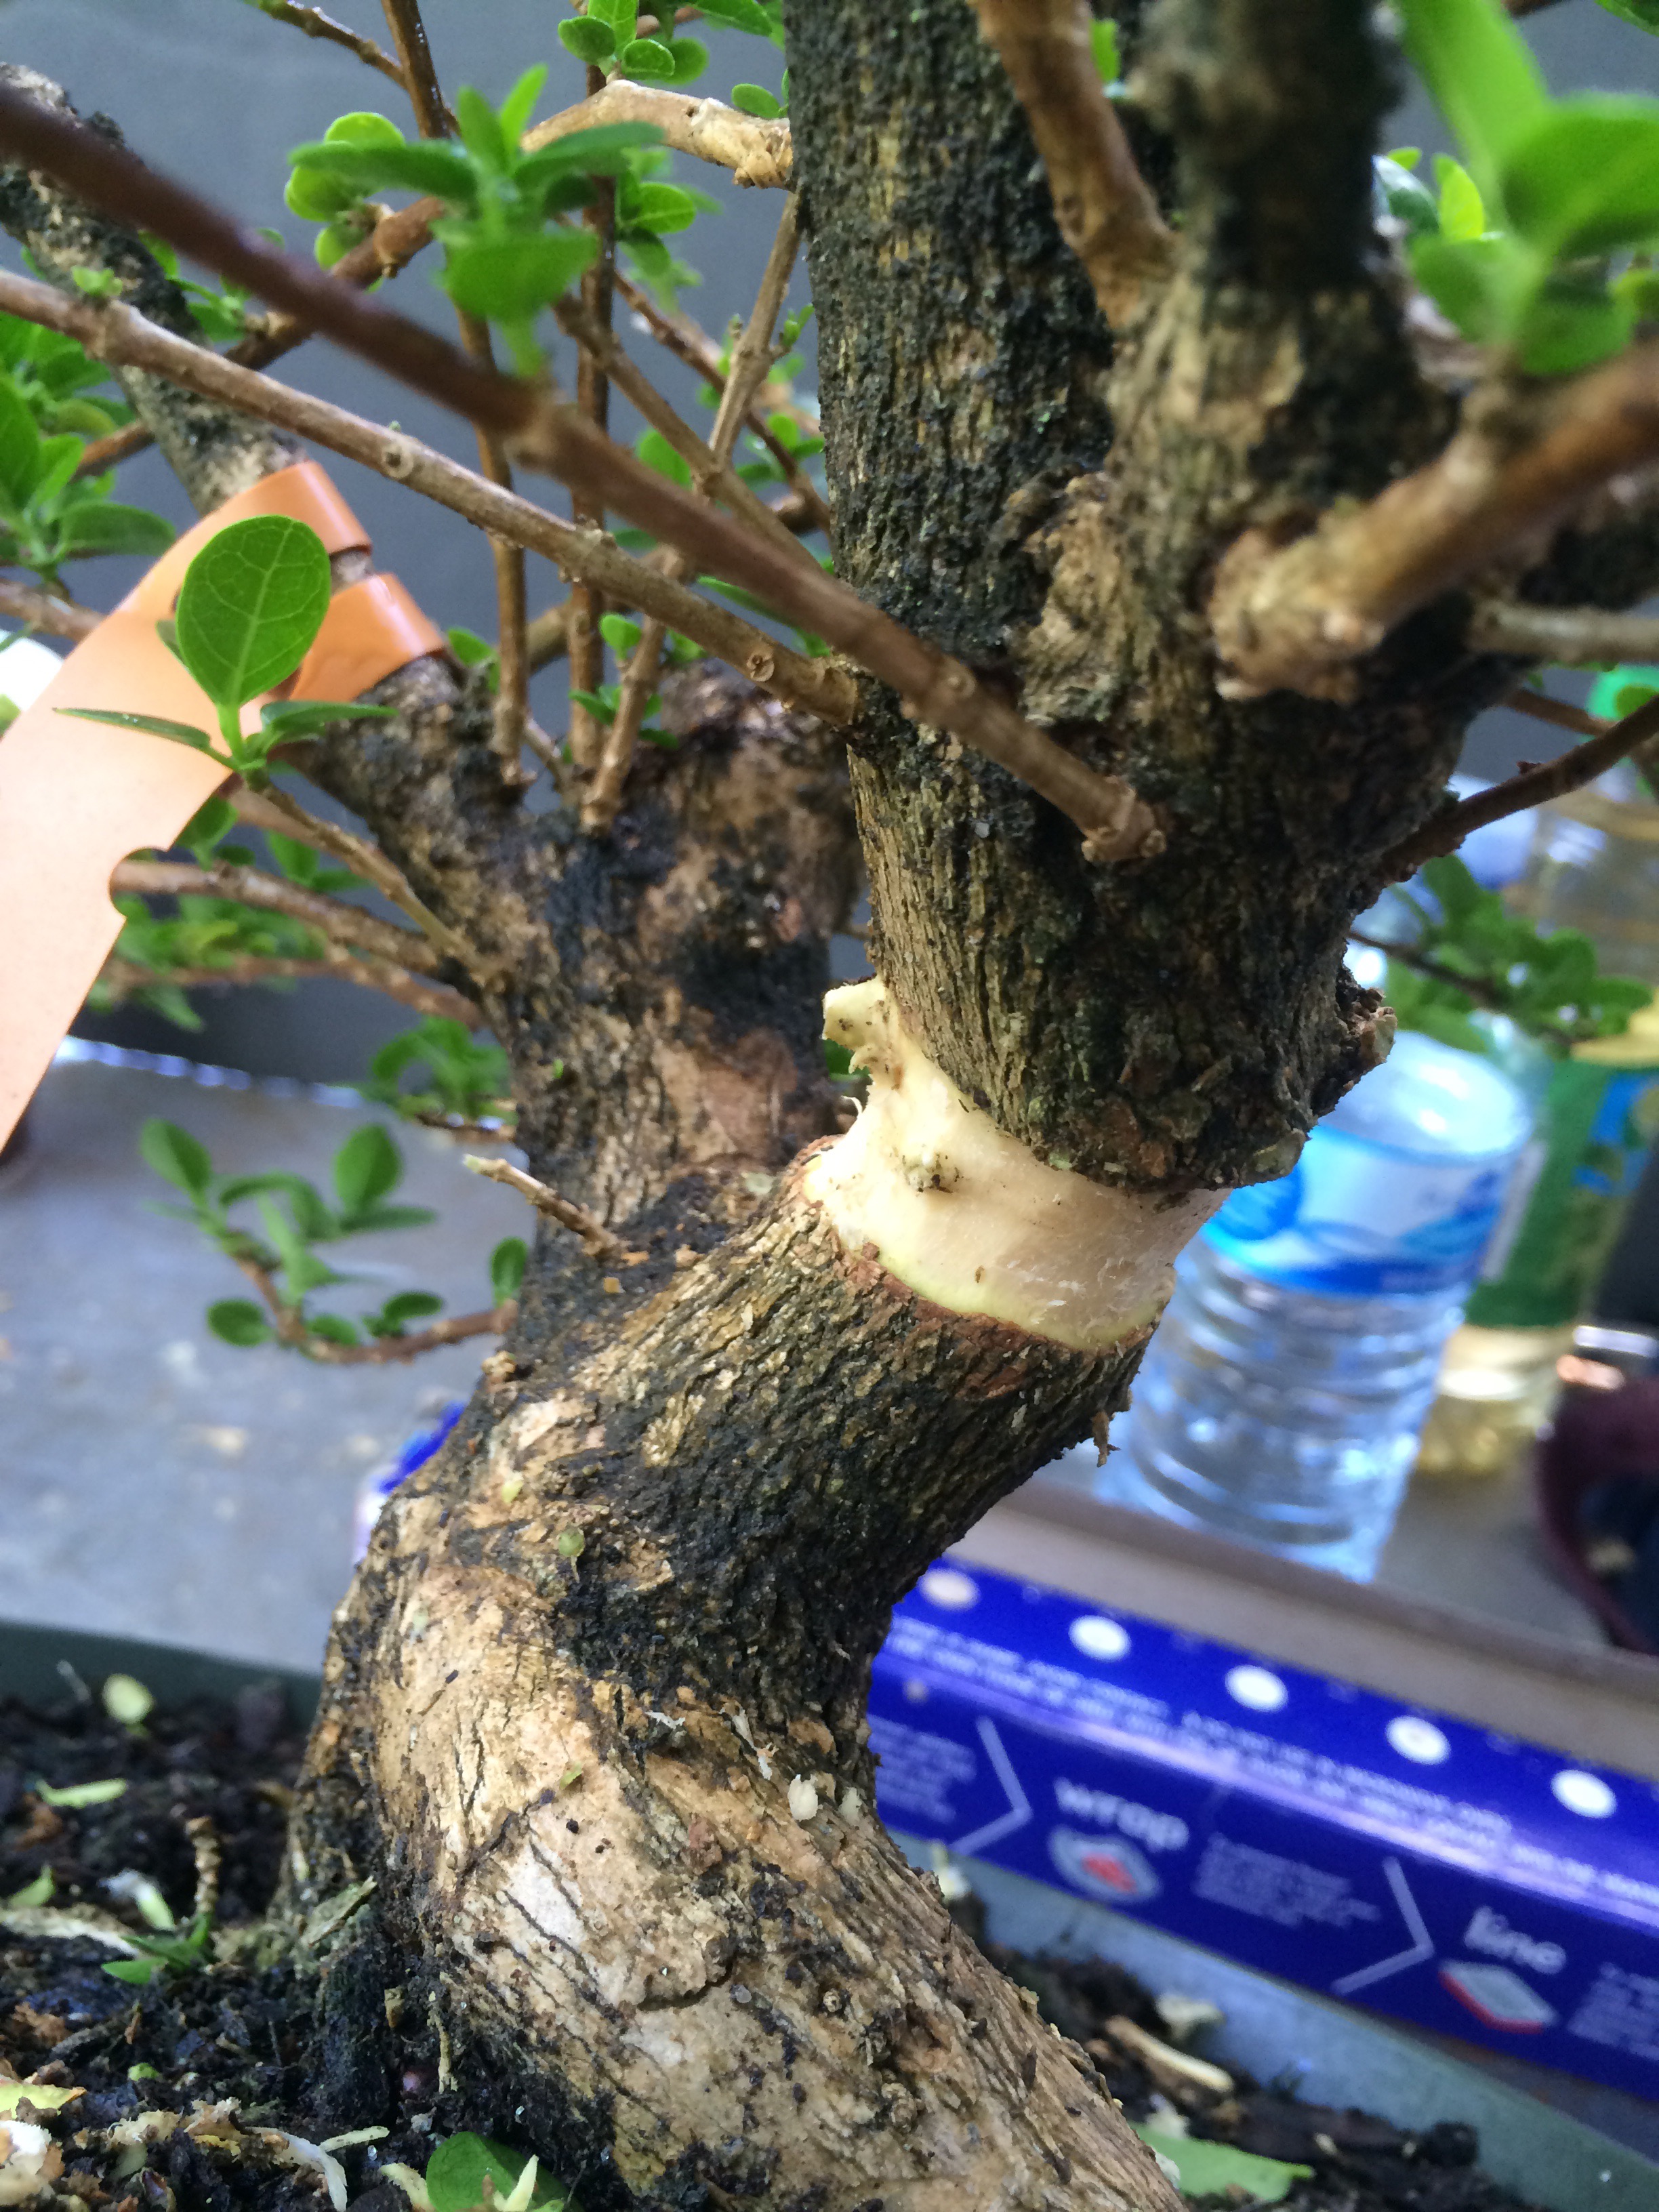 I chose this spot because there was a bulge, an area of obverse taper. A perfect place for new roots to emerge.
 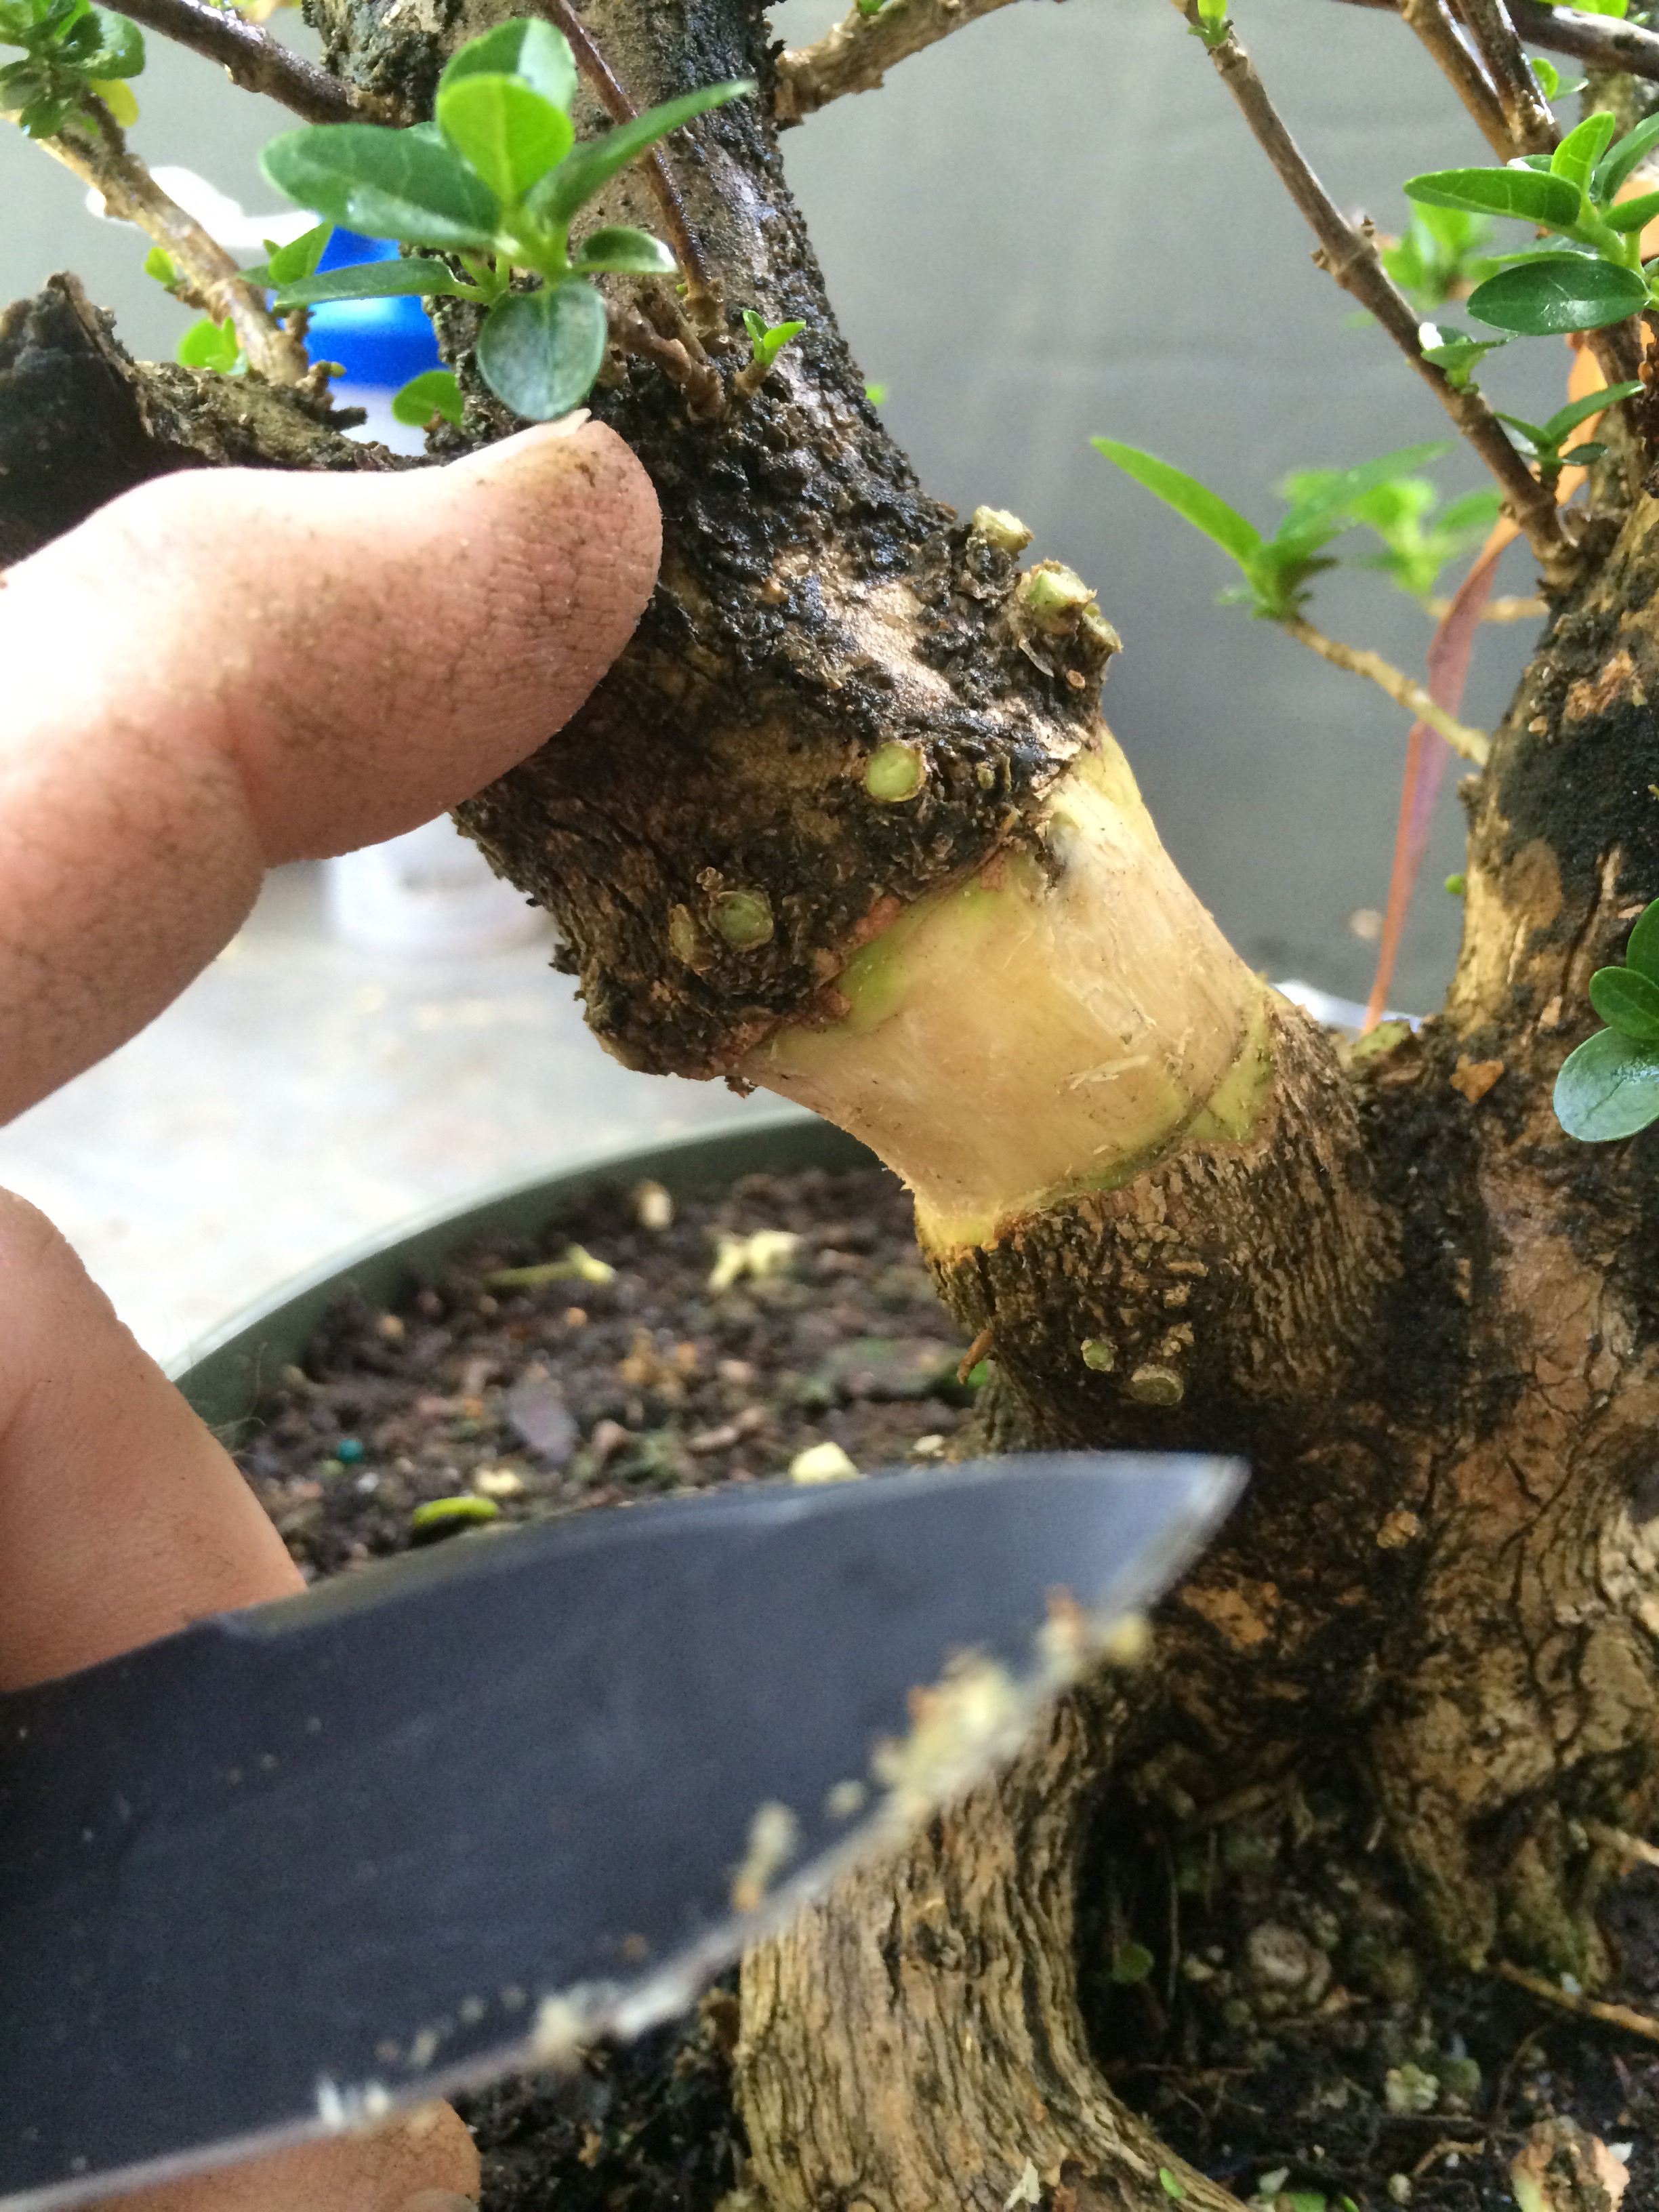 And it’s also full of nodes, the type of cells from which either new branches emerge or, in our case, new roots.
I have sphagnum moss soaking in water already. 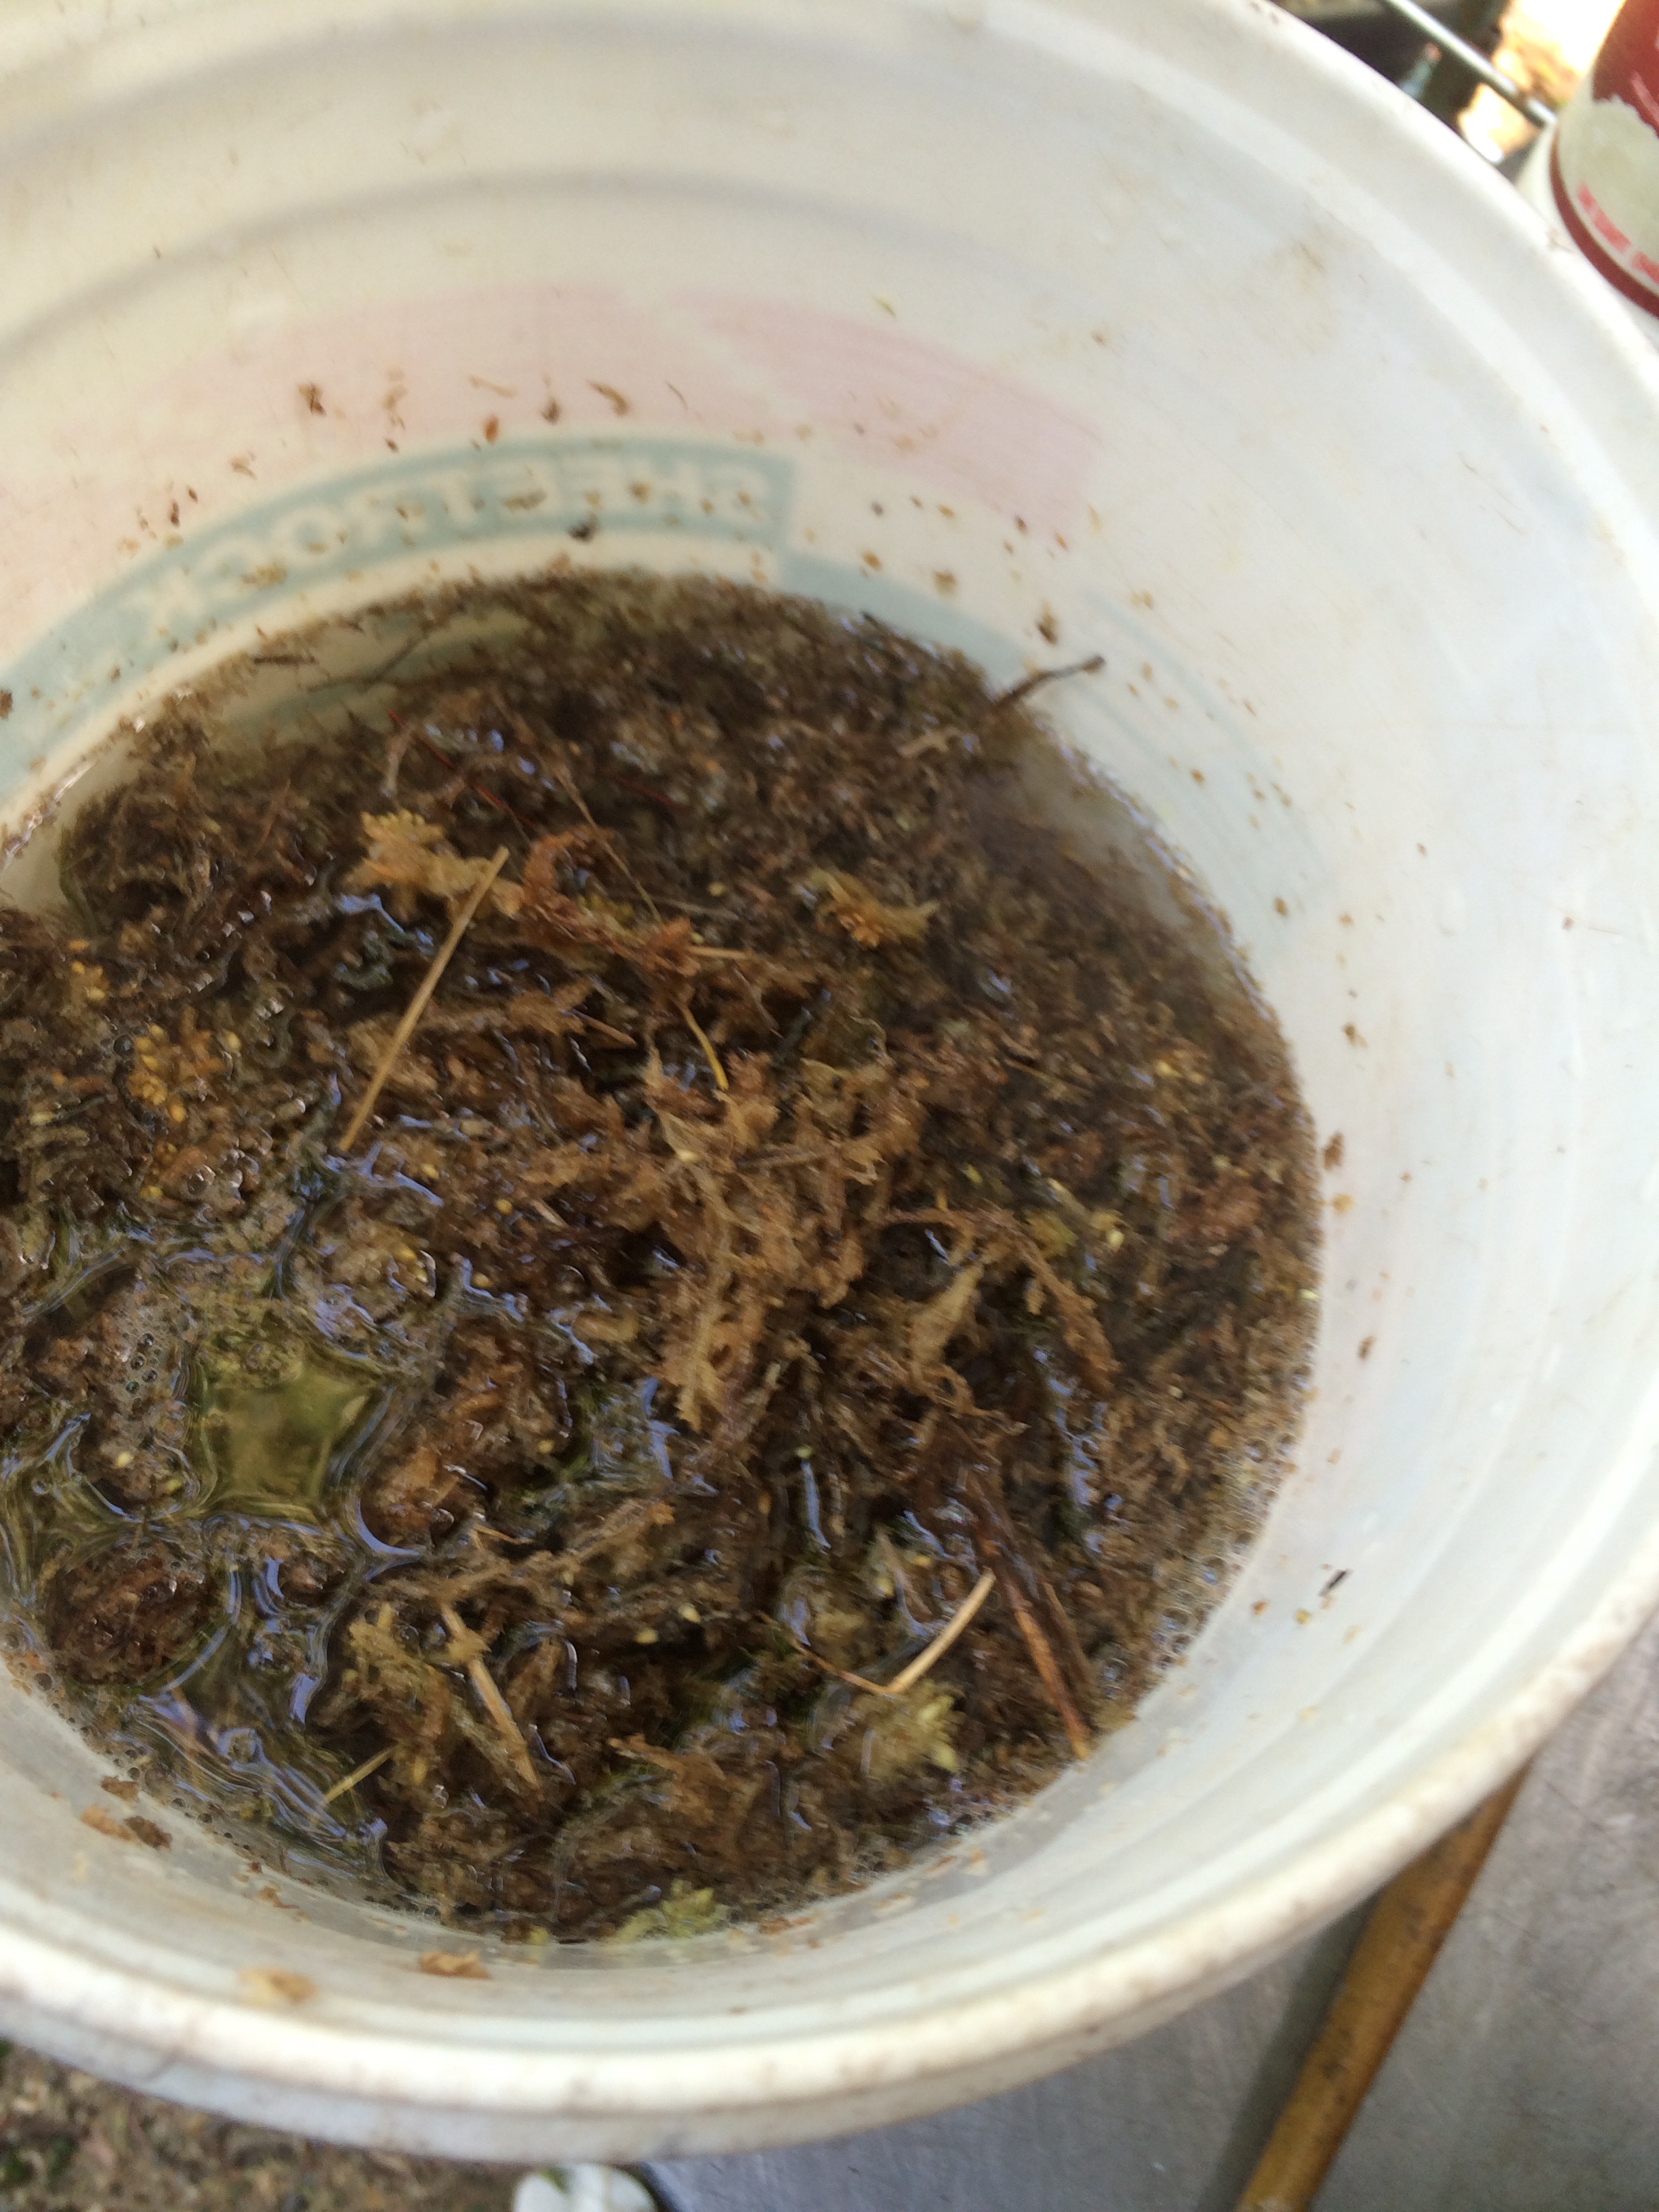 And, surprisingly, in this case I’m using rooting powder. Asking around, I’ve heard that it takes a little more time for roots to form on a premna than on, say, a Brazilian Raintree (if you want to increase your confidence, airlayer a BRT. You could probably do it with a nail file, a cottonball, some spit and a fig leaf)
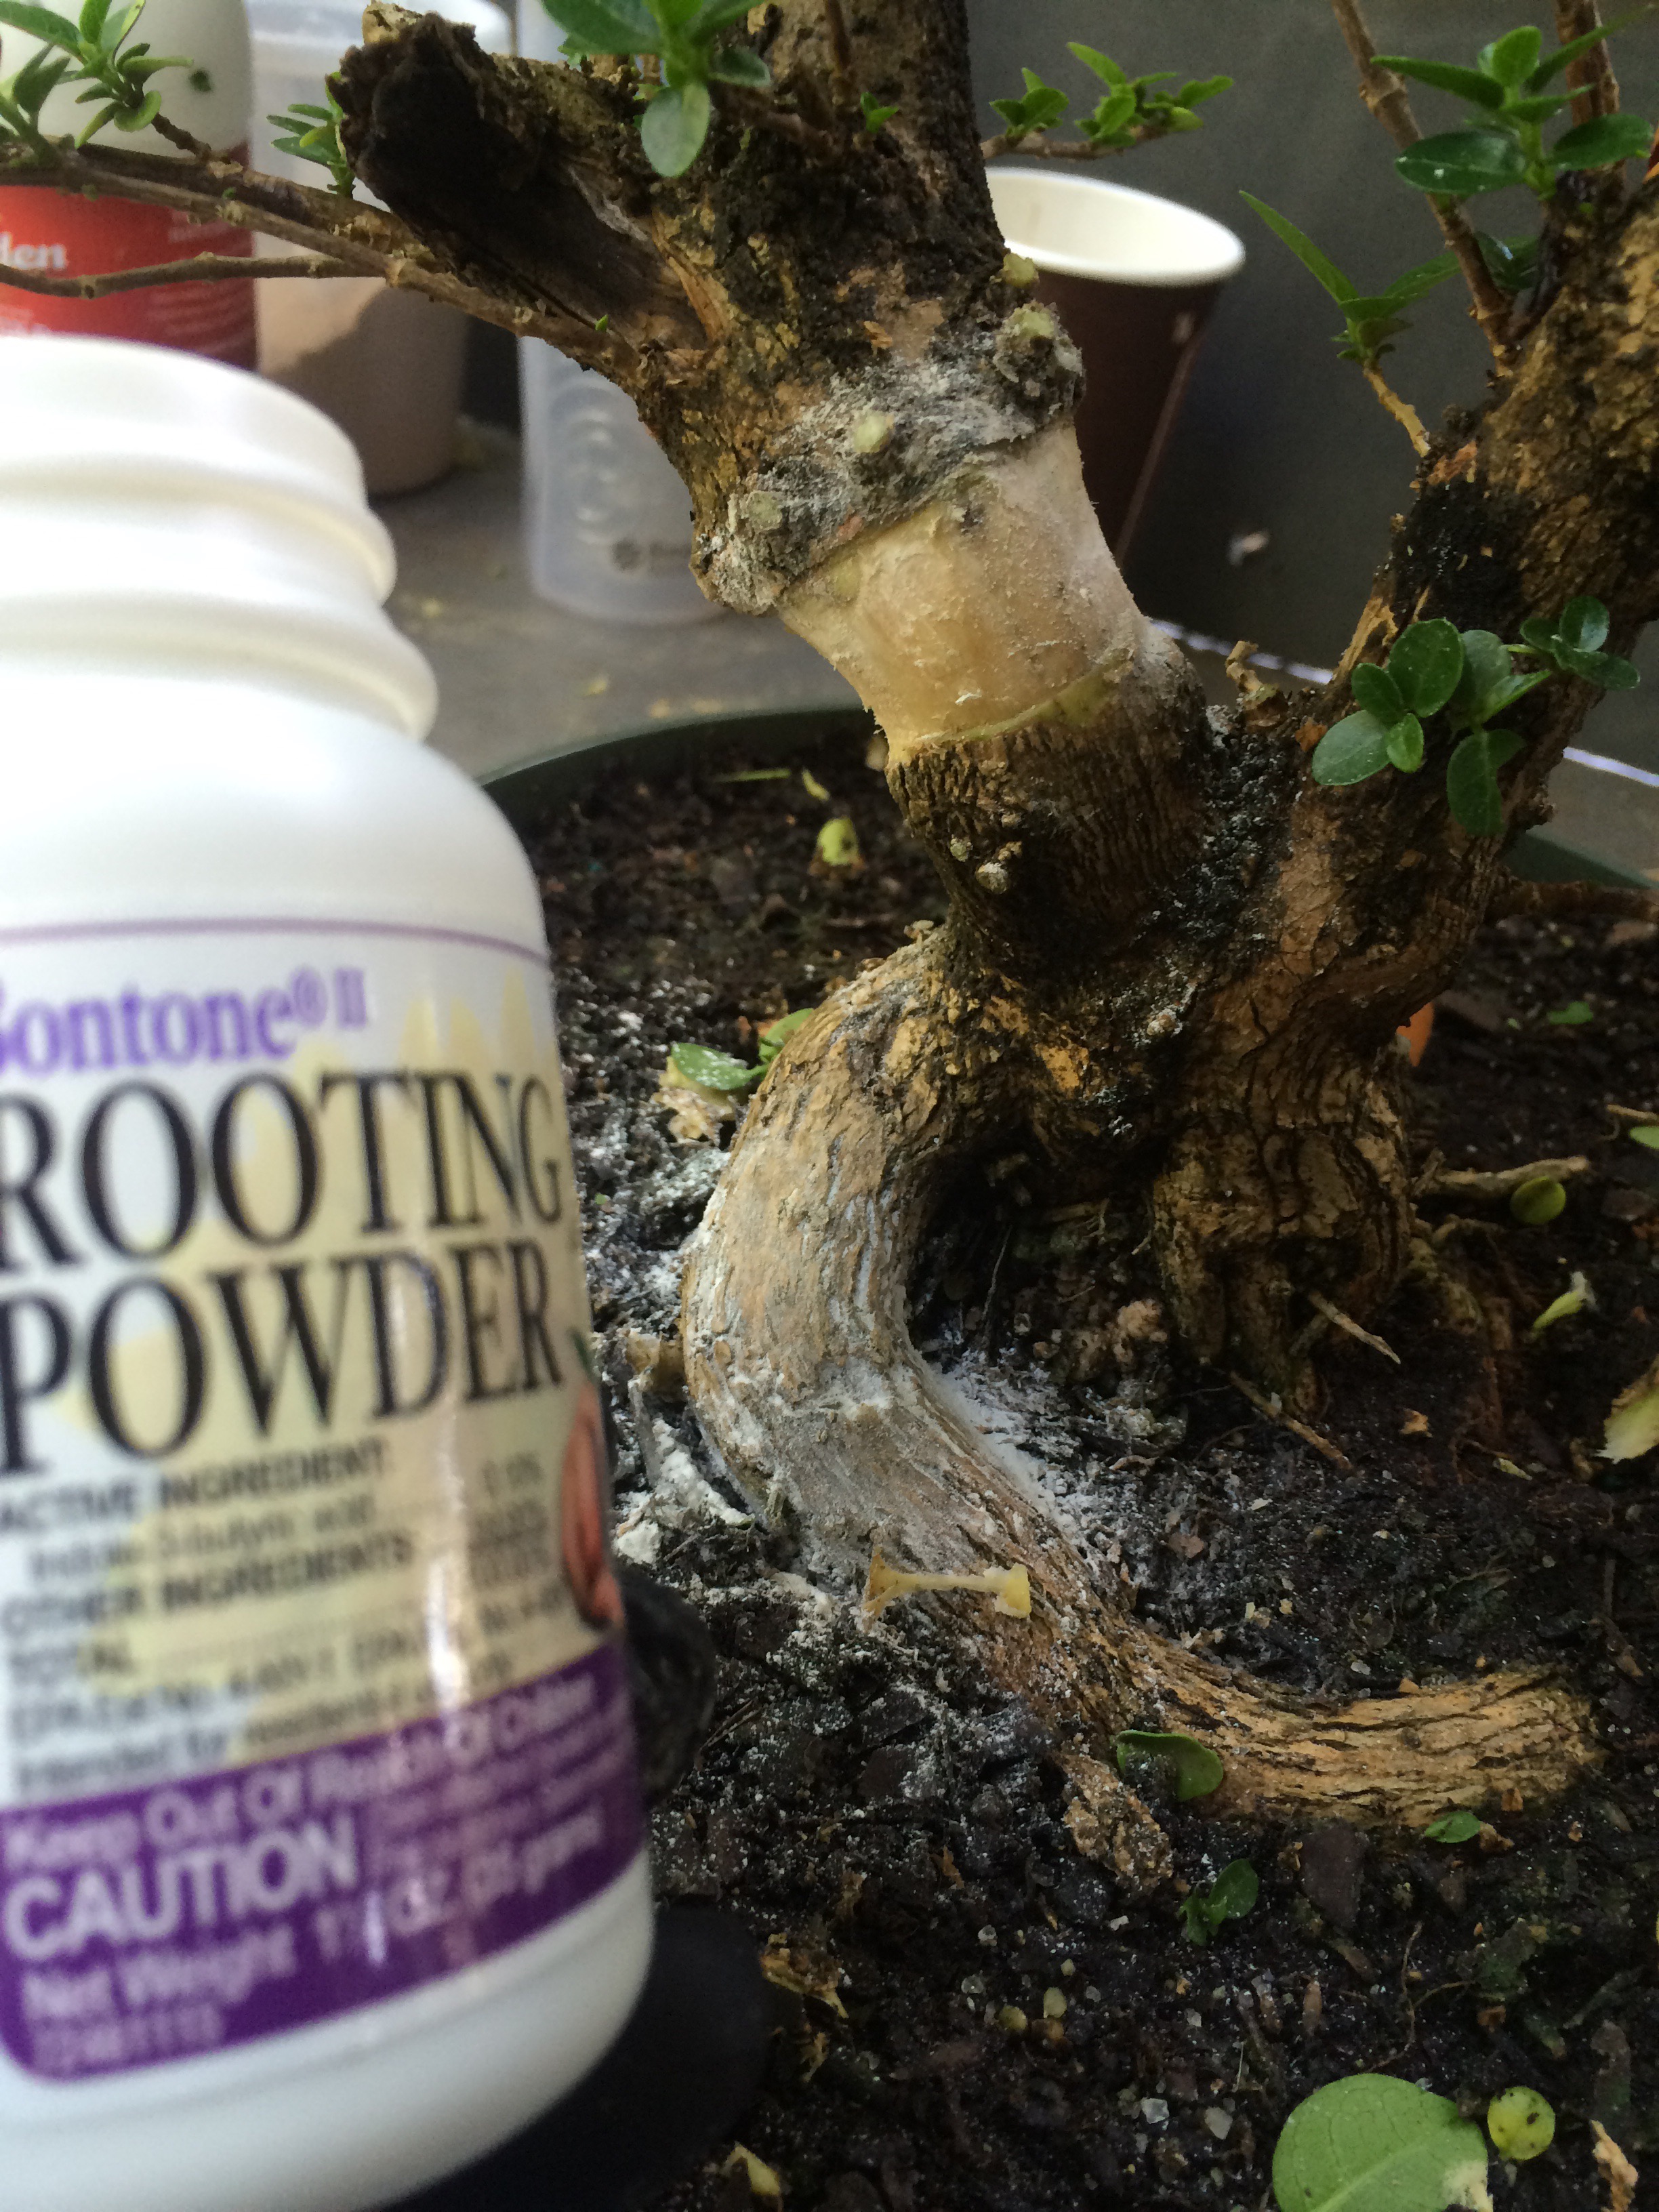
But I’m getting ahead of myself, let’s make some pretty drawings.
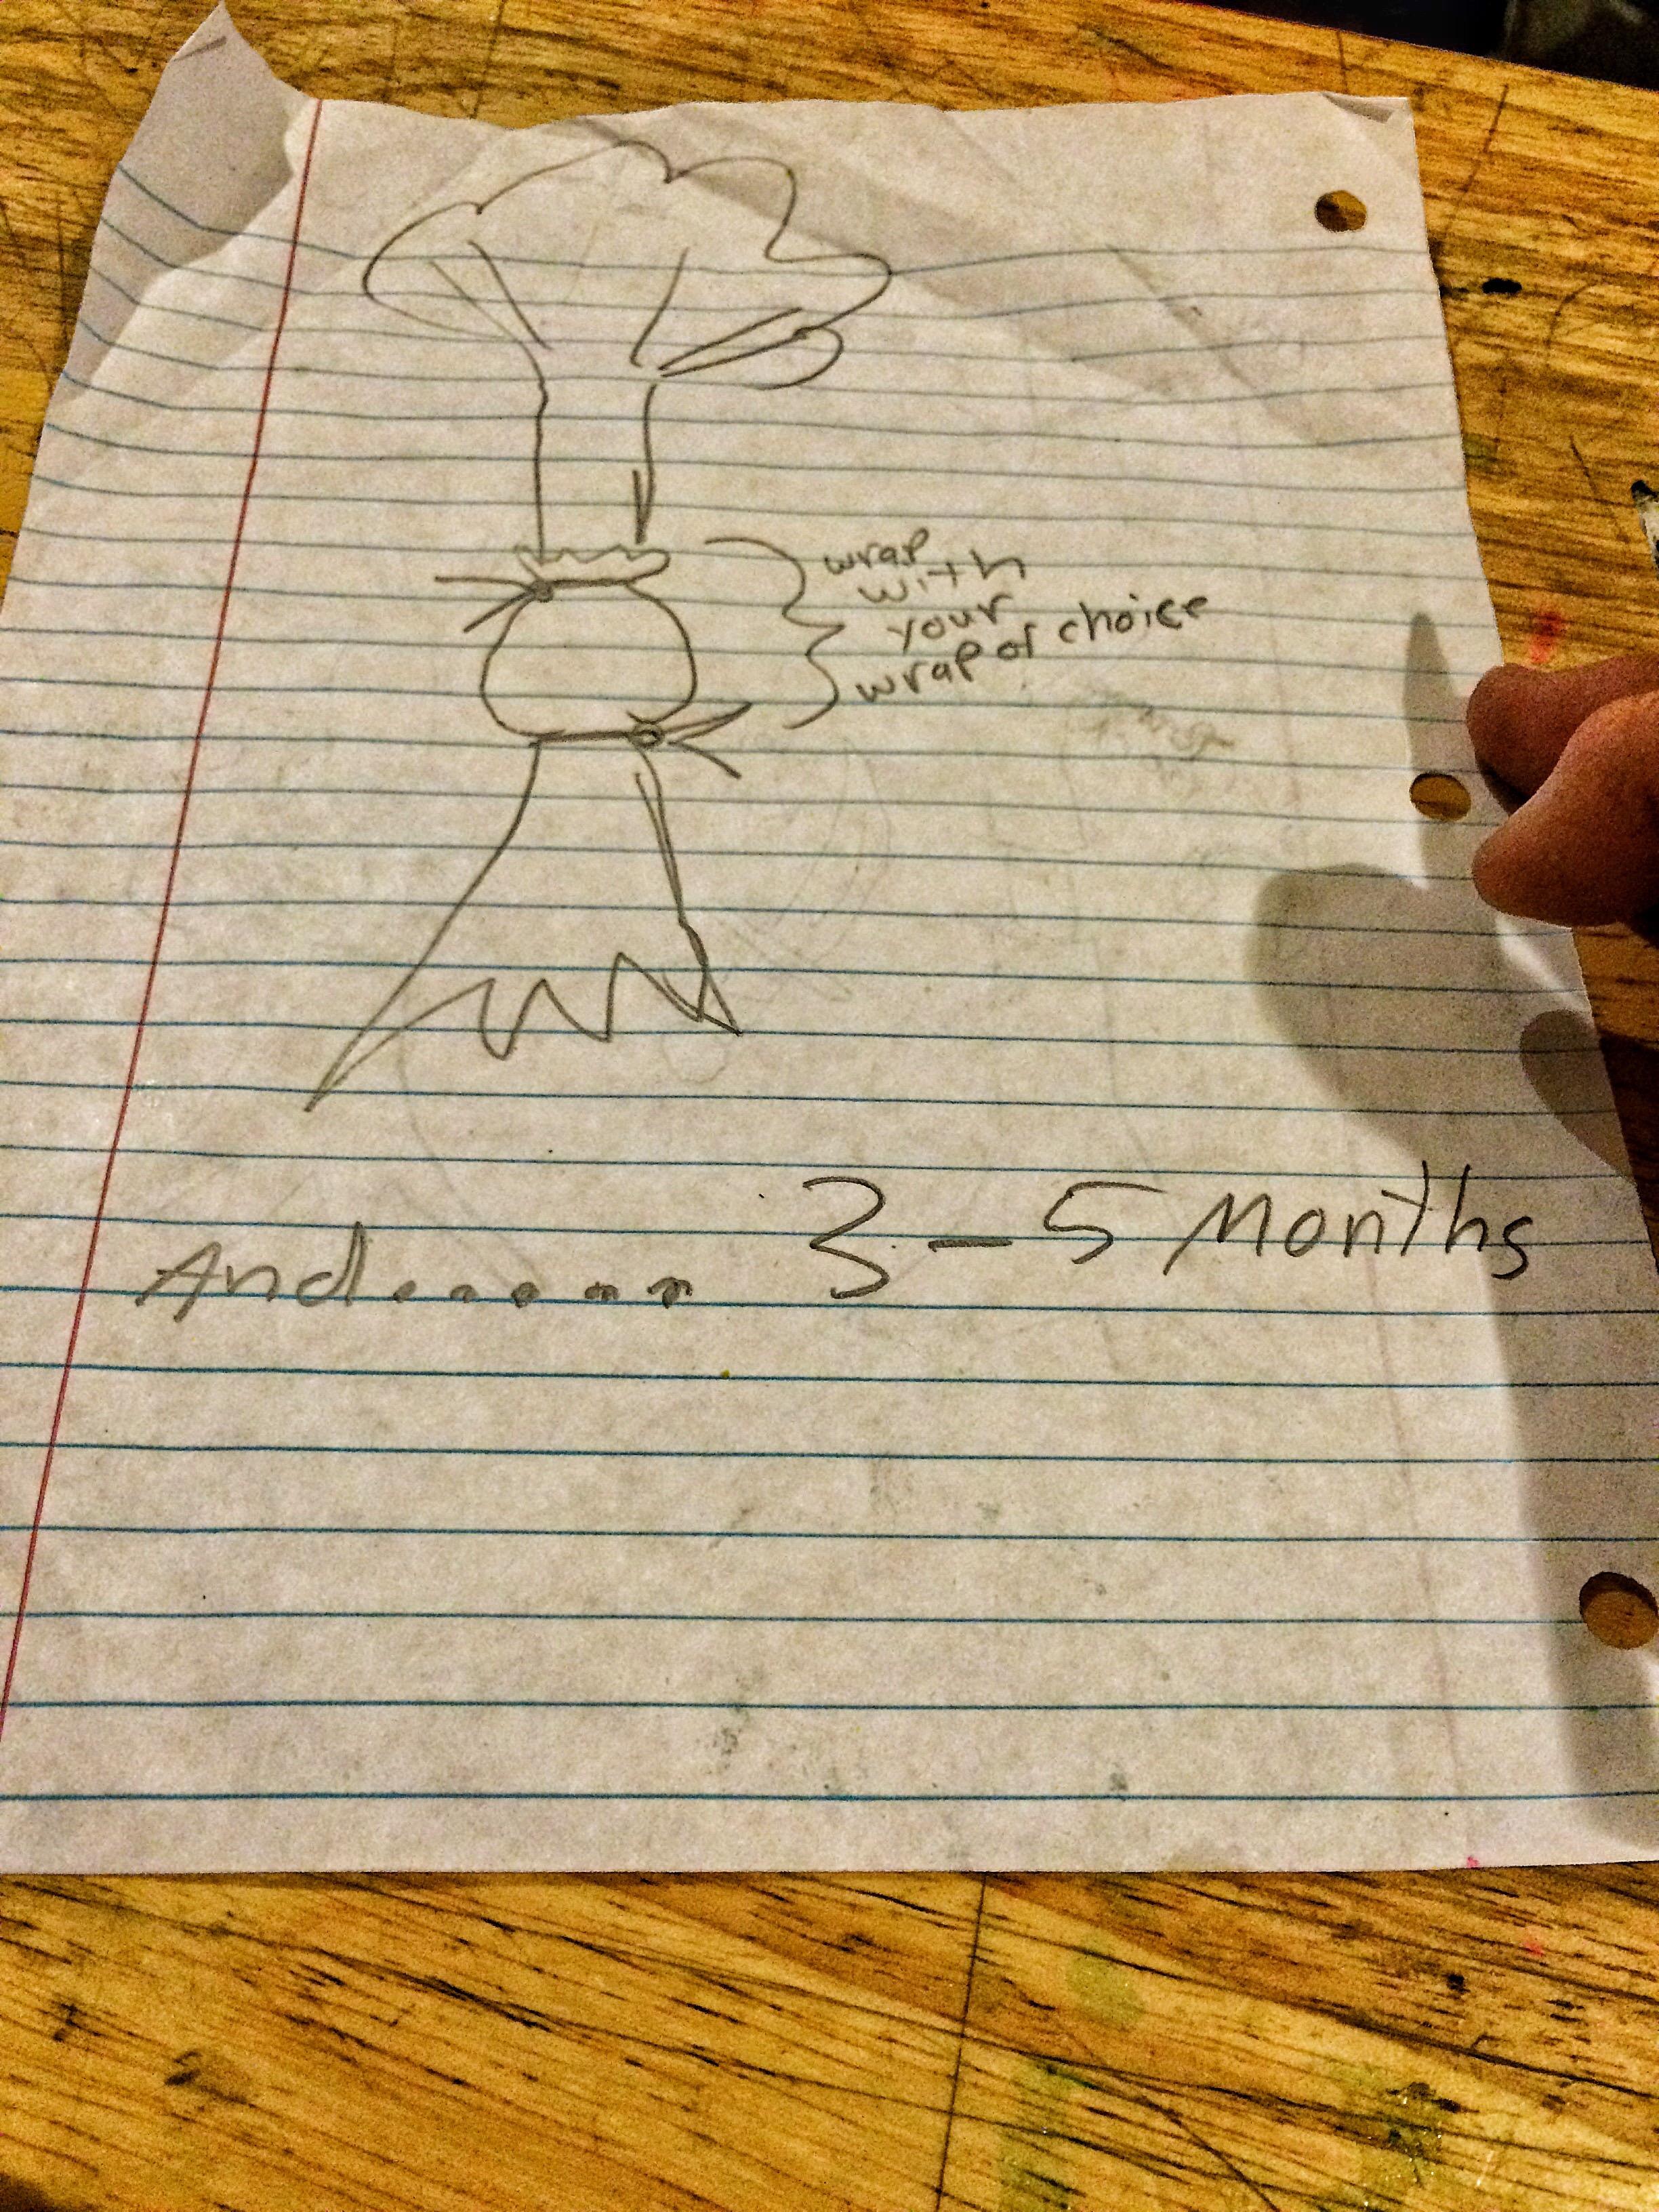
We find ourselves with a tree:
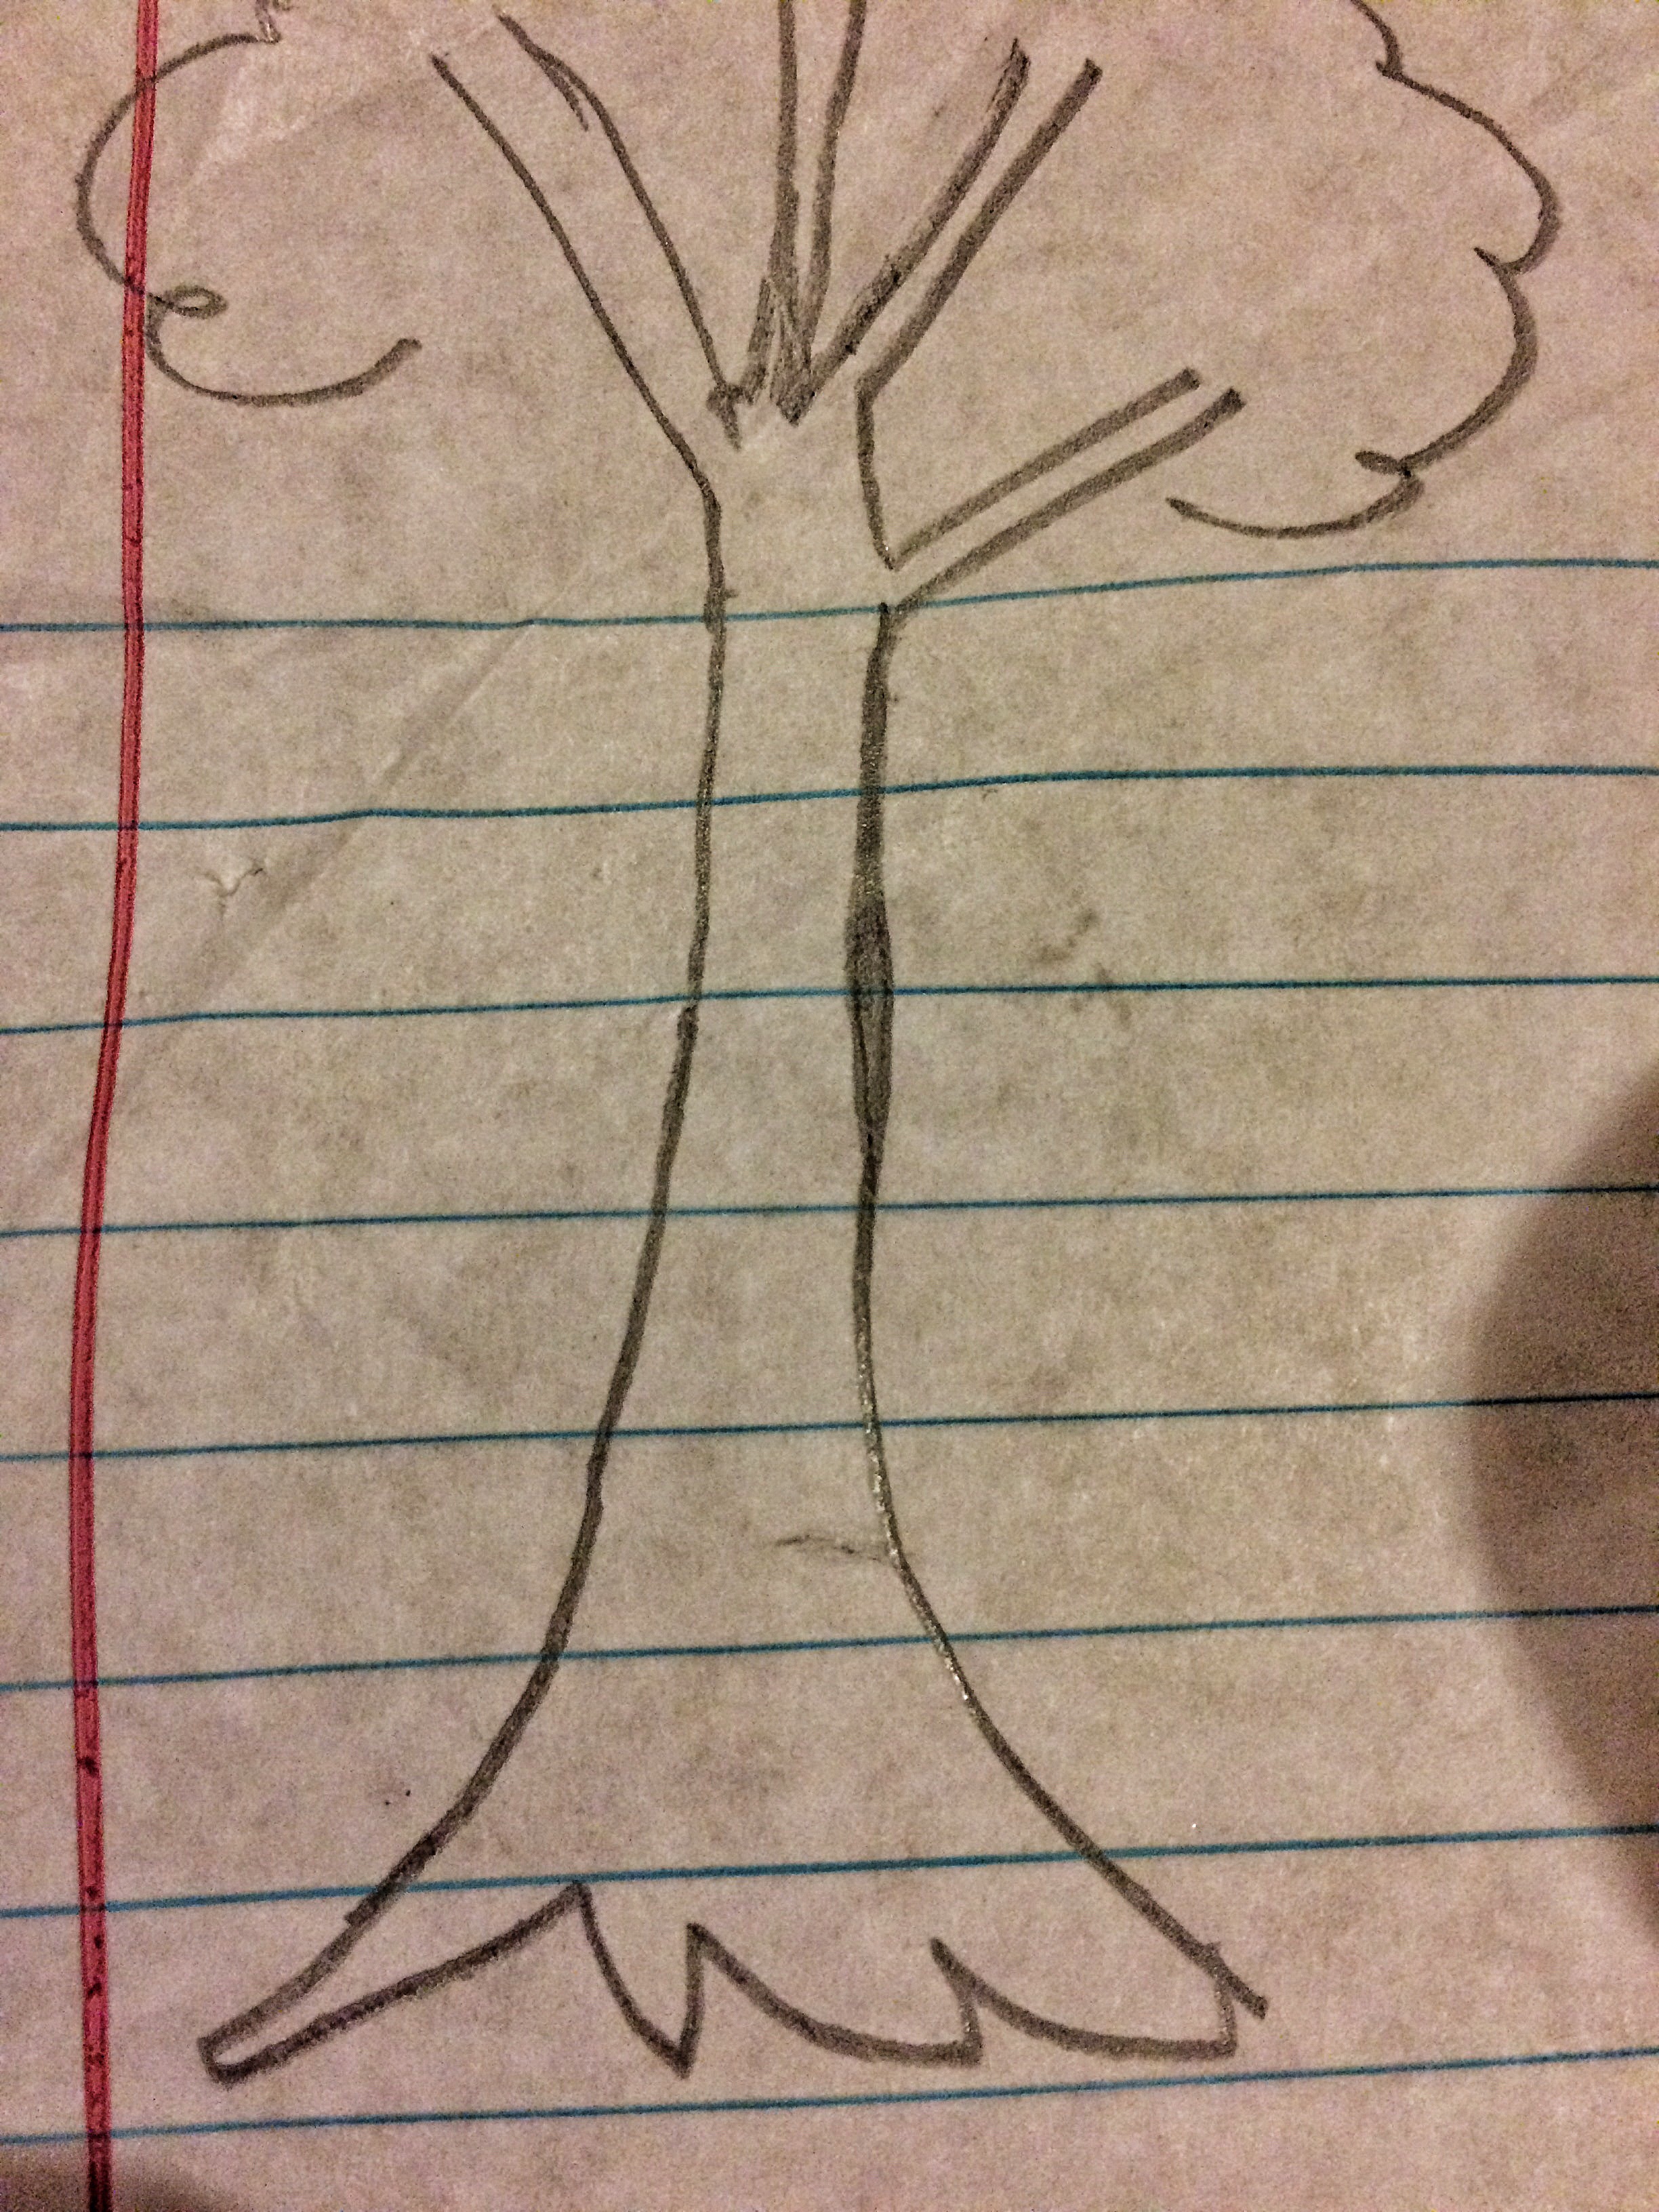
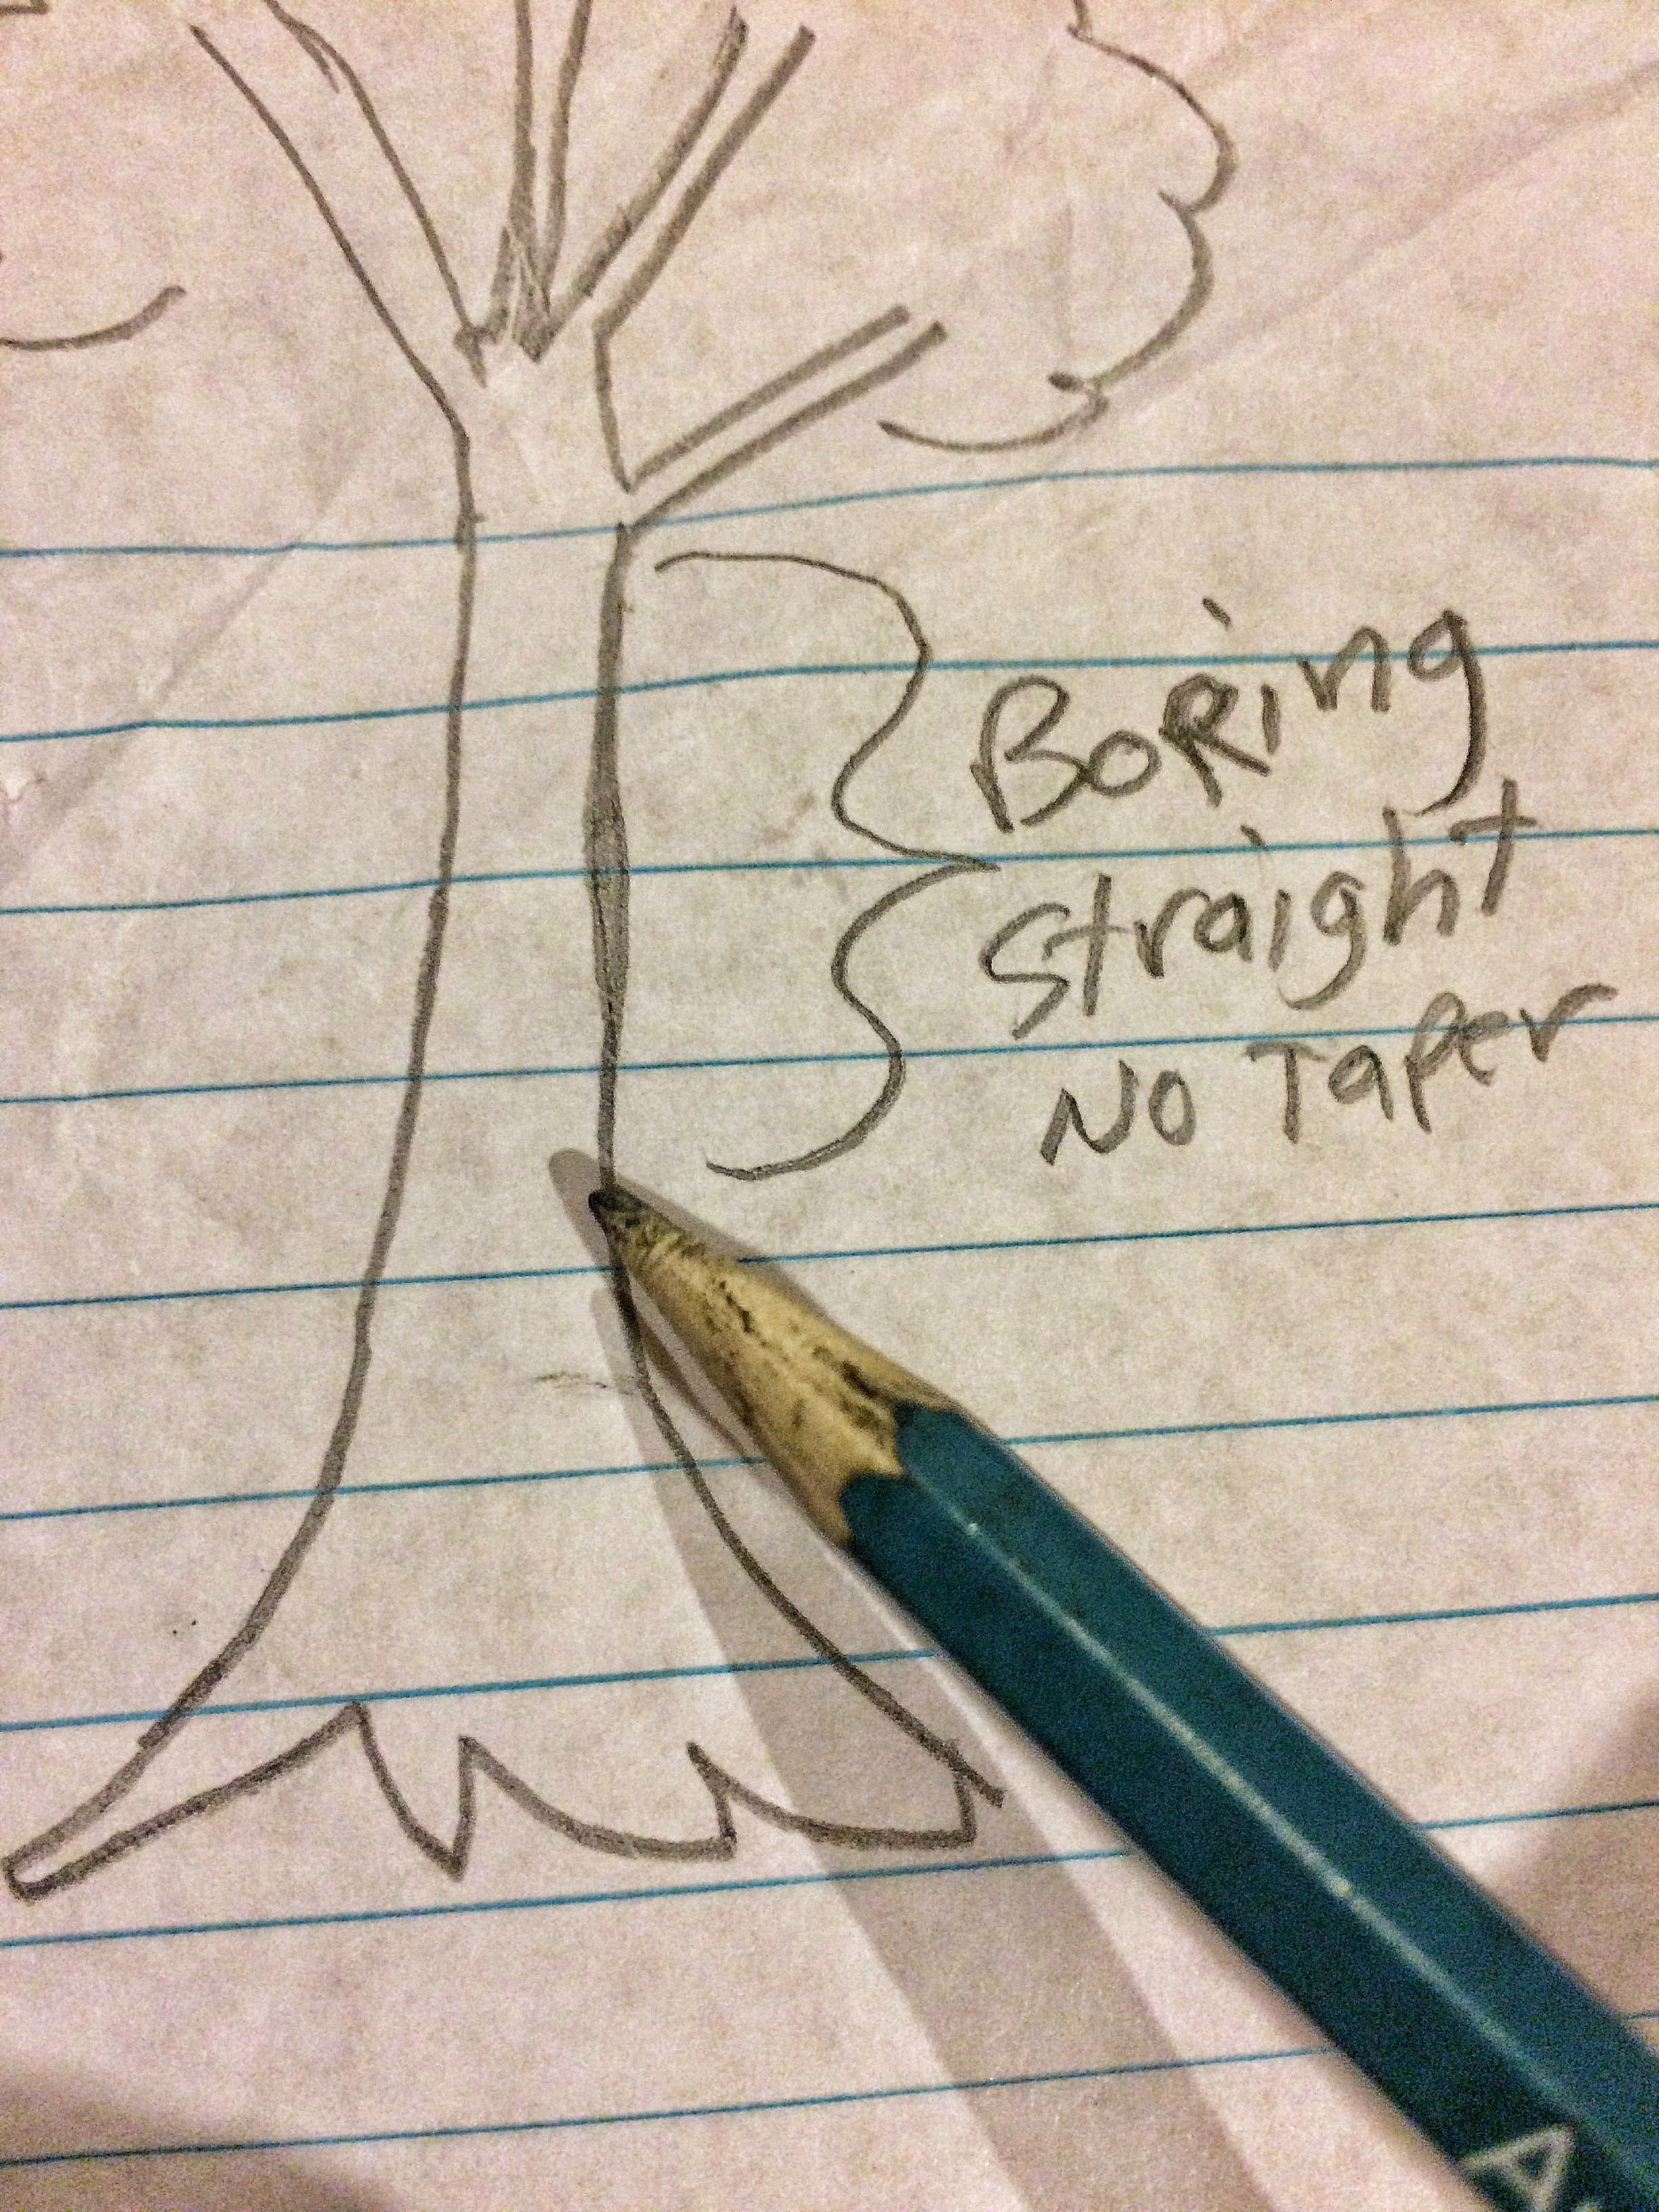
What is one to do?
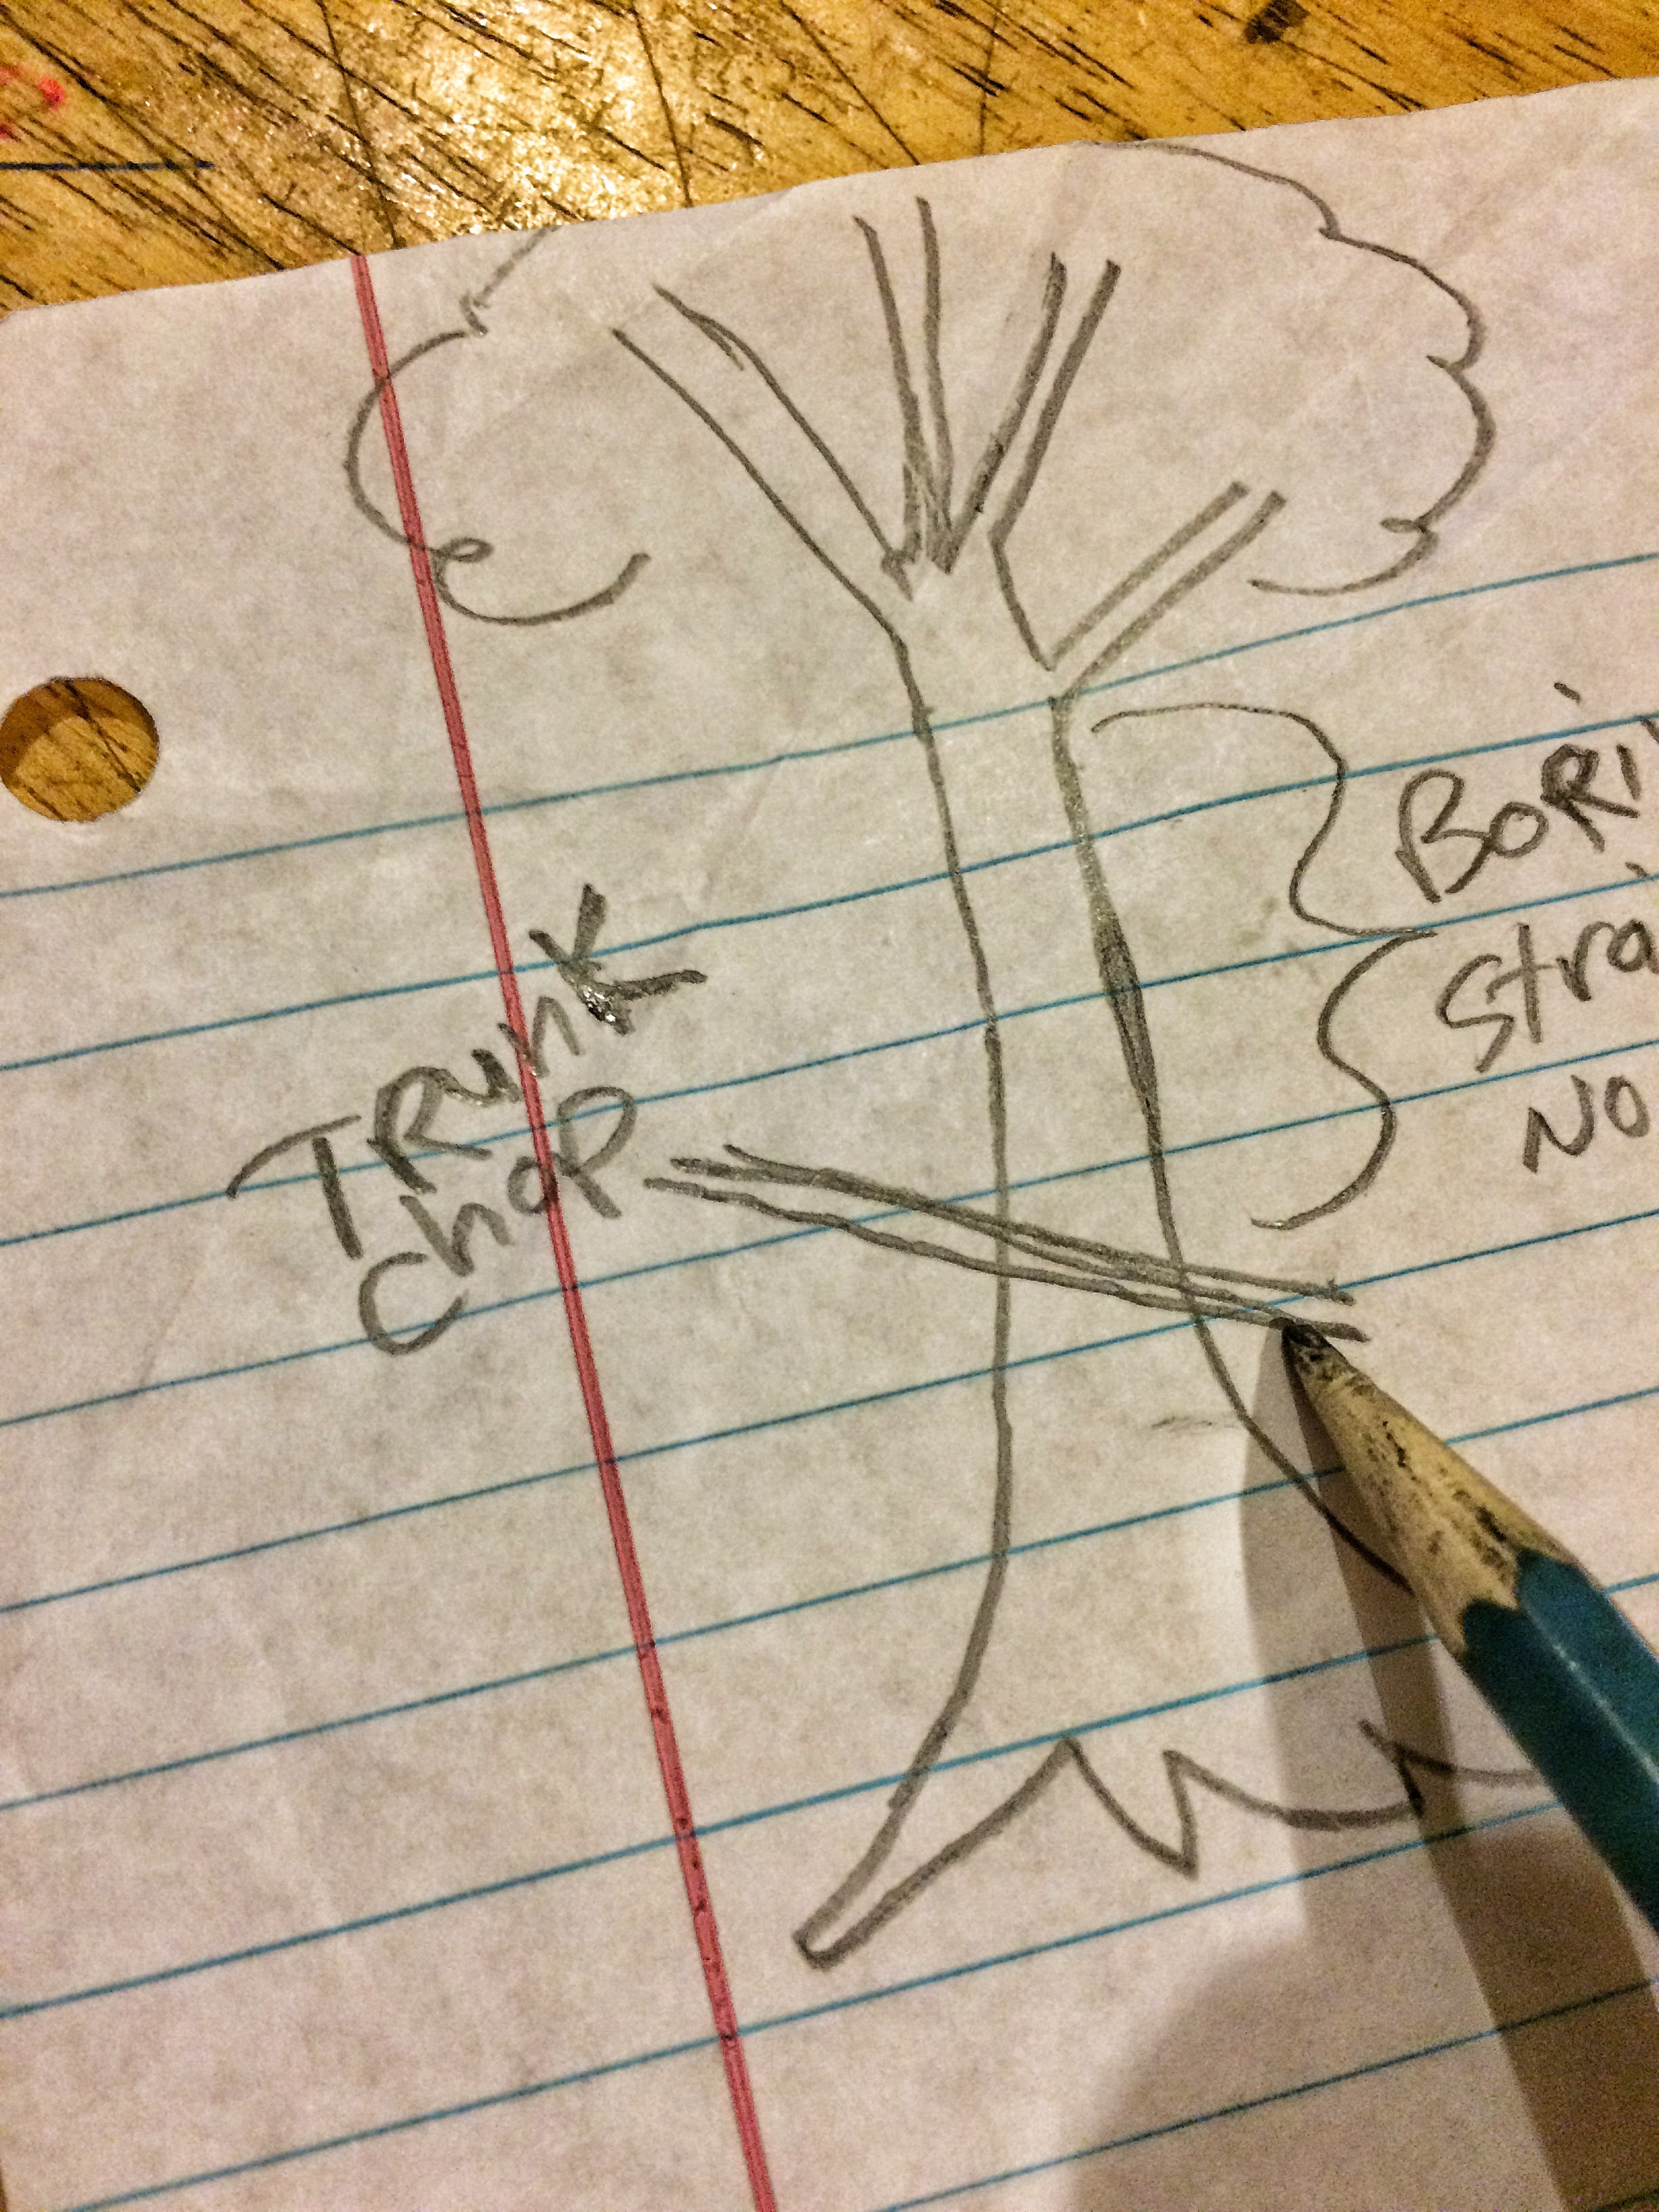 A trunk chop is an idea….but….
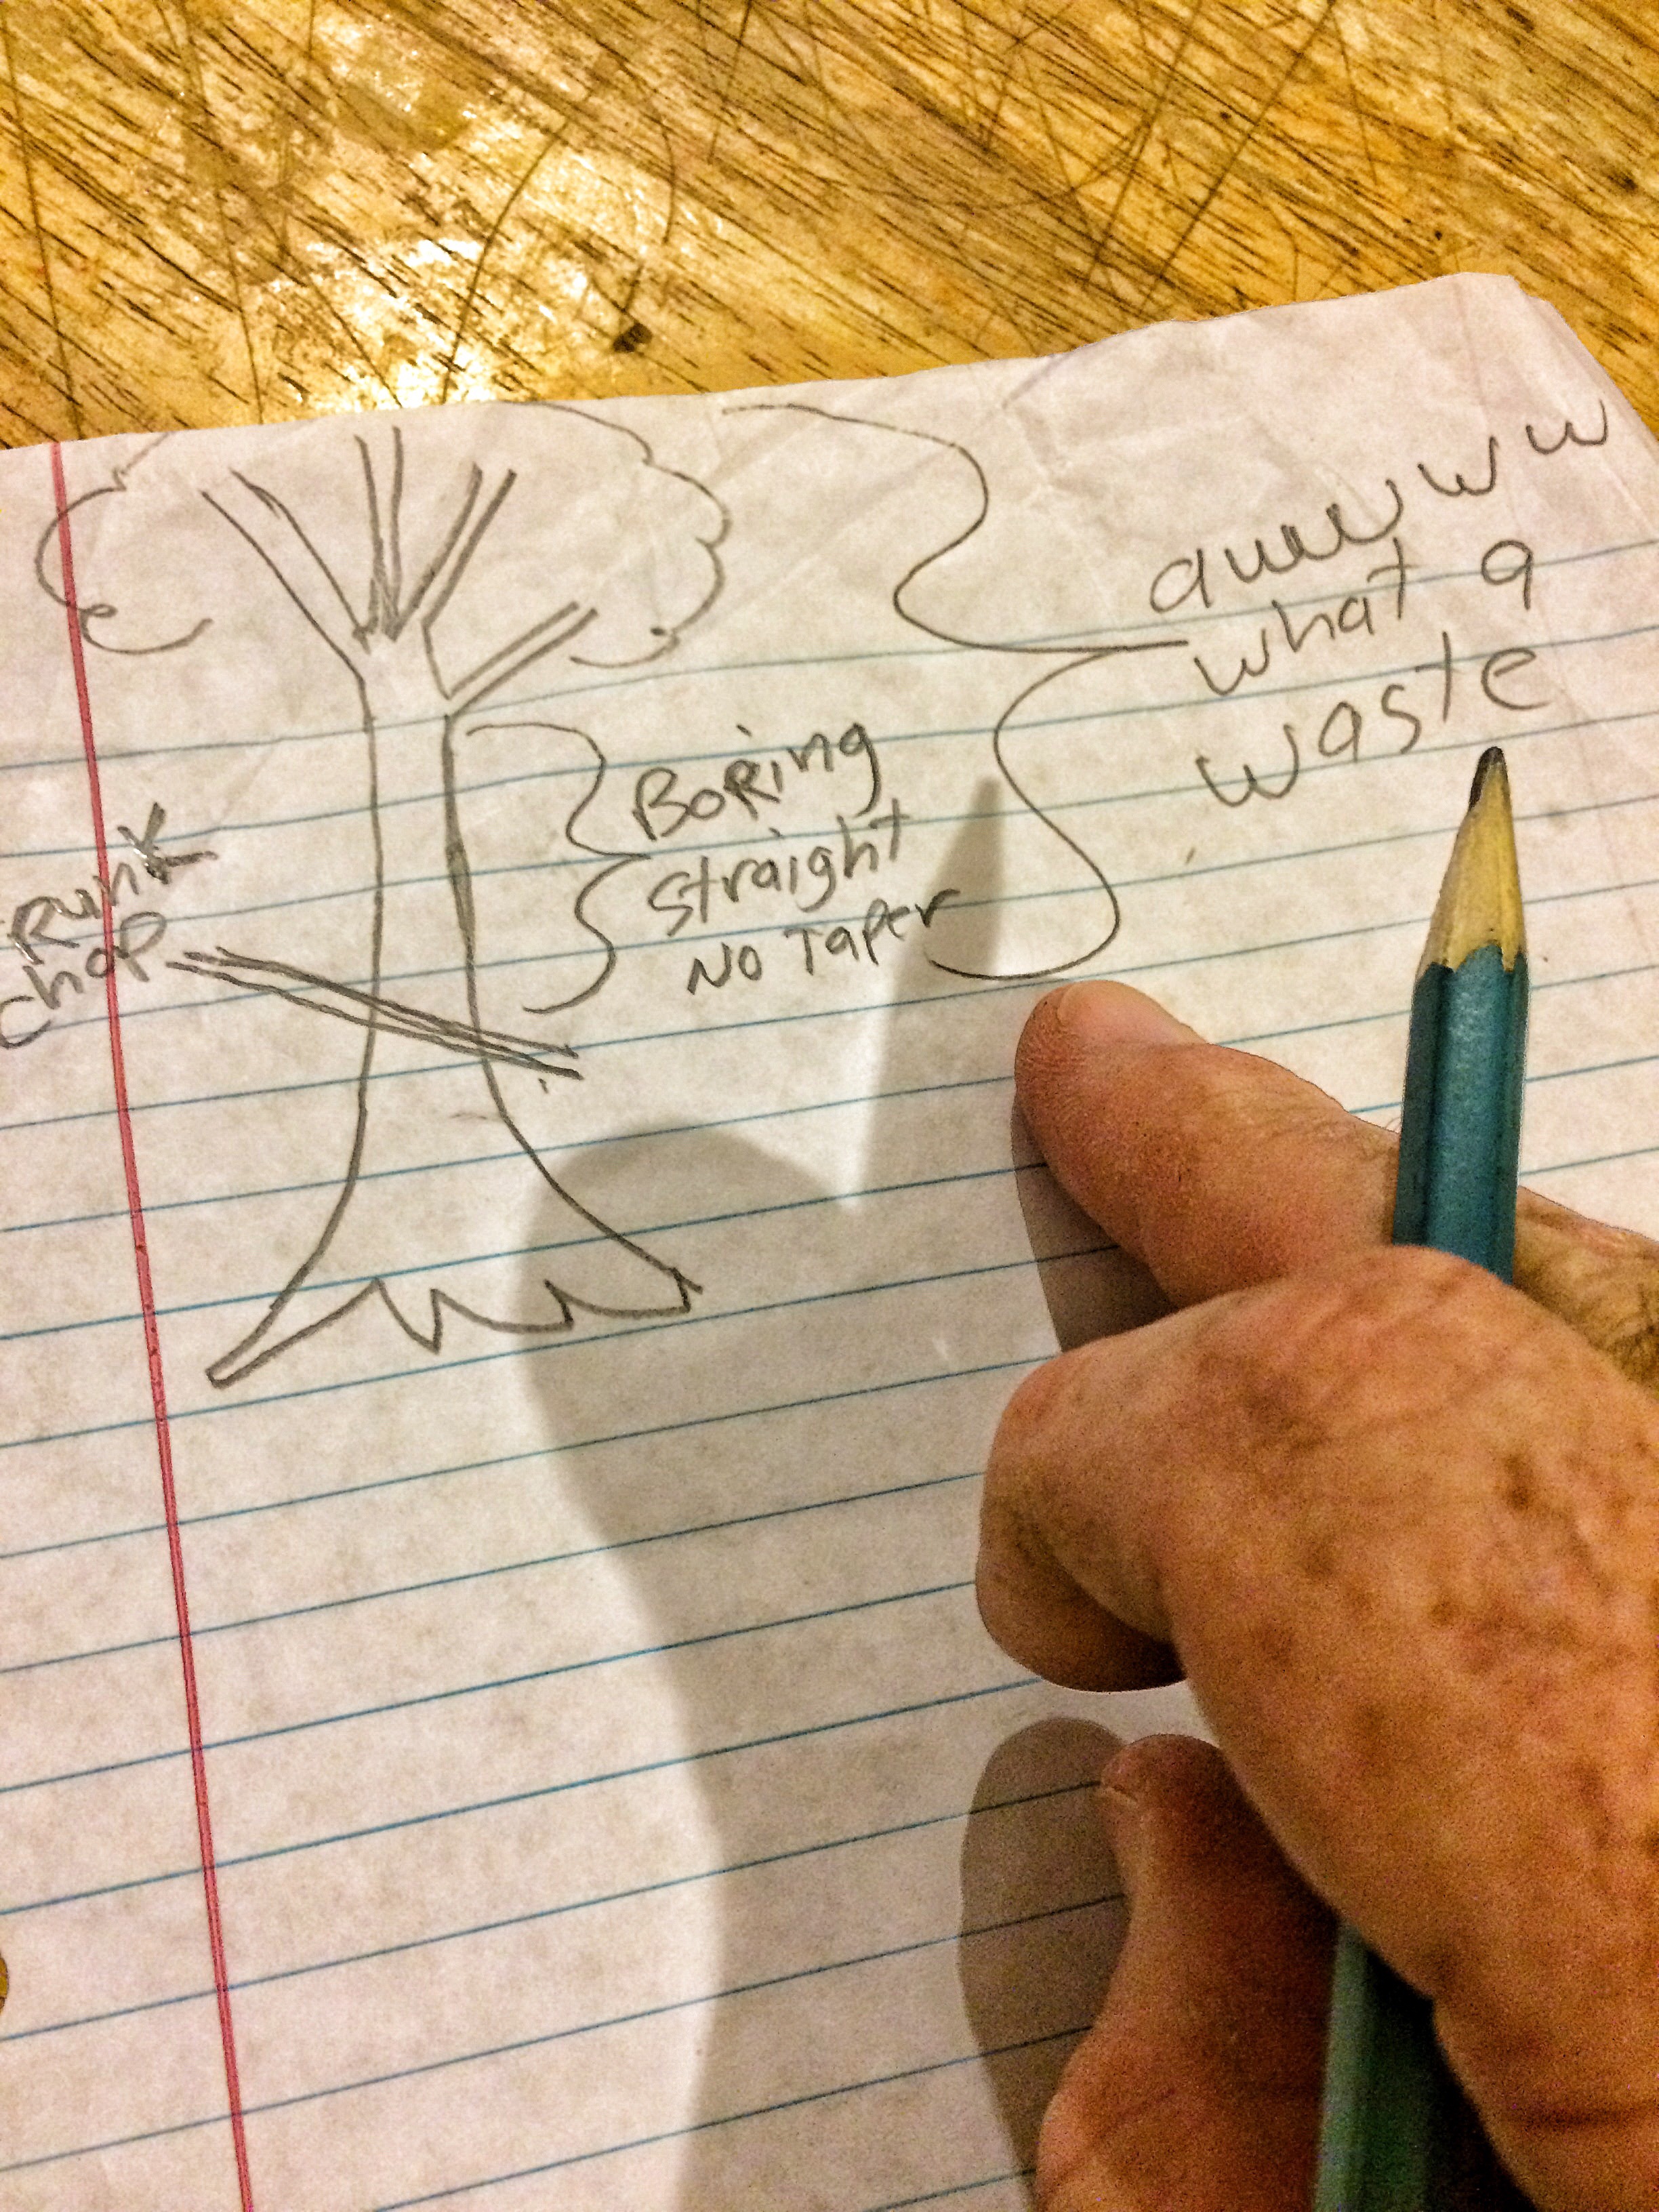
I know! An air layer! Basically, someone, a long time ago, observed that branches on some trees, when they touched the ground, would throw out roots. This began the golden age of “ground layering” or staking branches of desirable plants (mostly grape vines because, you know, wine) and propagating both the plant and more people (you know, because of the wine). And then someone, in a state of englightenment (because of, you know, the wine) said “hey, if we have a branch that we like that’s too high to bend down to the ground, why don’t we bring the ground up into the air! We can call it AIR-layering!” And thus, a horticultural technique is born (because of the wine).
The technique is this.
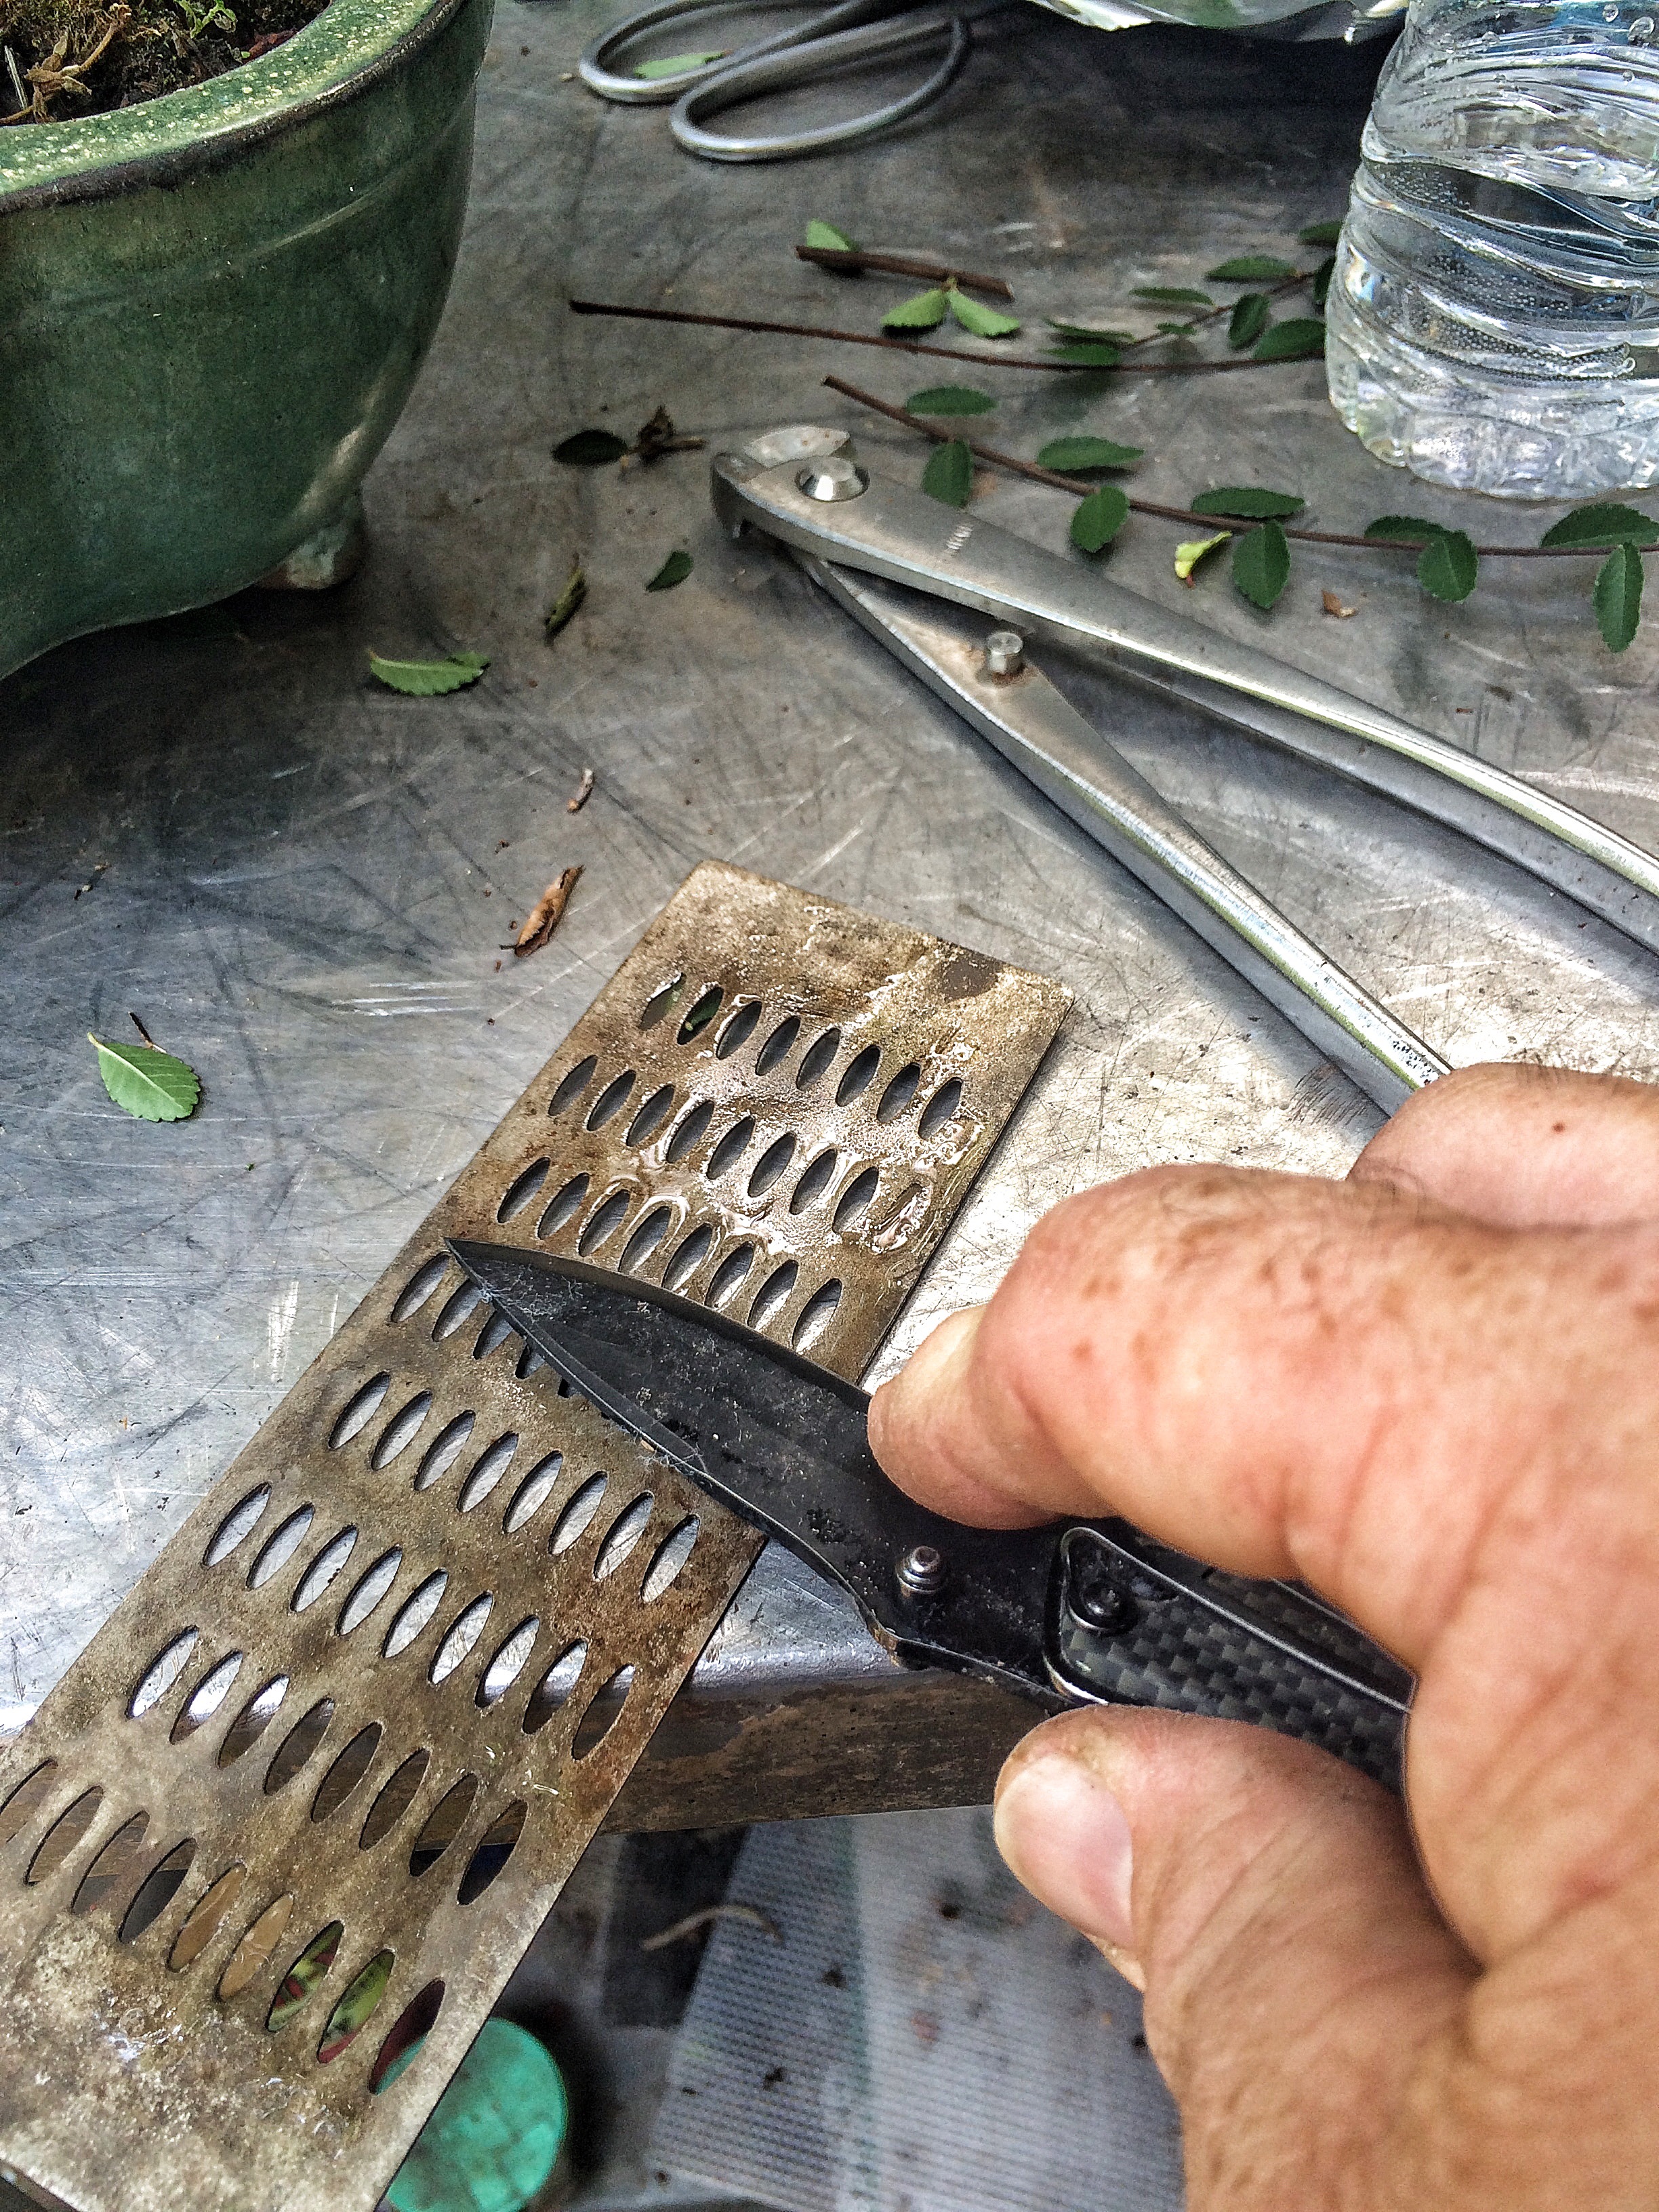
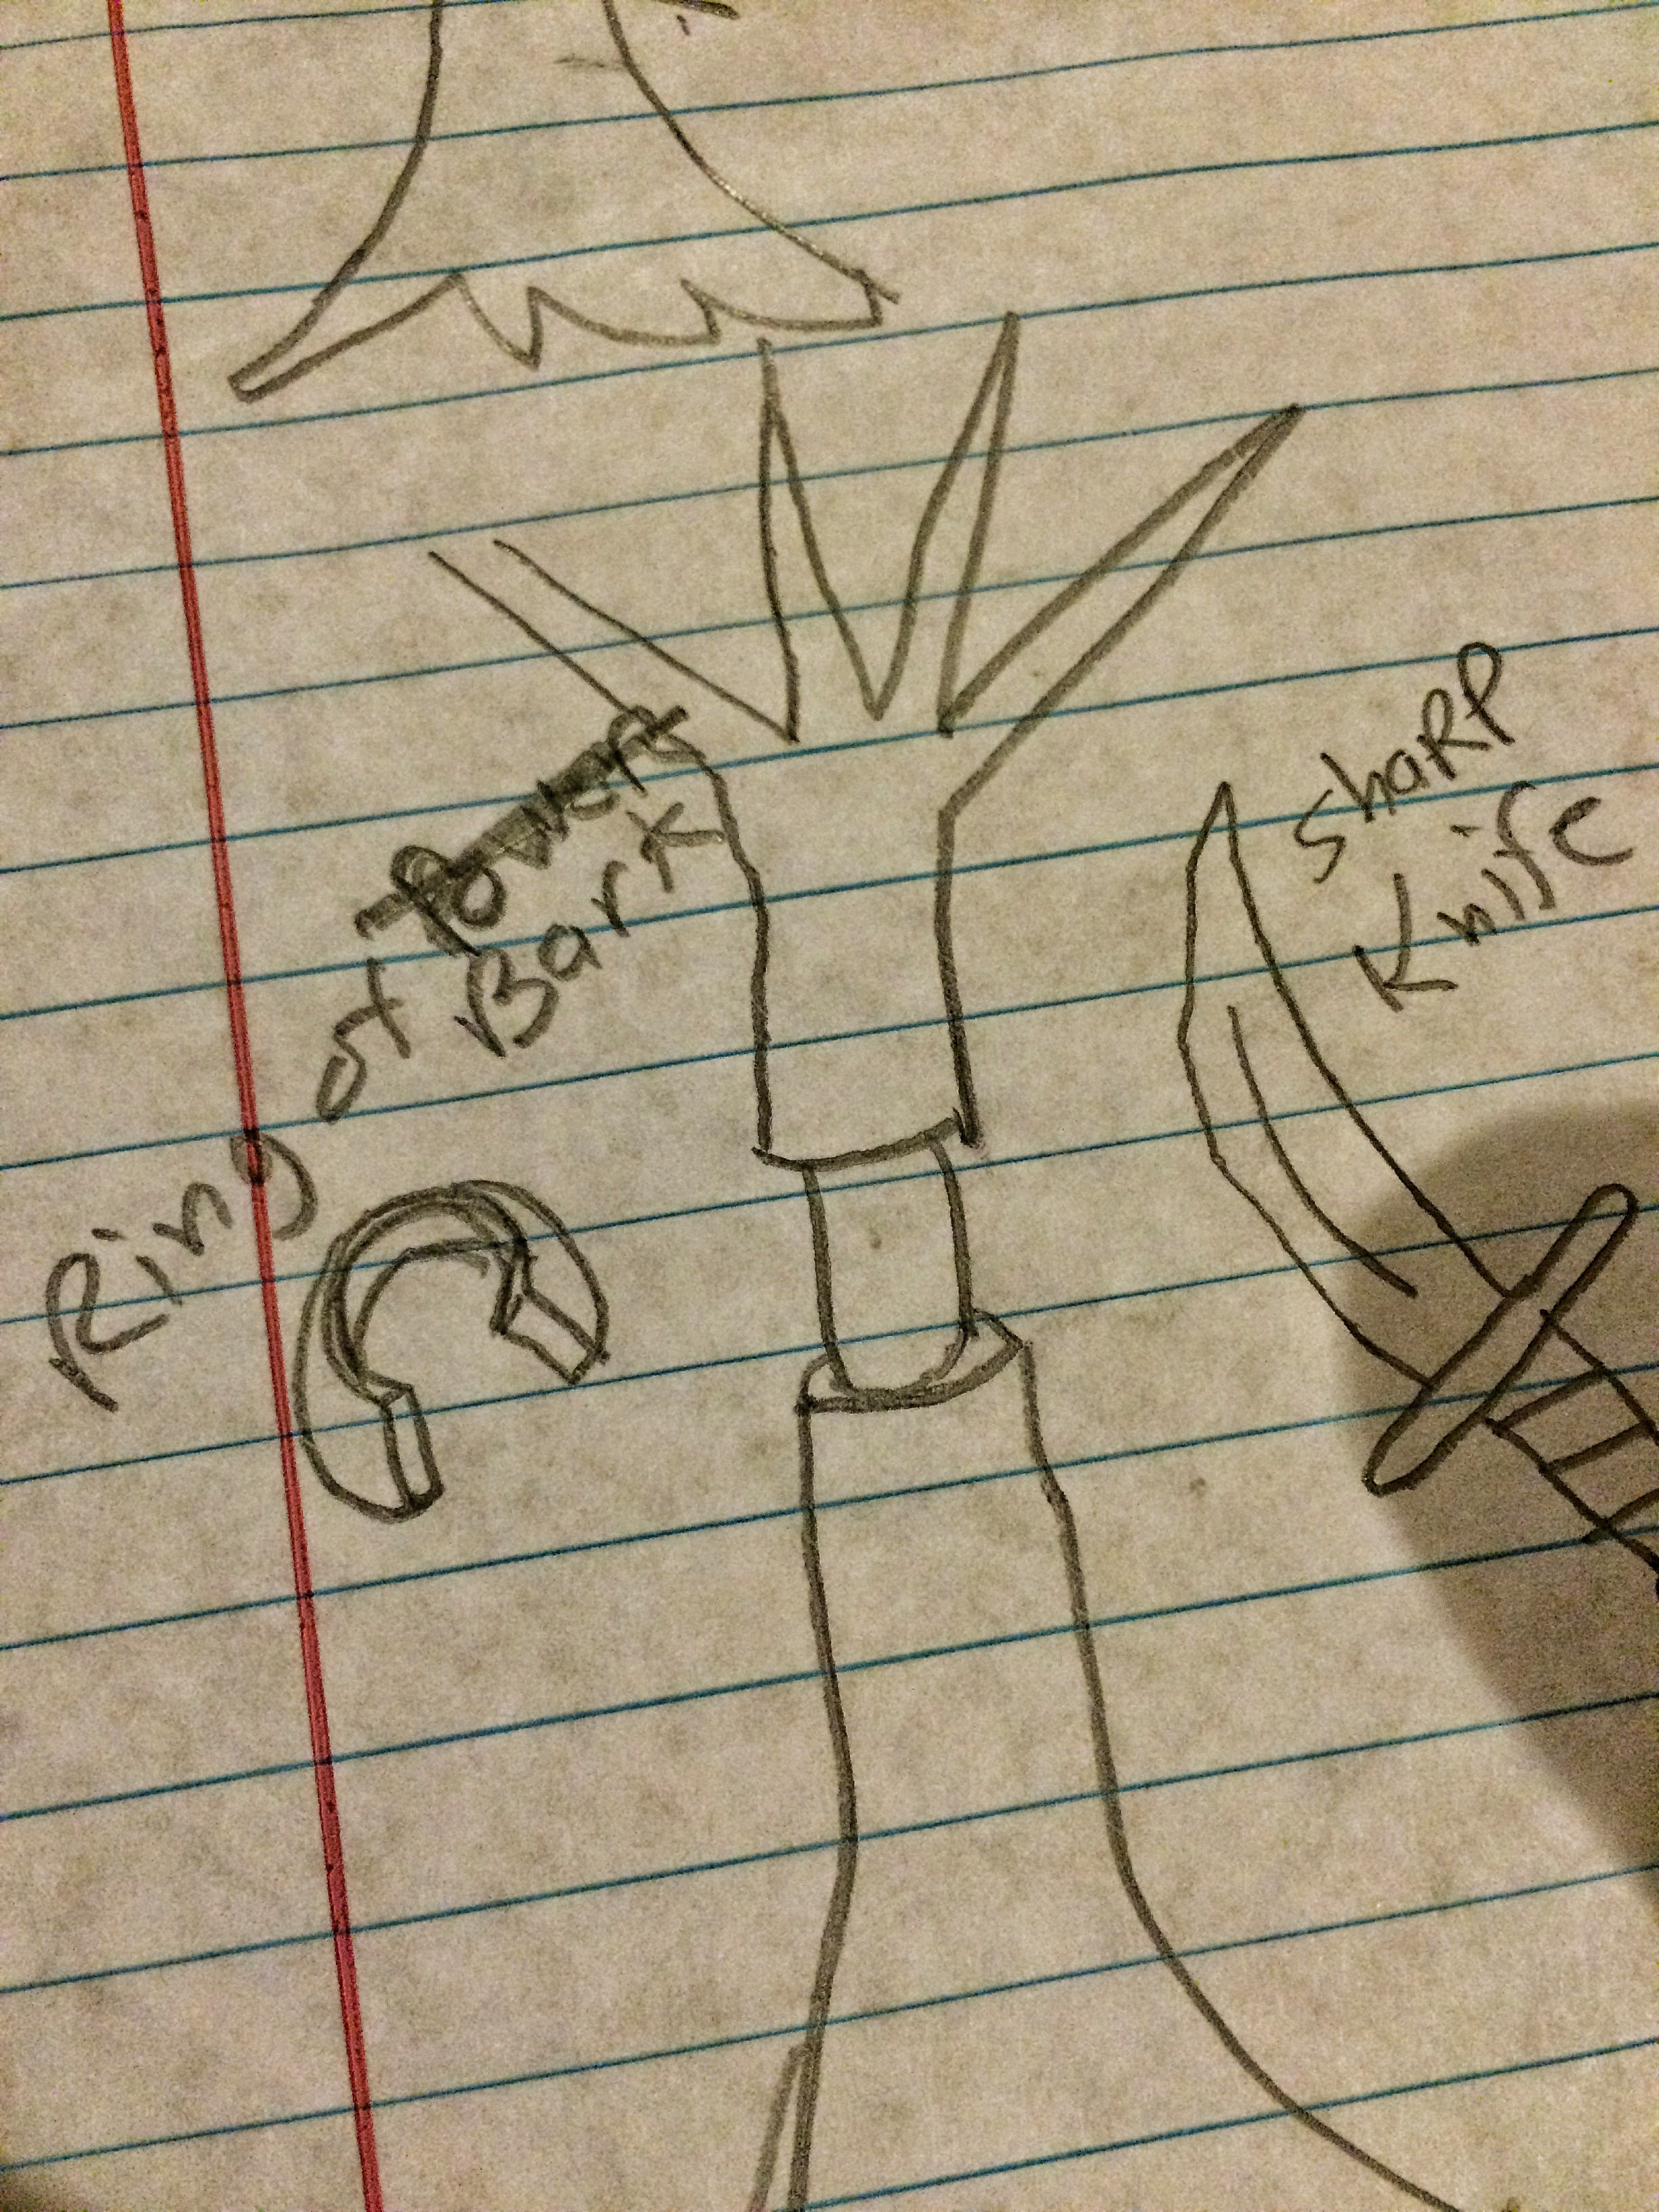 Remove a ring of bark with a sharp knife.
Either apply rooting hormone or not. Your choice.
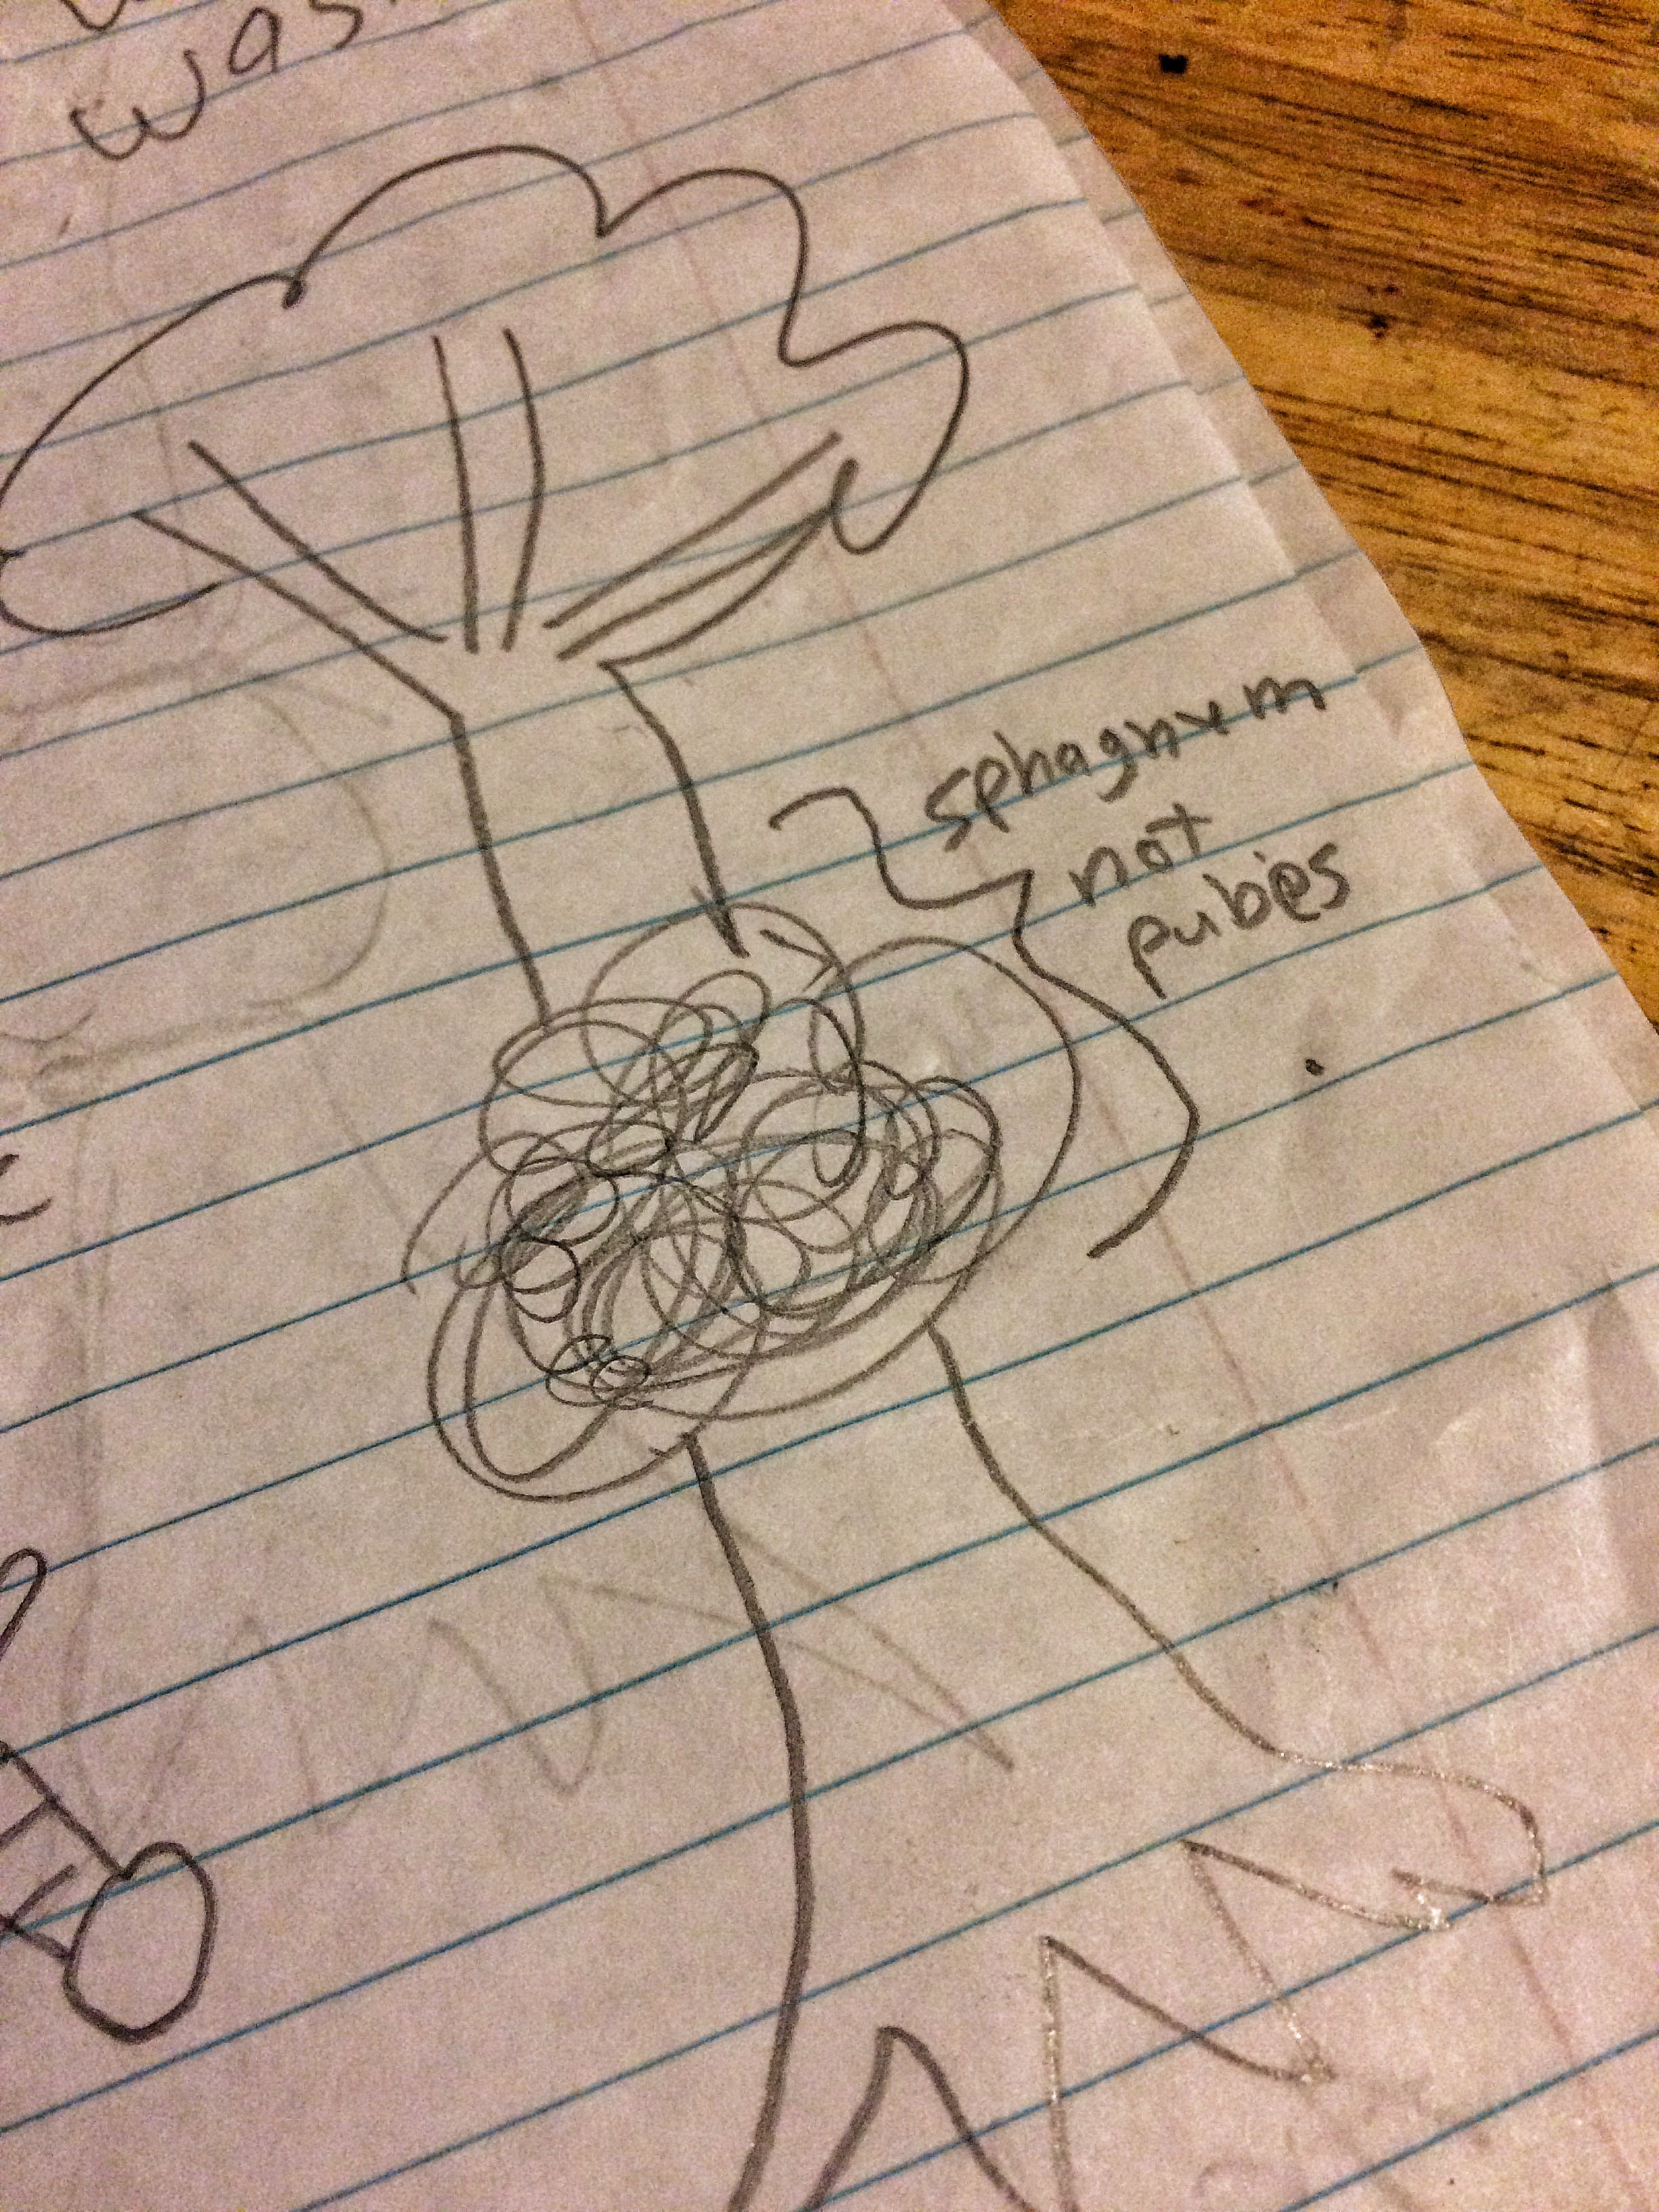
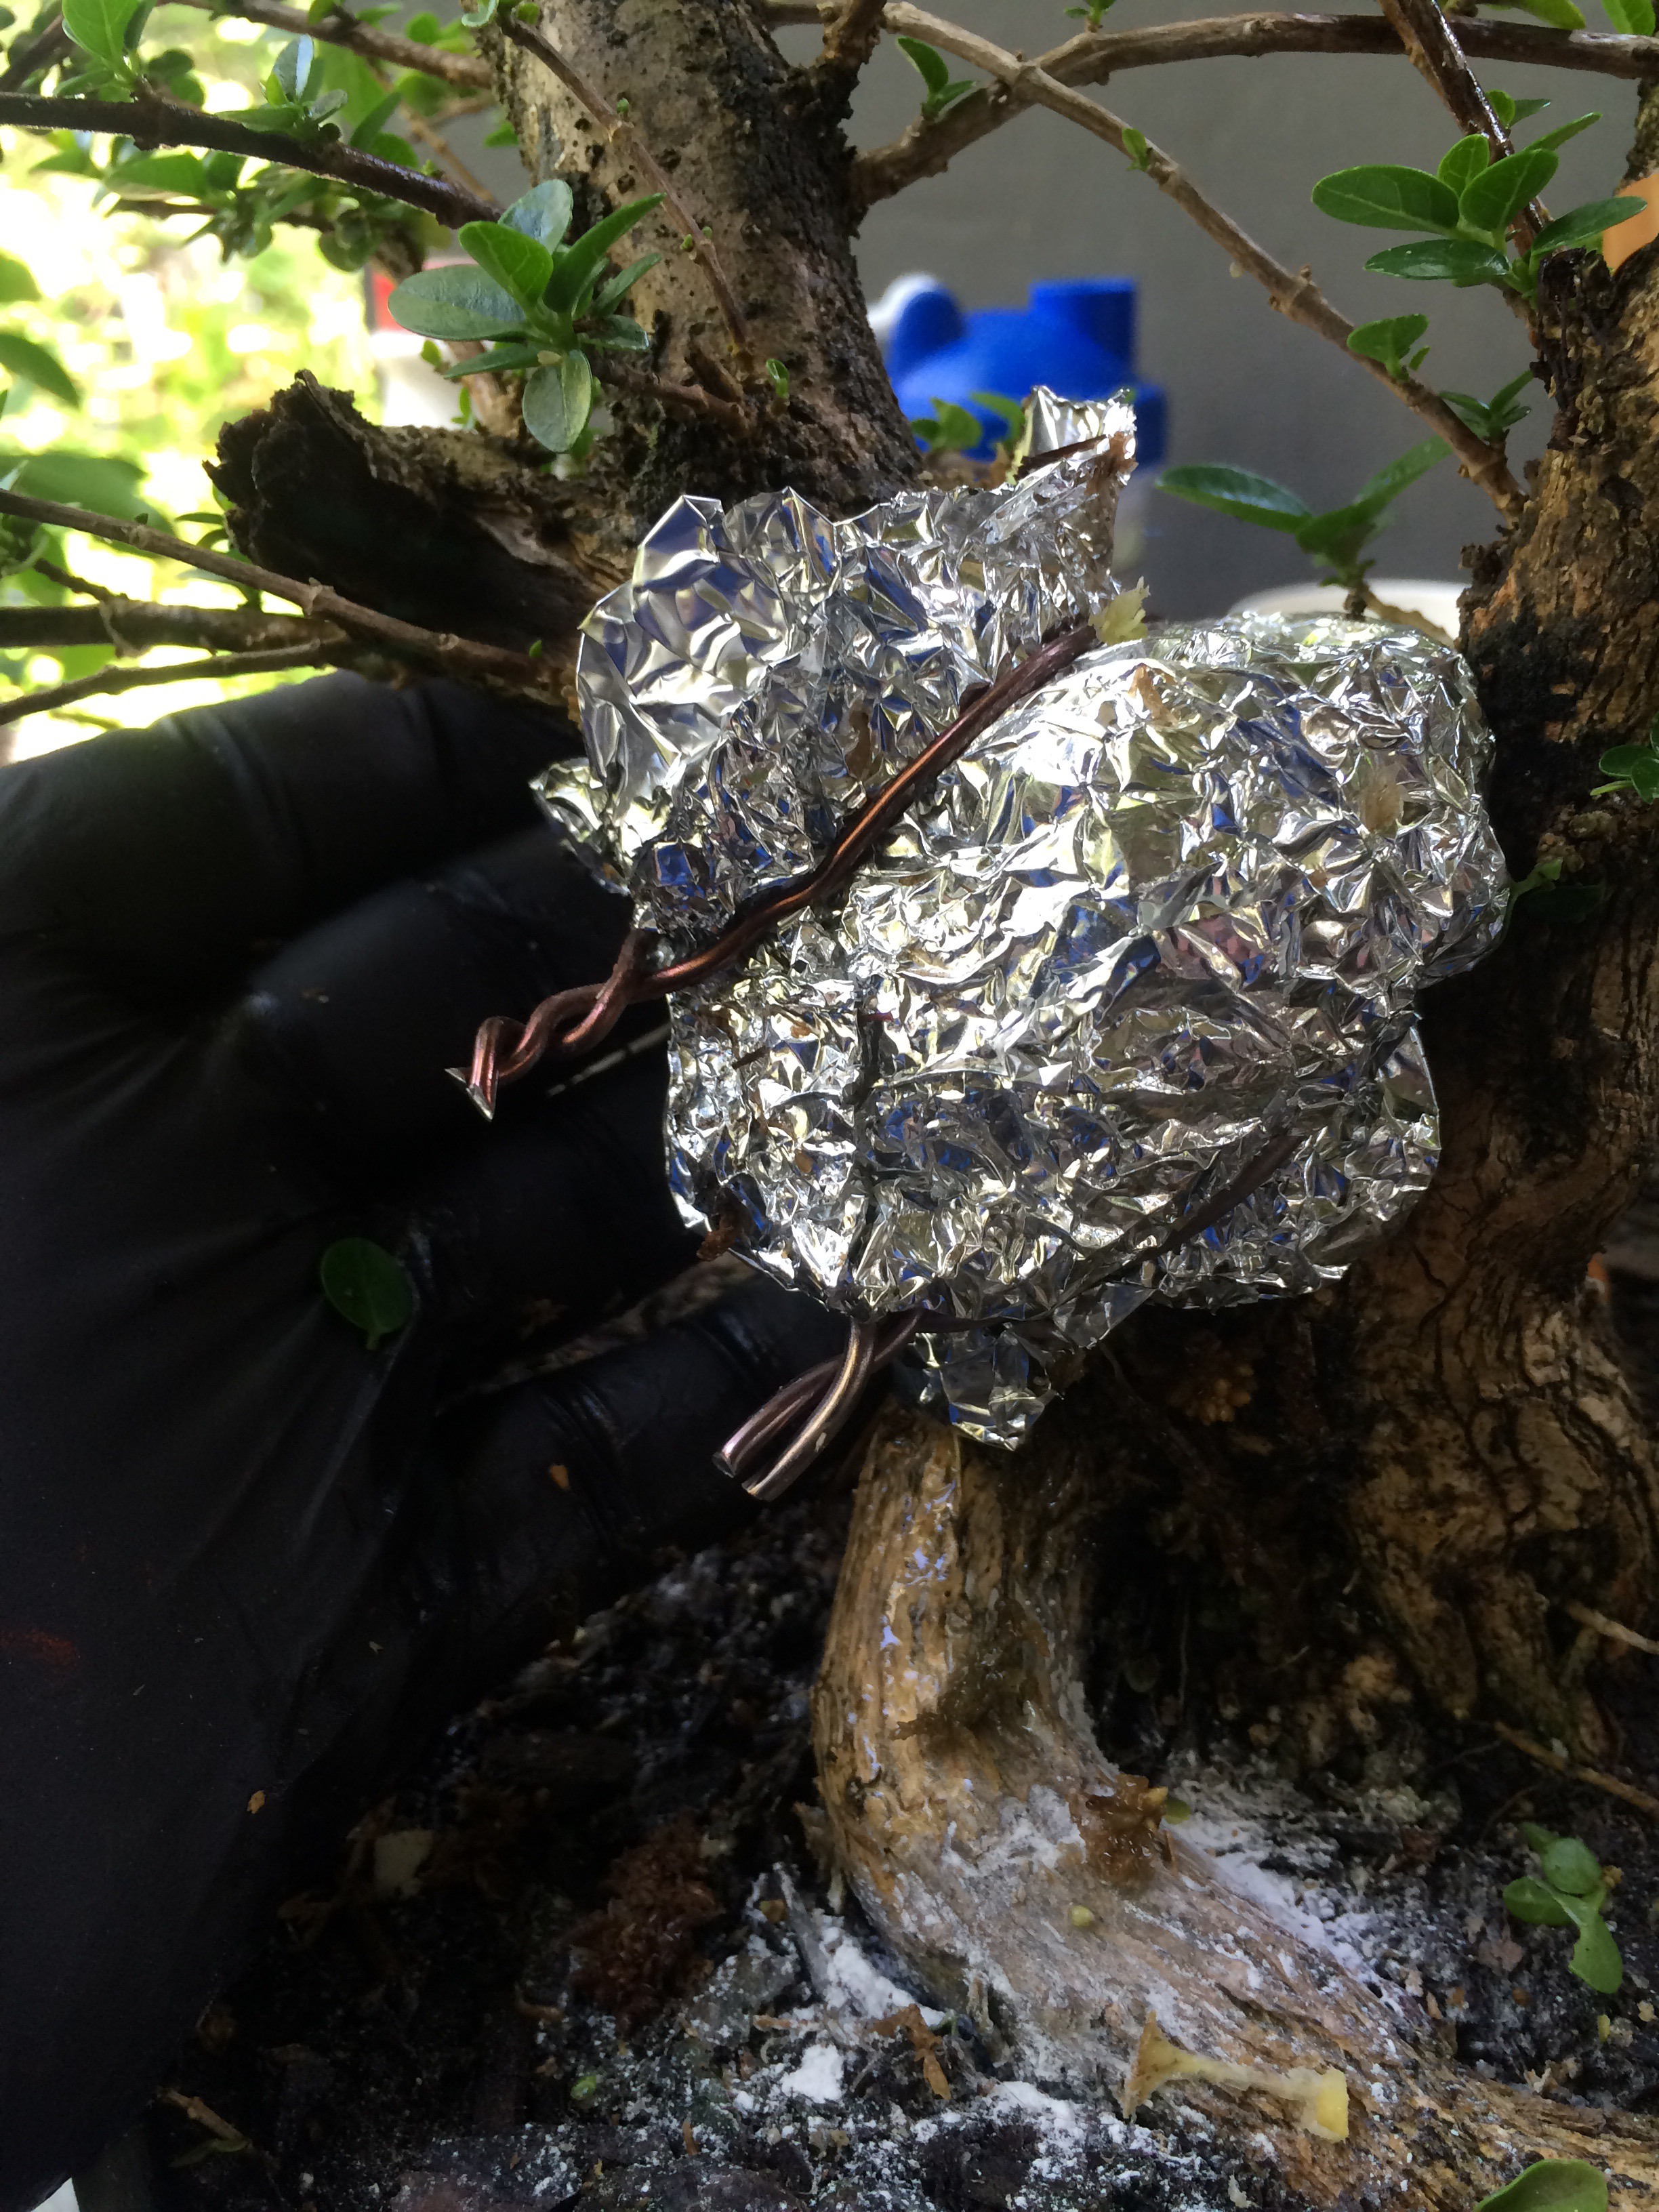
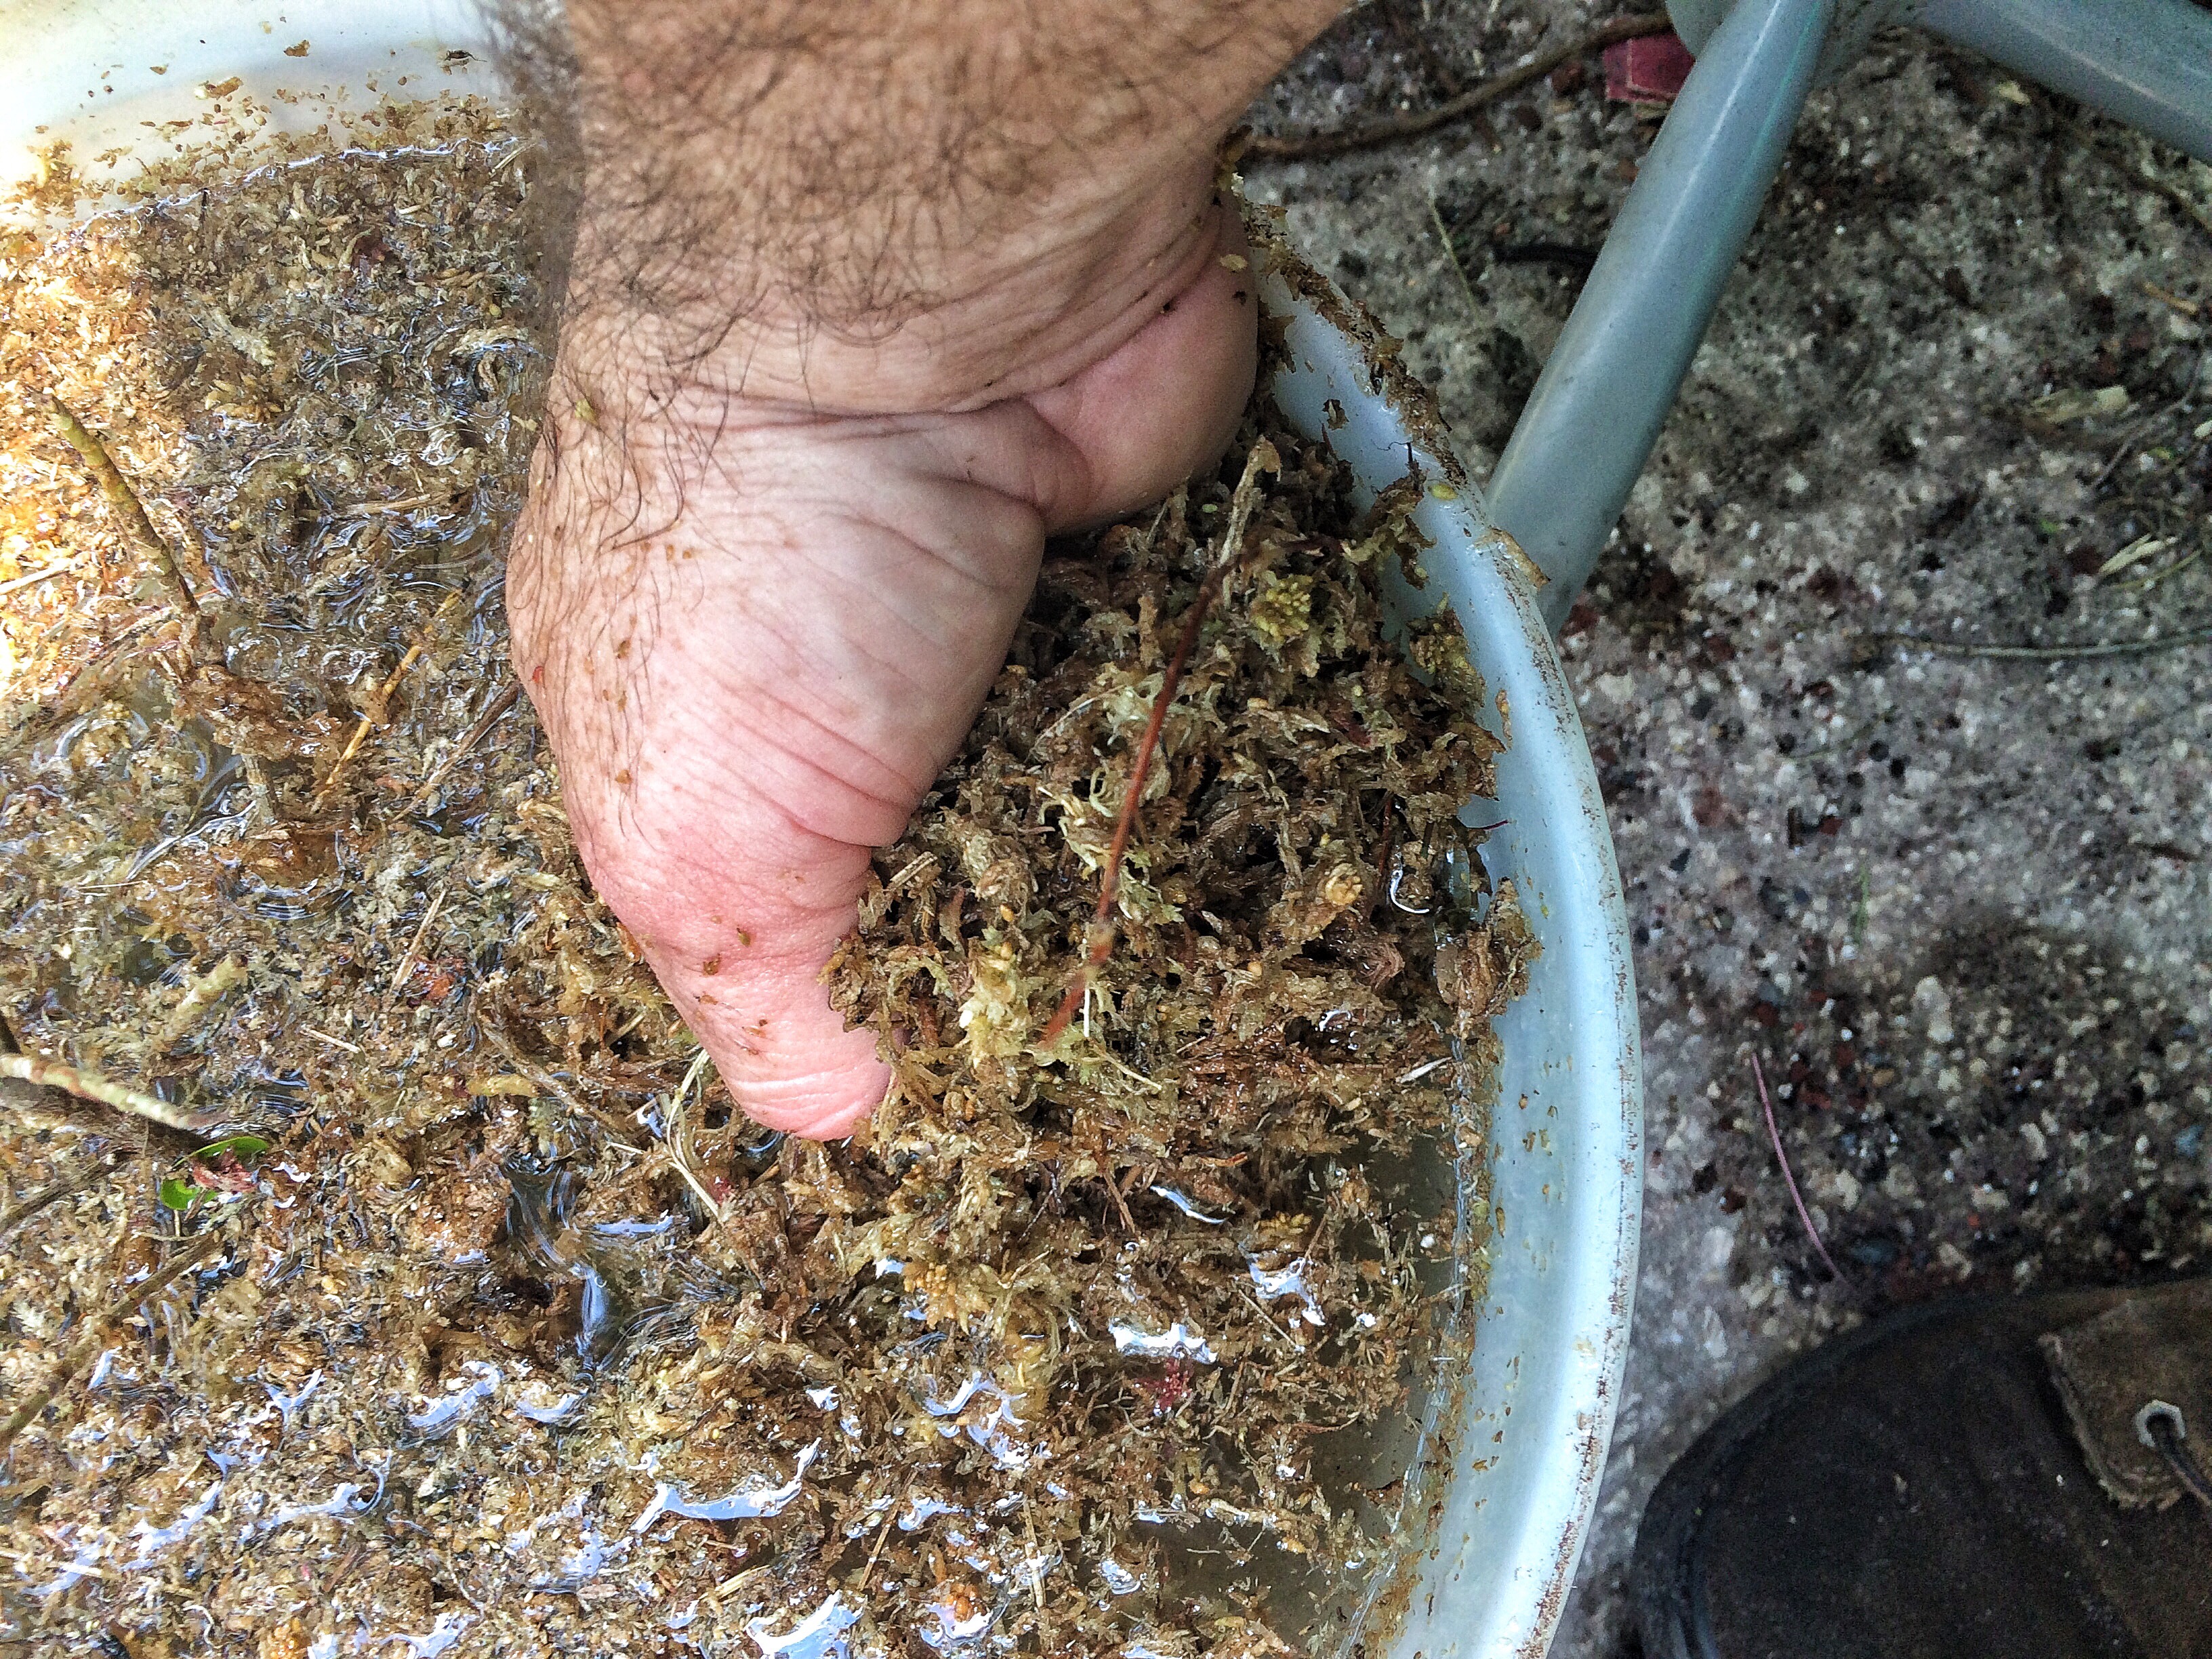
Wrap wet sphagnum moss around the cut. And wrap the sphagnum with something that keeps the moisture in.
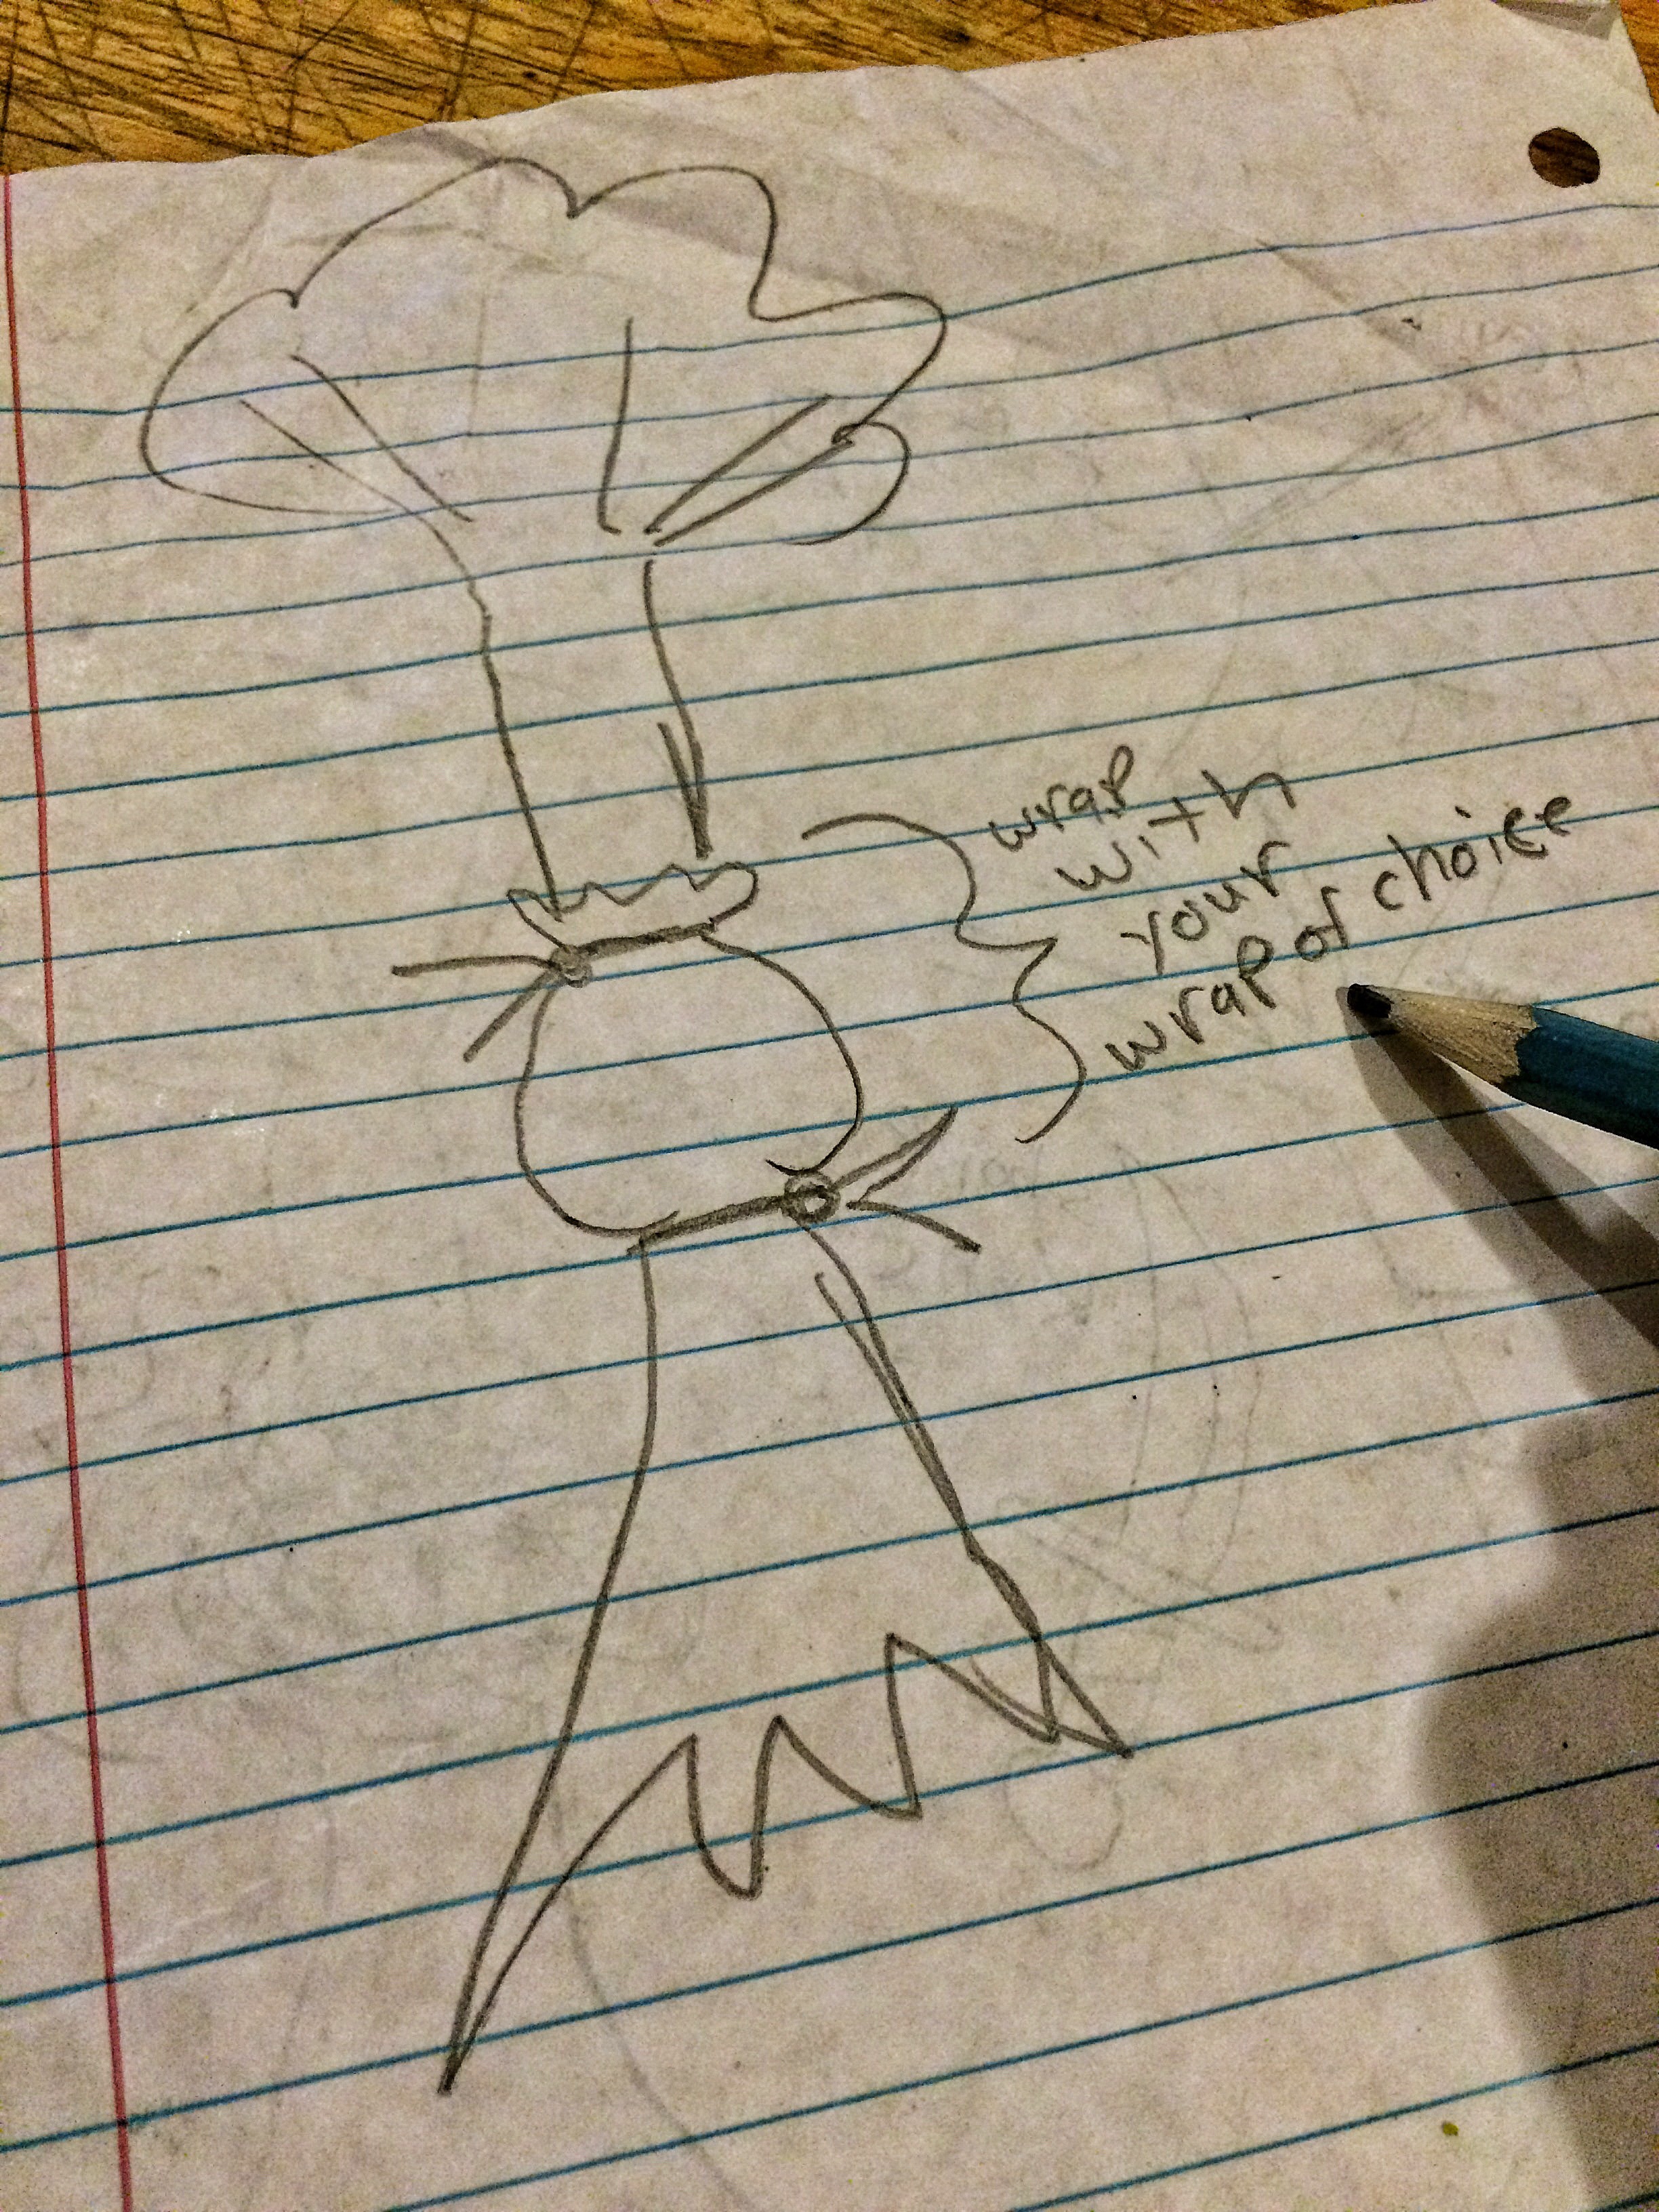 I prefer aluminum foil.
Then we have two plants. Science!
 I’ll drink to that! Back to the tree at hand.
Position the aluminum foil…..
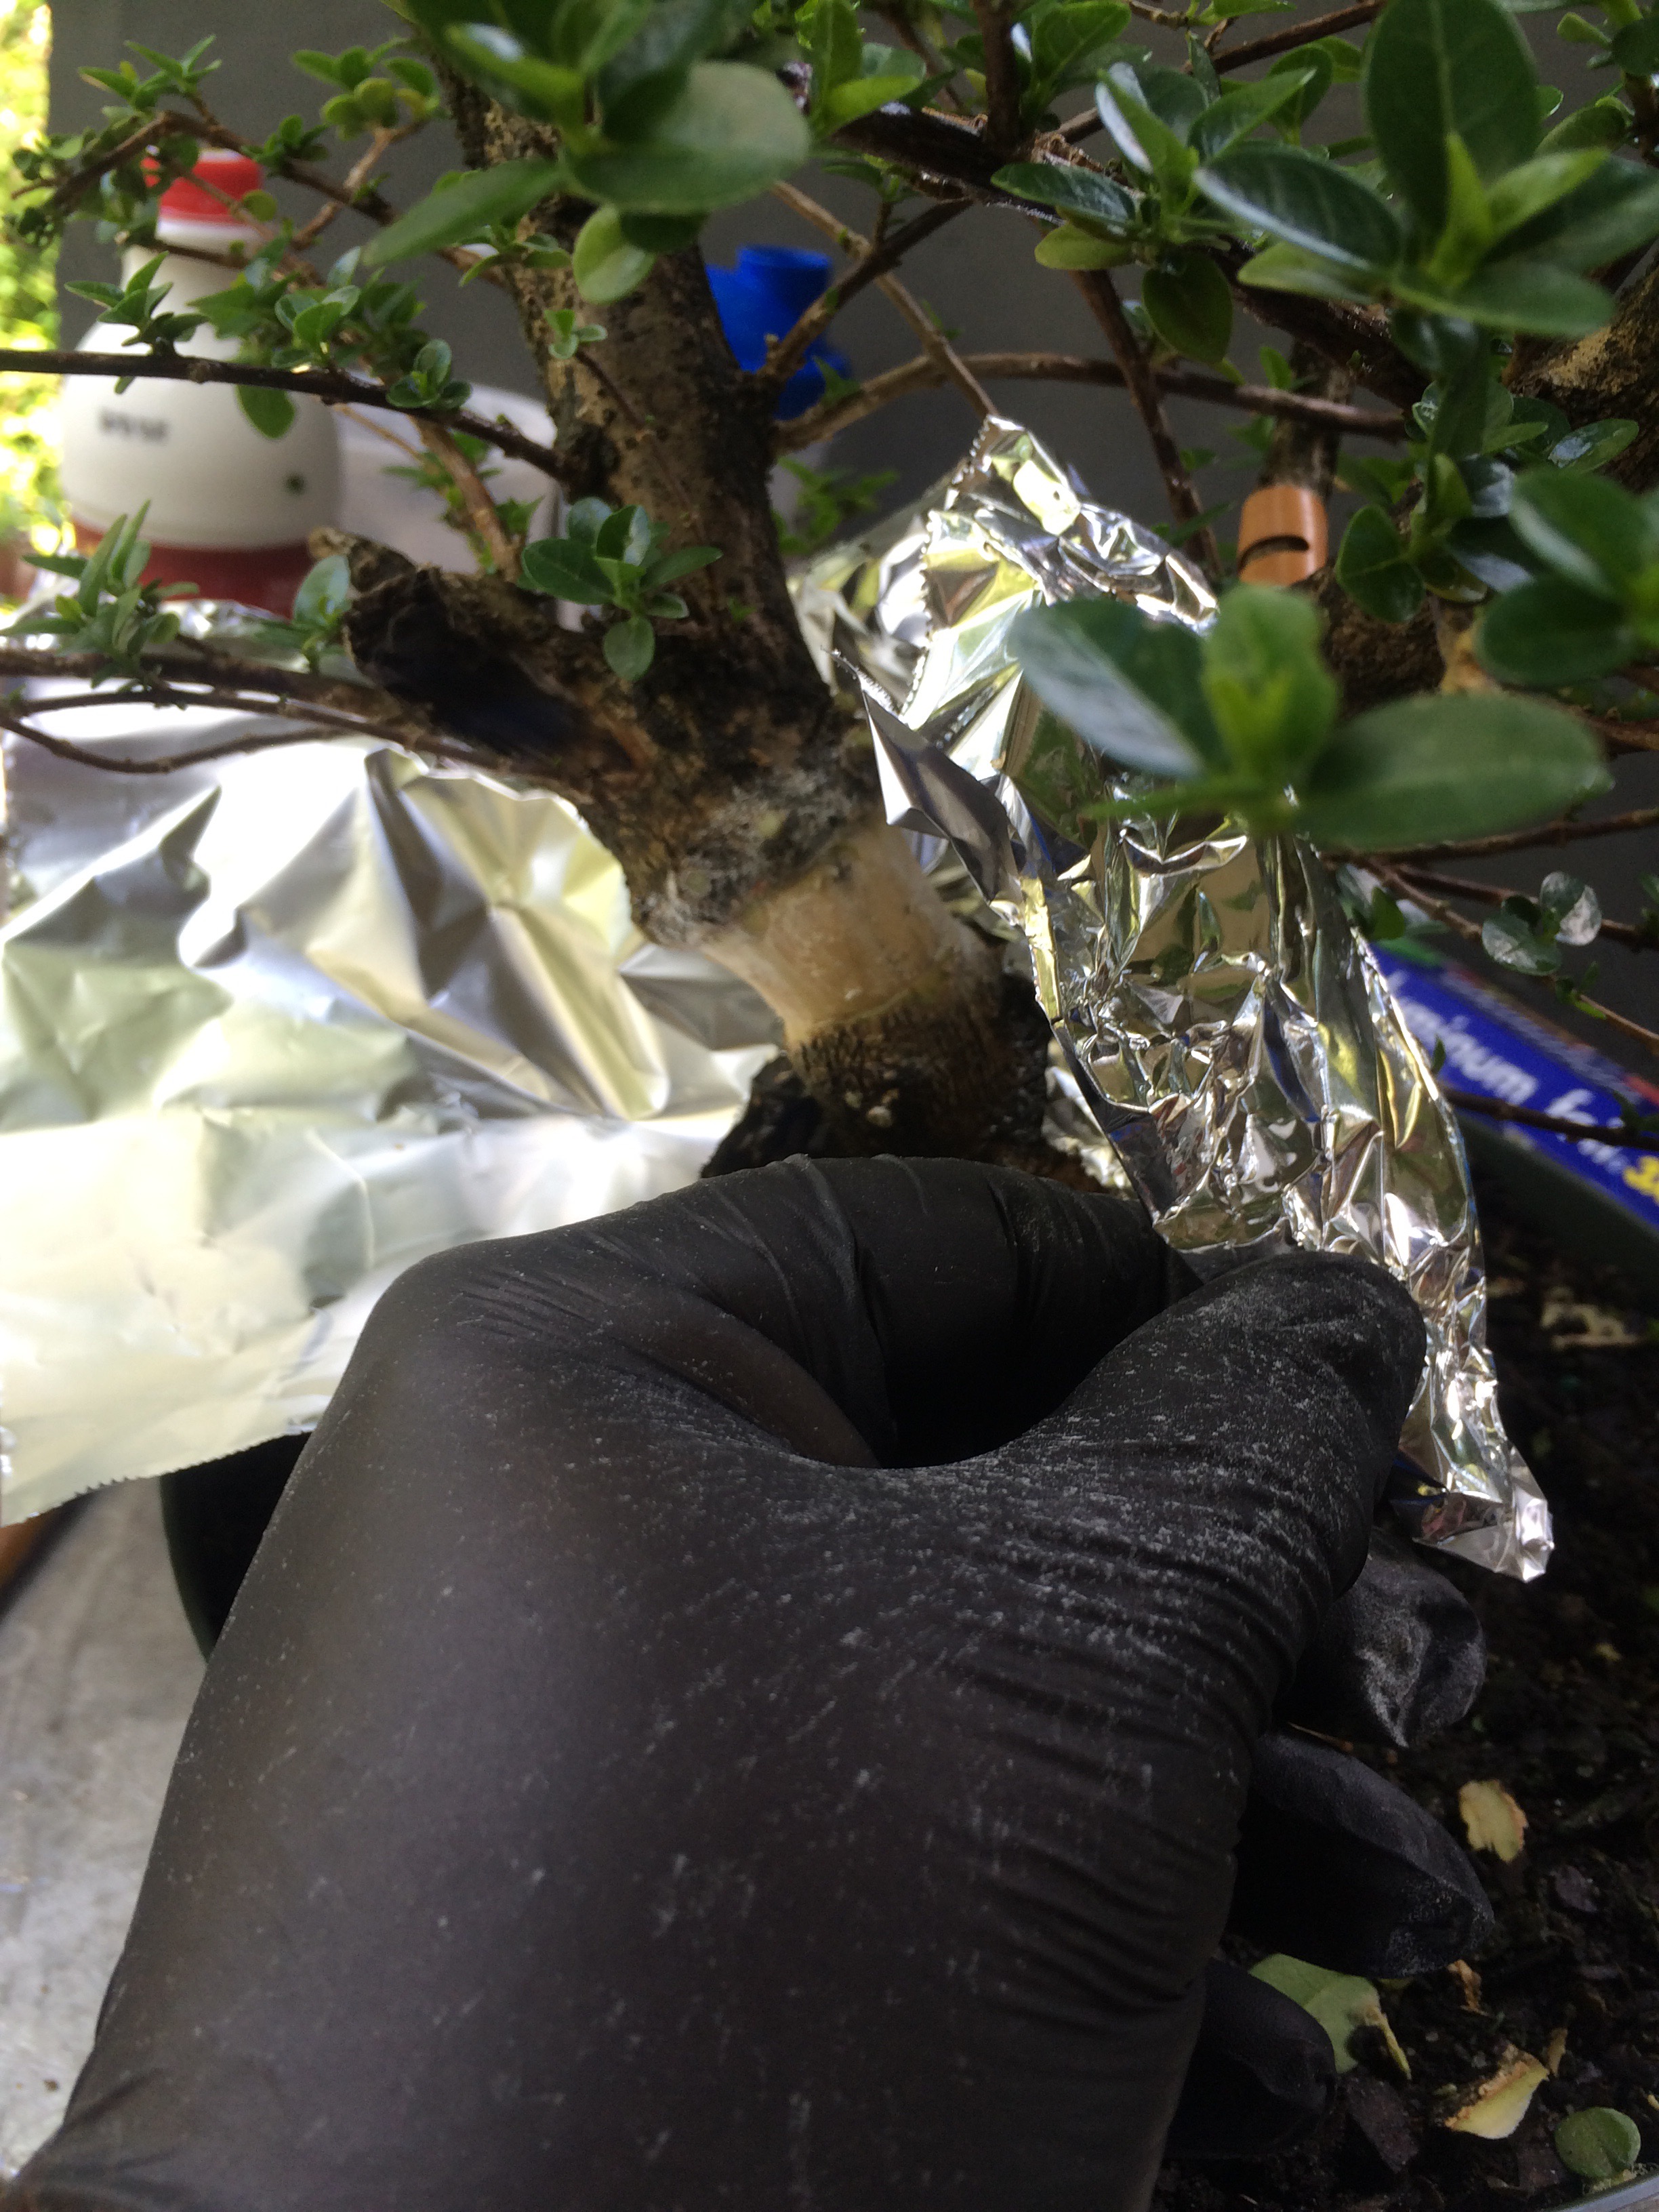
Squish in the sphagnum. 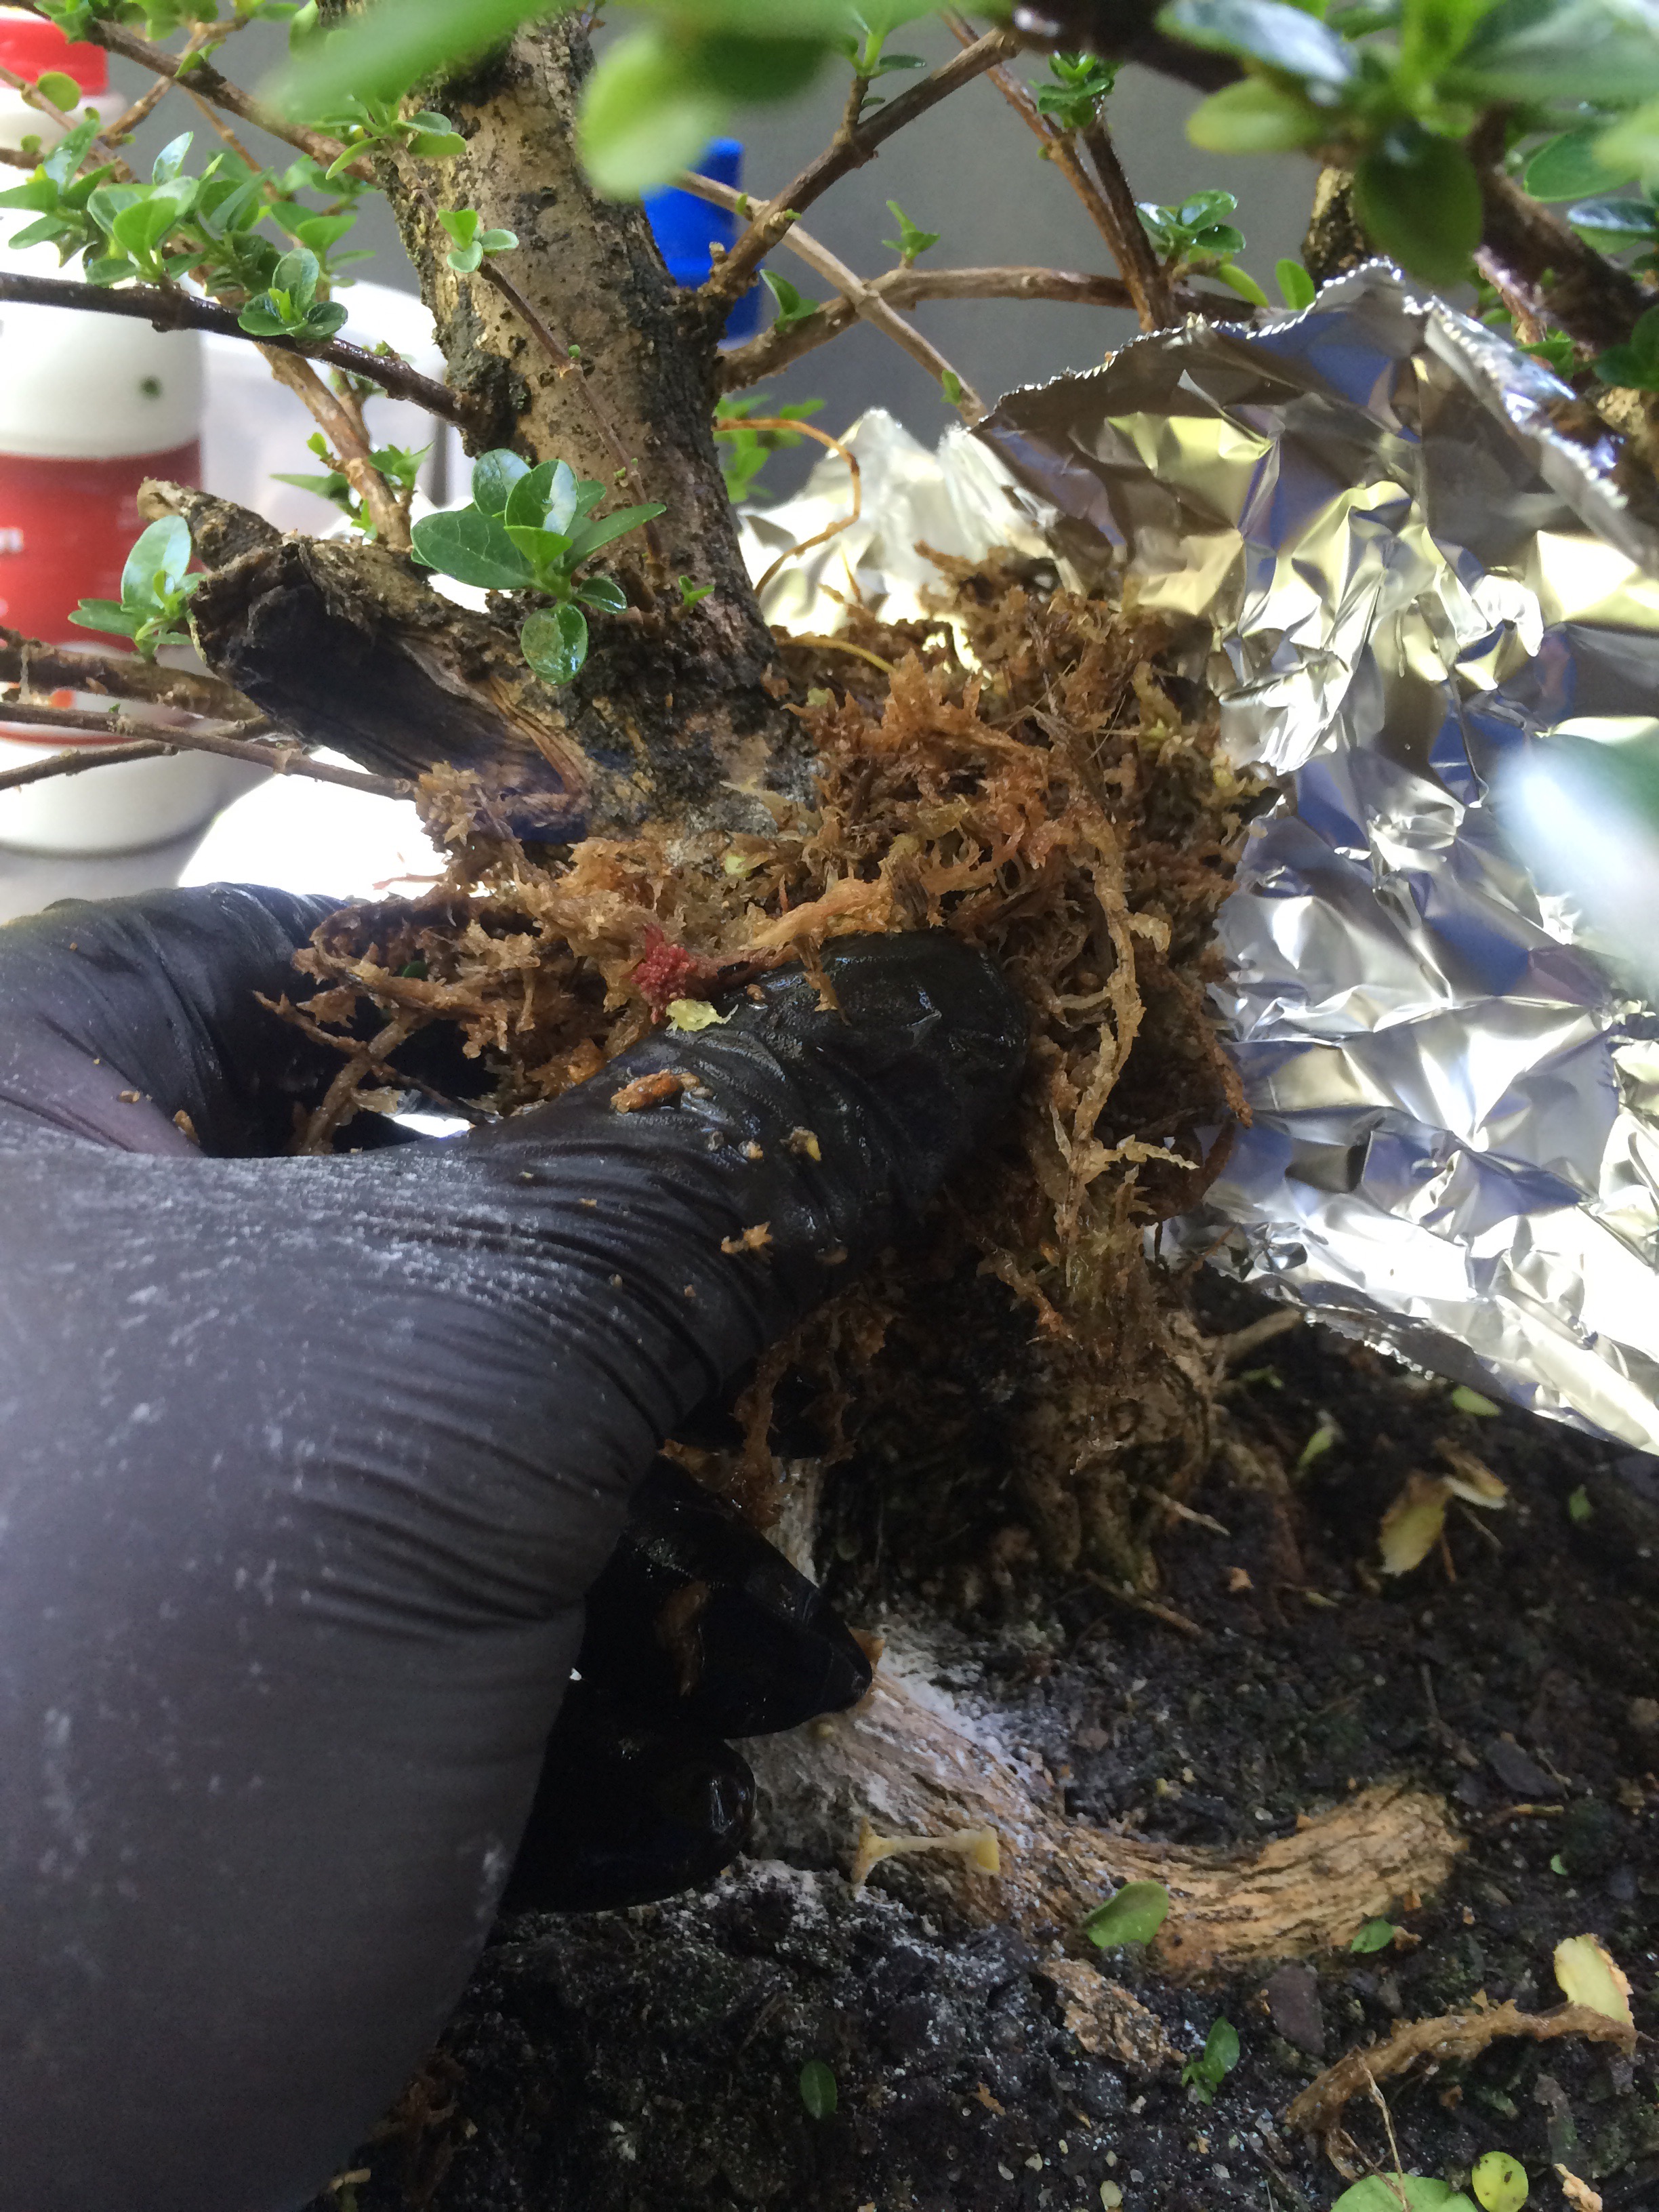
Wrap the aluminum; I like the shiny side out, I think it reflects some of the Florida sun that way. 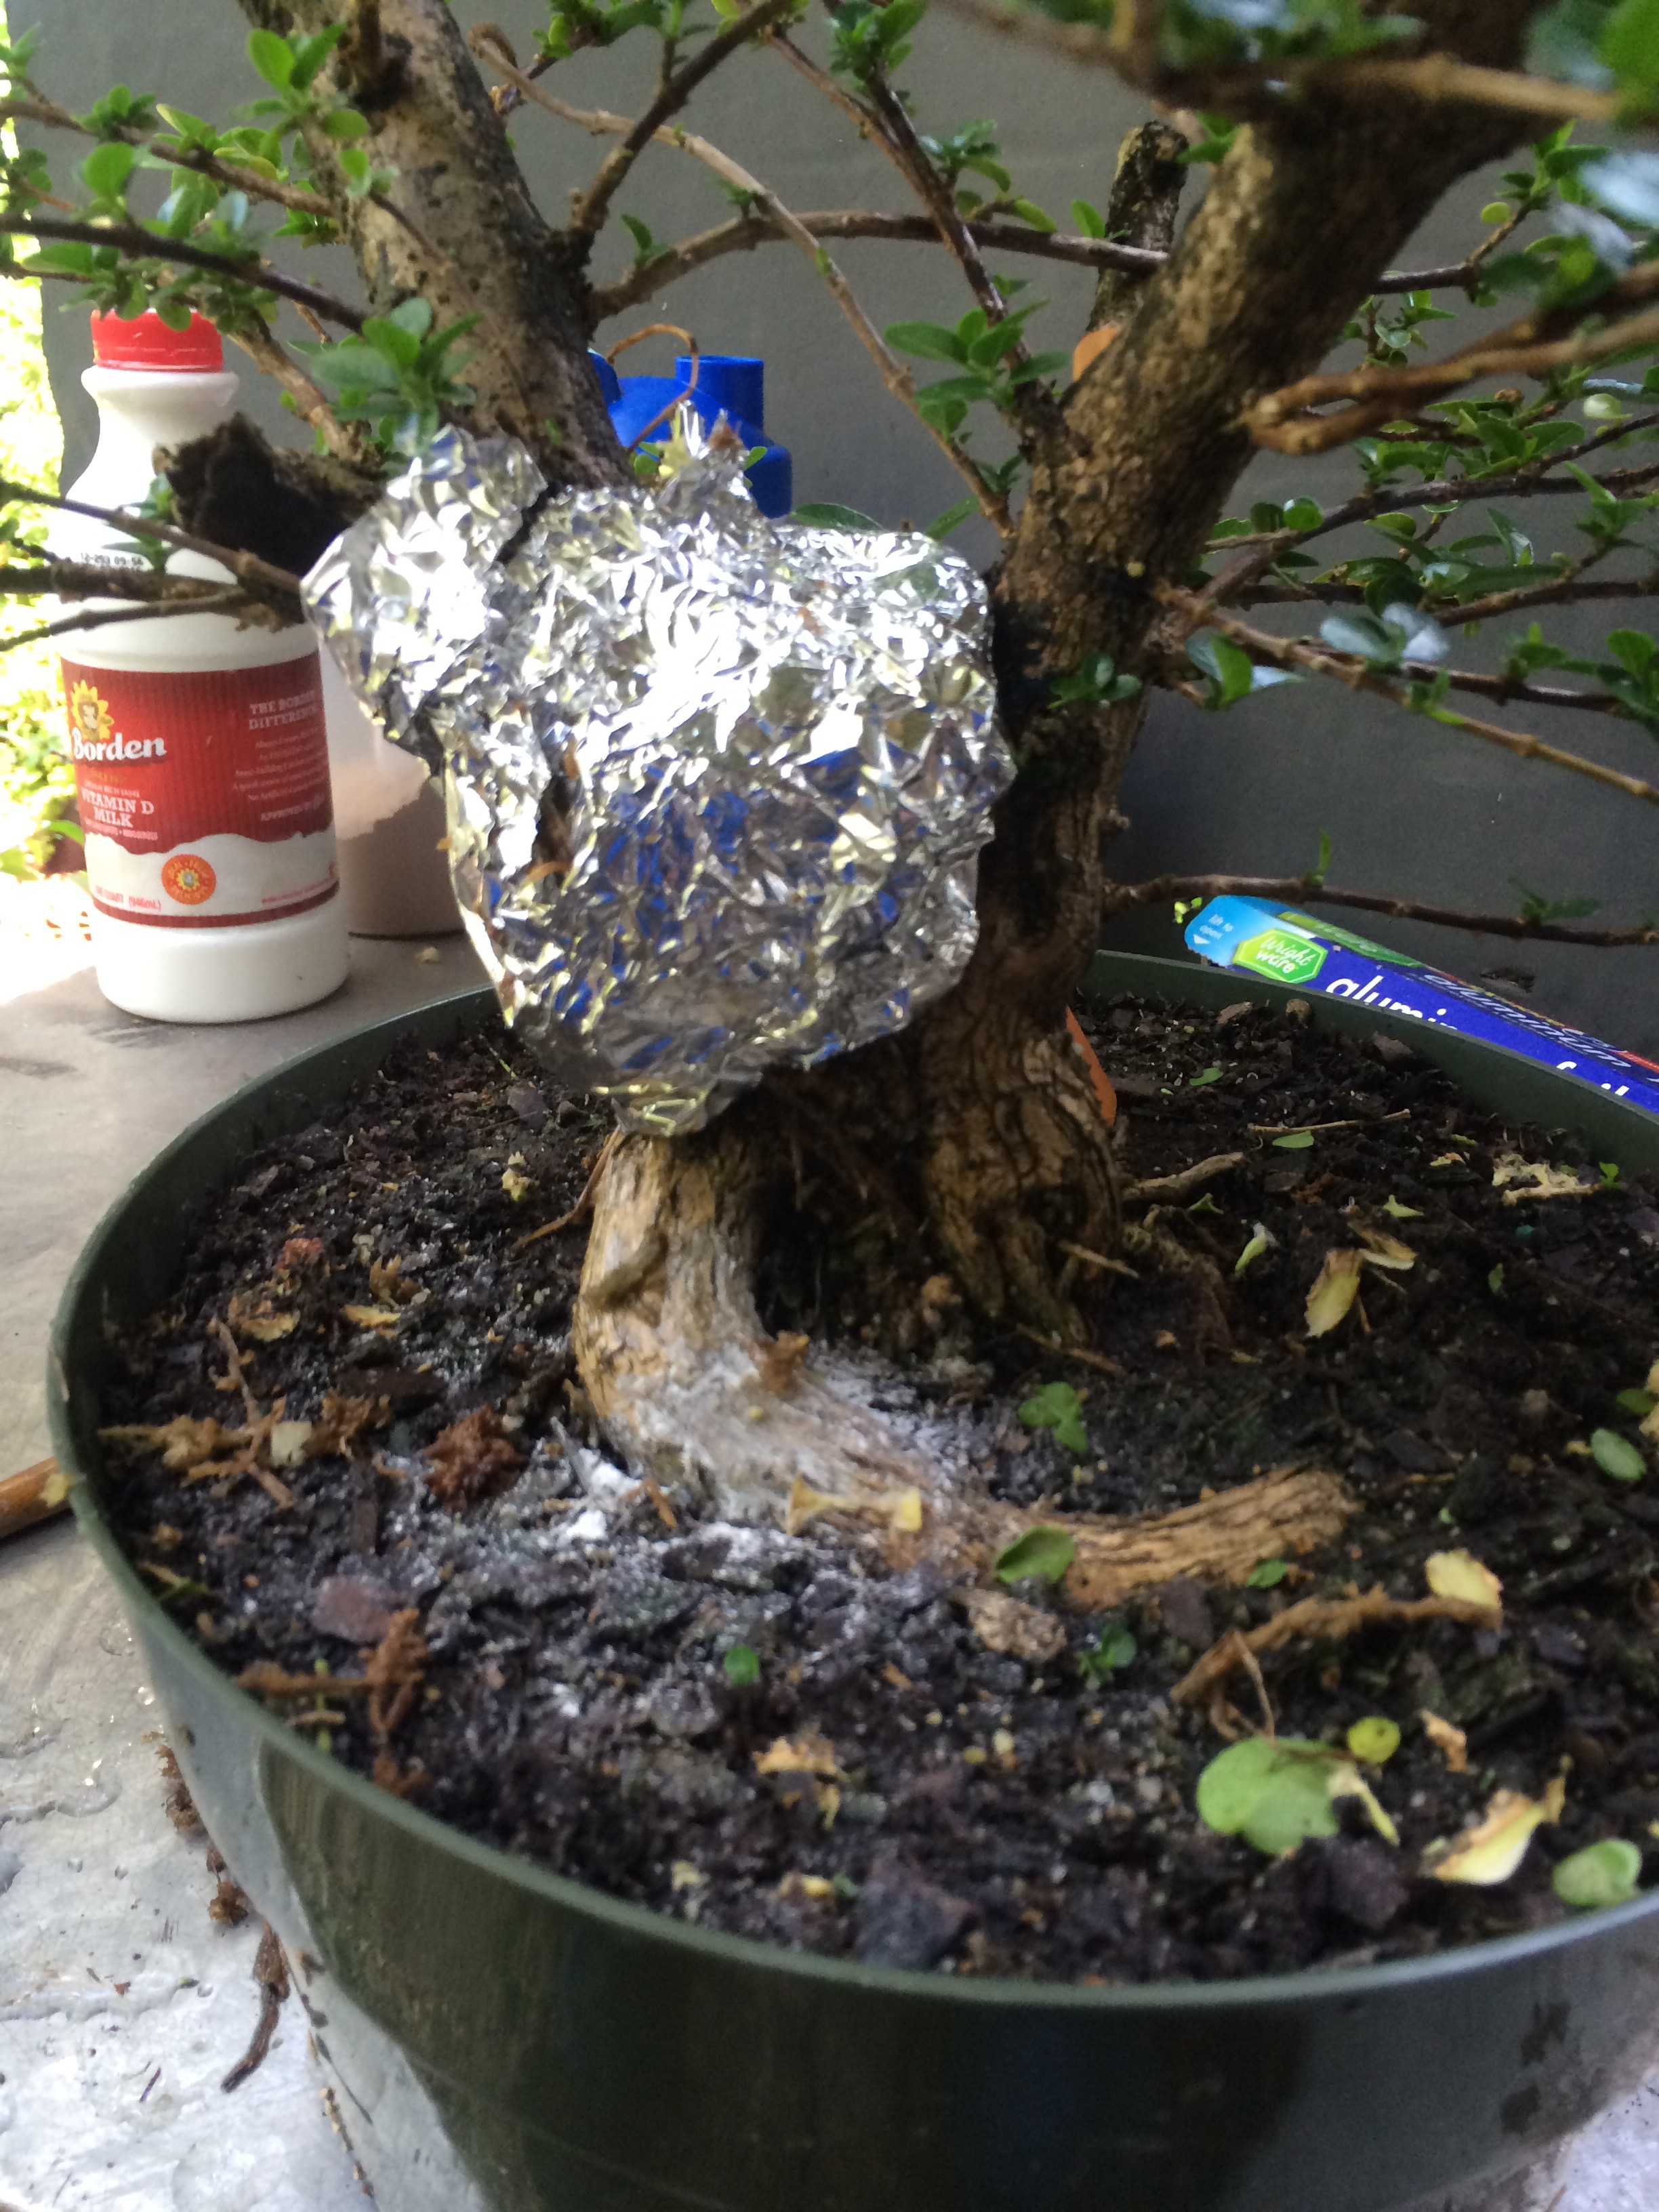 People use newspaper, plastic wrap, trash bags, condoms, etc., to wrap the moss. Whatever.
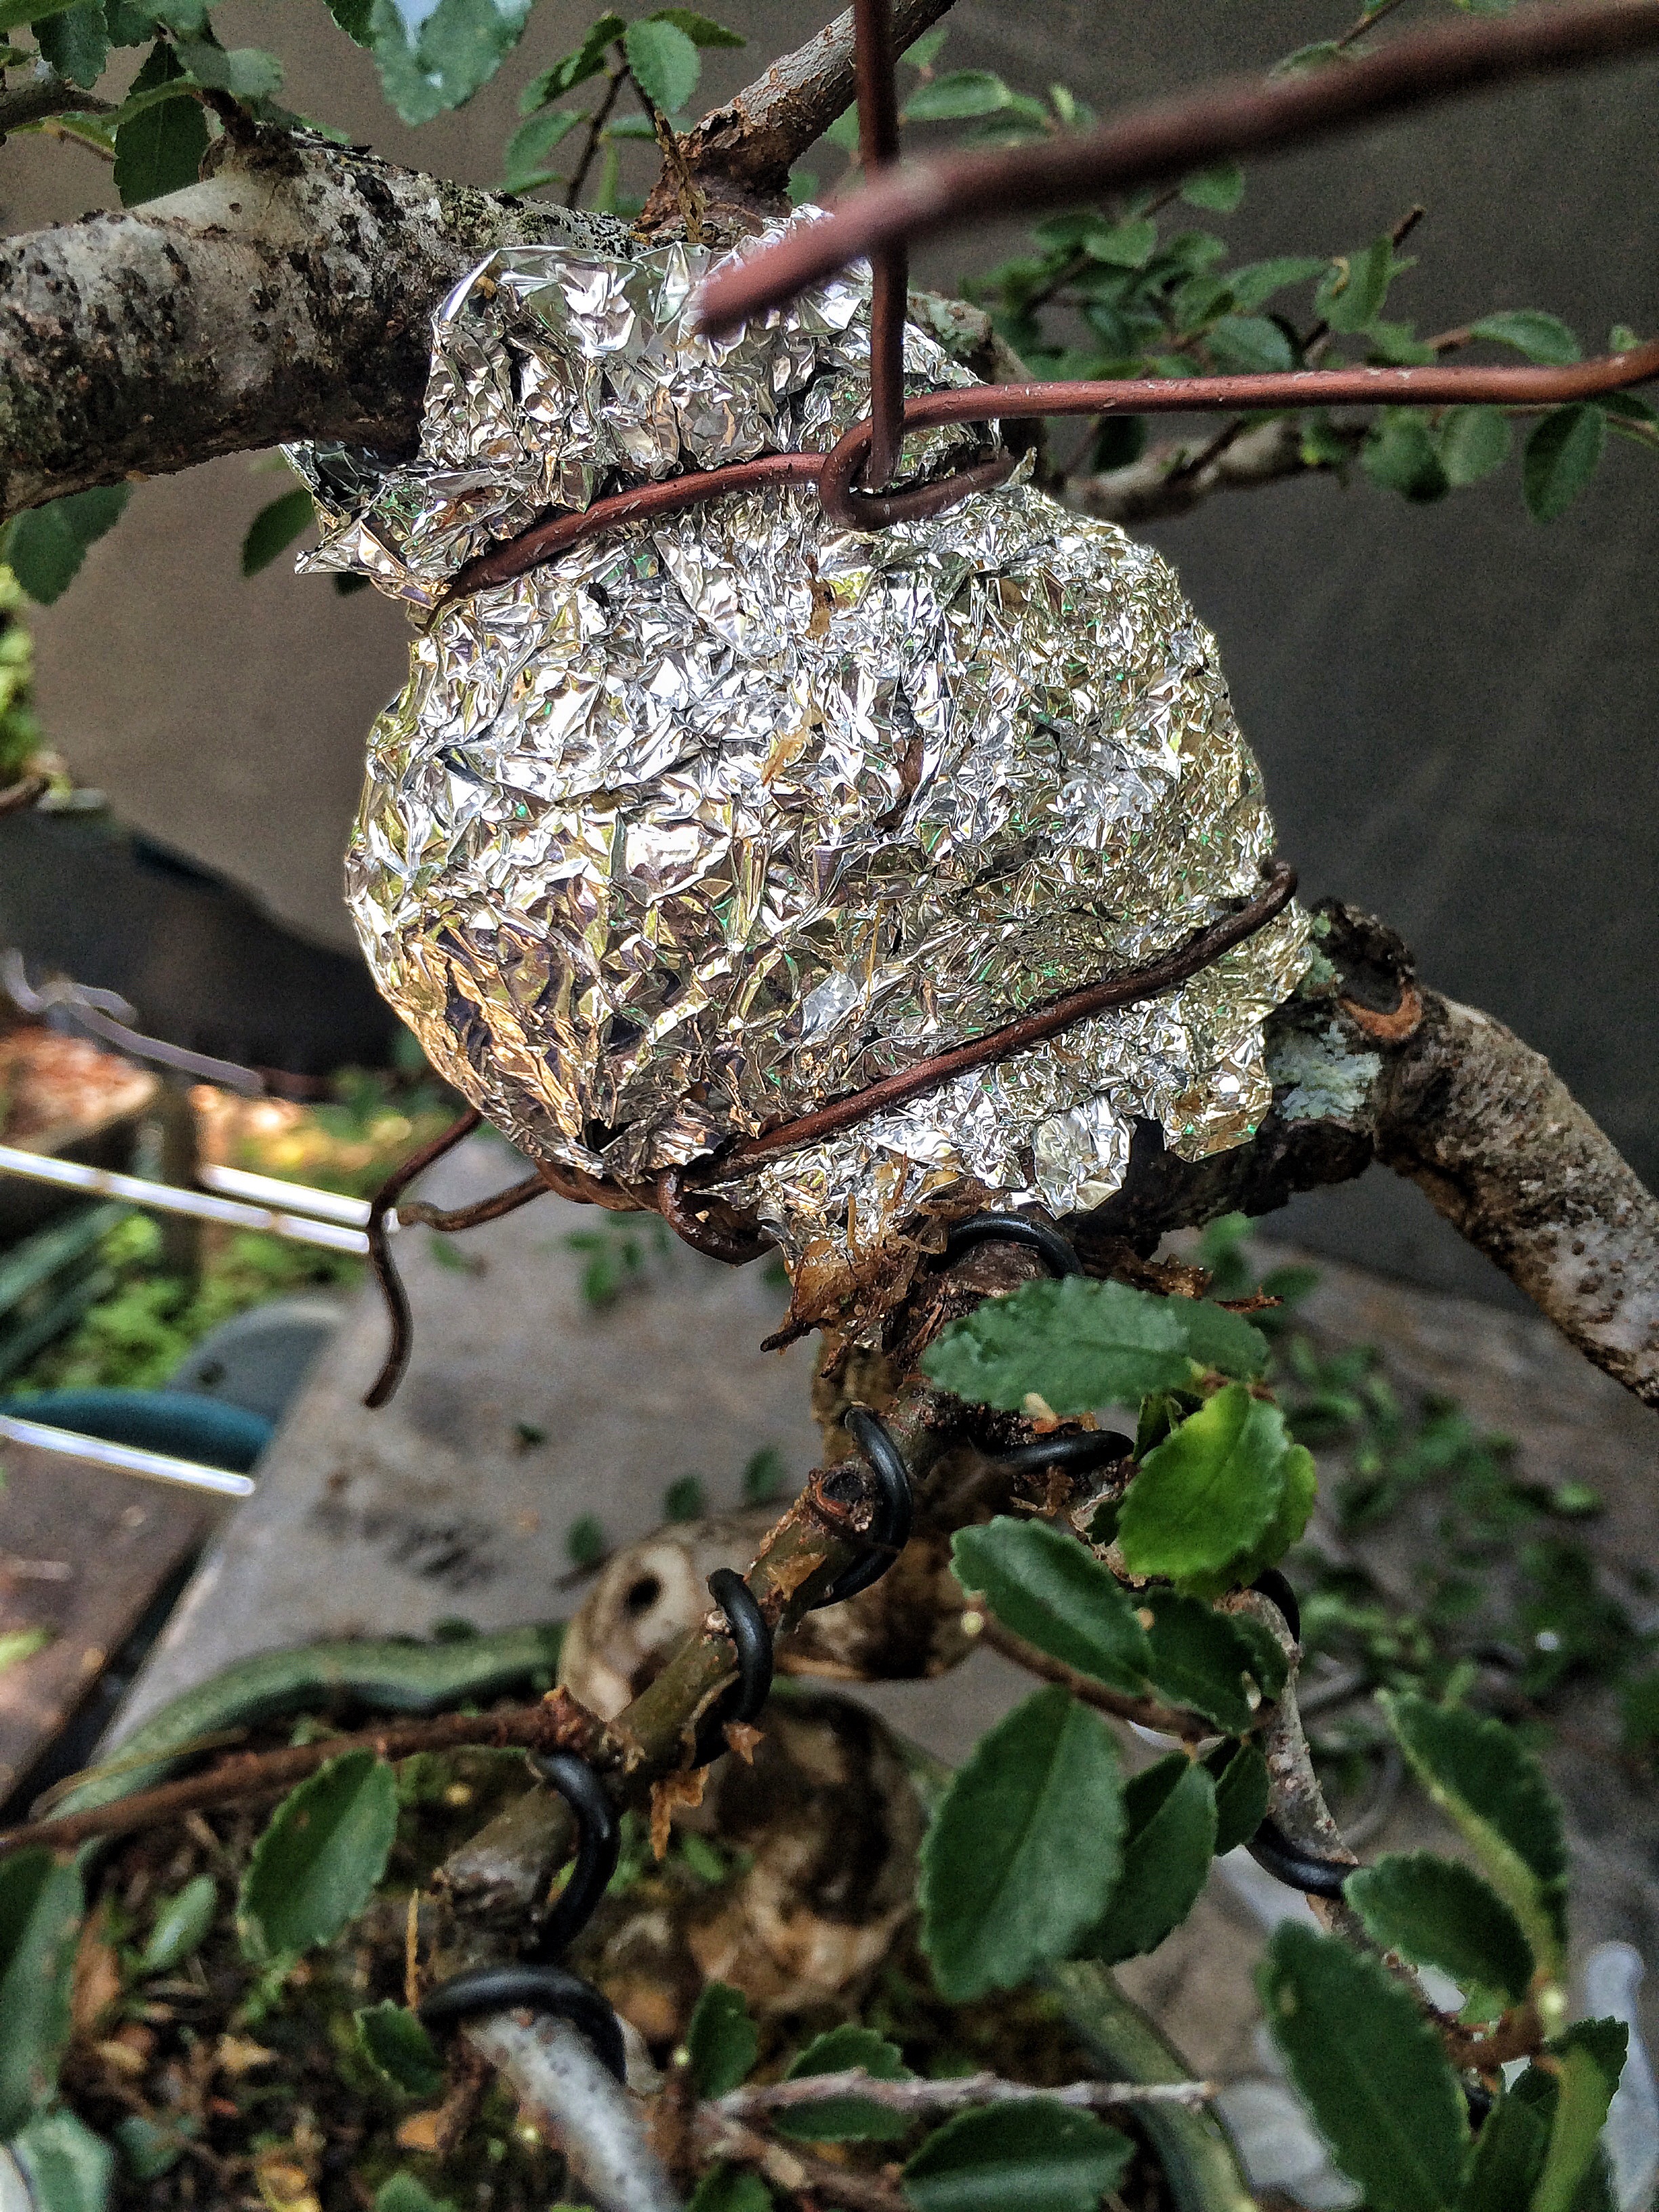
Then I like to tie the top and bottom with wire.
This next step is debatable. I cut the growing tips on the top part of the air layer to stimulate new growth which, in turn, will stimulate new roots in the sphagnum packet. Some people think that cutting the top slows growth and counsel leaving the top tips alone.
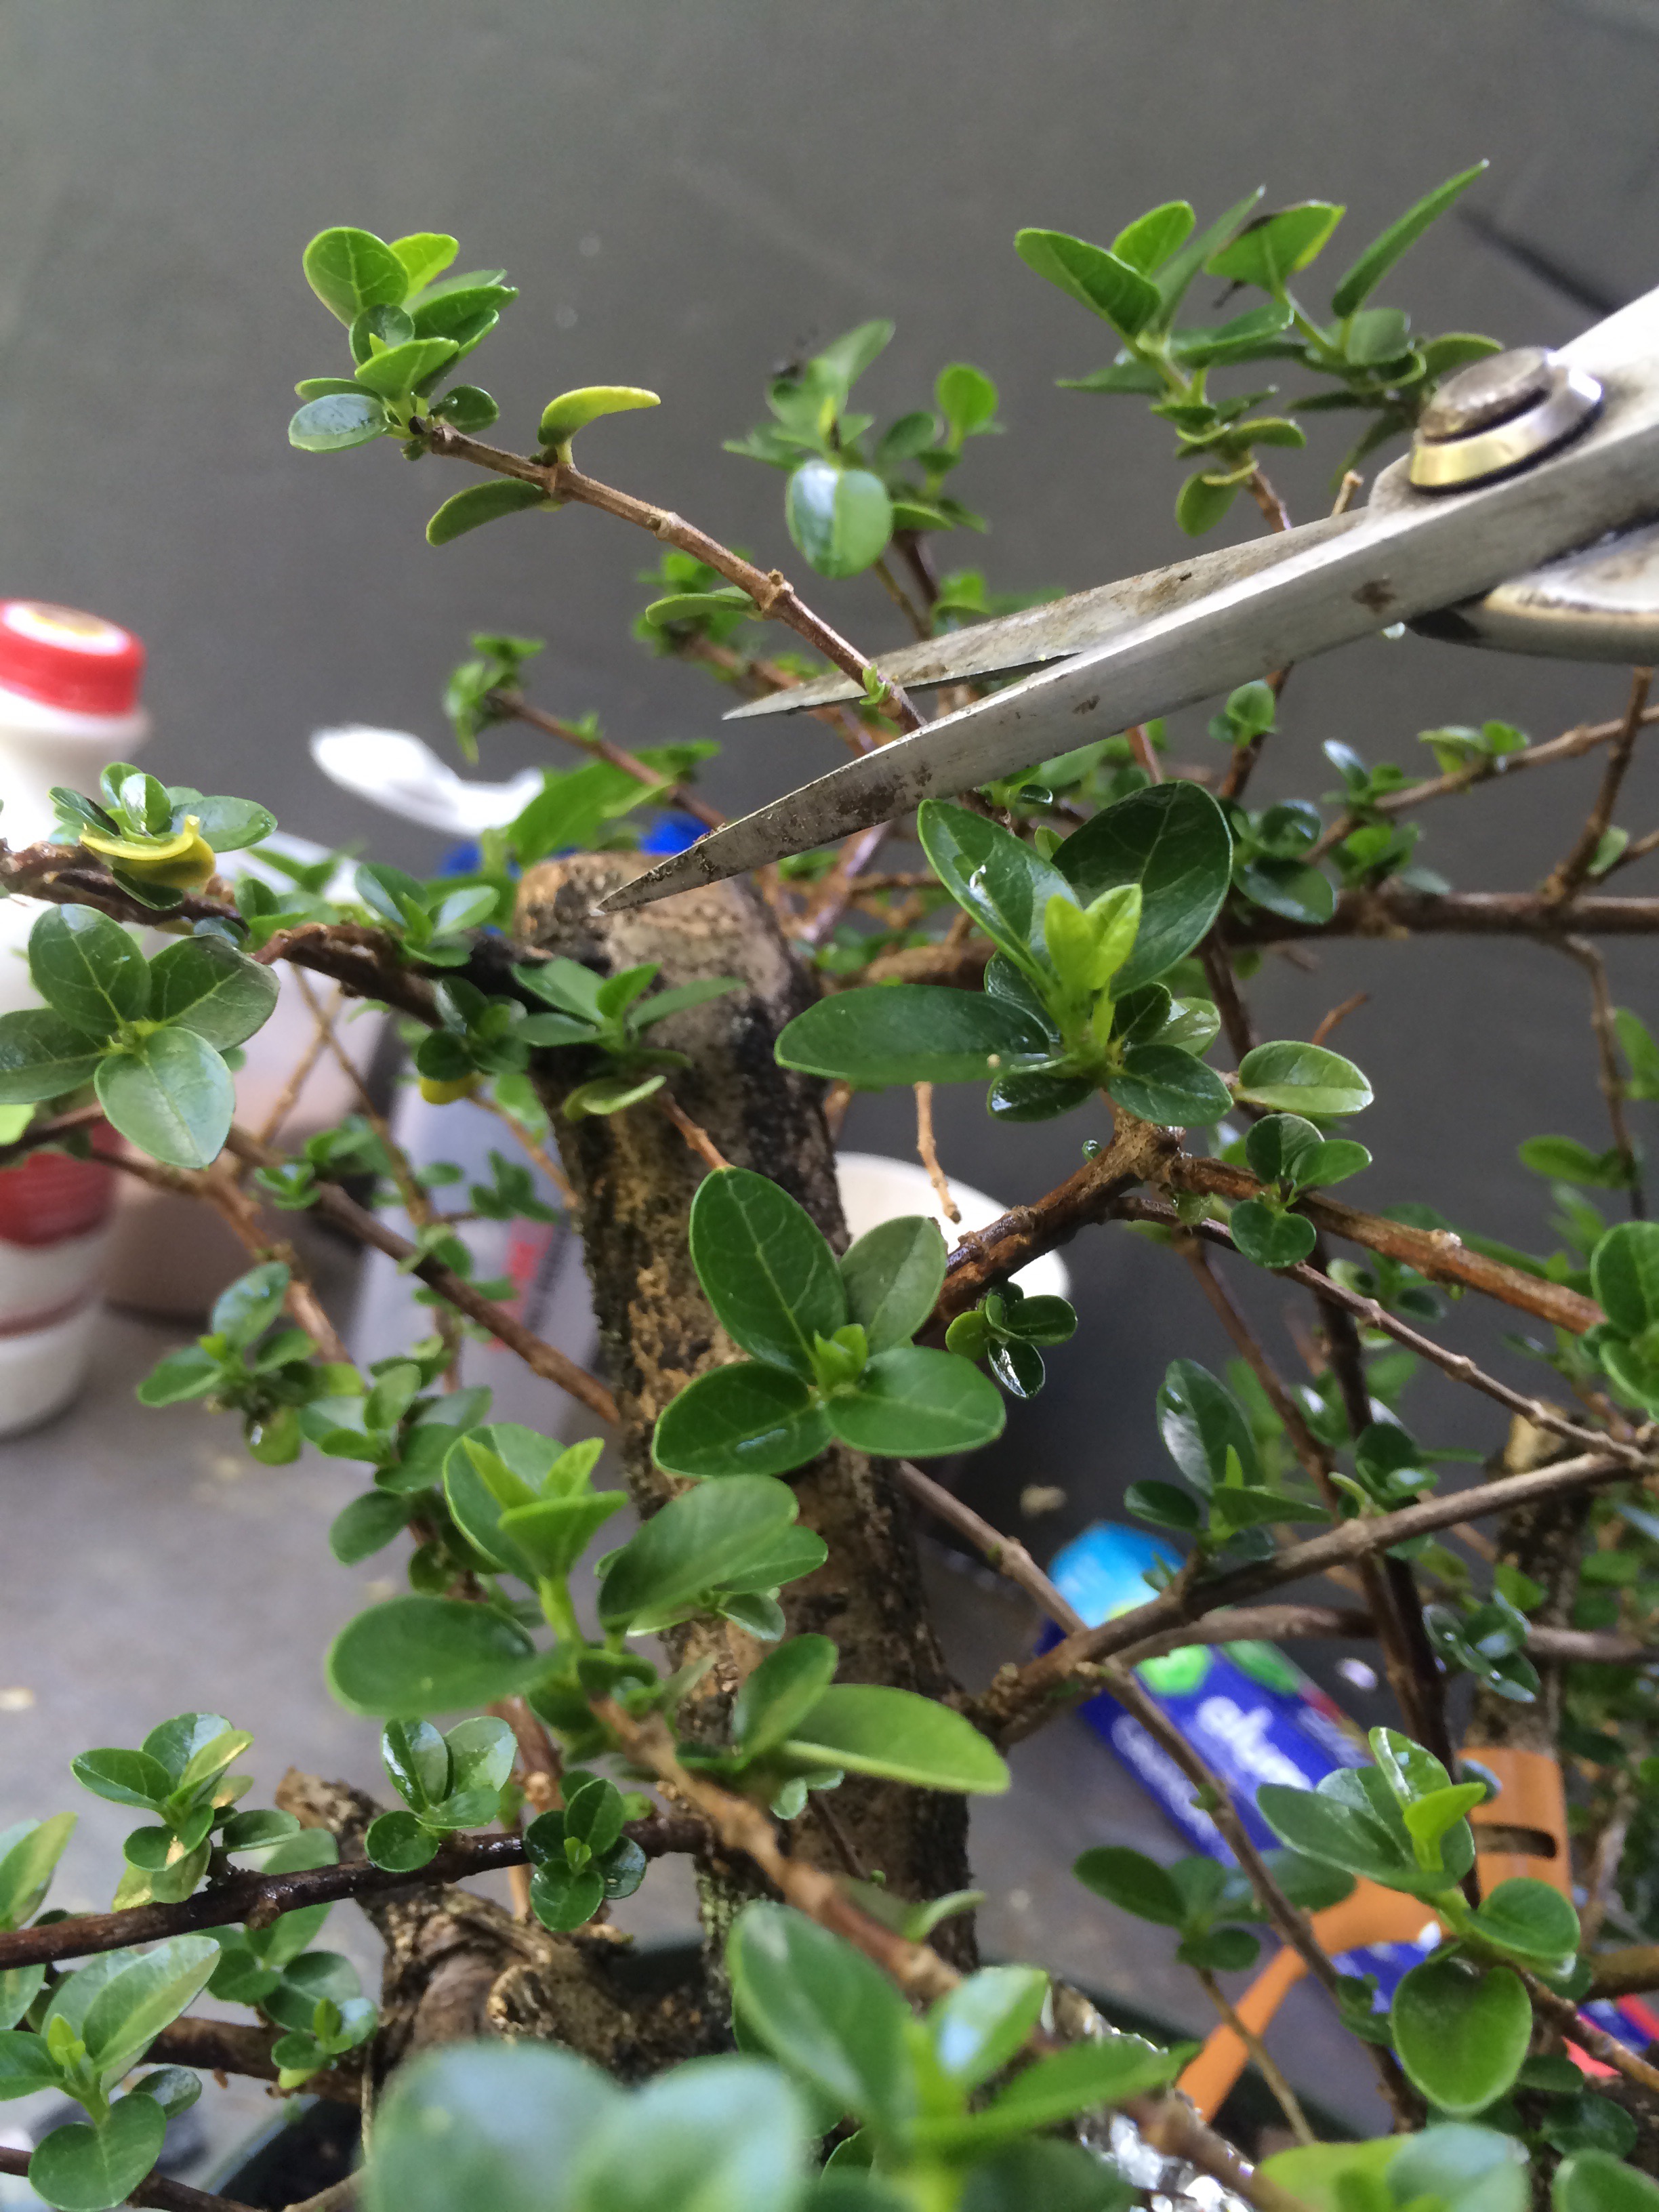 All I say is that, horticulture is a science, but it’s practiced as an art. Just like surgery. One surgeon prefers staples and one prefers sutures. It also depends on the health of the subject, be it plant or man.
Now I’m a gonna show off with my carving prowess. Escambron (I want to say that like it’s an Italian word, not Puerto Rican: “Escambroni! Mozzarella! Linguine! Bella Tette!” )
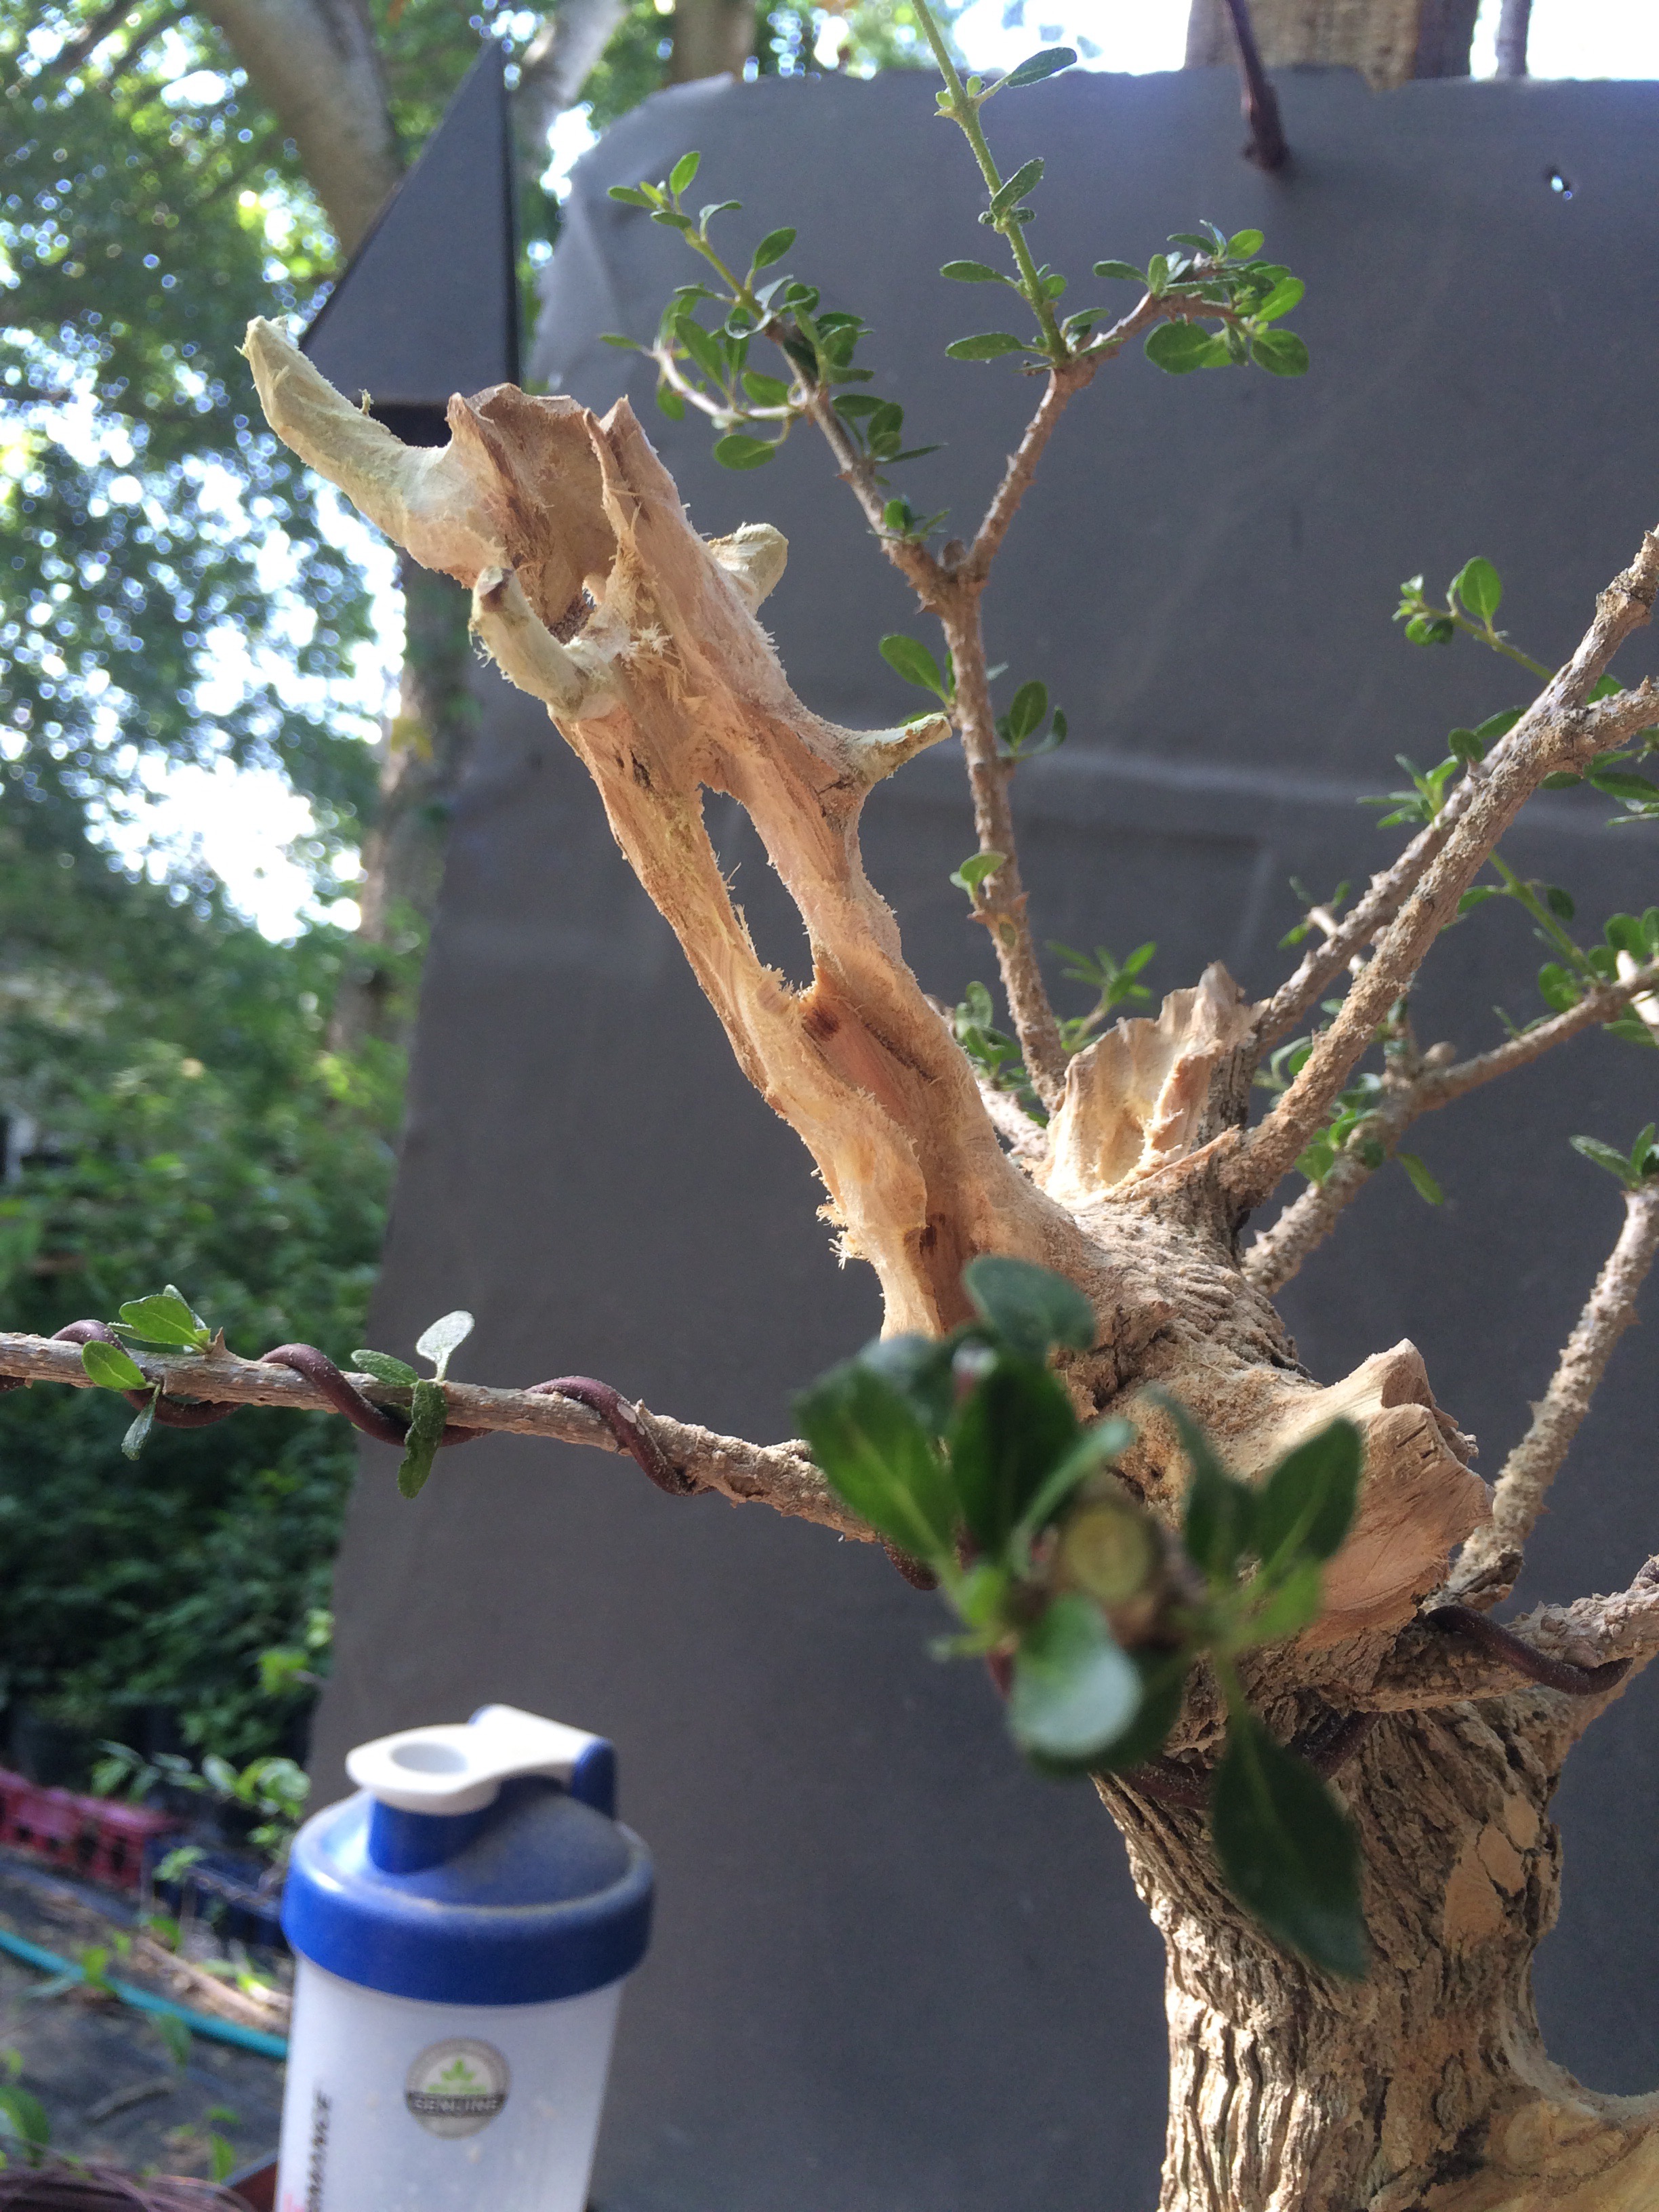
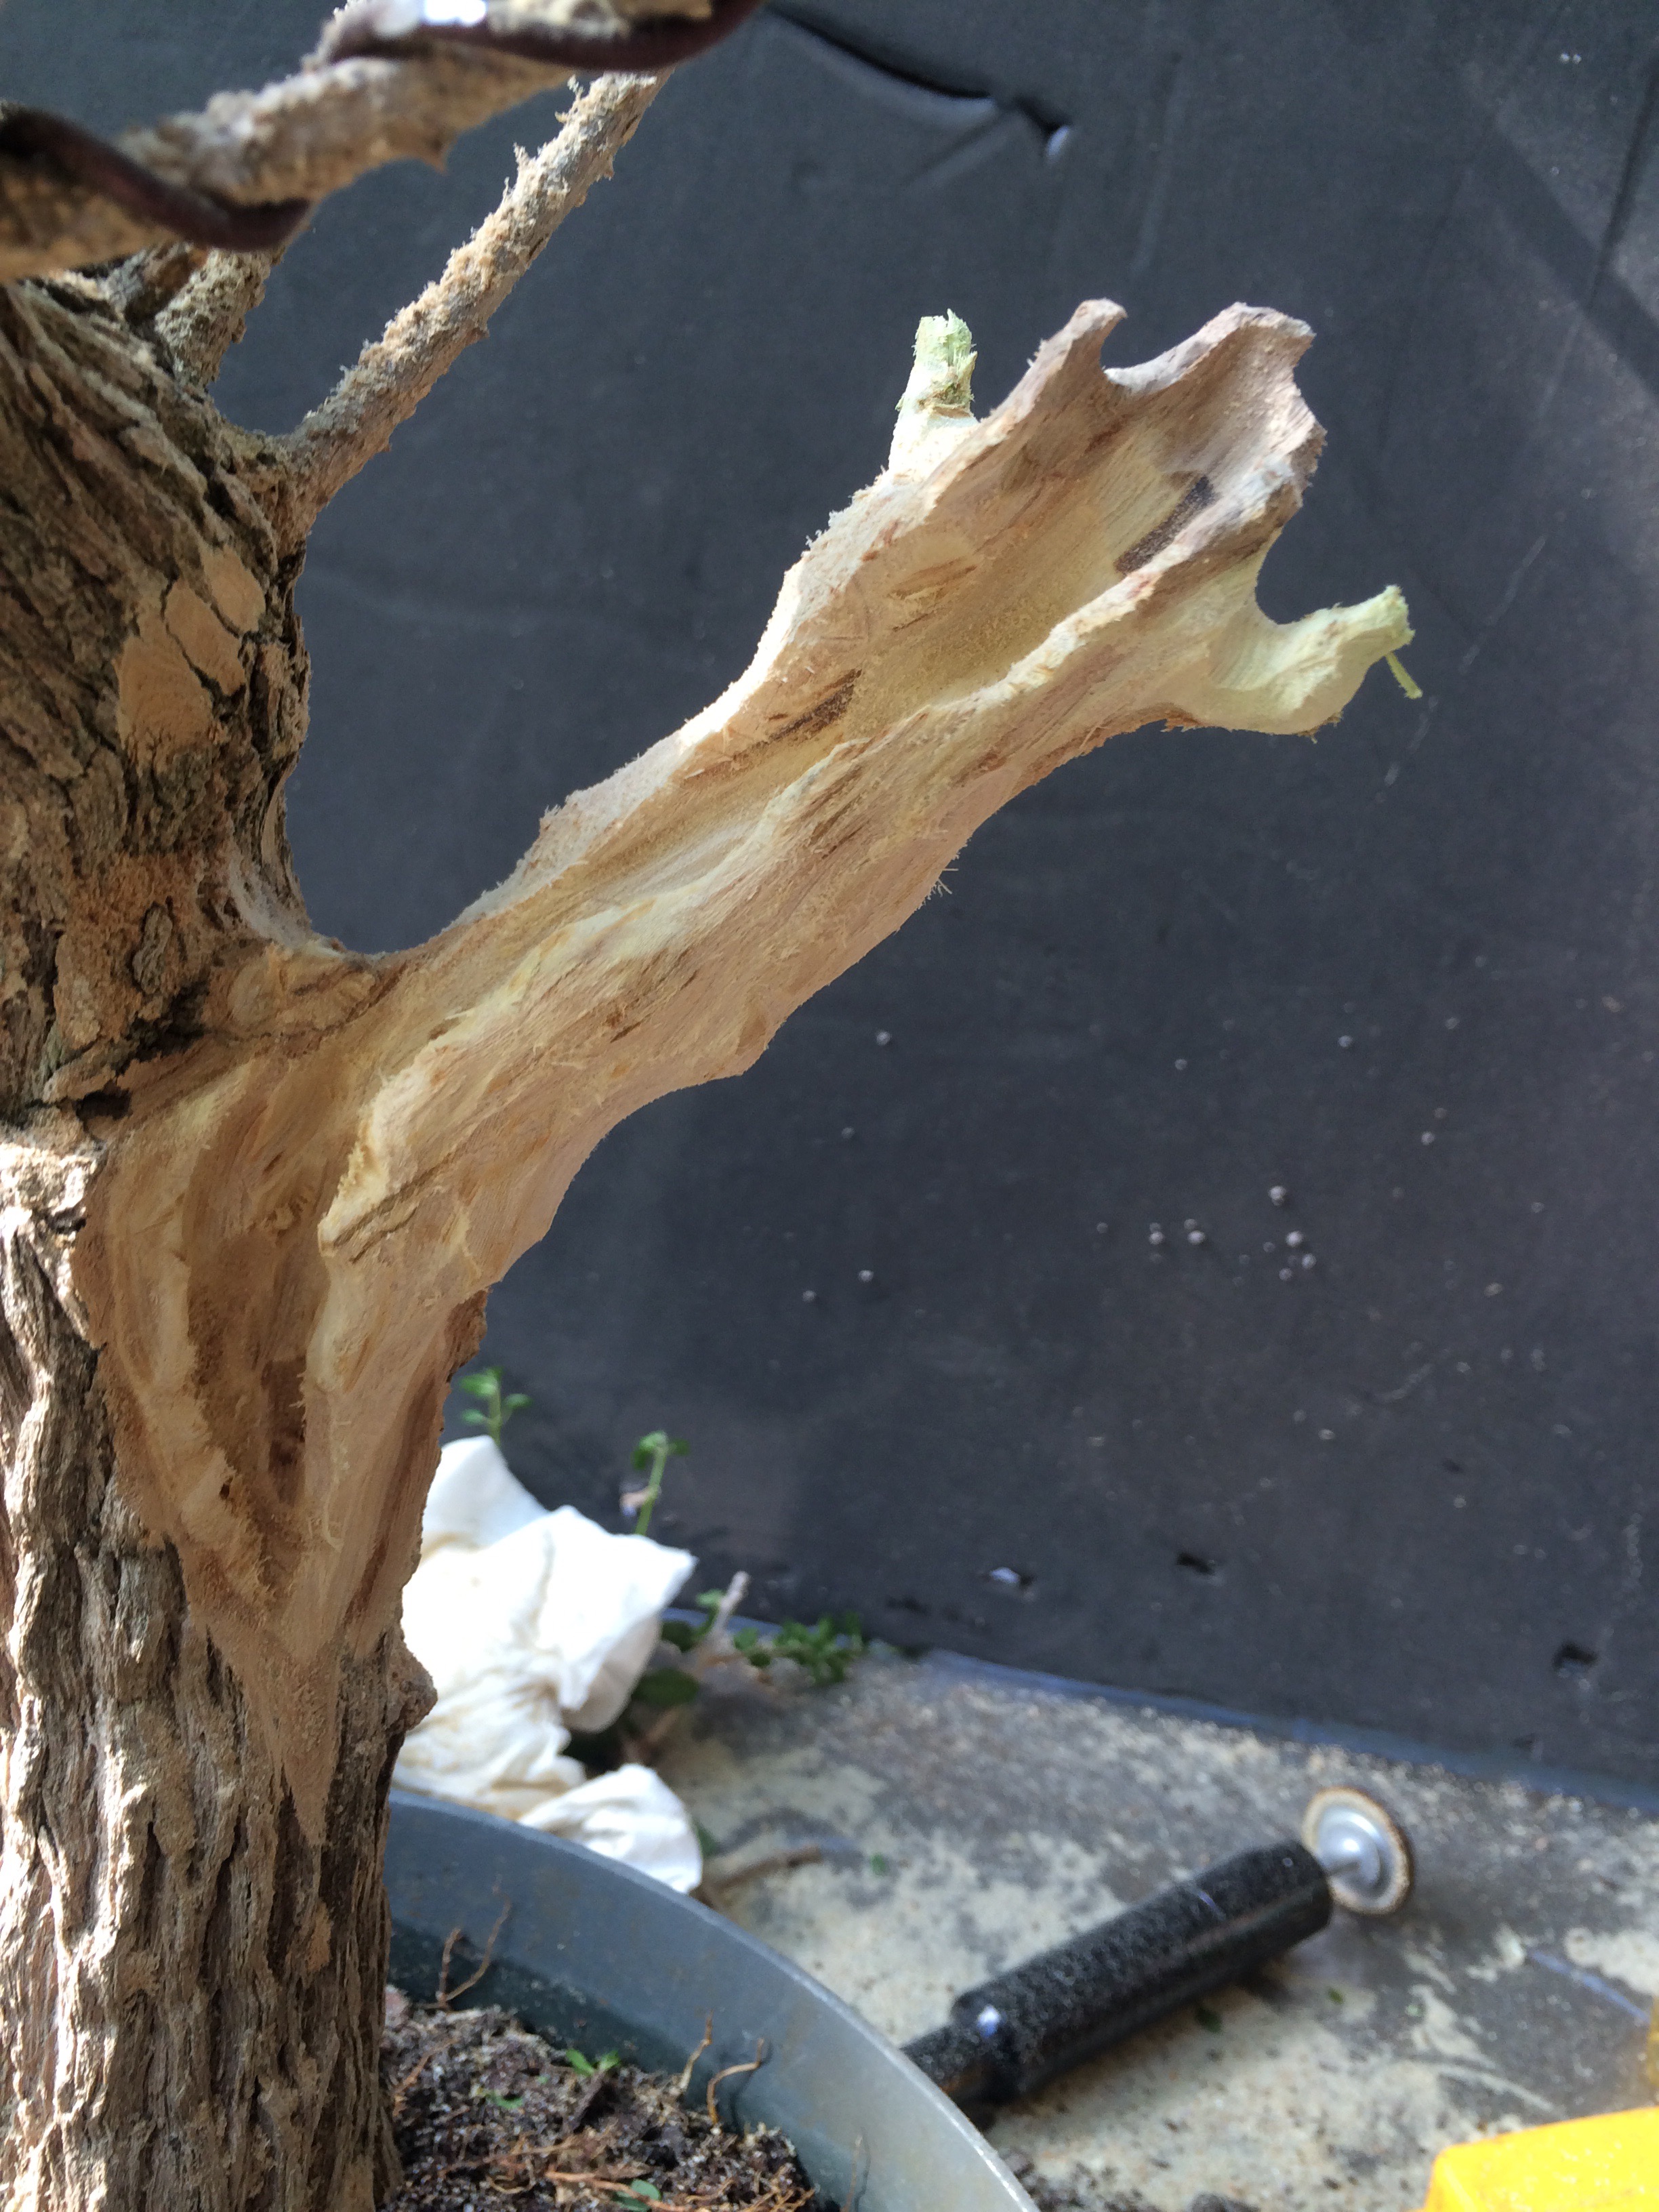
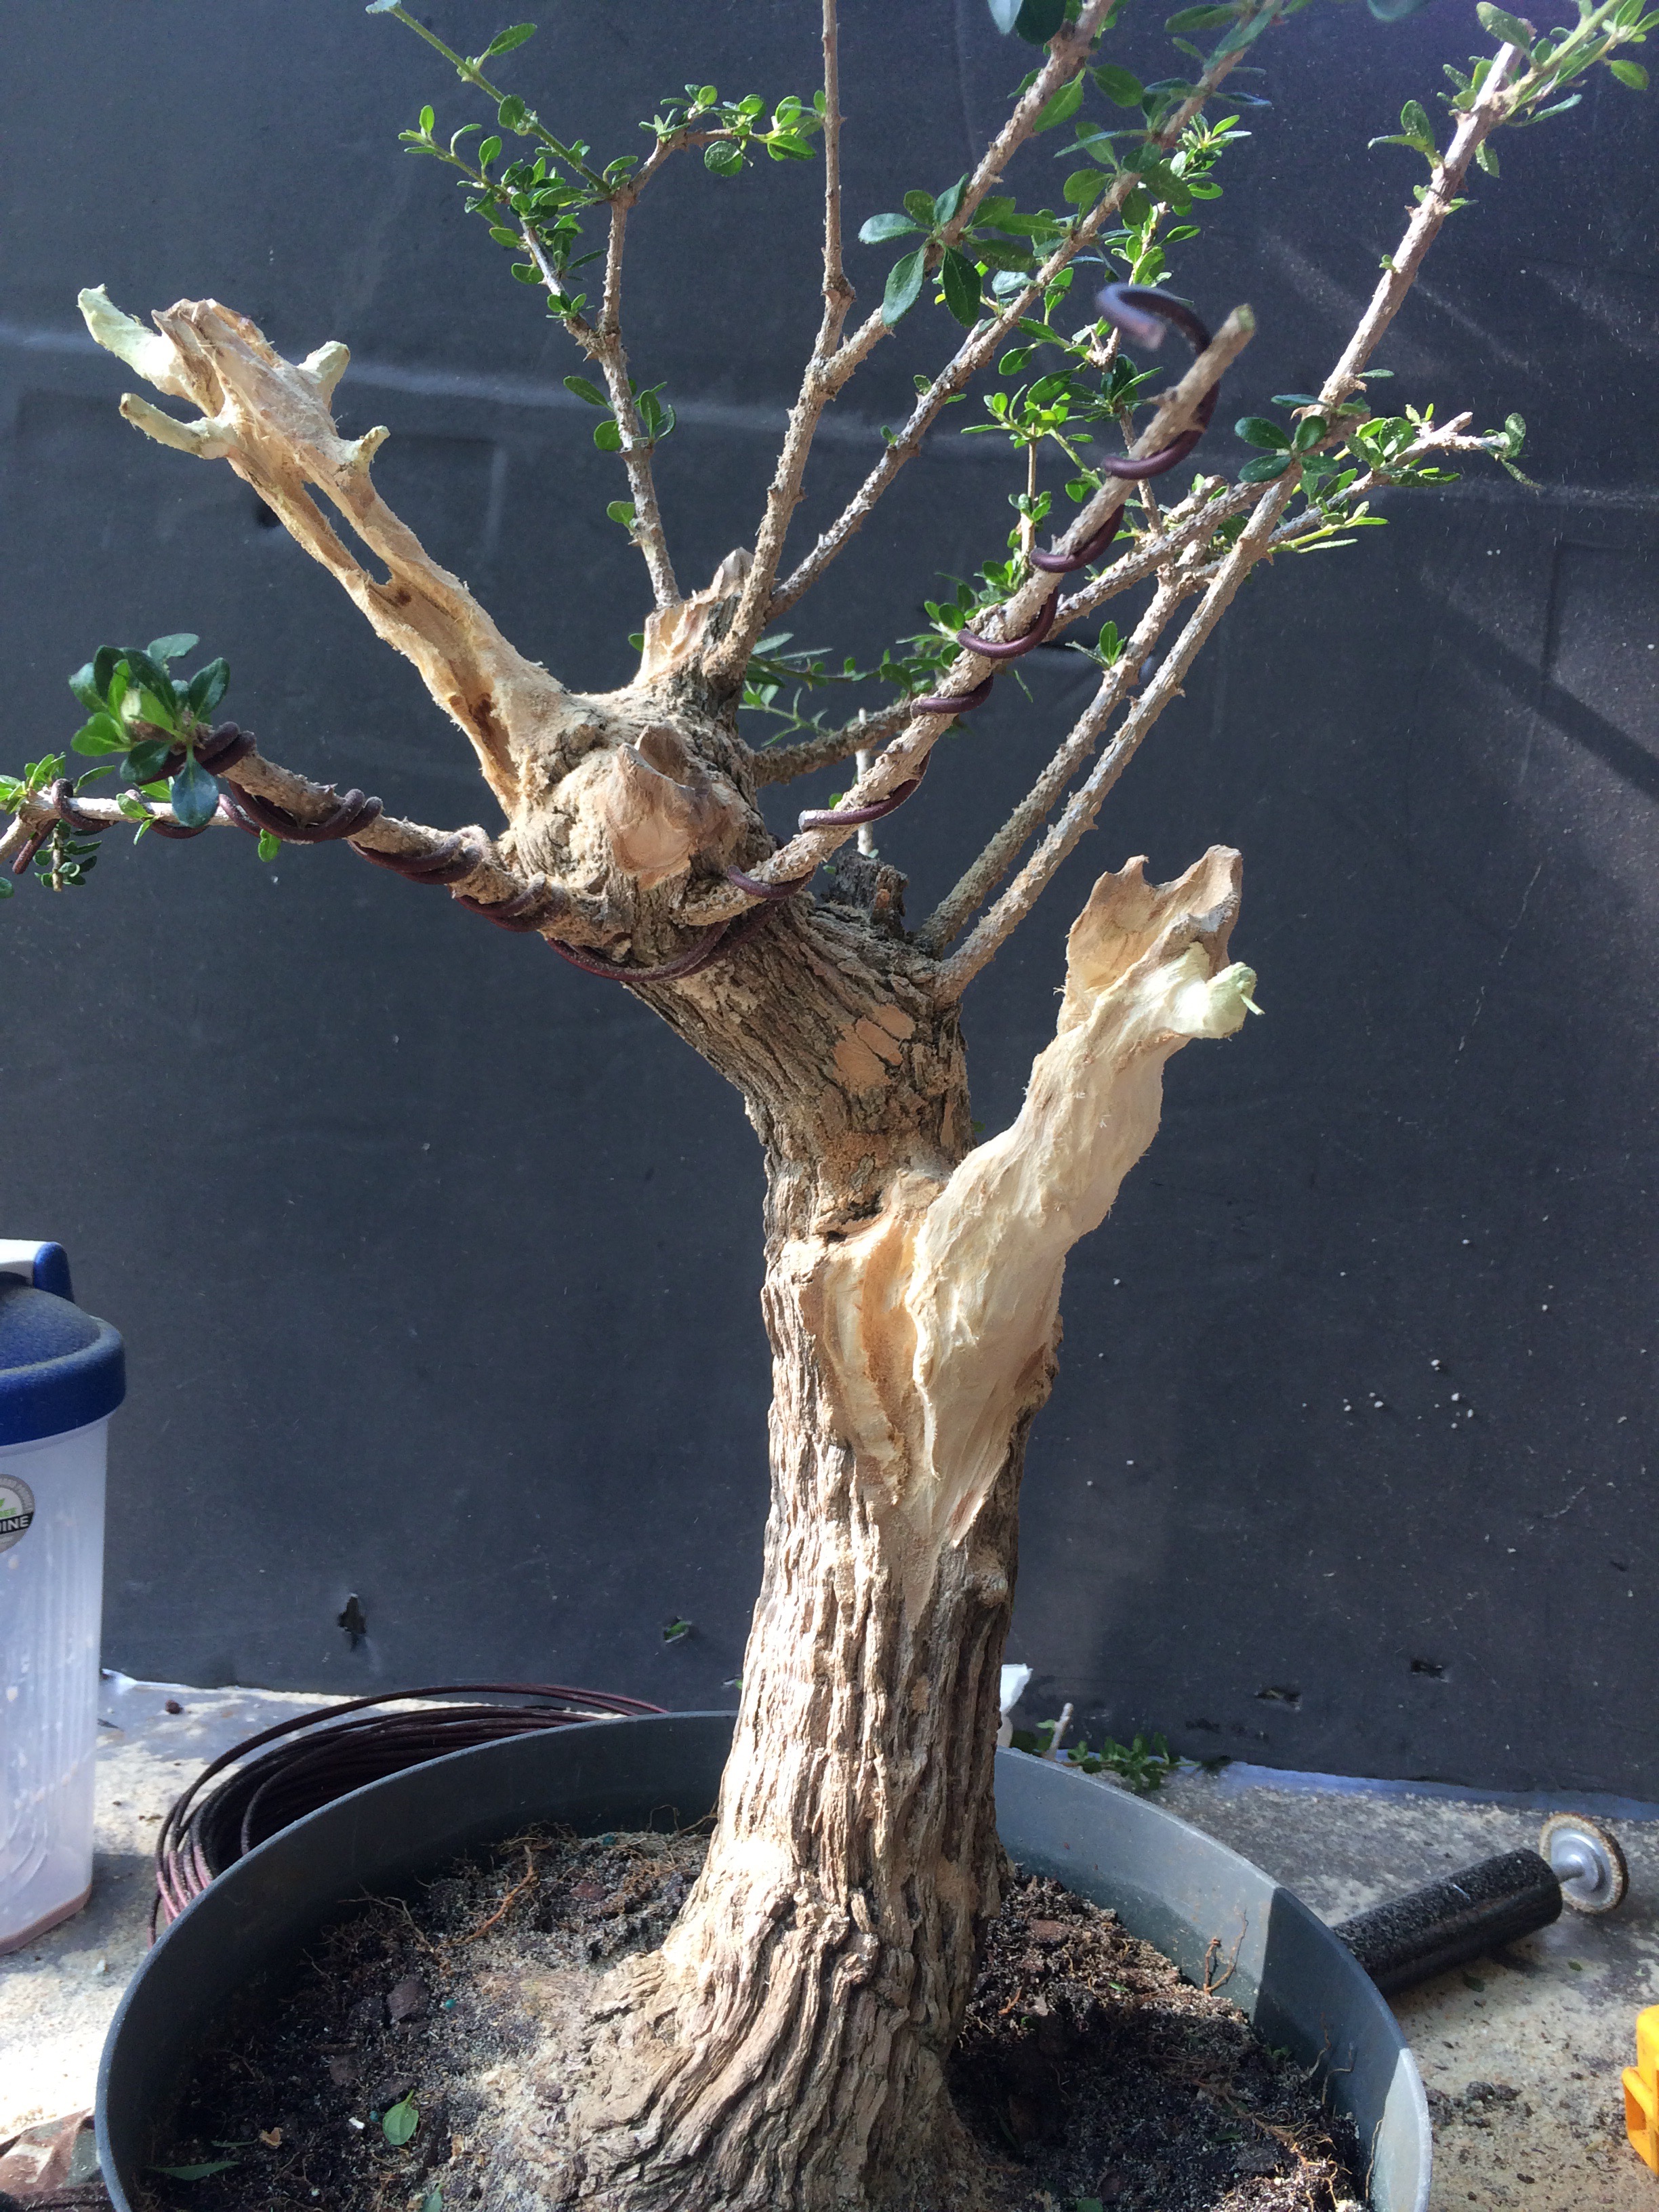
Some wire: It’s gonna be a cool tree.
Enough showing off, I can only take so much of myself (I can probably take more of myself than most people can take of me).
To the next tree, ulmus parviflora, the ubiquitous Chinese elm.
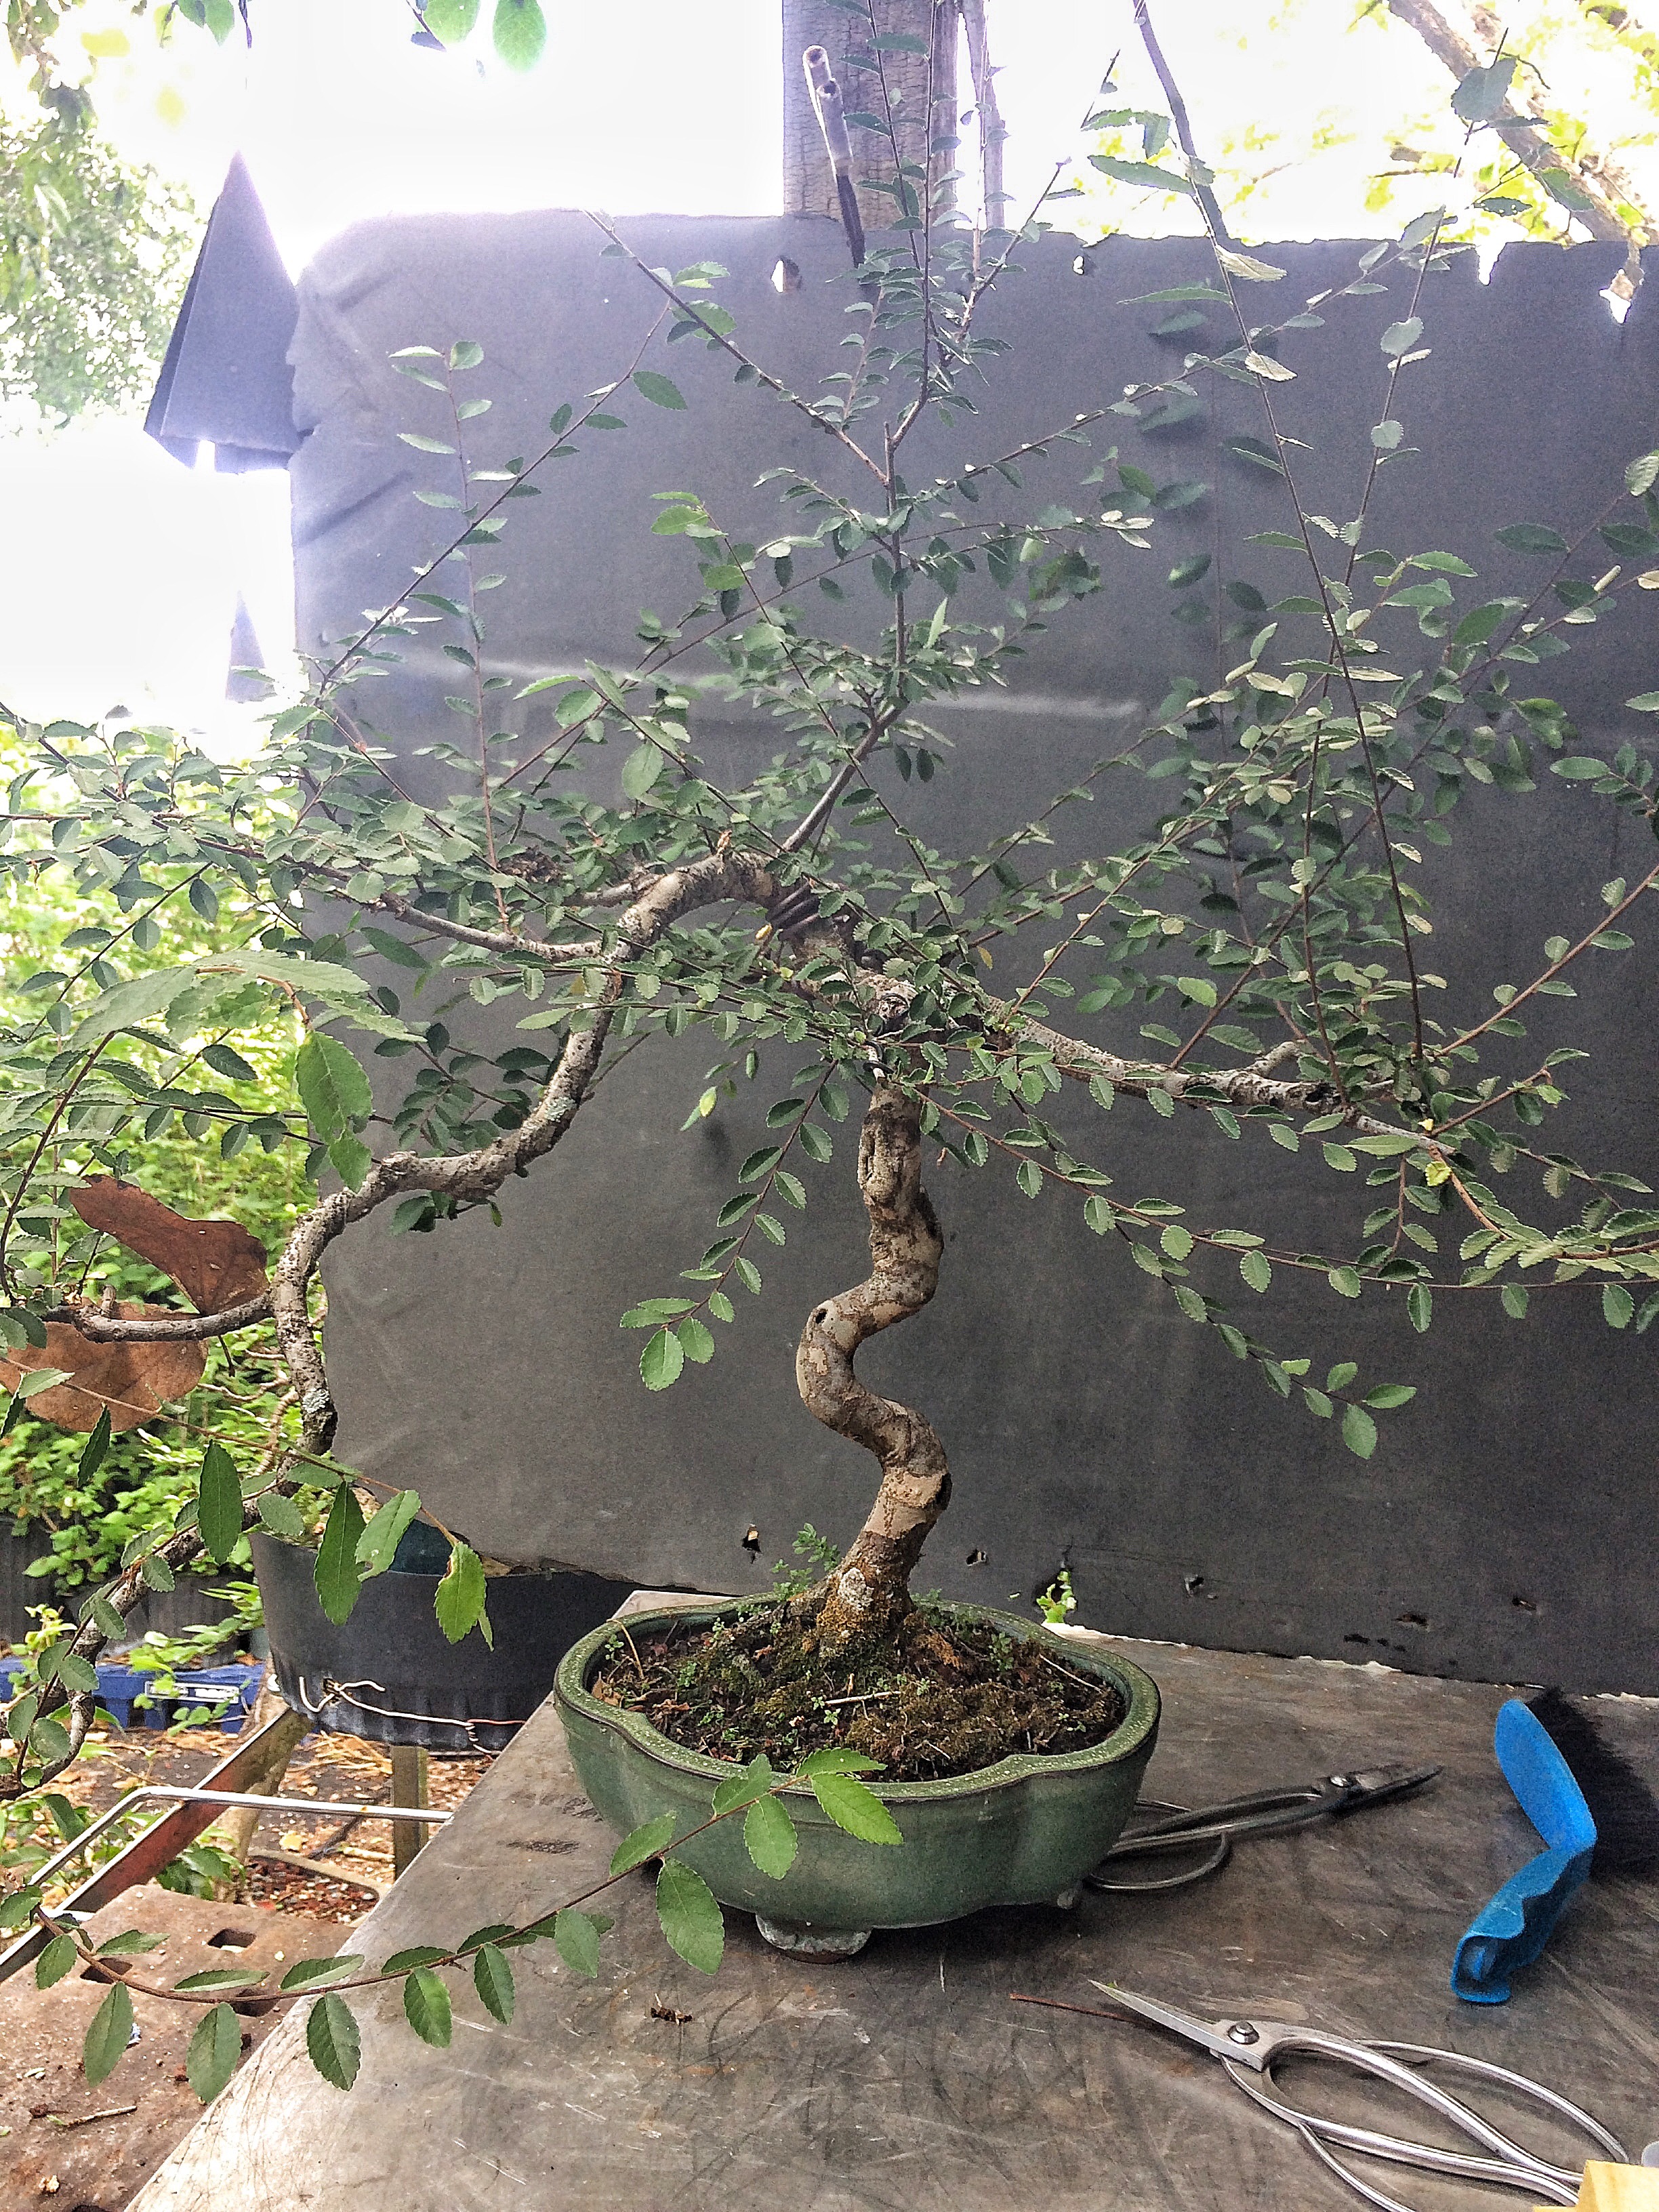 It is clearly a product of the S-curve bonsai production industry, but the owner, in a stroke of genius, let the top grow long so he could air layer it off for a cascade.
 I see a good spot for the cut too.
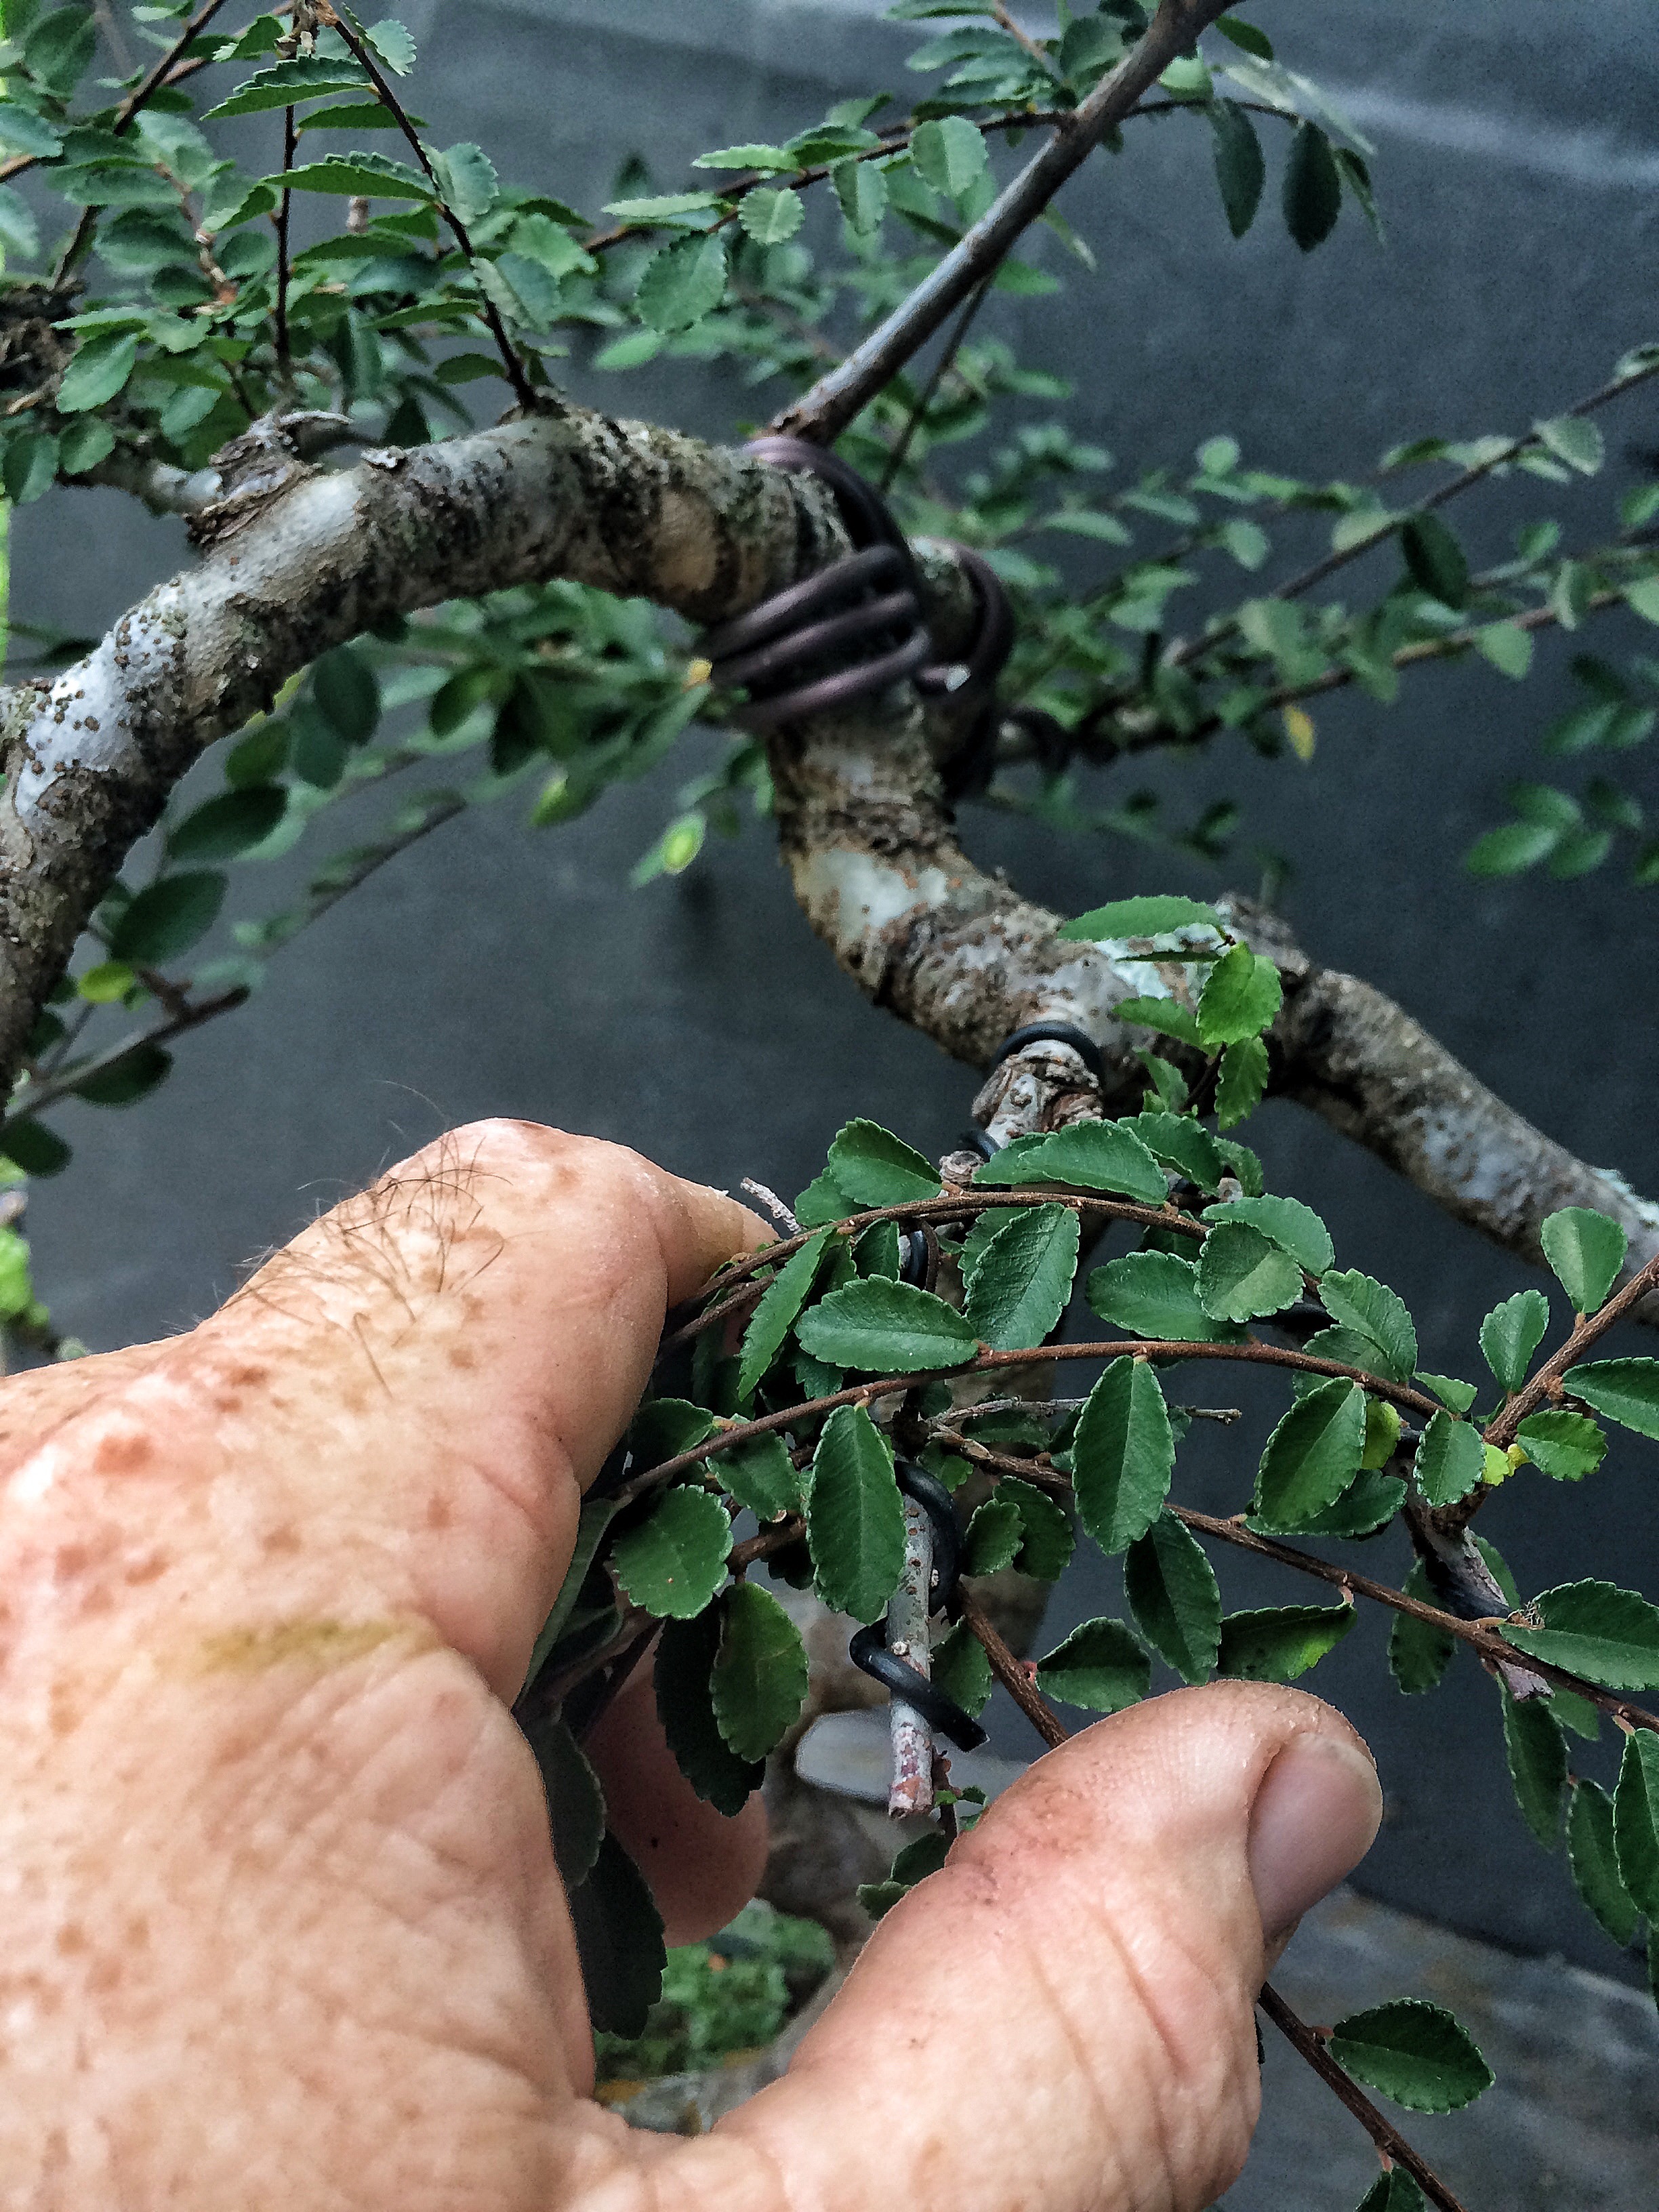
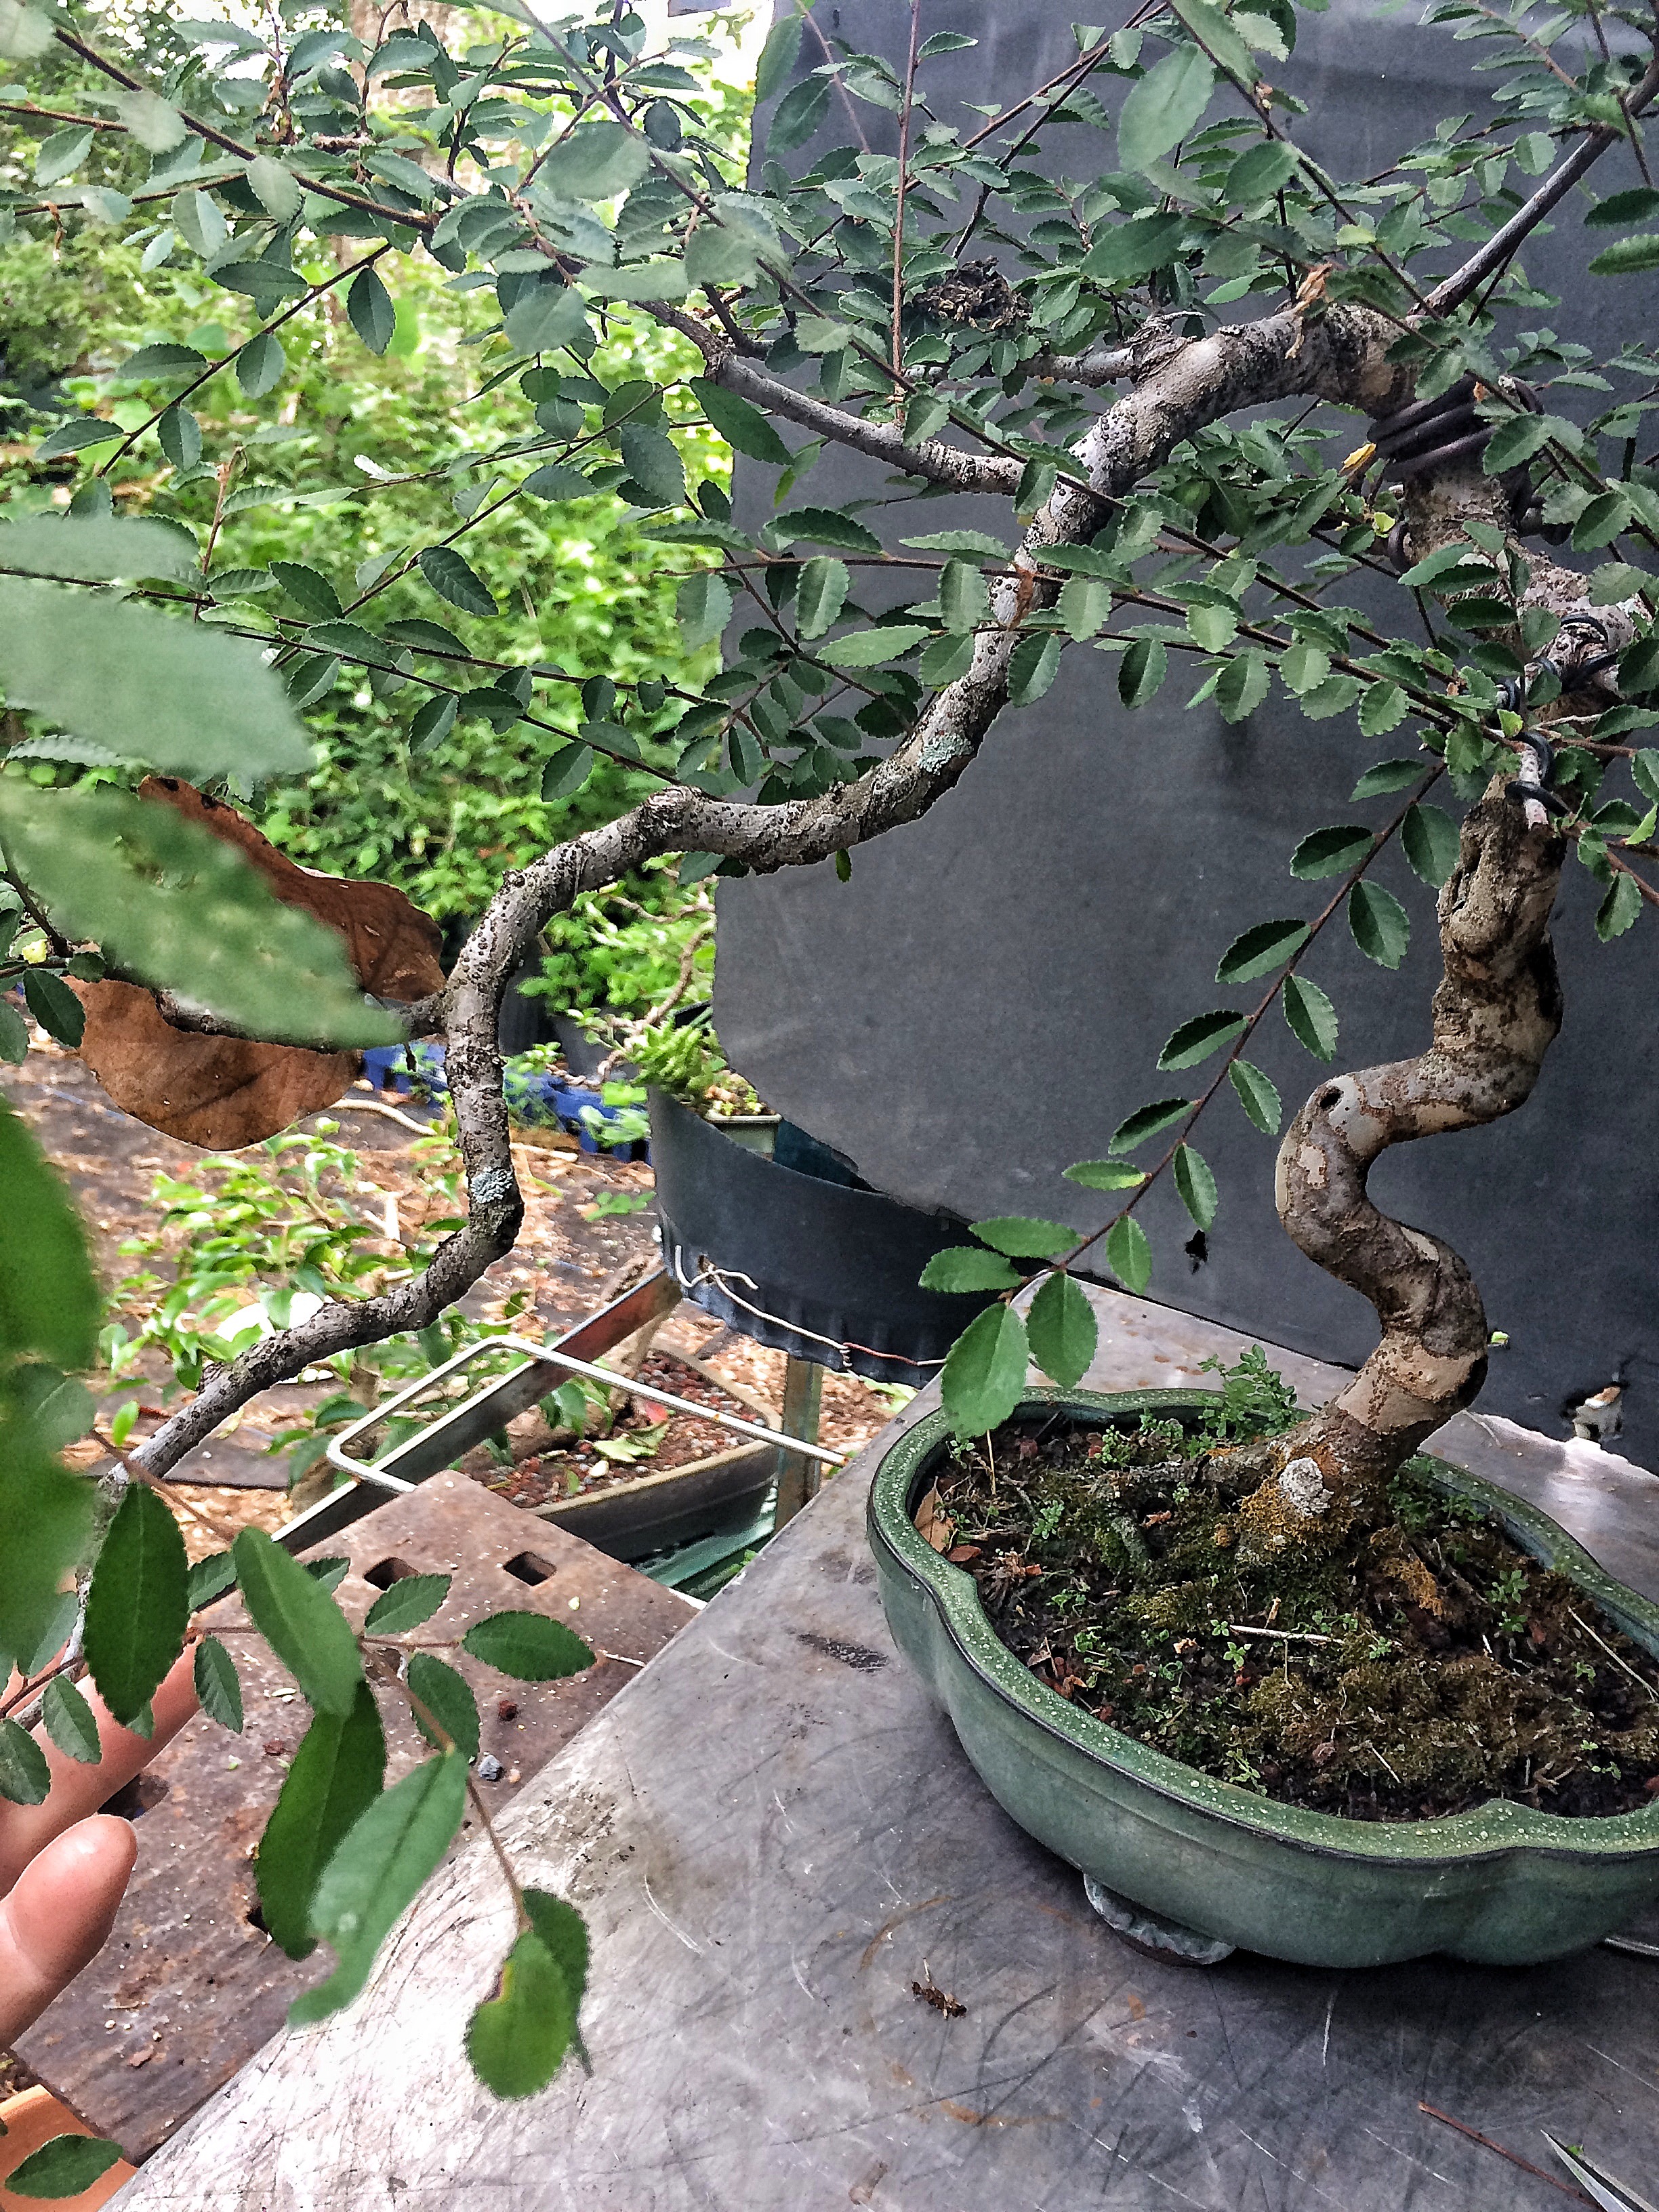
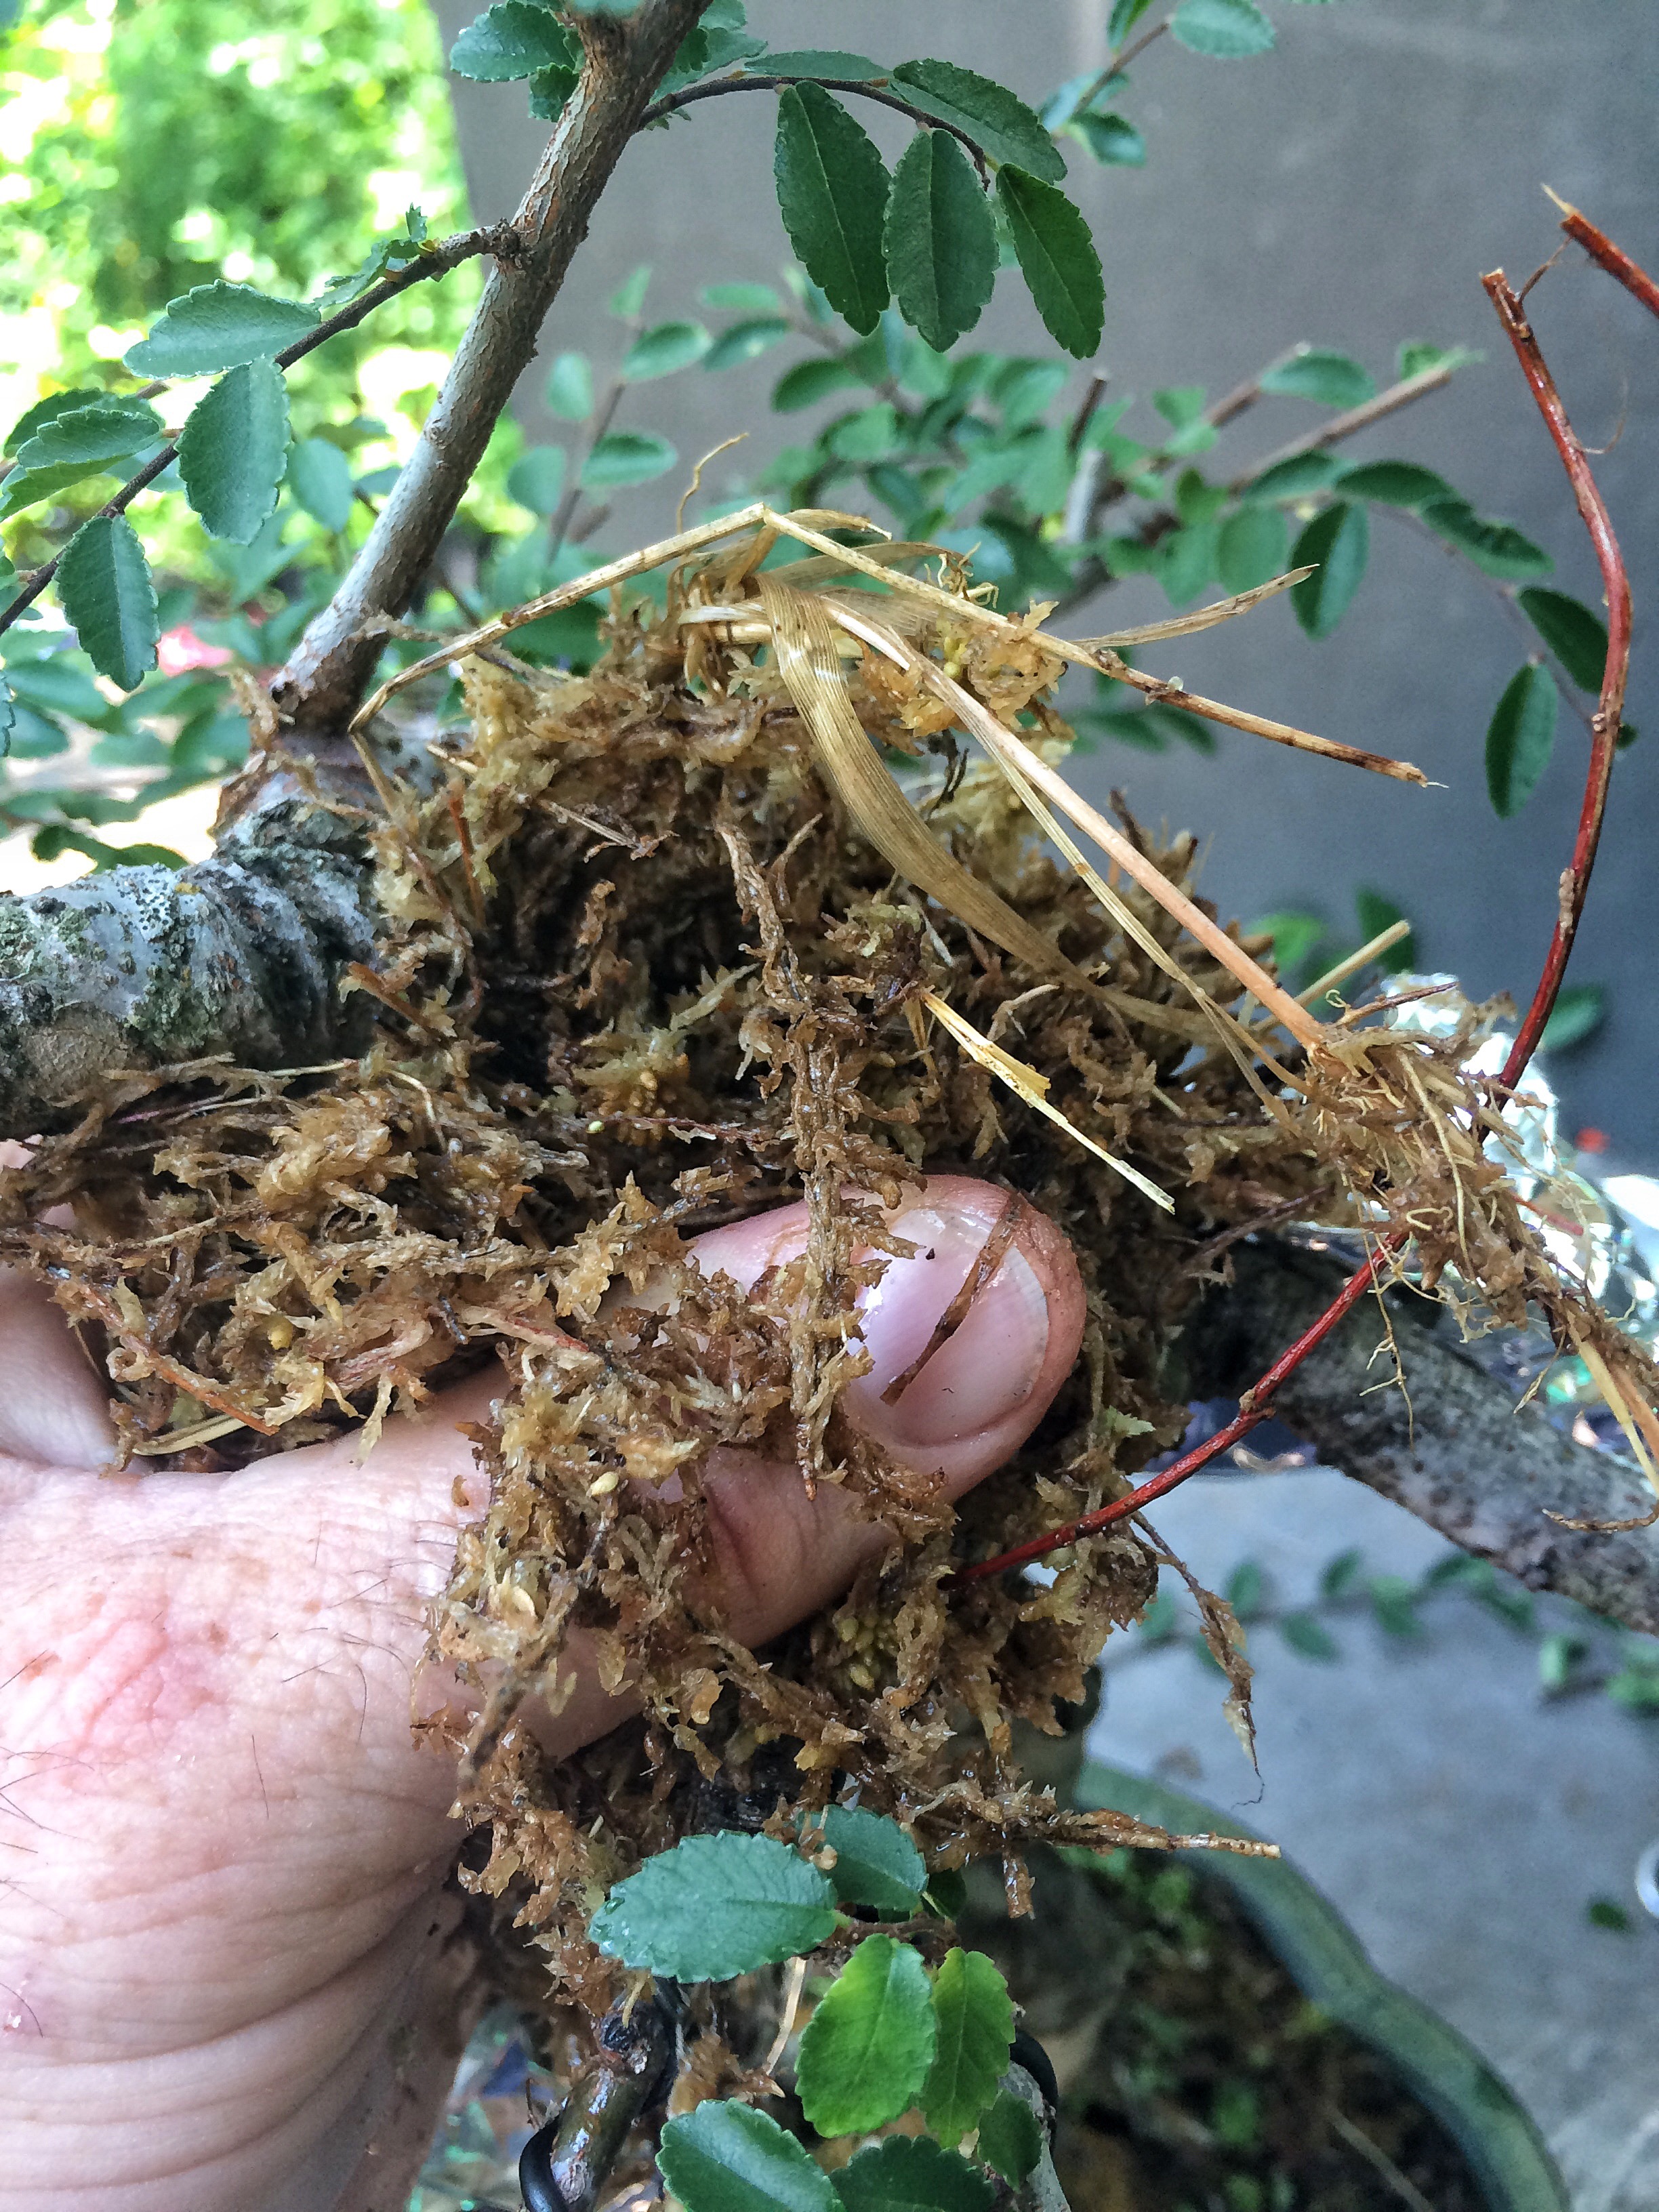
I would say this tree could be air layer one more time (at a later date, one air layer per trunk line) to make a third tree and then a short, sweet shohin as well. Remove the wire first.
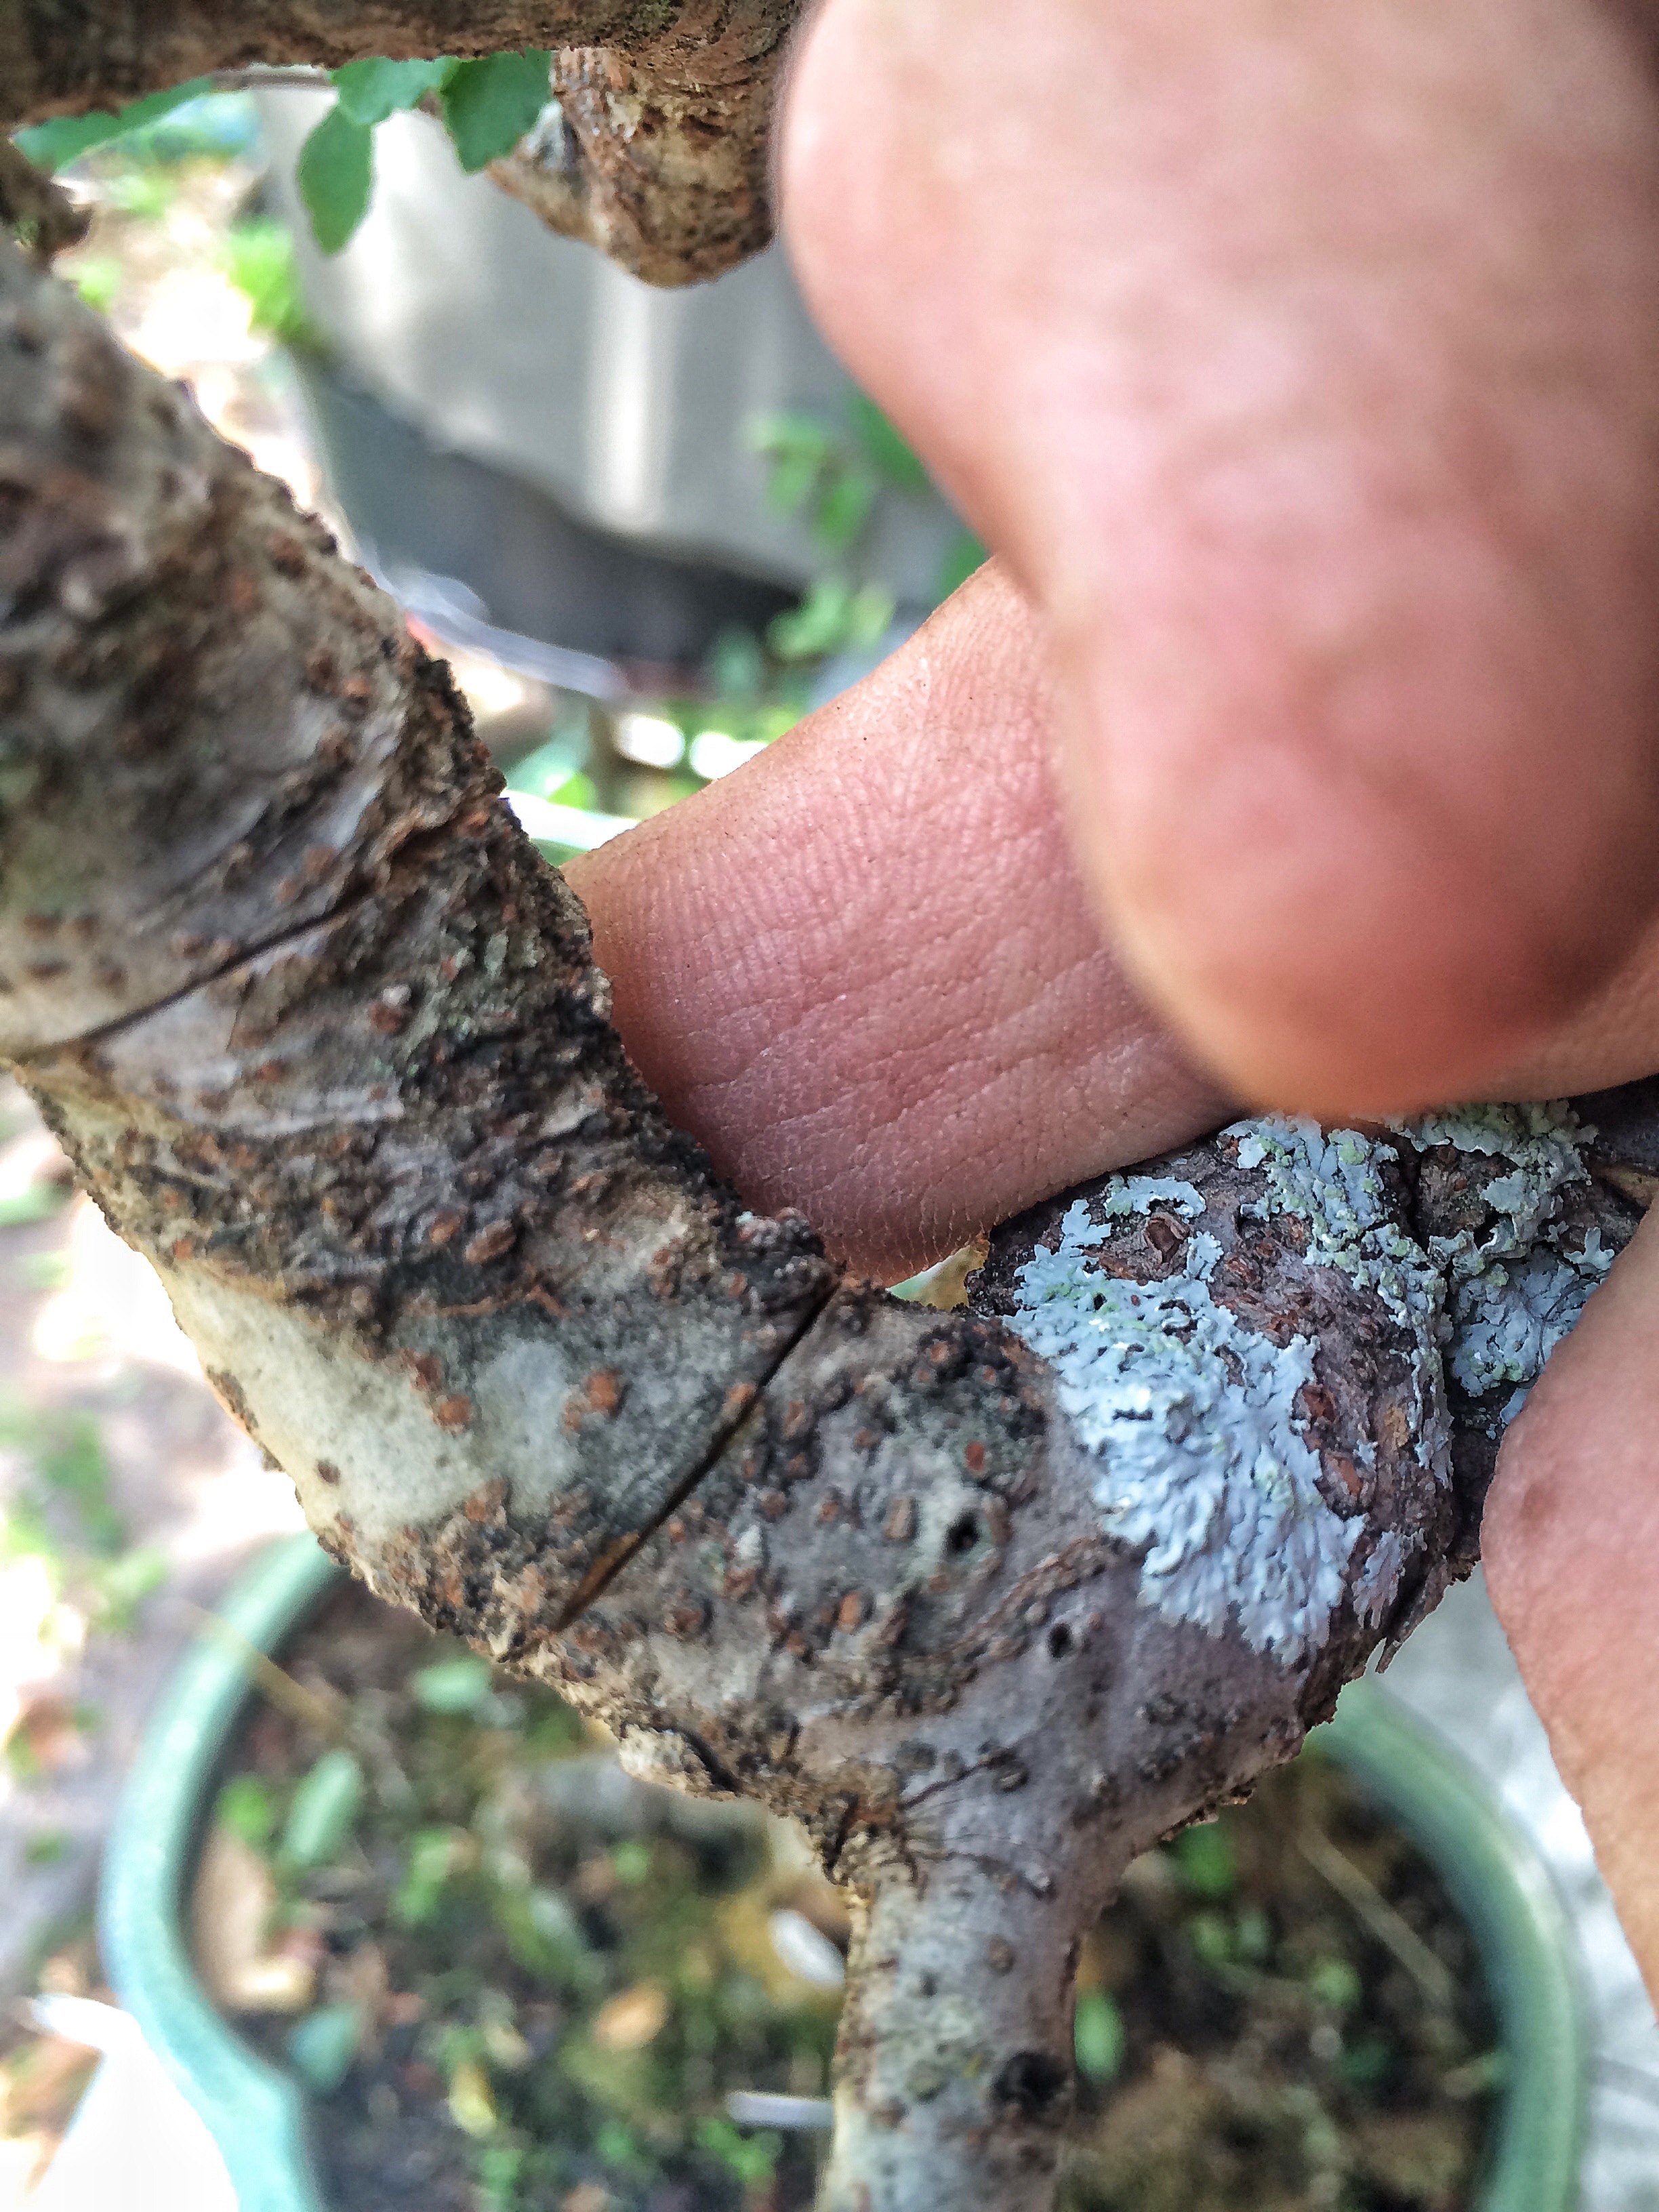
Here’s the bark removal site. 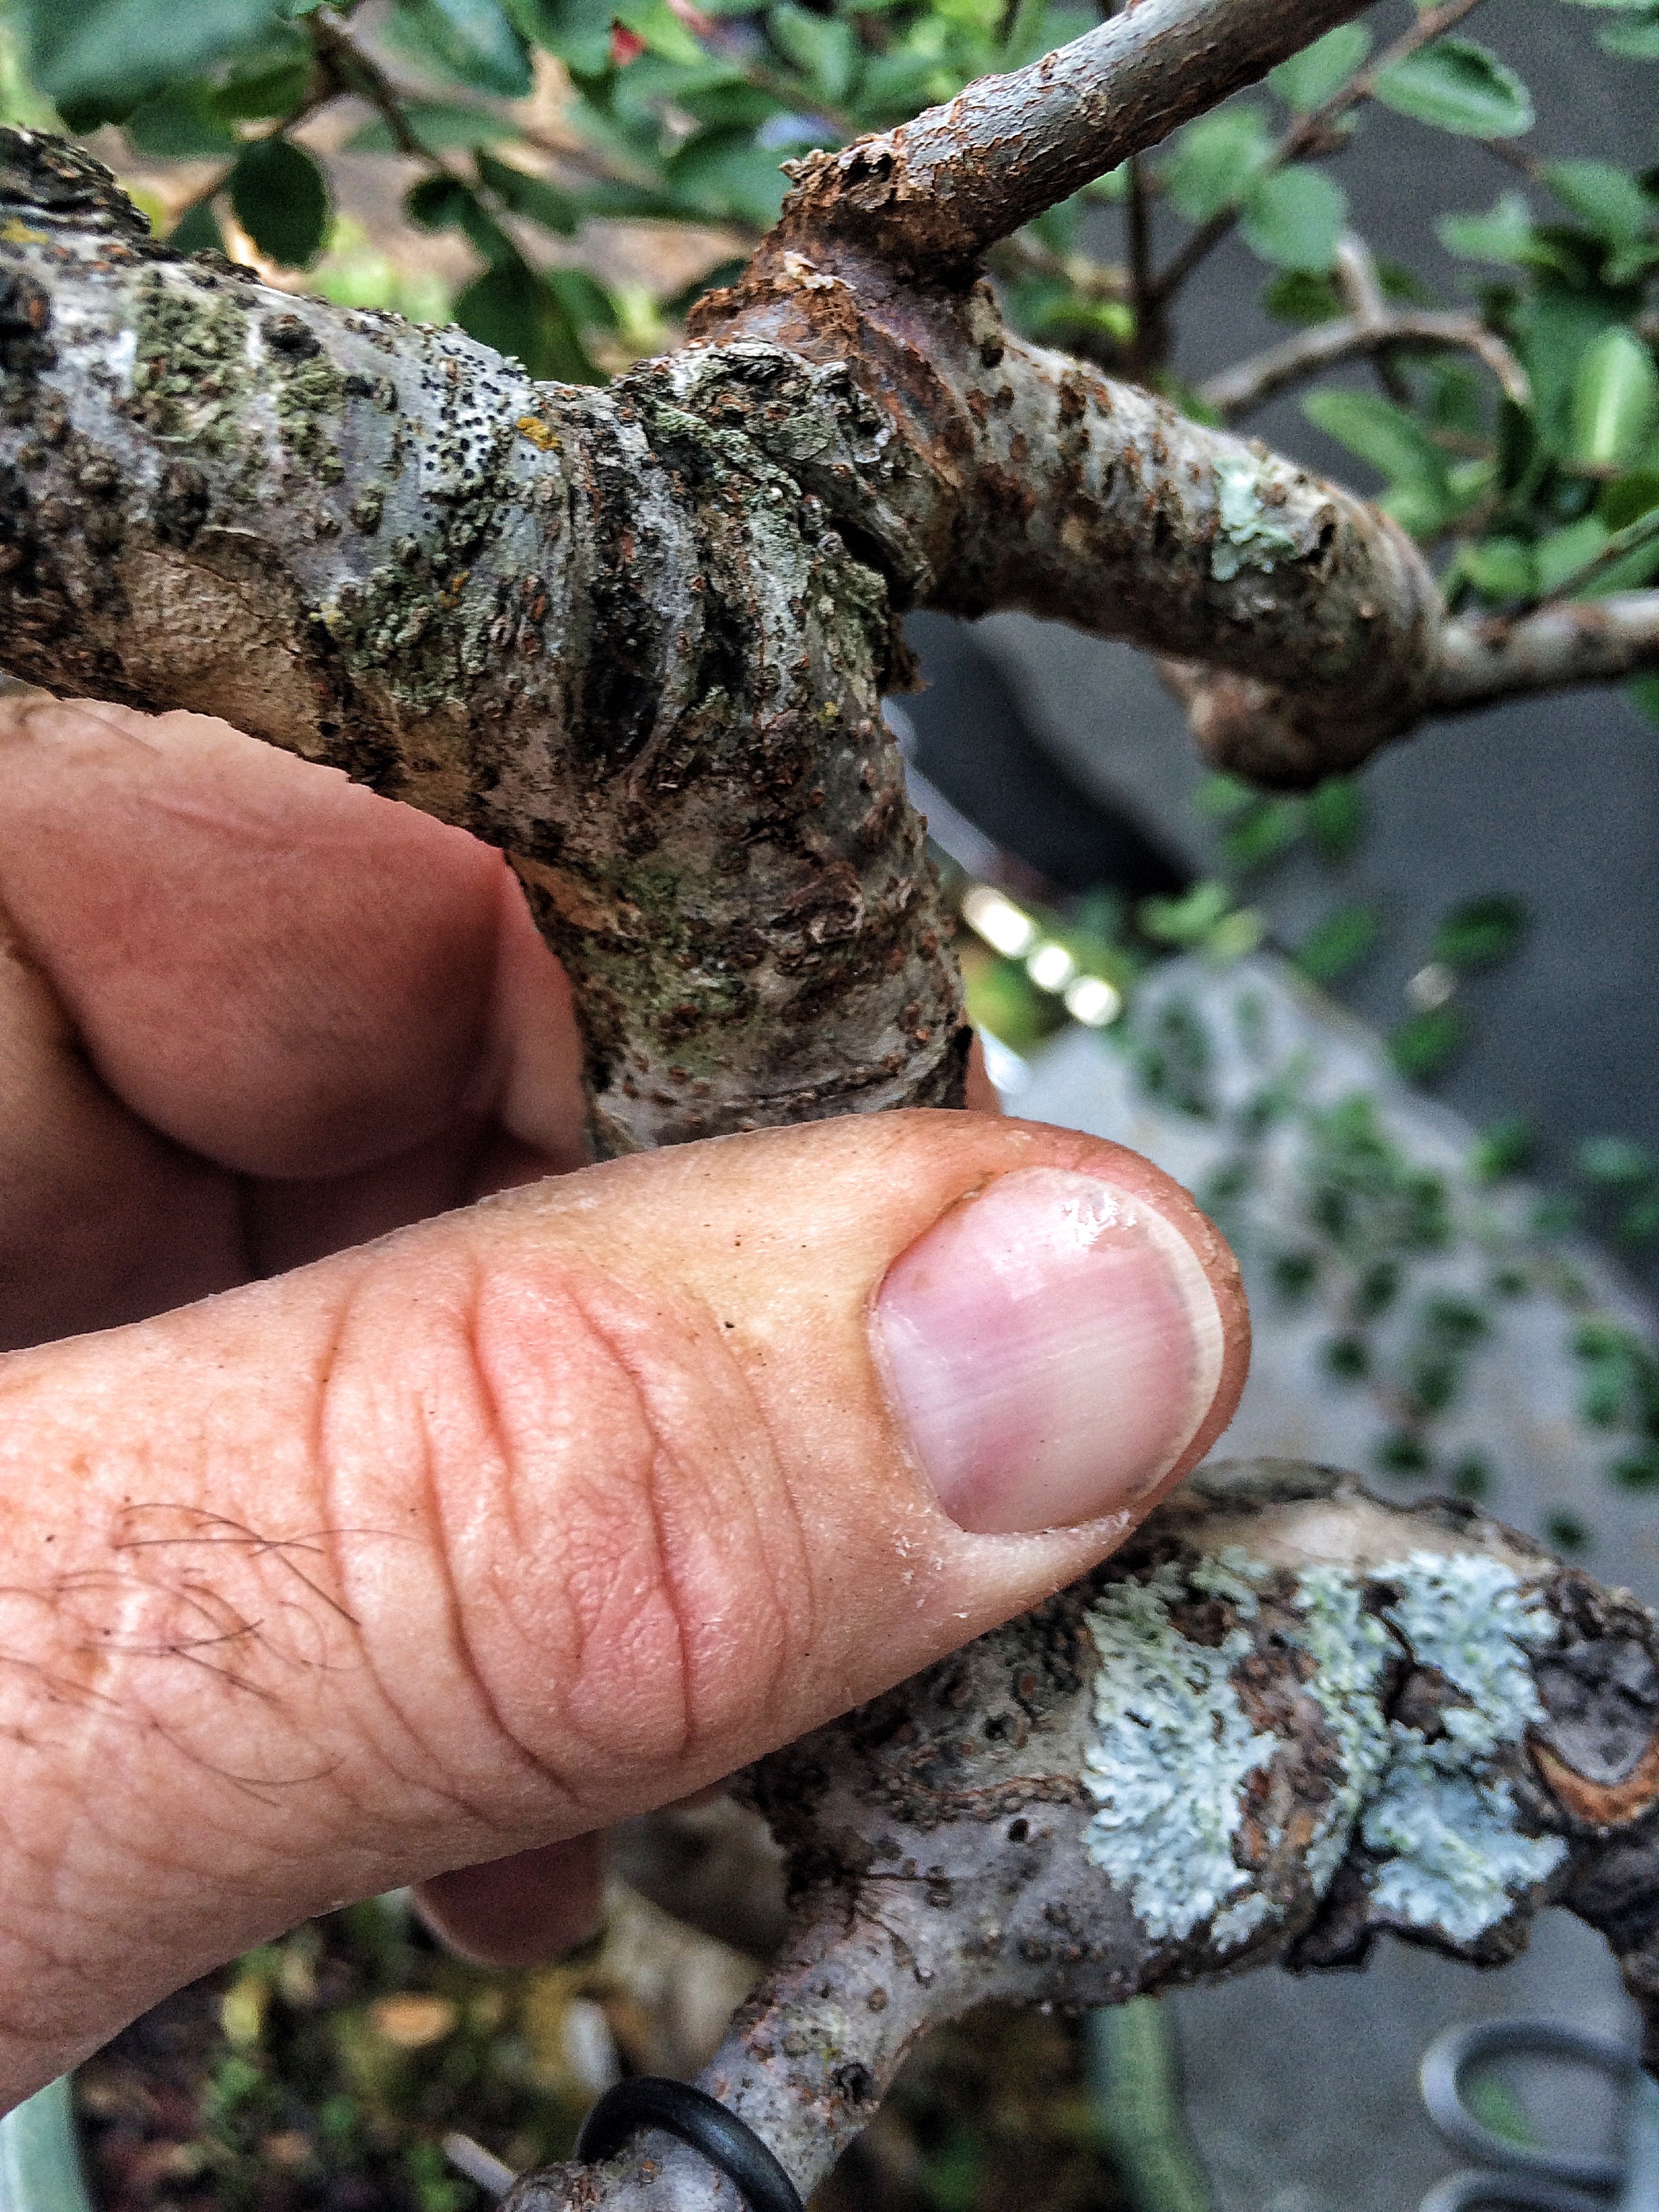
Sharpen zee knife!
Then cut two rings around the bark, about the thickness of the trunk or branch you’re using.
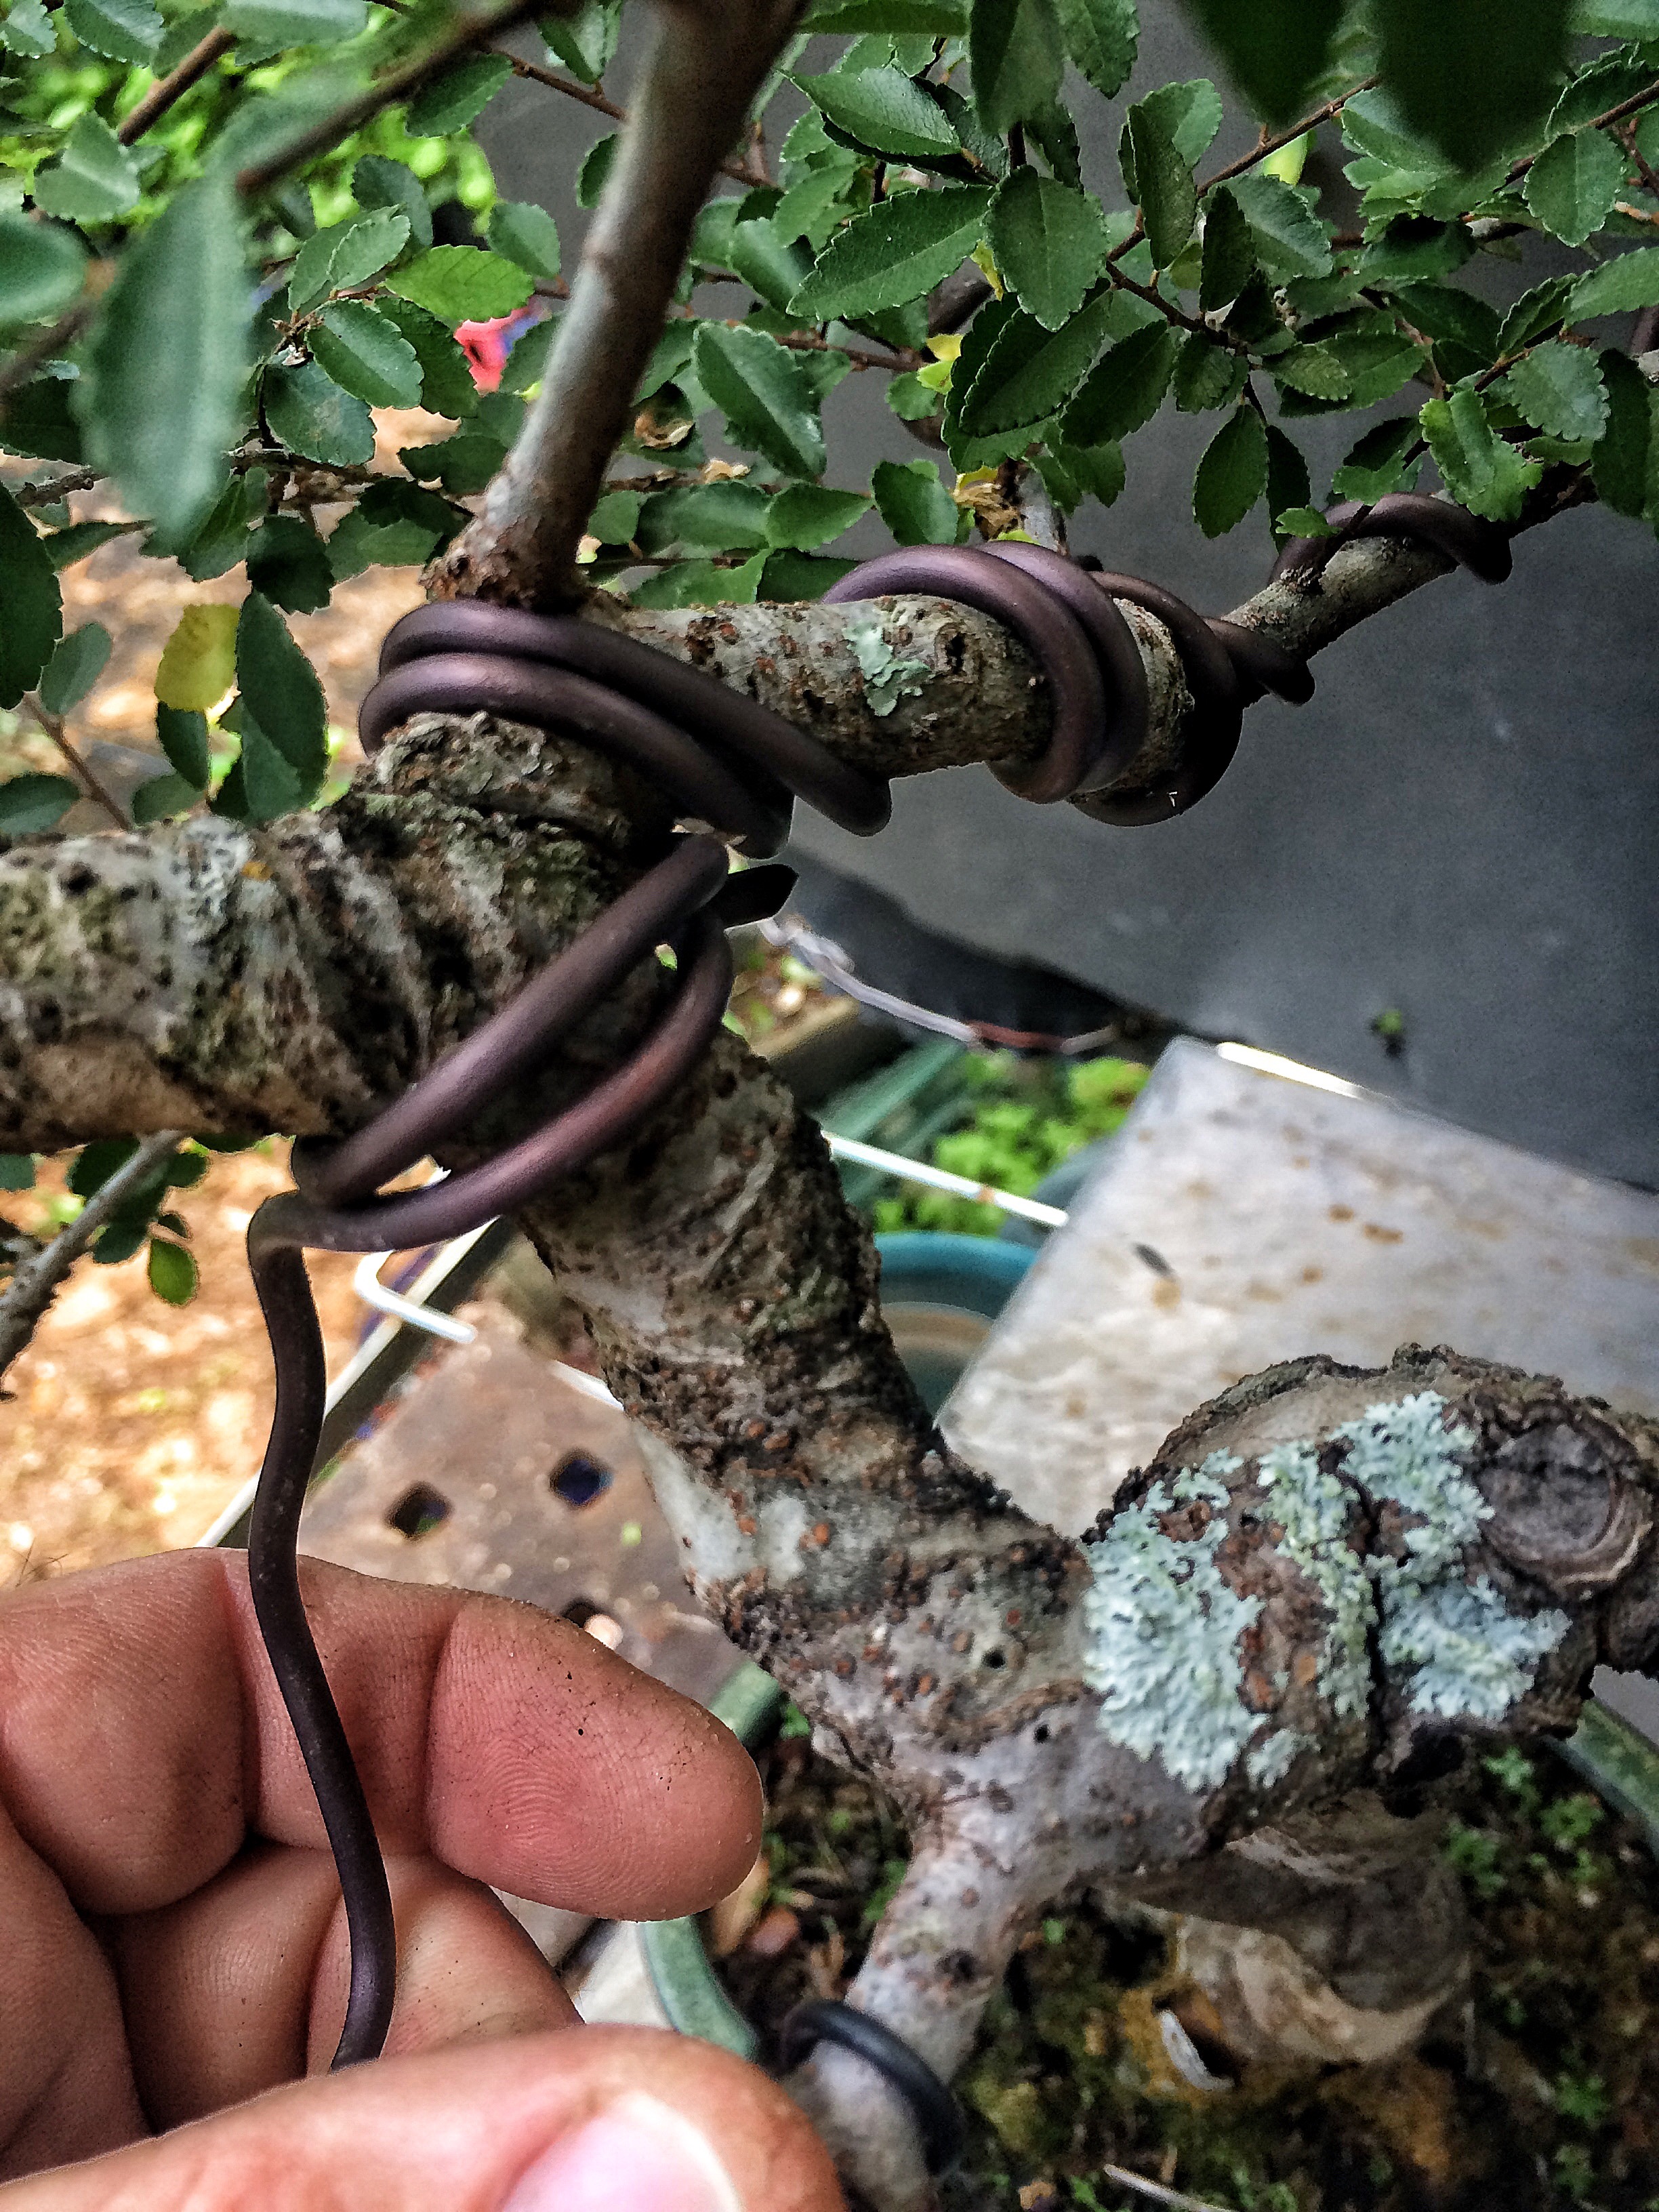
 Sometimes, on trees that heal fast, like an elm or a trident, you need to make the bark ring wider or even wrap a wire on the bare wood, to keep it from healing over.
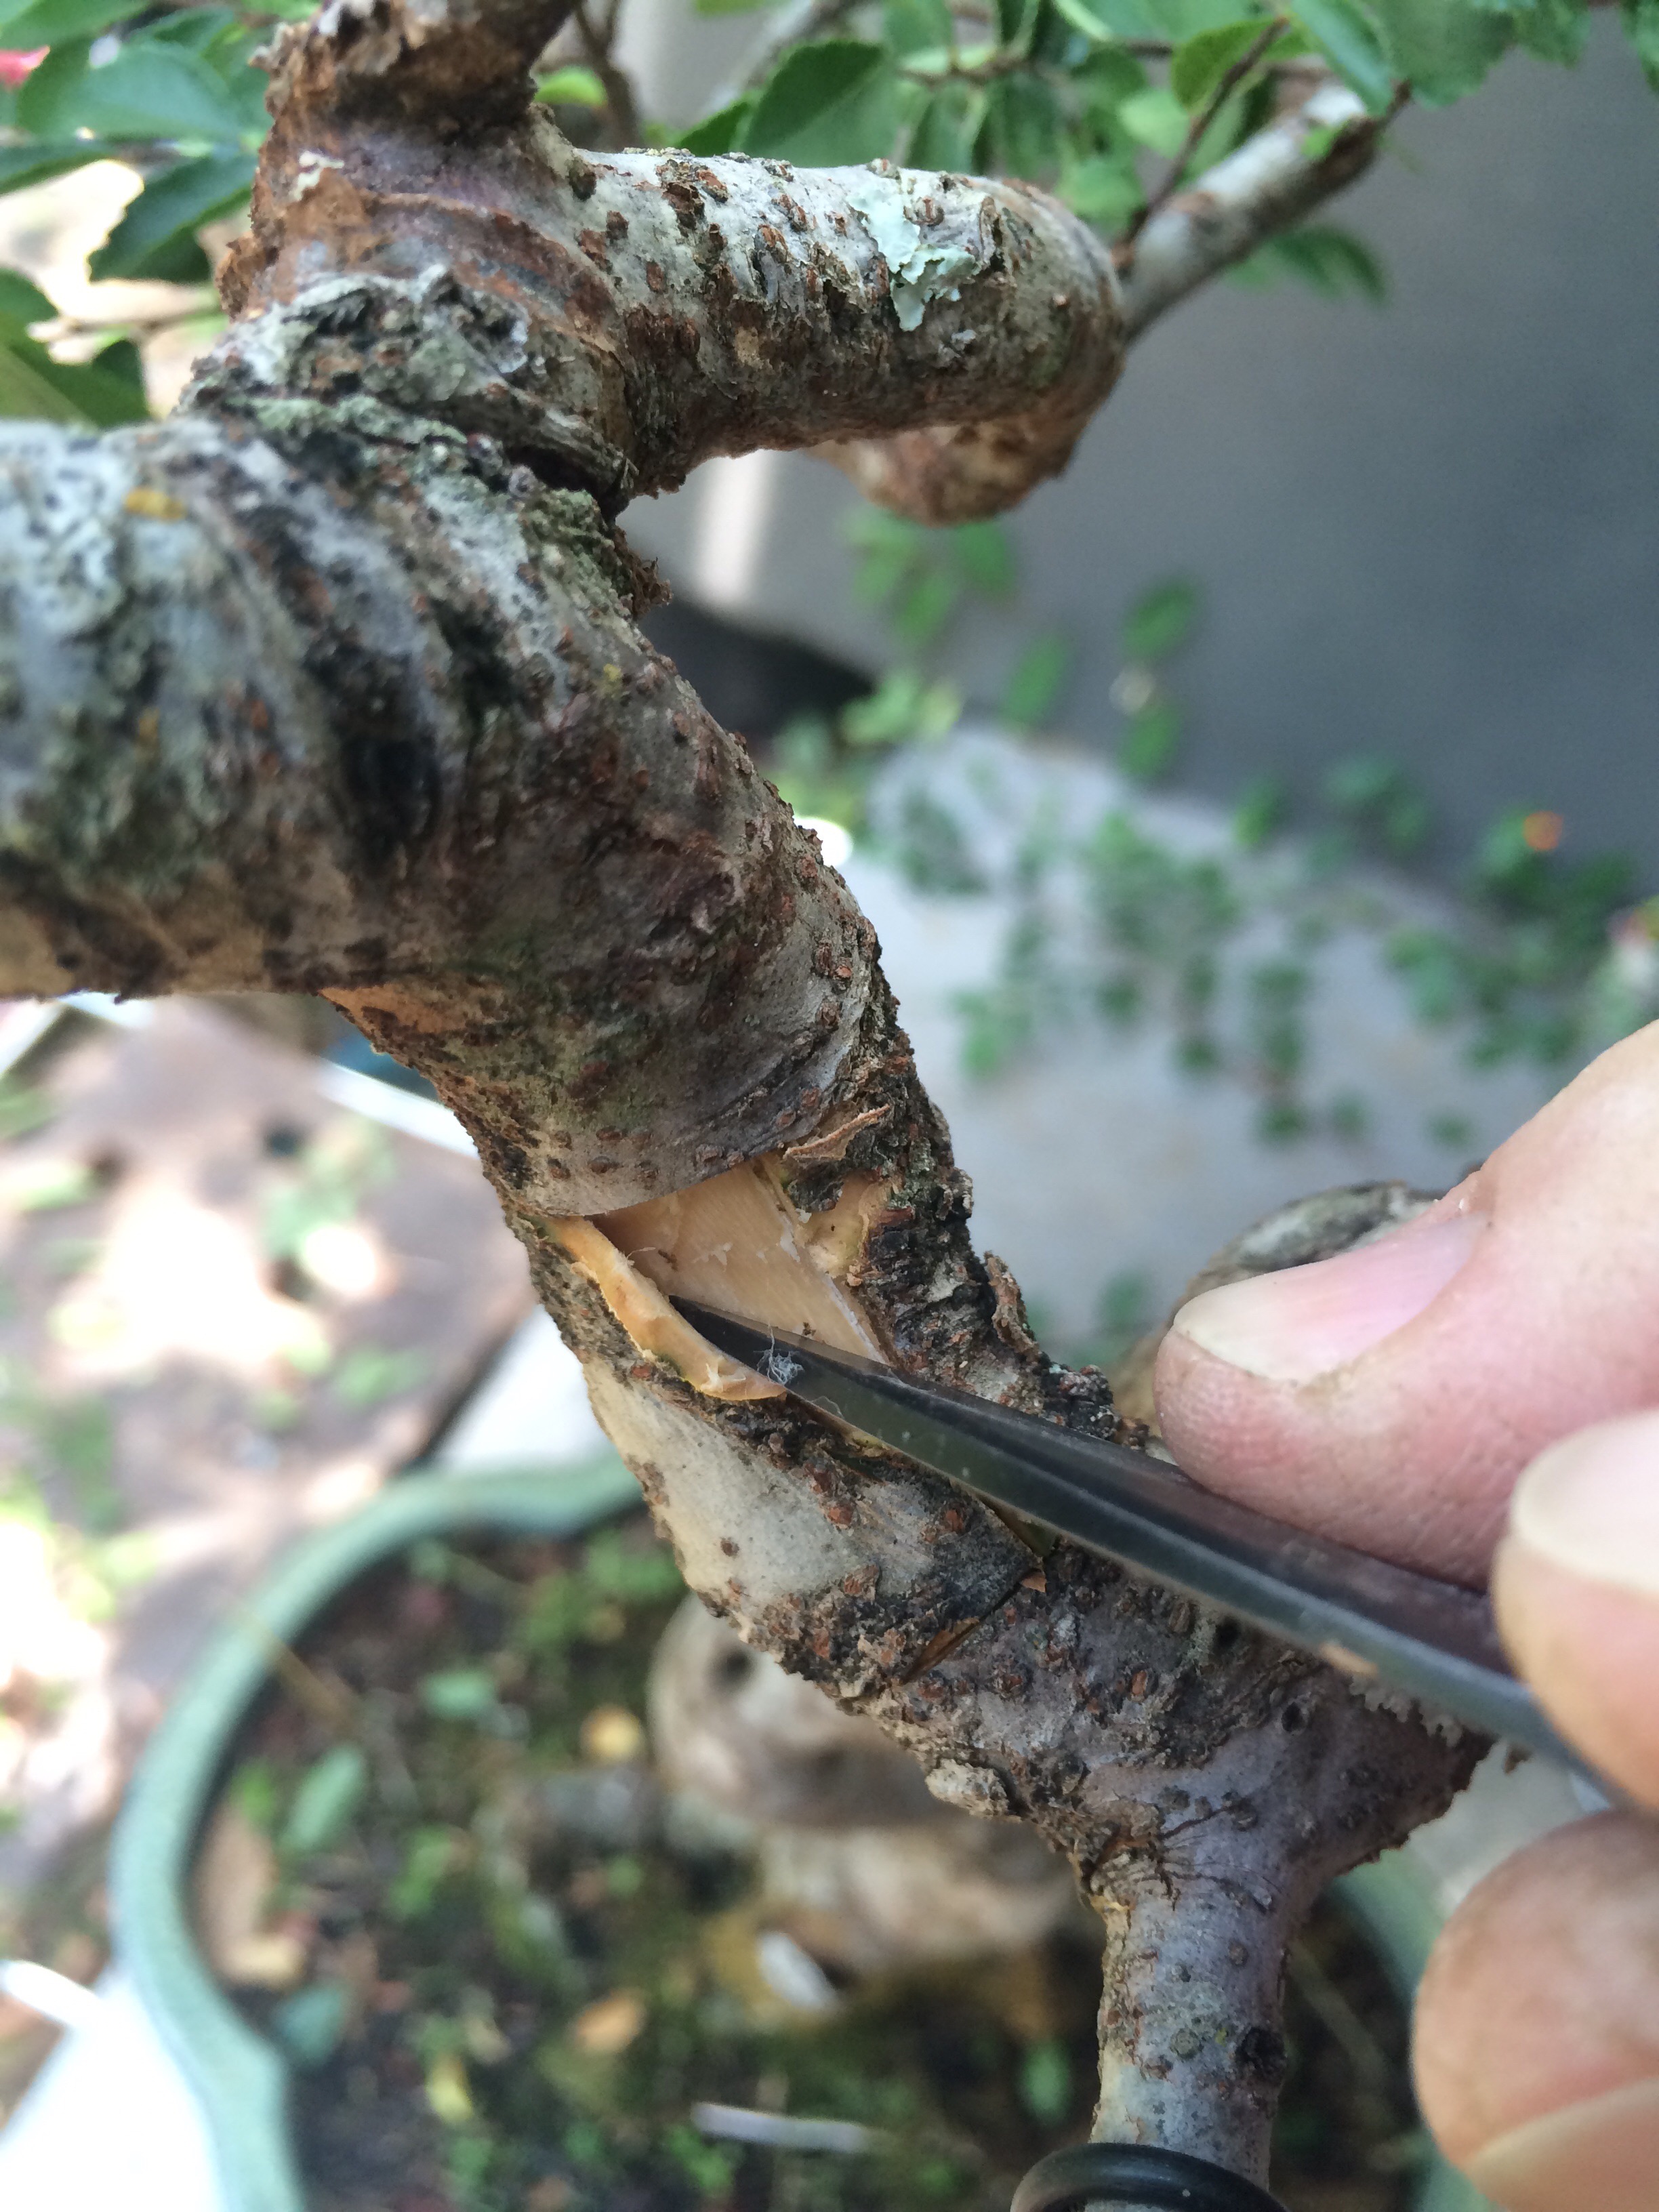
Then you connect the two rings. 
And start peeling.
Then it’s sphagnum time (I always say that like I’m Sean Connery, I can’t help myself. I’m easily amused)
 Whoops, safety first, always use gloves when using sphagnum moss.
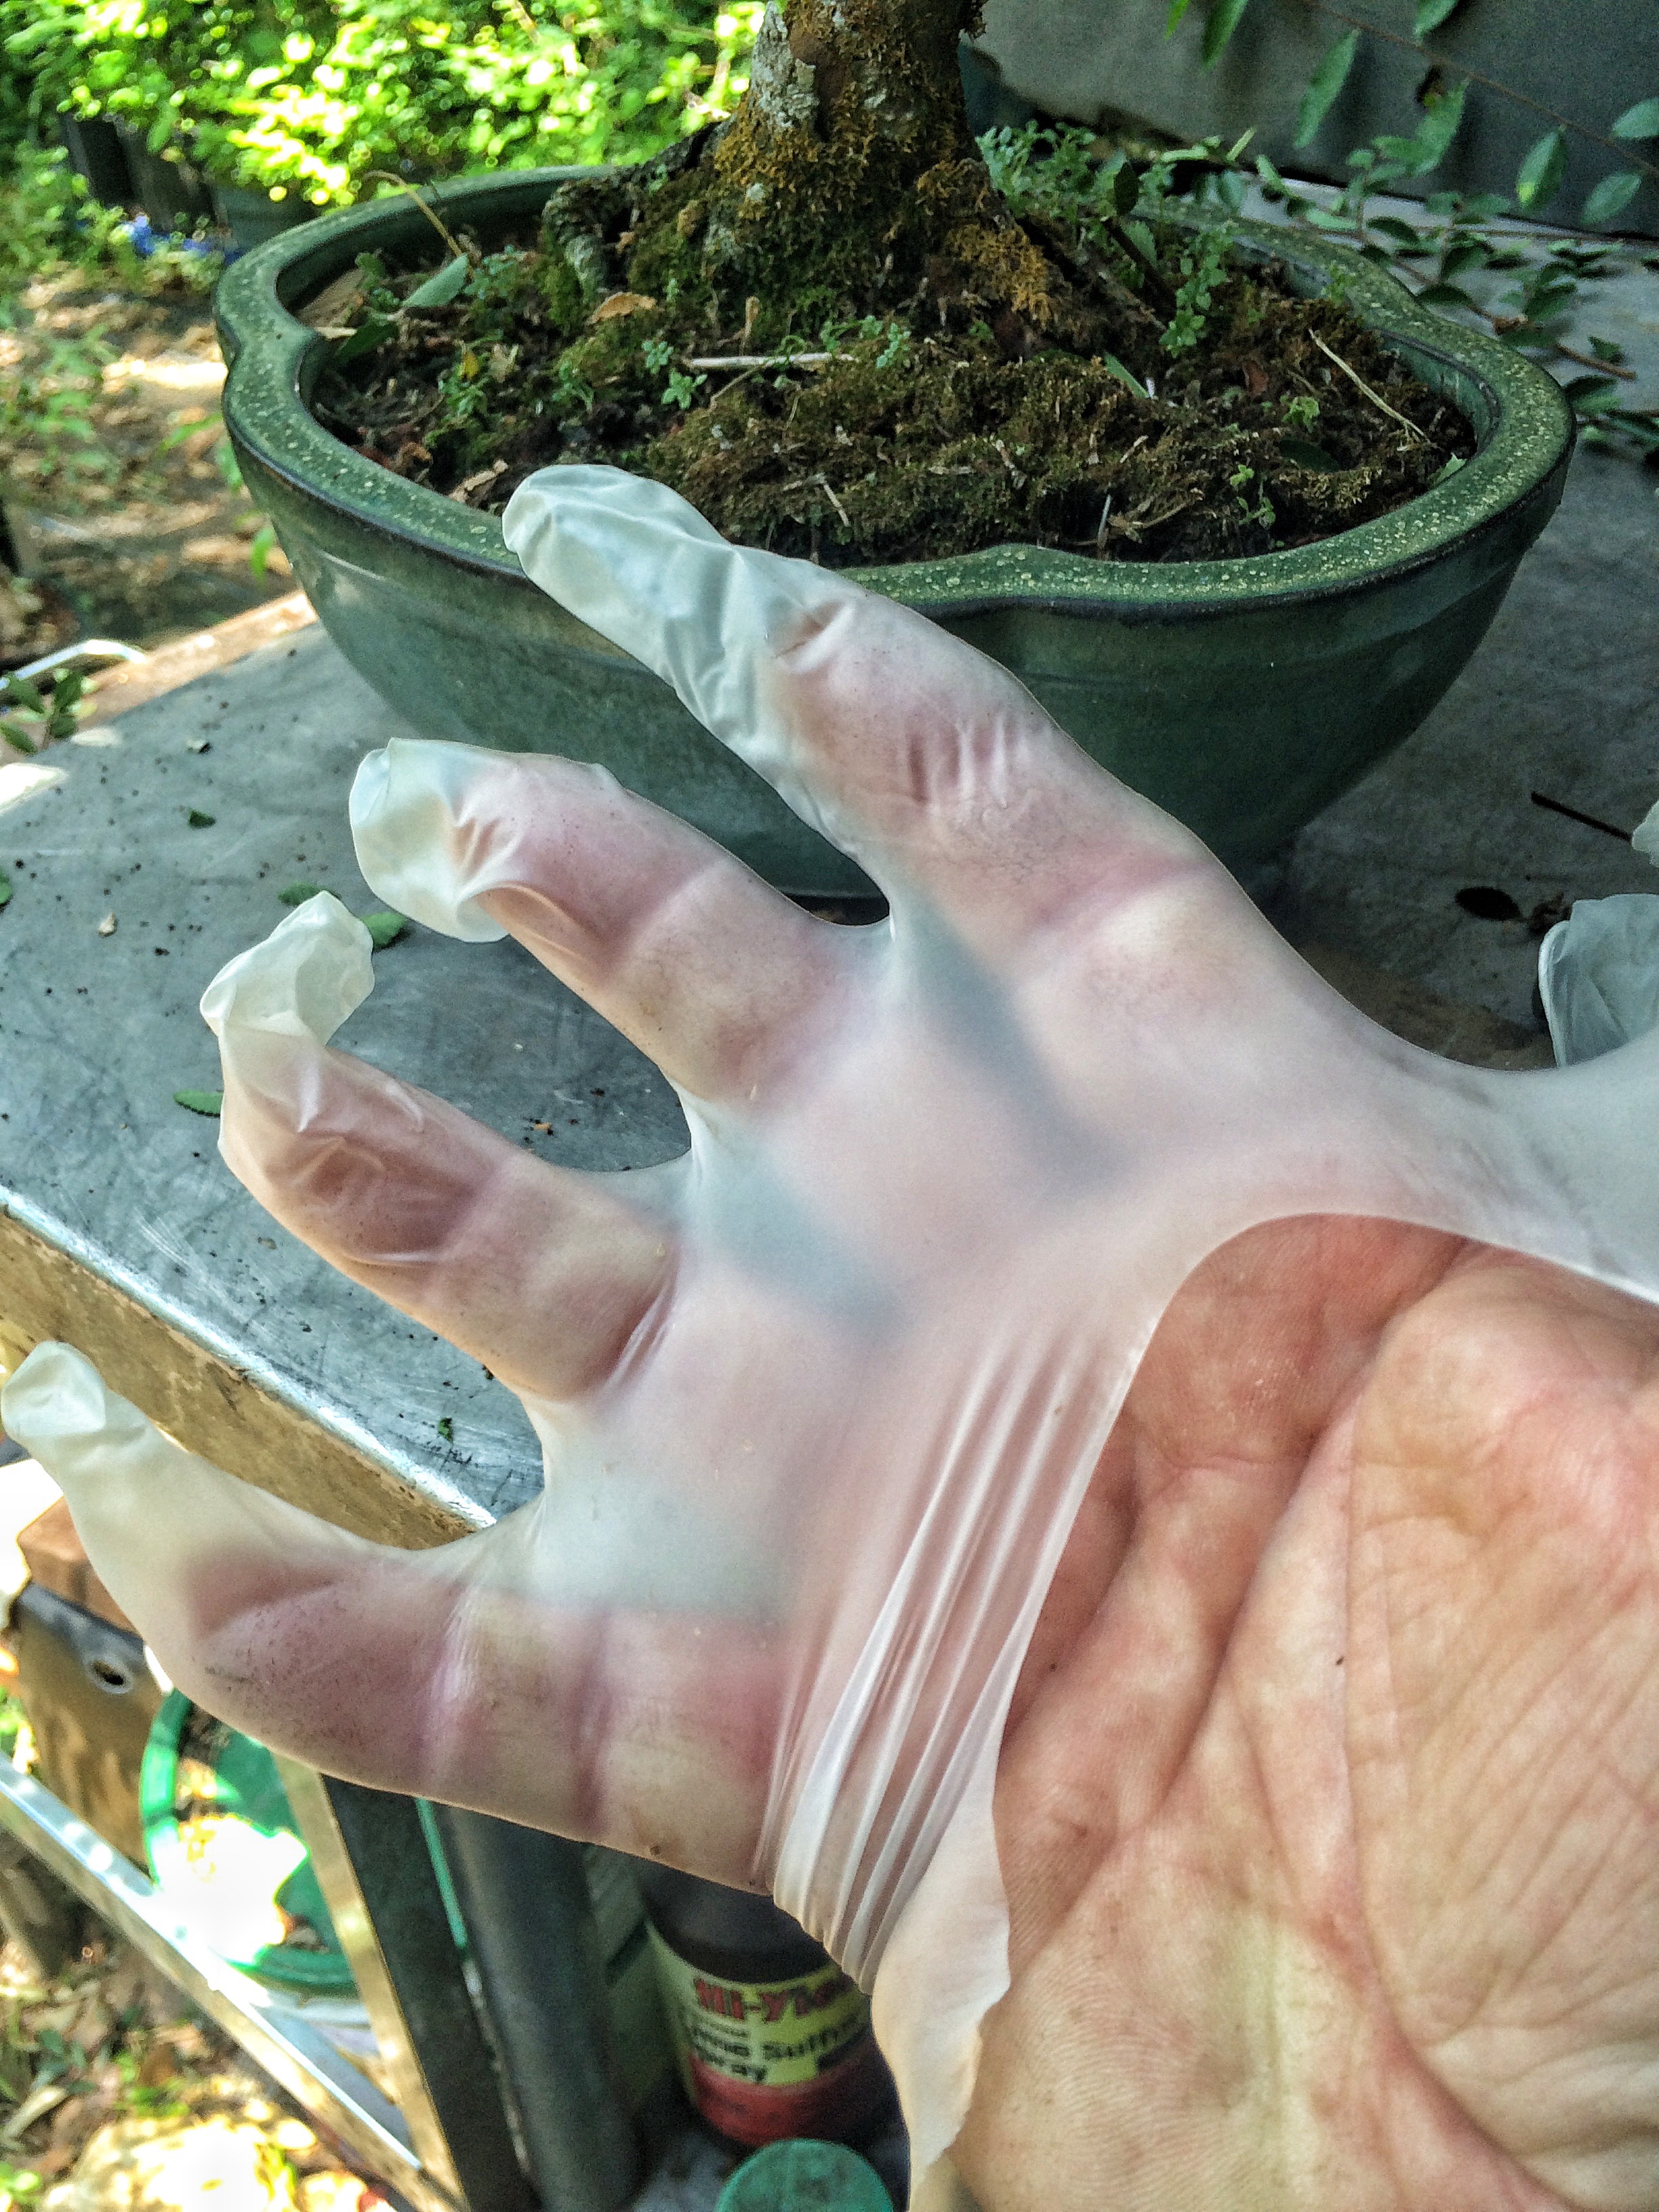
There’s a disease called Cutaneous Sporotrichosis caused by a fungus (Sporothrix schenckii) that lives in most North American sphagnum moss (not to be confused with peat moss). I suggest you use moss called New Zealand sphagnum (which, oddly enough, we get from Chile). Enough safety. Back to work.
That’s all I have for you. The premna went up to the Carolinas with a client and I have the elm here at the nursery. If I still have the tree when it’s time to remove the air layer I’ll show you the results. If not, I’ll fake it. Deal?
The only other pic I have to share with you is this pretty flower.
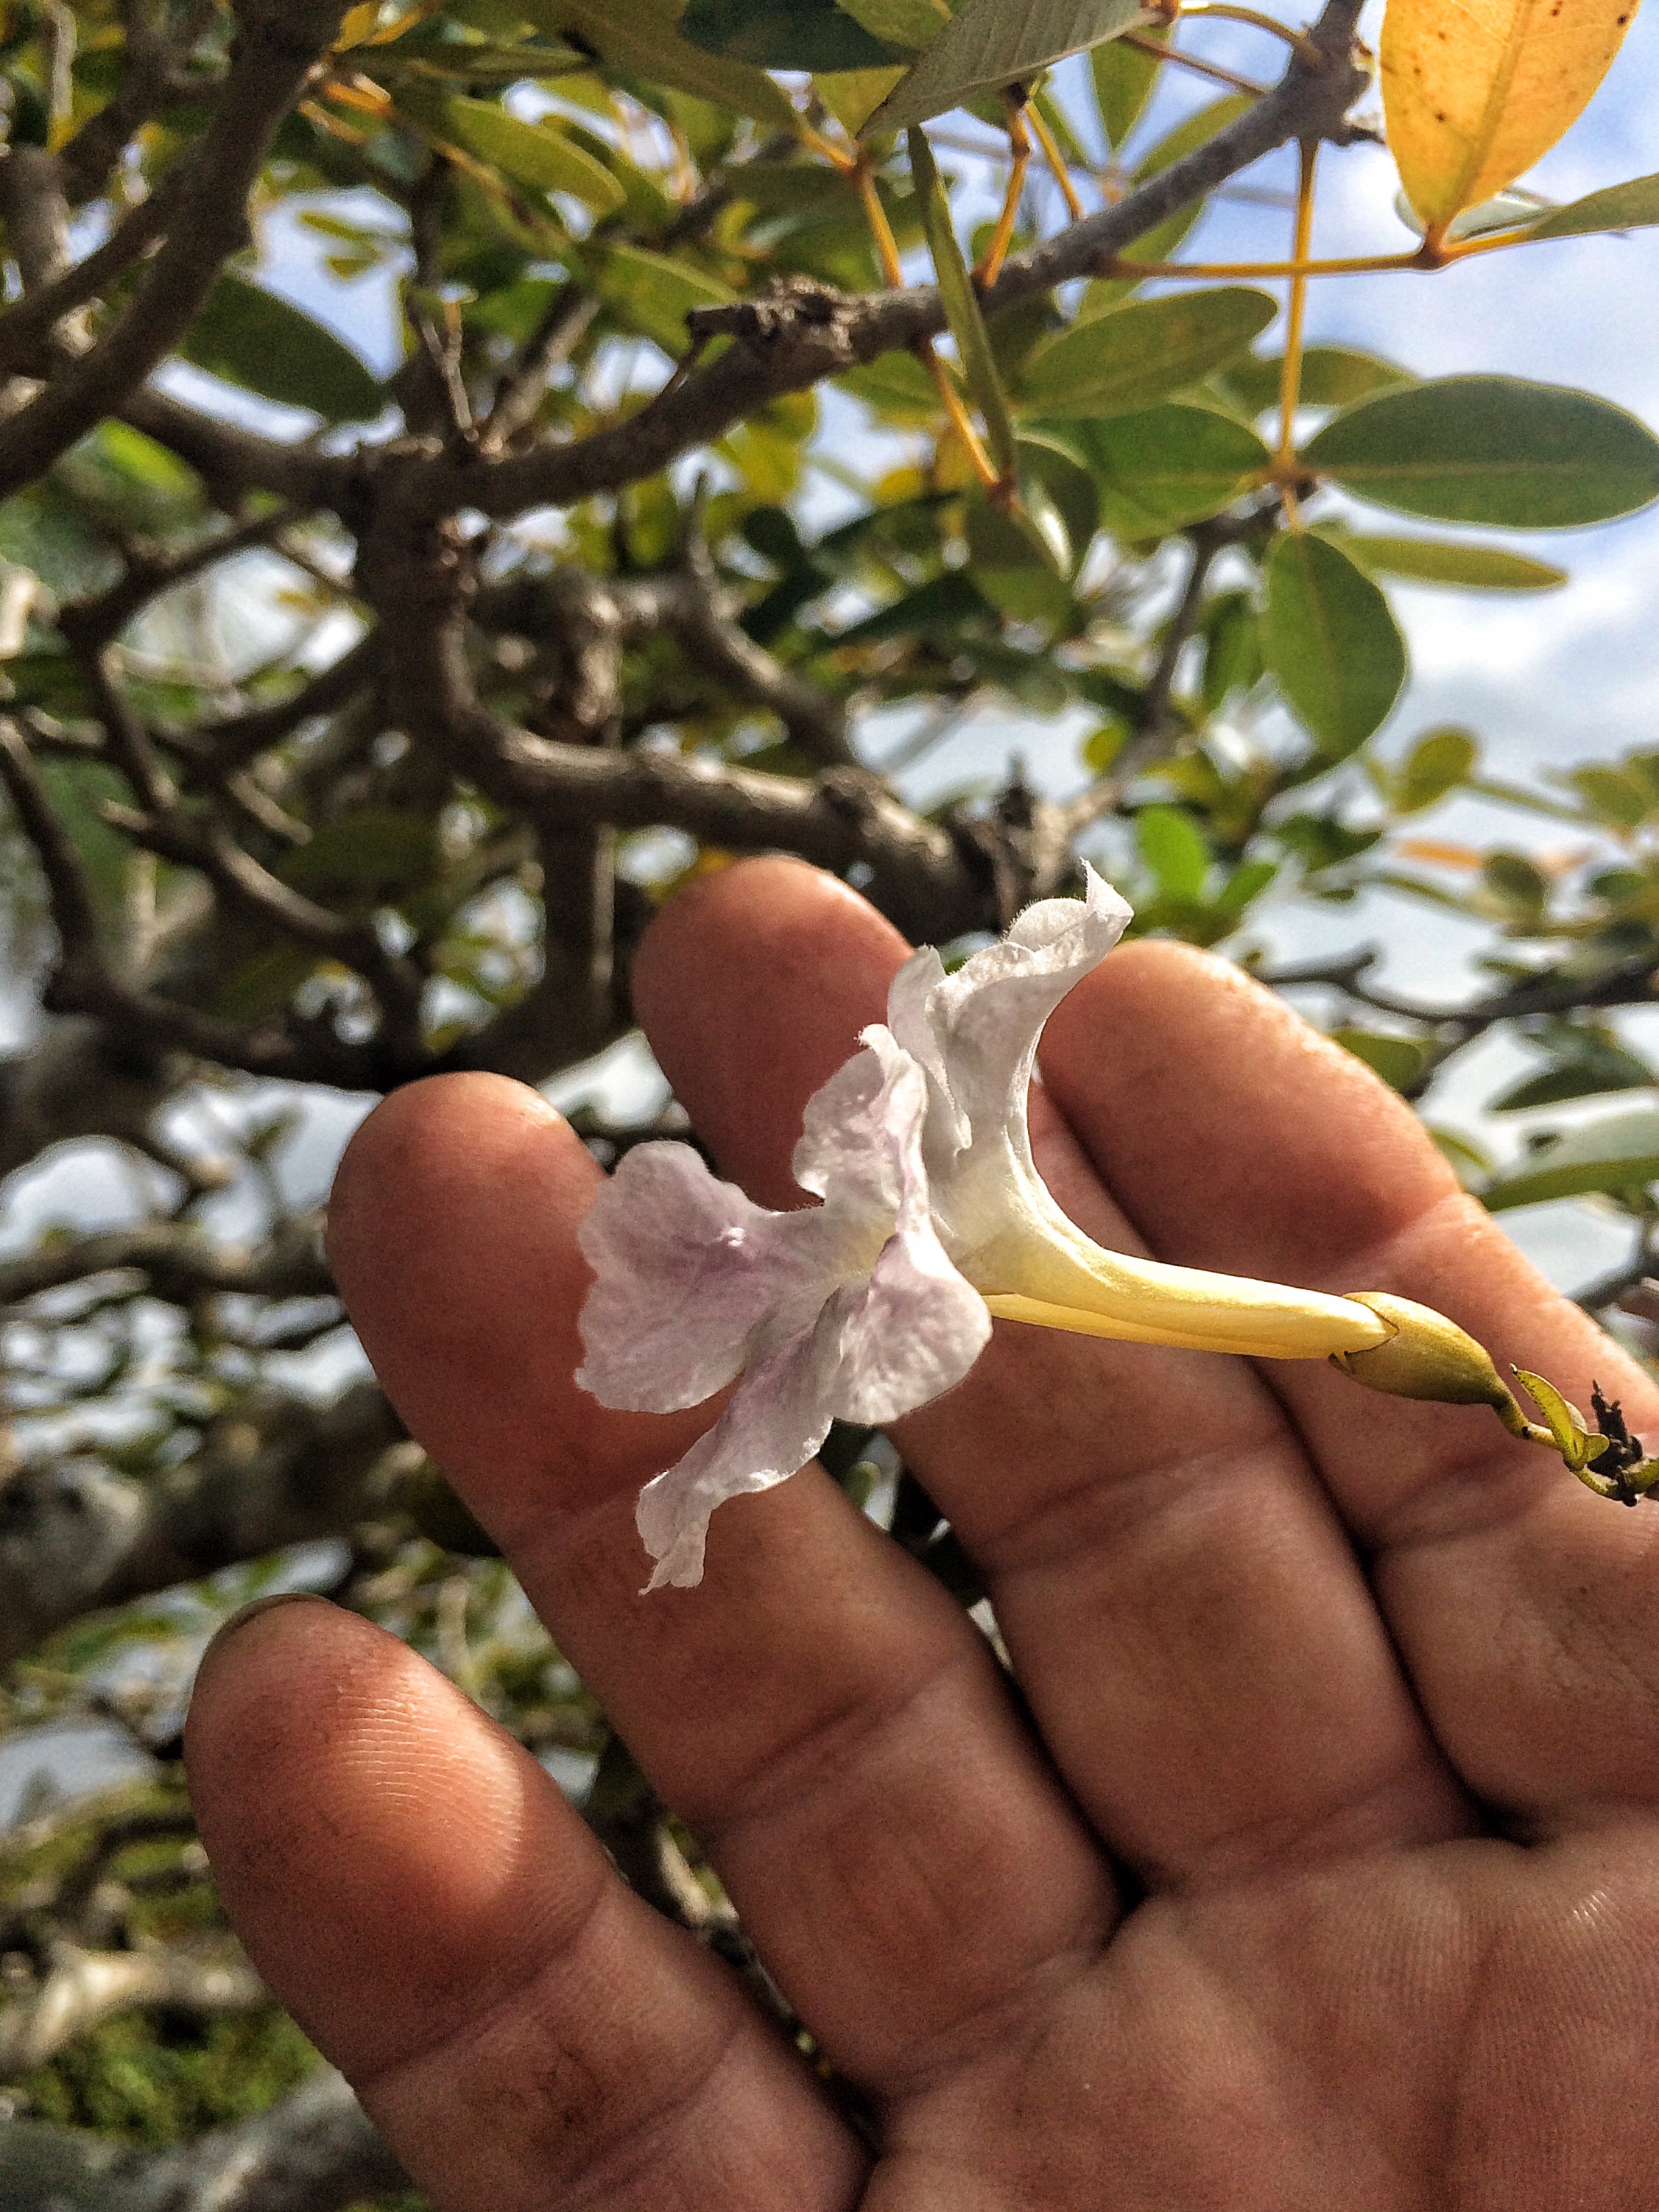
And my ugly hand. Sorry ’bout that. That’s the Jim Smith tabebuia that was from the Epcot exhibit this year. Purty, ain’t it? It only put out this one lonely bloom.
Speaking of Jim Smith, maybe I should do “part two” from his Heathcote exhibit next? What do you all think?

Yes, please (unless the final questions were rhetorical).
LikeLike
My first airlayer failed-did all as you described-peeked under the foil after several weeks and the bark had regrown-guess I didn’t cut the ring deep enough-live and learn.
LikeLike
You make it sound so final, just do it again, deeper 🙂
LikeLike
What species was it on?
LikeLike
Once you figure out how to do it, everything becomes an air layer to be made…
Now there are lots of little shiny potatoes on the trees around my house.
LikeLike
Hi….this may be a stupid question…I am new to the art. How do you water the moss under the foil…do you leave a tiny opening at the top to keep it damp and water or does this method create like a greenhouse in there? Thanks…..
LikeLike
You can never get it perfectly closed so when you water you just pour water in the top.
It will stay wet for a very long time though
LikeLike
Thank you
LikeLike
Reblogged this on Wolf's Birding and Bonsai Blog.
LikeLike
Hi Adam, great job and great blog. You should improve your Italian 😀
LikeLike