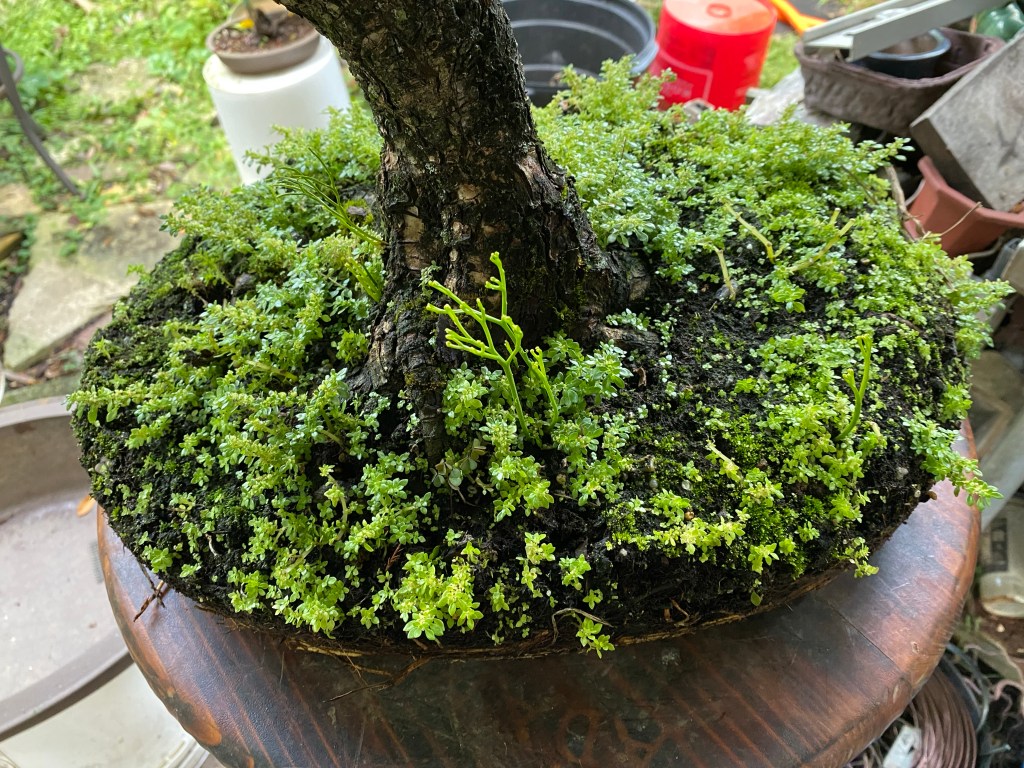
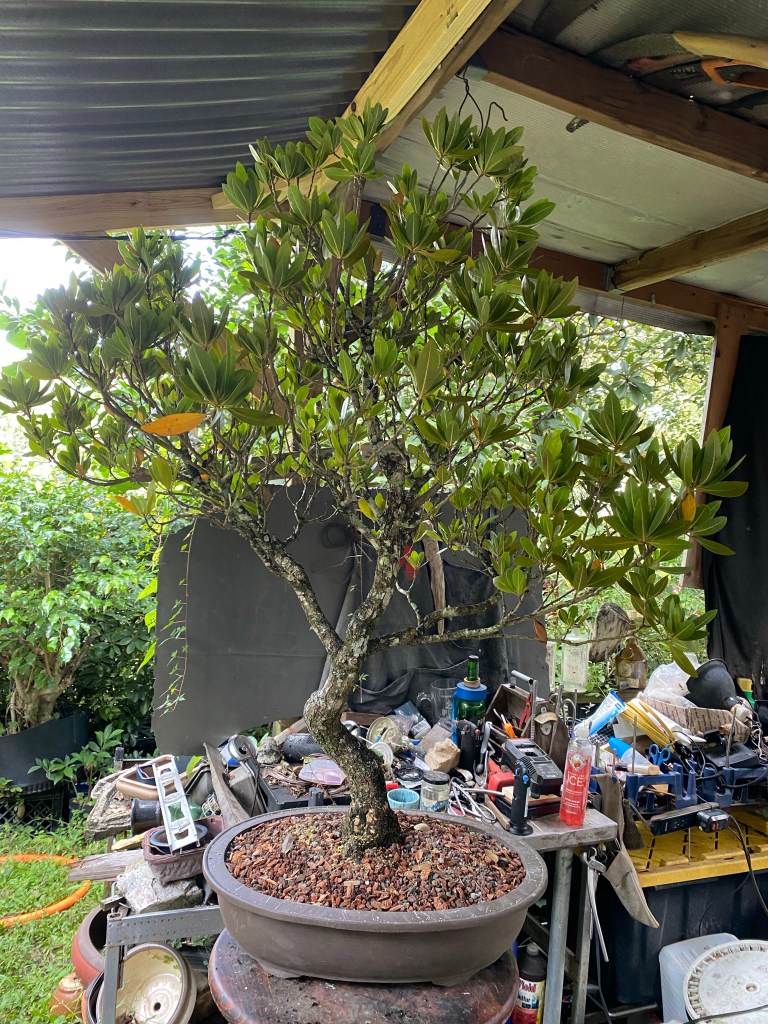
Dateline, October 22, 2021. I need to do something about a client’s Conocarpus erectus, a Florida buttonwood.

Tall tree. It was purchased from Dragon Tree Bonsai on the East Coast of Florida, in Palm City a few years ago by my client. It hasn’t been repotted since he’s had it (partly my fault as my travel schedule has been hectic, partly his, as he’s the owner of a growing body shop, an ethical one that refuses to use substandard parts or allow the insurance companies to only pay for patchwork. Talking with him really opens your eyes to the corner cutting insurance companies, and some other body shops, will go to, often in tandem with each other, to save money. My client spends upwards of $40,000 on just factory training a year to understand what it takes to repair a modern car so that it’s not only cosmetically correct, but safe. Today’s cars are built to perform a certain way in a collision, with crumple zones to minimize force and occupant injury, and to ensure that sensors, airbags, and reinforcement structures perform as they are designed as well. And he goes to bat, even as far as digital documentation for his clients and their lawyers, factory specs, et al, so that if the insurance company pushes back, the client will win the lawsuit, should it come to that, against the insurance company. I try to surround myself with people of my clients morality. As a result, he’s a busy man).
Which brings us to the standard for repotting a buttonwood, in Florida, in October. Short answer: We don’t generally do it at this time.
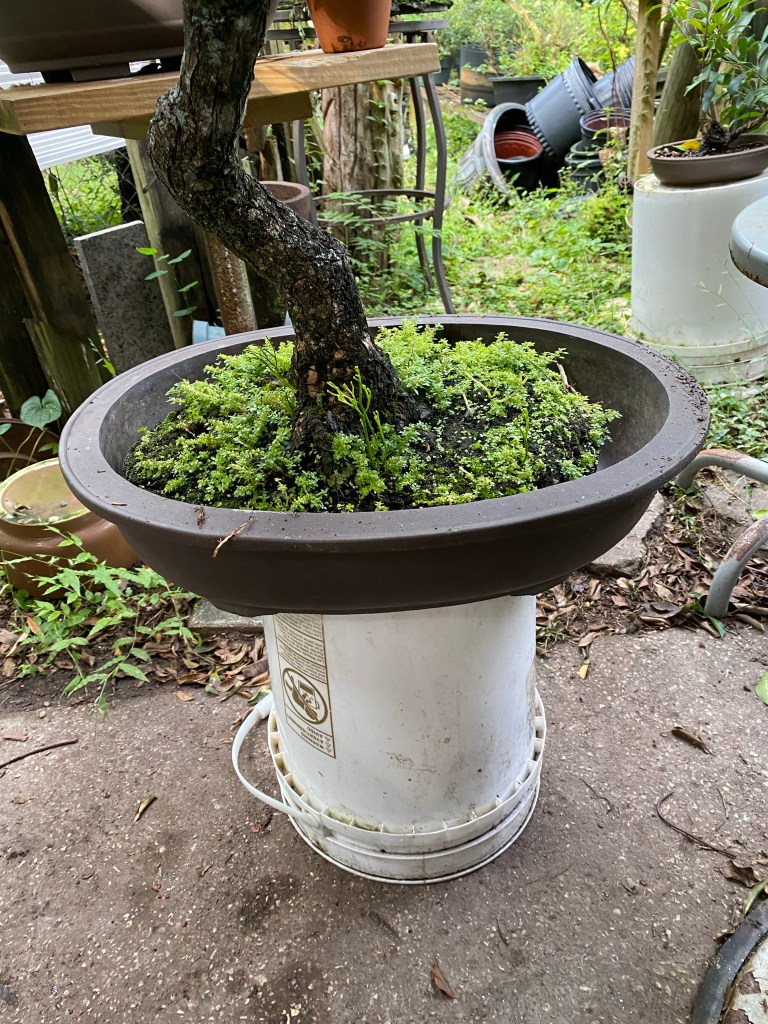
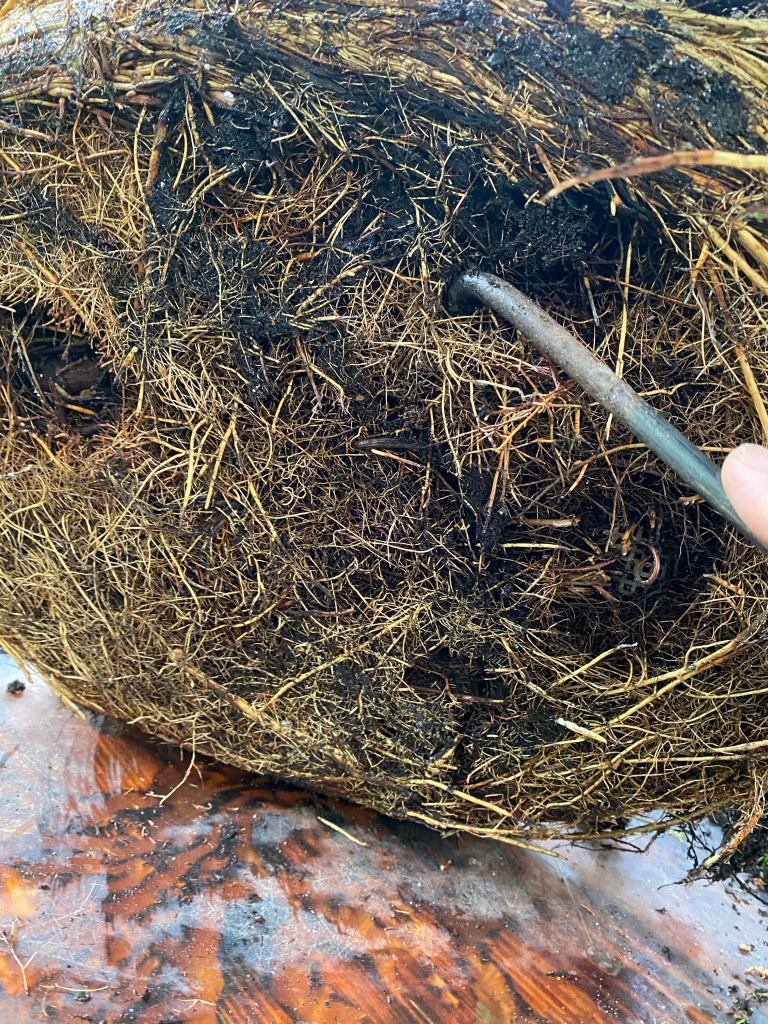
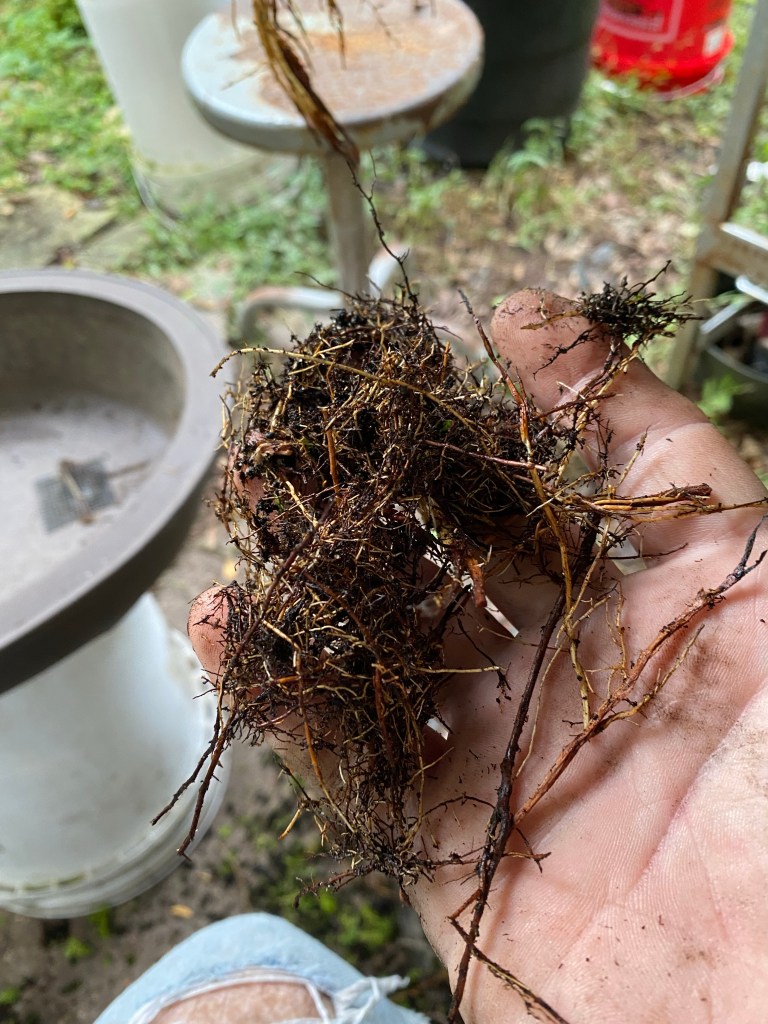
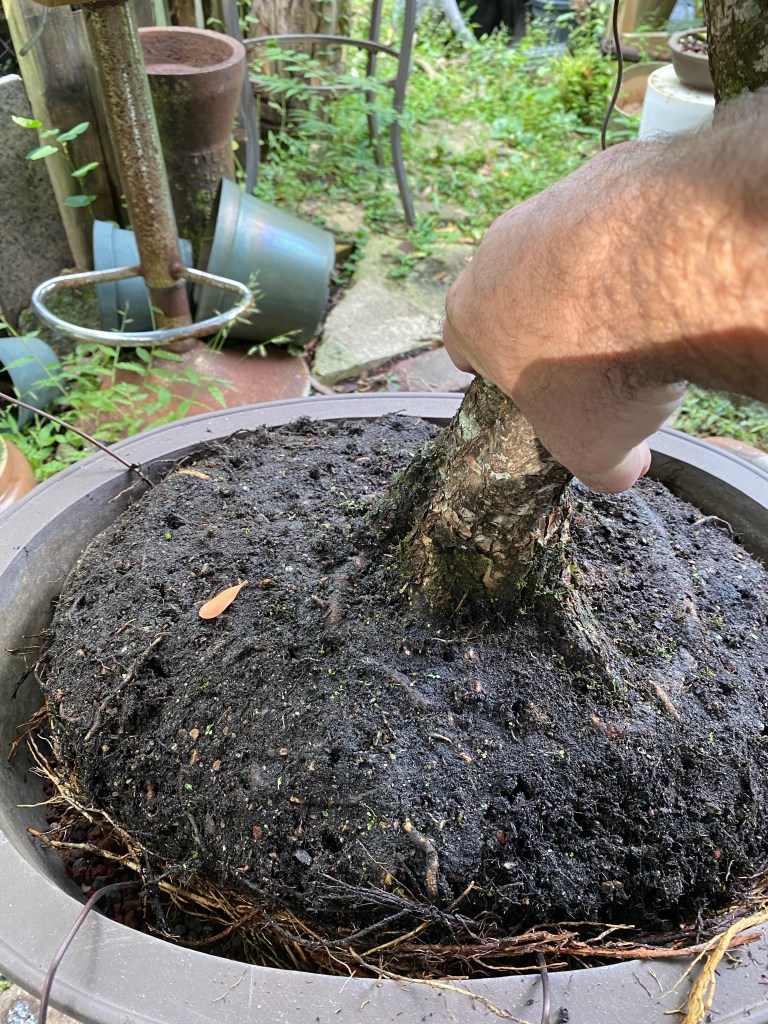
But, looking at the roots:

It needs something done. They are pushing the tree out of the pot. My experience with buttonwood and going through a Central Florida winter pot bound, as this one is definitely….

….causes me some concern for its health. The standard procedure for buttonwood is to only repot when the nighttime temps are above 70f (22c) for at least 6 weeks following a repot. This allows the roots to have time to recover before winter onset.
In my experience, a buttonwood in this shape won’t do well over winter. It could totally drop its leaves (according to the USDA and the U.S. Forestry Service the Conocarpus erectus is considered a semi-deciduous tree, so that’s not such a bad thing, per se, but it’s prone to losing branches when it goes dormant, sometimes significant ones. Not a good thing for bonsai). And, again, in my experience, a buttonwood that goes dormant takes forever to recover in spring. One that’s been repotted in season and worked, pruned, and fertilized, will grow through most of our mild winter, and will start growing when temps pick back up. I’ve had buttonwoods stall until June, lingering in a senescent state, not pushing any new growth and losing fine ramification.
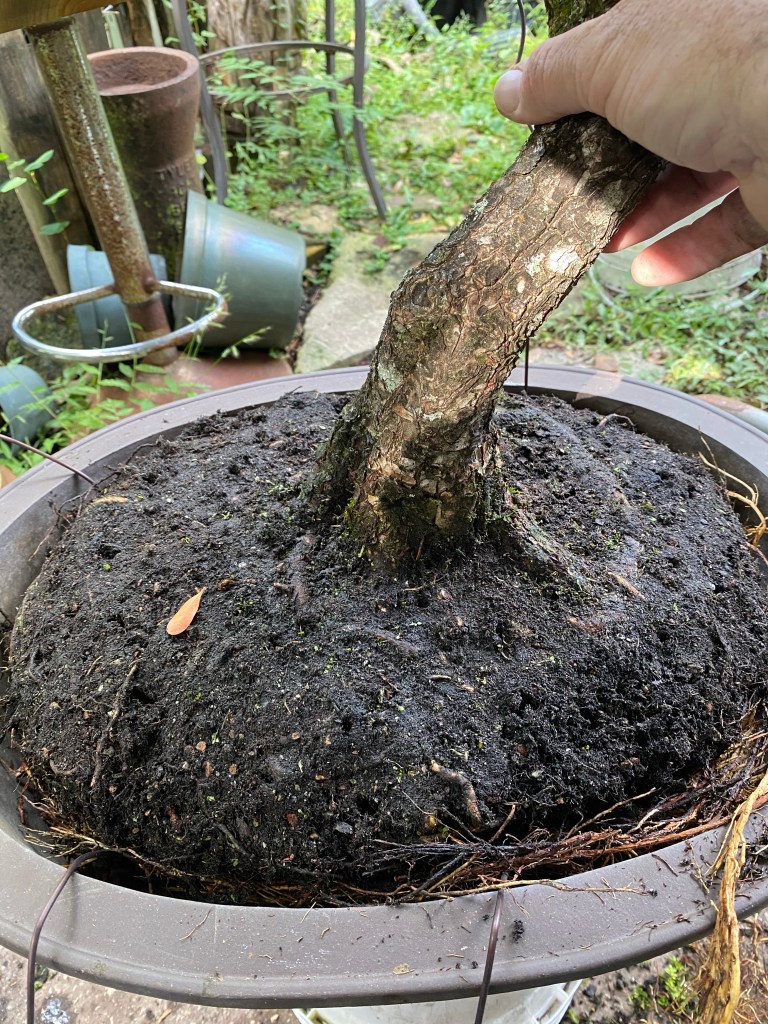
This tree needs some growth, now. The leaves are way out on the branch tips, there’s little back branching, and the leaf color is off.
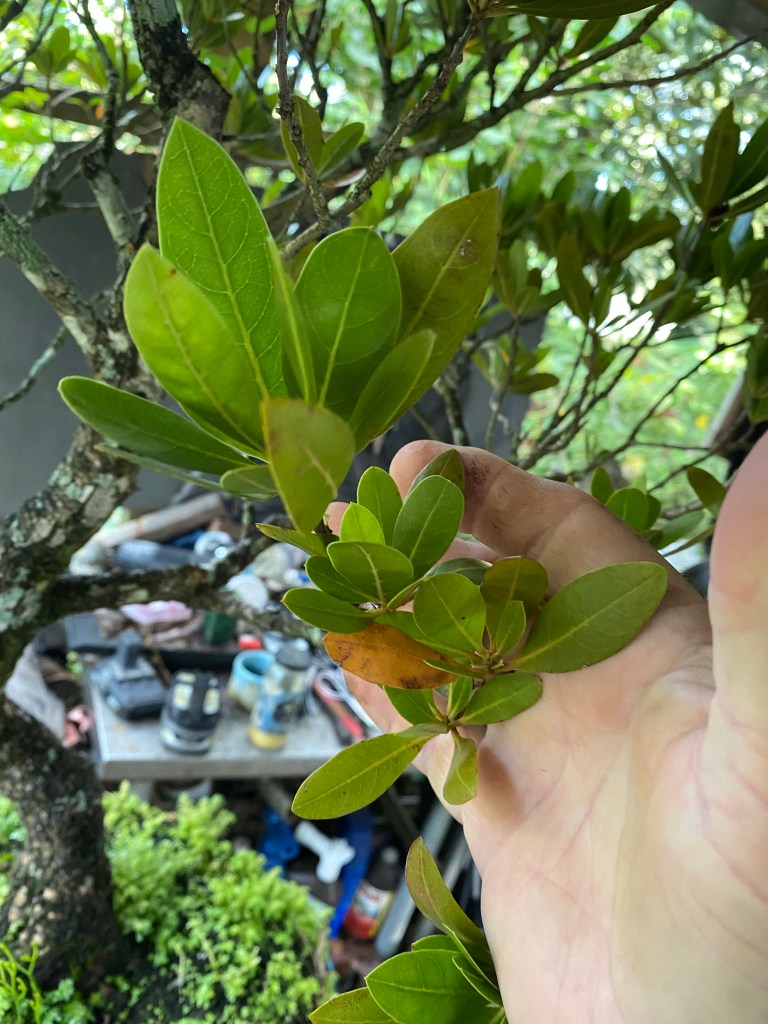
Now, to address a common question I see about every tree in the online forums, here’s a yellow leaf:
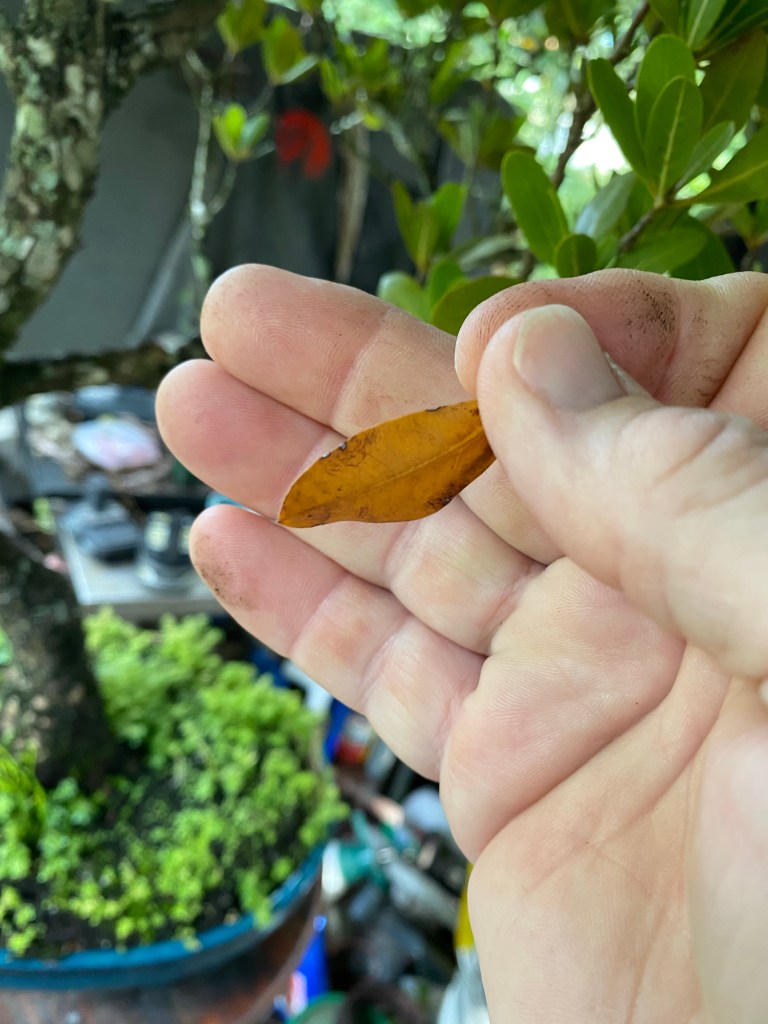
The question is “what’s wrong with my tree?” Usually accompanied by lamentations and much hand wringing
If you look up to the previous photo, it was an older leaf, about 7-8 leaves in from the grow tip. It’s totally OK for those to be yellow. On any tree, be it a juniper, a ficus, a pine, because it’s just an older leaf getting ready to fall off. Don’t worry about it. As long as the growth tips aren’t yellowing, the tree is fine. If the yellowing or damage is on new leaves, look to your watering, the sun exposure, when it was fertilized last, and the strength of it, etc.
Back to our tree…
So what’s a professional bonsai artist to do to make sure this tree not only survives the winter, but thrives?
Those that read the title, they know, for those that didn’t, I’ll slip pot it.
Let’s define terms:
Initial pot: when removing from a grow pot and reducing the roots to fit into a training pot or bonsai pot.
Repot: pruning the roots of a tree in a bonsai pot already.
Up-pot: taking a tree in a grow pot and putting it into a larger grow pot.
And finally, for this post, Slip pot: taking a tree already in a bonsai pot and putting it into a slightly larger bonsai pot.
We usually do this for the health of the tree, as with this buttonwood.
Here’s the new pot I’m using:
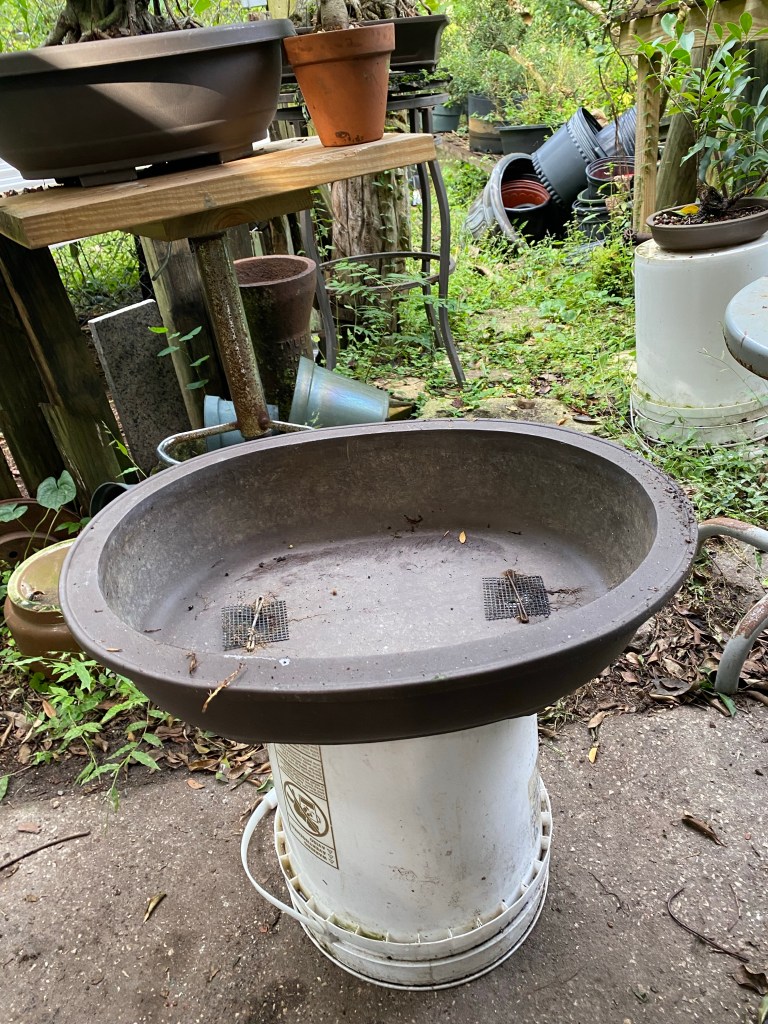
And, as you see, it’s a little bigger than the older pot:
Let’s get to work and stop talking.
First, weeding.
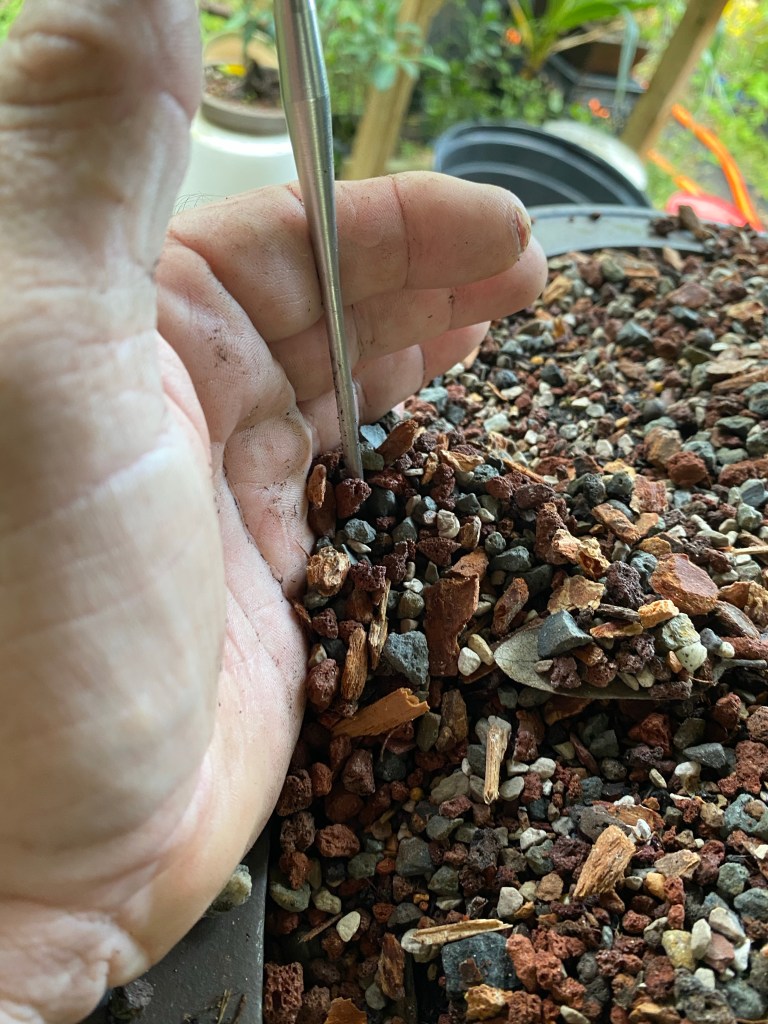
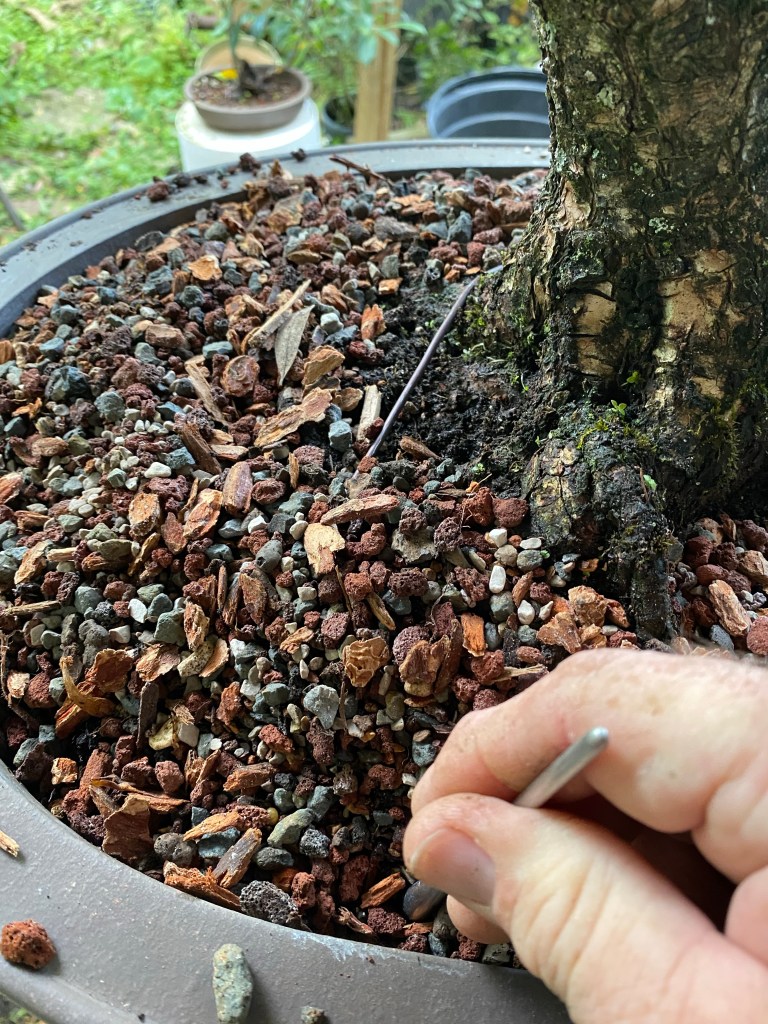
Ahhh, the dreaded artillery fern. Using my handy-dandy, (and homemade) root hook-

-which you’ll note is a single tined one (my preference), I loosen the roots of the larger weeds. Here’s a video of the first step, pulling the weeds, using the hook to loosen the roots. There’s some very satisfying weed pulling footage there:
It’s important to get the roots on artillery fern or they just grow back.
And here’s a video of the action I’m using to get rid of the smaller weeds. Kinda like hoeing a row in a garden bed (if you look up videos about this technique, make sure you don’t commit a Spoonerism and type in rowing a ho…..that’s a completely different type of video).
The soil the tree is in currently is full of organics. Some believe that a buttonwood needs more organic components to help hold water, as a buttonwood lives naturally in swampy, brackish water-soaked soil just above the mangrove area of a shoreline. And they will grow well in that area. Many people used to believe you should add salt to the pot too.
But the landscape trade (and many bonsai practitioners) have shown that buttonwood grow just fine in regular potting soil (or standard bonsai soil) and that they don’t need salt. Just because a tree has adapted for a particular biome, doesn’t mean more ideal conditions won’t let the tree grow well, or even better. It’s all about learning how to water in the container and soil you are using. Which, for a buttonwood, means, don’t let it dry out too much. If at all. And if your watering means you need to add more organic, or wetter (smaller particles) soil, by all means, go ahead and use it. Some people’s work schedules only allow for one watering a day. And I’ve seen portulacaria or pines in pure pine bark that did fine. It’s said that the hardest thing to learn about bonsai is watering.
We use bonsai soil because it’s more easily figured out in a bonsai pot. Use what’s working for you, but keep an open mind to better soil concepts. Bonsai soil can and often does work best, but be aware that you need to adjust your watering appropriately. I use what I use (I’ll break my mix down a little later in the article) because it works for my zone, the rainfall, the amount of sun and shade, etc. but many bonsai professionals are dogmatic, insisting you use what they use. That, in my opinion, is short sighted at worst, (but well intentioned), as their experience had shown them what works for them.

At Dragon Tree Bonsai nursery, they use a heavy organic mix, and that works for them. And has for more years than most popular current bonsai professionals have been doing bonsai.
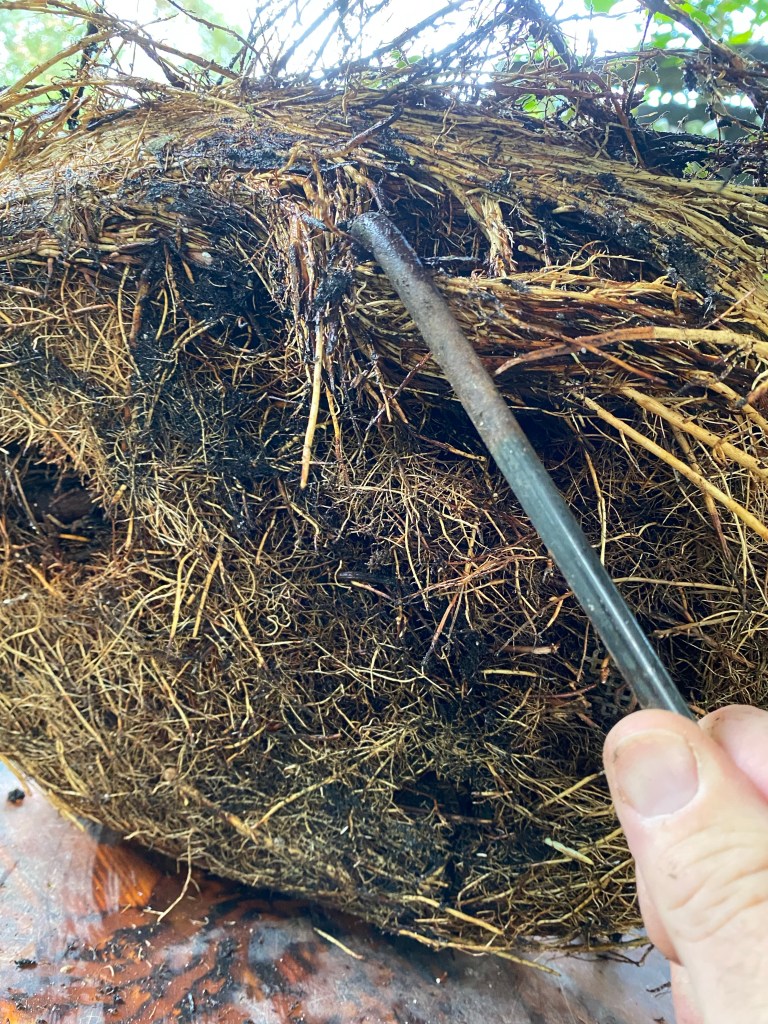
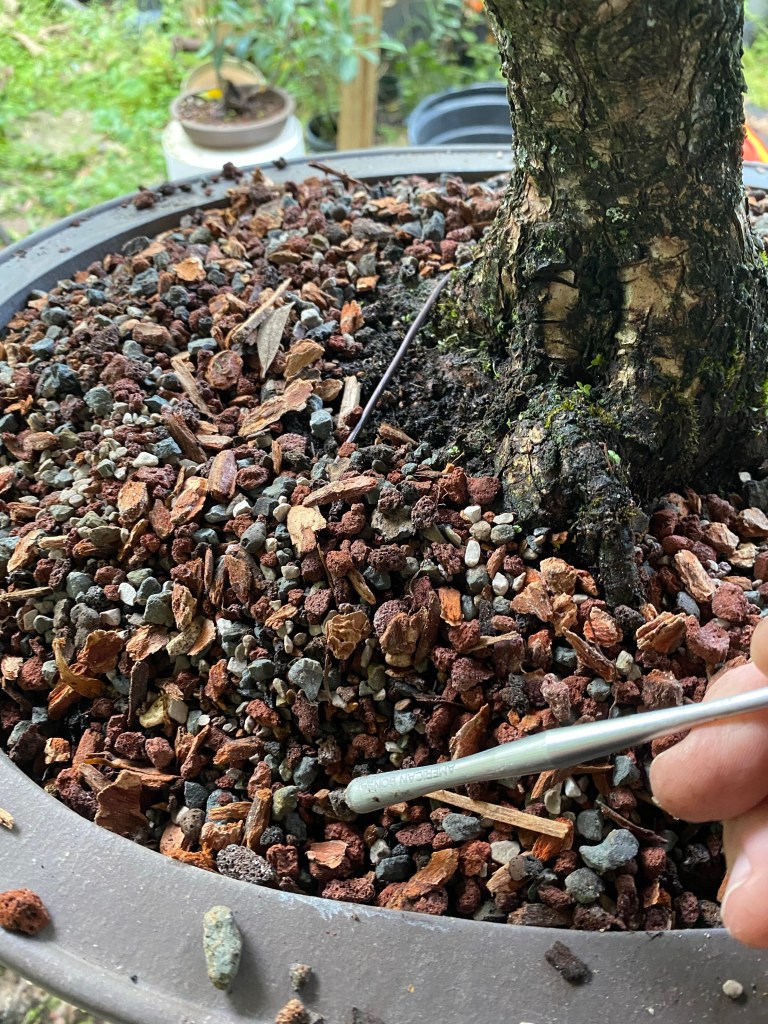
The root ball, because it hasn’t been repotted recently, is compacted and full of roots. I don’t want to rake them all out, as with a full repot, so I’ll be poking holes, best I can, to help with drainage and fertilizer penetration.
Using my American Bonsai repotting tool…

I push down where the resistance is least…


And wiggle the tool a bit to open up the hole.
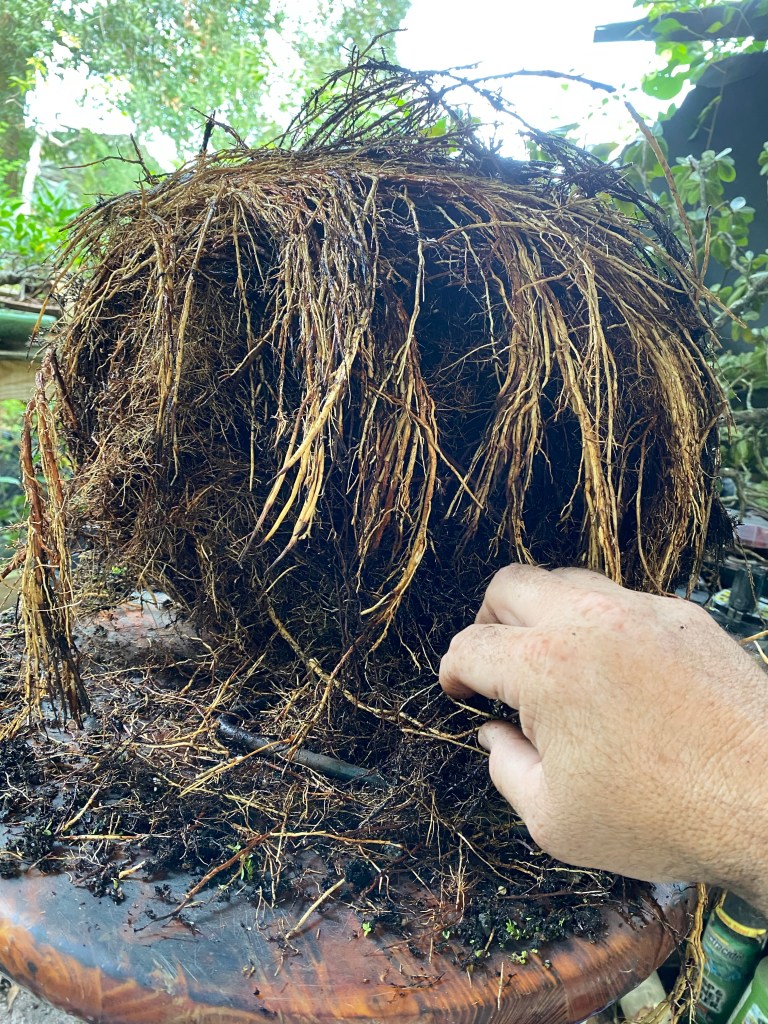
Now, let’s look at those circling roots.
A slip potting is really like an up-potting, or in a landscape, planting a tree in the ground. You can do it all year long, in most places (except in a frozen ground up north, unless you use a pick axe, like you’re playing Minecraft). And, if you know anything about planting a tree, you always rough up the roots before you stick it in the hole. This helps the roots to grow into the soil and not keep circling around the root ball.
Aha! The old drain-hole screen
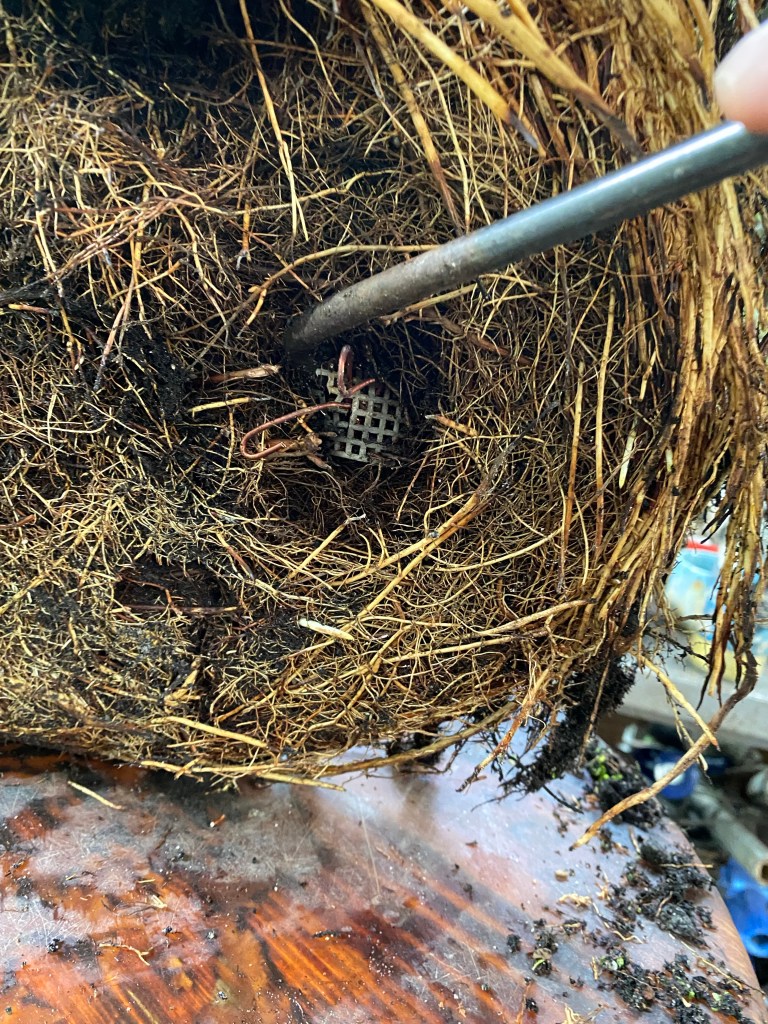
Let’s get rid of that.
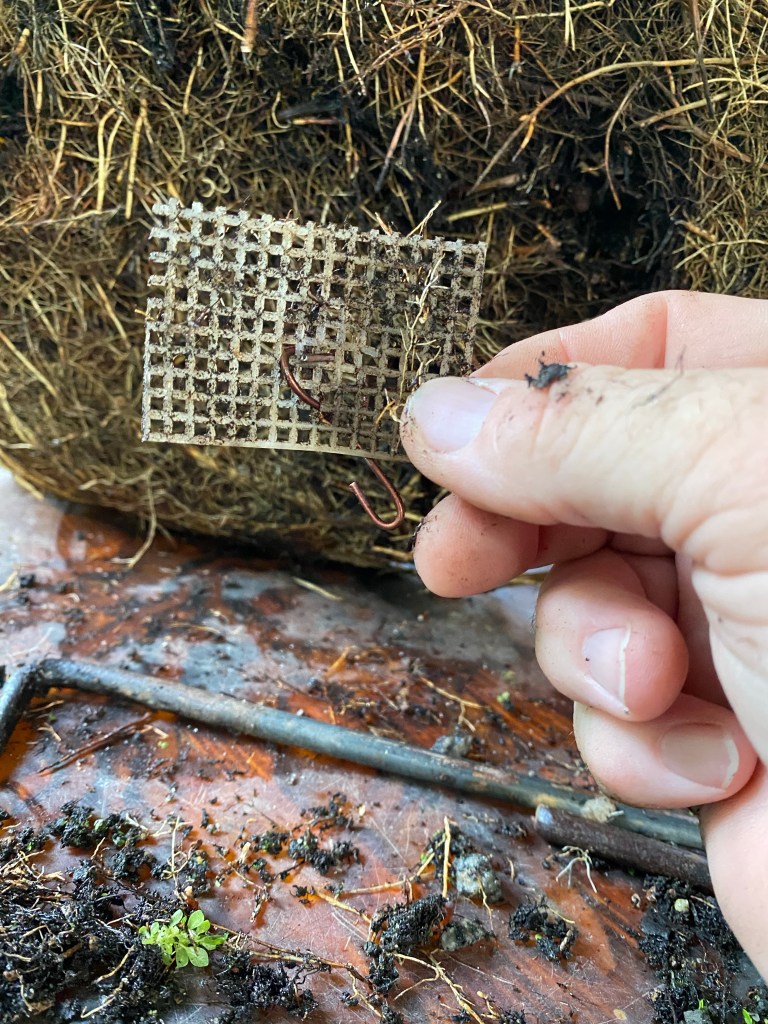
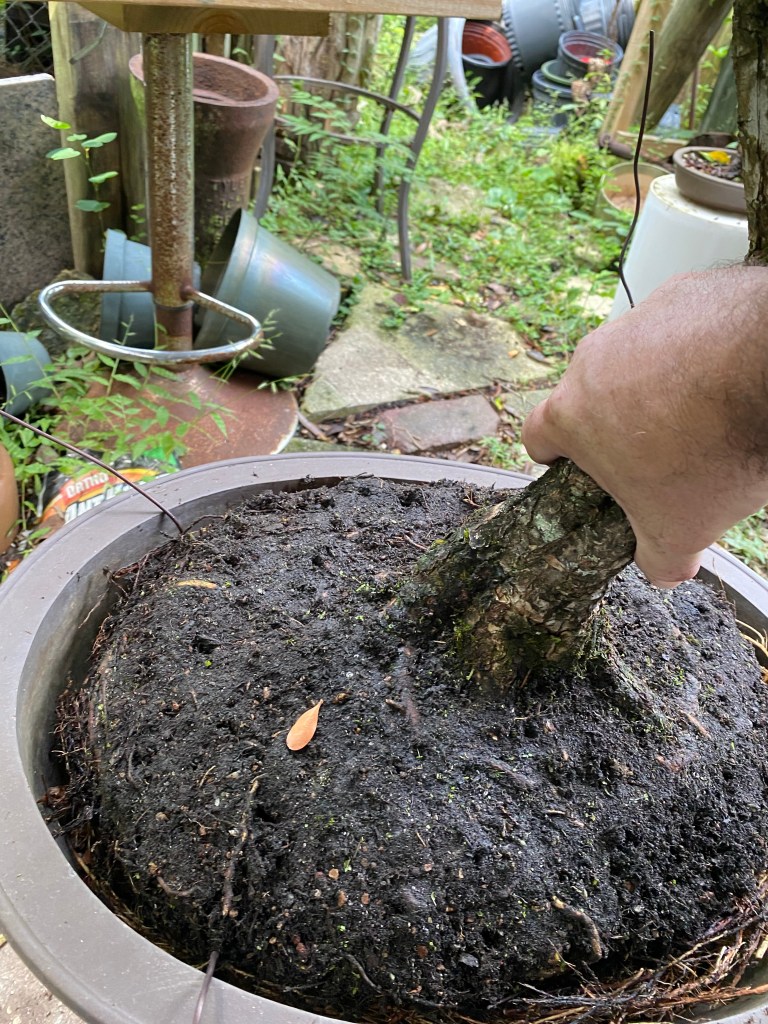
You’ll notice how much the roots have grown since the last repot.
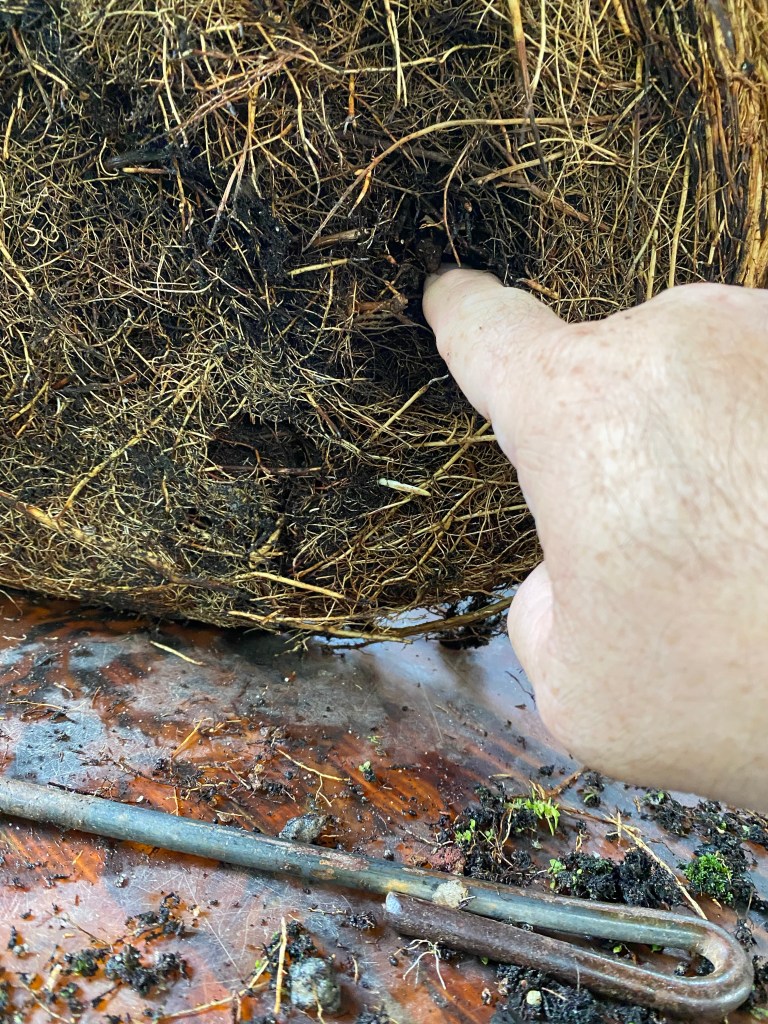
Up to my second knuckle.
At the edges, I tease out some of the long roots.
And by long I mean long…
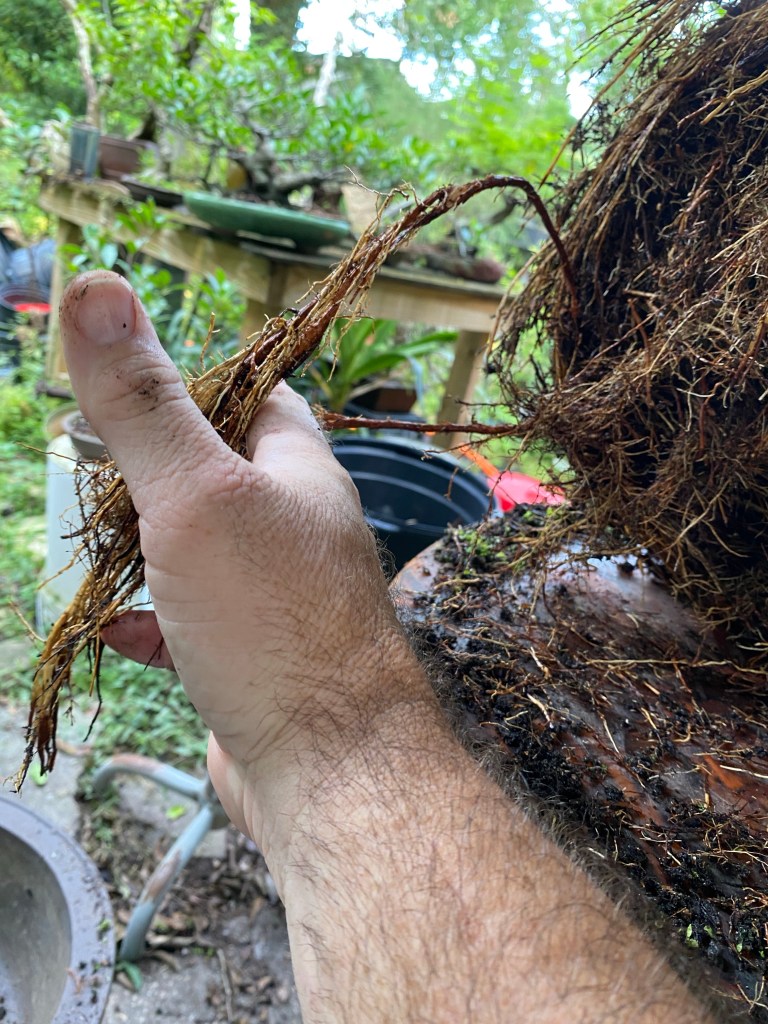
If this were a full repot, I’d remove many of the thicker roots to encourage more roots, closer in. But there won’t be much root removed today, (mandatory in Florida, in October).
Except what falls off.
The pot. It is an older Chinese container. I’m not sure of the stamp, which on a Chinese pot, usually depicts the city the kiln is in.
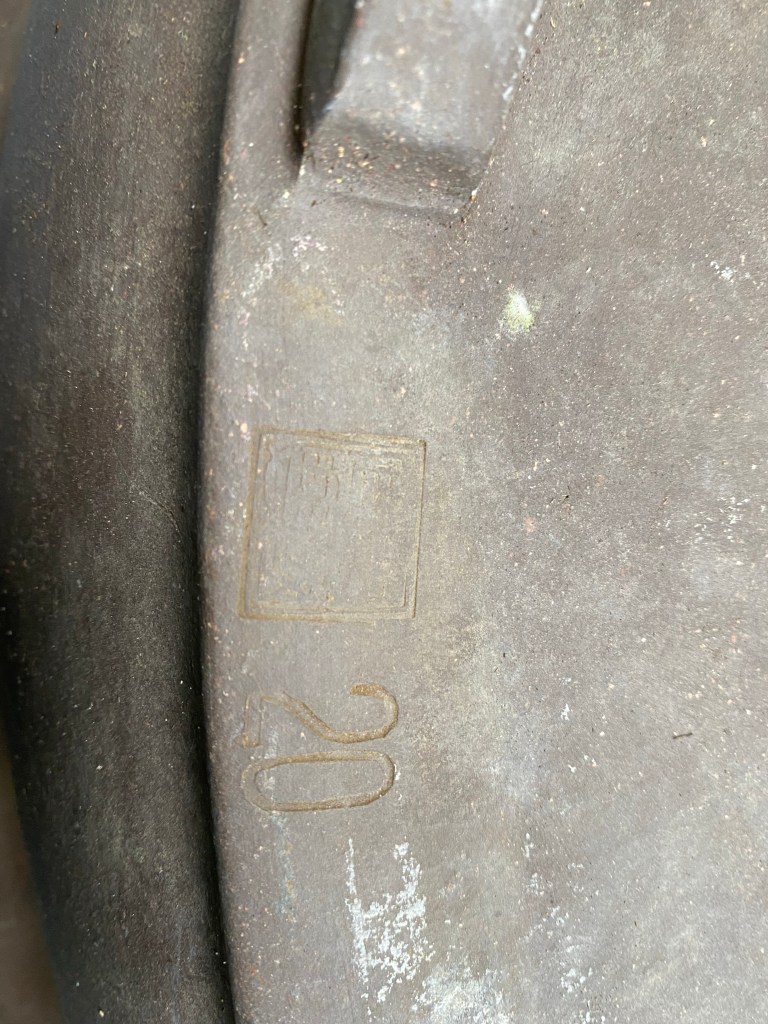
If there are two, that usually means the city and the kiln. The number is indicative of the Potter that worked on the pot. In this case, Potter #20. The lower the number, the more advanced the potter. Number one would be the guy or gal who has been there the longest and is a Master. At least that’s what I’ve been told.
We are relegated to #20 today. That’s okay, this is a temporary pot until next June at the earliest.
I’ll mound the soil in the middle of the pot so that when I put the root ball down, it’ll fill in any voids in the root mass. Like where the screens were.

Then I place the tree in the pot.
And wiggle it into that mound of soil.
Wiggle wiggle.
And, of course, it gets tied down well (that’s one of those procedures, much like how my client follows the manufacturers repair specs) that I insist upon. If I’m working on a client’s trees, the first thing I look for is a strongly tied down tree in the pot. If it’s not secure, I’ll add more tie down wires.

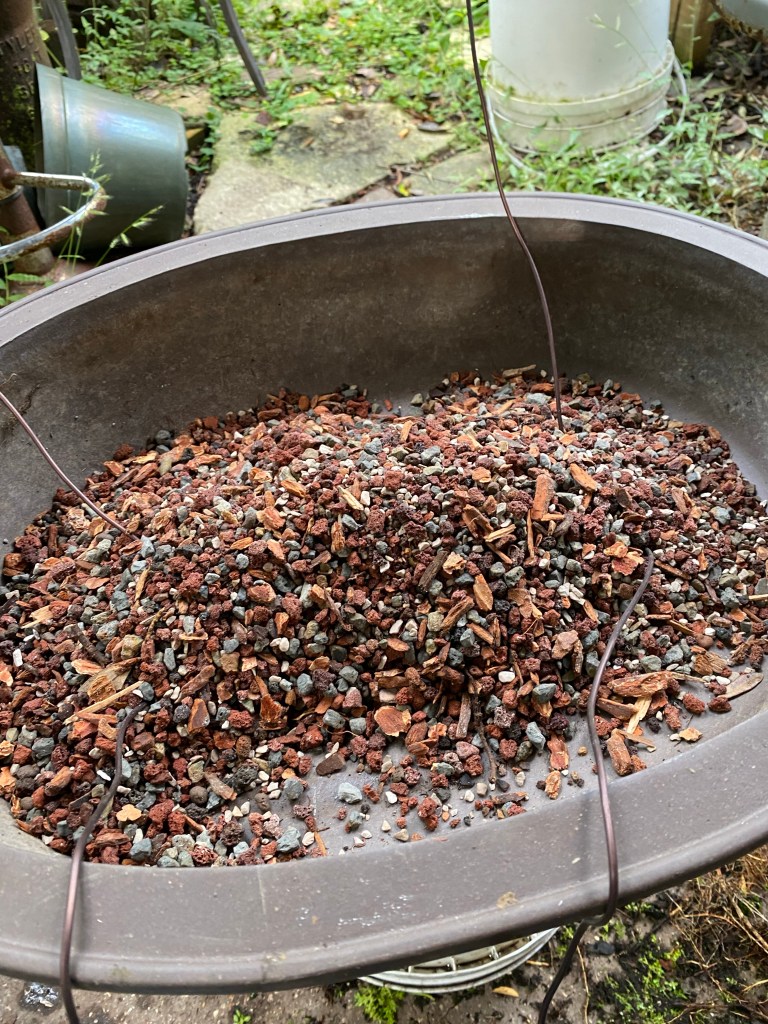
And now to backfill with fresh soil.
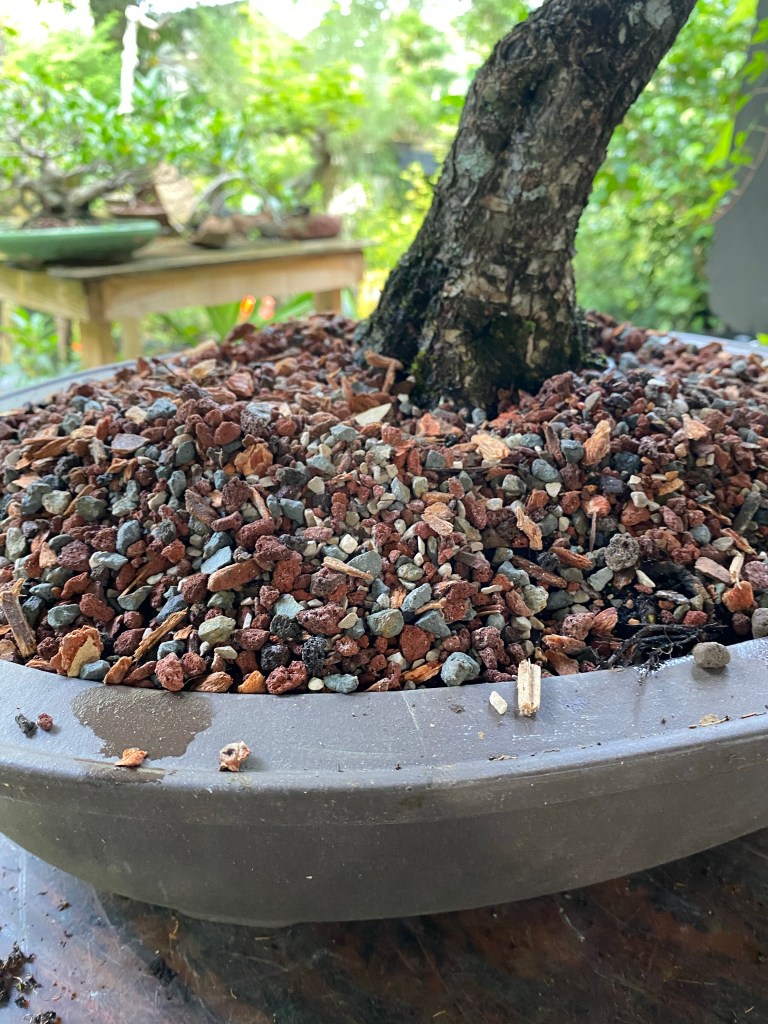
My soil mix at the moment: two parts scoria (lava rock in the vernacular, for drainage, water retention, and air spaces), one part expanded slate (The grey stuff, the brand today is Espoma’s Soil Perfector. This is for pure drainage. It holds little to no water inside the matrices). One part diatomaceous earth (the white stuff, this is for fertilizer retention, called CEC, and water retention), and one part “small” fir bark nuggets (for fertilizer CEC, and water retention). I would add pumice, as it is much like lava but holds more water, but there is a pumice shortage in Florida at the moment.
Making sure to fill all the air pockets, take your time backfilling the soil.
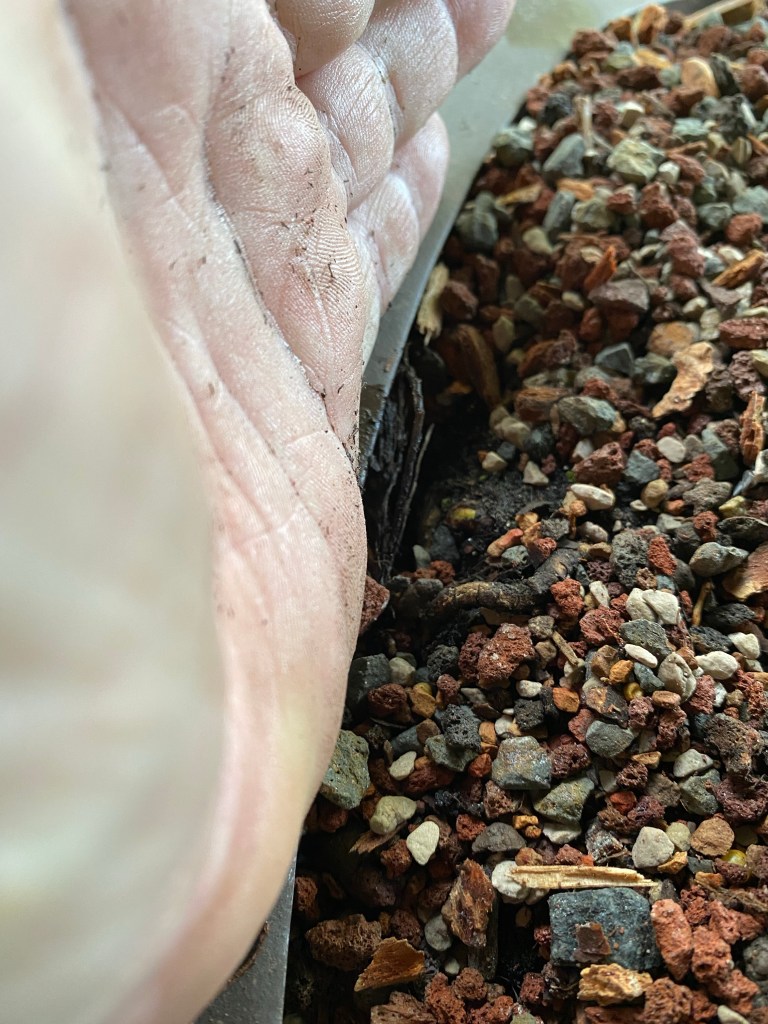
We do need air space, but not huge pockets.

Make sure you’re pushing the soil under the root ball too. Sometimes using the blunt end of your chopstick helps here.

Wiggling helps here to, wiggle wiggle wiggle.
Then, my last step, is to tighten the wire on the bottom.

Pull down, and twist.
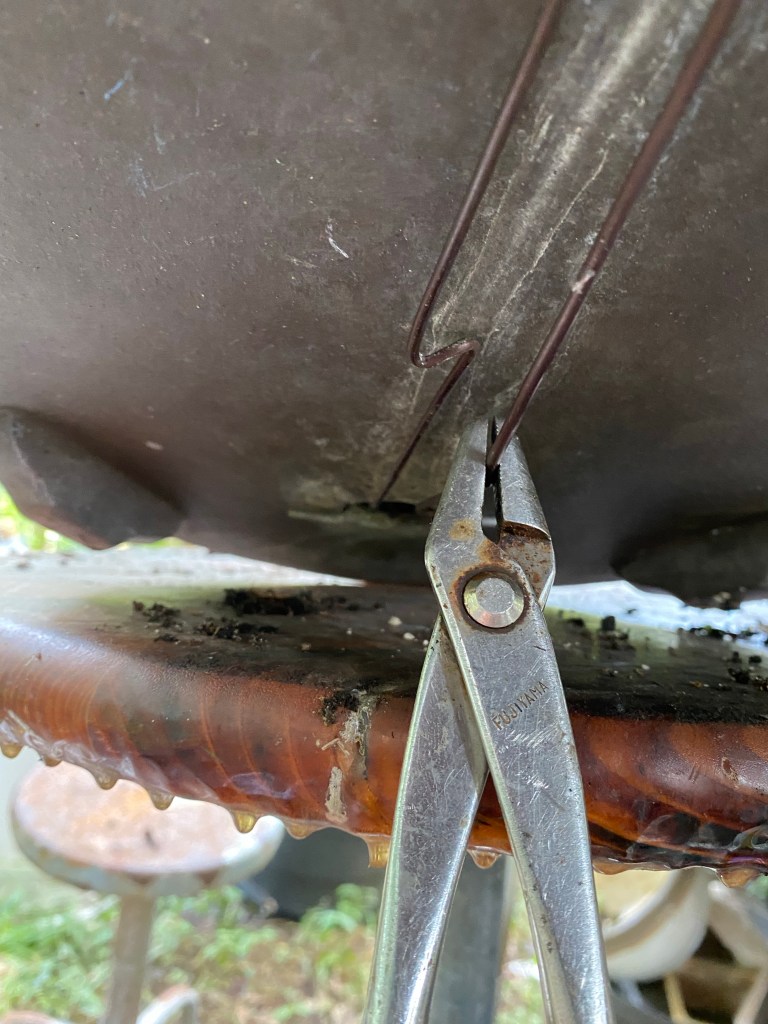
This really secures the tree.
To get this pic, alone in The Nook, requires some fancy camera work. Balancing the pot on my big head.
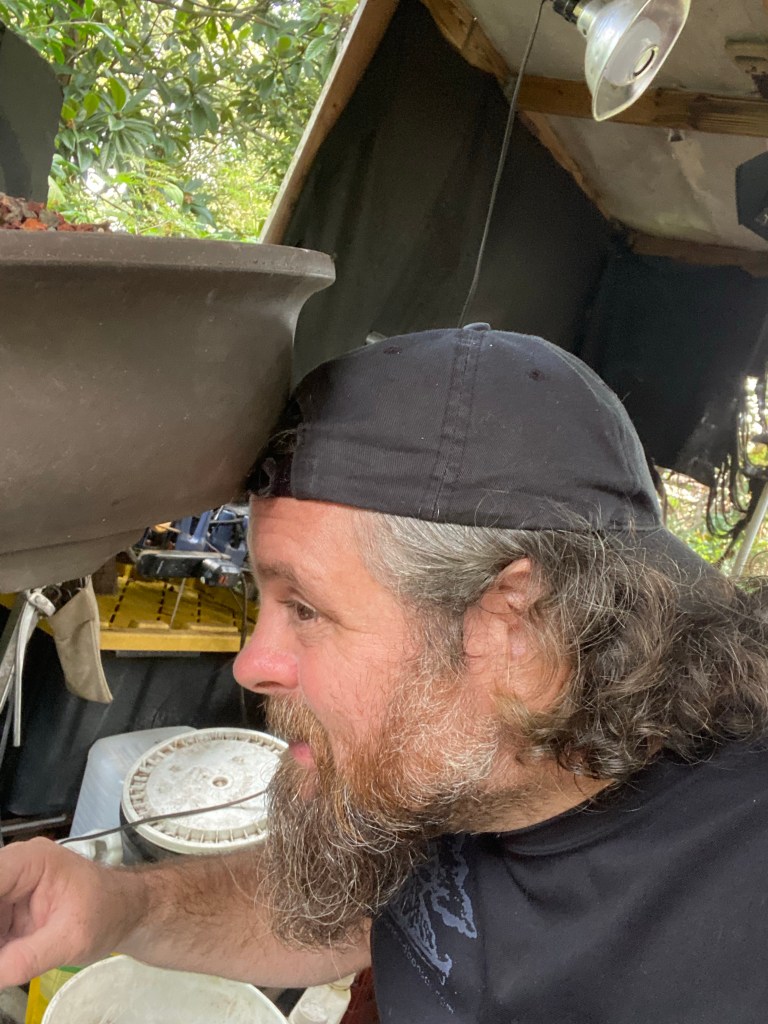
Look at all that grey in my hair. Man I’m getting old!
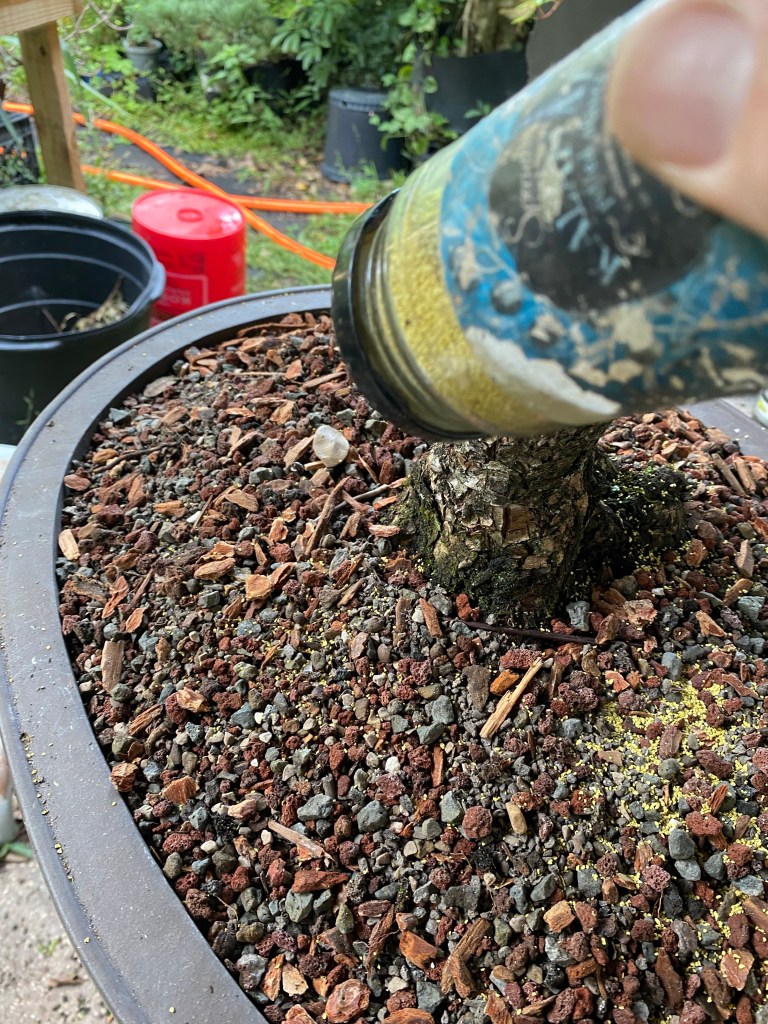
Some fertilizer, in this case, granular organic from American Bonsai Tools.


Mmmmmm….smells like chocolate!
Chopstick it into the soil, because if organic fertilizer isn’t in the soil, it’s not being utilized by beneficial soil microbes.
And some pre-emergent weed preventer (I use a commercial brand called “OH2” but you use what you can find, something like Preen).
And that’s all for this year on this tree. We will let it grow until spring, where a synthetic granular will be put in the soil and then, the real work can begin. The client wants some deadwood added to it (much like a juniper, a buttonwood looks odd without deadwood).
See you next year, my intrepid little buttonwood!

Reblogged this on Wolf's Birding and Bonsai Blog.
LikeLike
Very helpful post, Adam… can’t help thinking you need a bit of a prune yourself!
Sorry!
LikeLike
I am looking a bit scruffy
LikeLiked by 1 person
I like a little scruffy, it looks more natural somehow…
LikeLike
Great info and…at least you have hair!
LikeLike
Very helpful post.Thanks
LikeLike