This post will show some techniques that tend to get glossed over in the basic how-to manuals.
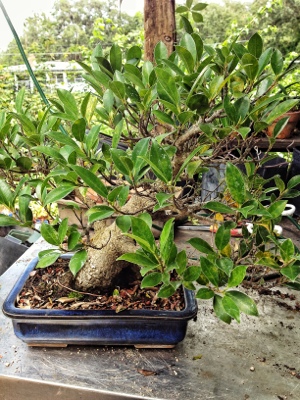
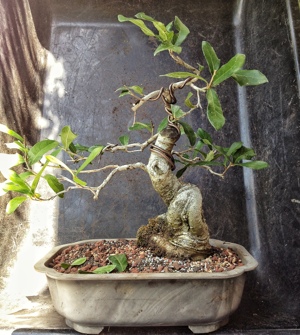
This is a ficus retusa I originally got from Jim Smith’s nursery, Durastone.
It was in his medium size (10″ bulb pan). At the time I think it was $50. The prices have gone up a bit but, if you go, no matter how big the trunk,or how nice the tree,it is the container size that determines price. So keep looking and cherry pick the best.

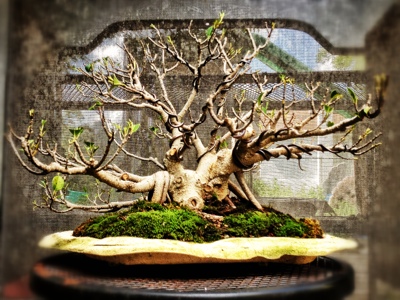
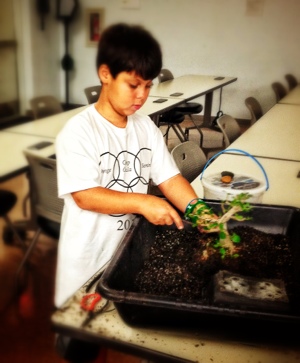
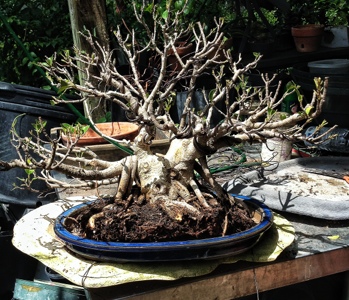
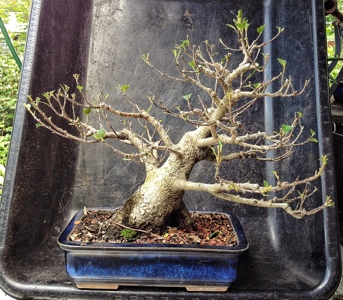
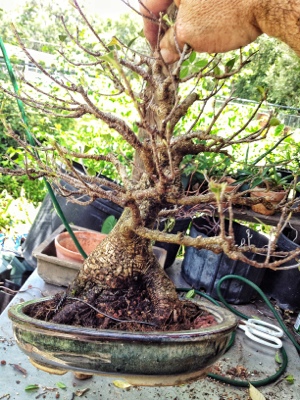
There it is before I began but after it was defoliated. We had had our CFBC workshop two days ago and I shamelessly had my son

(Actually, that’s an old photo. That’s what his mother wants him to look like.)

(This is him now)
And Diane’s son,Benjamin
(Isn’t he cute)
defoliate the tree for me. It took them more than an hour I think. A lot of leaves. Anyway,exploitation aside, I’m glad I didn’t have the time to repot. Otherwise I would have put it back in the blue pot. I think it’s a better composition in the tray.
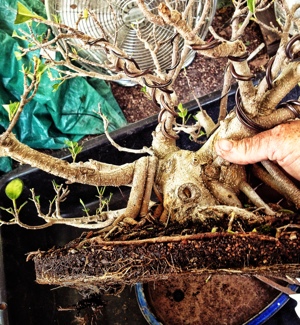
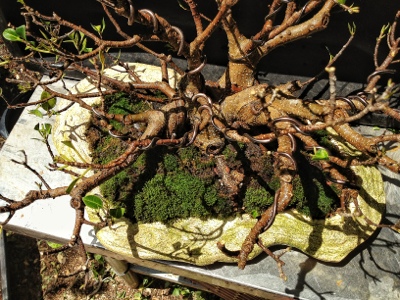
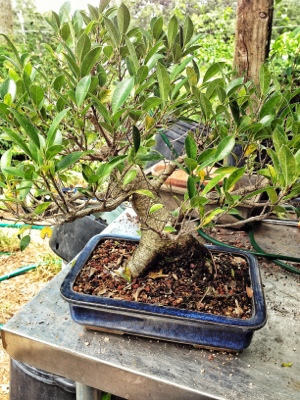
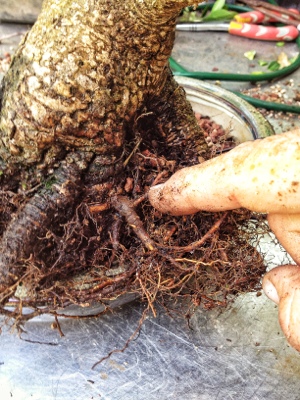
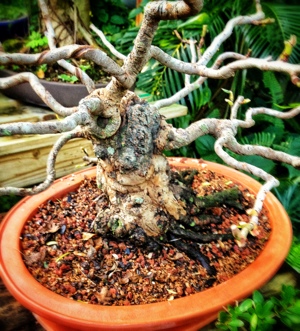
A couple of shots of the root ball er, disk.
Maybe “root oval shaped disk thingy”?
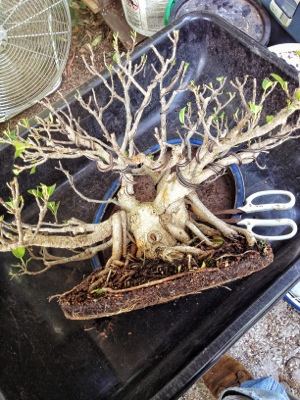
Any way. I had added some wire and readjusted some of the branch placement. I’ve not had to wire this one much. Yet.
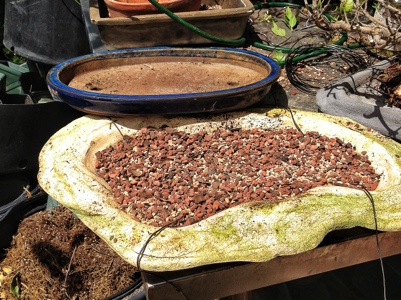
I had forgotten I had this pot that looks like a slab. Slot? Plab? It was made by a certain R. Mitchell (signed on the bottom) I acquired the tray from Rick Jeffrey and, if he would be so kind, he might maybe put some info in the comment section about Mr. Mitchell.
You can see that, after root pruning, the tree would fit nicely back in the blue pot.
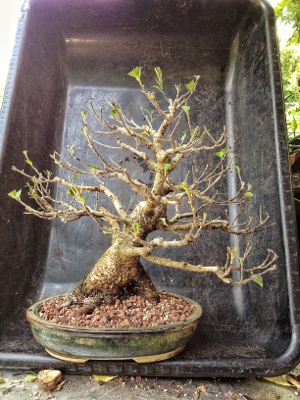
I had to shoehorn it into the beige tray.
Because the soil was so messy I felt that I had to moss it now.
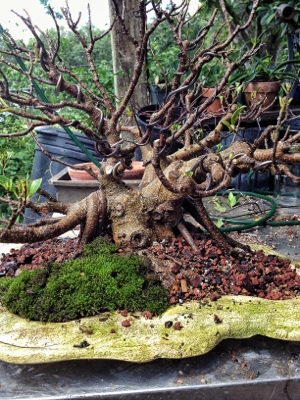
Which, as you can see here, looks much better with moss.
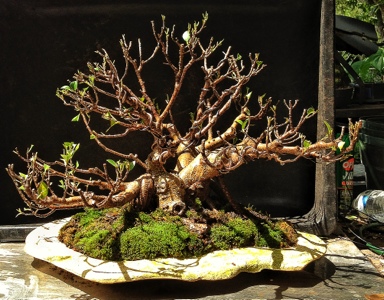
Viola!
From the top
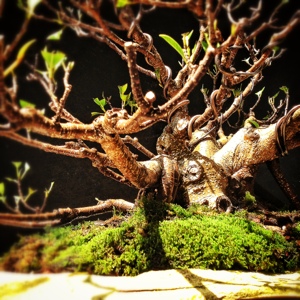
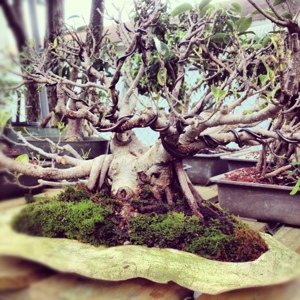
Some glamour shots.
My next project was lunch

Which got me looking up at the Nooks ceiling.
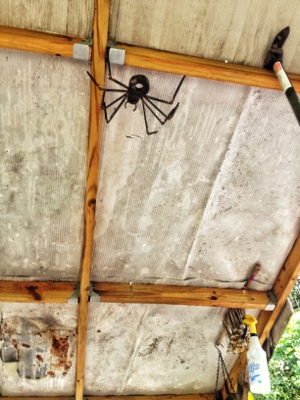
Ahhh!Big spider!
Ok, back to work you goldbricker!
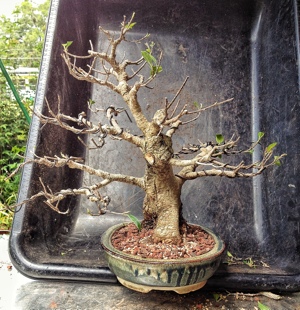
I had to defoliate this one myself. This is the front
This is the back. I had a minor whitefly occurrence on this one. And I hadn’t repotted or trimmed it last year so it was a bit weak.
So I stripped it and trimmed it
These little branches are all mostly dead. They were shaded out by the canopy and just didn’t grow.

When you get more experienced you will prune out the unwanted branches first and then defoliate.
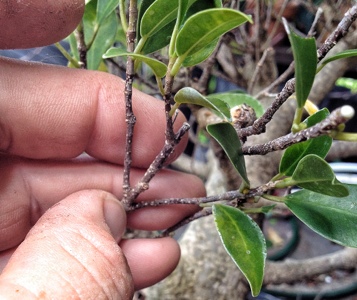
Three branches
Two branches. This way you don’t spend an hour defoliating.
Sorry boys.

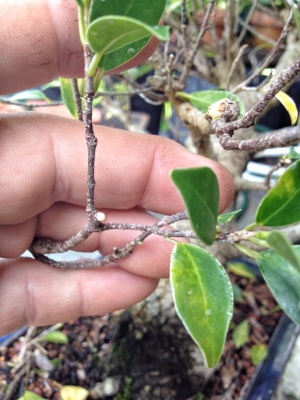
Here’s an example of a pruning trick you can use. Usually,when you have a branch on top of the other, you cut one. But, if the trees limbs are flexible enough (like a ficus) you can simply twist the branch horizontally and now you have secondary branching.

Like so. You’ll see the result better after wiring
Anyway, there it is, nekkid’
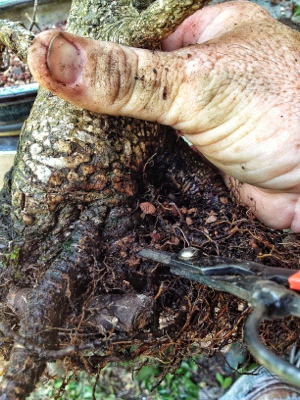
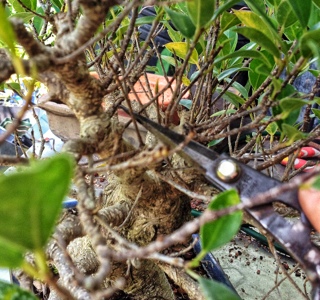
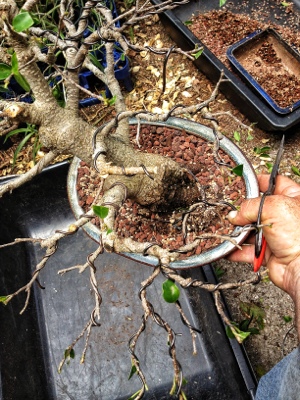
Root work, I’ve combed the roots out and now I will try to improve the nebari. The scissors shoved into the base are making a hole for a plug graft.
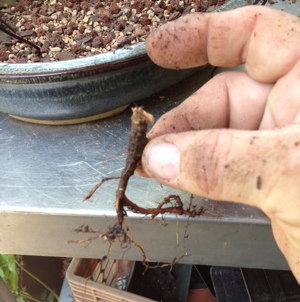
This will go into the hole.

And this root will look better if I raise it. So I stick this, uh, stick, underneath and lever it up.
And Bob’s your uncle!
I changed the pot; an oval and smaller.
And tied it in securely. Yes, I am holding it up in the air. Does that remind you of LBJ holding his dogs up by the ears? Don’t worry, it won’t hurt it.
It needs to be secure so there is no movement. Movement will cause my sloppy grafting technique to fail. It needs all the help it can get.
I also buried the graft beneath the soil. As it grows it will be exposed more.
Now to some wire.

There are a multitude of articles, lectures, and people that teach how to apply wire. They don’t tend to show the tricks and techniques of bending that wire. Note: each person has their own personal style. Erik Wigert is different than Colin Lewis is different than Ryan Neal. Stylistically,there is no one way to bend the branches, except that way (here it gets complicated) which conveys the idea you are trying to express. Example: if you are trying to show a tree which has braved the mountain snows of Maine, which means desiccating freezing winds, heavy snow loads and moose, the branches will tend to bend in a downward angle.
Like so
Whereas a tree in a non snowy place will reach for the sky

Like so.
But just the style of each of us is different. If you gave a tree styled by Kimura to Suzuki he would adjust the branches one way, then gave it to Naka, and it would be different, then to Valavanis and different still. They would all be done “right”. But each conveys each artist’s style.

Back to this photo. This is a side view of the branch. I will twist it to make a pad
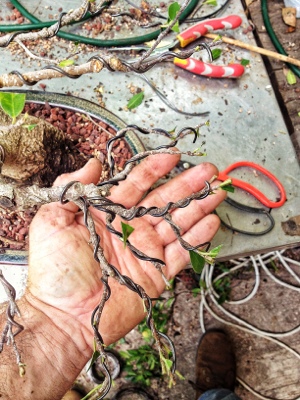
Top view. You see I flattened and fanned it out. I was able to pull primary, secondary and some tertiary branches from that one limb.
Another view. By adding bends we take a long branch and compress it into the pad. Which is one way of shortening the total height of the apex too.

There it is. The first thing you’ll notice is that the only branches wired are the bottom ones. On the top,I just pruned it (I recently heard the term “scissor discipline” to describe this type of pruning). I have found that, on a ficus, (this is a ficus retusa) those smaller branches won’t keep the shape after the wire is removed. So the “clip and grow” method will work until the girth of the branches can take wire training.
The second thing you’ll notice is the eye poking branch.
Which is more evident here in a side view. The bottom branch on the left is the front branch.
Very controversial. But, in my opinion, it is needed and, I think it works. You will have to see it in person but, it gives the tree depth. And if I cut it off there will be a big bullseye to draw your eye. Which can be utilized sometimes to good effect but I don’t think so here.
I worked on more trees but I only got pics of this un-oakish oak tree.
Most of the time we should style a tree in the manner that it grows naturally. But, then again,we shouldn’t impose a style on it. This trees growth habit is very un-oakish so I allowed it to be pine tree-ish instead. (Perhaps there is a lesson we can learn about humans there. Perhaps not.)
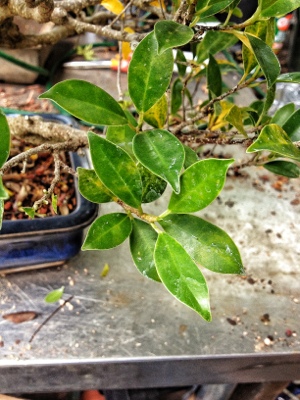
And I defoliated this sea grape tree
I apologize for not getting a before pic. The leaf size of this species can be as big as a saucer. On this one they were golf ball to baseball size. I have seen them reduced to quarter size. John Naka has said of the sea grape, “.. see the leaf as though it’s a cluster of leaves and not one leaf” kinda like it’s a pad. I think the trunk quality and the beauty of the tree trumps leaf size on the sea grape. How about you?
So I actually did this work yesterday. But I started the post last night. I may publish it tomorrow. I finished writing it today though. I seem to always do that.
