Welcome to the first post of 2013!
Let’s get to work, shall we?
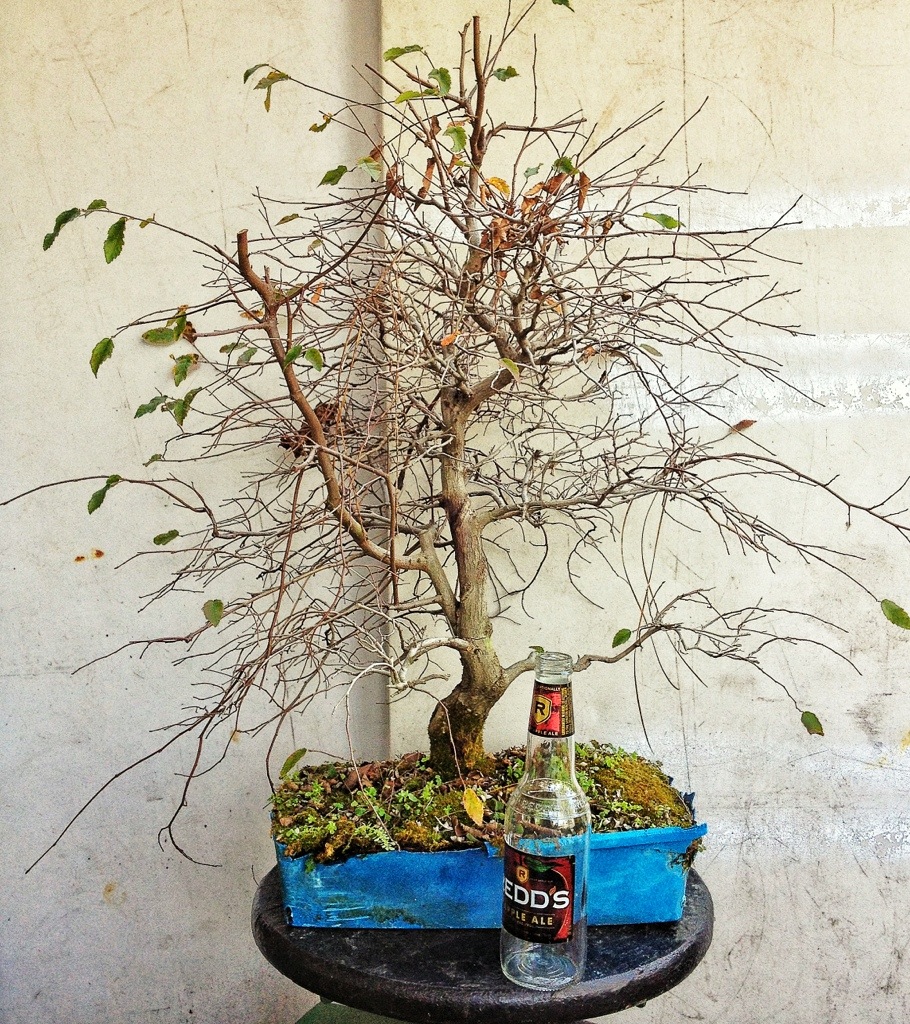
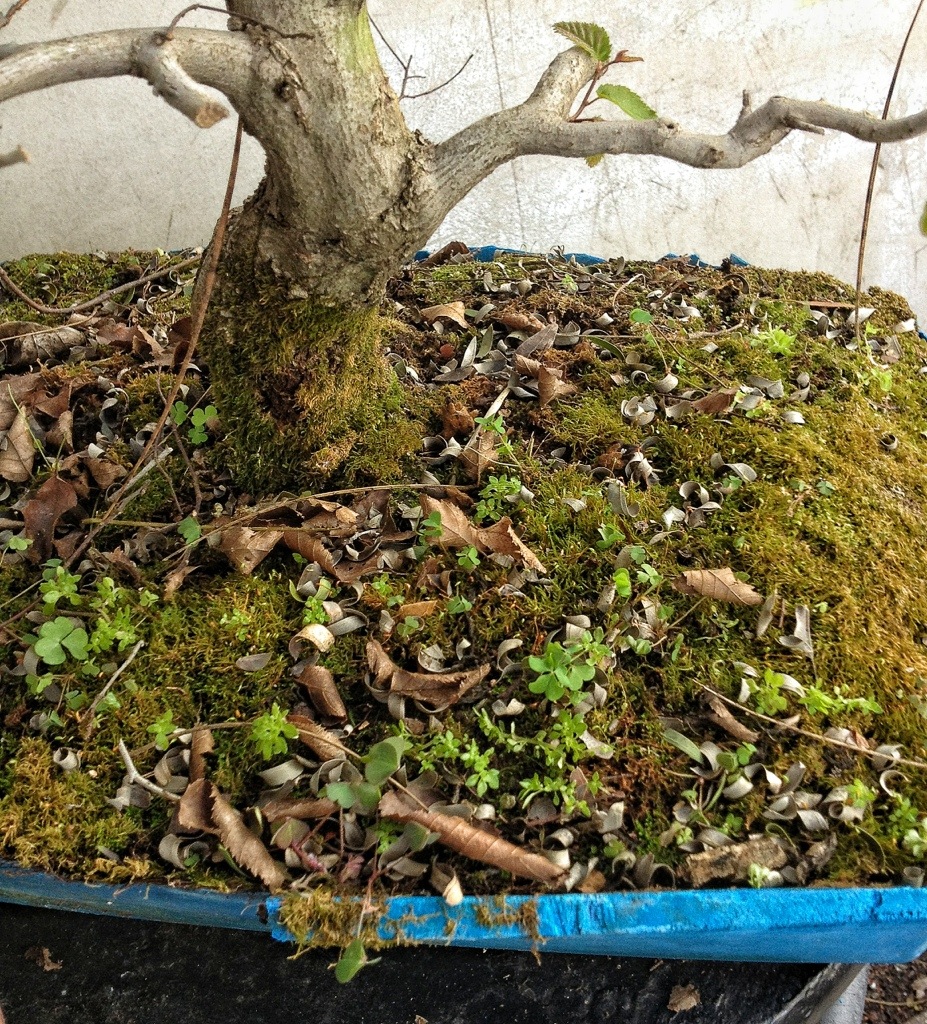
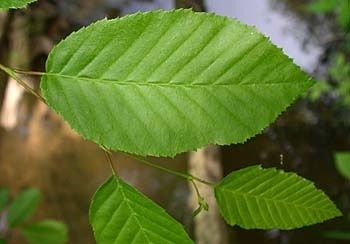
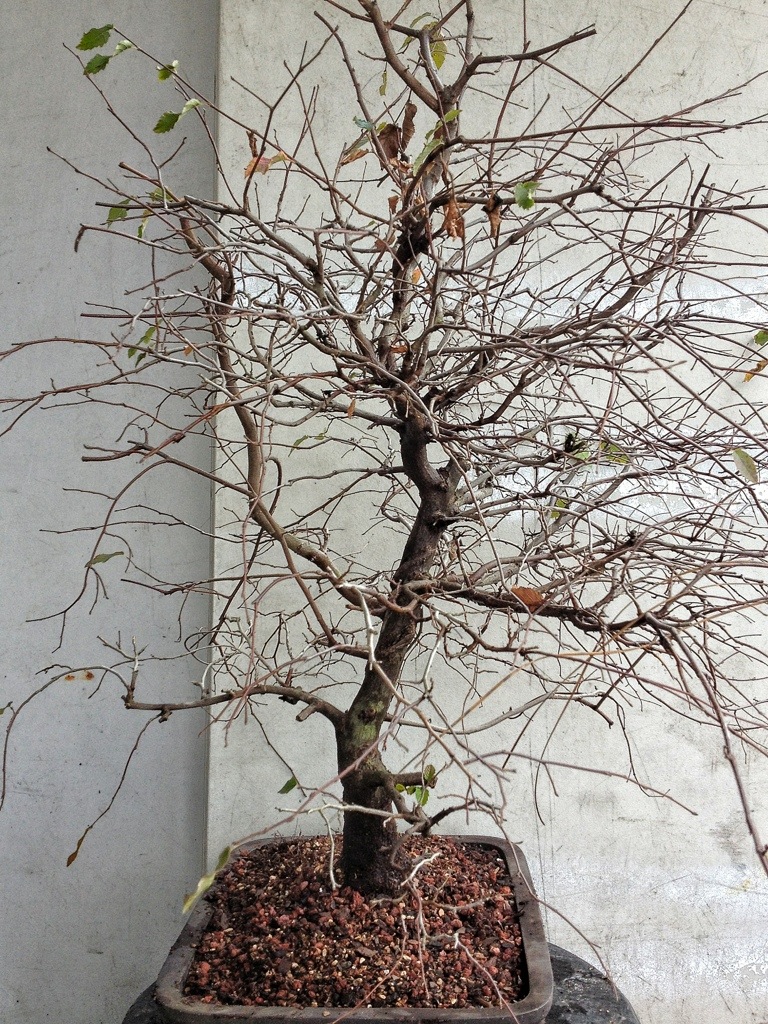
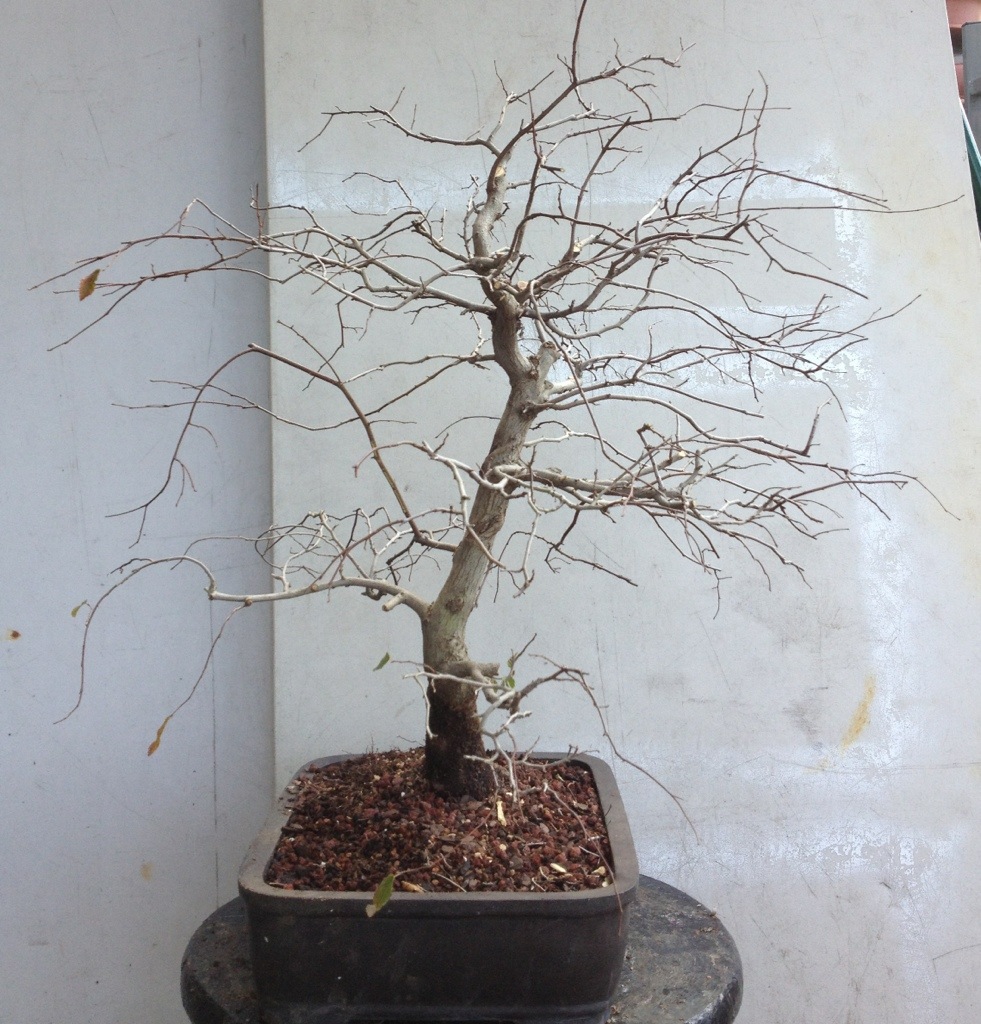
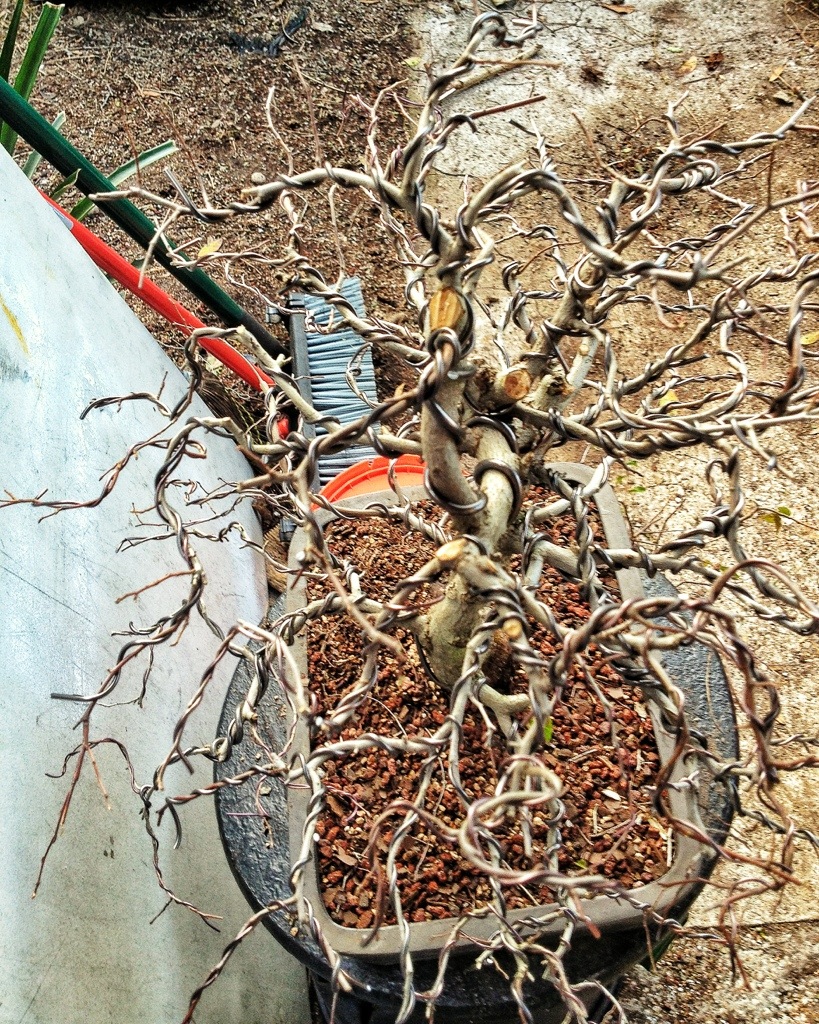
This hornbeam (carpinus caroliniana)
was a gift from a friend. He said I might be able to figure out how to style it.
I must exude more confidence than I feel sometimes, I guess.
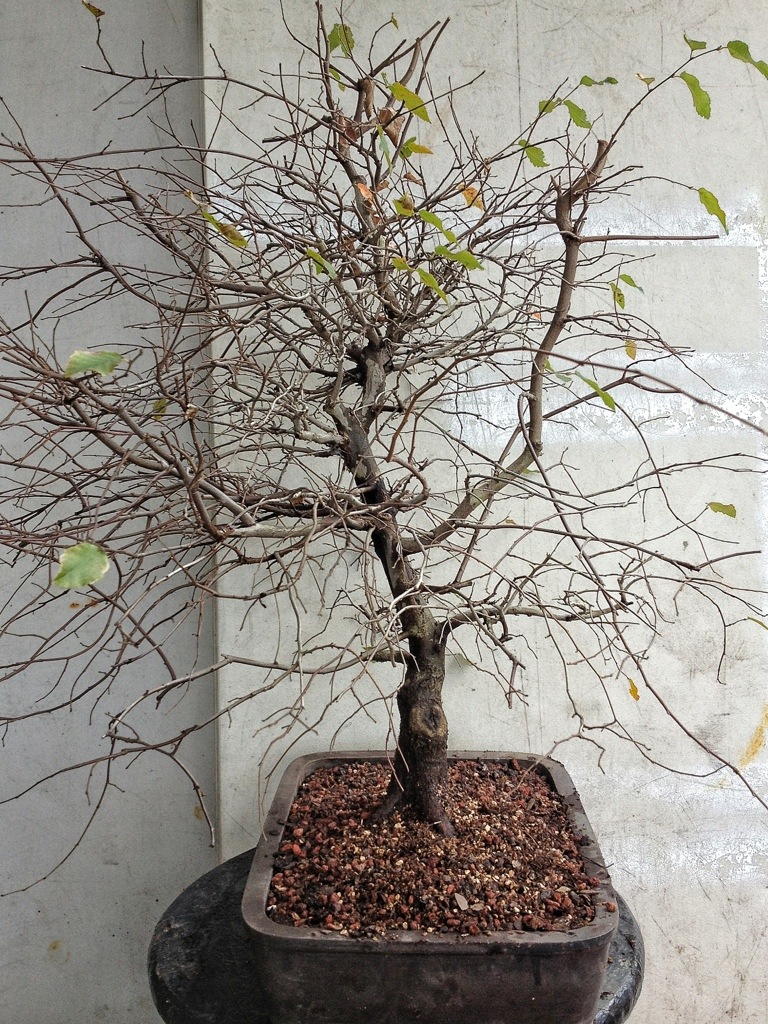
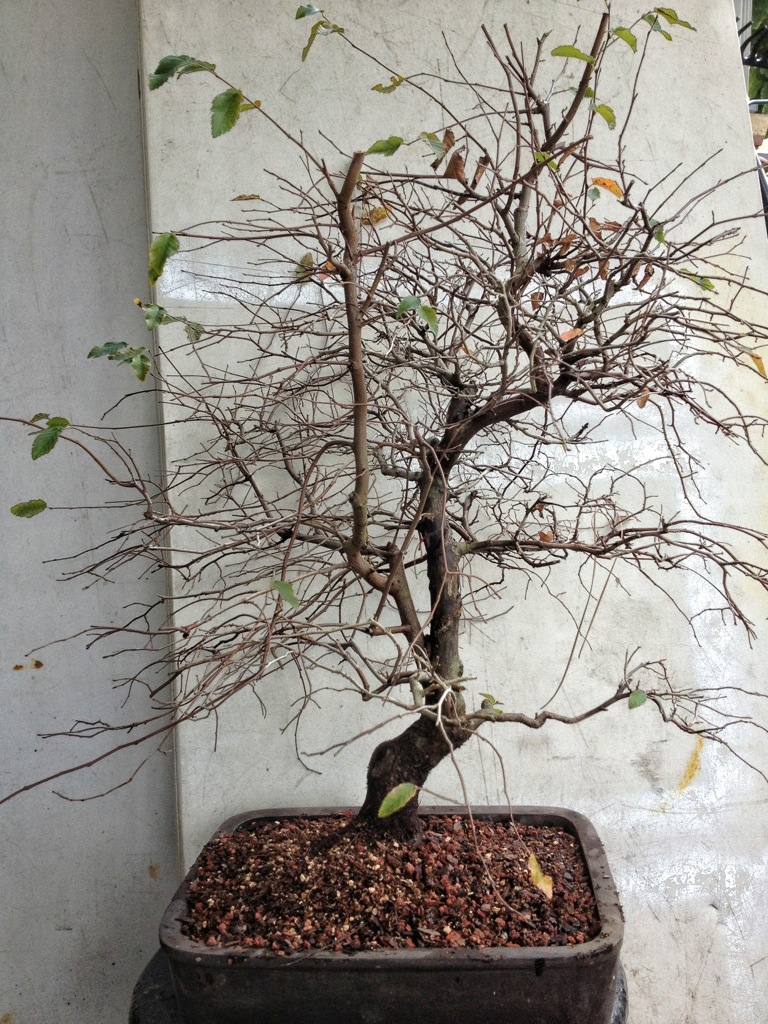
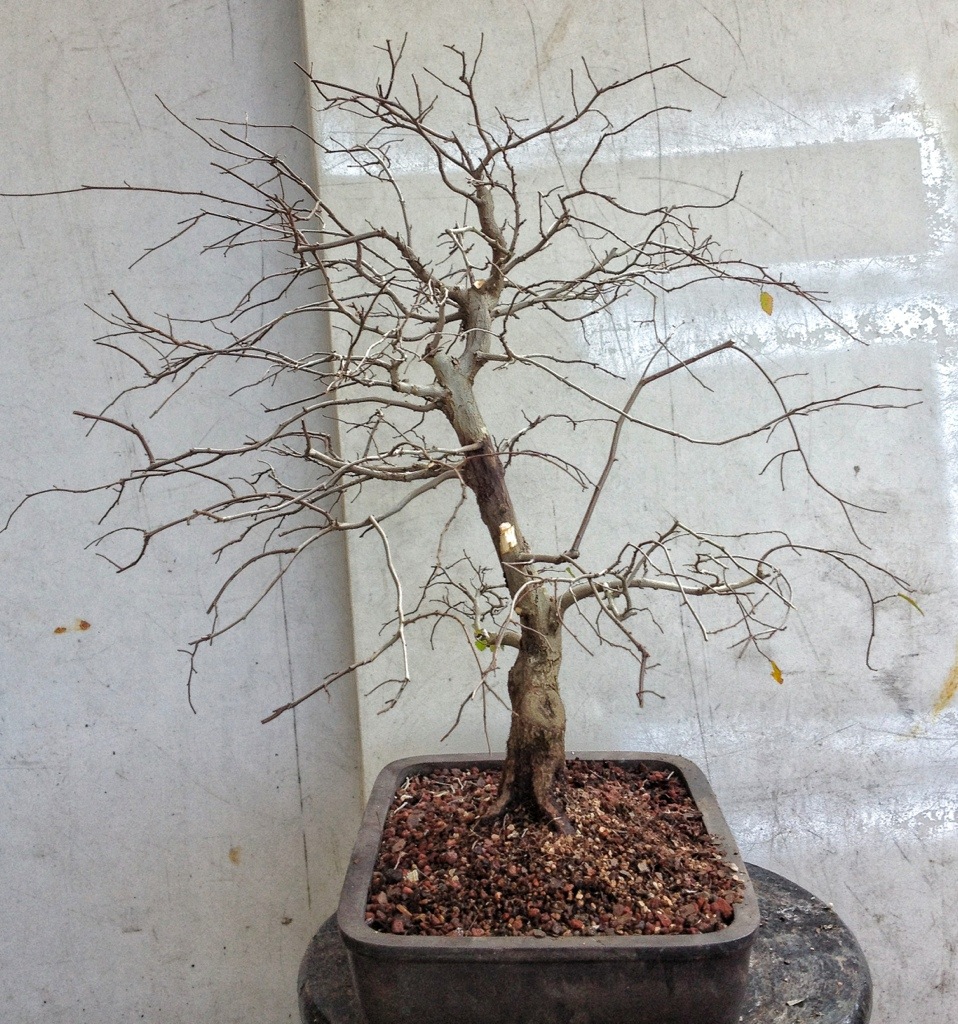
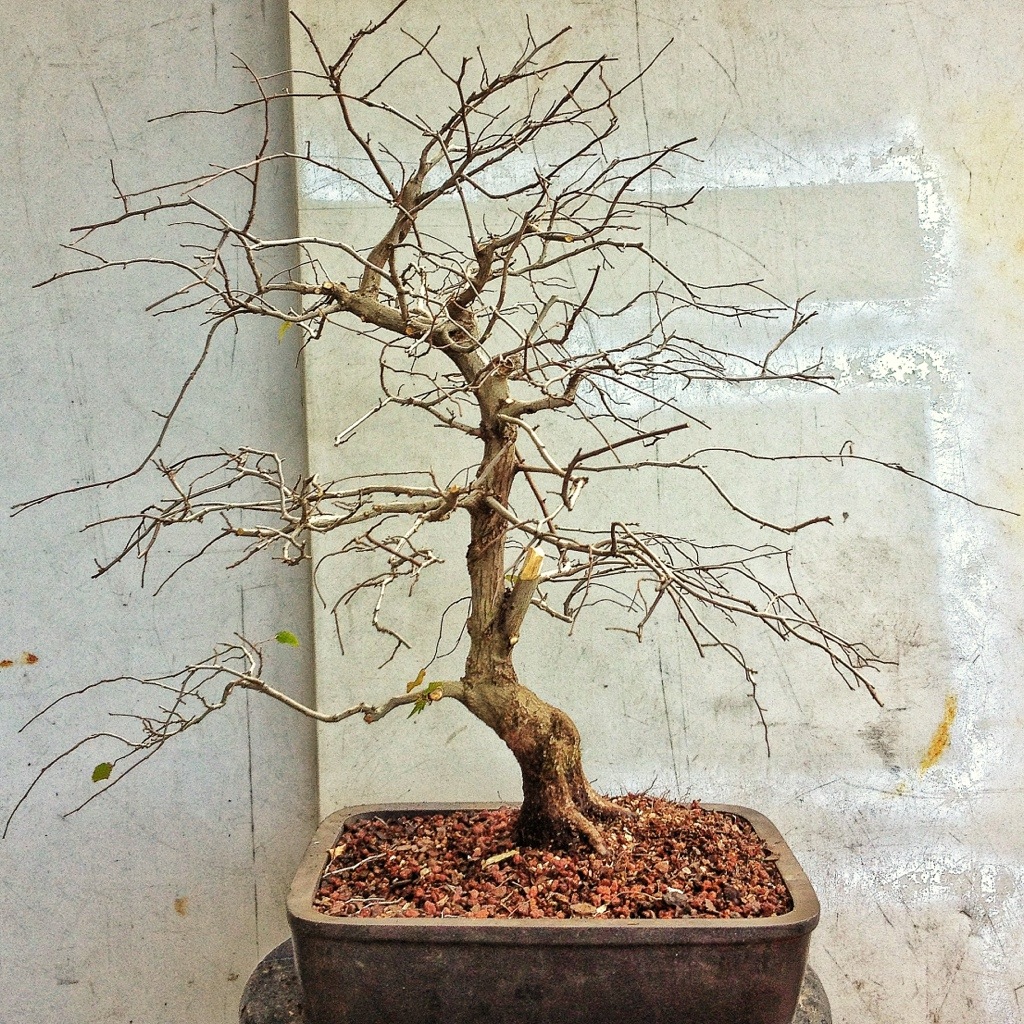
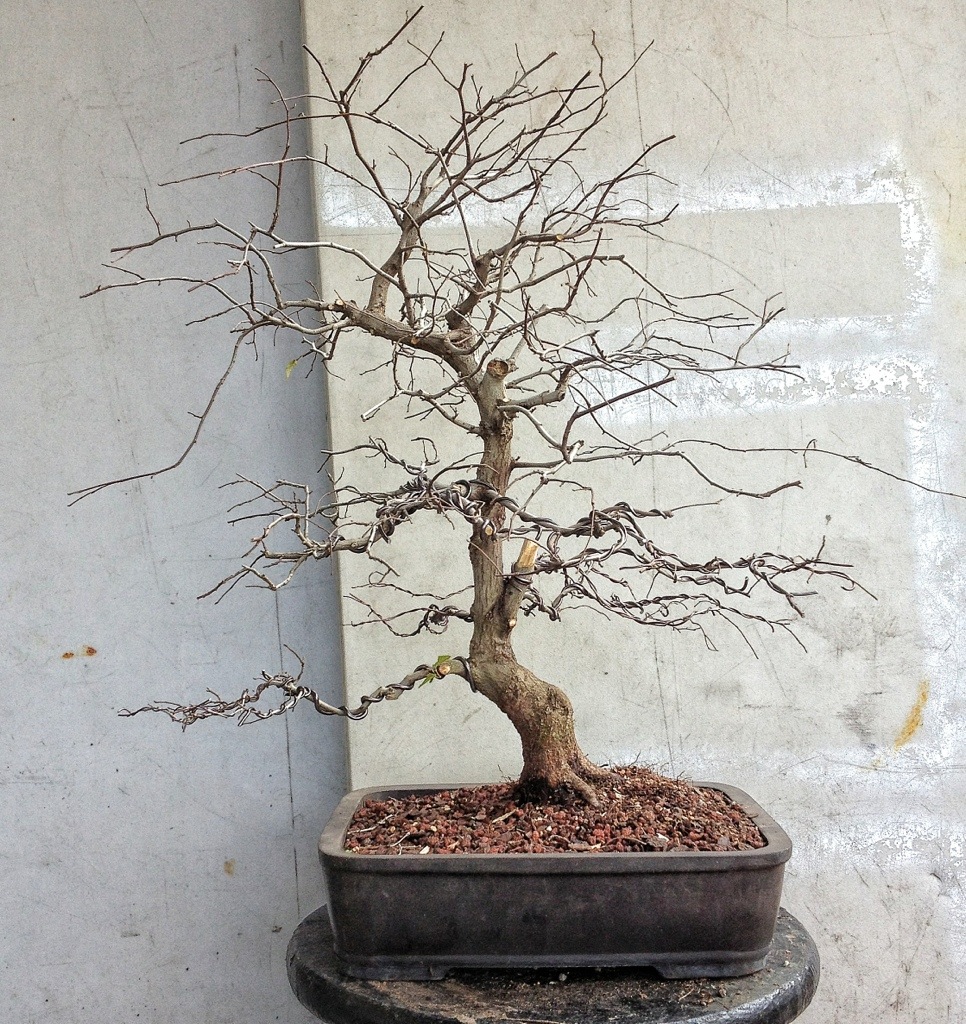
Anyway, here’s the two sides and the back:
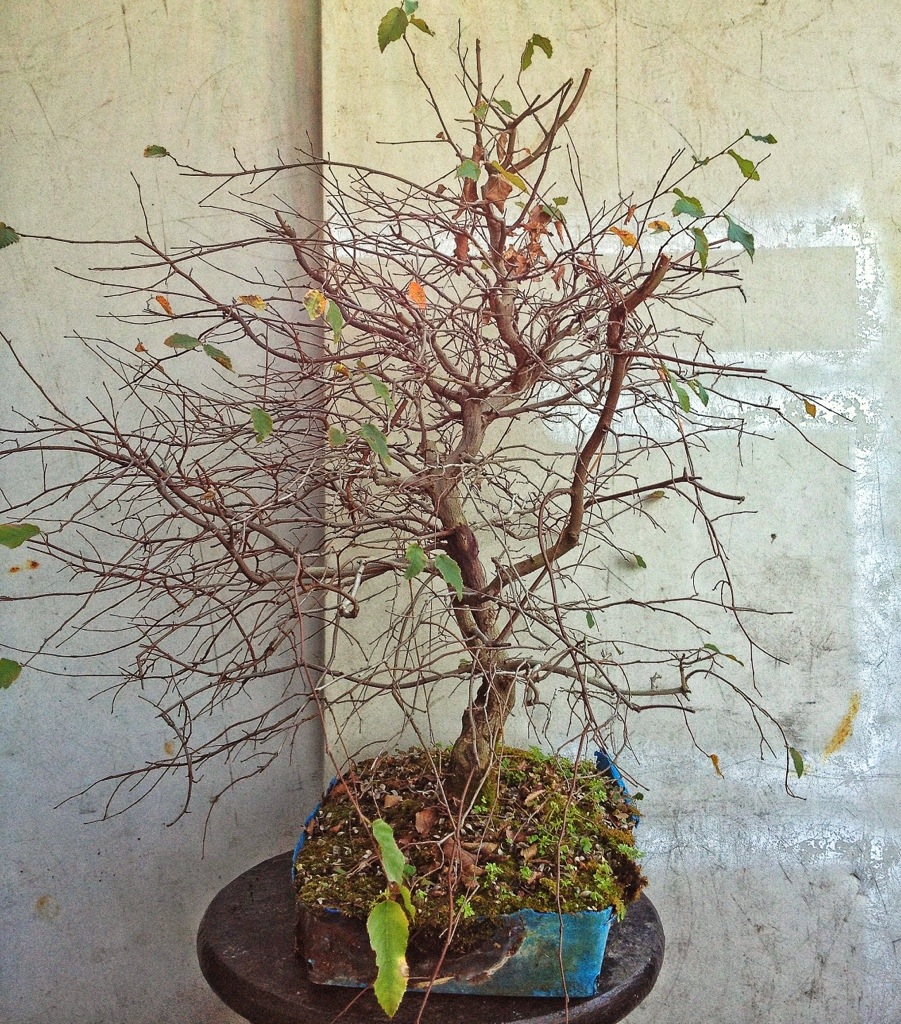
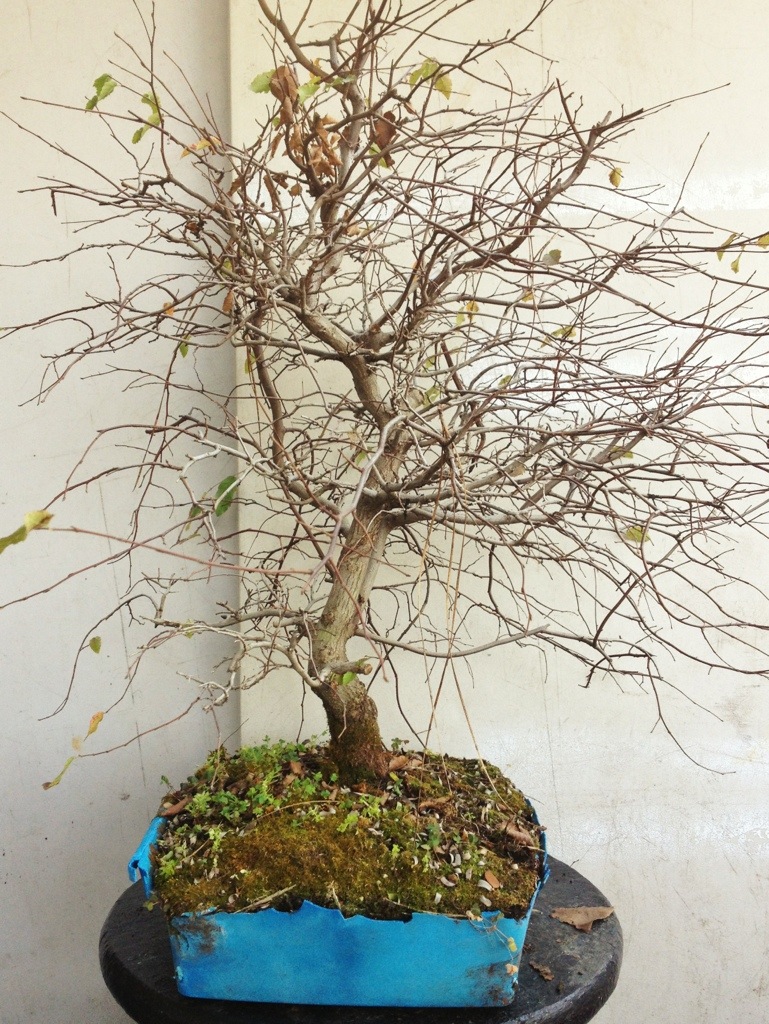
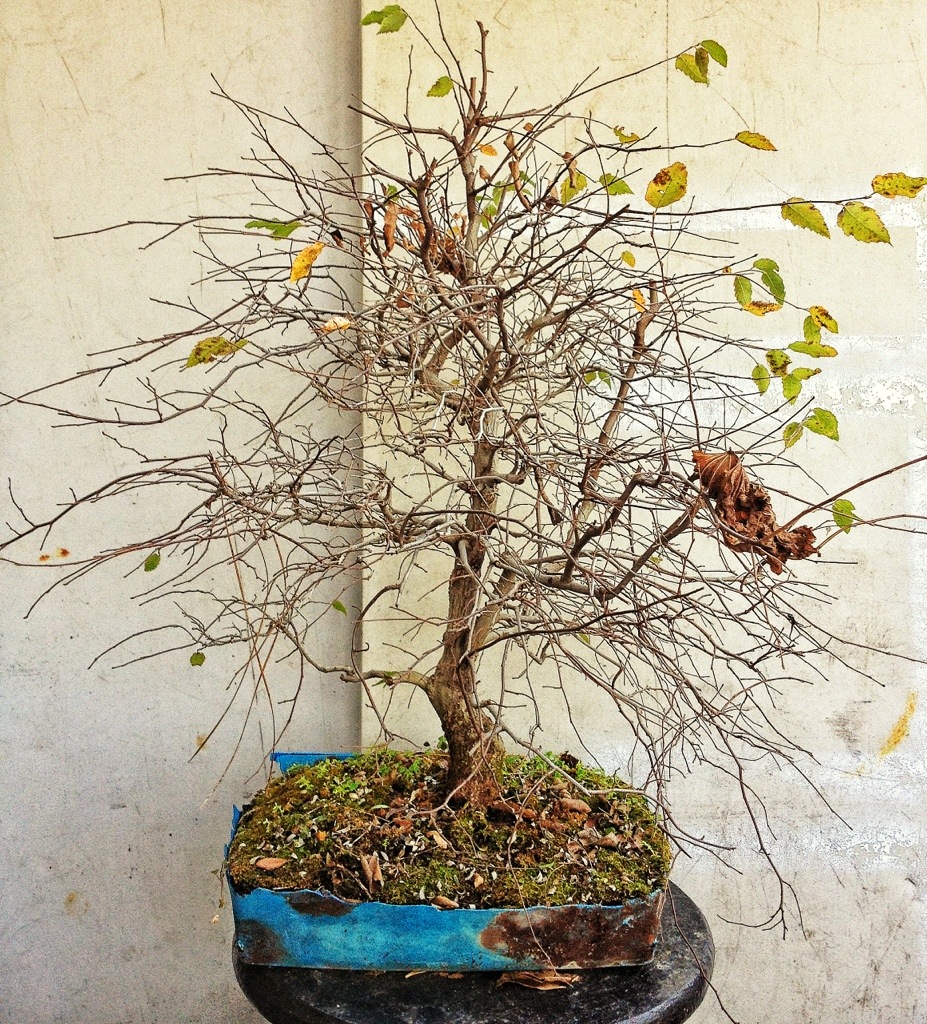
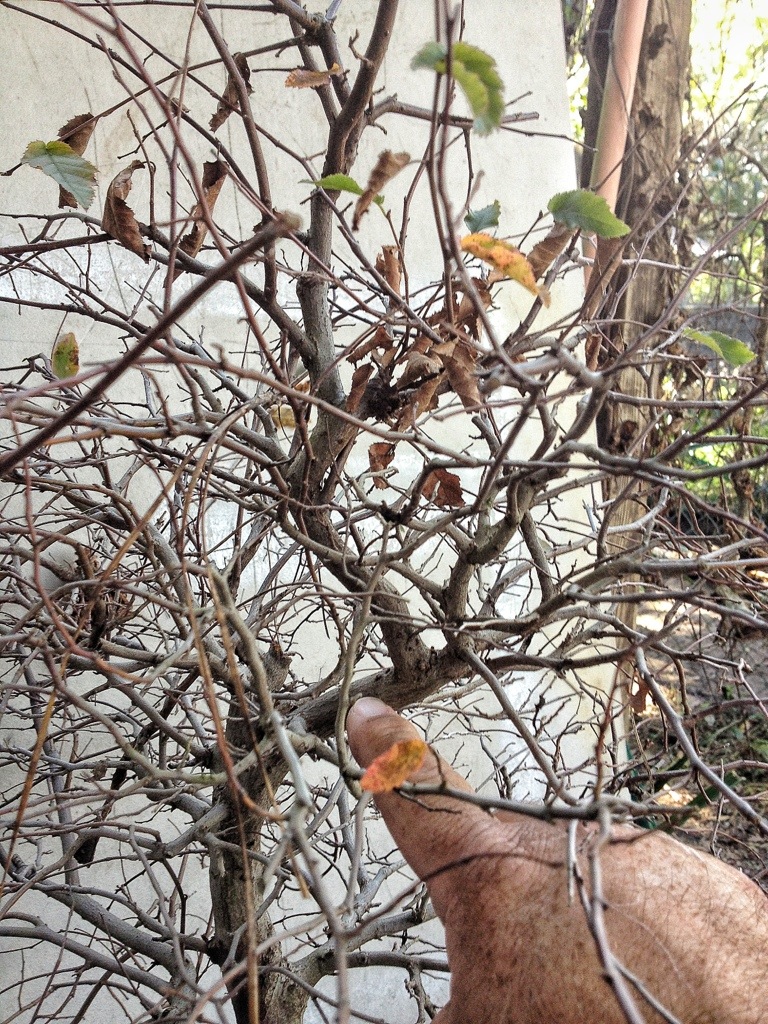
There are a lot of branches. WOW.
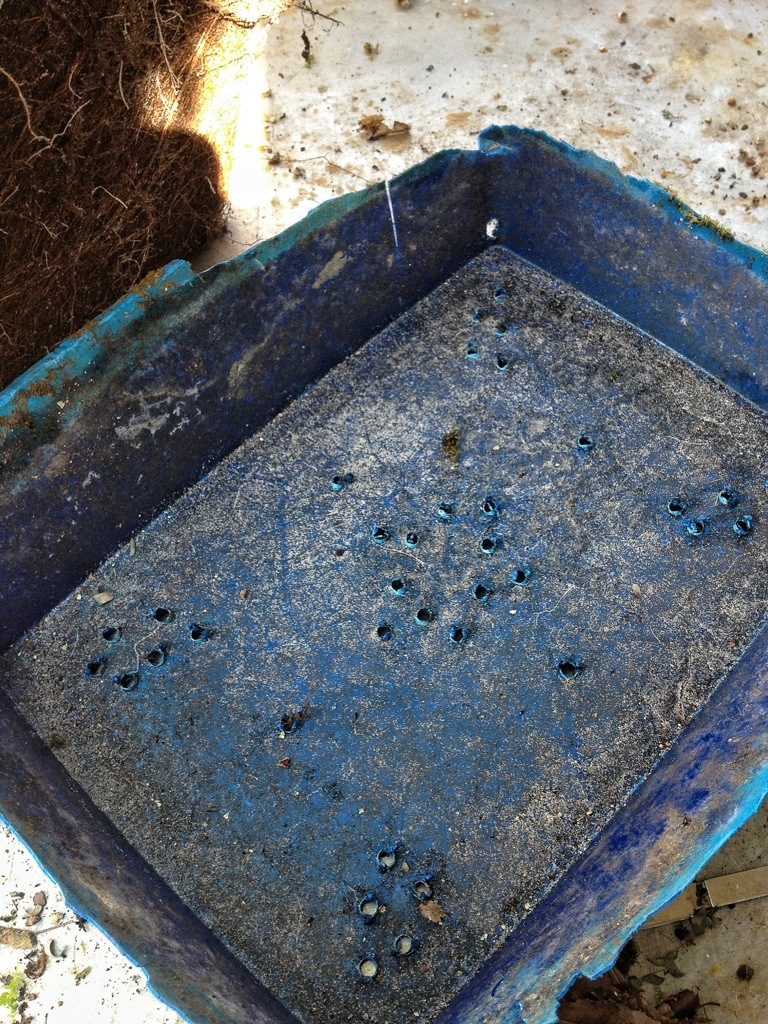
What he has done is basically maintained the silhouette and the canopy. And kept it alive in that, shall we say, unorthodox container ( I think it’s a kitty litter tray).
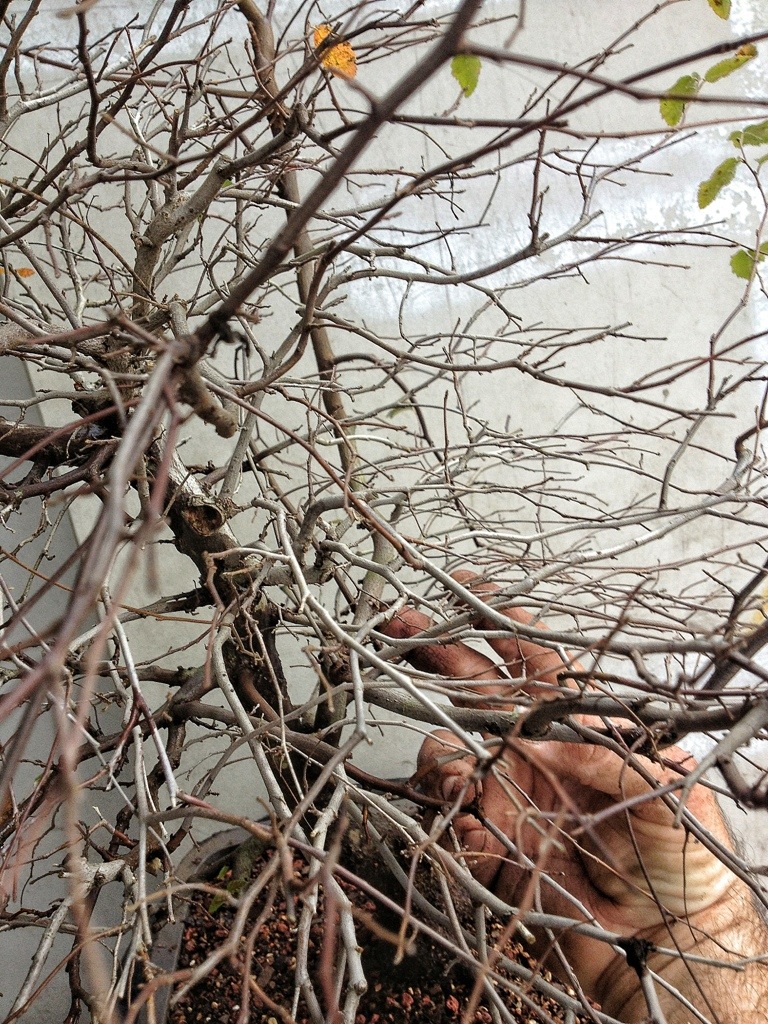
Some good details and some bad:
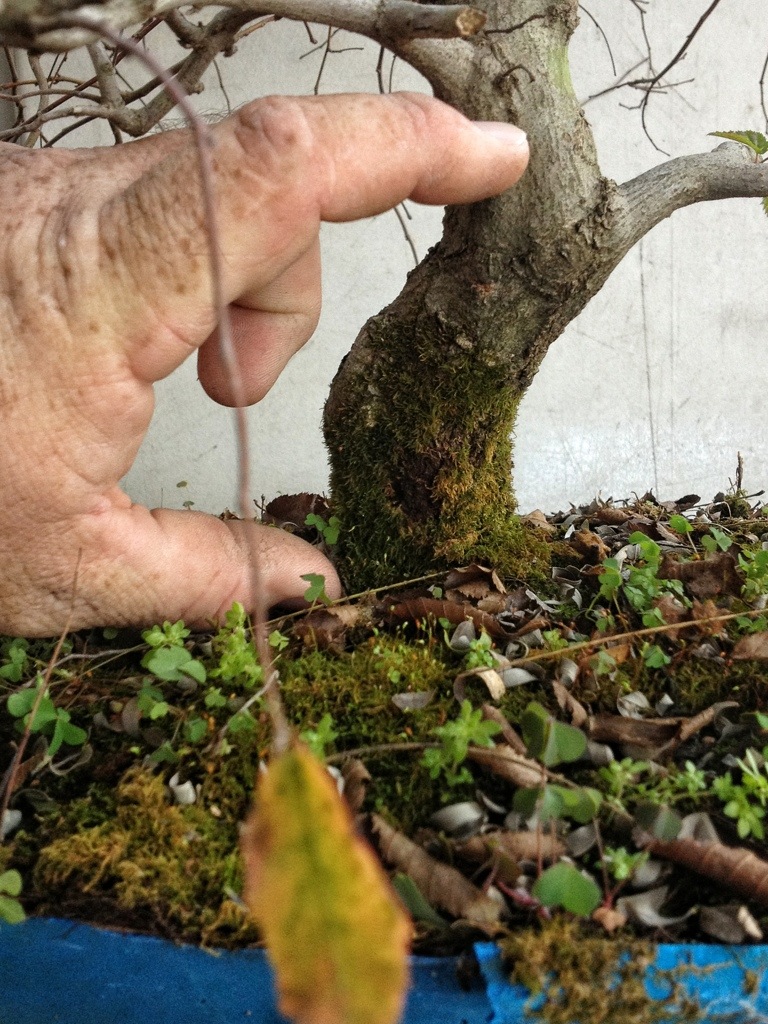
I like this.
This is awkward. A second trunk this high up will tend to be ripped off in a windstorm.

This straight section is troublesome.
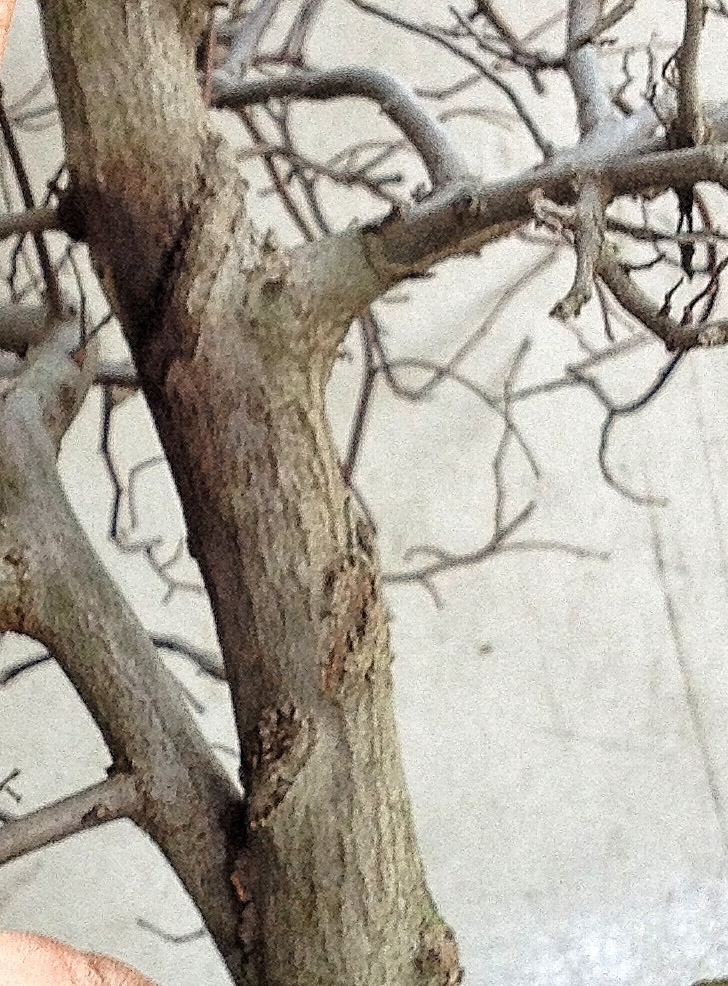
Some old wire scarring. Which tells me that I will have to be careful with this one and all the wire I’m going to put on this (Oh boy will this be wired. I’ll be able to “tune in Tokyo” with this one)
I really like this twisting on top. This is a characteristic of a really old tree.
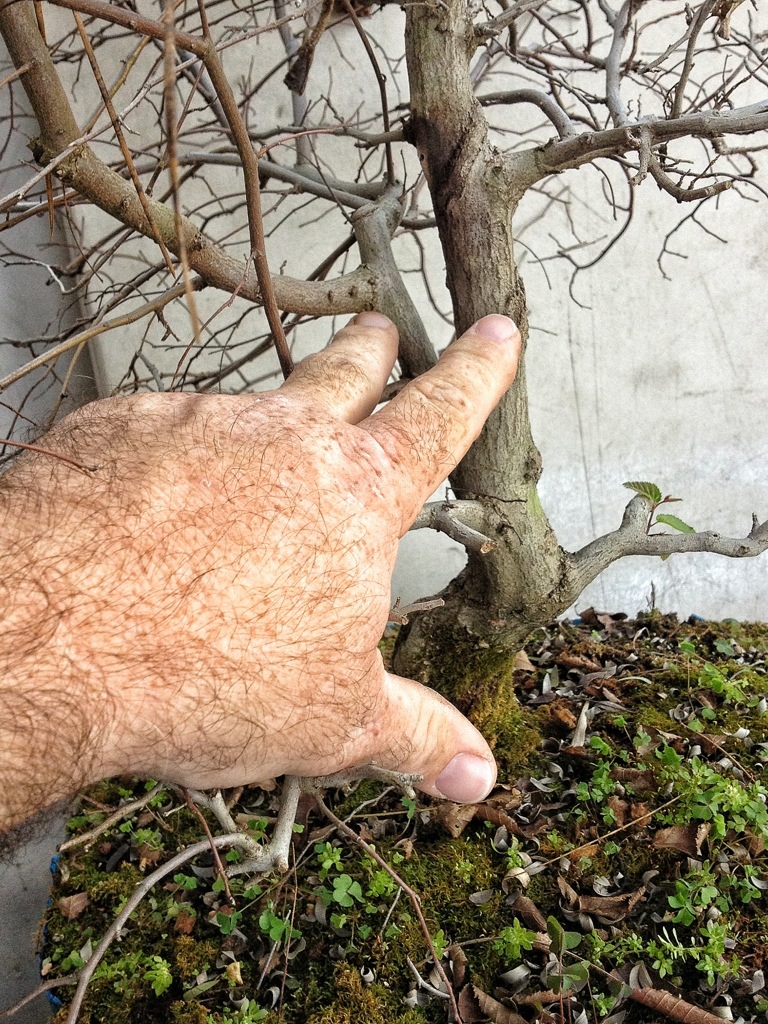
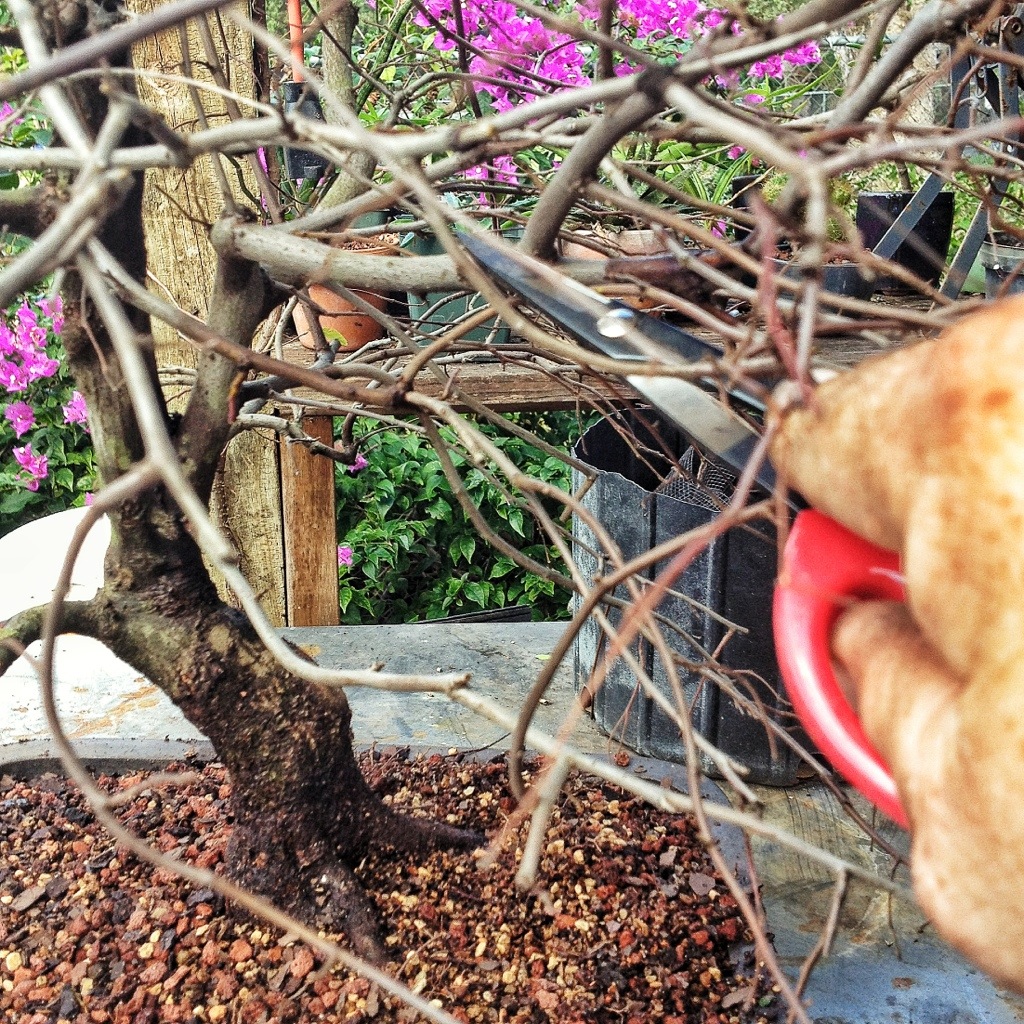
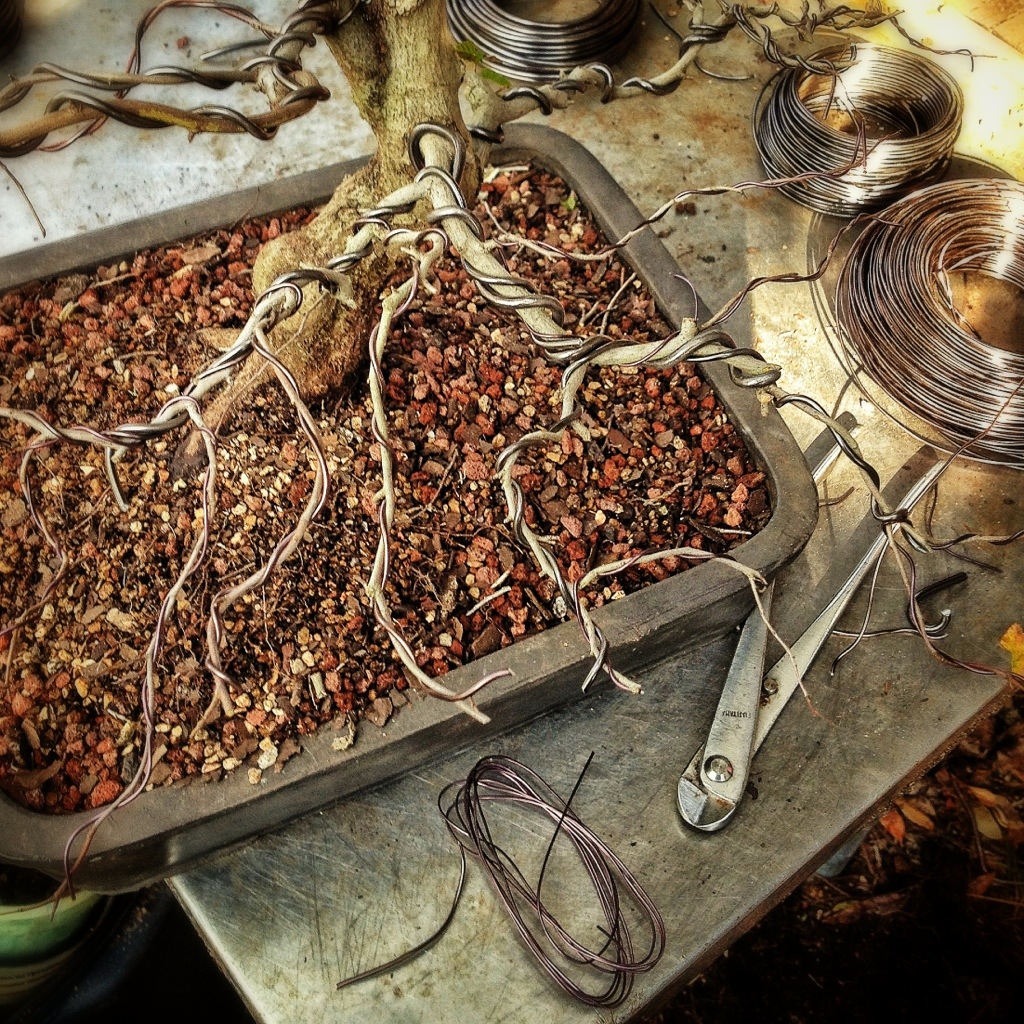
Enough looking. First I have to deal with this:
And then choose a front.
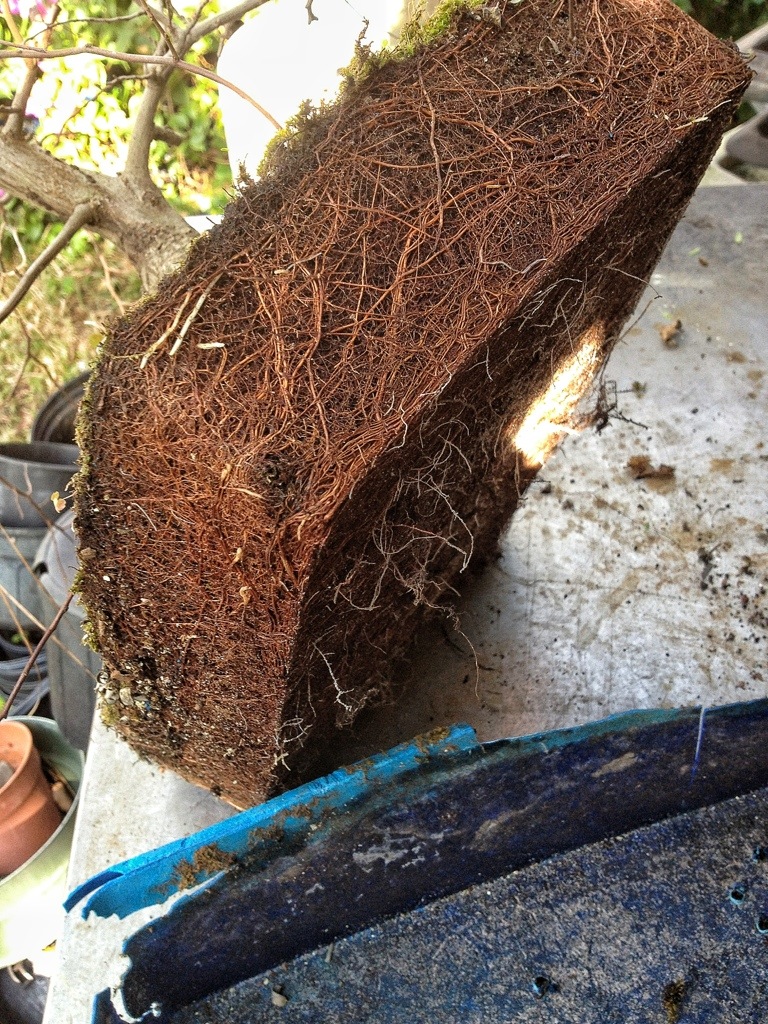
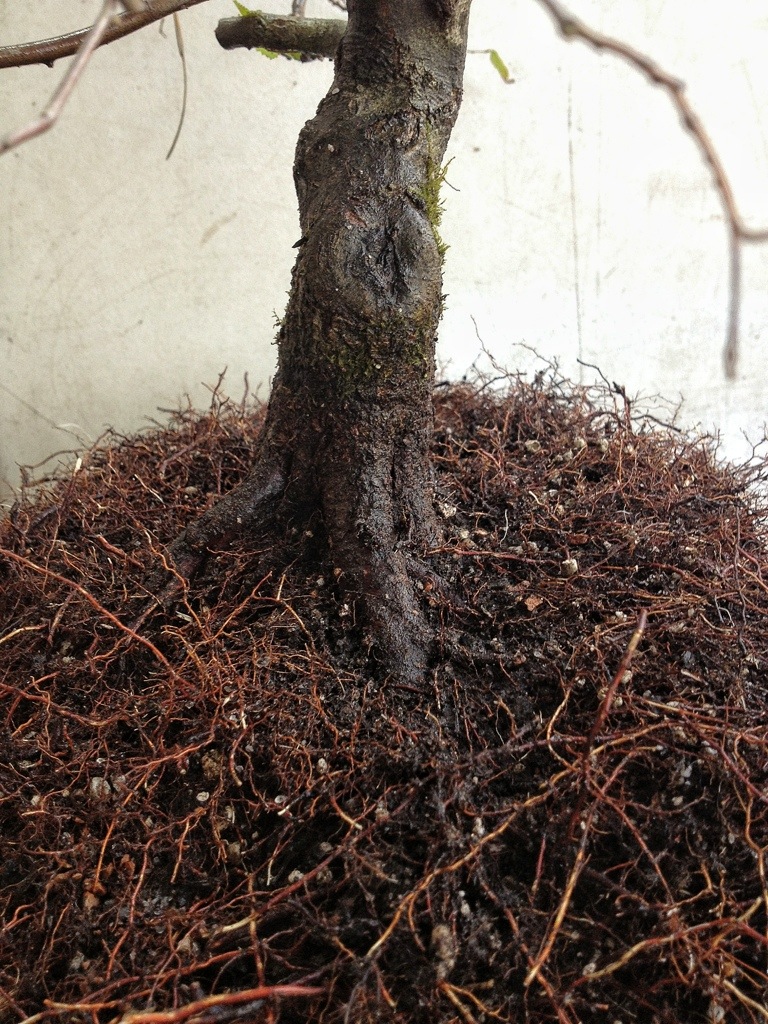
Well……a teeny bit root bound.
It’s thick as a brick
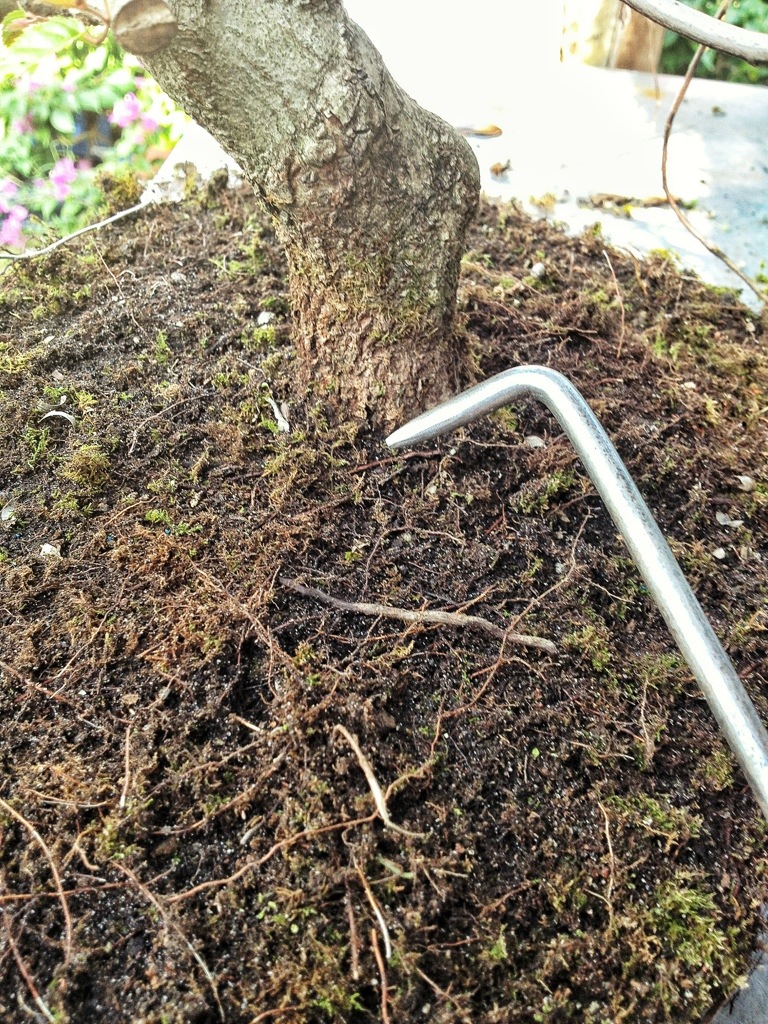
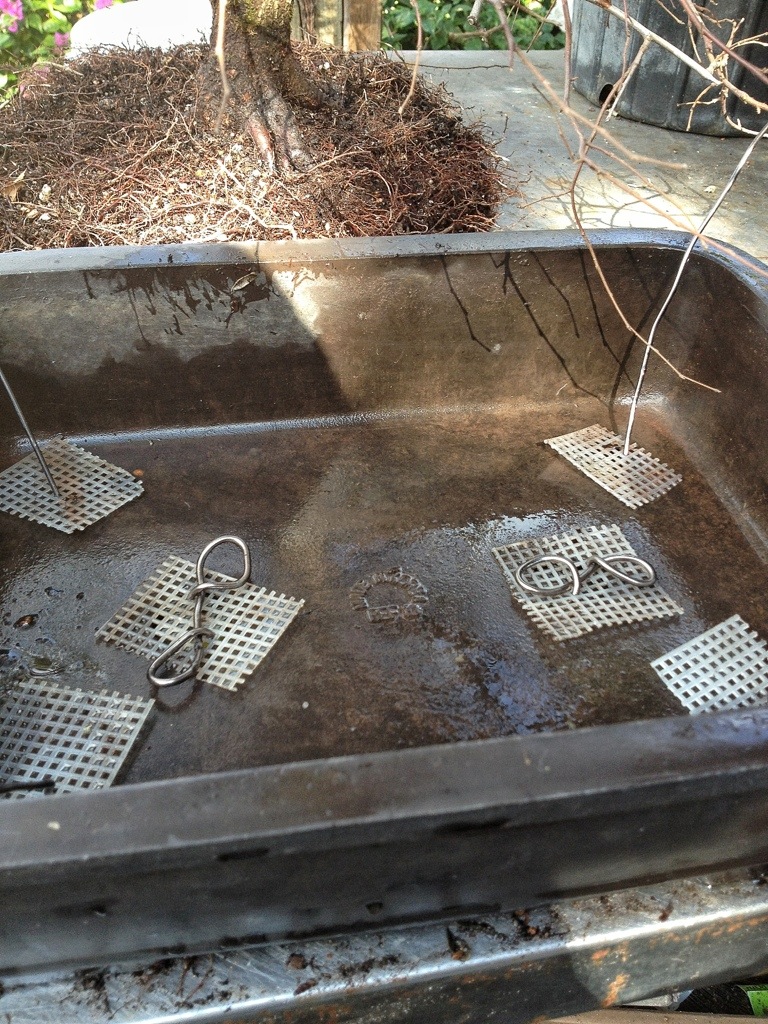
Time for some root hook action.
It is a bit early for me to be doing this as far as my normal practice goes. I usually like to wait for the buds to just start to swell (Why? It’s because I like to see if I killed the tree. Honestly)
Also, I will probably cause it to break dormancy by working on it now and a tree like this needs dormancy or it will just fizzle out and die. This one lost its leaves a month ago so it has had some dormancy. And there is actually some new growth on it. So I don’t want to wait too long.
This seems like a good point for some info on hornbeams.
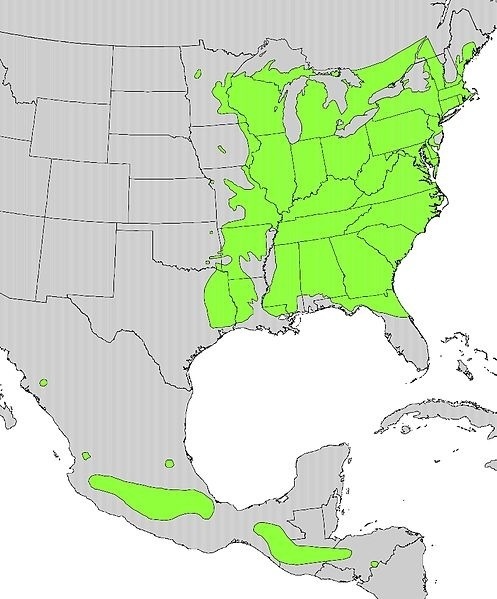
Here’s a map of their native range (which doesn’t mean you can’t grow them where you live; it just means if you take a walkabout in the woods in these areas you might find one to collect)
Some more common names are “ironwood” and “musclewood”
It is a very hard wood used for tool handles and such. When working on it make sure your tools are sharp and you use the right tool for the job. And the right size tool as well.
The tree doesn’t tend to heal well with big cuts so it might be a better idea to incorporate the cut into the design.
Ok, back to work…
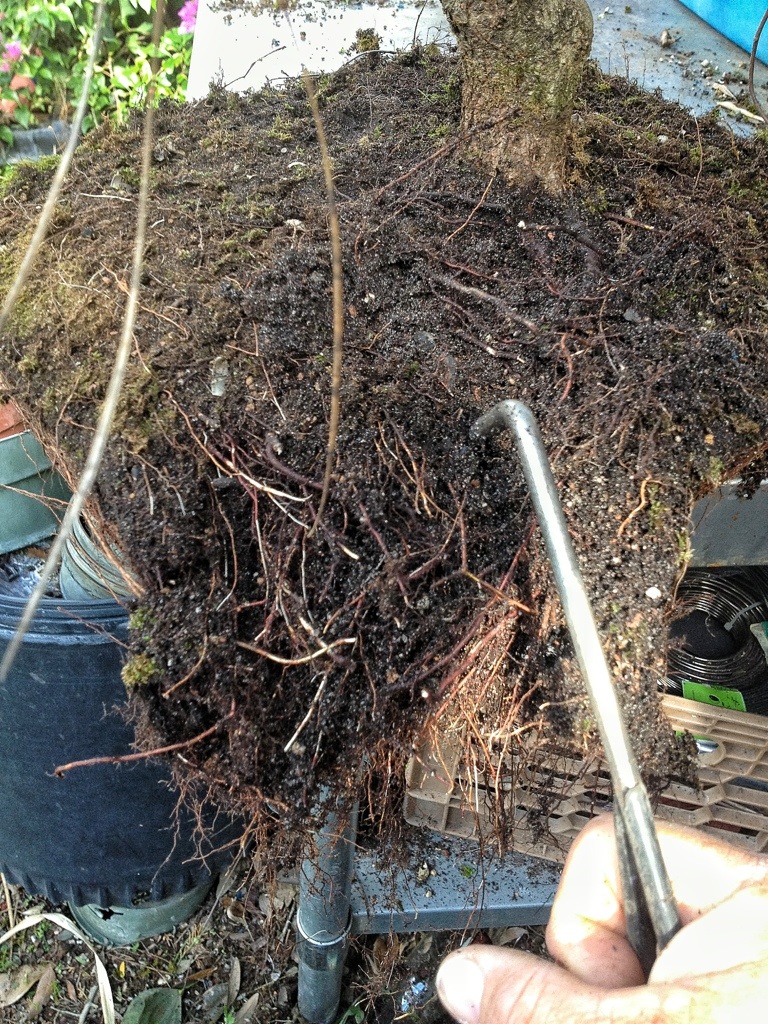
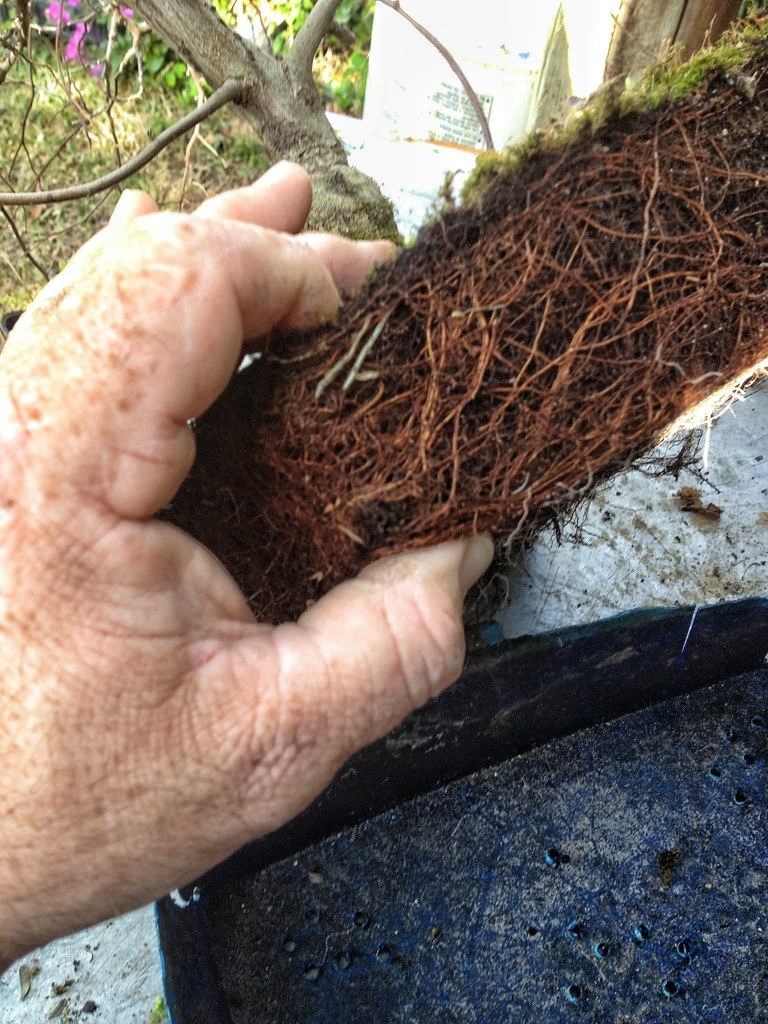
Comb the roots out gently…. well, this one requires a bit more, ah, vigor.
I reduced the root mass by a third or so.
And presented myself with a dilemma.
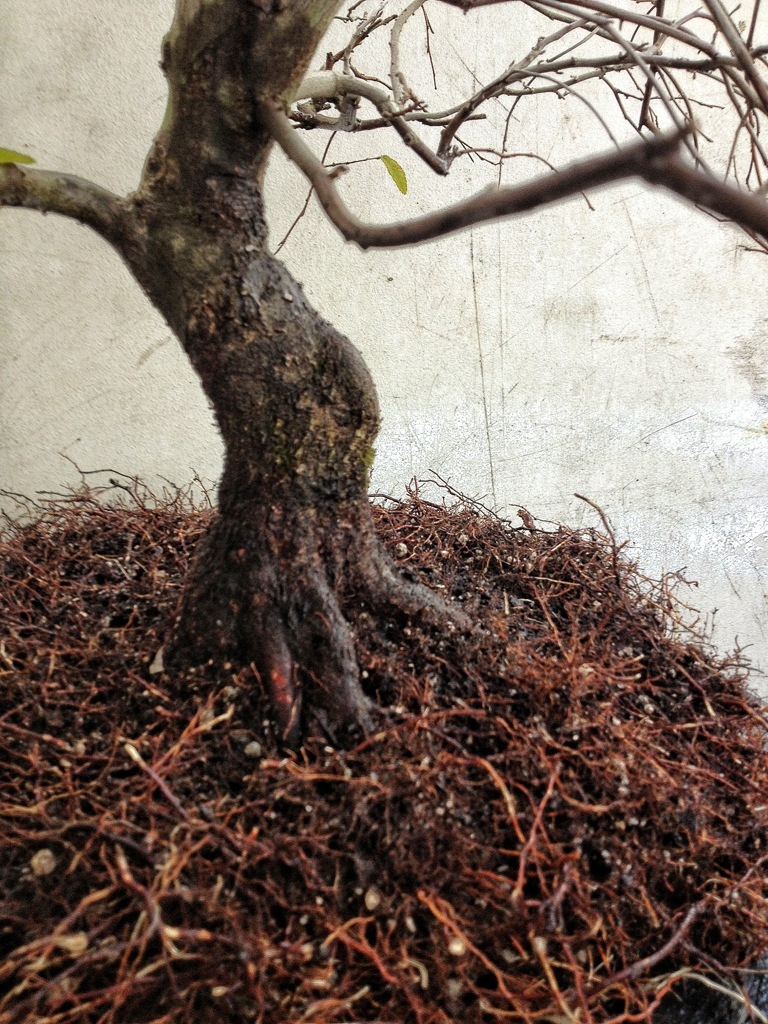
My problem?
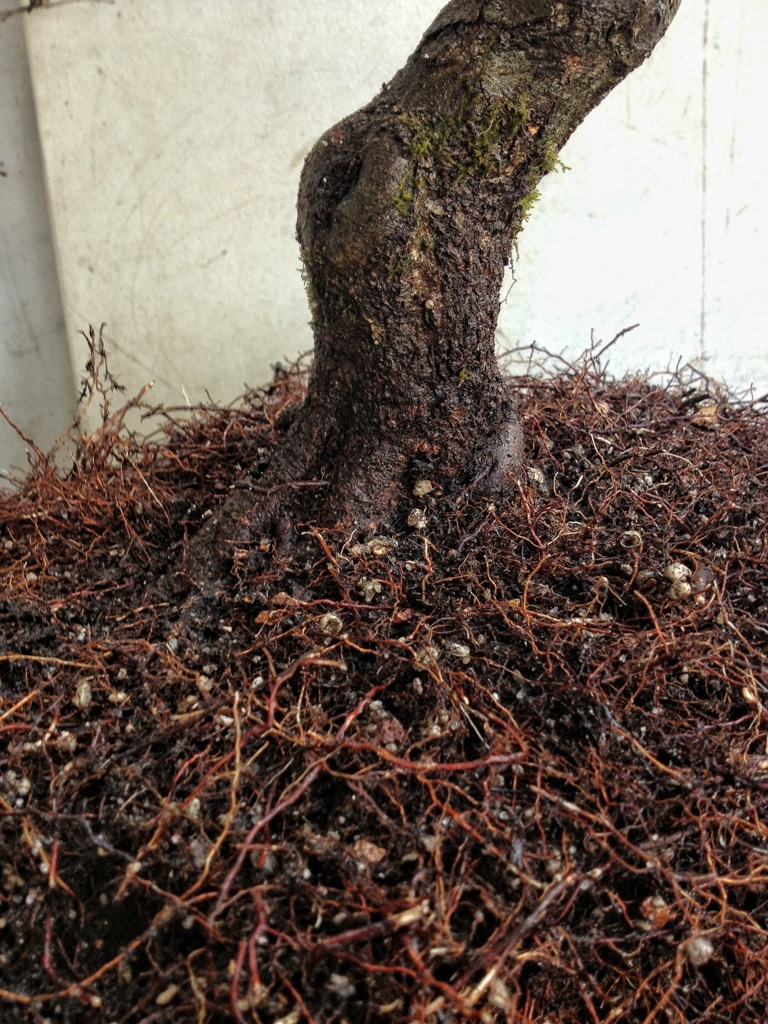
The root base (nebari) is better here
And that is not the front I have been looking at for months. Hmmmmm.
Well.
The most important part of the tree is the nebari. When styling a tree this is the first thing we look at.
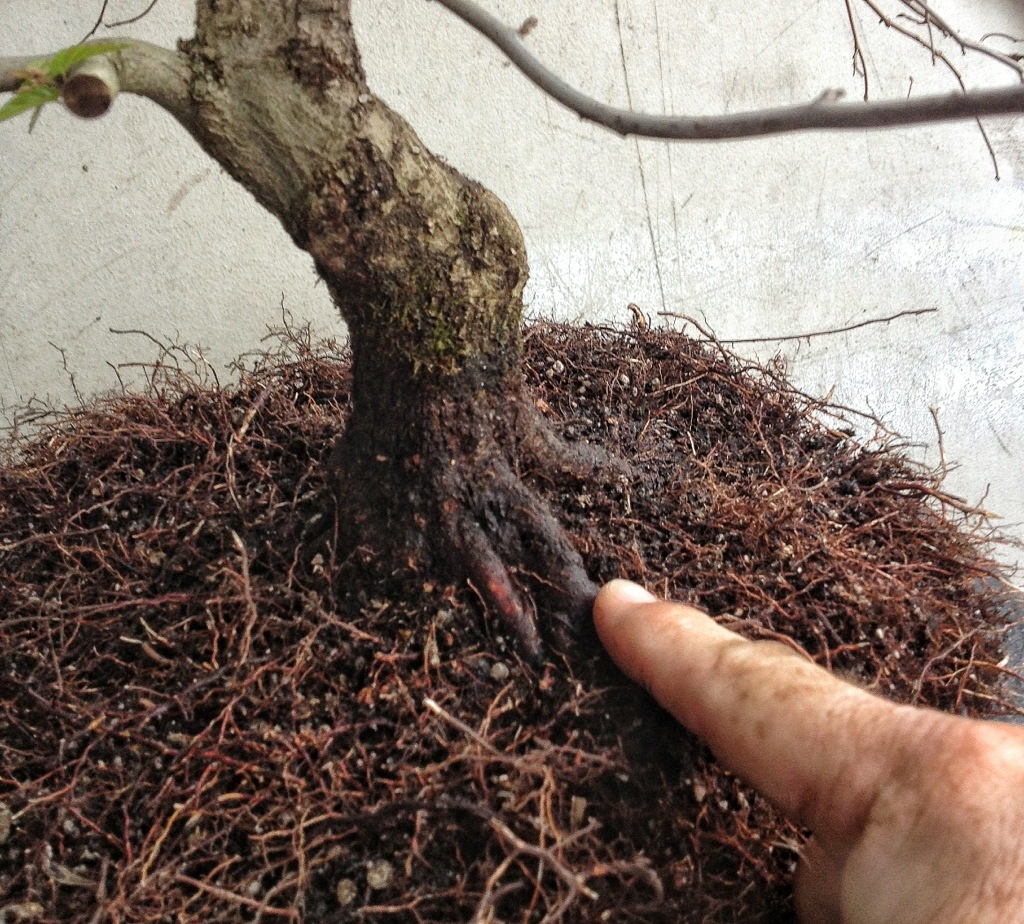
This, then, is the front.
At this angle too.
I think we need a new pot.
This is a mica training pot. A little deeper than the finished pot will be. The extra depth will help with the growth.
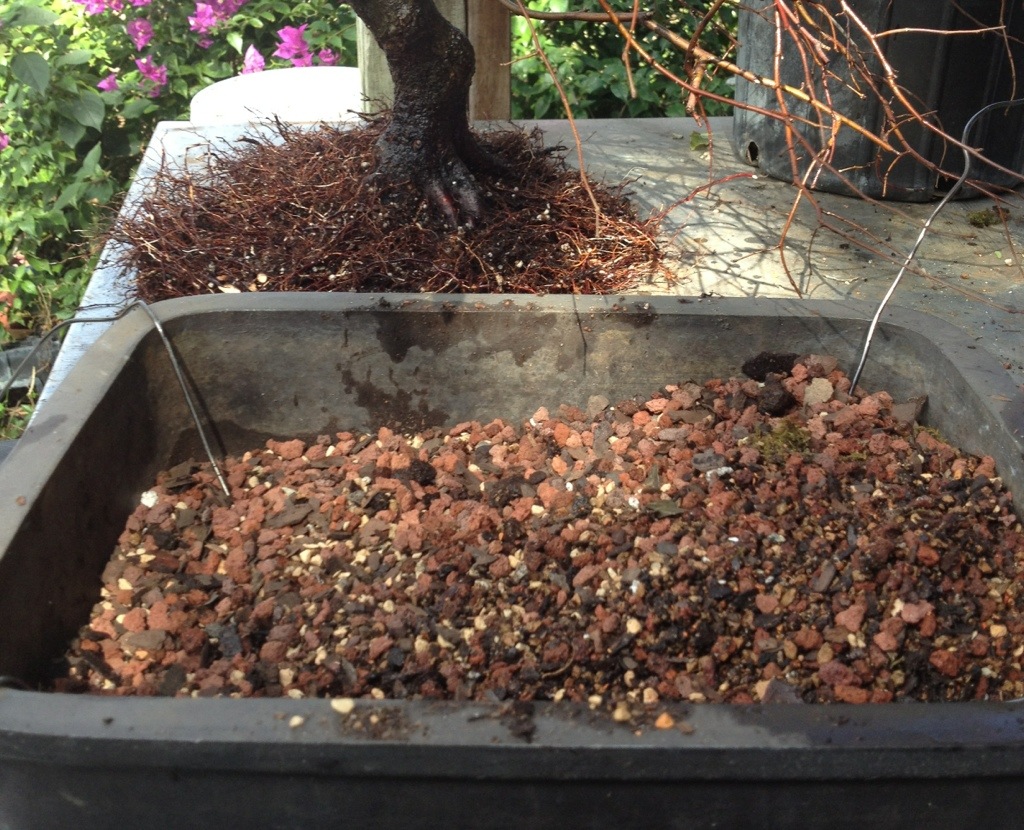
Some fresh soil, filled at an angle to accommodate the new angle.
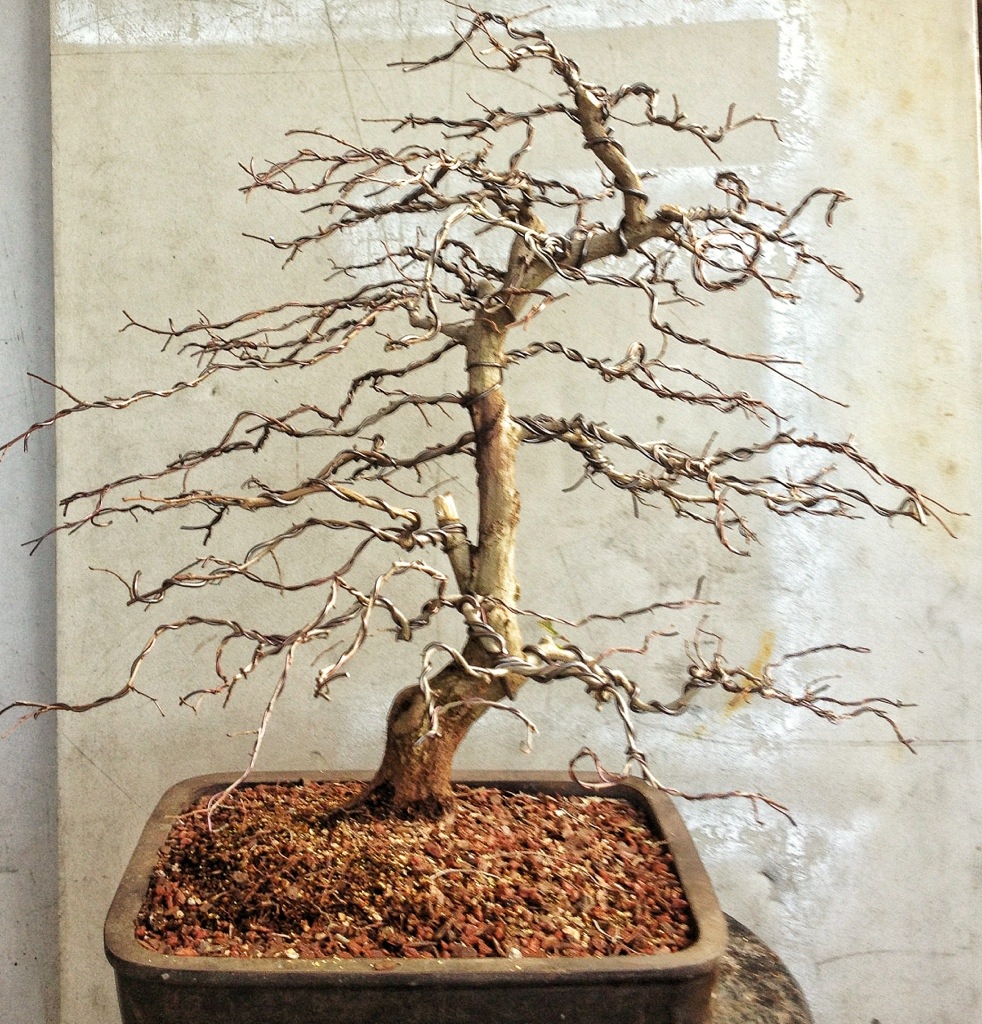
Front, side, side and back.
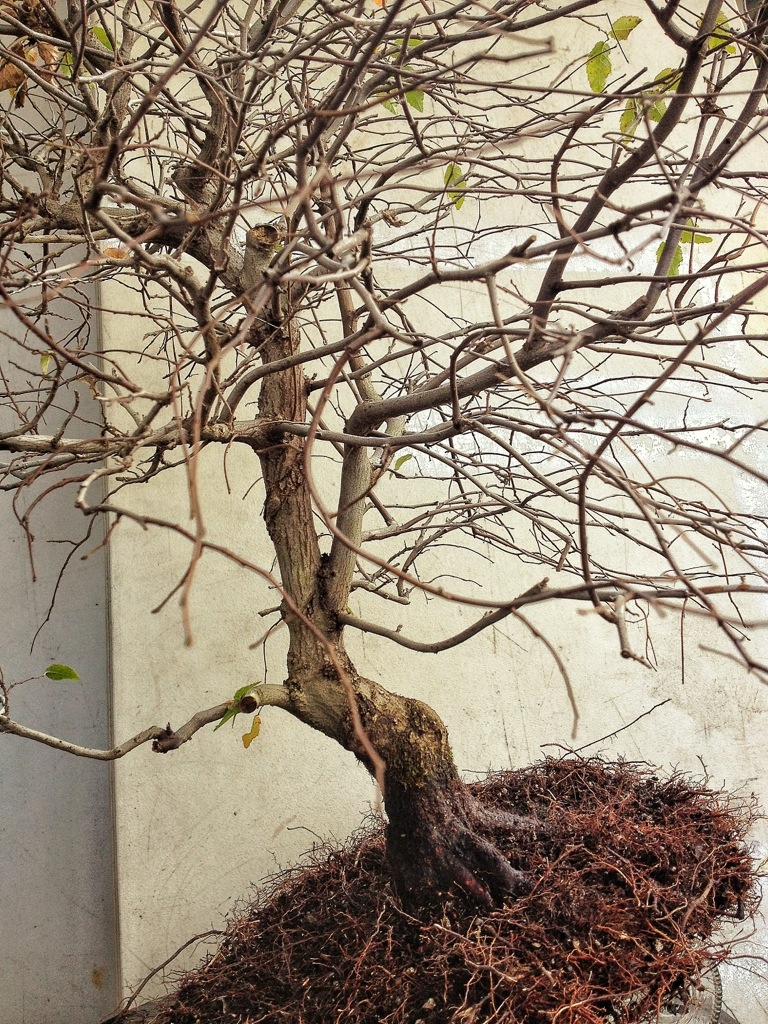
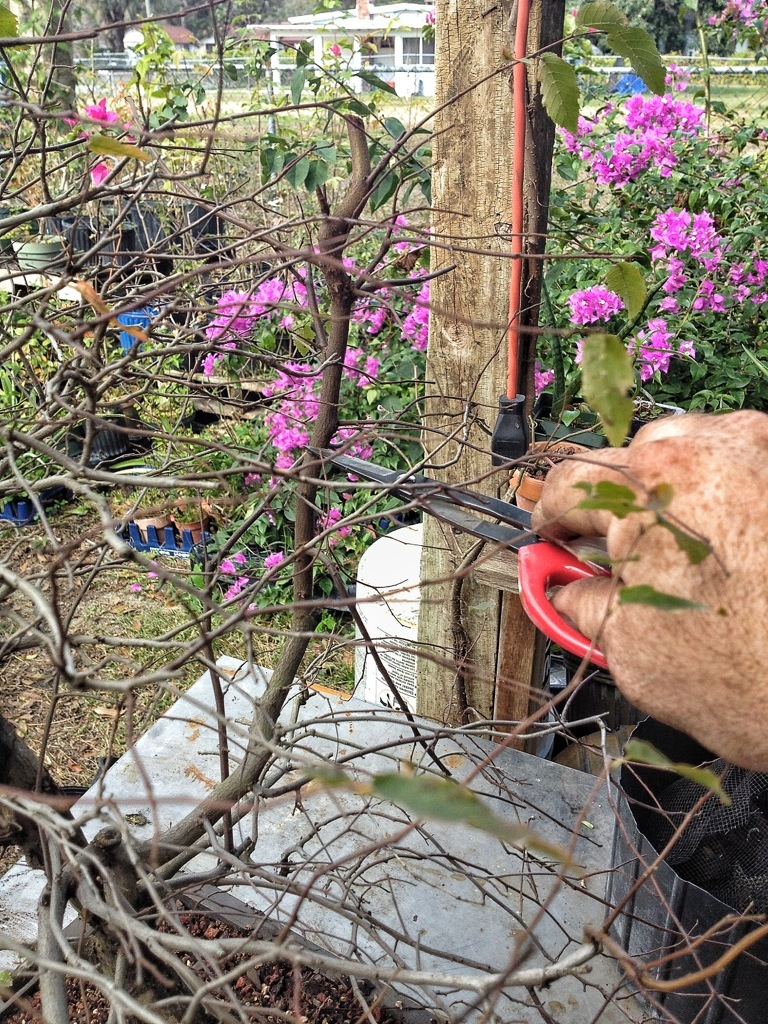
There are still a lot of branches. Lets trim a little.
Wish me luck.
This branch is the same diameter the whole length. A branch should taper.
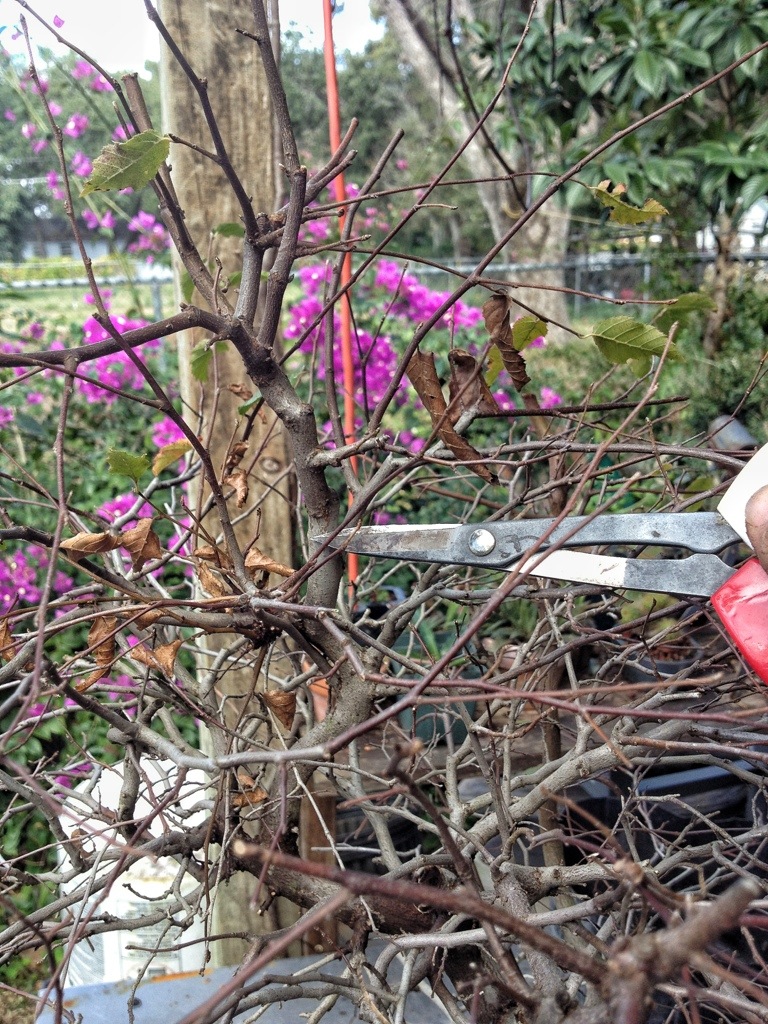
This is in the top and it has the same problem. No taper.
And here as well.
Taper is important. All trees have it.
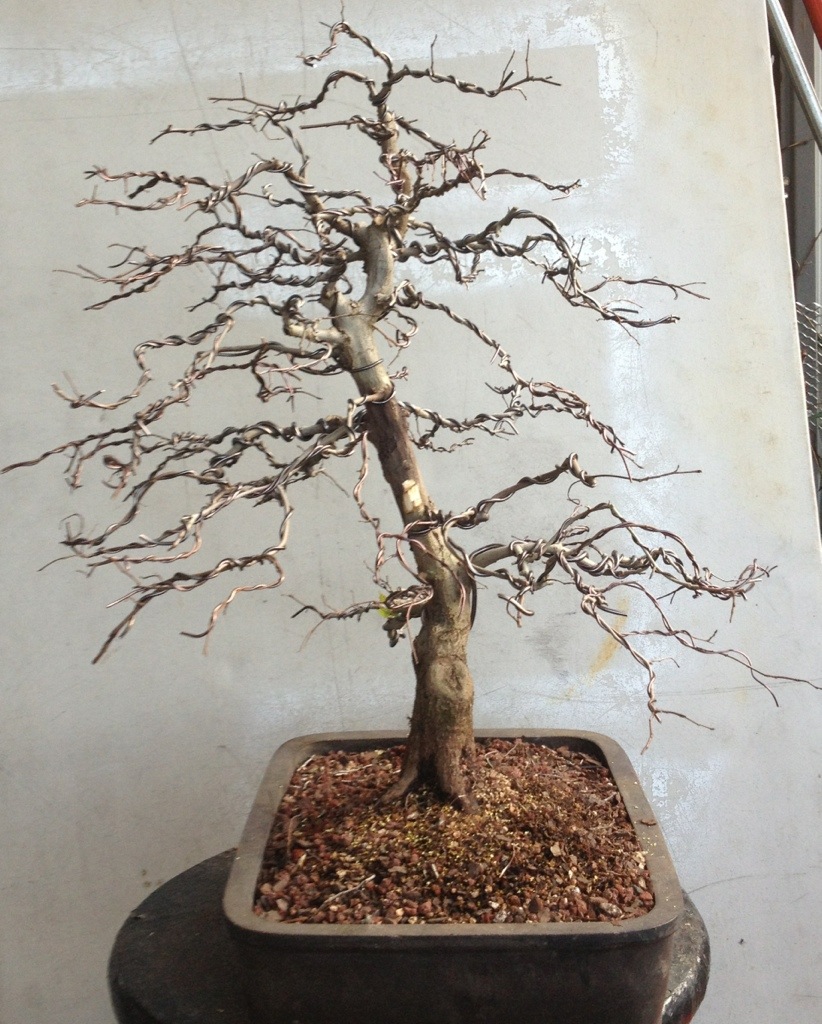
After trimming here is the back.
Trees right
Trees left.
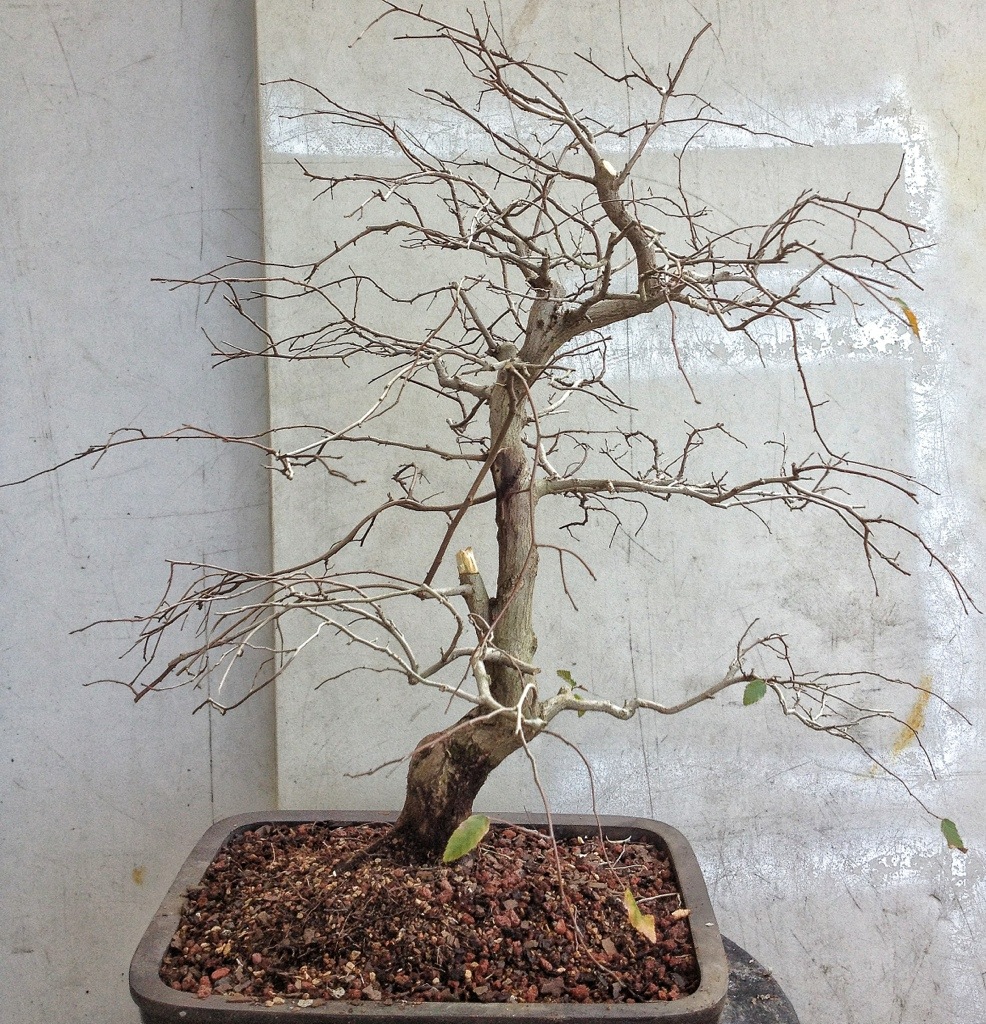
And the front. I trimmed a lot. Now for some wire.
1/3 of the way done. Phew!
Glamour shot
One hour later, this is the back all wired
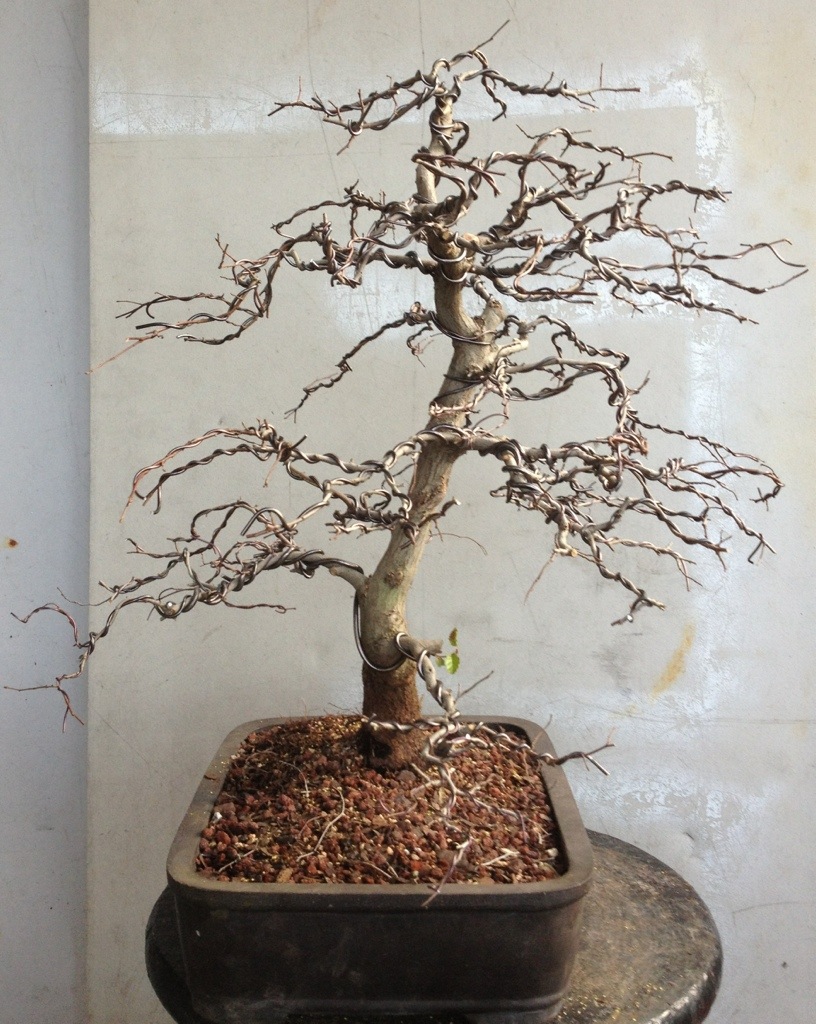
Left, right

I used a lot of wire. I mean, loads.
See? Told ya!
I know it’s hard to see but the branches above do not shade out the branches below.
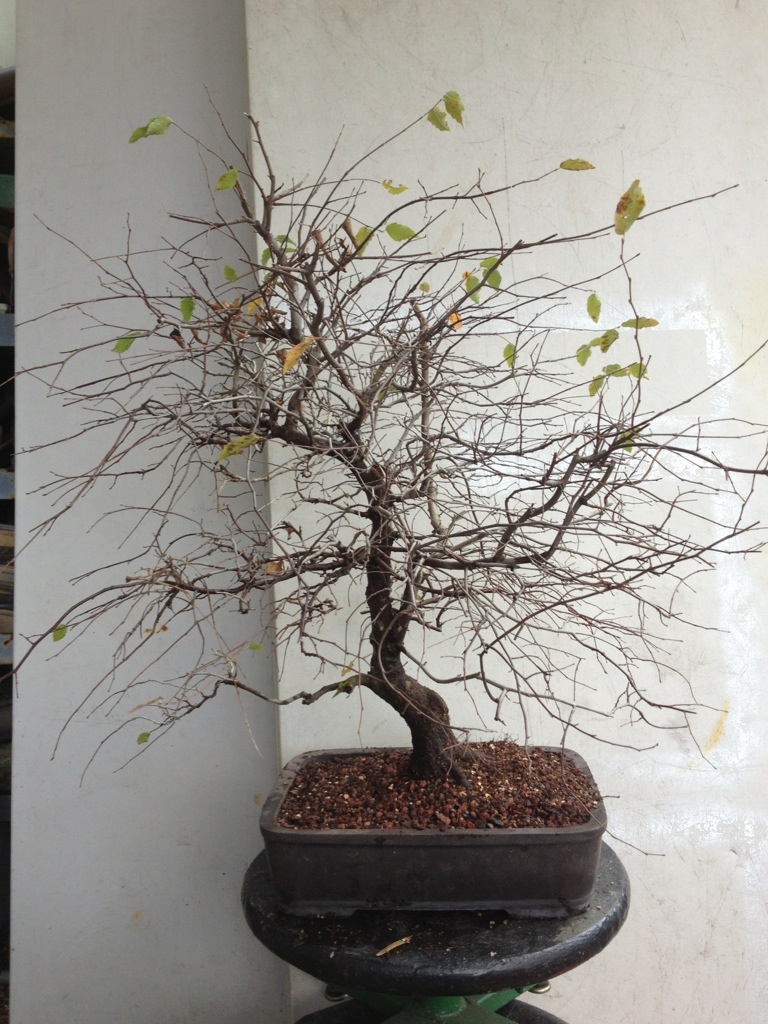
And viola!
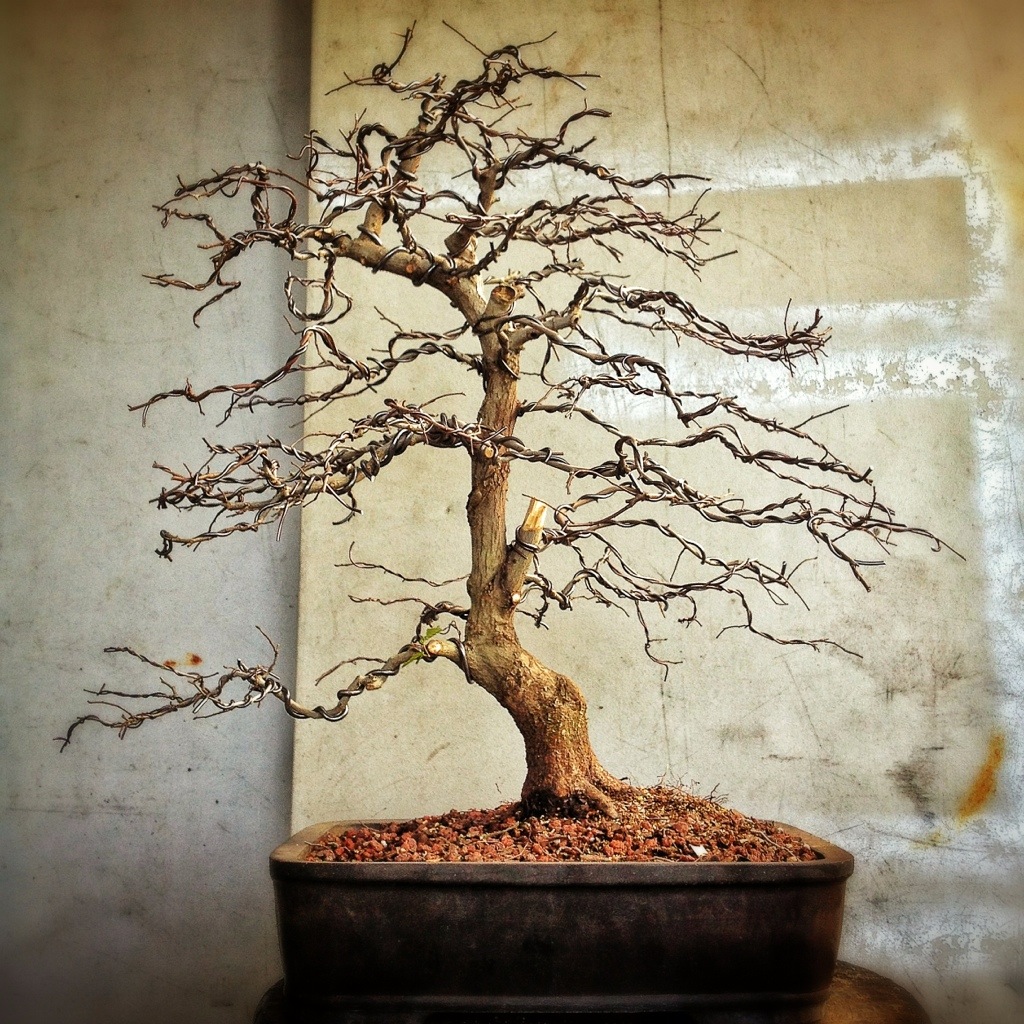
The structure is a little unconventional as far as bonsai design is concerned.
Its taller than the current tastes. But I think it’s very natural looking. In this one I tried to make my bonsai look like a tree and not make my tree look like a bonsai. (That’s a John Naka quote).
I think it has a dynamic quality to it. The movement of the main trunk tells a story. At some point the tree was bent; maybe a hurricane or tornado moved it. And nature has a way of trying to balance itself.
I’m glad it’s in my collection. Thanks Rob. Gonna need a pot for it next year.

great detailed post. Good work completed. I’d have been tempted to take it back a little further myself but I always do that 🙂
LikeLike
Thanks Ian. My inclination is for a shorter tree too but I felt it would look more like a tree this way. Not my usual style but I like it.
LikeLike
Thanks for a great step by step for a beginner like me..
LikeLike
Thank you for reading!
LikeLike
Wow! What a beautiful tree, and what an amazing transformation! Thanks for all the step by step pictures. After the tree grows into it’s shape, can you remove some of the wire?
LikeLike
Thanks Christine.
The wire is only temporary. Think of them like braces on your teeth. Once they “set” the branches in place they are removed.
LikeLike
Thank-you for the step by step instruction and detailed information in each step very educational. The Tree looks amazing now. I was going to ask about the wires too but now i understand their purpose.
LikeLike
Thank you Heather for reading!
LikeLike
Brilliant..! Shall keep this is my file record..and will definitely try doing so once I hv the right set up to do such activities Adam
LikeLike