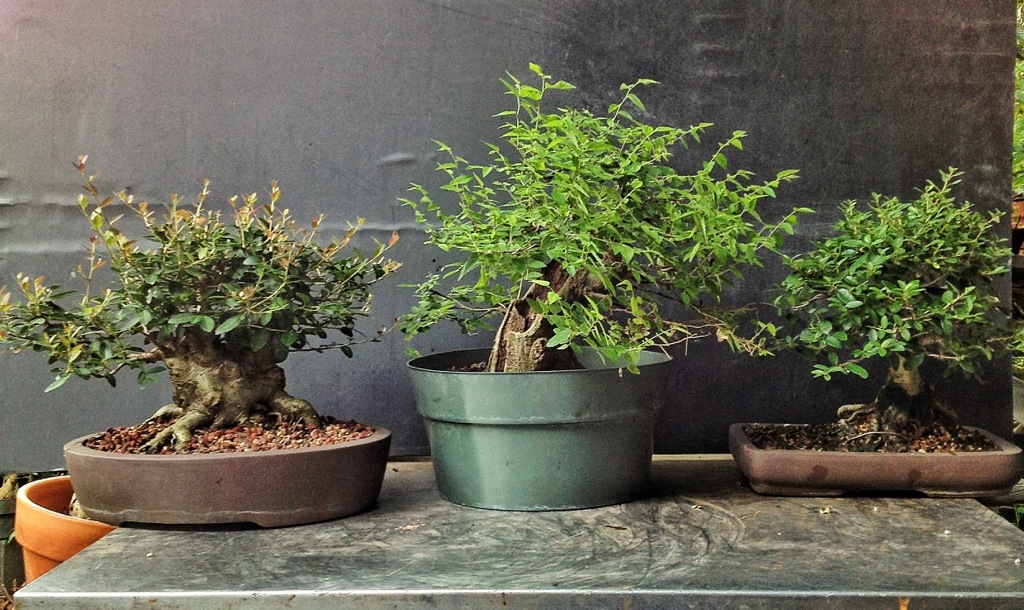
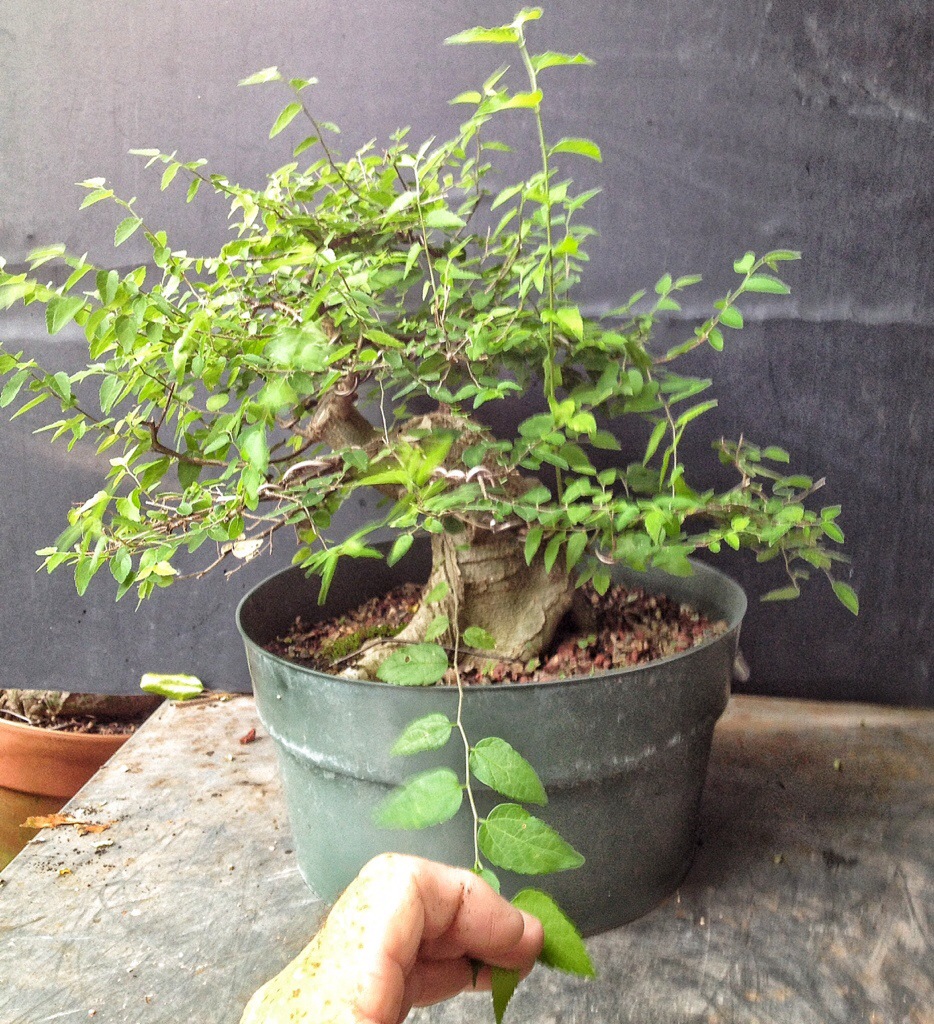
We have, for your viewing pleasure, four trees that have progressed well and need a little showing off.
These three:
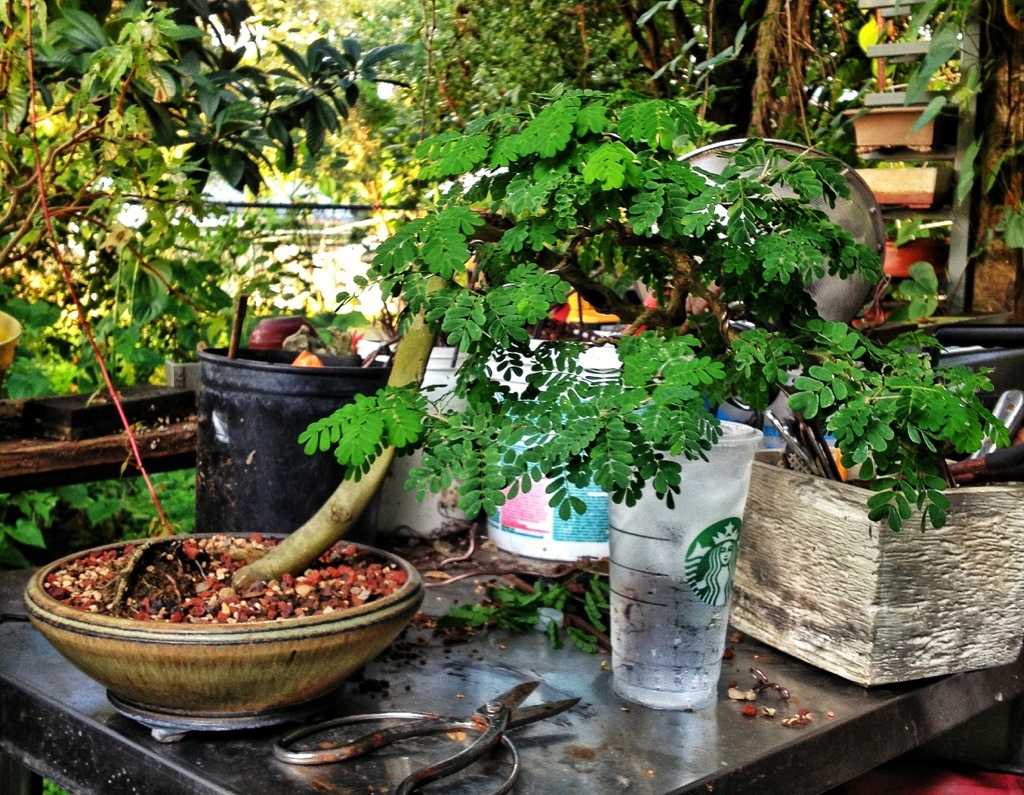
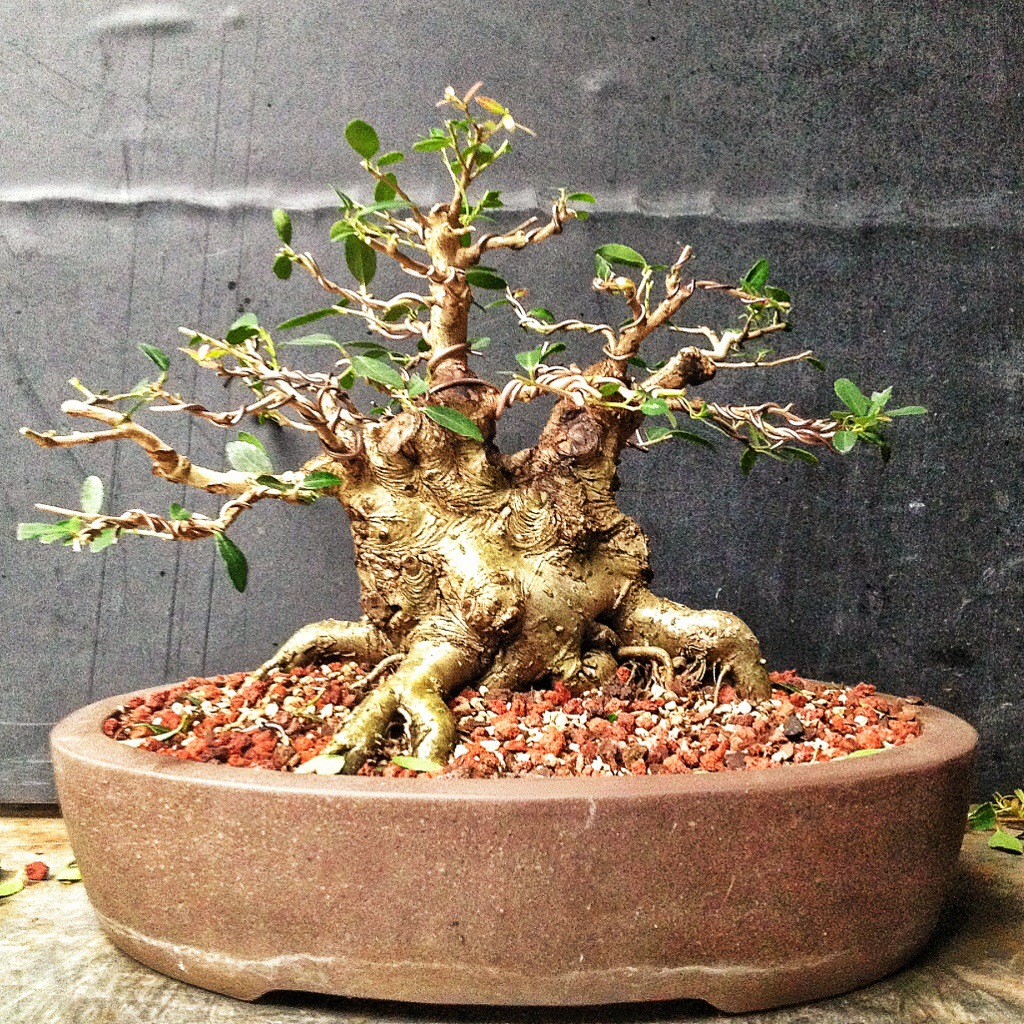
And this one:
I hope you guys appreciate the links I’m about to provide. Doing the research into my archives took me longer than the actual work on the trees (at least it seems that way).
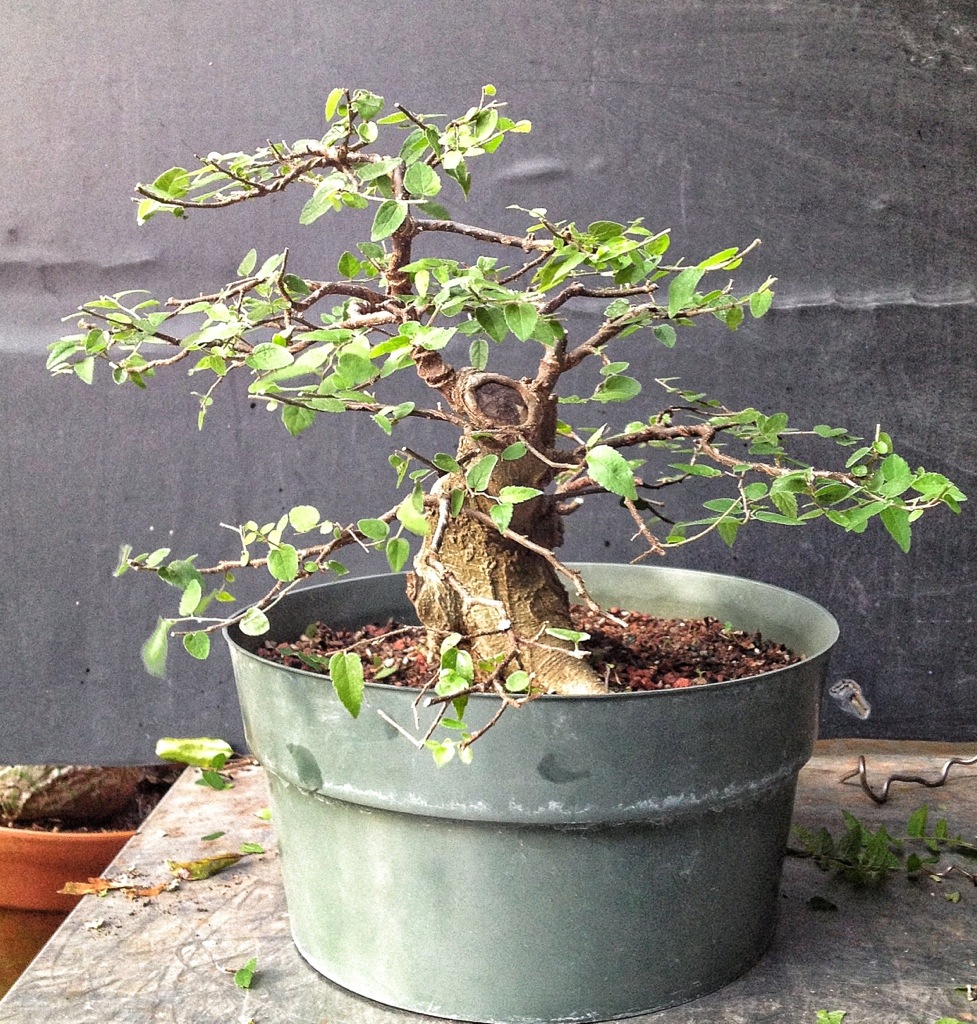
I’ll start with the hackberry.
You first saw it in this post.
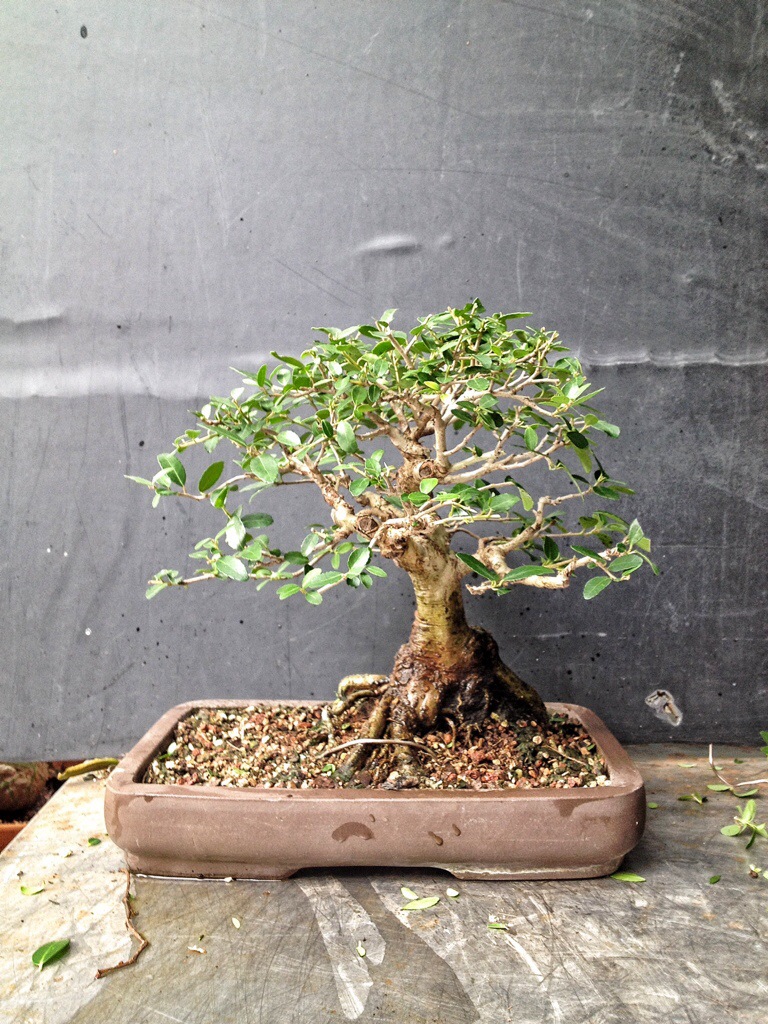
I’ve worked it several times this year already and last time you saw it was here. And it looked like this:
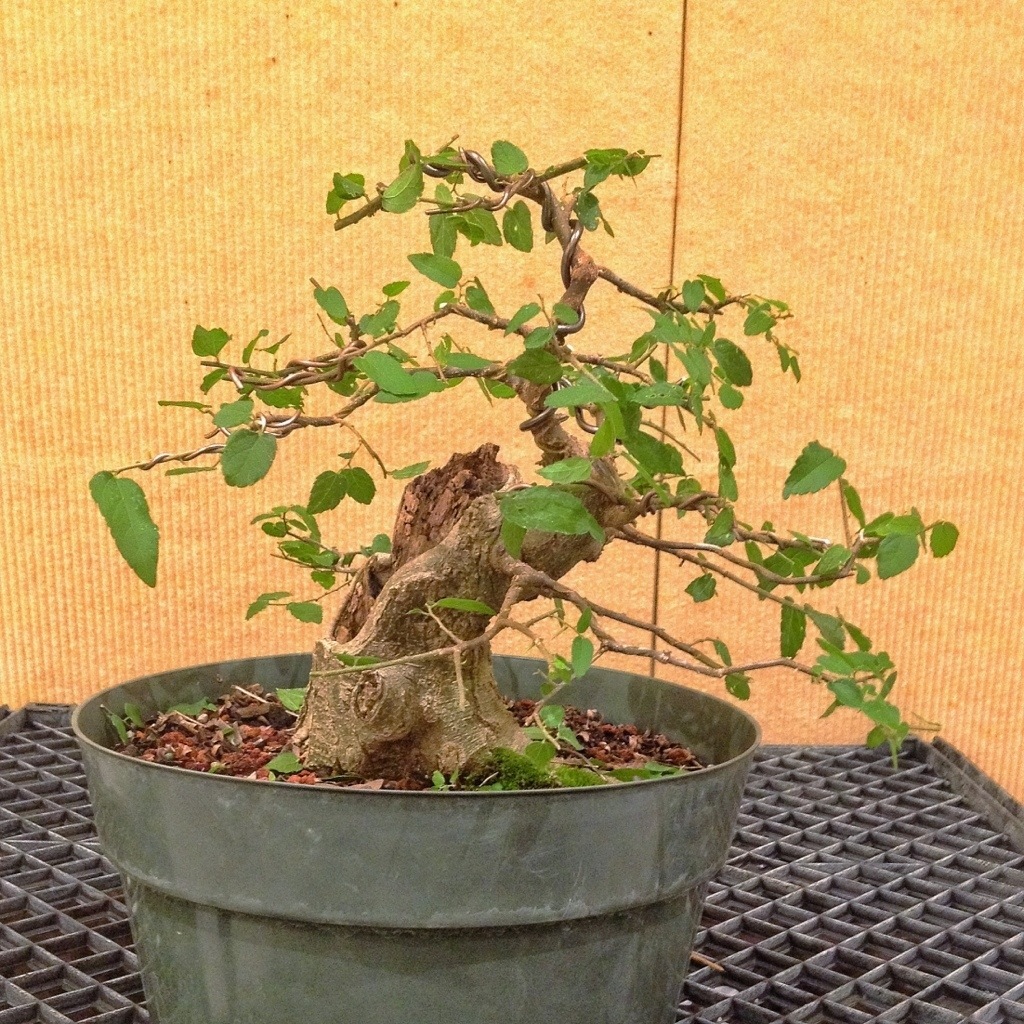
That was at the end of May, what has become of said fair celtis?
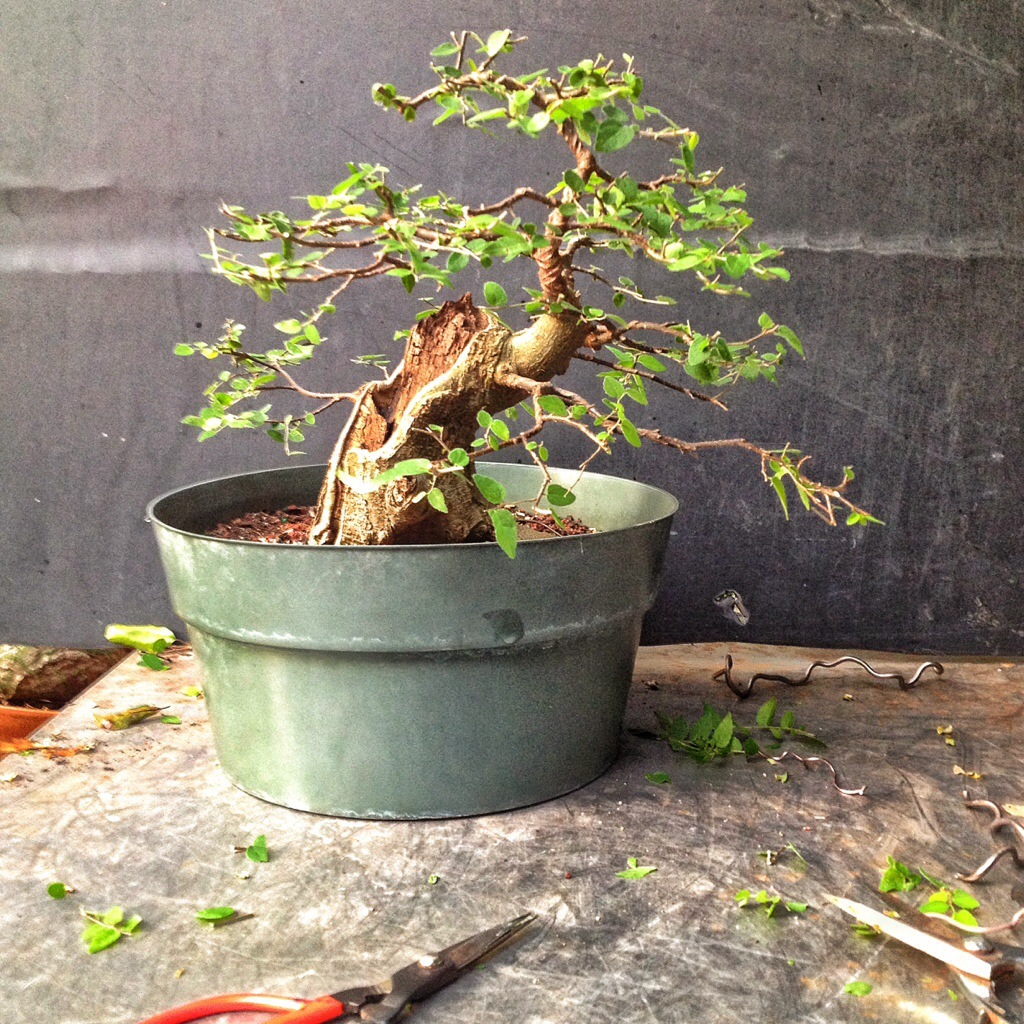
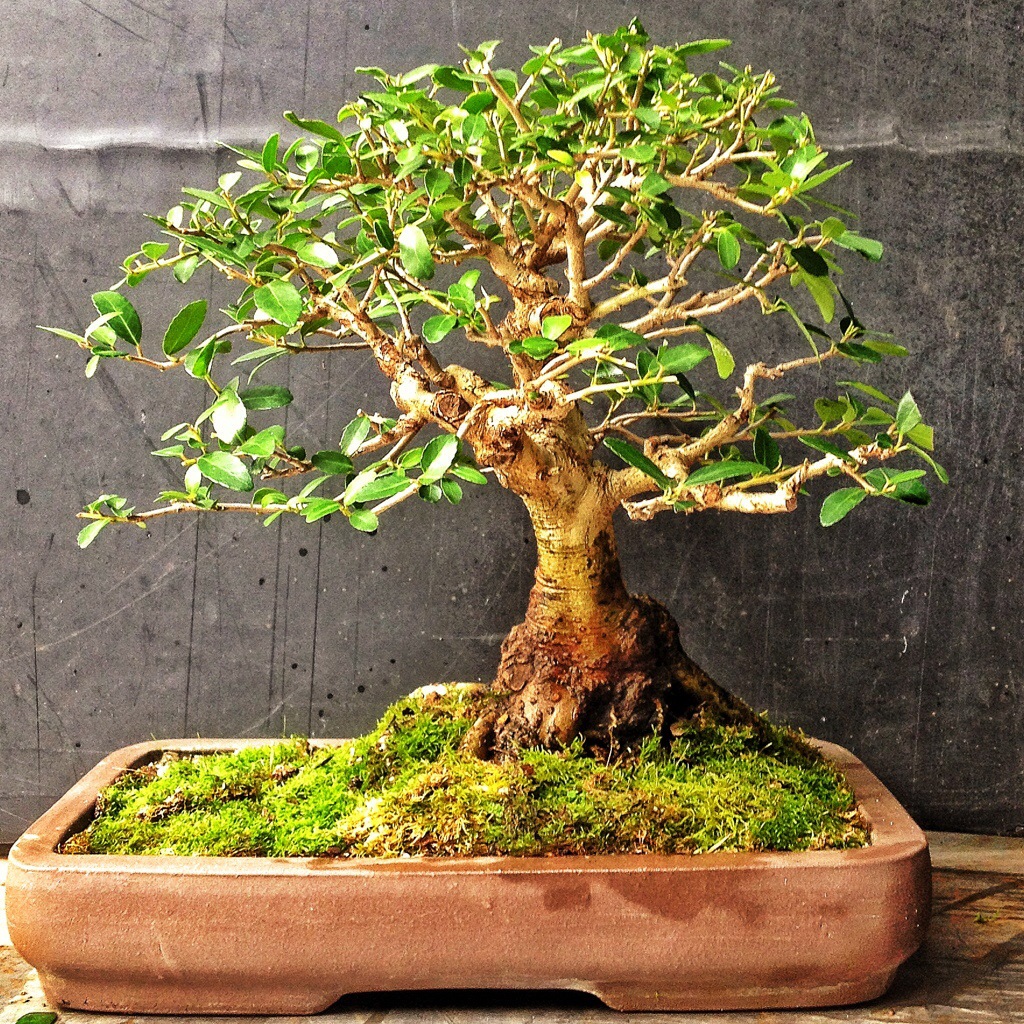
Today:
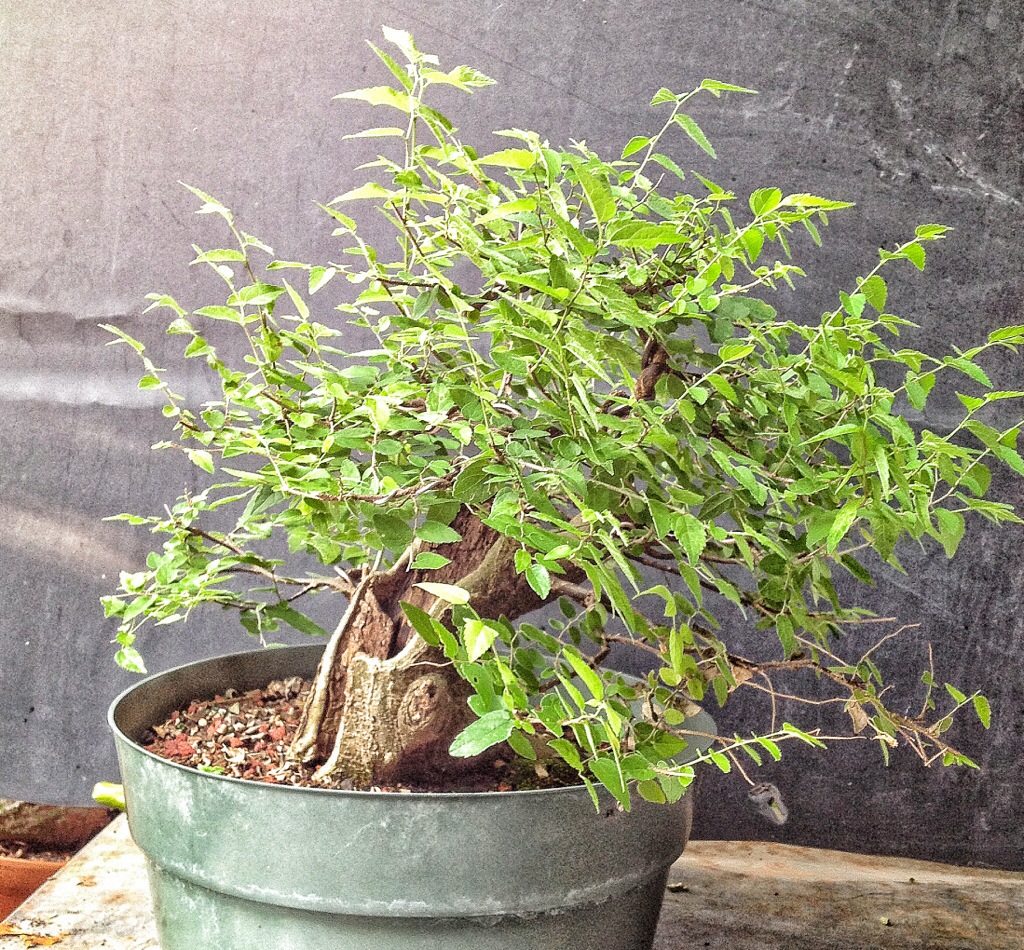
Filled in again, right?
I swear the thing starts to grow two days after I trim it.
I’ve had a serious discussion with my friend Bobby about using hackberry as a beginner tree over ficus or elm.
They are seriously forgiving if you screw up. Wait a month and it’s a new tree.
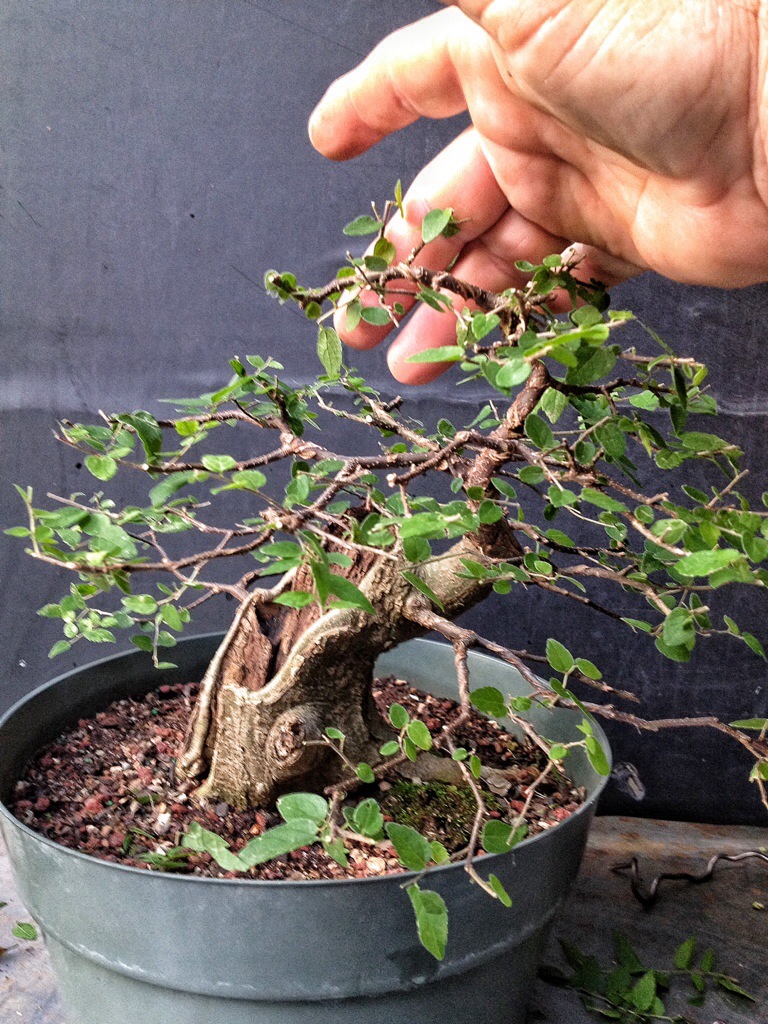
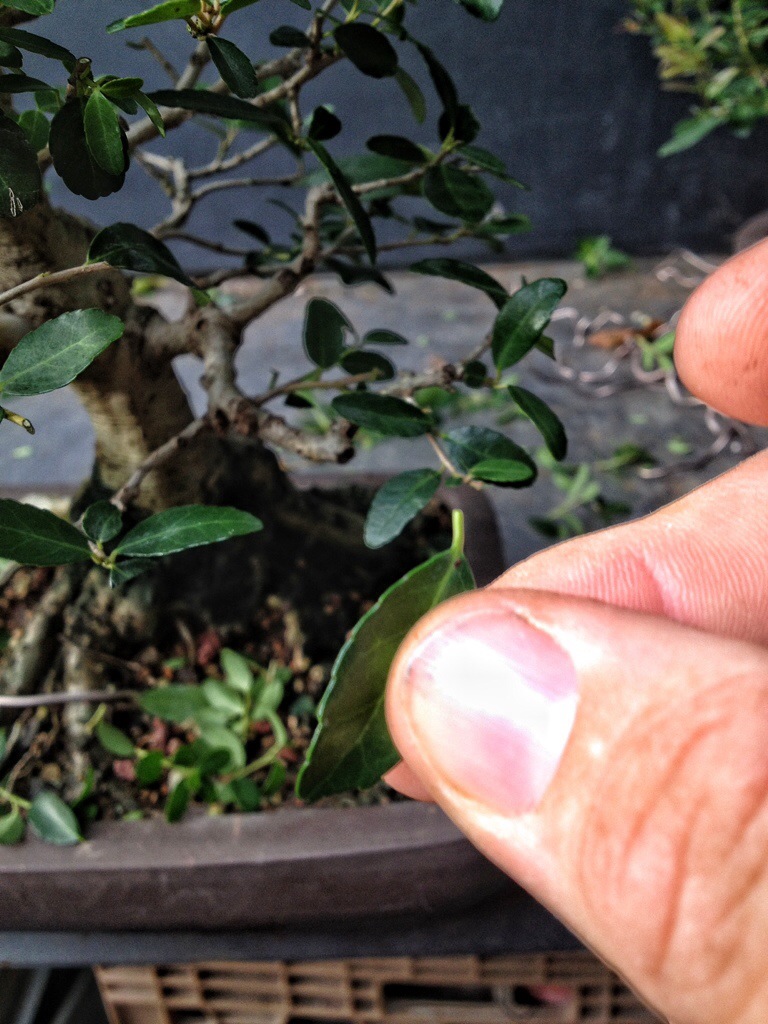
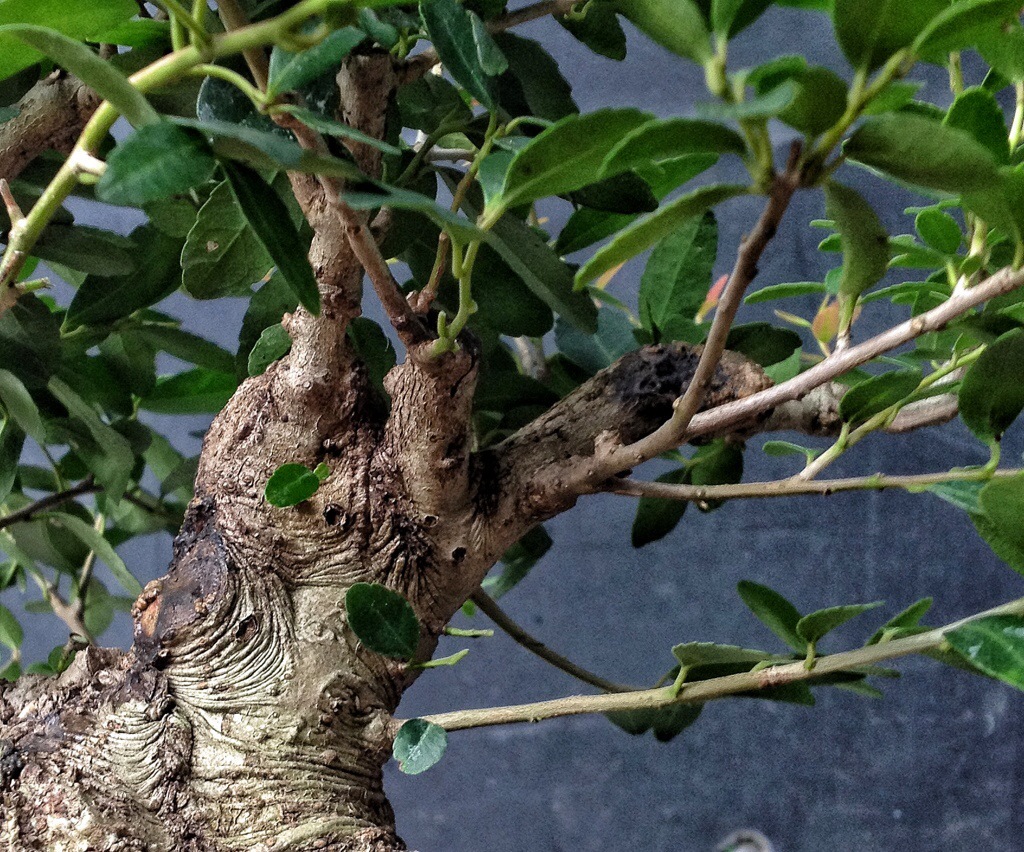
There is either a touch of fungus or the branch was just being shaded too much but there is some dieback here-

I’m not worried about it too much, I’ll solve the lack of sun problem in a minute and the fungus problem can be easily taken care of if it spreads.
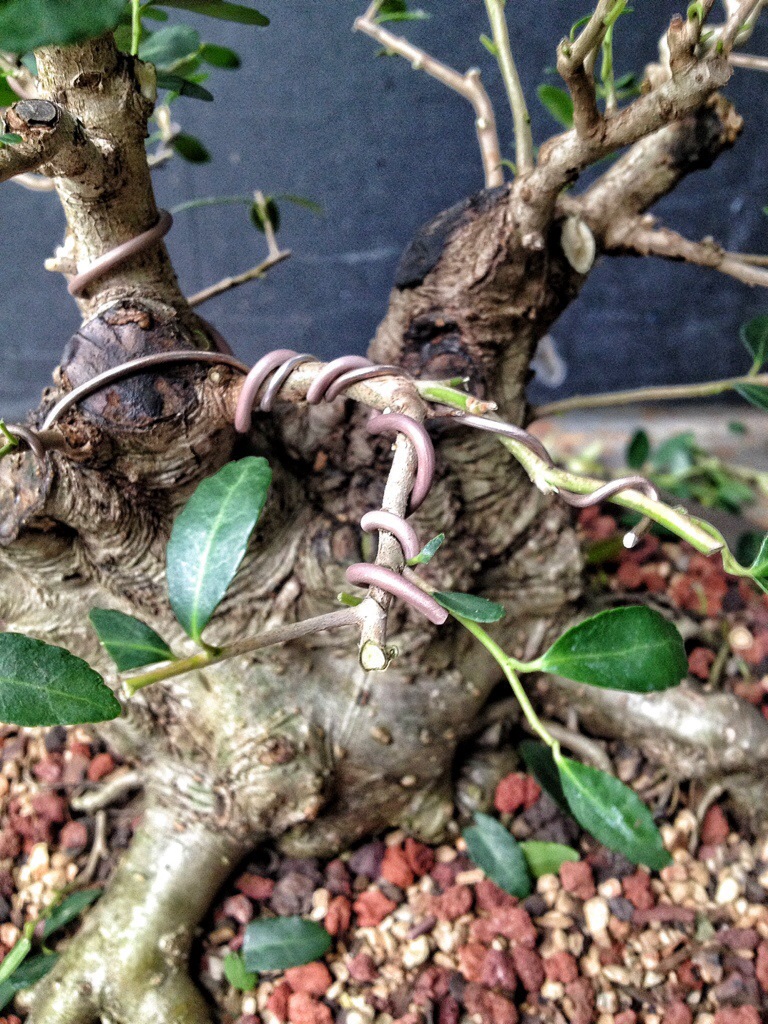
The maintenance tasks I need to perform here are just a trim and wire removal.

The pic above makes the job look daunting but if you stick with the basic pruning techniques (take off the ups, downs, multiple and opposite, and those buds growing underneath and in the crotches then it’s quick work.)
This branch is buggin’ me now but will be shortened come spring.
And now the two sides and back.
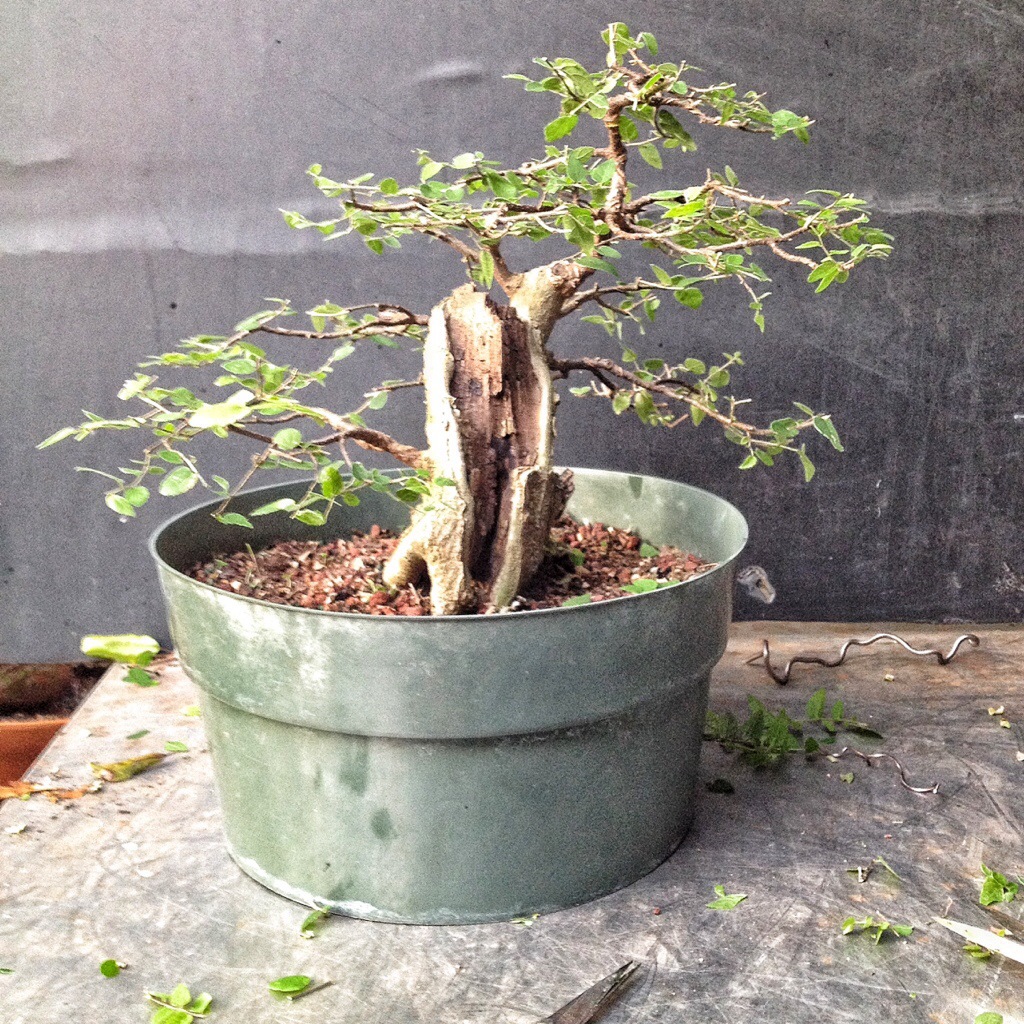
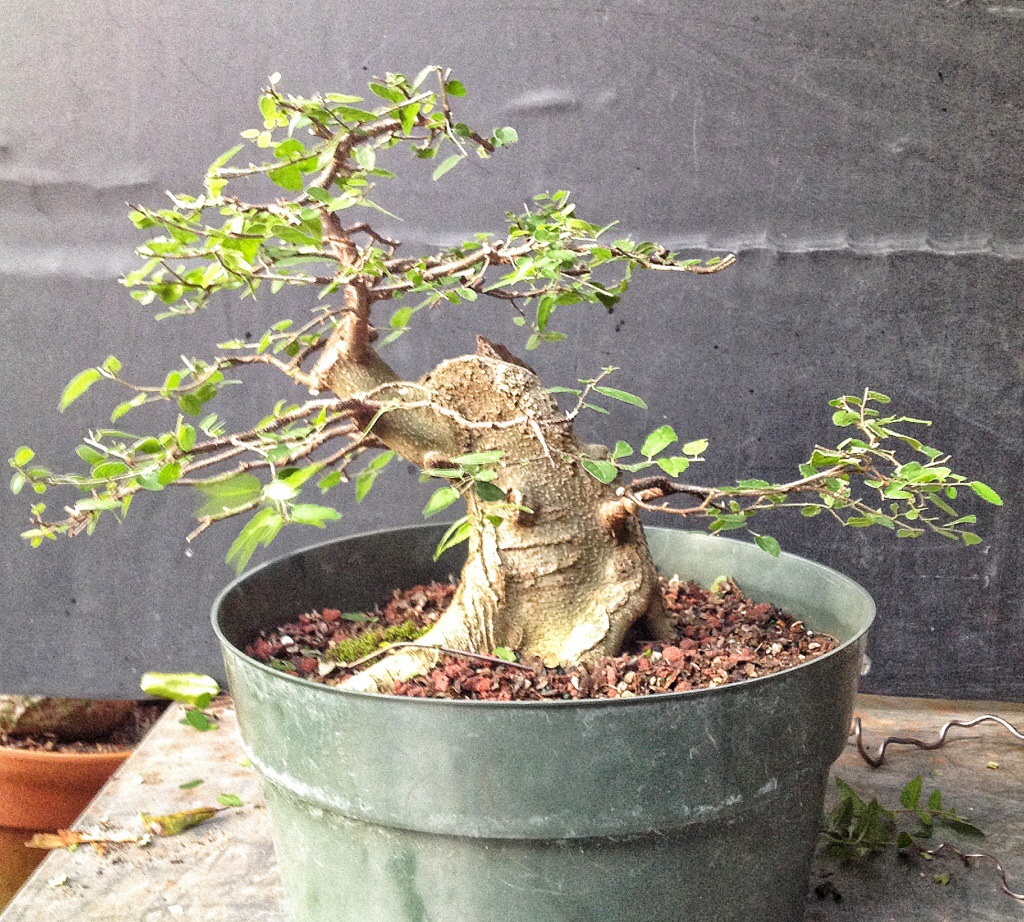
It should fill in one more time before leaf drop in December (I did say December, come join us for our foliage festival. Brown is the color scheme). Maybe I’ll get some color this year (probably not).
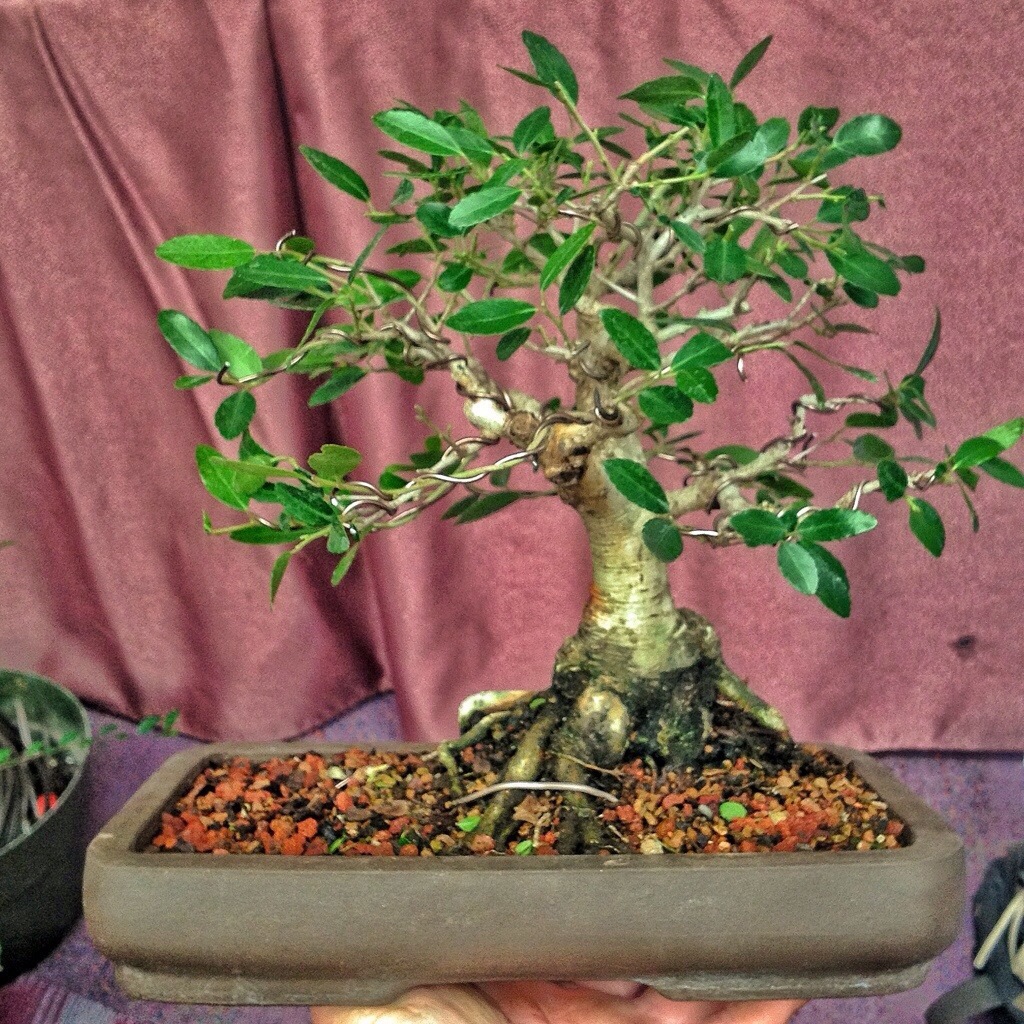
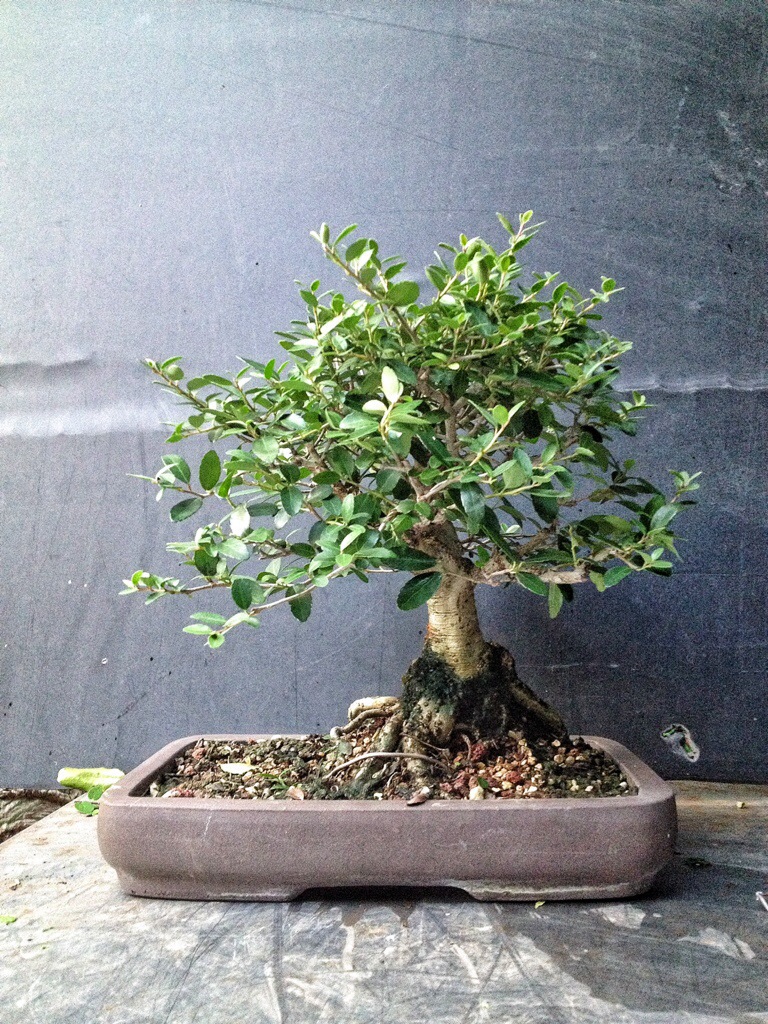
Next, I’ll work on the one ilex I haven’t removed the wire on or trimmed yet.

All the other ilex vomitoria have been taken care of (no, I haven’t posted on all of them so you didn’t miss anything).
This tree was first seen (I think) in this post.
It has grown into a really nice, natural looking tree (as you will see, you might have guessed that I already did the work and am writing this days later).
This is how you saw it last-
Right, rear, left views:


Again, I remove the wire-

Which really doesn’t change the look:
But it does give a good starting point.
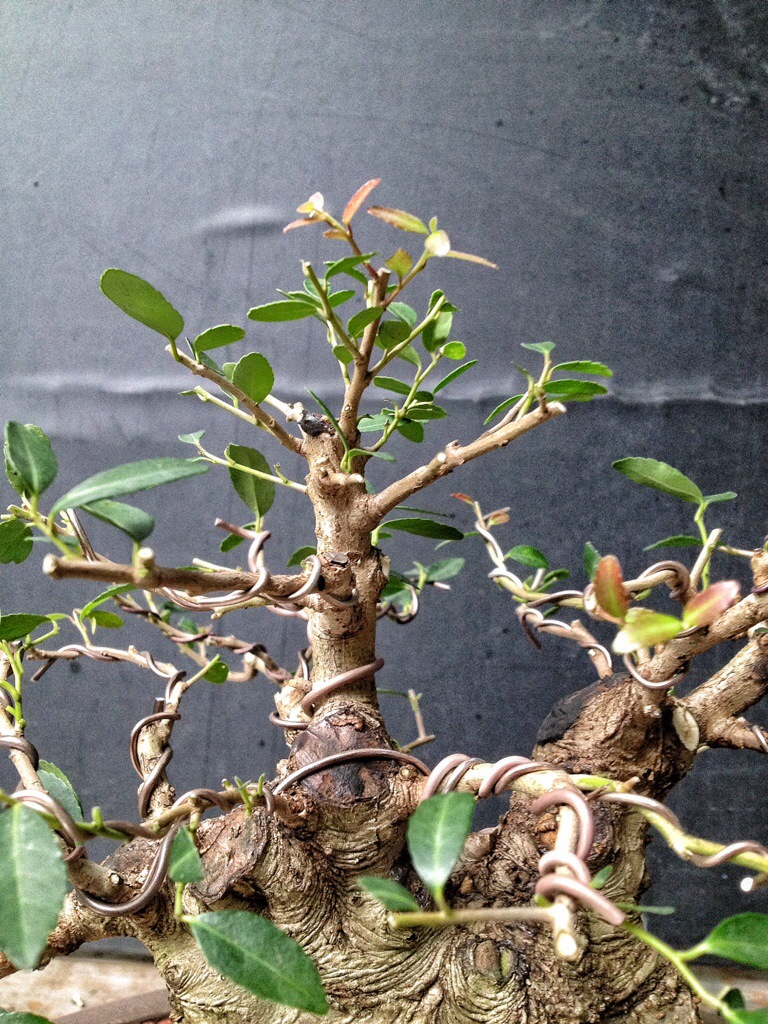
Again, looking at the canopy, you might be daunted-
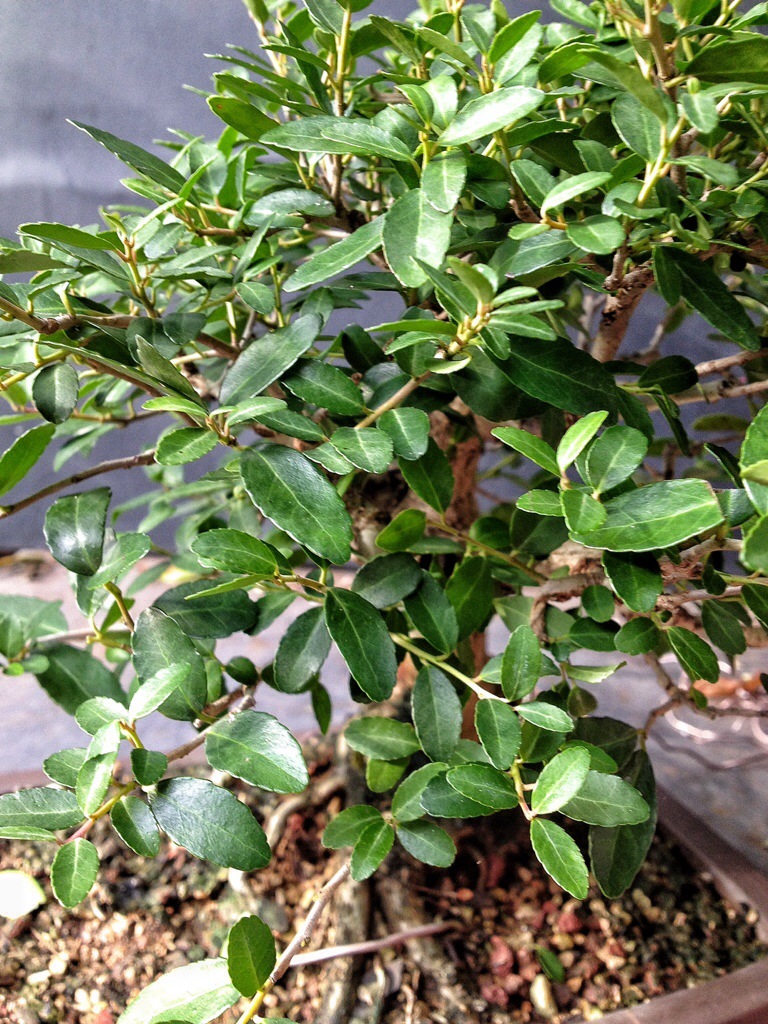

You might even be tempted to hedge trim it-
Which is a valid technique, just not now.
I think a little refinement is called for.
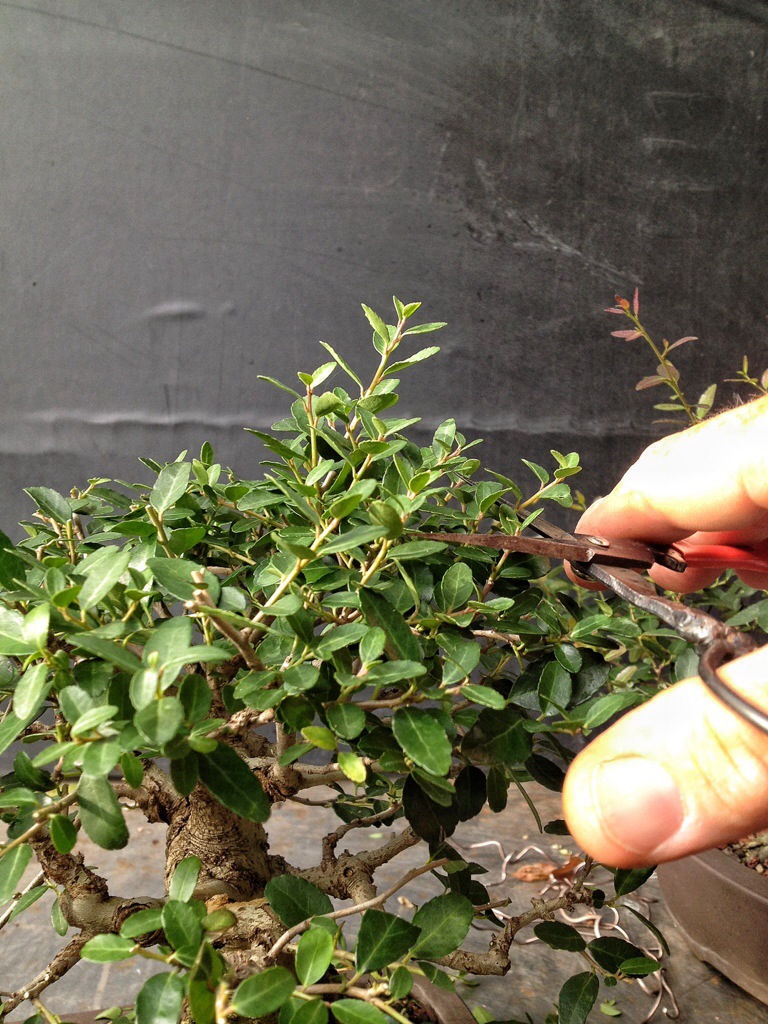
Clip!
Whoops, couldn’t help myself.
That’s ok, it was too tall anyway.
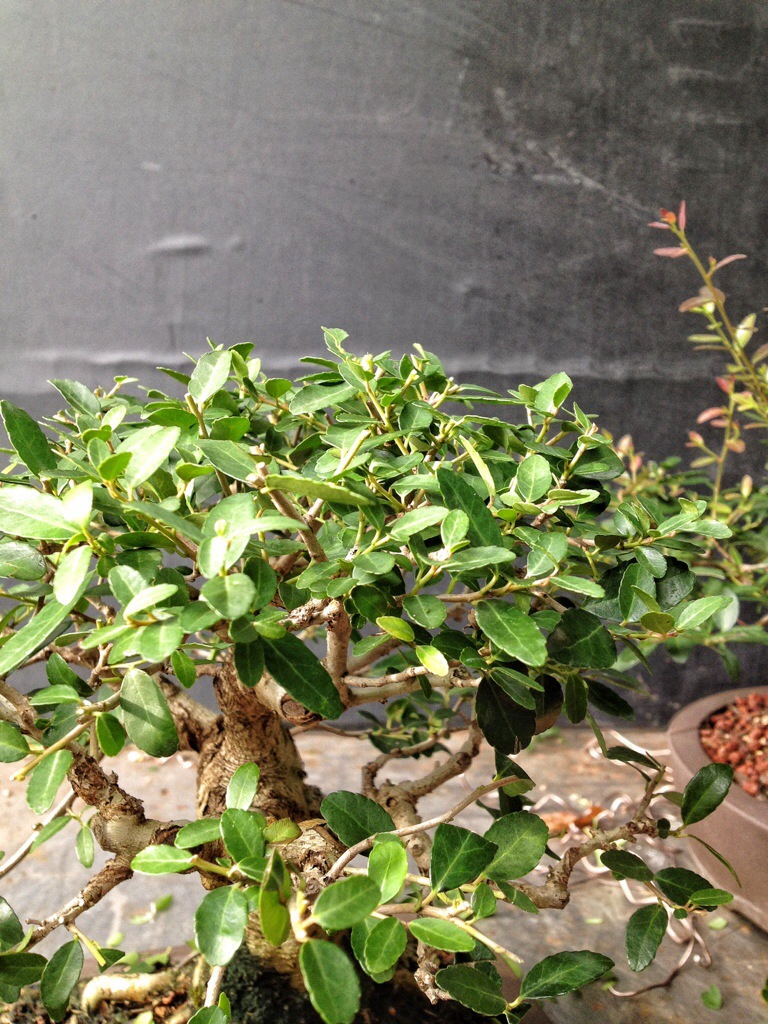
One step in refining a tree is equalizing the leaf sizes.
Too big:

Better-
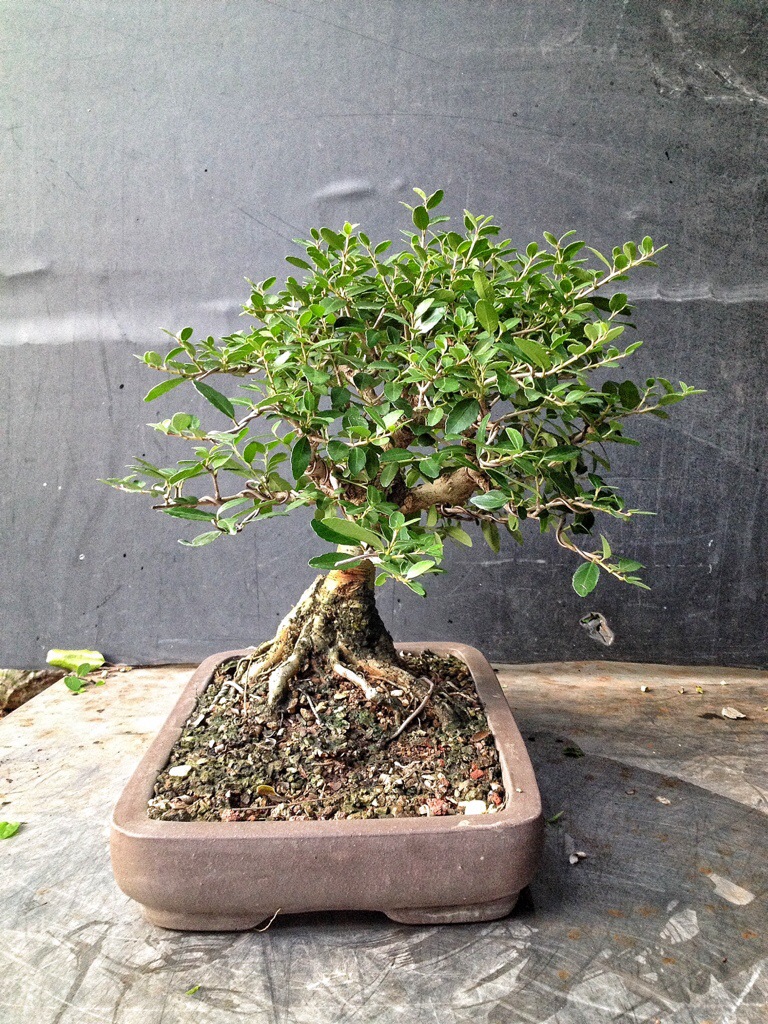
All done.
What do you think?
Needs something, right?
I was once told (sneeringly, granted, but that’s just how some people are in the culture of bonsai) that one should never show a bonsai, in a show or even in a photograph, without moss.
Obviously, I don’t hold to that little bit of dogma, I could care less because I’m interested in the tree more than anything. You could even pot it in a kitty litter sandbox and, if the tree is good, I don’t care.
But sometimes you just have to dress things up a bit.
Just to show that you can.
Not bad.
The next tree is just a before (from this post) .
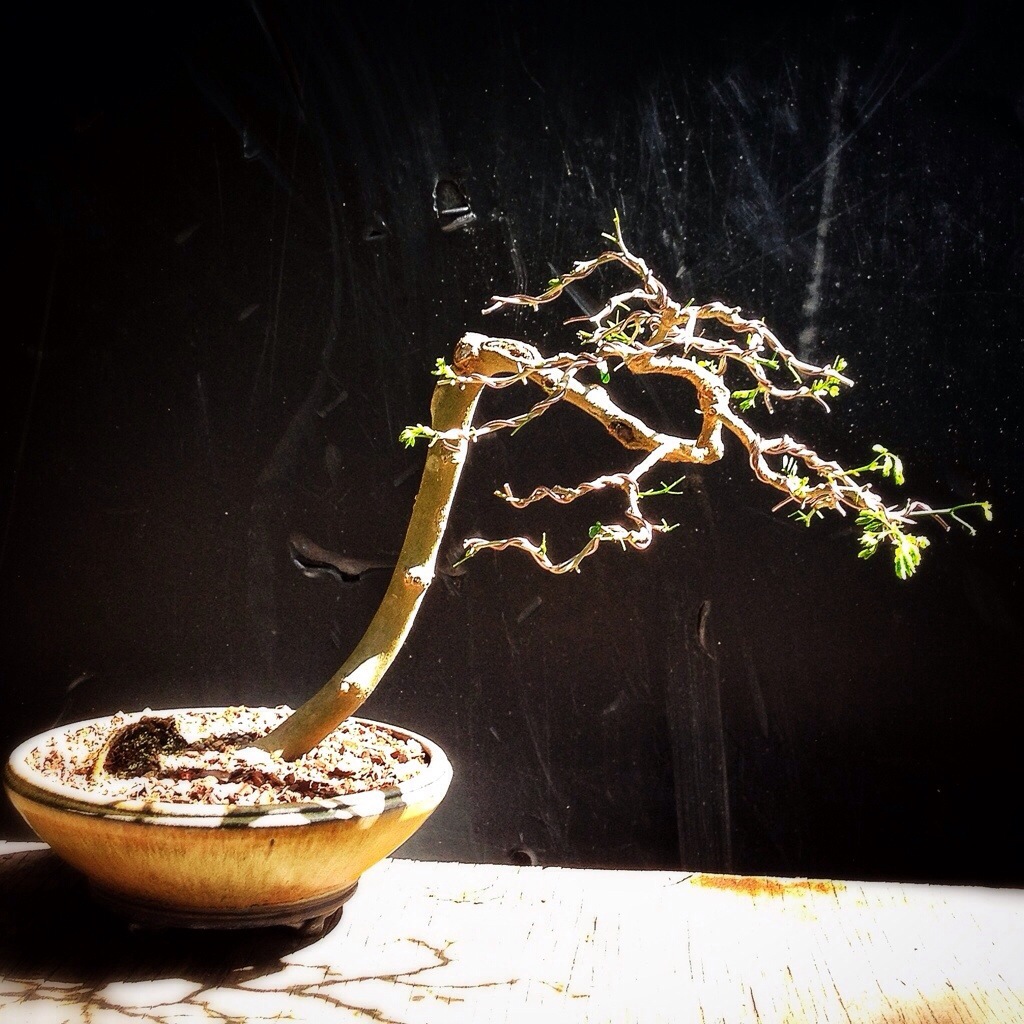
And how it is now with leaves and a little trim.
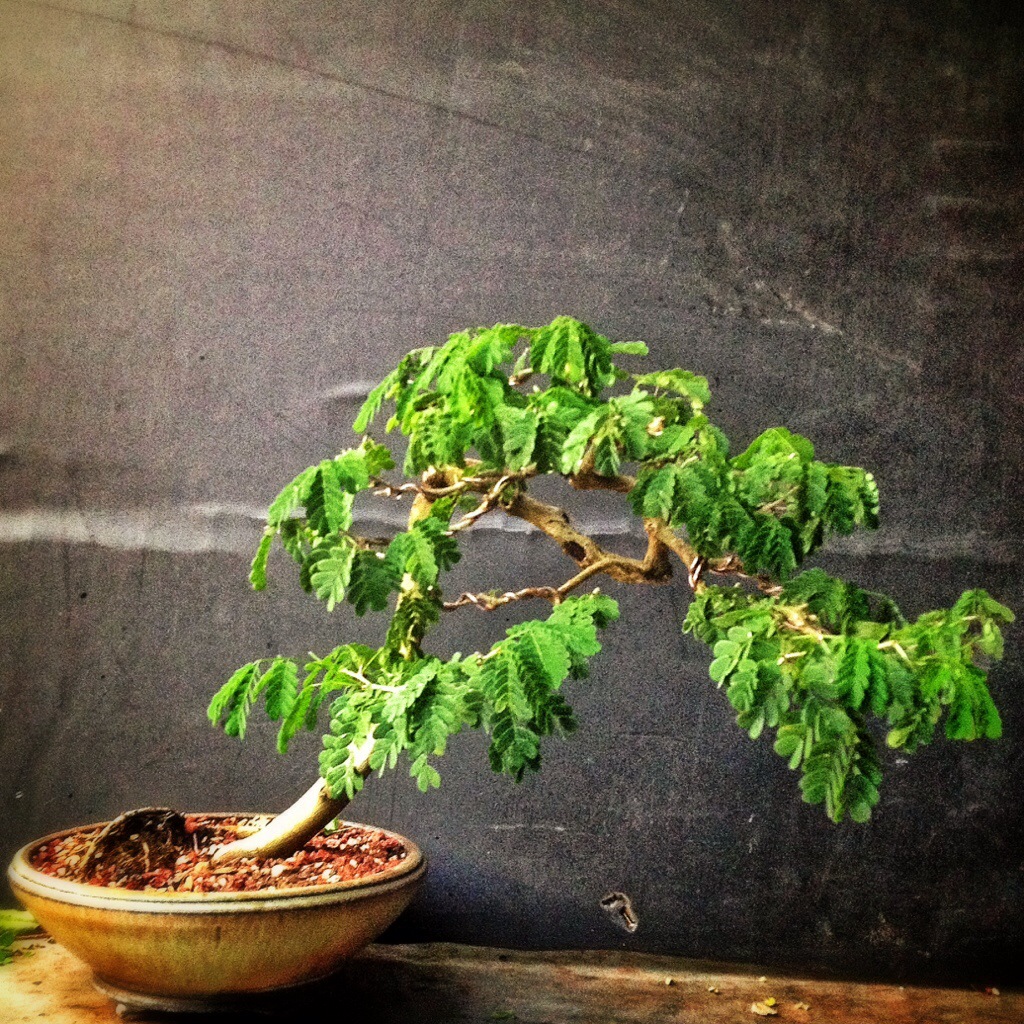
The great thing about Brazilian Raintrees are, as they get older, the trunks will flatten out more and more and even get bigger.
Even a modest one like this will be a great tree in time.
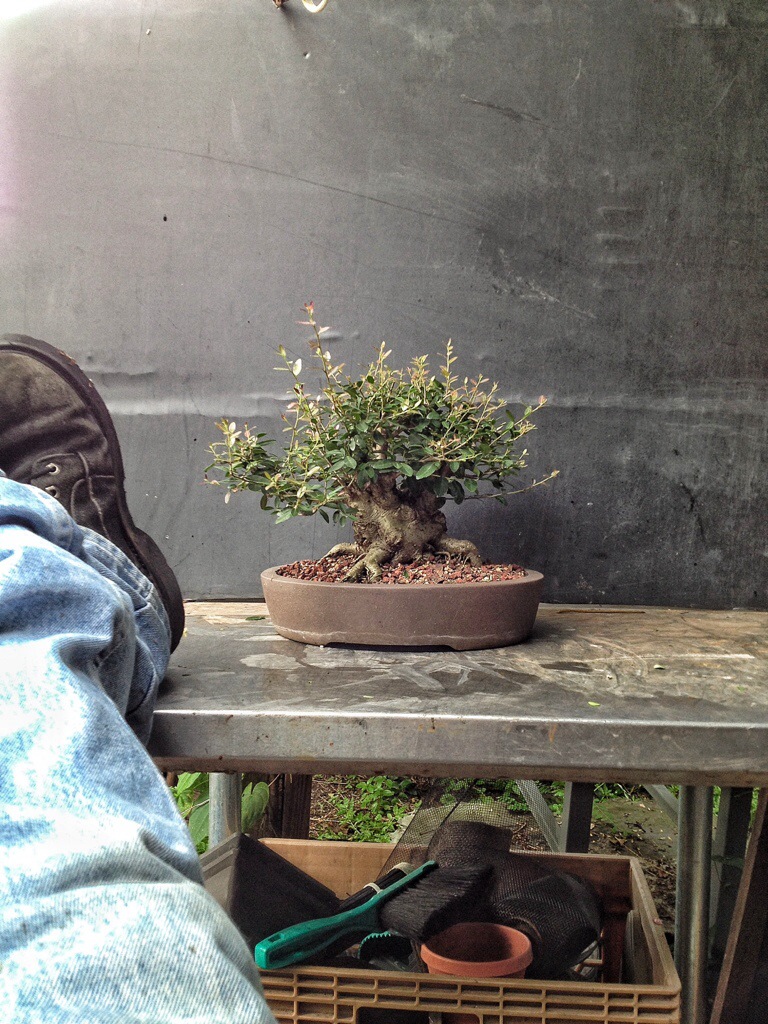
On to the potato ilex.
The update on this tree was requested by a fellow redditor “amethystrockstar” (whom I thank, I wasn’t going to work on the tree this year again)
I first showed the tree in this post
And left it looking like…..I’ll leave the progression until the end. It’ll be way more dramatic that way.
The second post was here.
It had definitely made progress at that point (you’ll have to wait until the end to see).
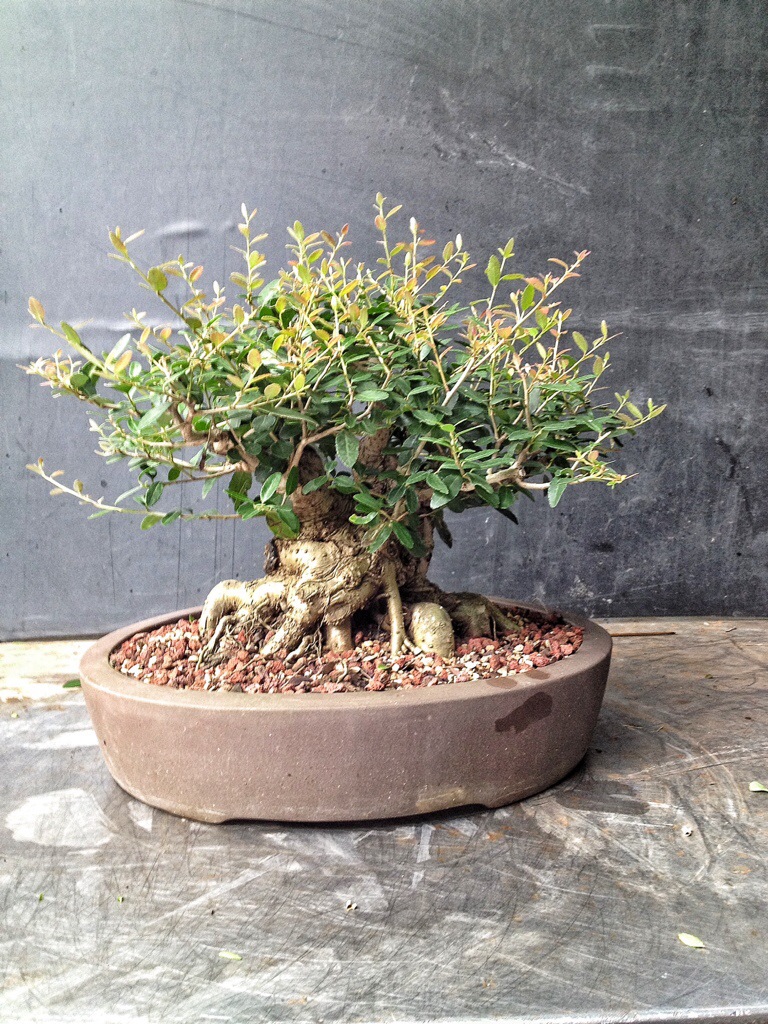
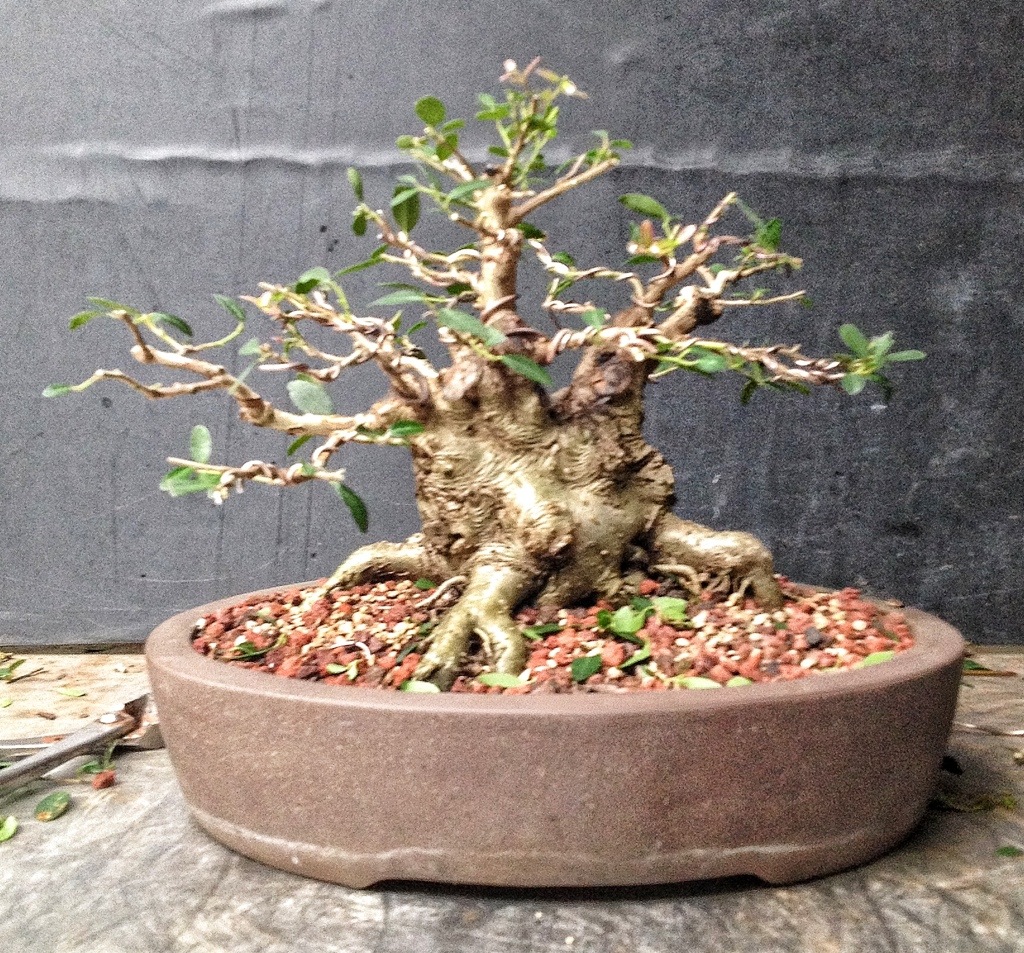
Here it is today:
Sorry, enjoying a beverage, this is thirsty work.
Sláinte!

Ok, I admit it, it’s just water.
I’m out of beer (send six packs, please! No light beer though).
Obligatory front, rear, side, side before shots:

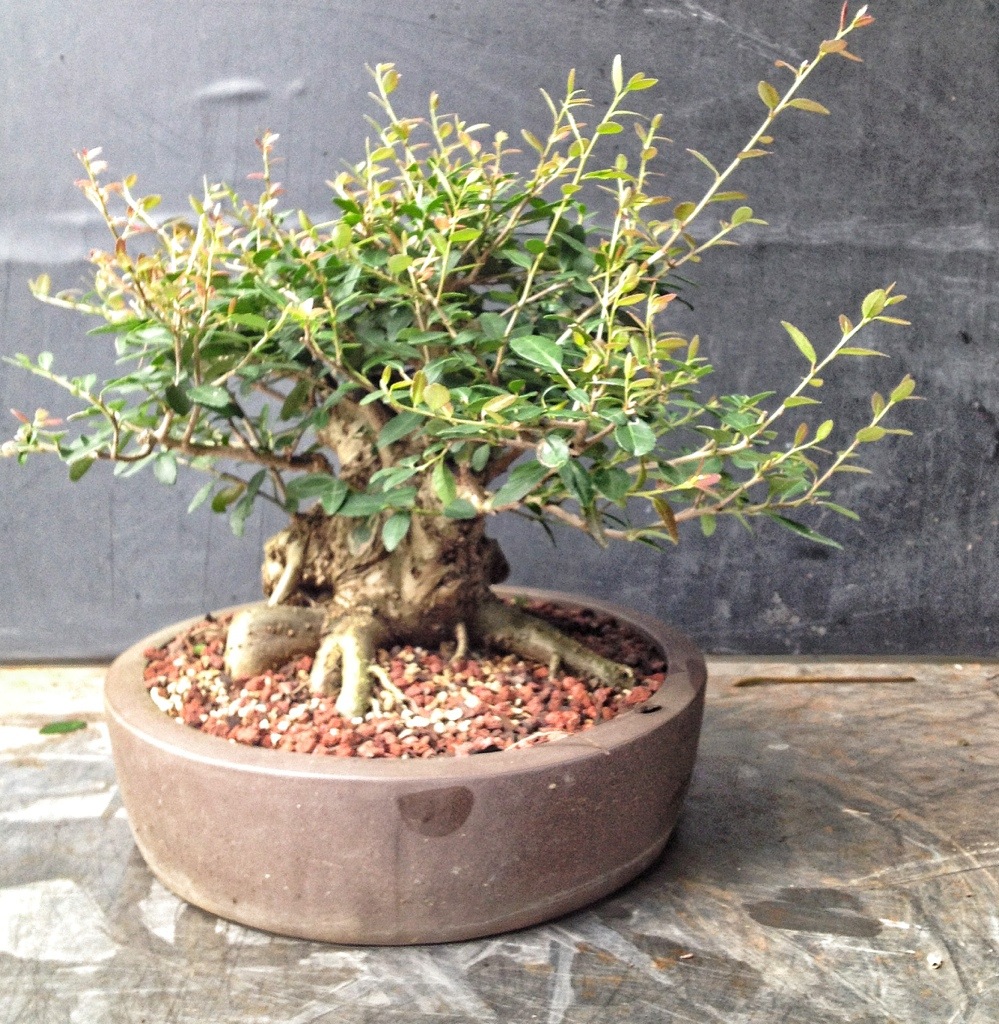

This was the sketch I did for the tree:
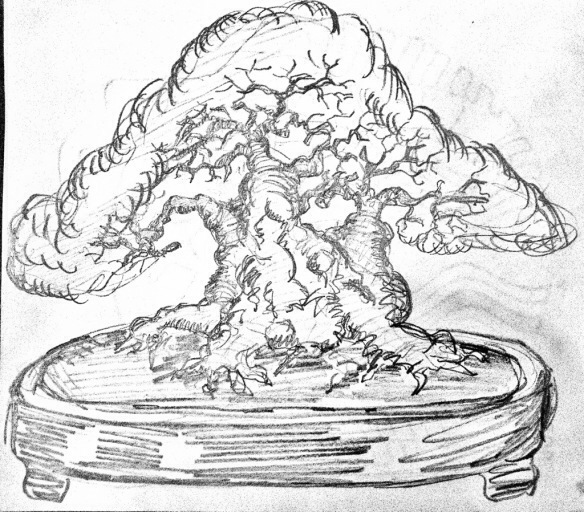
Let’s get on with it already then, jeez!
I noticed a little structural fault on the right that needs some simplifying.
I’m not sure why I kept it (maybe I should re-read the first post) but it’s time to remedy it.
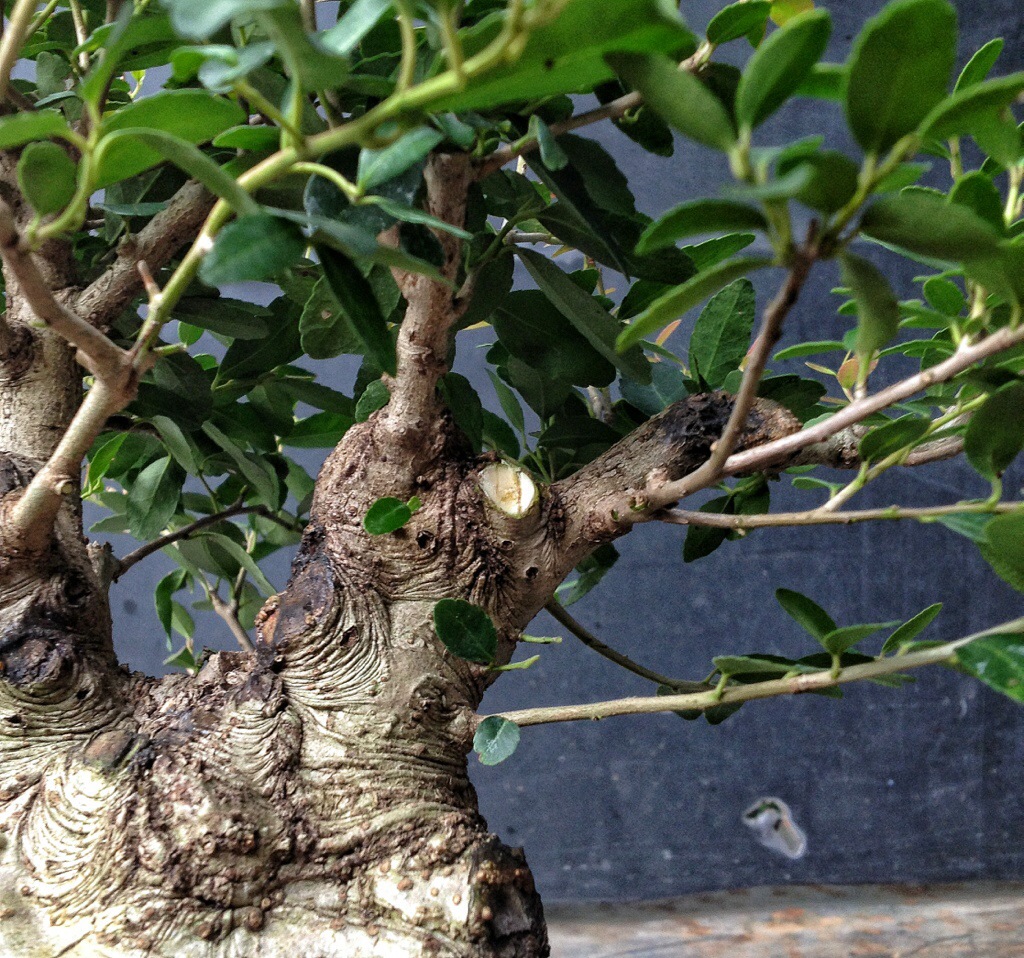
That looks better.
The ilex gets few pests (has to do with the high caffeine content in the leaves) but one it does get is called a leaf miner.
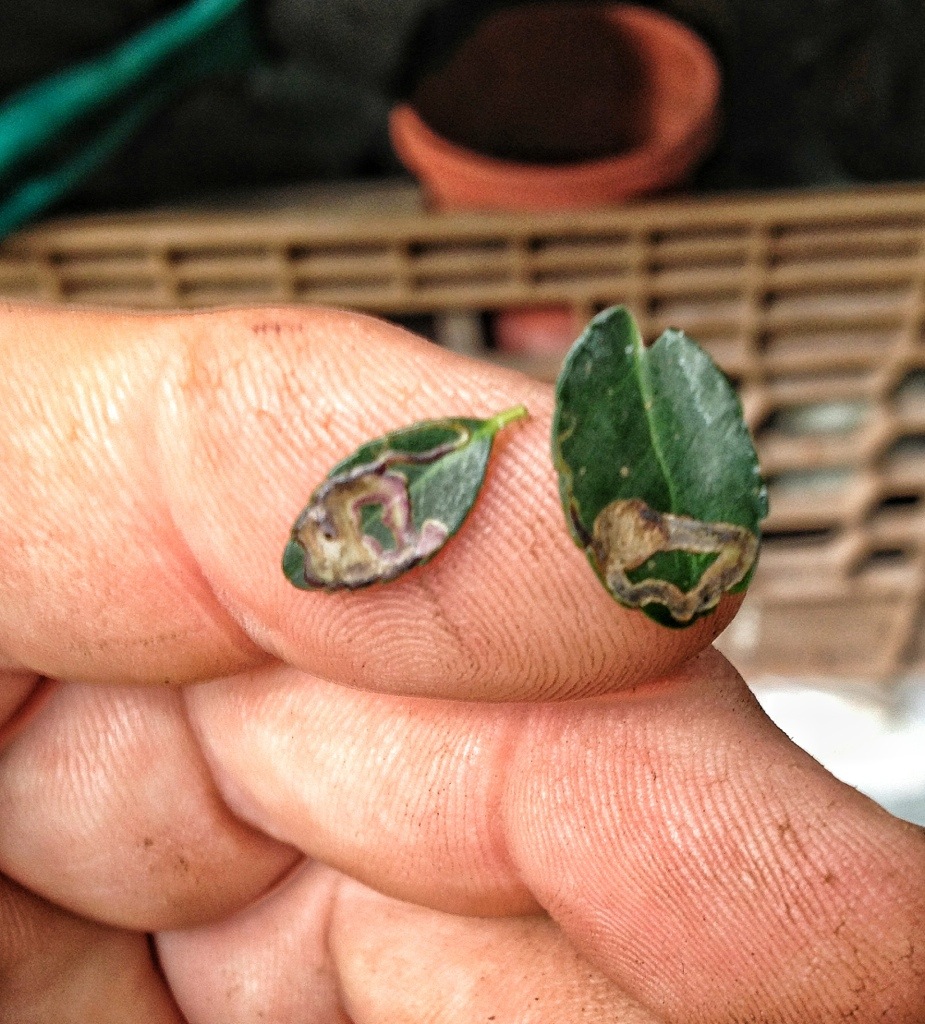
This is typically how the damage looks.
I don’t worry too much about them, I just pluck the leaf off. If you want to prevent it, the best time to spray is when new growth is happening, that’s when certain flies plant the eggs in the tender new growth.
There is a predator of leaf miners called a blue tit.
No, really…..it’s a European bird that lives on European hollies.
I’m not sure I’ve ever seen a blue tit in Florida. I might import some but it’s probably too warm for blue tits.
Anyway, onward and upward (I don’t think I can get any lower).
A tip on refinement; there are always branches we leave on a tree that don’t belong. As new branches grow, get rid of them.
This branch is too thick

And there are replacements all around. So…goodbye

There’s some photographic prowess for you, I focused the camera on a branch that isn’t even there anymore.
Trimmed:

Wire?
Sure!
A little here-

A little there-

A lot on this branch-
And…
Am I done?
No…do you see it?
A great tool to use when styling your trees is a viewfinder on a digital camera.
The eye gets “used” to the tree you’re styling at that particular time and by removing yourself one step, you can see flaws and out of place branches easier.
How’s this?

The way artists used to do this was to look at a piece of work and squint.
It serves the same purpose.
I think the left branch needs one more bit of pruning.

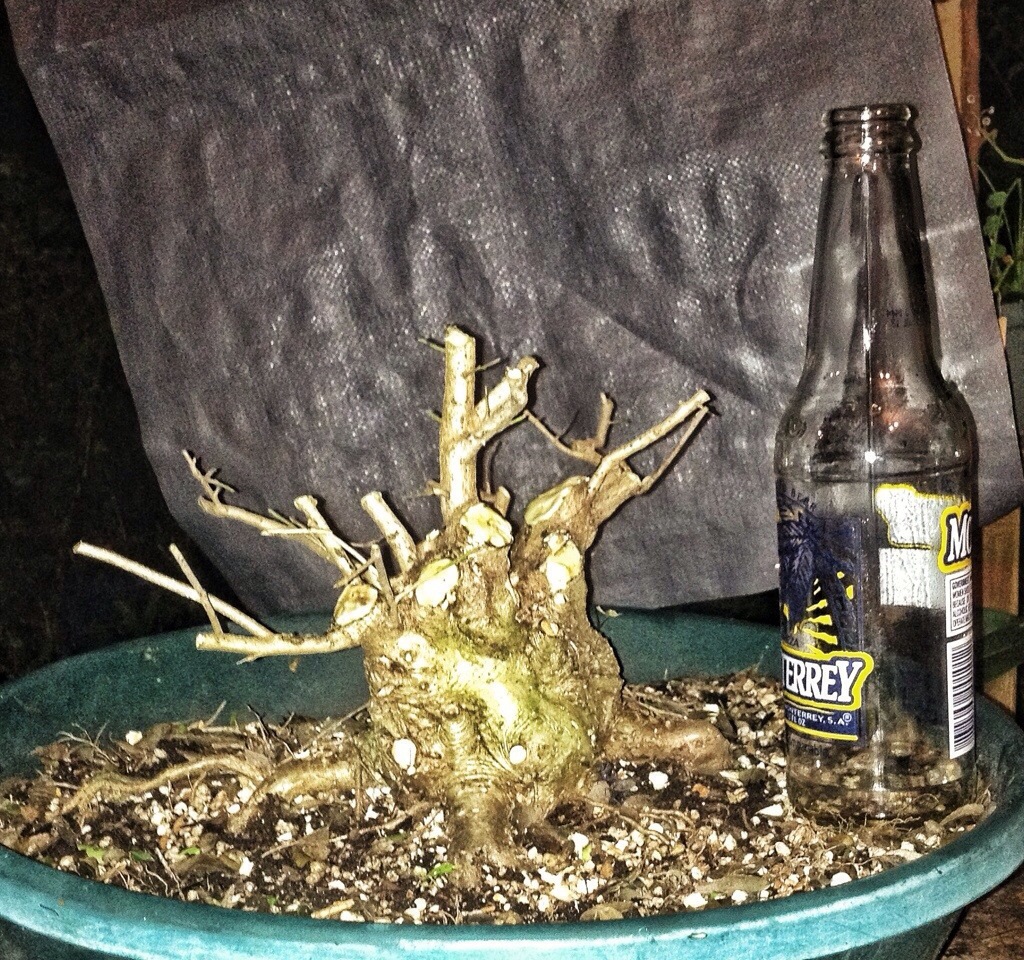
Ok. Now the progressions-
First styling:
After the second styling and first potting:

And today:
At the next repotting hopefully I’ll be able to reduce the root in the front a bit.
Or I could just only show the tree with moss and hide it (oops, did I just give away a secret?).
Moss hides all kinds of flaws.
Don’t forget to send beer.
- Comment
- Reblog
-
Subscribe
Subscribed
Already have a WordPress.com account? Log in now.

As always great post and teaching……
LikeLike
Thank you sir!
LikeLike
Great post and progress! That’s a nice tip on pinching out all the unequal leaves, I’ll try that one next year 😦 The growing season is about over in SC. Where do you get all your pots?!? You’ve amassed an inventory to envy! They’re as scarce as hen’s teeth around here. Have you ever tried drilling your own with any luck?
LikeLike
Thanks Mills.
I have tried to drill holes in ceramic pots. Very difficult. I broke half of them and the bit doesn’t last.
I buy pots, I hardly sell them except with trees in them
LikeLike
That´s very good work, I am going to start doing my own with bougainvillea cuttings.
LikeLike
Thanx for the update on the Yaupon (ilex)….I have 4 of these that I hope to get to do some work on this spring…..They are all very large trunk collected urban yamadori…. I sent you an e-mail with some questions about them and you were very helpful…..As far as drilling pots I have that down pat….A drill press and a stone core bit does the trick. Check out my post on my blog that shows my set-up.
http://www.vendo80.blogspot.com/2013/09/did-some-drilling-today.html
Adam….If you are ever in the North Georgia area the beer is on me.
Brian
LikeLike
Very good info!
I will take you up on that beer, you just gotta put in a good word with the clubs in Georgia for me
LikeLike