The 2016 Bonsai Societies of Florida annual convention is coming up (go here for details, there’s still some room in the workshops) and I, again, have a tree in the dog and pony sho…aaa, the exhibit this year so it is, again, time to prepare a display…… You know, in Japan, they have specialists that put together displays for the shows. It’s a totally separate (but related) discipline and there are few bonsai artists really qualified to assemble and judge a display. Kunio Kobyashi and his student Peter Warren are two that come to mind. I need one of those types of experts.
Myself, I like trees. If we could display them alone with a black background and on a plain white stand, I’d not mind that at all. But….we must follow the conventions and mores of the societies we inhabit, you know, please and thank you’s, wear clothes in restaraunts, cover our sneezes, wash your hands after bathroom breaks, ropes and chains by consent only…..so, here’s my stand and how I came to make it. Hopefully it’s not my last stand.
This is the tree that got accepted.  As seen on the Instagram.
I had to change the pot early in the year. 
I think the new one works….for now.

As you can see, it filled in pretty well from the repot.  There was actually a new stand company that offered me one of their exceptional stand to use:
 But I had a different vision in mind (as you will soon see). Their work is good though, I suggest you check out their amazing and innovative designs (www.missourishoku.com) and maybe give their Instagram a follow.
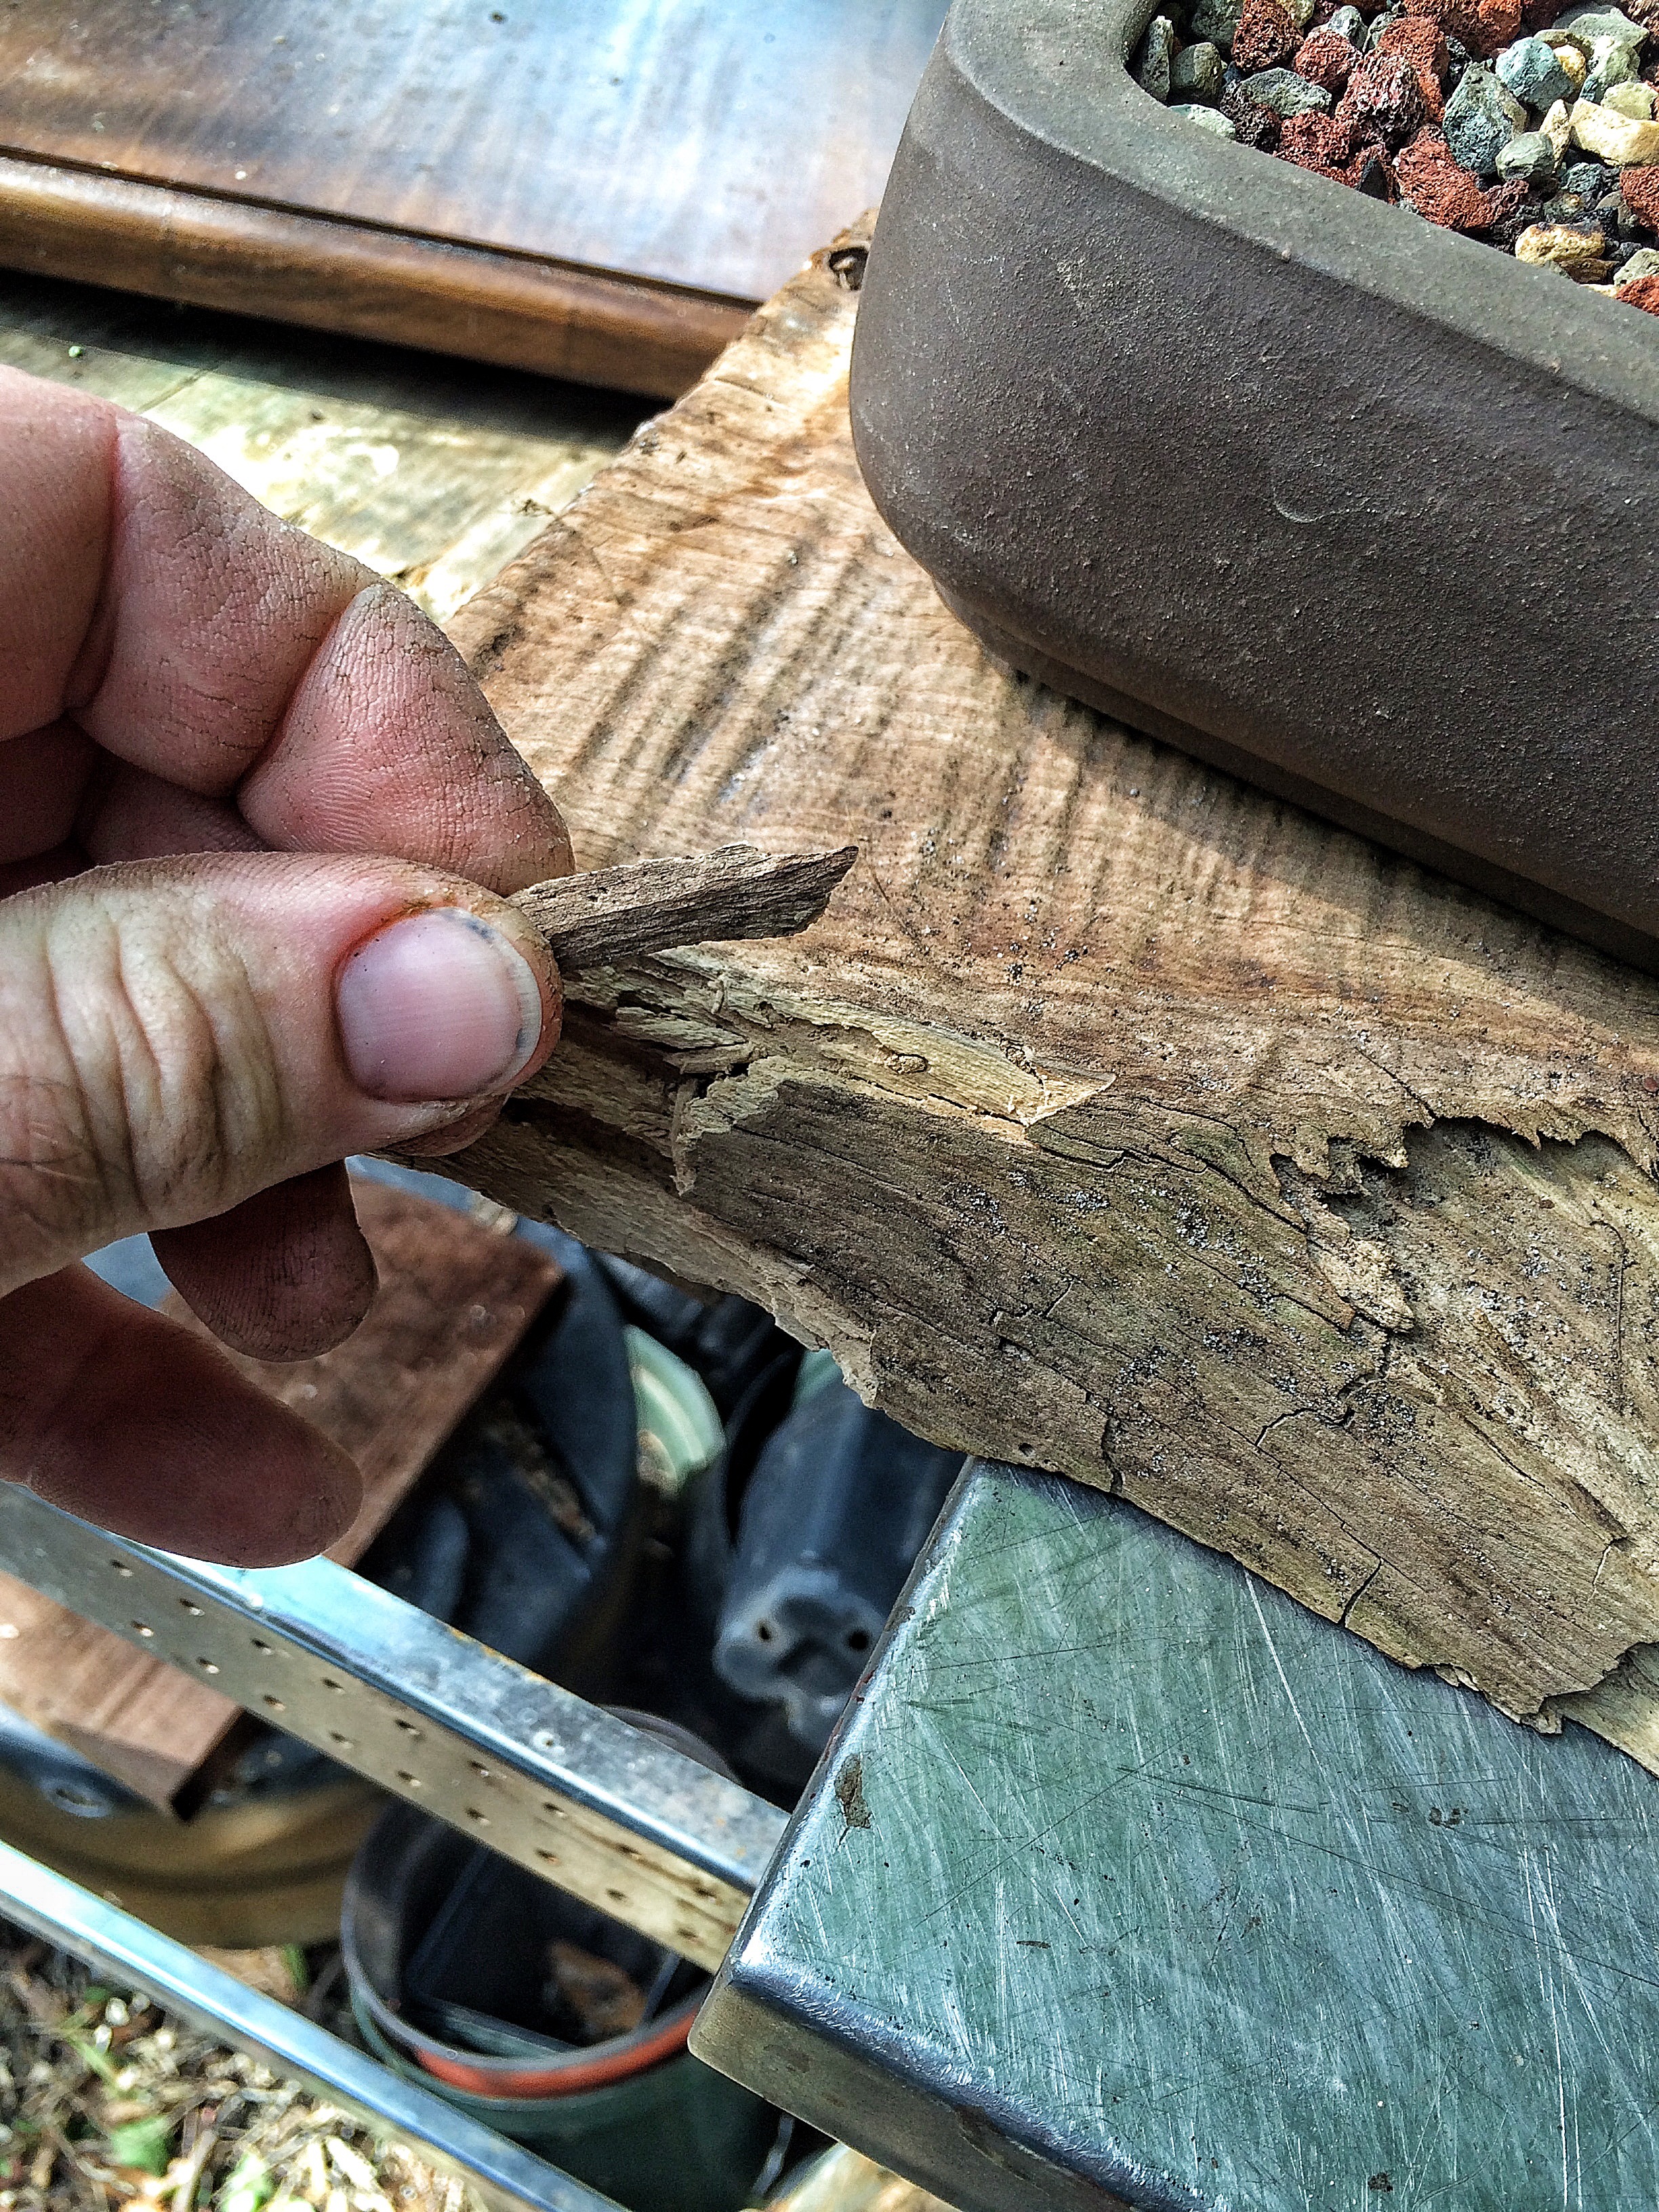
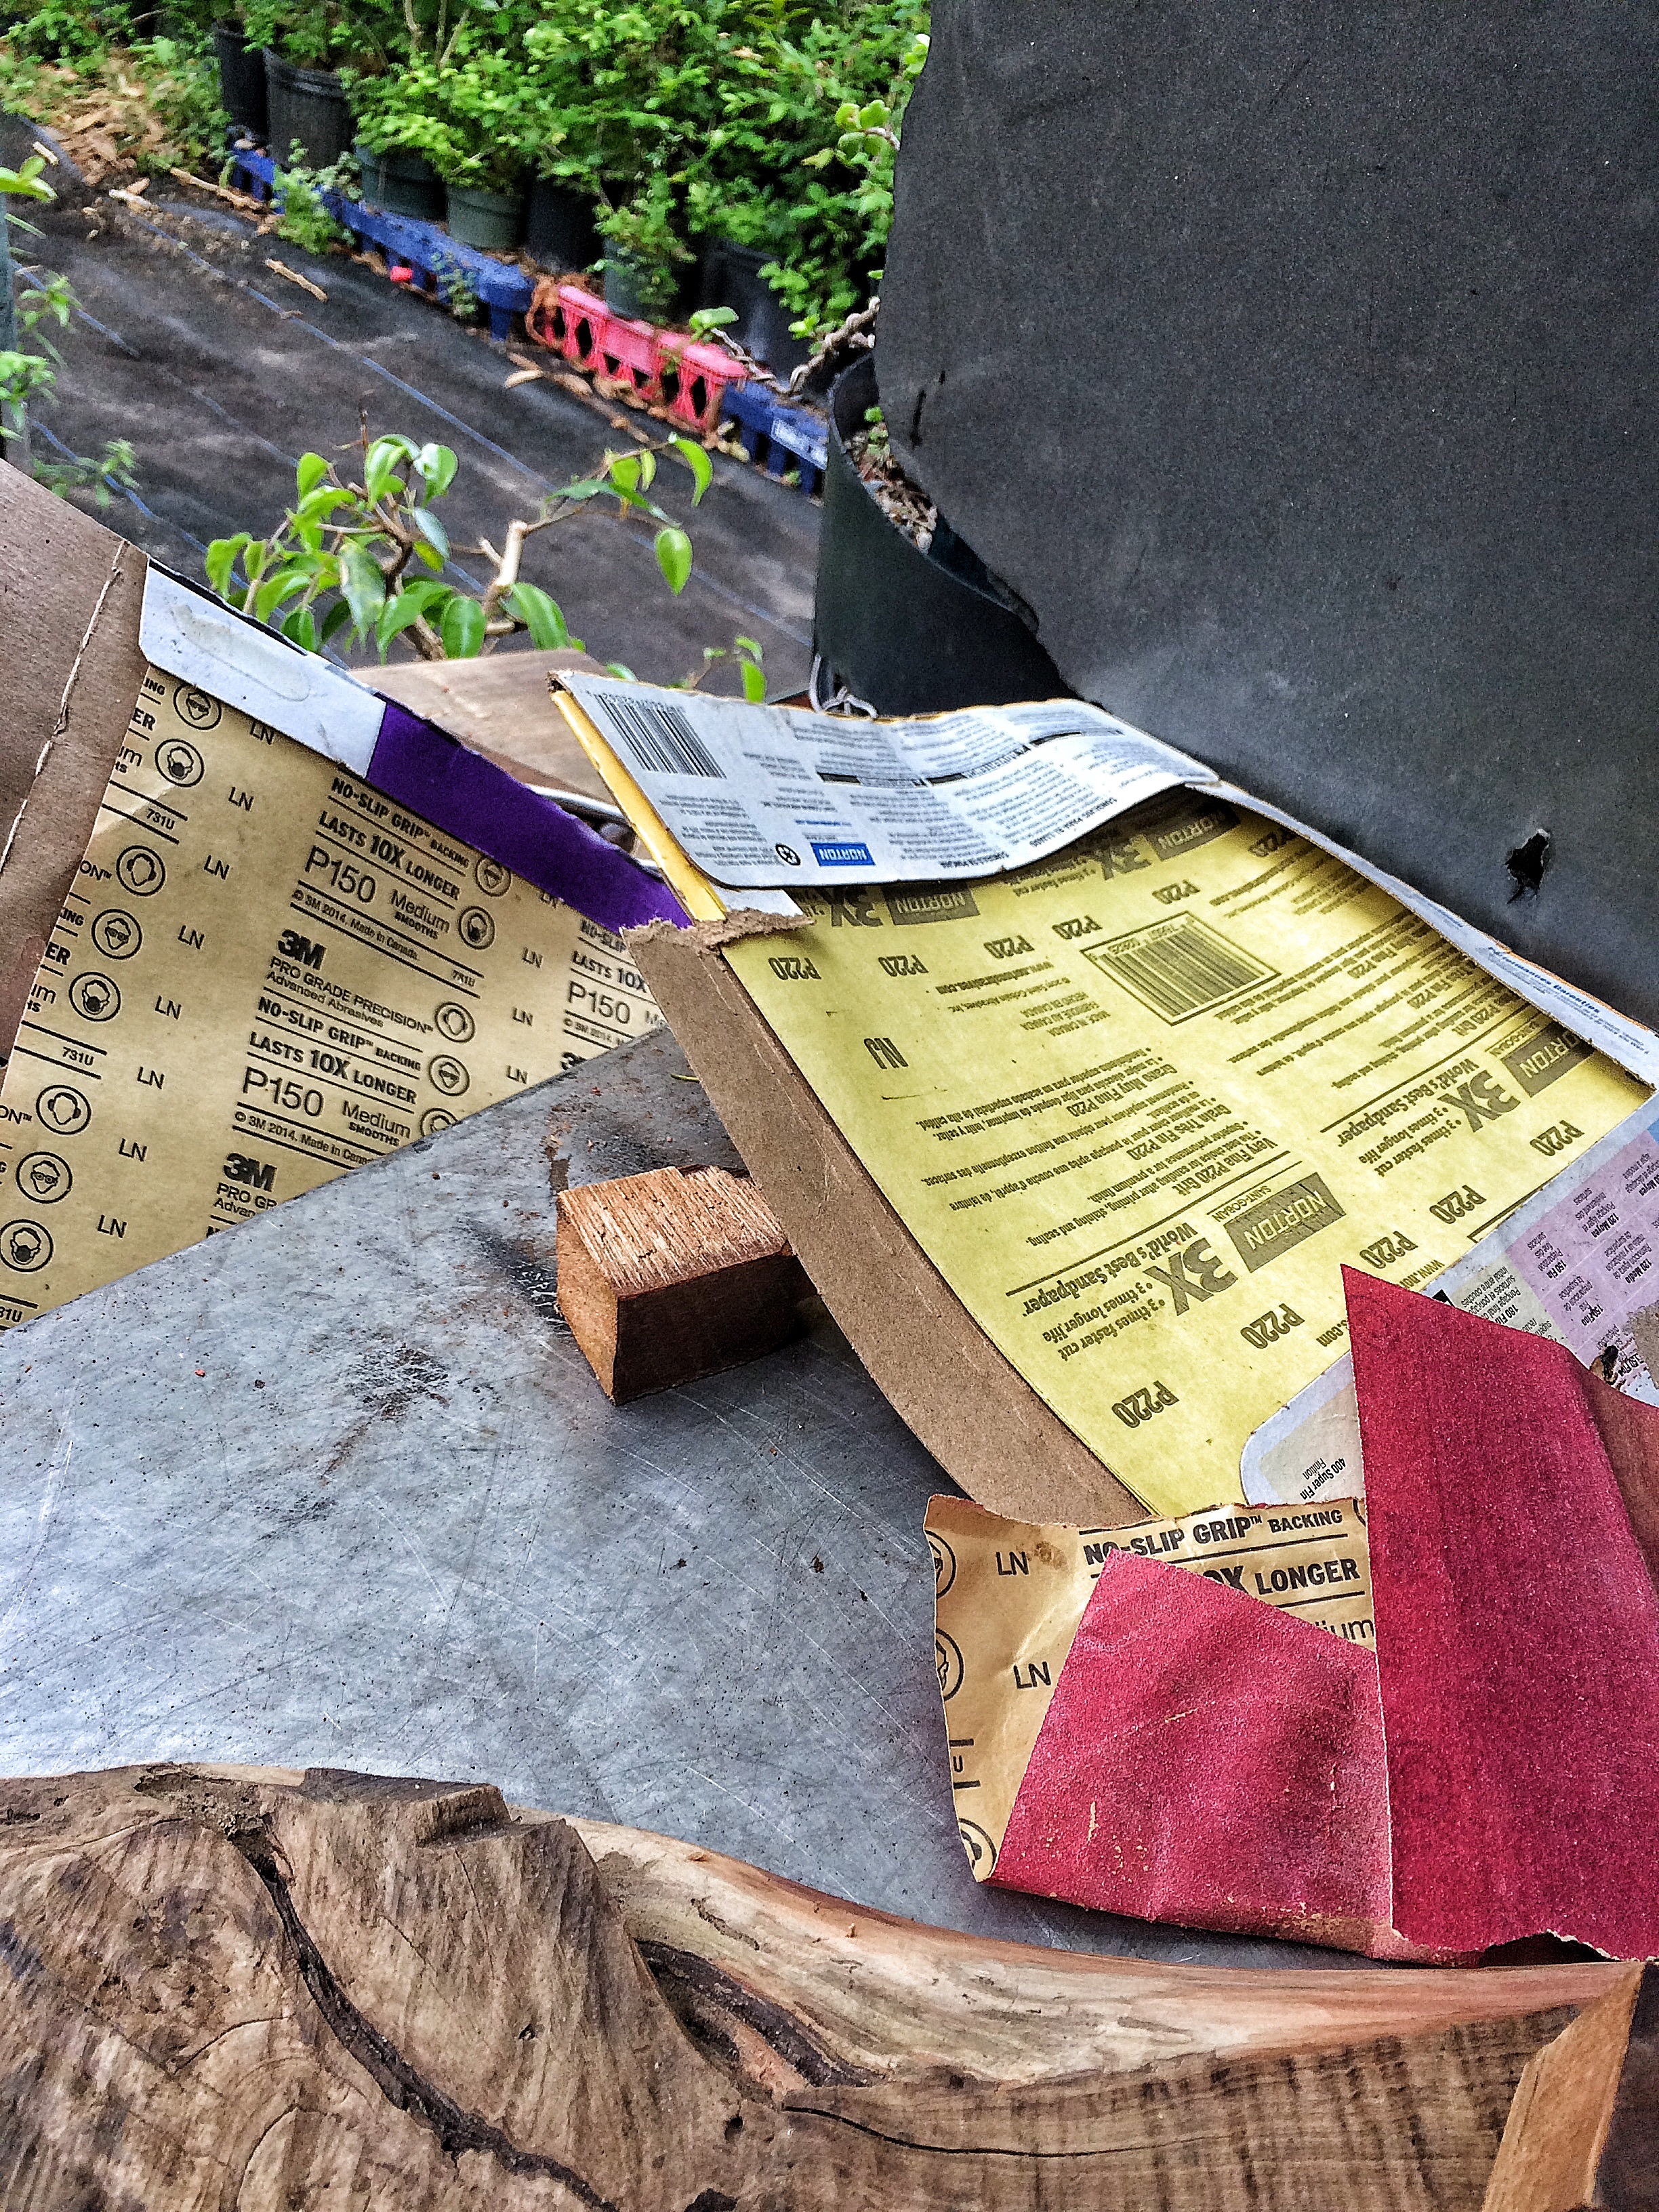
Anyway, here’s the piece of wood I’m using: Whoops, the tree peed on it. There’s whole categories of videos about peeing on wood….or so my buddy Seth tells me. First I need to size it and cut to length.
 That’s about right. A saw….
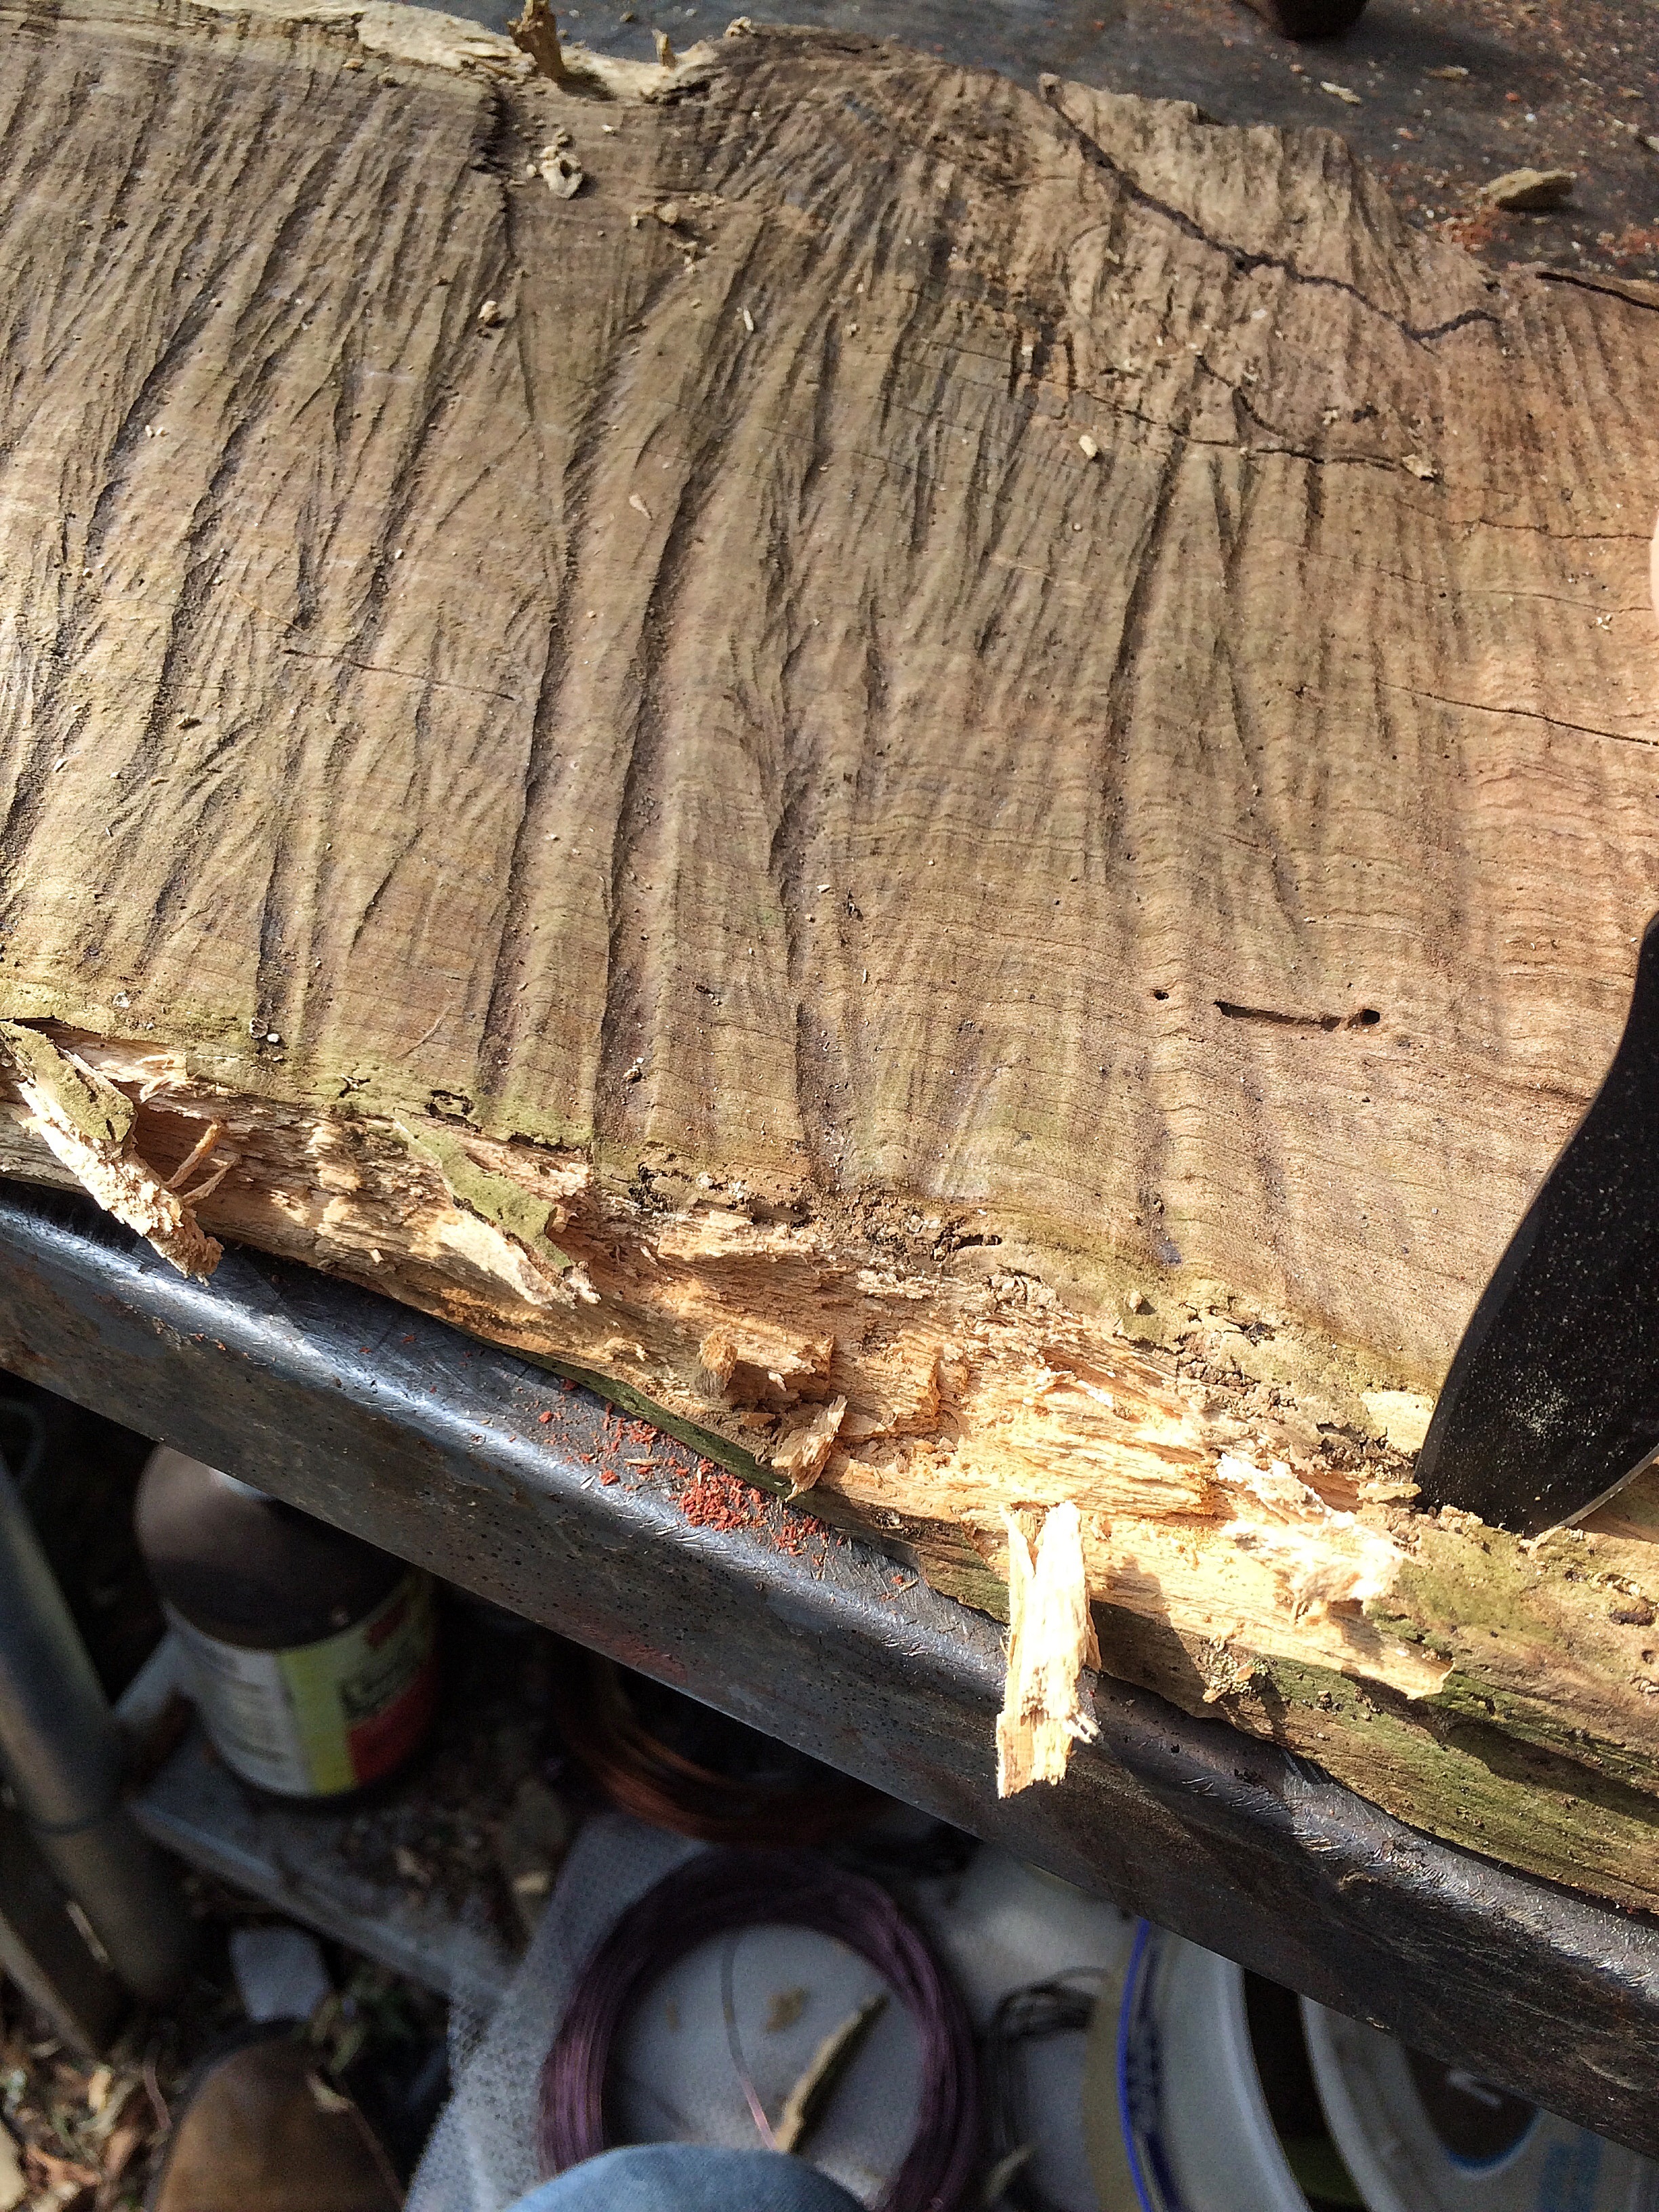
 As you can see, the sawdust is red. Red sawdust means you either chopped off a finger or the wood is red. The type of wood is actually red cedar, which isn’t cedar at all, botanically speaking, but a type of juniper native to the eastern part of the USA, called juniperus virginiana. It has, like all junipers, a red heartwood and a white sapwood.
 The white part tends to rot first (I’ve had this board outside, aging. It came from a tree that had been blown down after the three hurricanes of the 2004 hurricane season, Charley, Frances and Jeanne. I scavenged the wood from the roadside and carved myself a throne out of a big chunk of the trunk. This board is a piece I saved from the ritual….I mean carving).
Since most of the sap wood is rotten, I’ll just carve it off.
After I sharpen my knife that is.  Yes, that is spit. It has a certain…viscosity, that water lacks. I’m using a diamond sharpening card, btw.
 Some worm holes.
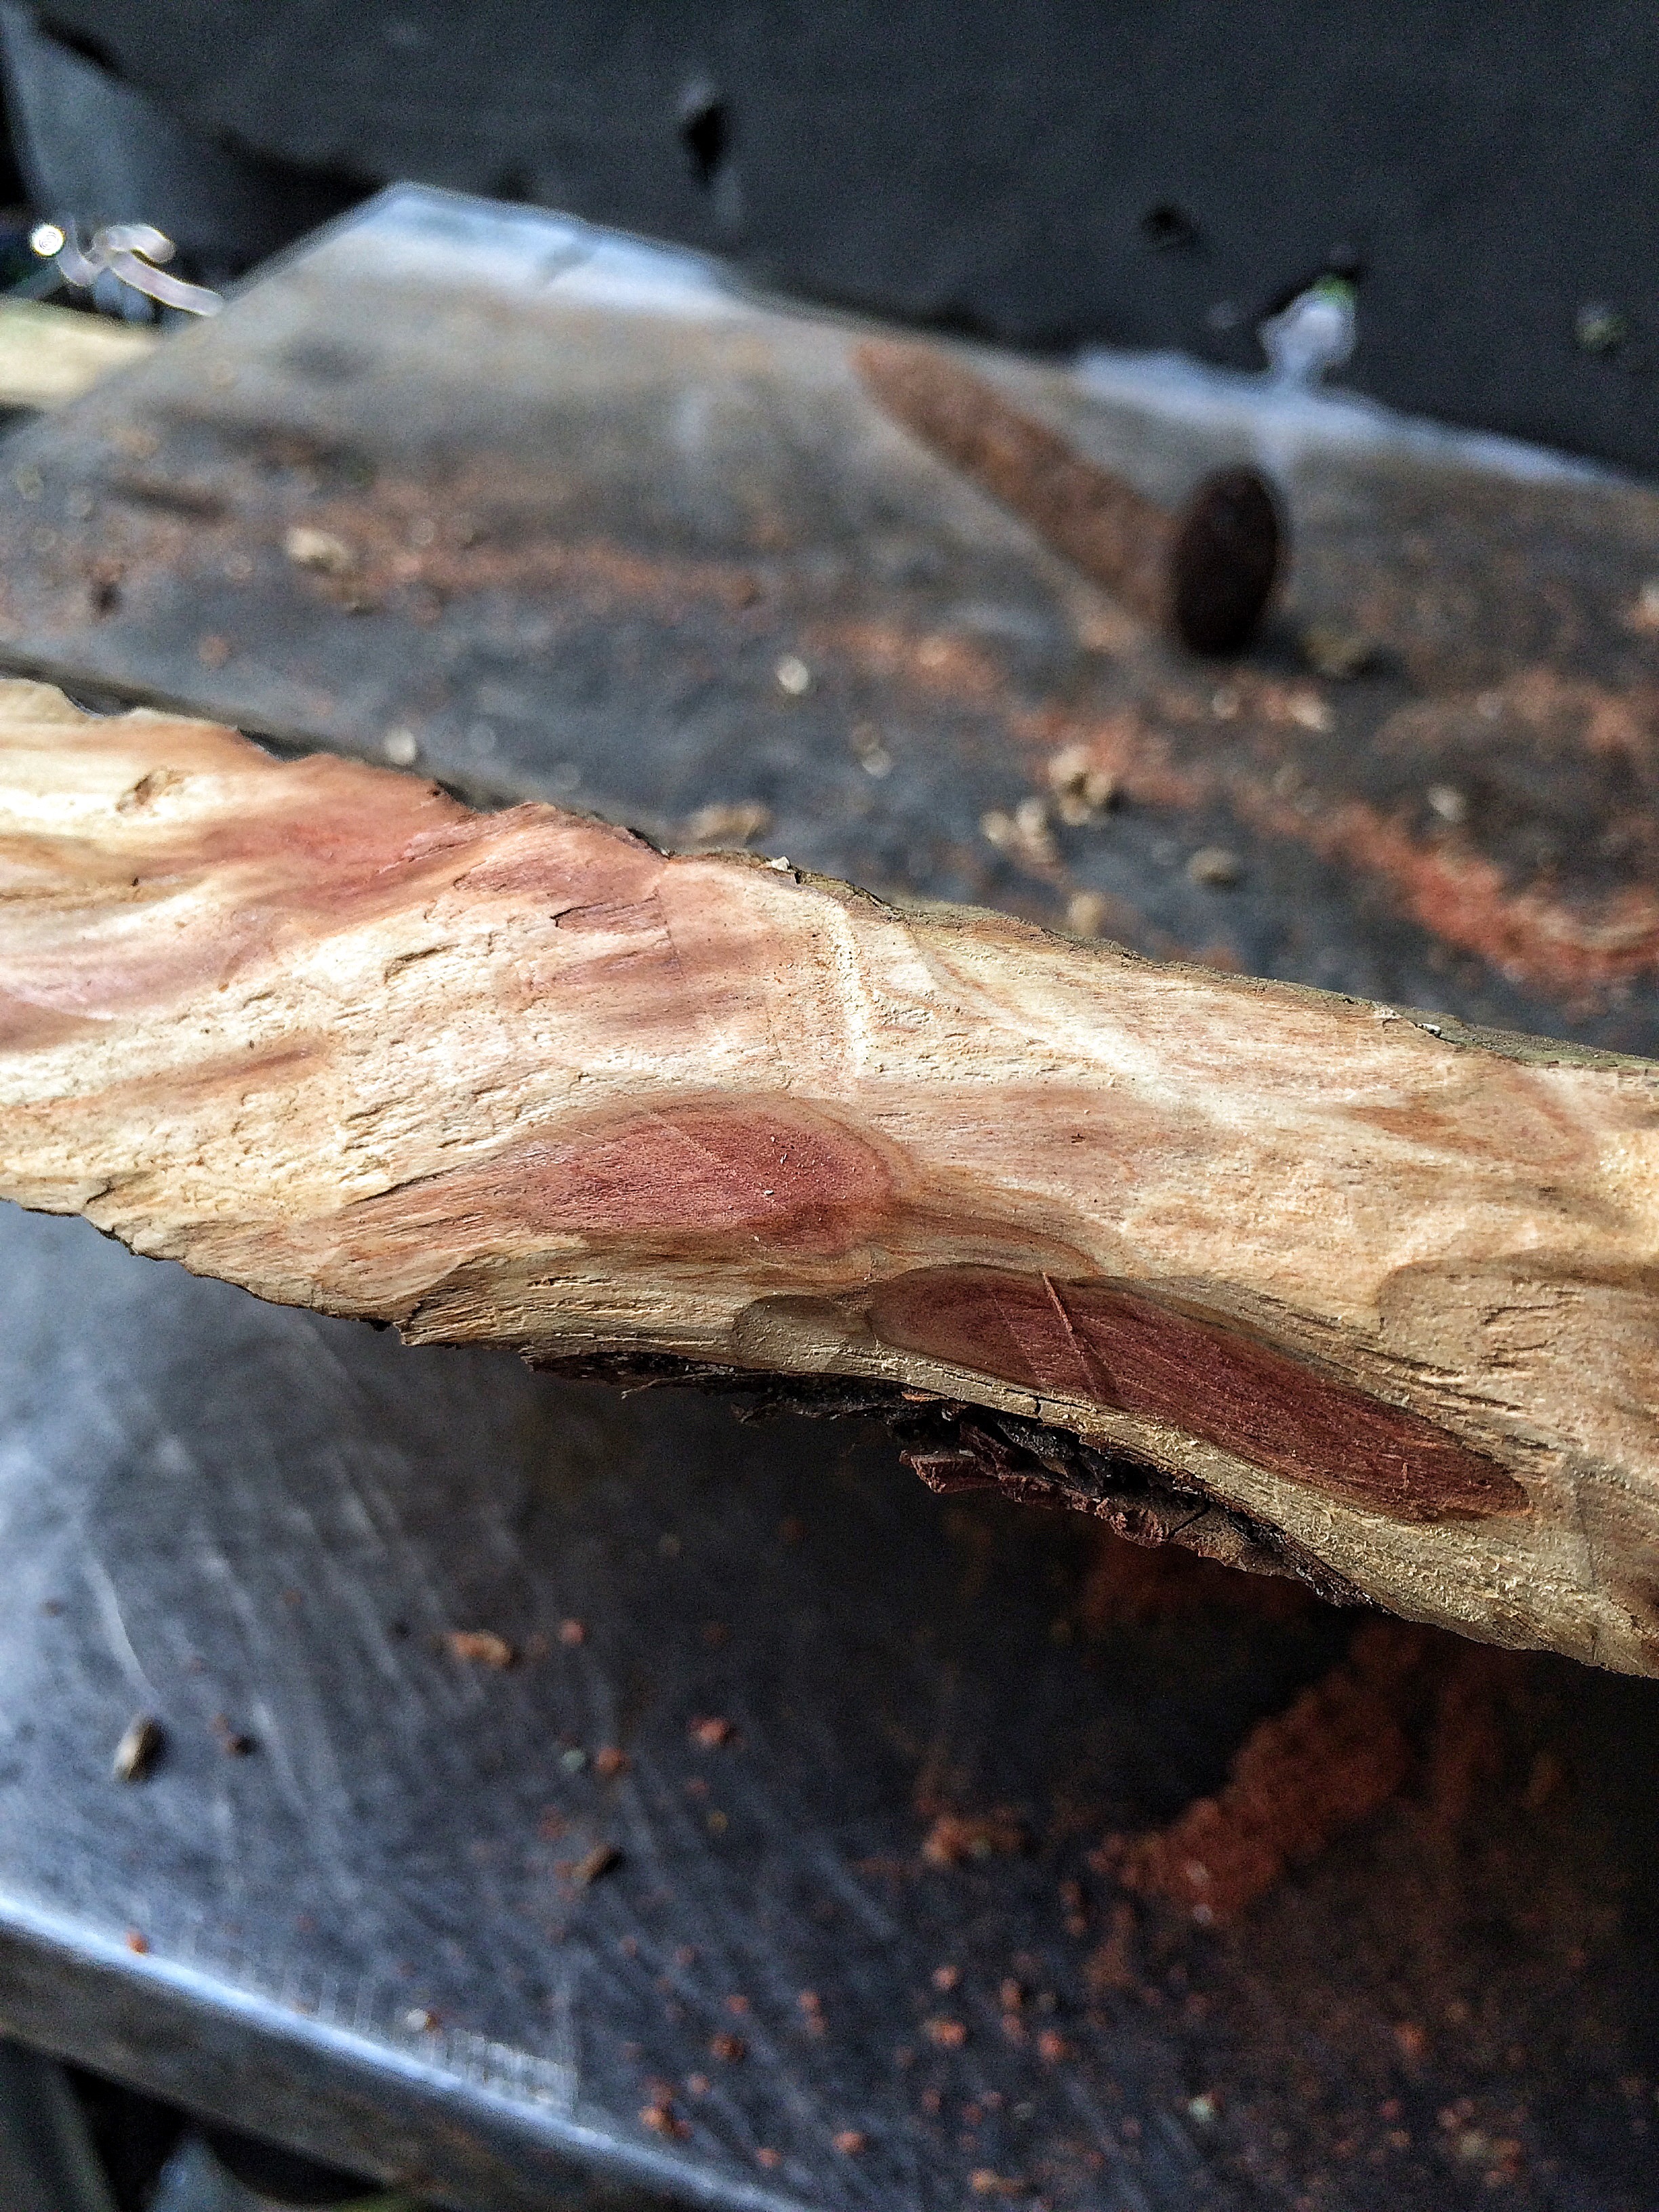 There we go. Getting down to the heartwood.
 That’s on the cutting edge, right there.
The problem is, from sitting out for so long, the board is slightly warped. Like me.
 It couldn’t be from the fact of me using a chainsaw to mill the wood. Nah. I have a steady hand. The board needs feet. Or legs. Or whatever we are calling them.
 Yeah, that’s where it needs to be. That looks right. What do I have hanging around for the feet?
  Ah, a block of red oak. Its from a broken door, in fact.
  Who said those doors are useless? Well, they are useless for keeping two very active little boys who like to pick at any chink, any splinter, that presents itself for removal. Or for repeated kickings because their sister is in the bathroom, fixing her hair while they need to “really really pee!!!!!” But they are good for various carving projects made out of the reclaimed wood after your boys have chewed them up and spit them out (they are not cheap to replace, I’ll tell you what).
 Good grain. Dry. Easy to work.
Each one needs to be about this long, give or take. I’ll eyeball it. 
I’ll be hand carving these,with my pocket knife no less, just to show off.
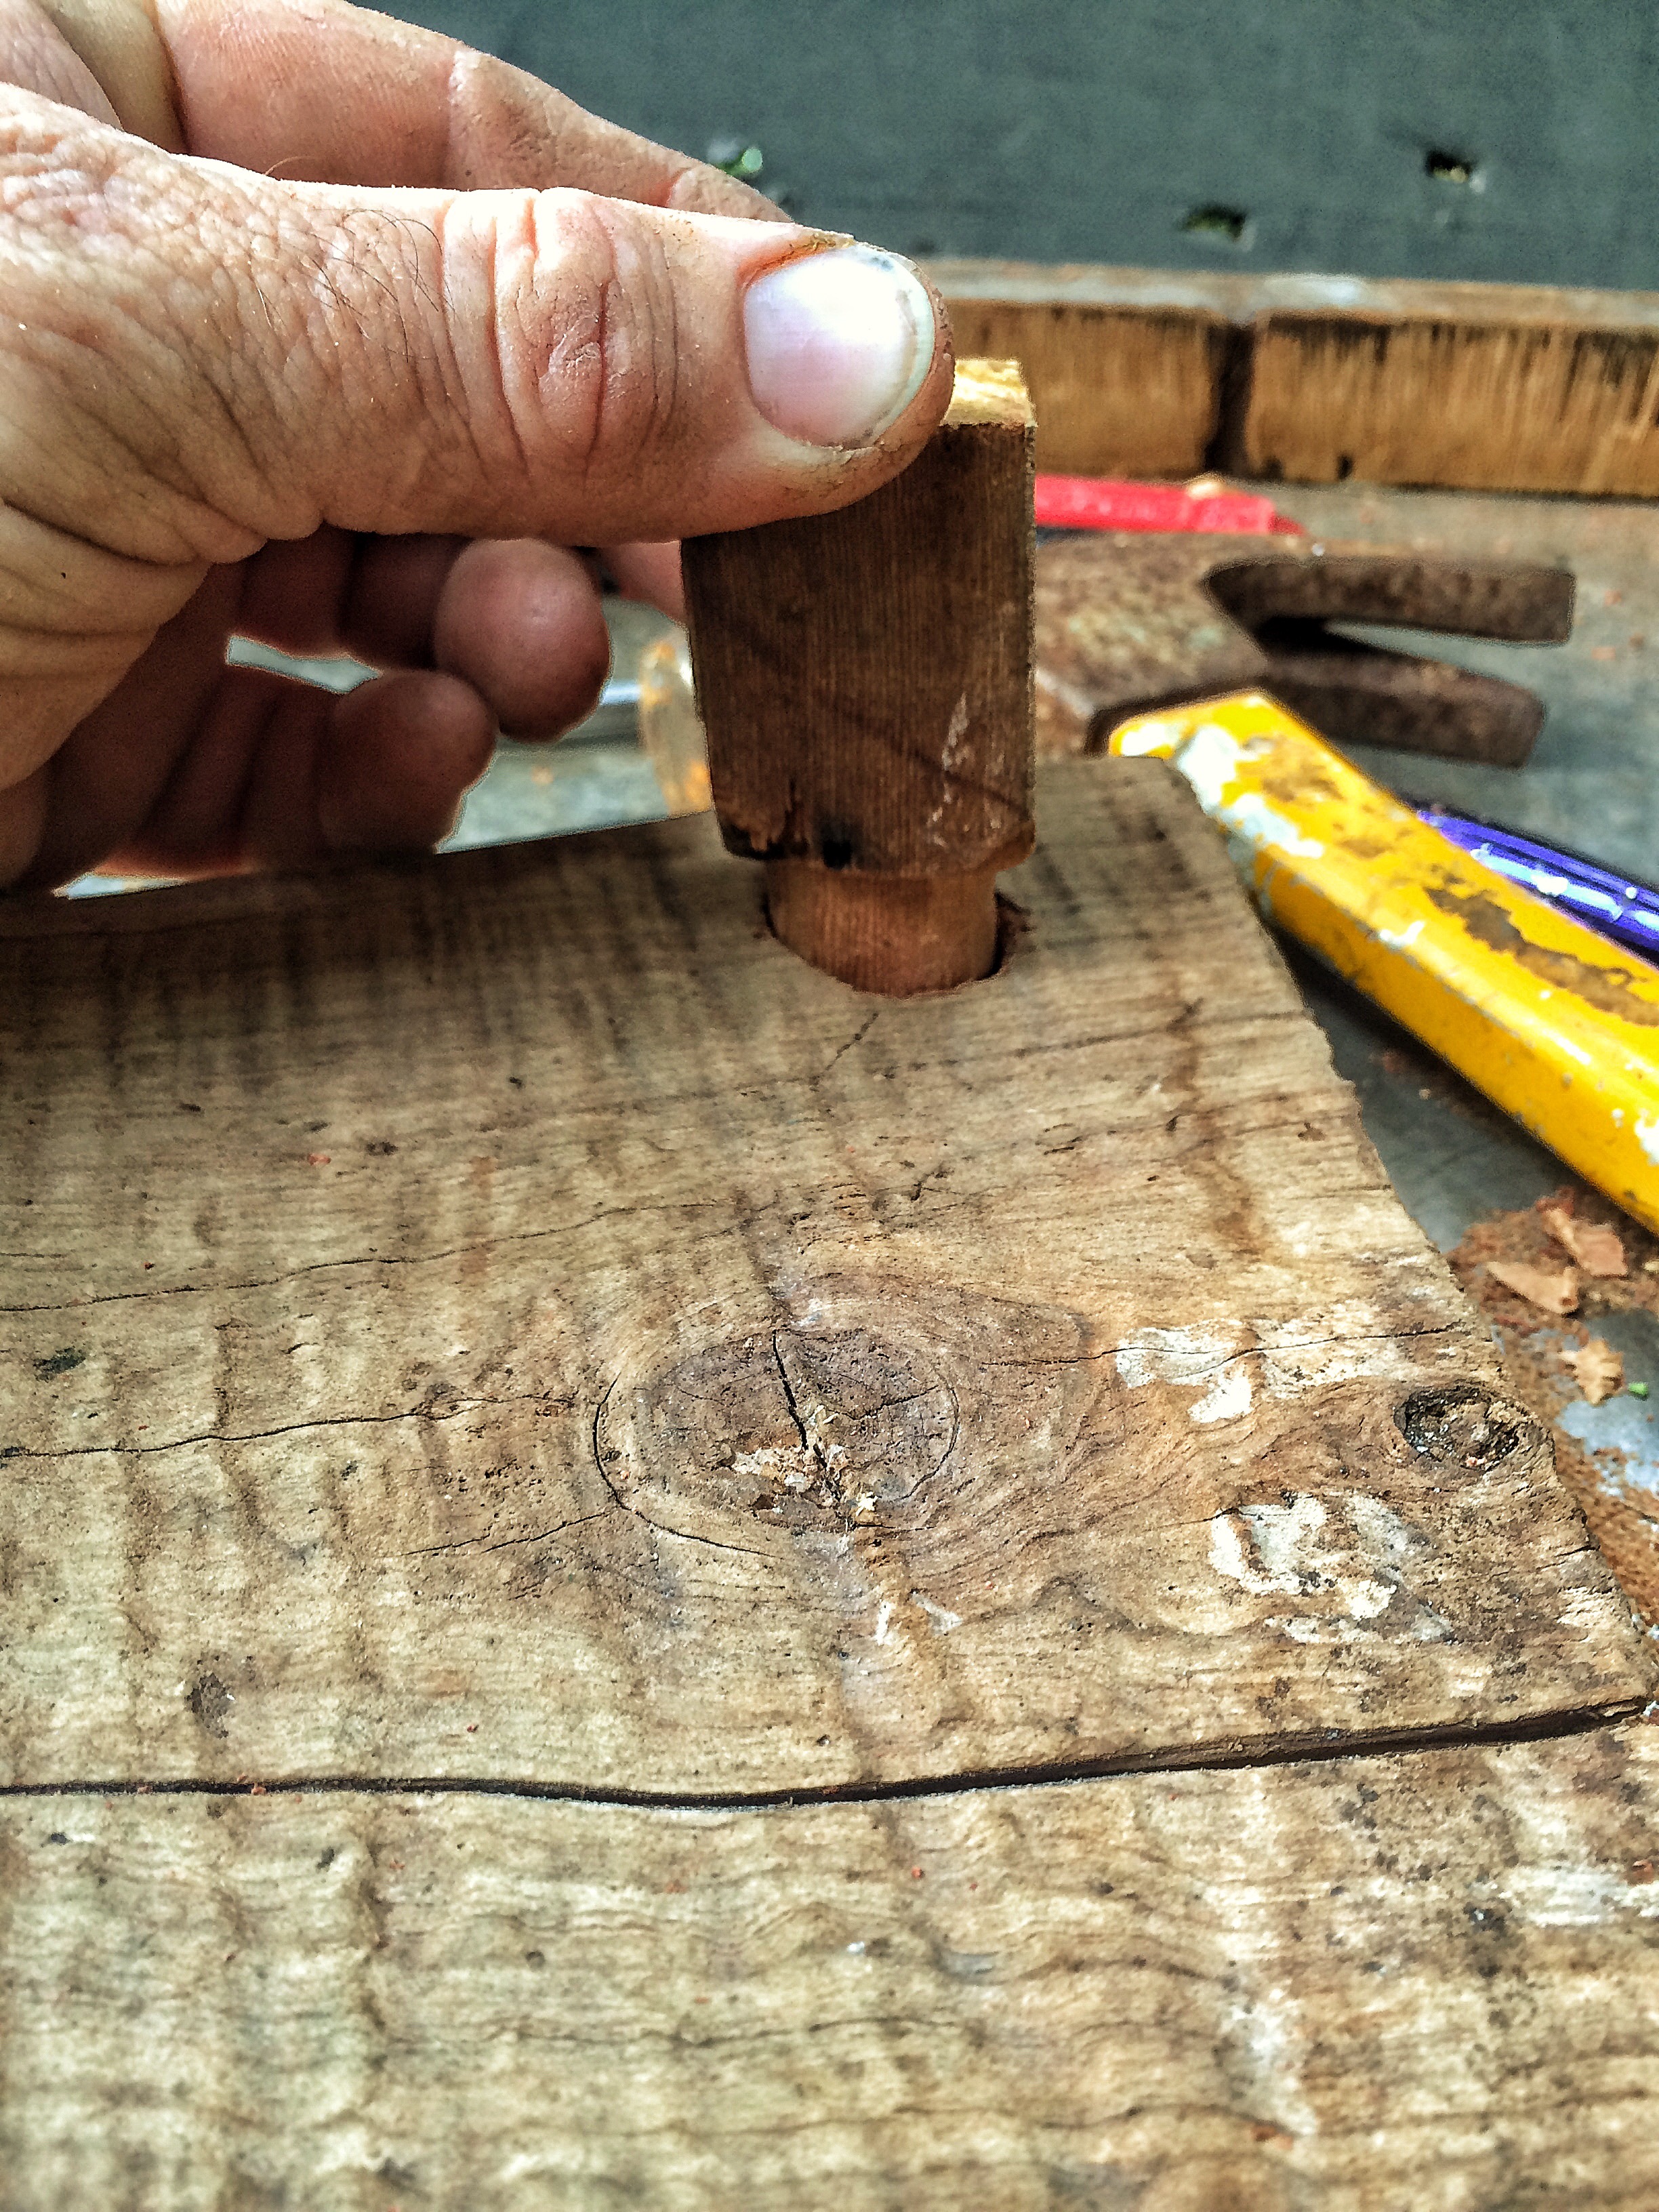
First, reduce the tip.  I am making a rounded peg-end to be inserted into a hole I will drill into the top wood piece.
 To get the sharp edge transition from square to round, I have to make what’s called a stop cut. Basically, as I carve off the material I come to a perpendicular cut that the blade will stop at. I could do it with the knife.

But it’s easier with a sharp saw.  This just happens to be a Japanese style saw with the cut on the pull stroke instead of the push.
Now it’s just a matter of whittling or chipping down the edge. 

 And then, using my fancy pull saw, I cut to length.
  Just three more. I can use the first one to trace the size of the round part on the next piece.


Two. 
And three and four.  They are all different heights to accommodate the warped and unevenness of the piece. Like m….sorry. Made that joke already. Now to drill some holes. I found this under the bench.
  That looks about right. Yay! Lucky me!
Hmmmm? A dot within a circle.  That’s some serious symbolism there.
A little prying with my trusty pocket knife. 

Perfect fit.
Well, all except the first one. It’s about 1/8th of an inch too small.
 No worries, I can carve a fifth one.
The last step on carving the legs is to check for the length in the holes. 
Hitting bottom I see. That’s not a bad thing. I like to hit bottom.
But I should trim these to fit, I guess.
Look, I made a wooden nickel.  At this rate I’ll have two bits, not even enough to buy a donut these days.
How’s this?  Close enough for government work. Some sanding.
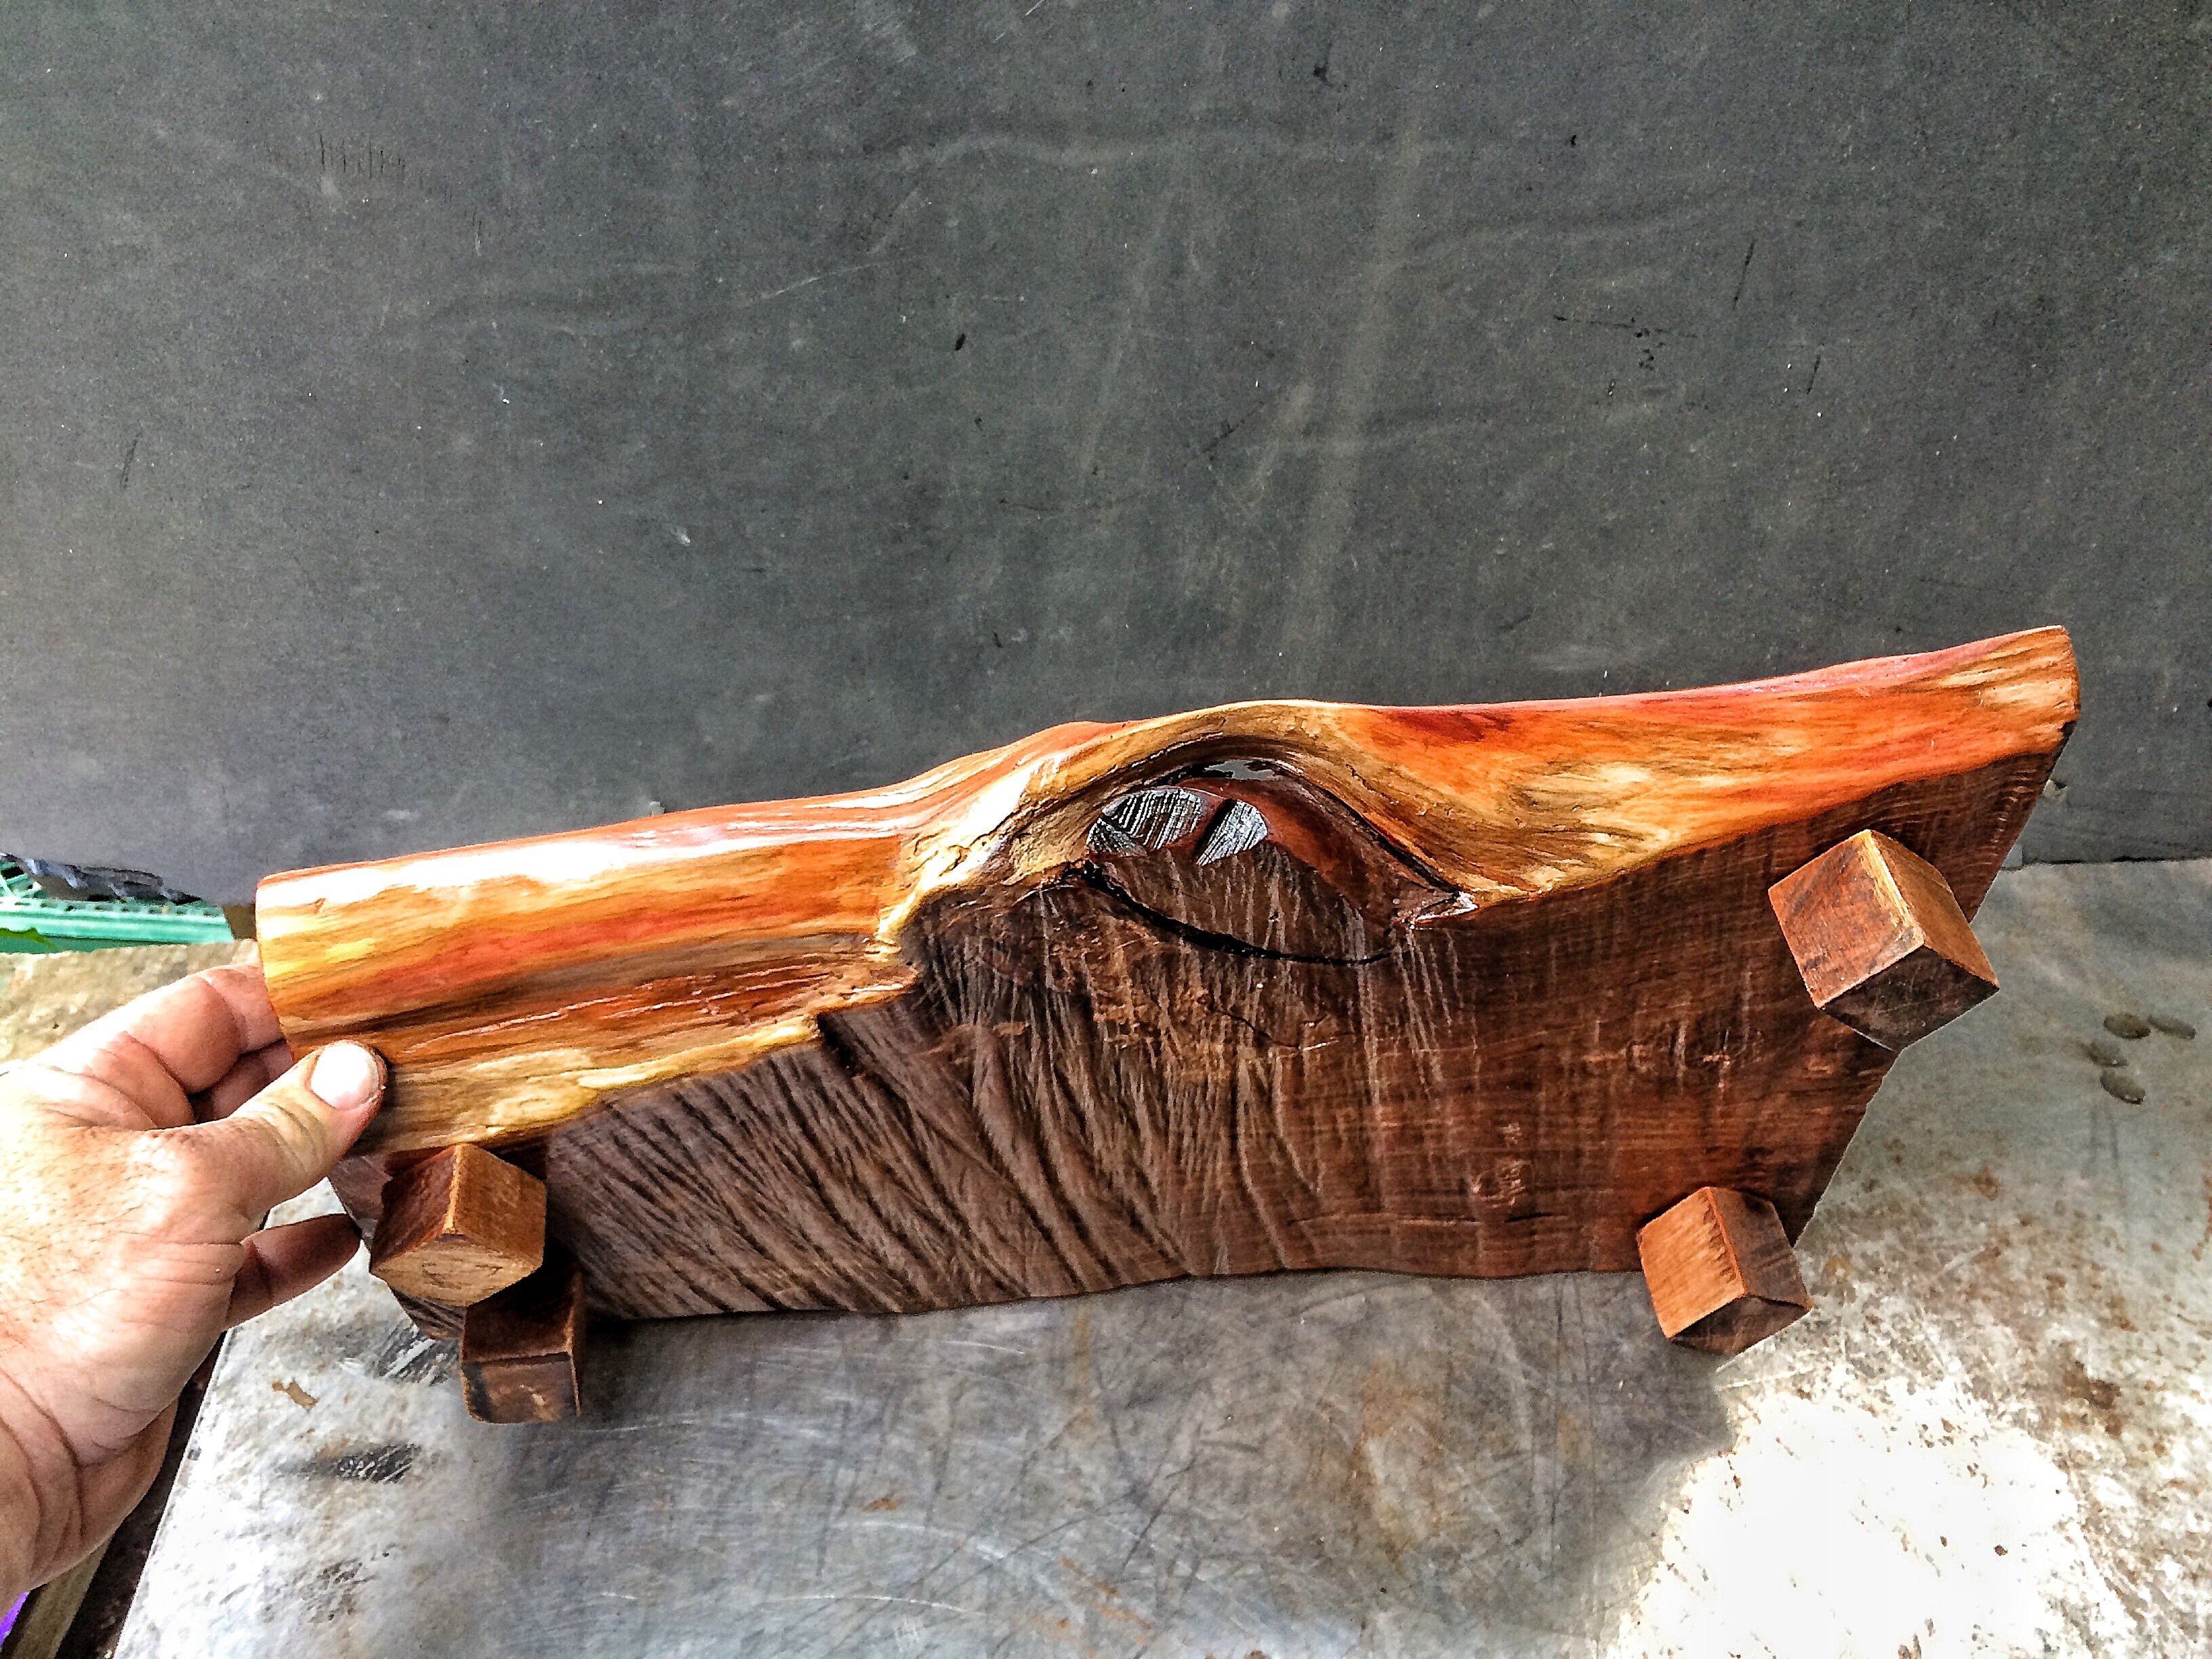
I prefer lacquer as my gloss coat.
Oh yeah baby, sexy! Shiny and all that even.
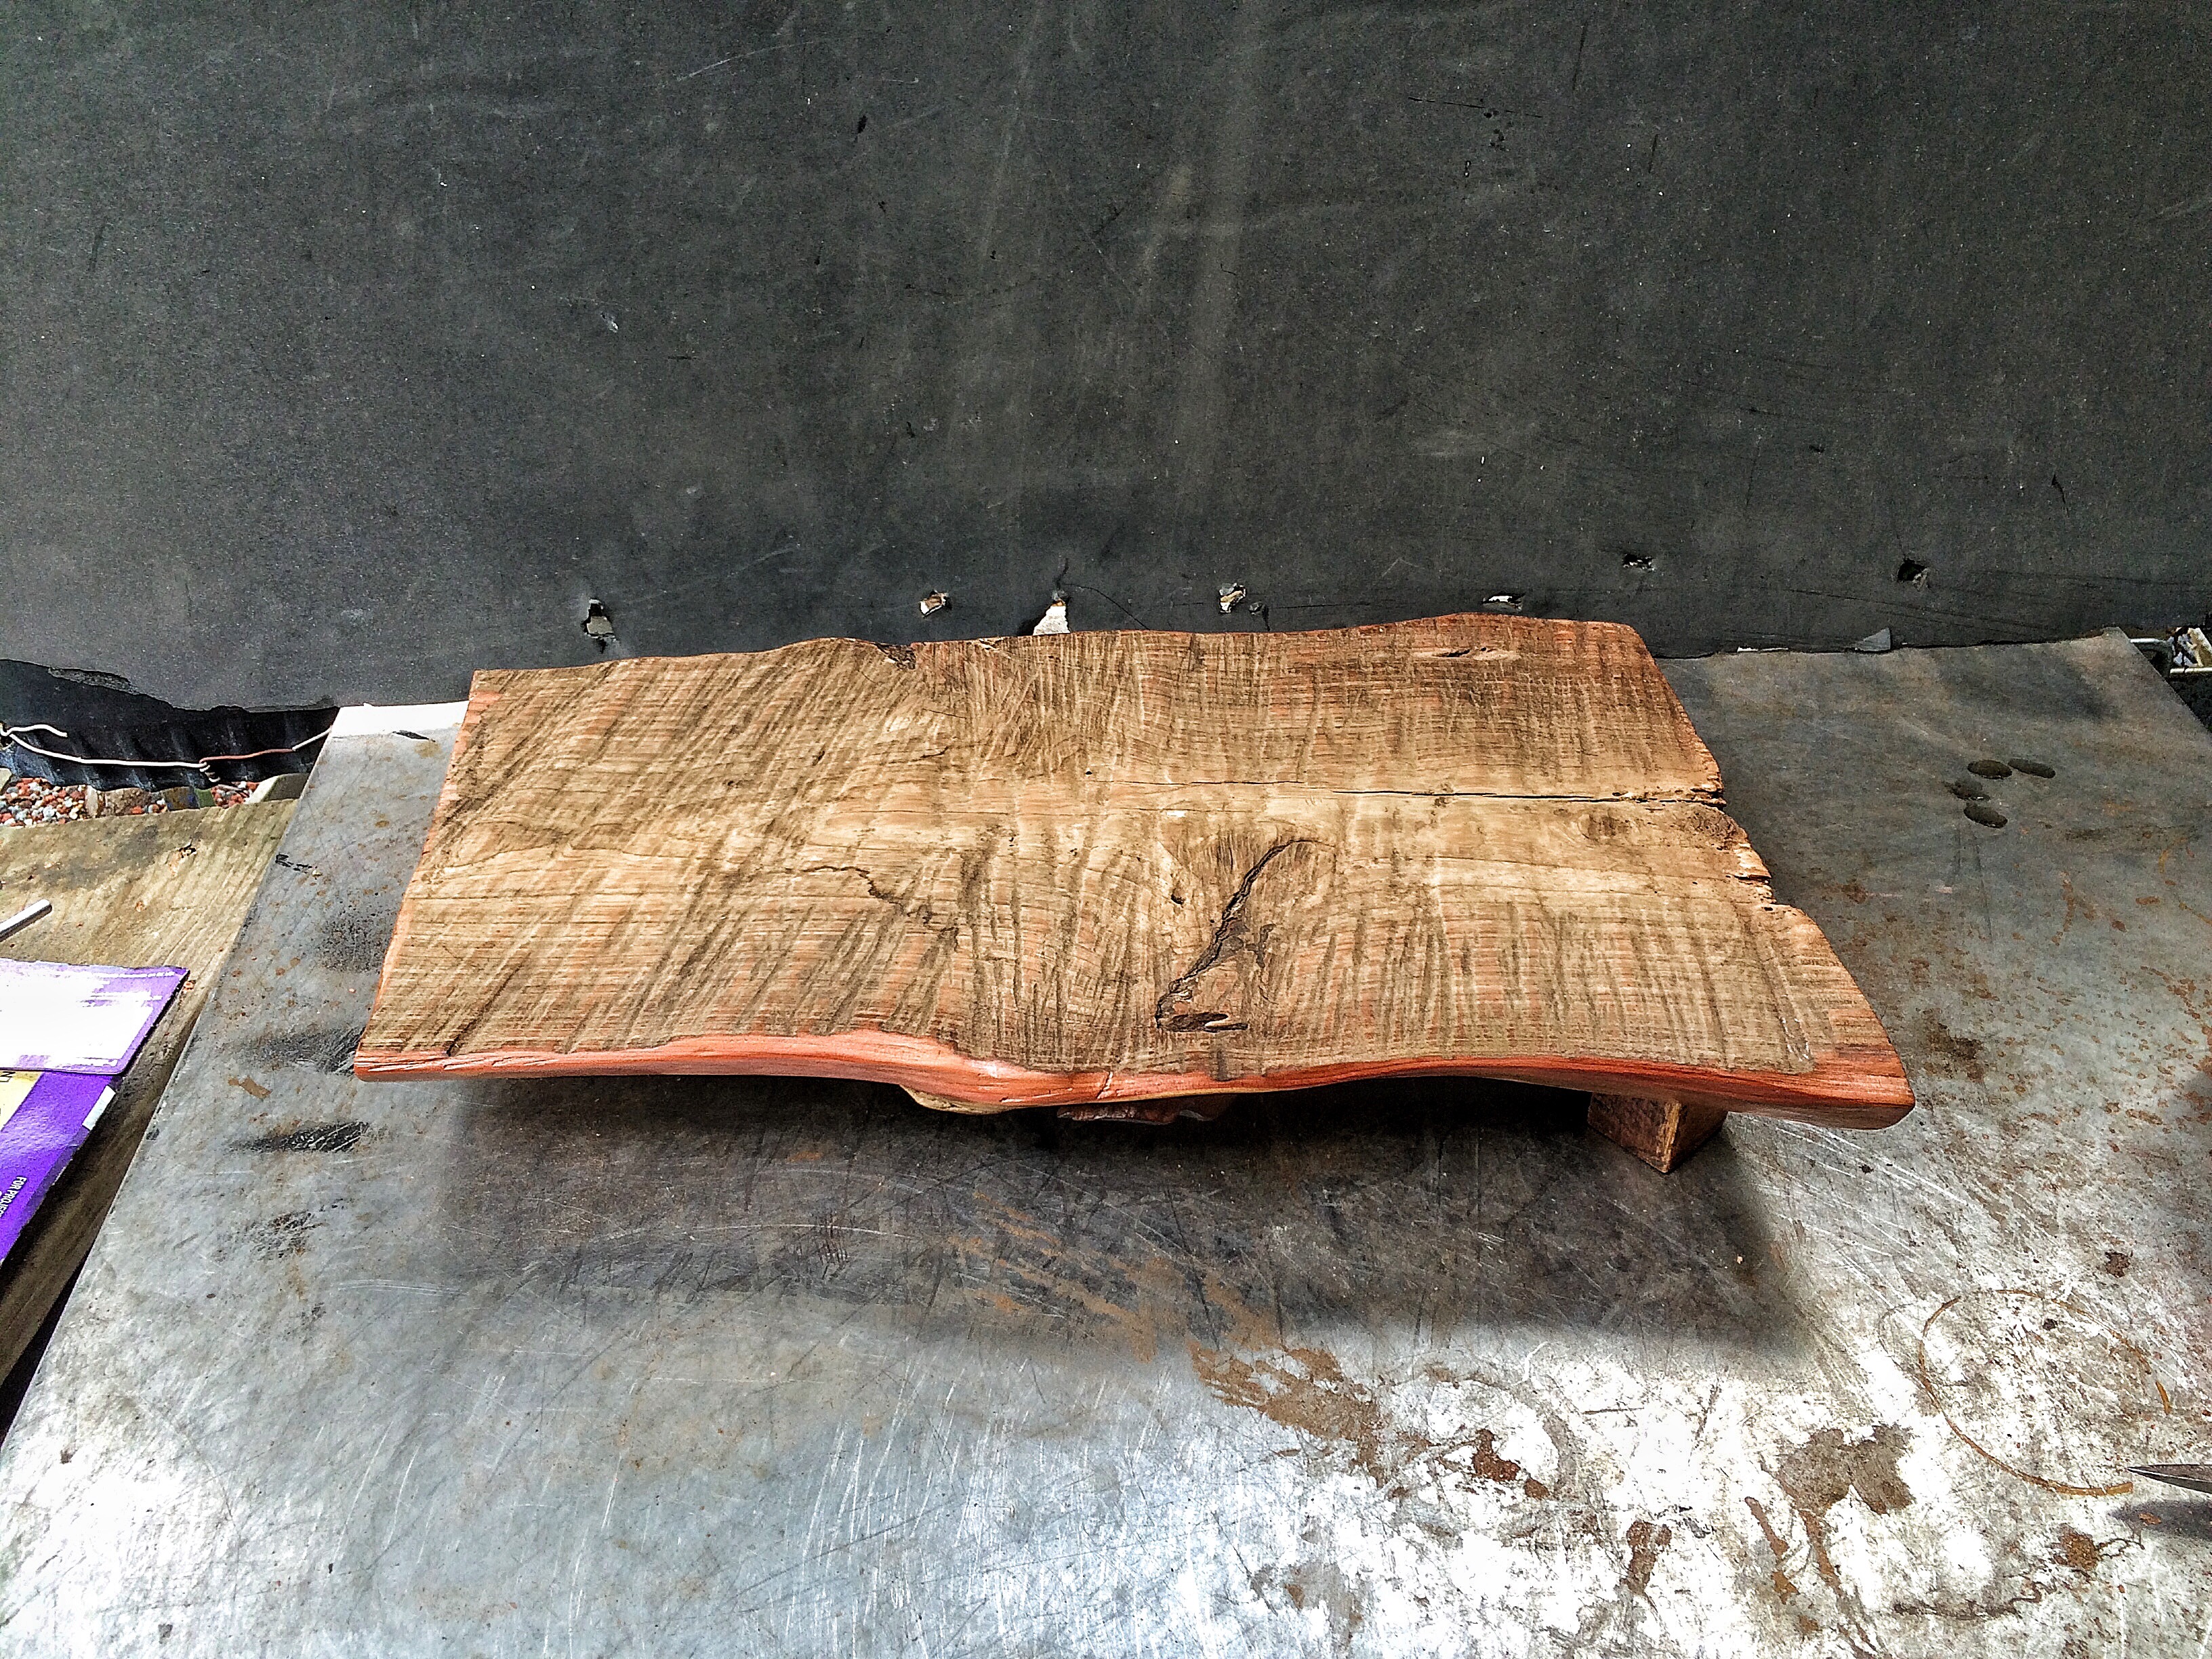
I left the top unfinished. Just to be cool. 
Here’s a contrast. The finished bottom. 
The unfinished top.  Now to glue the legs in.
Before that, one last thing, there is one leg that’s just a little too small for the hole. This is an old timey trick. Get yourself some thread. 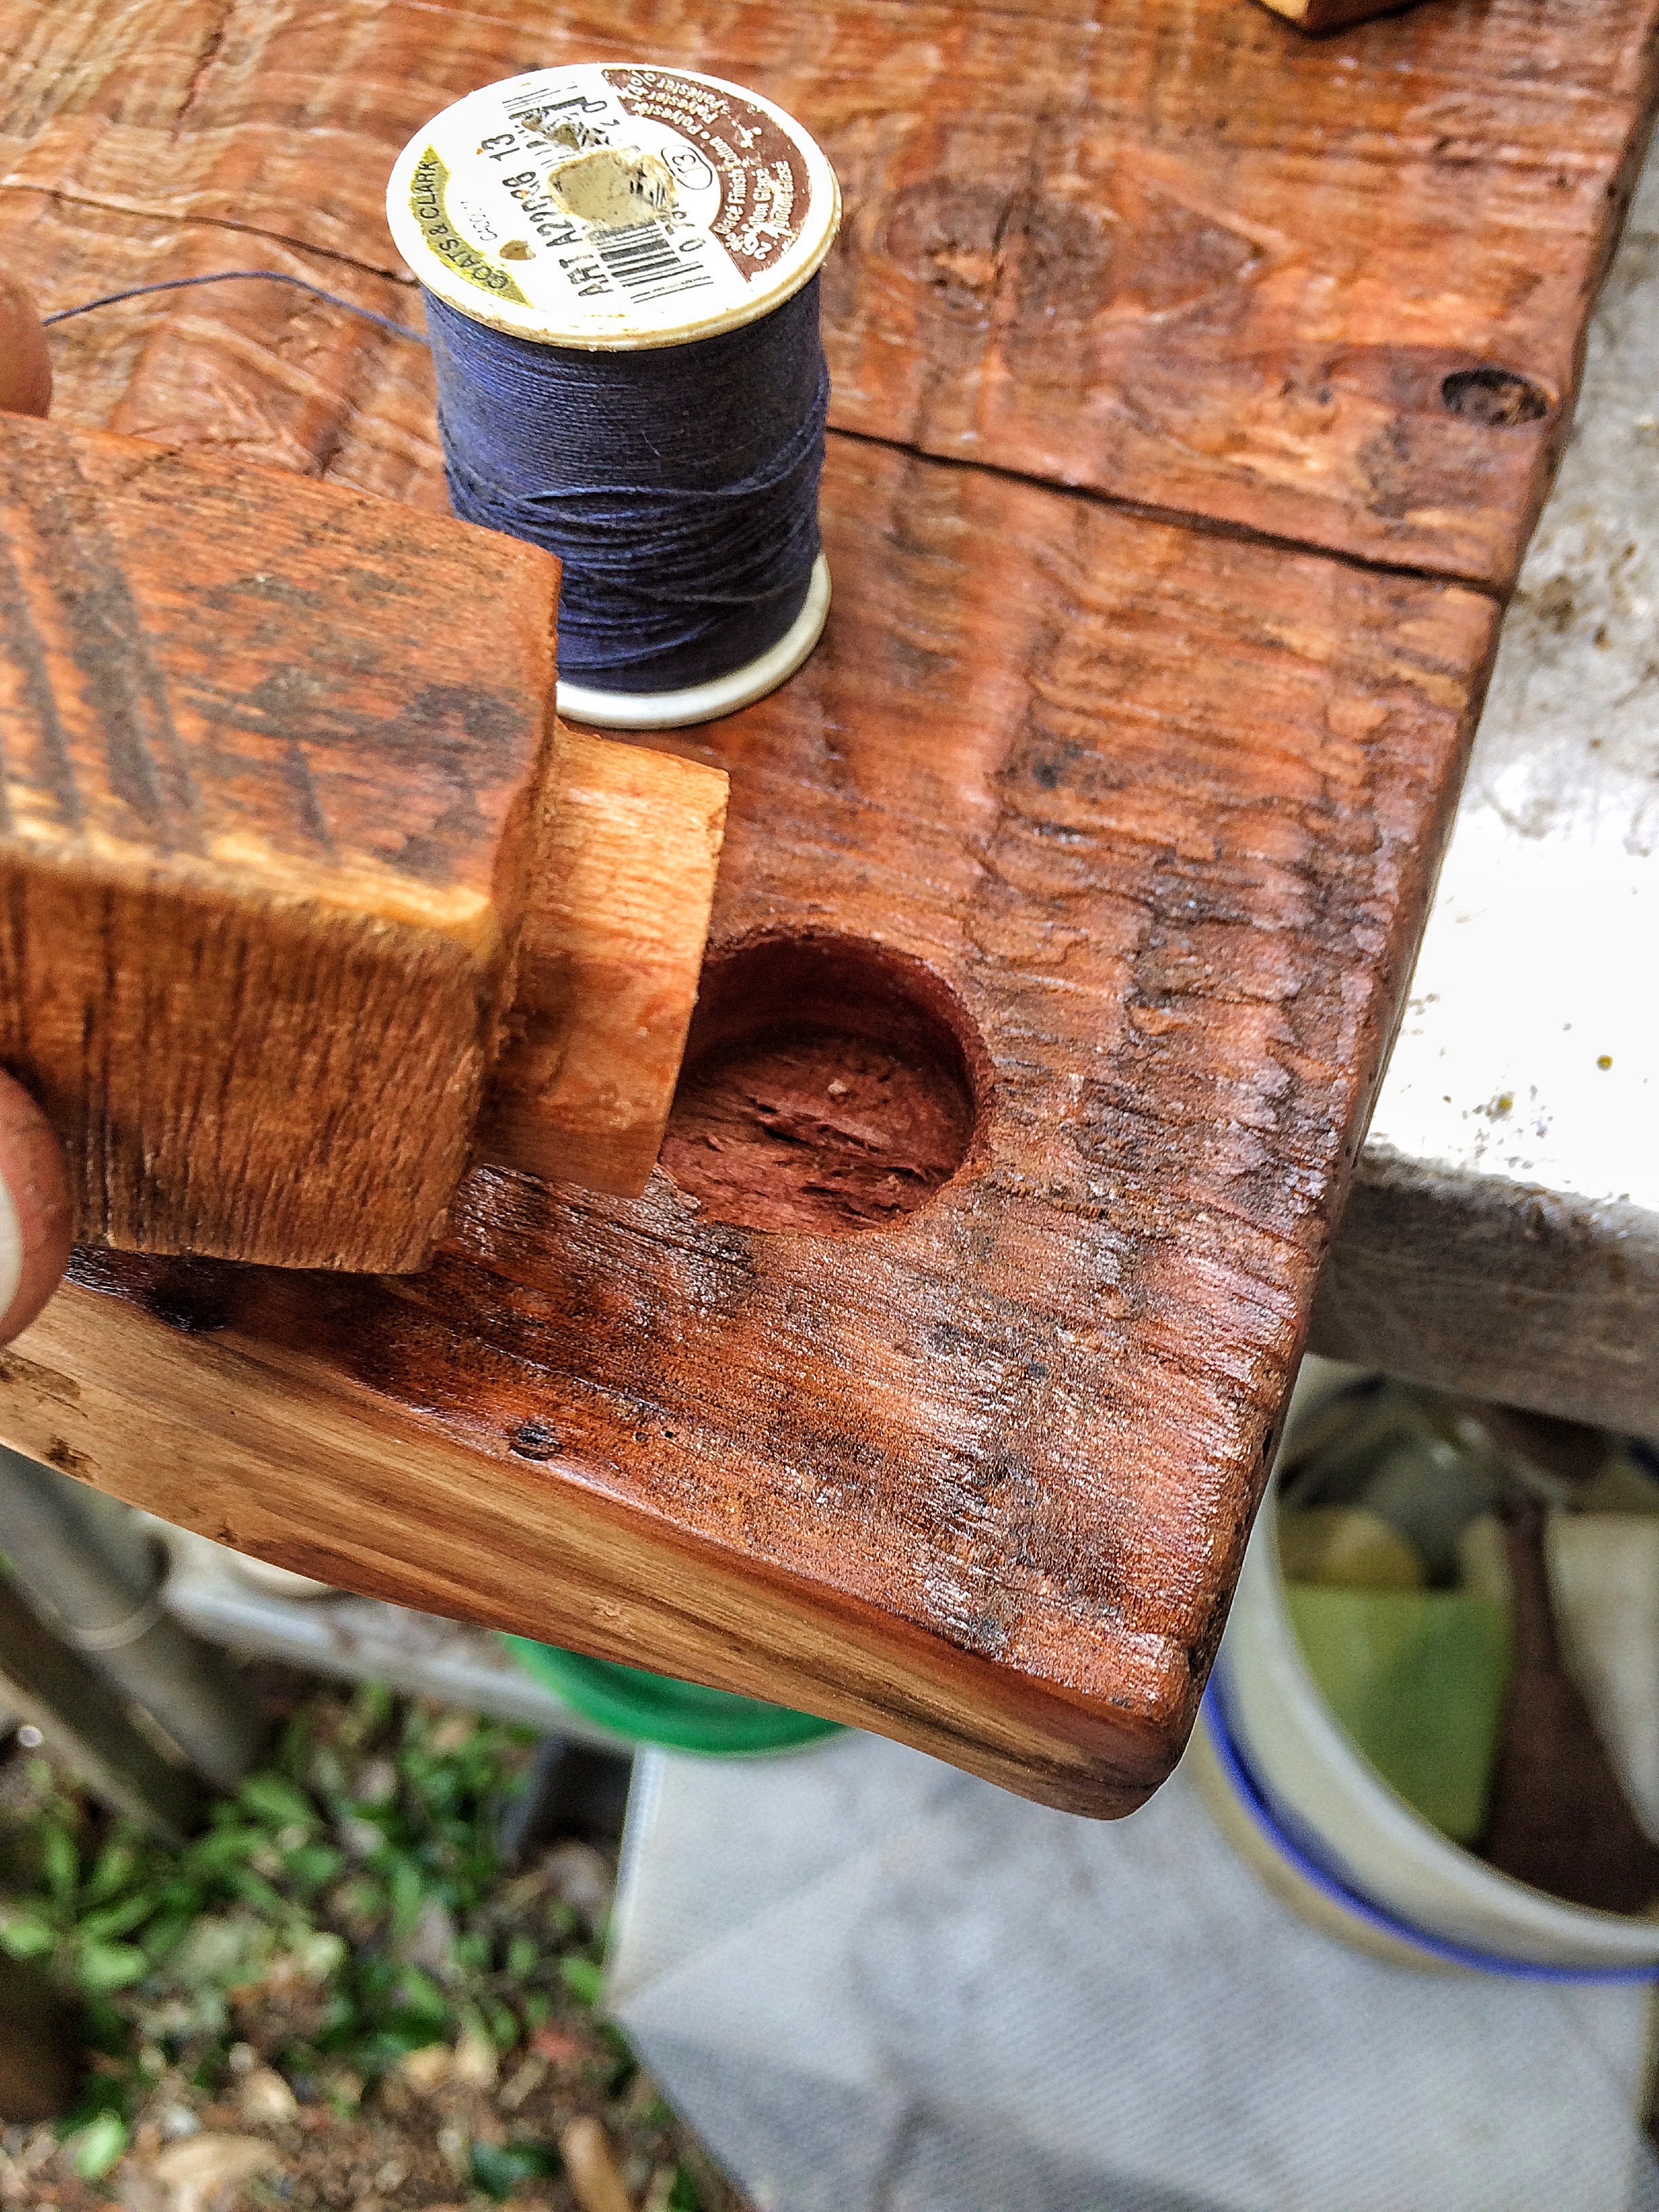
Wrap it around the round peg.
And glue away. How’s it look?
I like it. Oh, and with the tree…

I think it fits. Of course I’m not a display “expert” but, I do think I have some artistic abilities I can bring to the party (it’s gonna be a funky bonsai party if I show up, promise)
Now I just need a companion plant to complete my display……
Any suggestions?

Great Stand Adam! Thank you!
LikeLike
I enjoyed seeing the stand come together. Nice post.
LikeLike
Wow… Outside the box… And looks dam amazing !!! 👍🏻
Would be easy enough for a novice woodworker like me to follow hahaha
LikeLike
The table form works very well with that particular tree. Nice work.
LikeLike
excellent blog as always,alvin brooks
On Mon, Apr 25, 2016 at 10:04 PM, Adams Art and Bonsai Blog wrote:
> adamaskwhy posted: “The 2016 Bonsai Societies of Florida annual convention > is coming up (go here for details, there’s still some room in the > workshops) and I, again, have a tree in the dog and pony sho…aaa, the > exhibit this year so it is, again, time to prepare ” >
LikeLike
An english ivy mame or small cutting may be a good companion?
LikeLike
Reblogged this on Wolf's Birding and Bonsai Blog.
LikeLike
This stand is great! I was thinking about the way that you construct the stands like the one in the very first picture by using an abrasive wheel to remove all the wood between the feet, and I realized something. The far faster and easier way to do that would be to just buy a small length of 1/4 inch dowel from a craft store, then use a 1/4 inch drill bit to make a hole in the bottom of the stand and the top of each foot in the same place (not drilling all the way through, this way the dowels are not visible). Then insert each end of the dowel into the 4 holes drilled part way through the stand and those drilled in their respective places on the feet, and with some glue, they will not ever come apart. Not to mention that it would be a lot less dusty too. Again I am not speaking about the stand in this post, just the ones like in the first picture.
LikeLike
That’s actually a good idea, thanks for sharing
LikeLike
sure
LikeLike