This is a true gem. Not a green gem. Maybe a kinmen or Kemang or Kidman or Kingman, depending on your accent and the English pronunciation of Chinese you prefer. But it’s good.
 You wouldn’t think it’s a gem, from that view.
Or this one.  Methinks I need a bit of divine inspiration to complete this project, because this tea ain’t cuttin’ it, today, for sure.
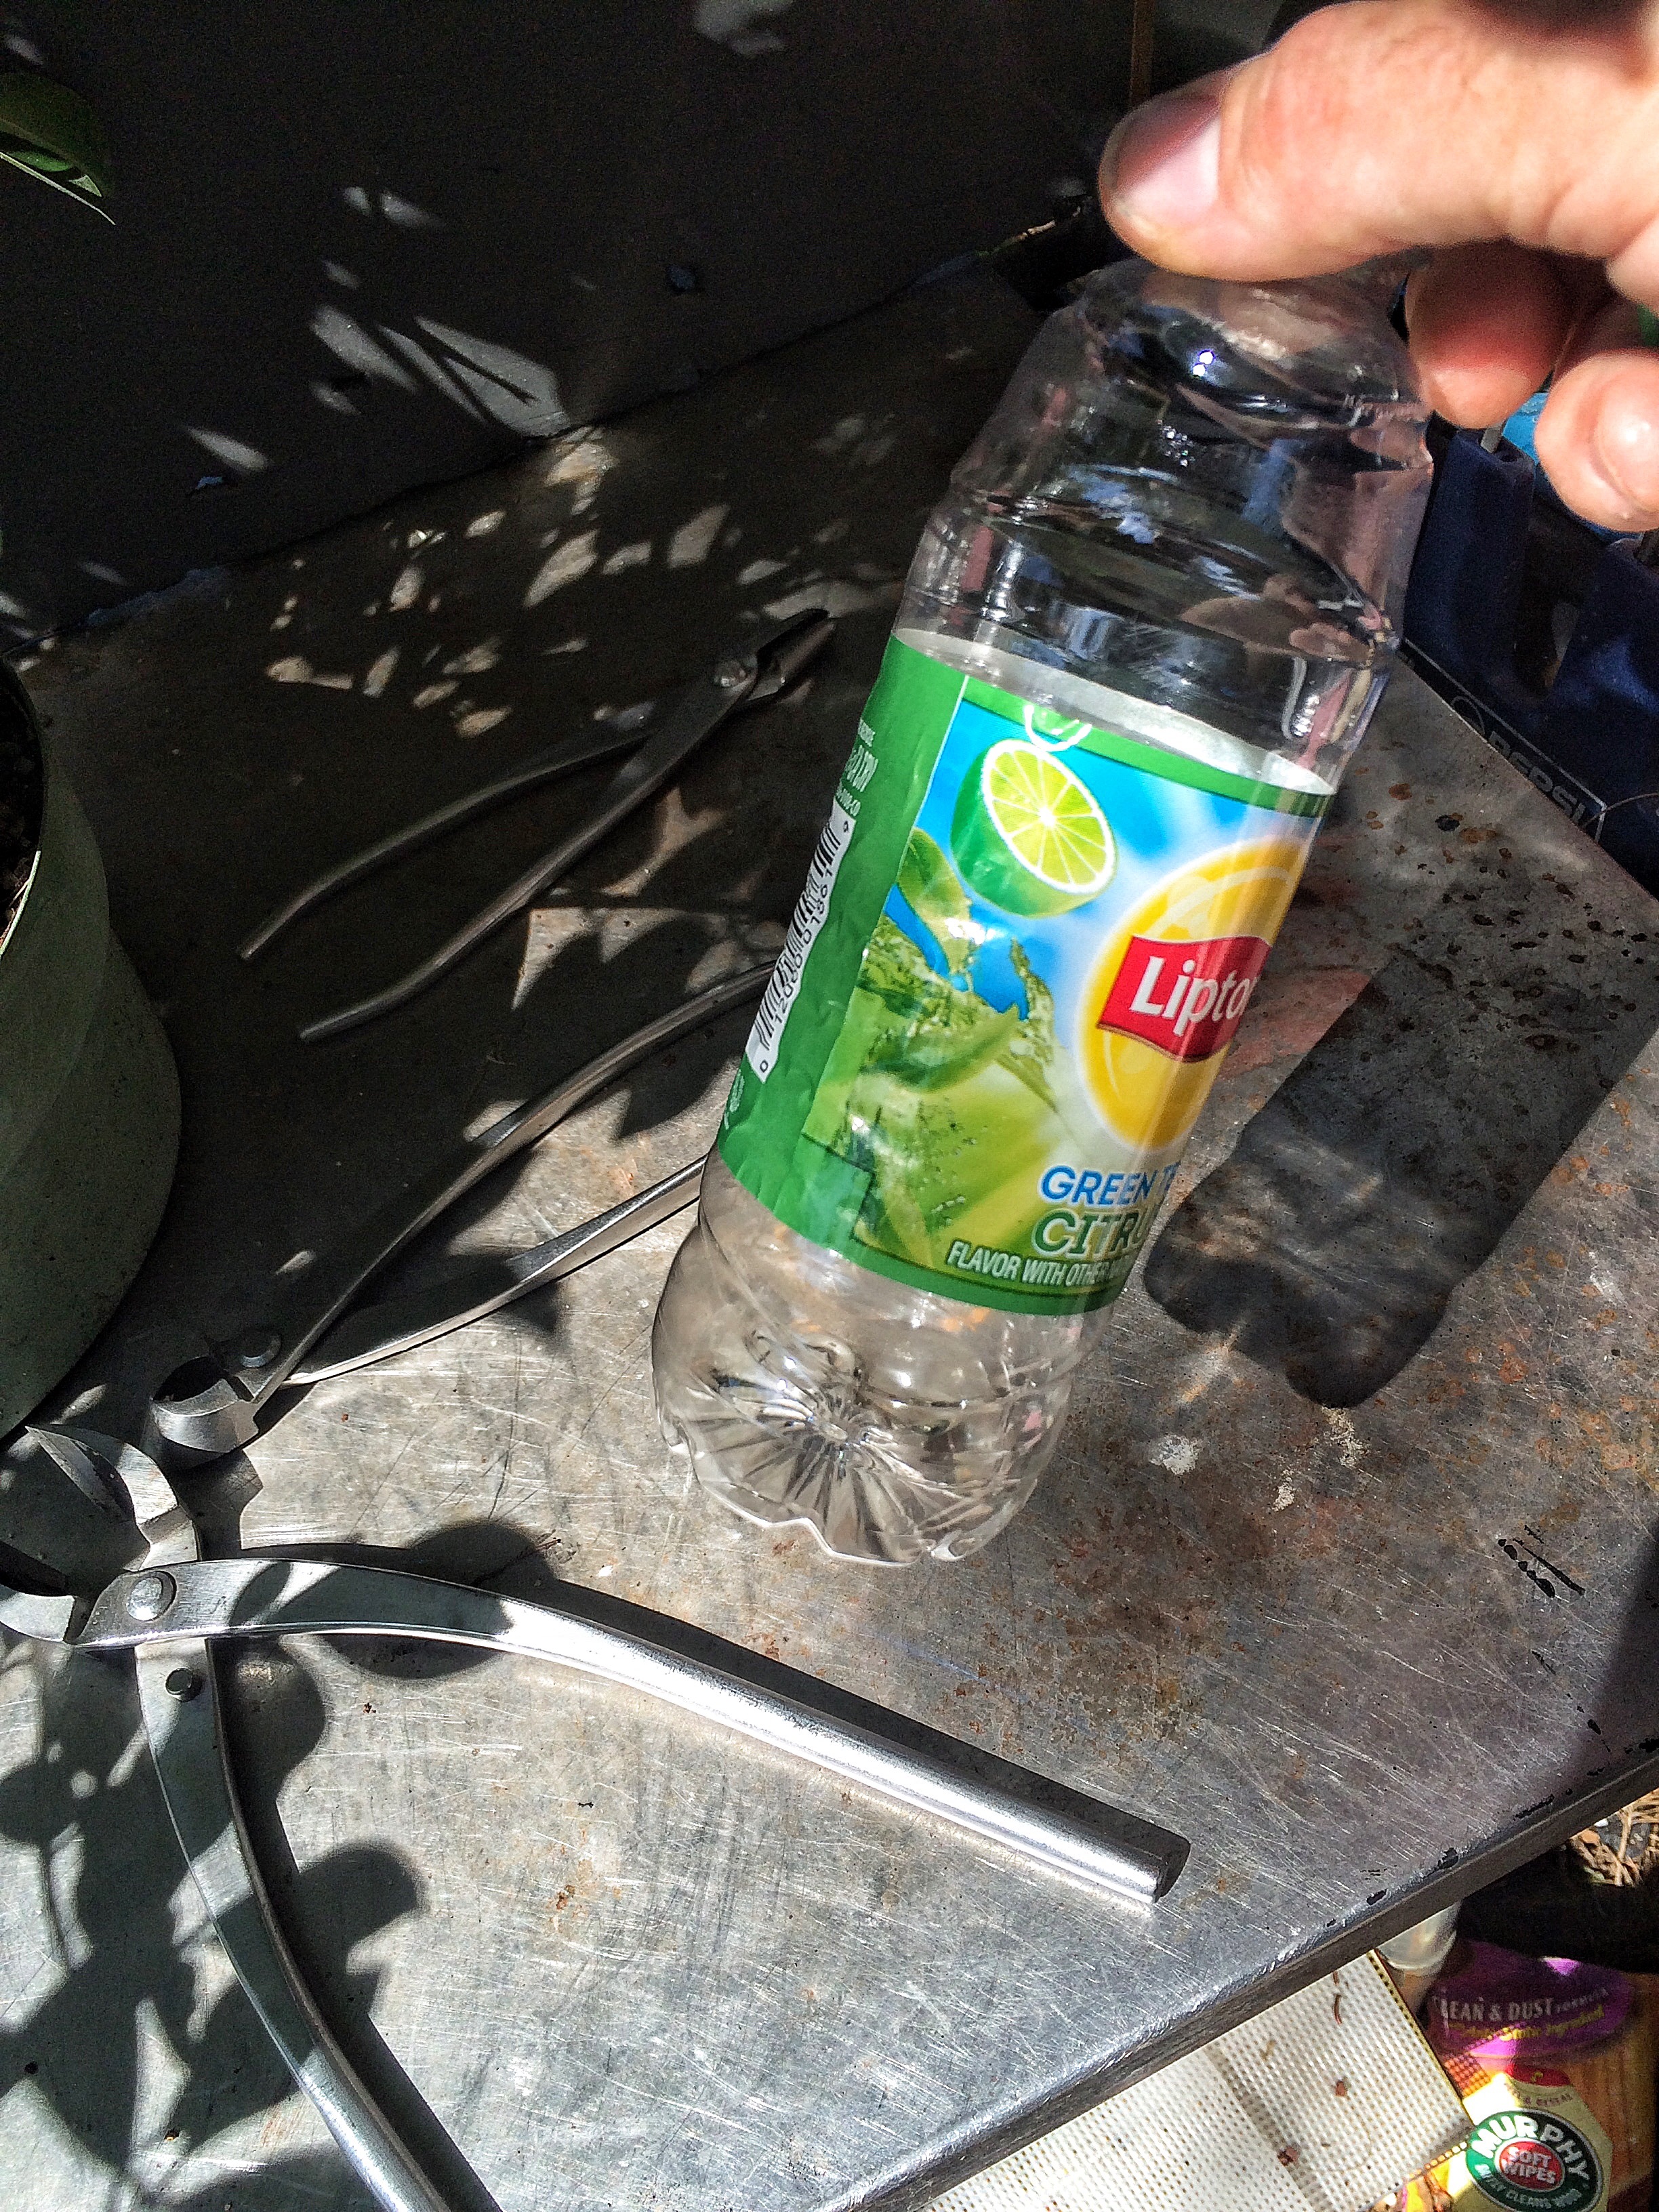
So, like The wise man sayeth, “Beauty is in the eye of the beerholder”  Cowabunga!
Some history on the tree: I originally got it from Old Florida Bonsai in Vero Beach. It was a part of a batch I procured for the Columbus, Ohio club as a part of my Mid-America Tour a few years back (I’ll be seeing you guys and Cincy again mid-June, 2016). No one picked it or bought it, so it came home. I then offered it to the good folks at the Treasure Coast club (I gave them the choice of it or a juniper). They chose the juniper. Weird. And after a trip around the country and down the coast of Florida, and a few years growing in my nursery, I can finally have my way with it.
 What’s funny is that, as long as I’ve had it, I’ve never really looked at it. I knew it had potential, else I wouldn’t have picked it out.
  My first task is to find the front.
 The style will obviously be a banyan. Which means that the front is a little harder to discern than with a single trunked tree. The usual main identifier is the width of the roots at the soil line. With a banyan though, we have to take into account the trunks as well (a banyan rarely has a single trunk, a single apex. Usually we treat them as clumps or a small forest). When working with them, the thickest trunk should be the tallest.
 Which is the one on the right. But the roots don’t look that good with it in the front.
I like this…..

The tree is a ficus microcarpa, and that sometimes means branch dieback.
 These are interior branches that are crispy. I could have used them but, alas, no joy.
A banyan will have lower placed, than average, branches. Sometimes even touching the ground. But these two don’t fit.

It looks to me that this was started as maybe four or five cuttings that have grown into each other. It’s a valid technique and sometimes you get good results.
I think this is my front. 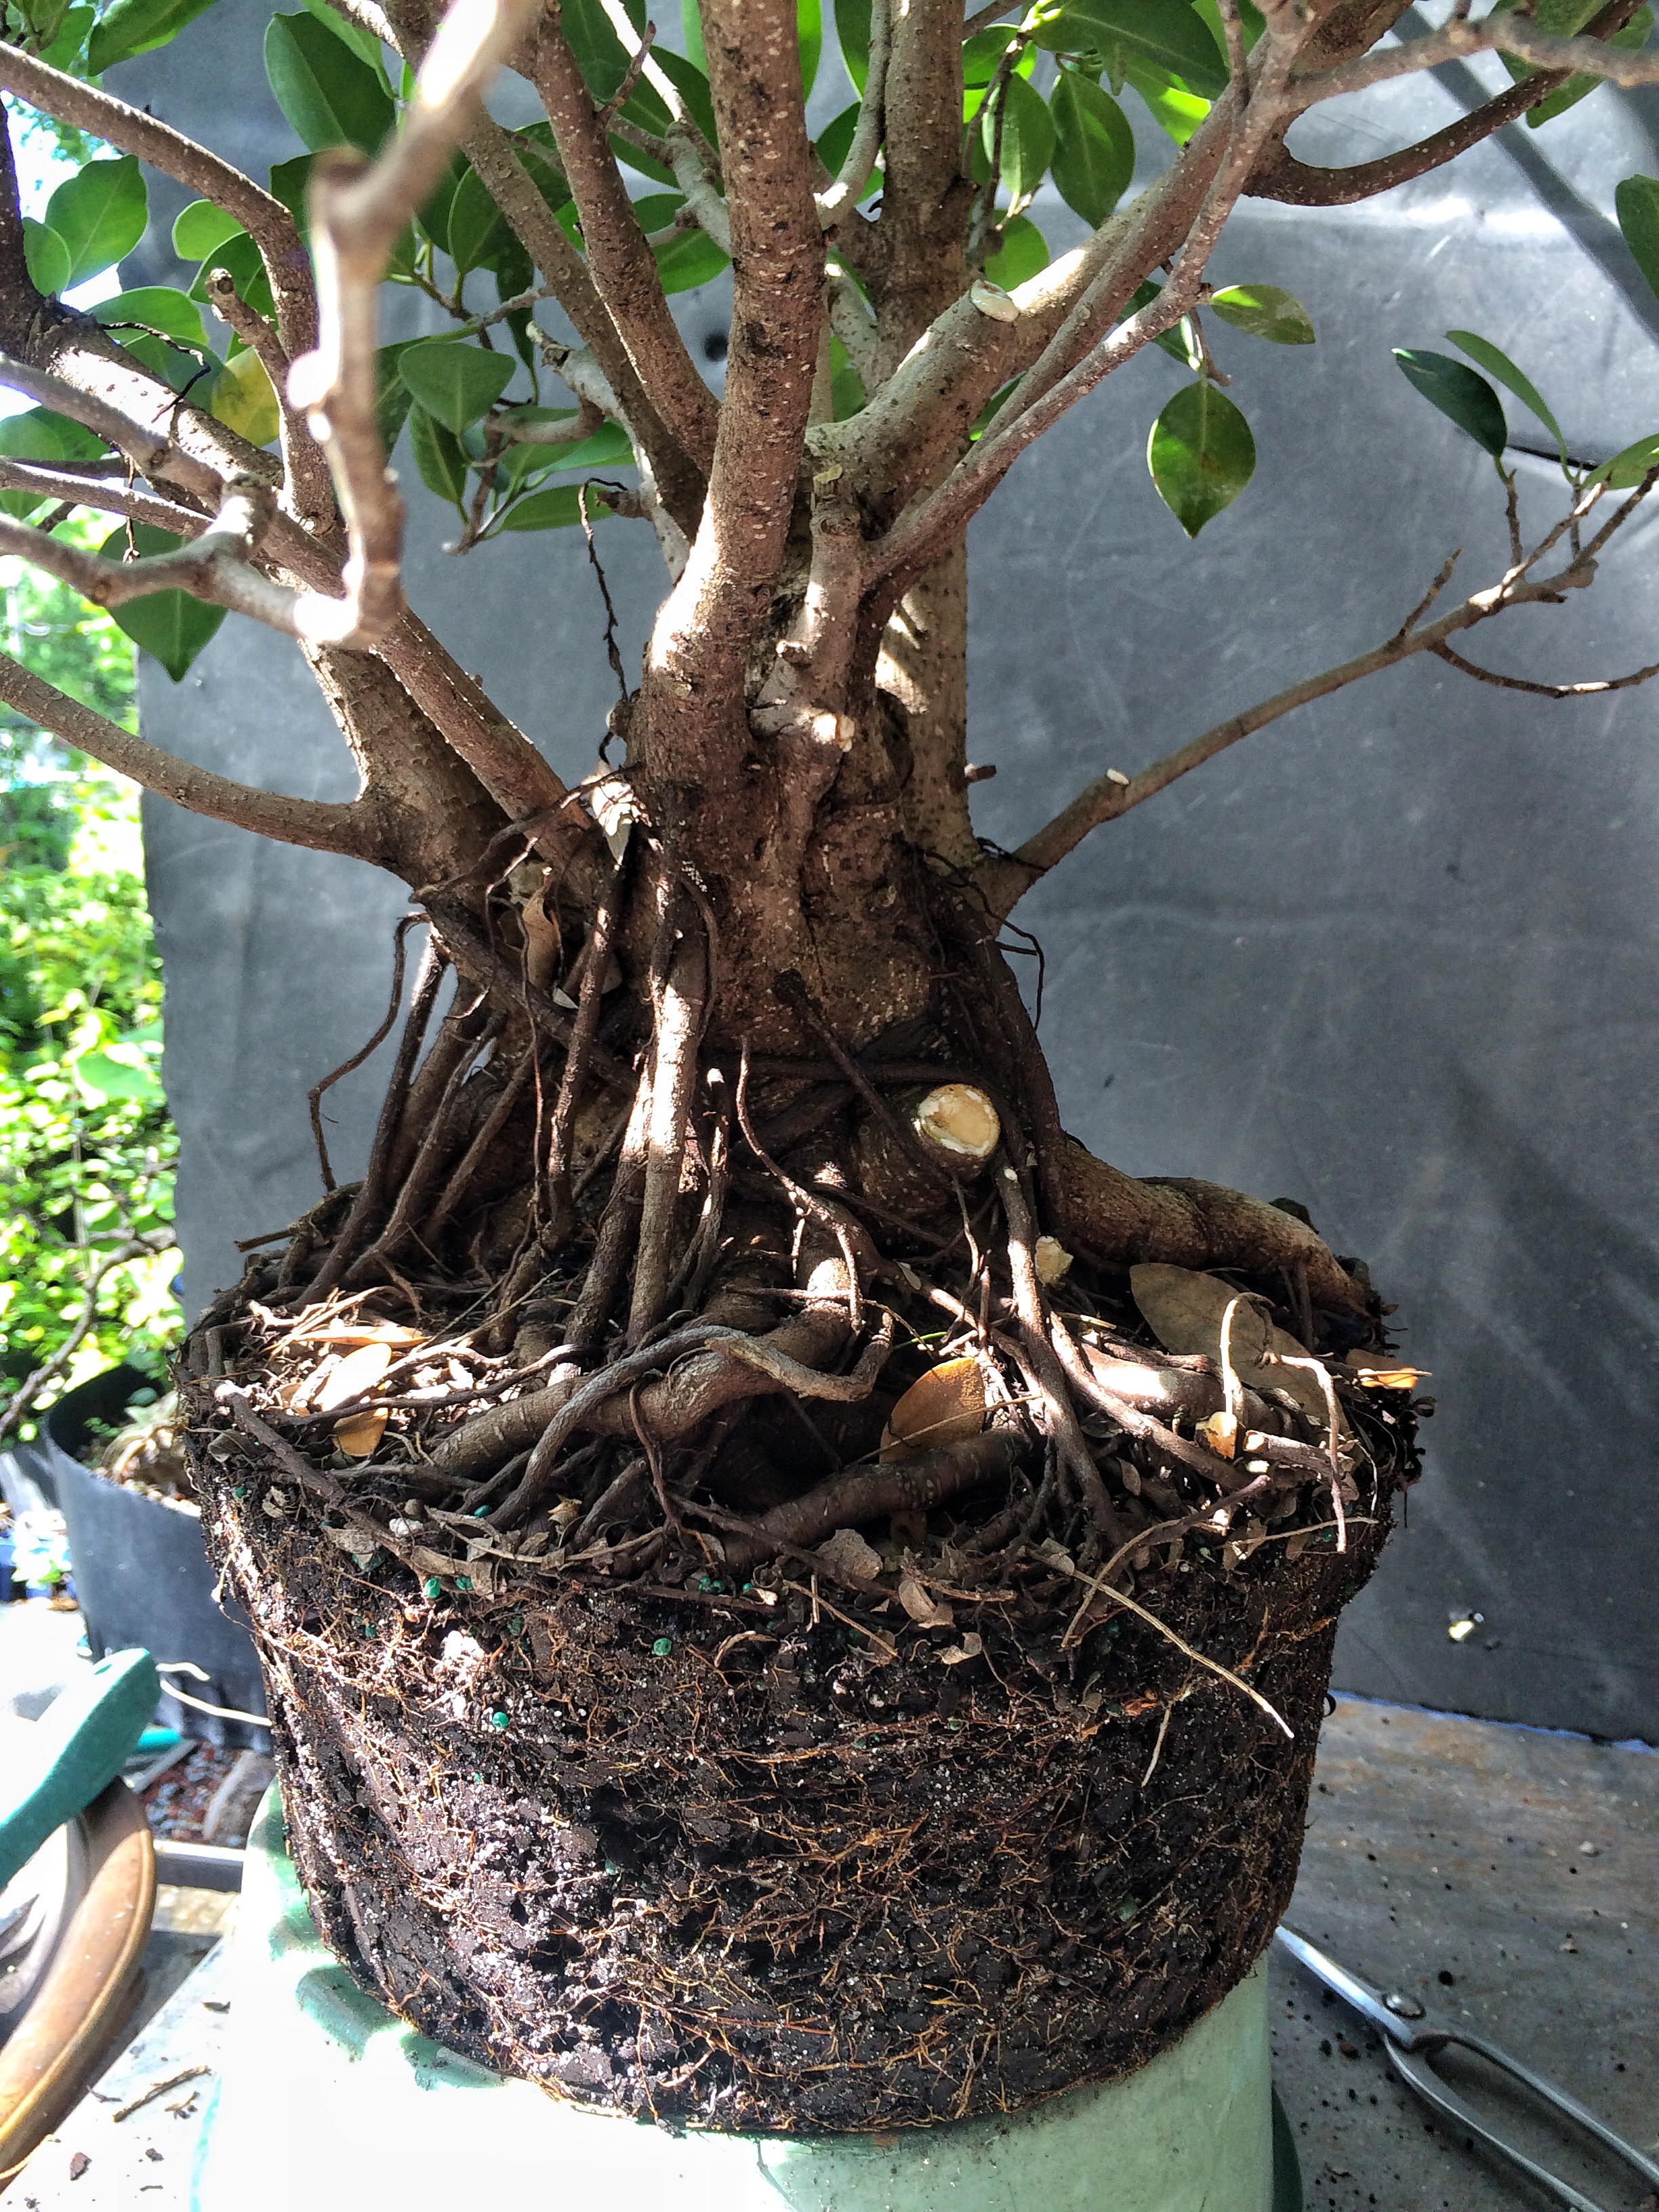
The total height will be about here. 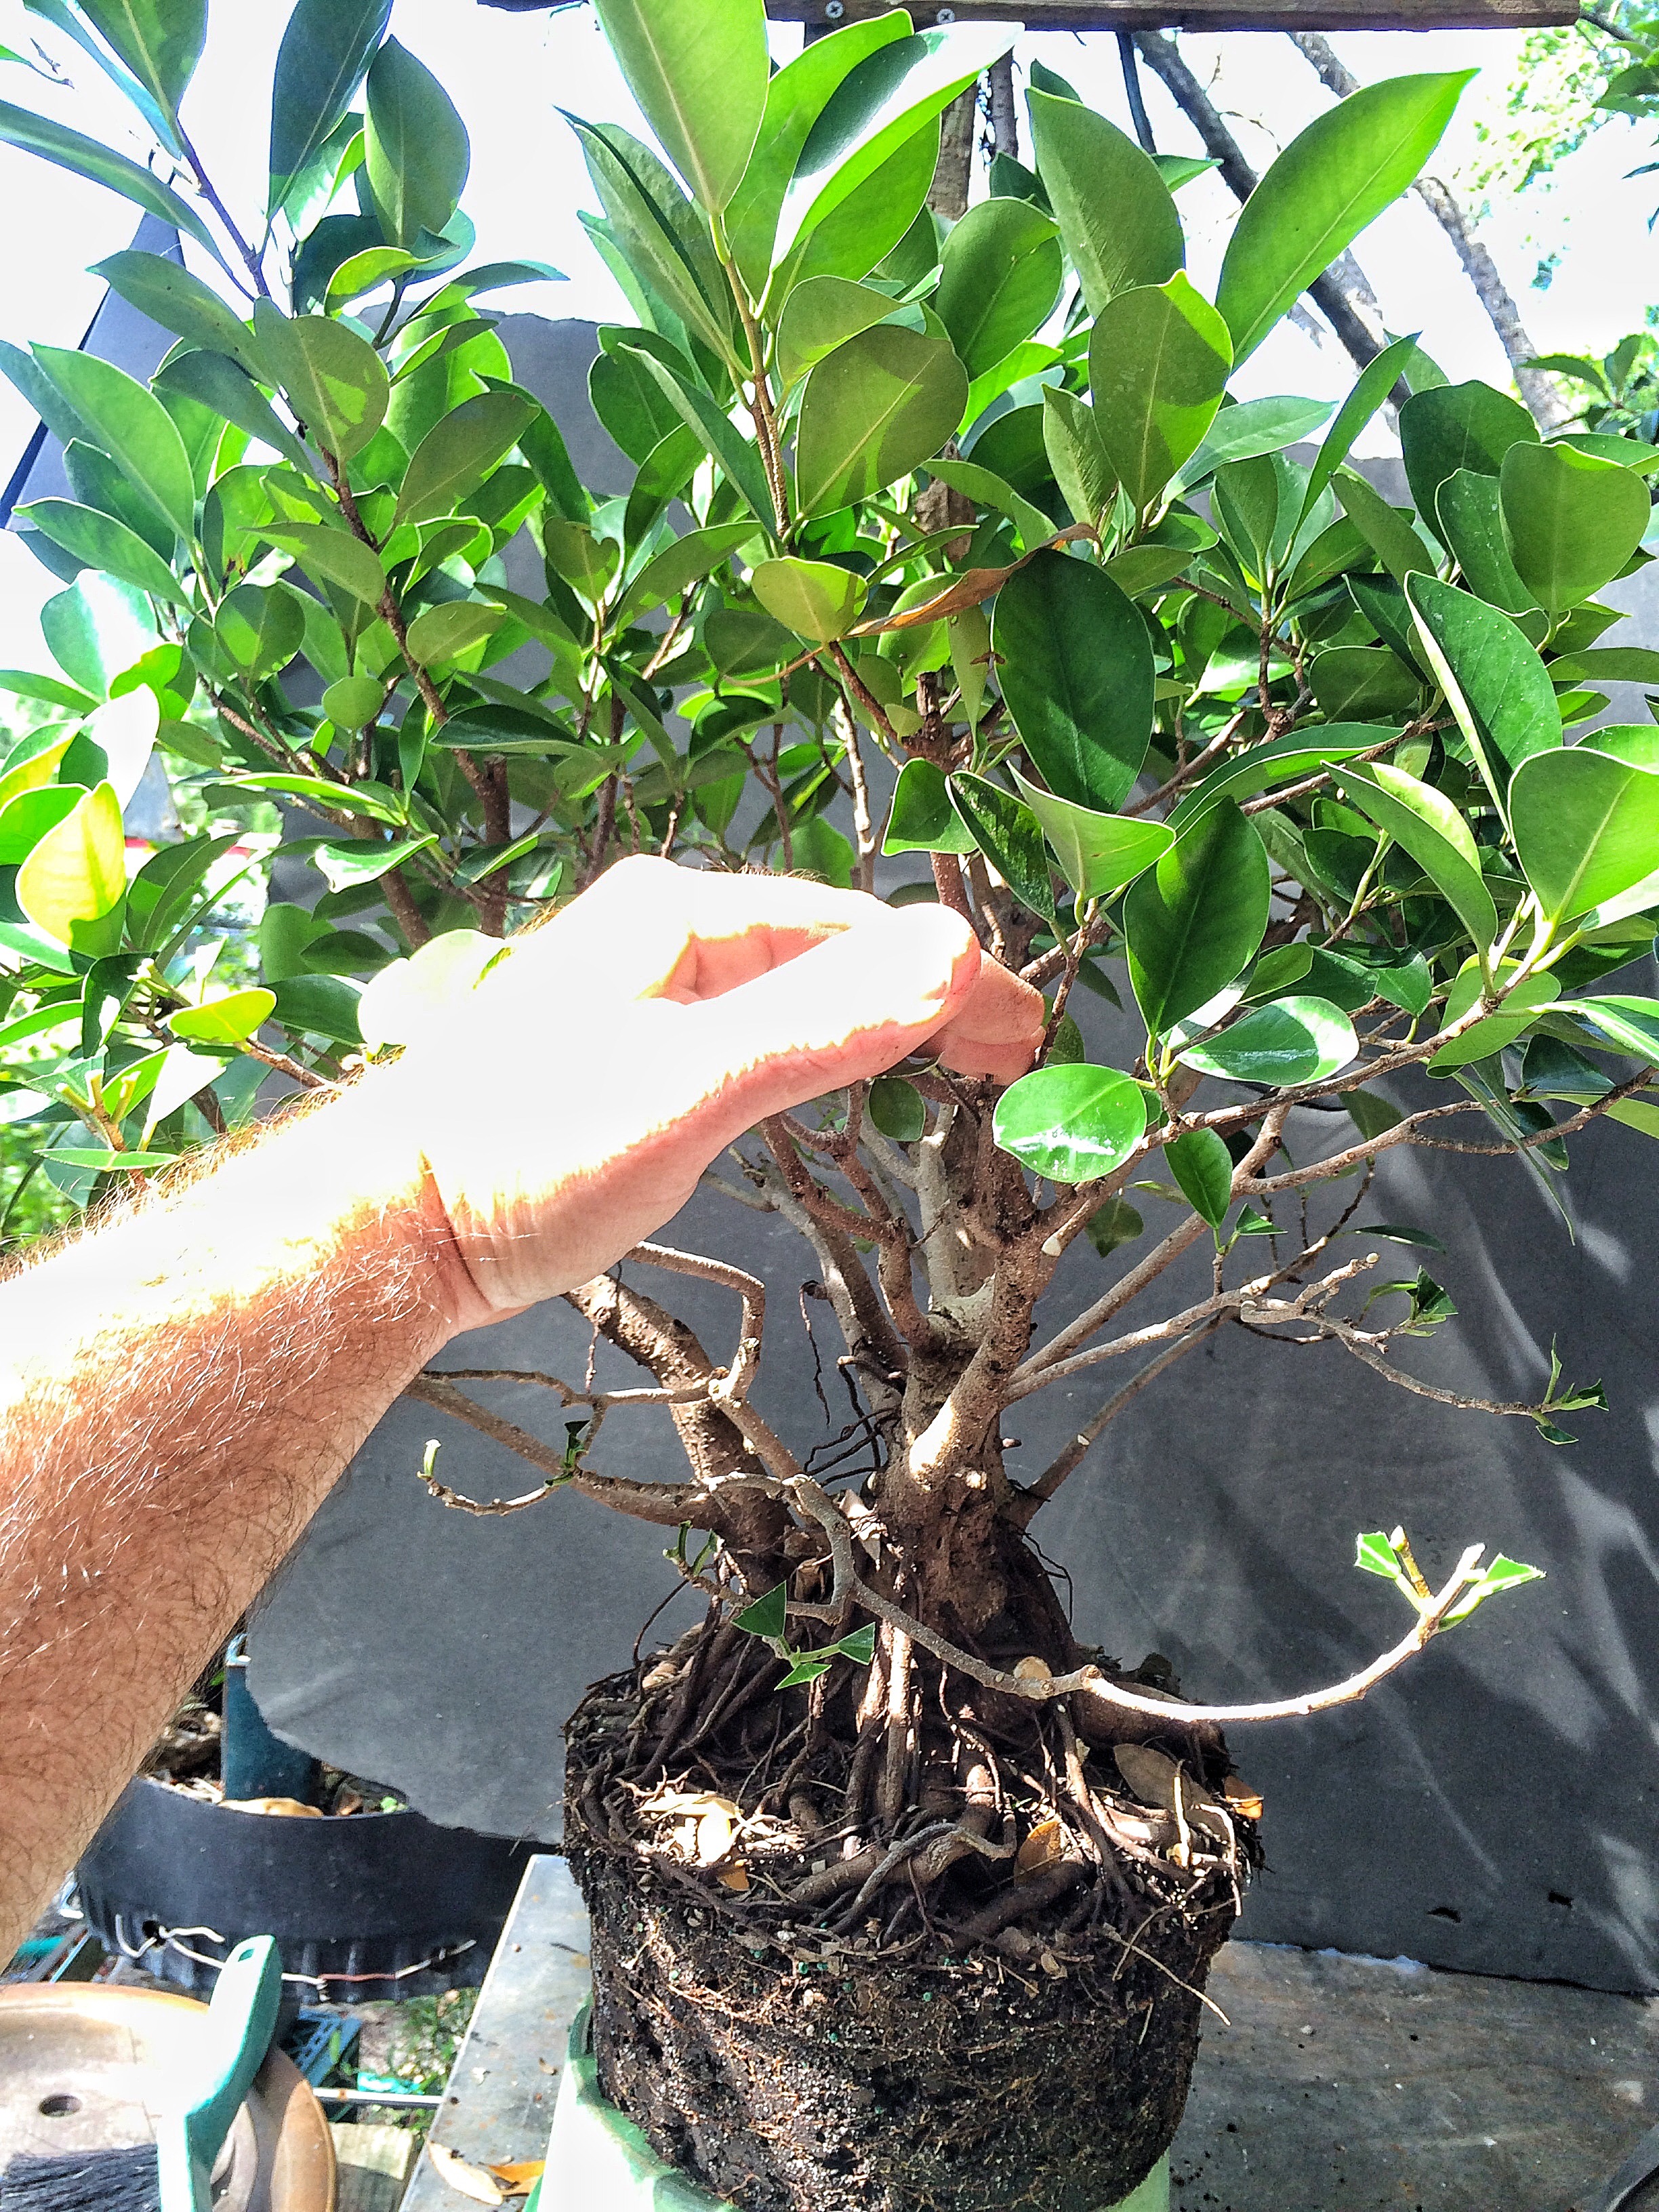
A little preliminary pruning. 
The thickest branch is hidden in the back but it’s still too tall. 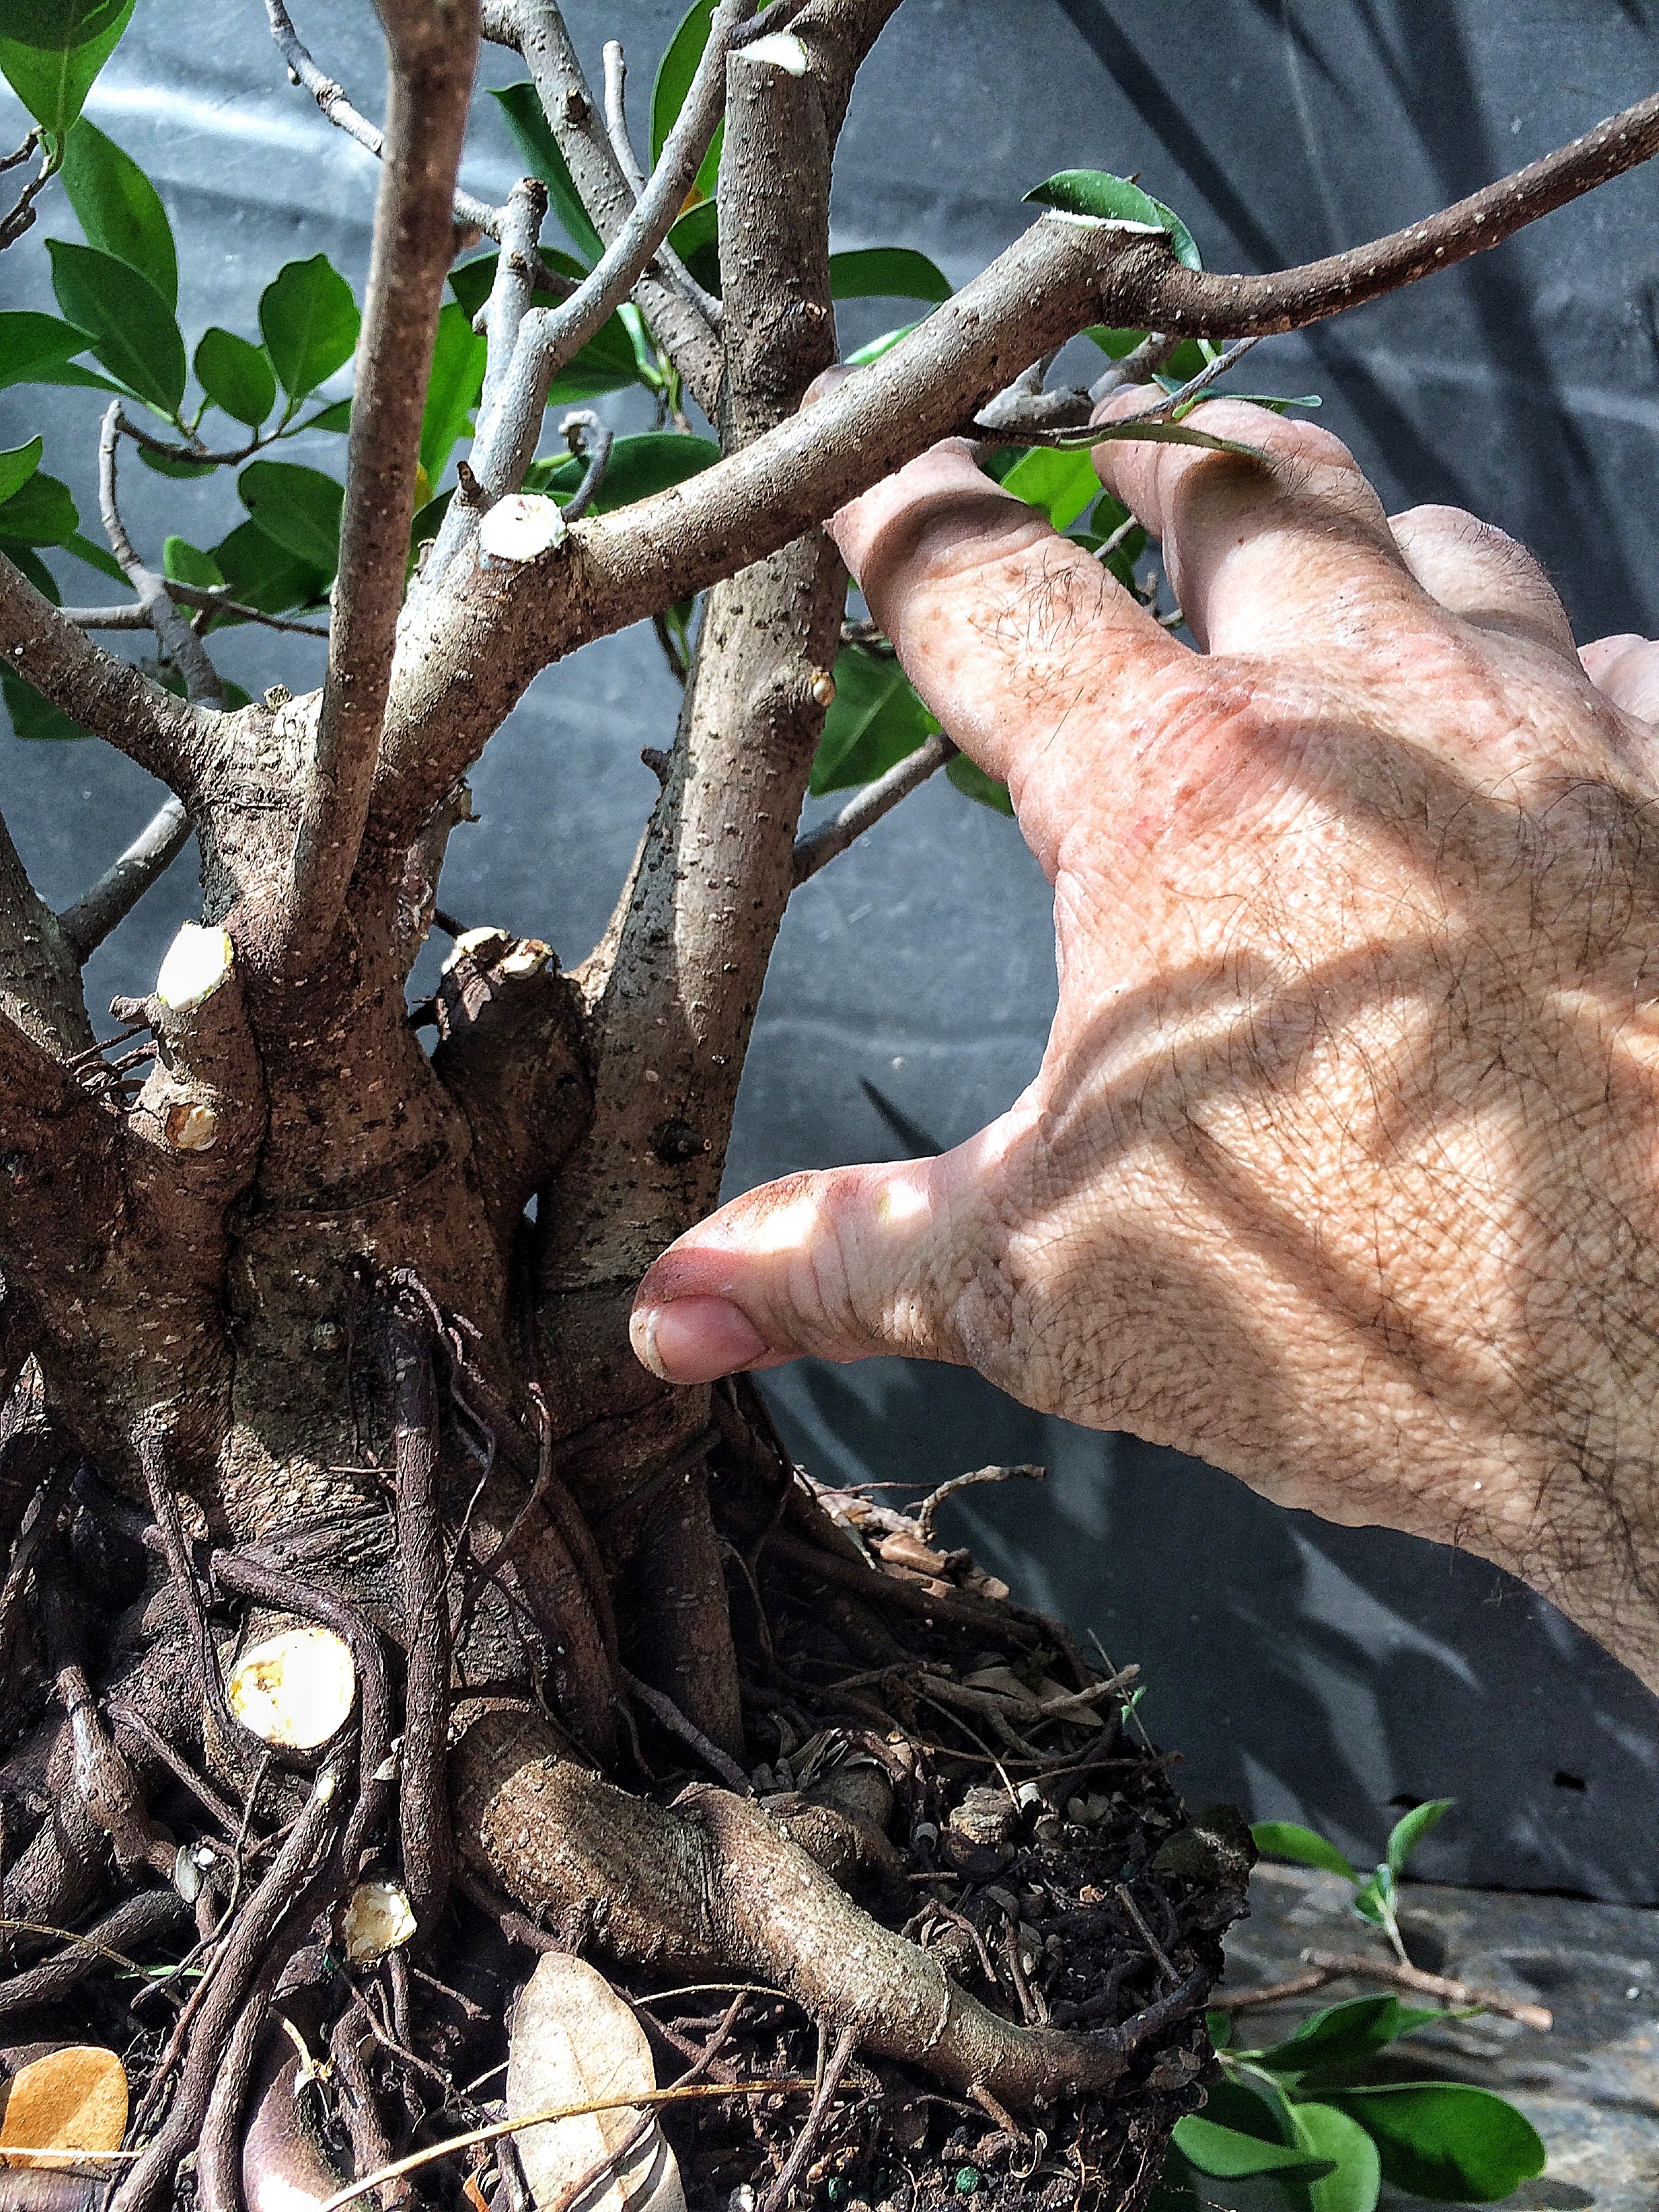 It’s also too straight. Gotta break out the big tools.
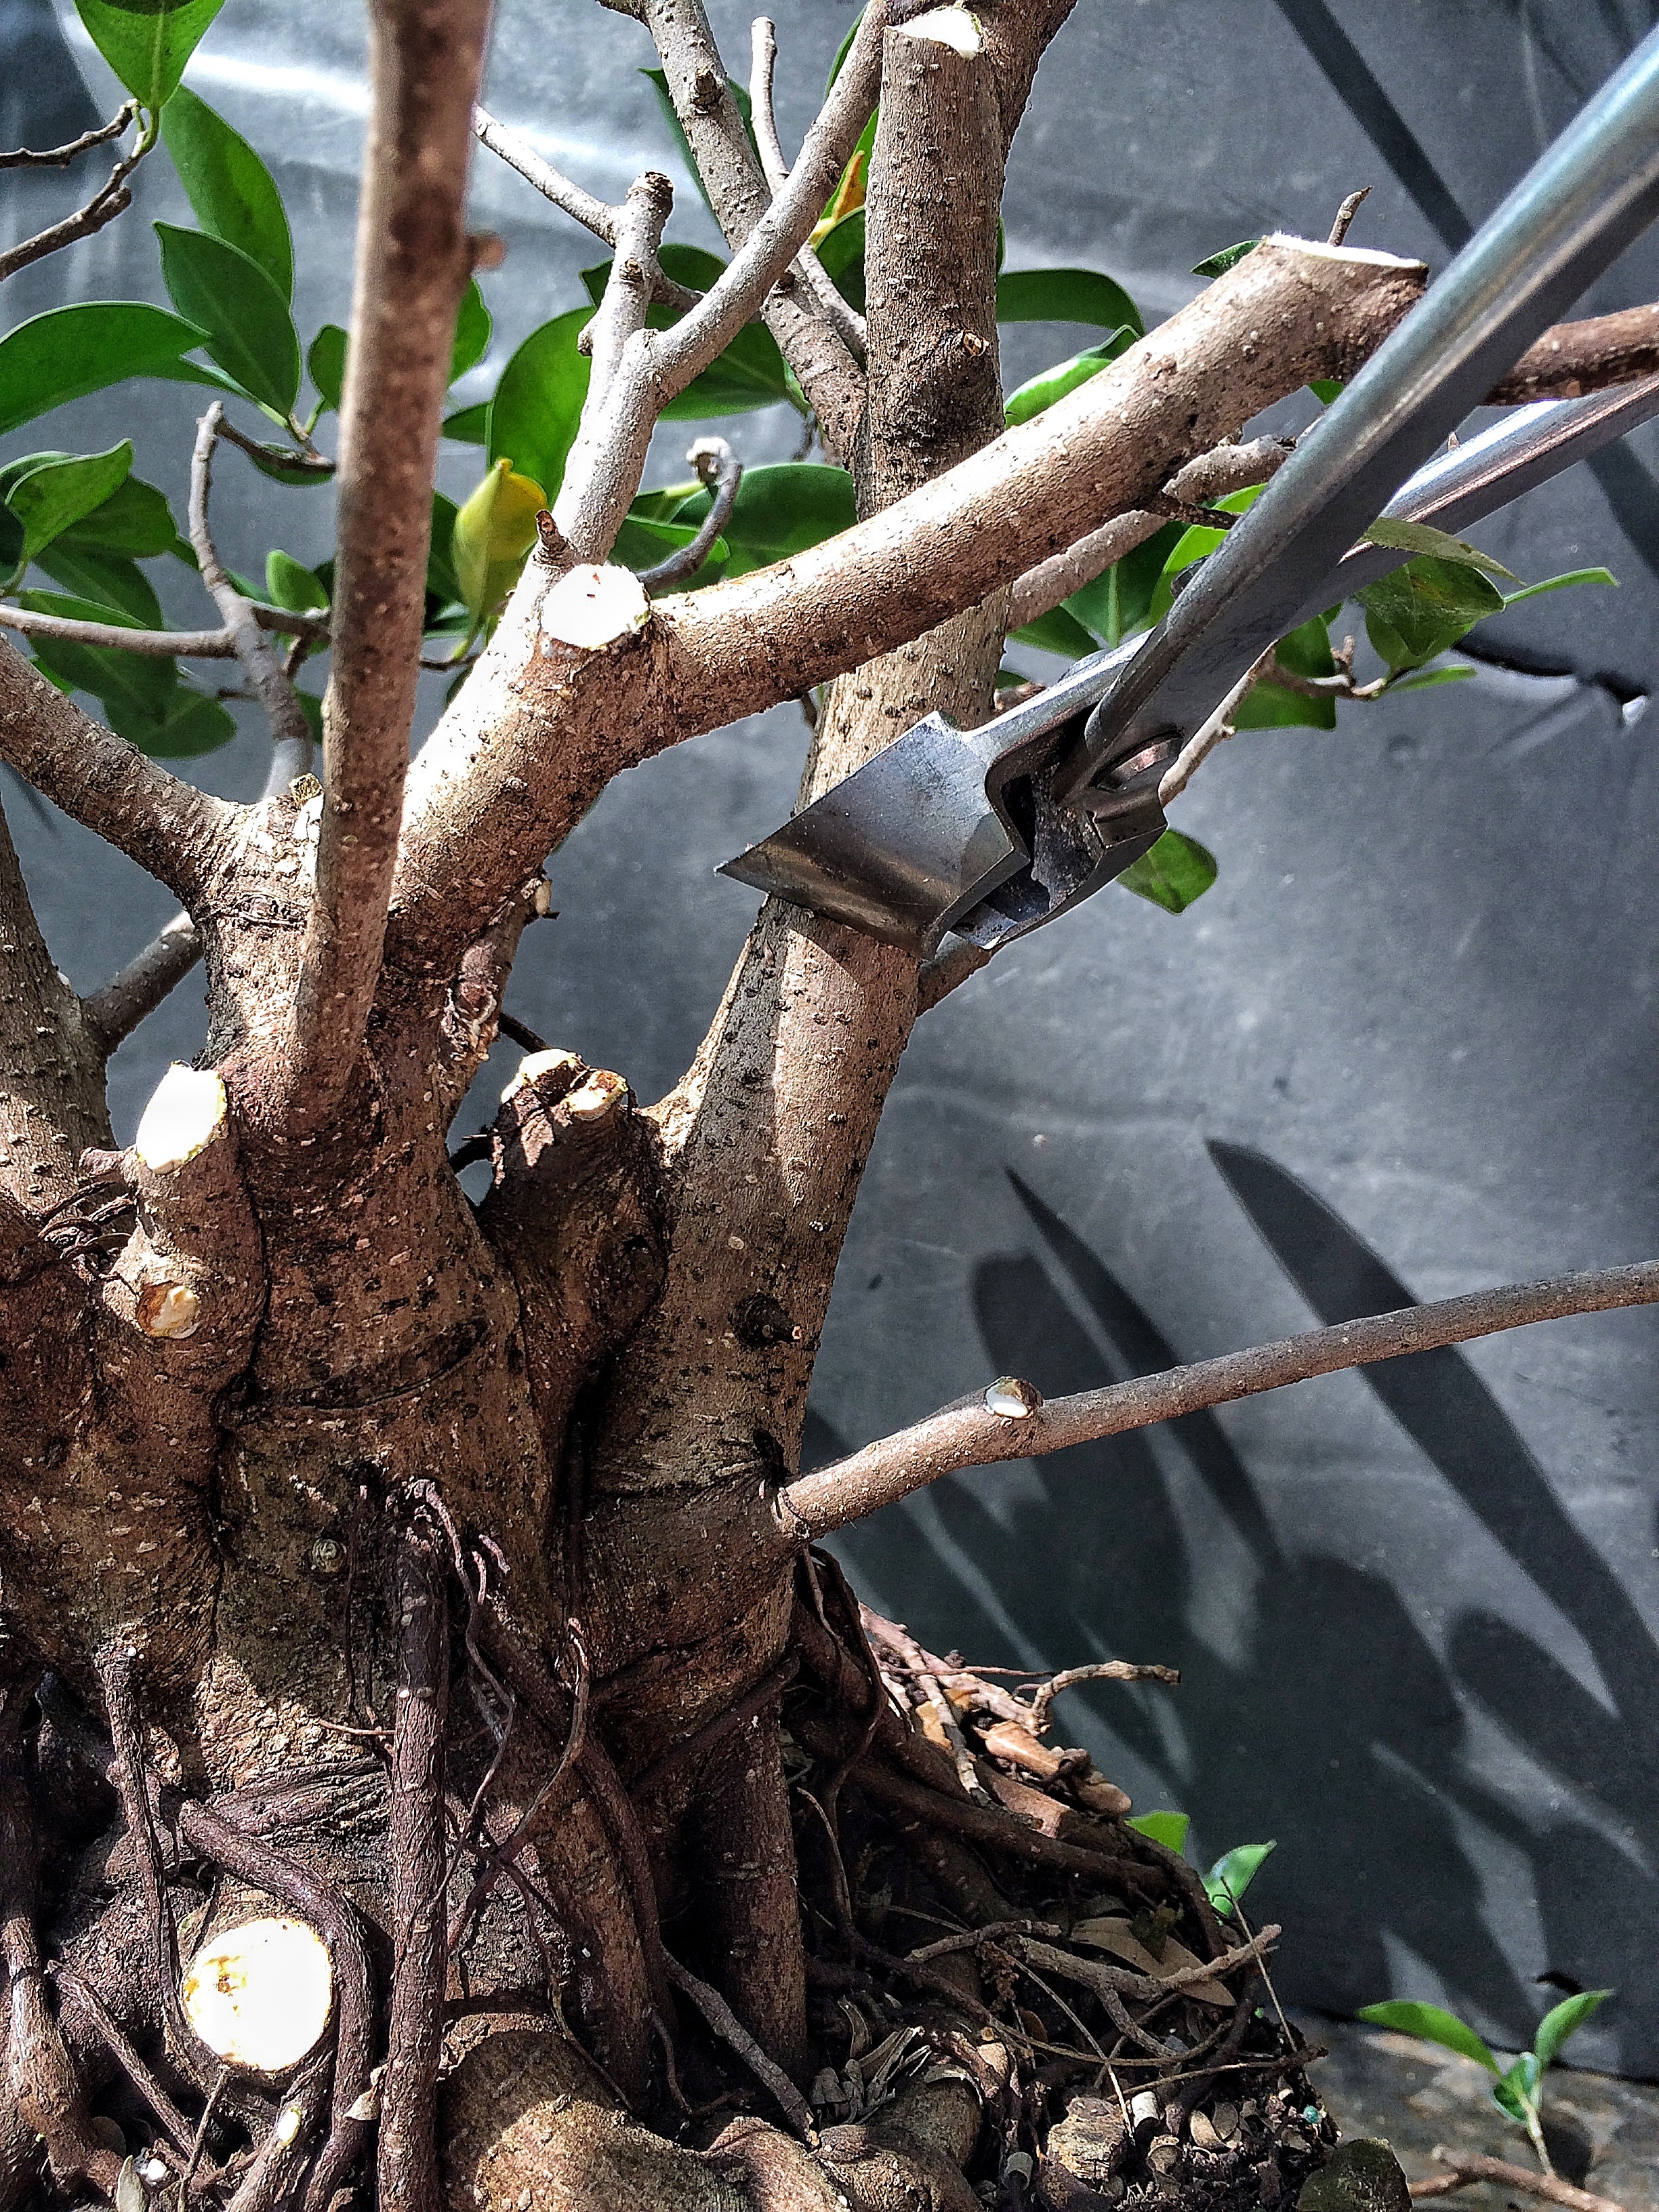
That’s good. That’s the biggest chop I’ll make, and it’s hidden in the back.  Next, to see the tree a little better, some defoliation.

As I’ve been talking about in the last few posts a lot, on the branches I need more growth on, I’ll keep the terminal buds/leaves in tact. 
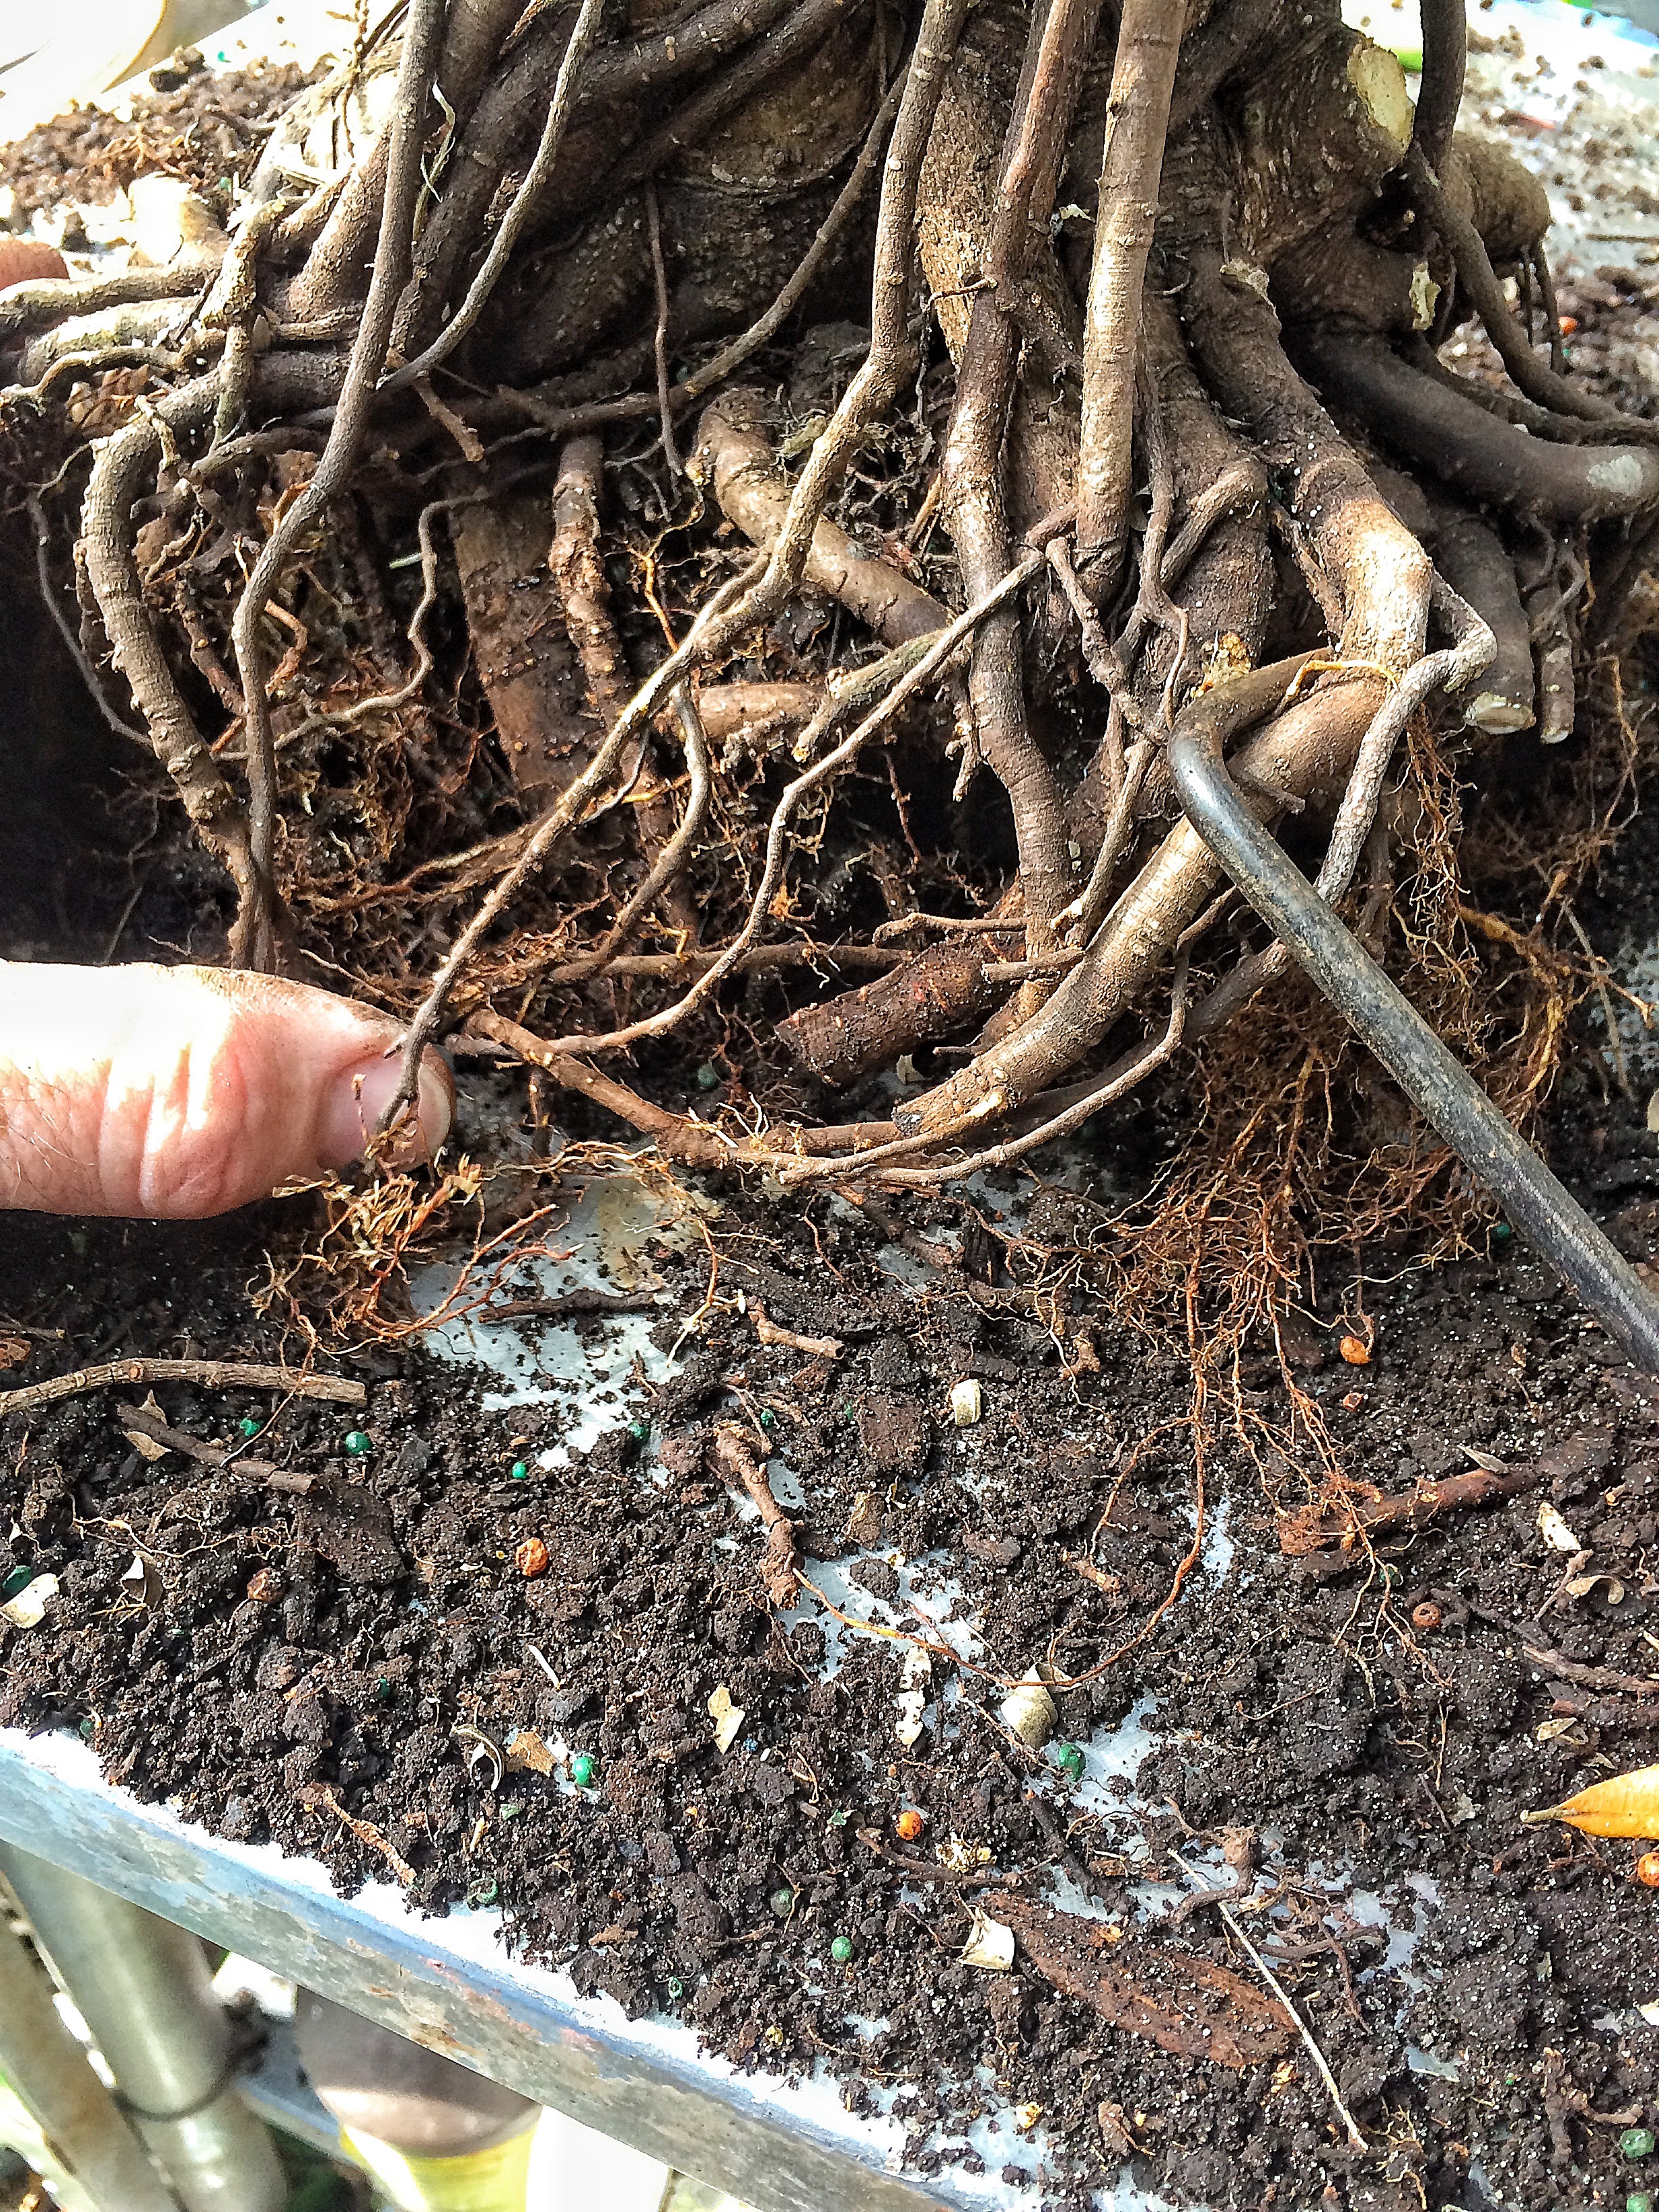
Ok, now the roots.  I know they look cool, to those who can’t grow them, but they need to be simplified a bit. They’ll look better organized and straightened. Here’s an analogy: I’m painting a plein aire landscape but there’s some ugly power lines messing up the flow (composition or movement) of the scene. Simple, don’t put them into the piece. Despite what Bono thinks, every artist is not a camera. We choose what we want to show. That’s where the art part comes in.
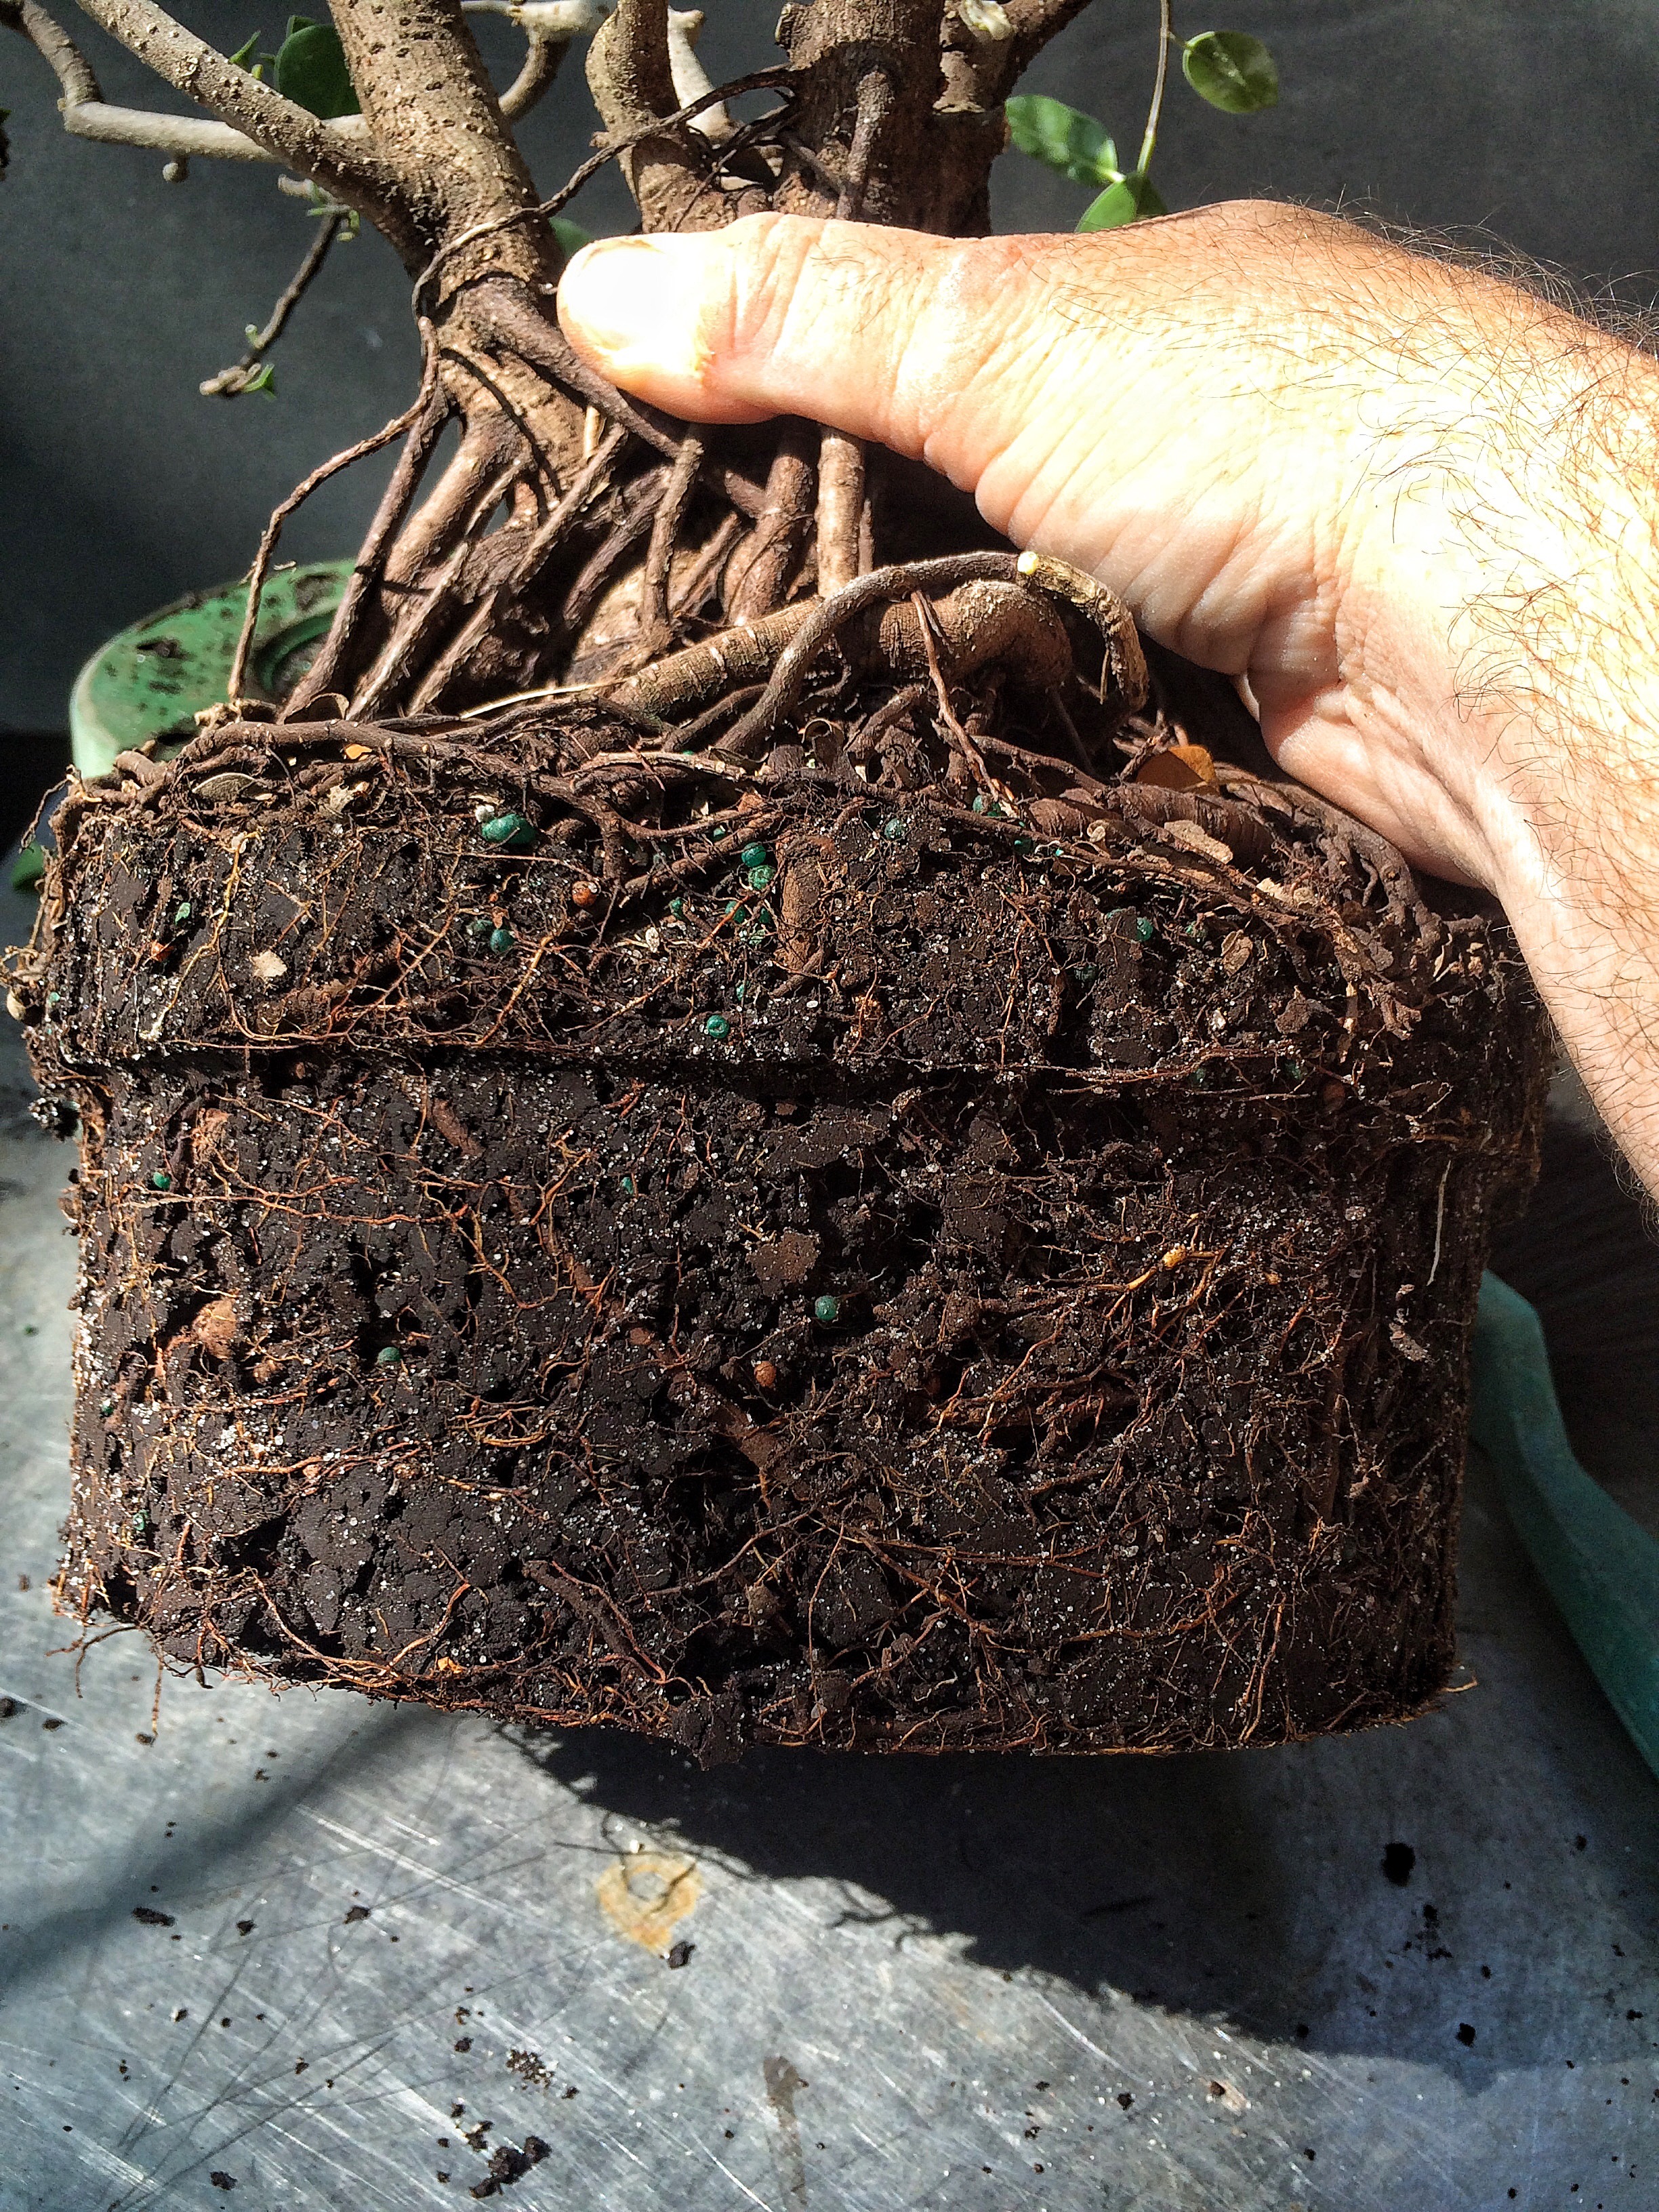 There is the root ball. It’s not often I get to do the next technique, but this trees surface roots are all on the surface (sometimes you have to dig down to find them. Sounds weird, I know). We get the saw out and…
 Here’s a comical link of the process.
Then it’s just a matter of raking, washing, combing, straightening and chopping. Like your average sorority sleep over. 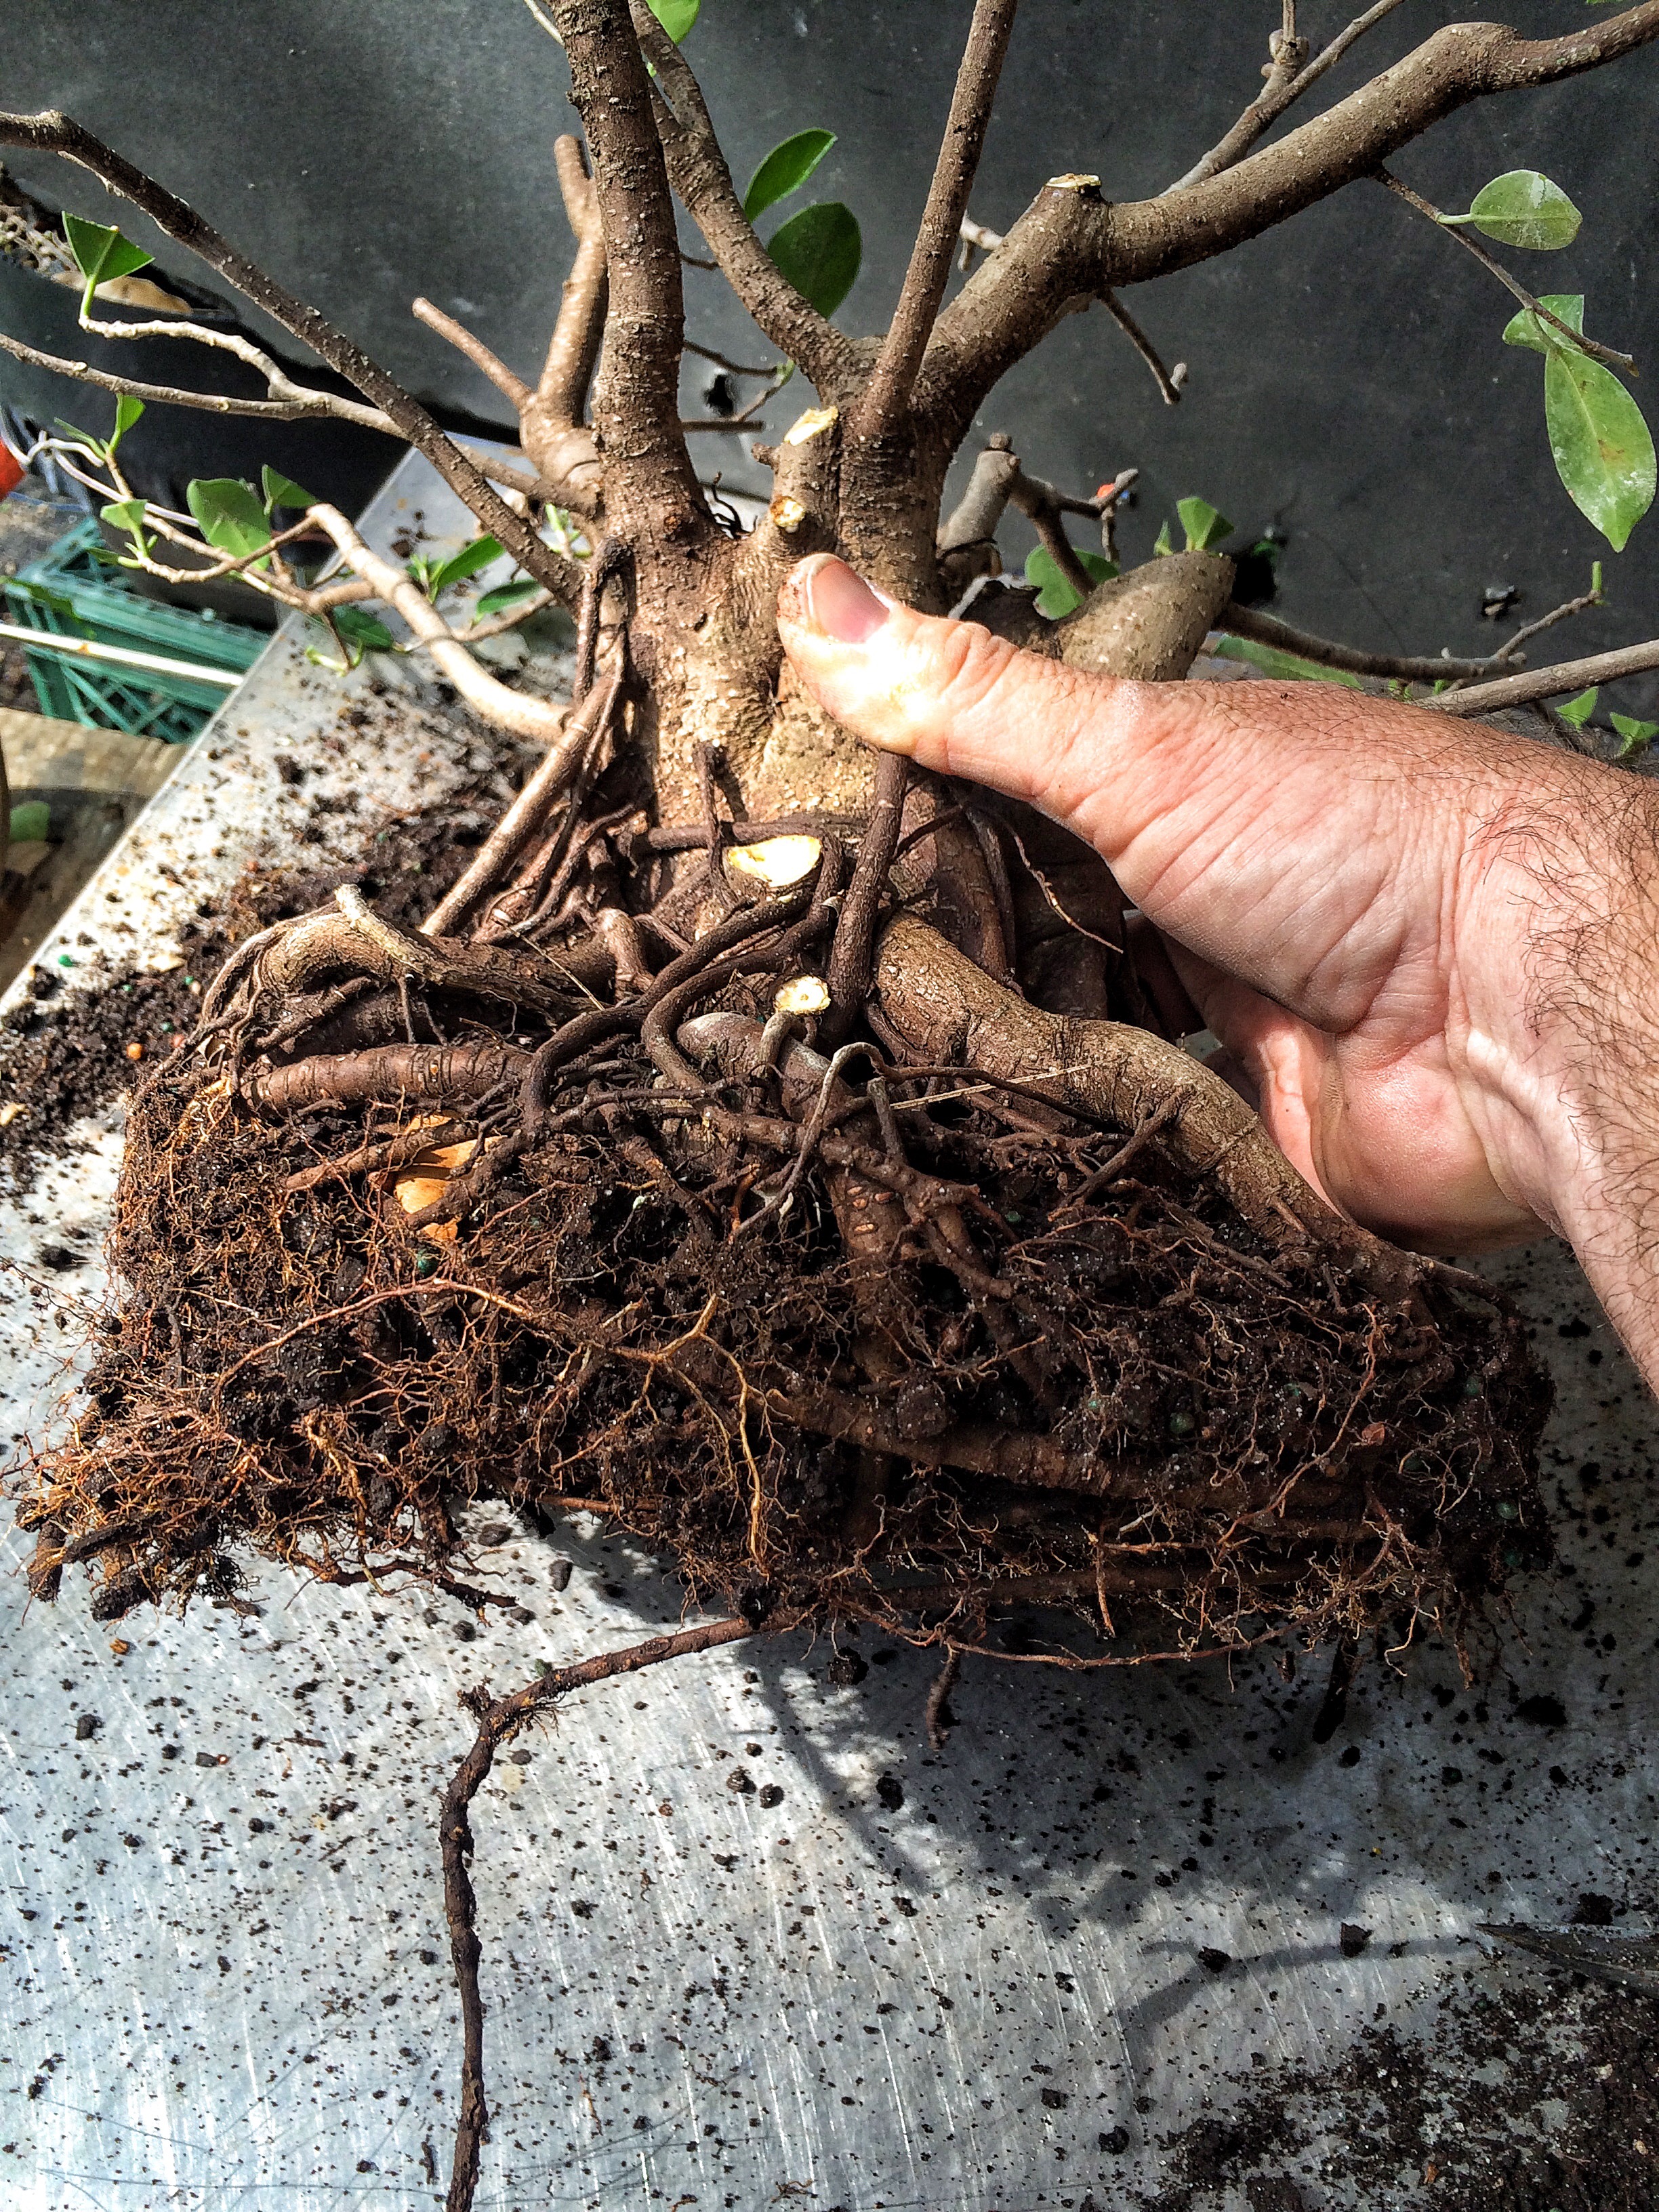
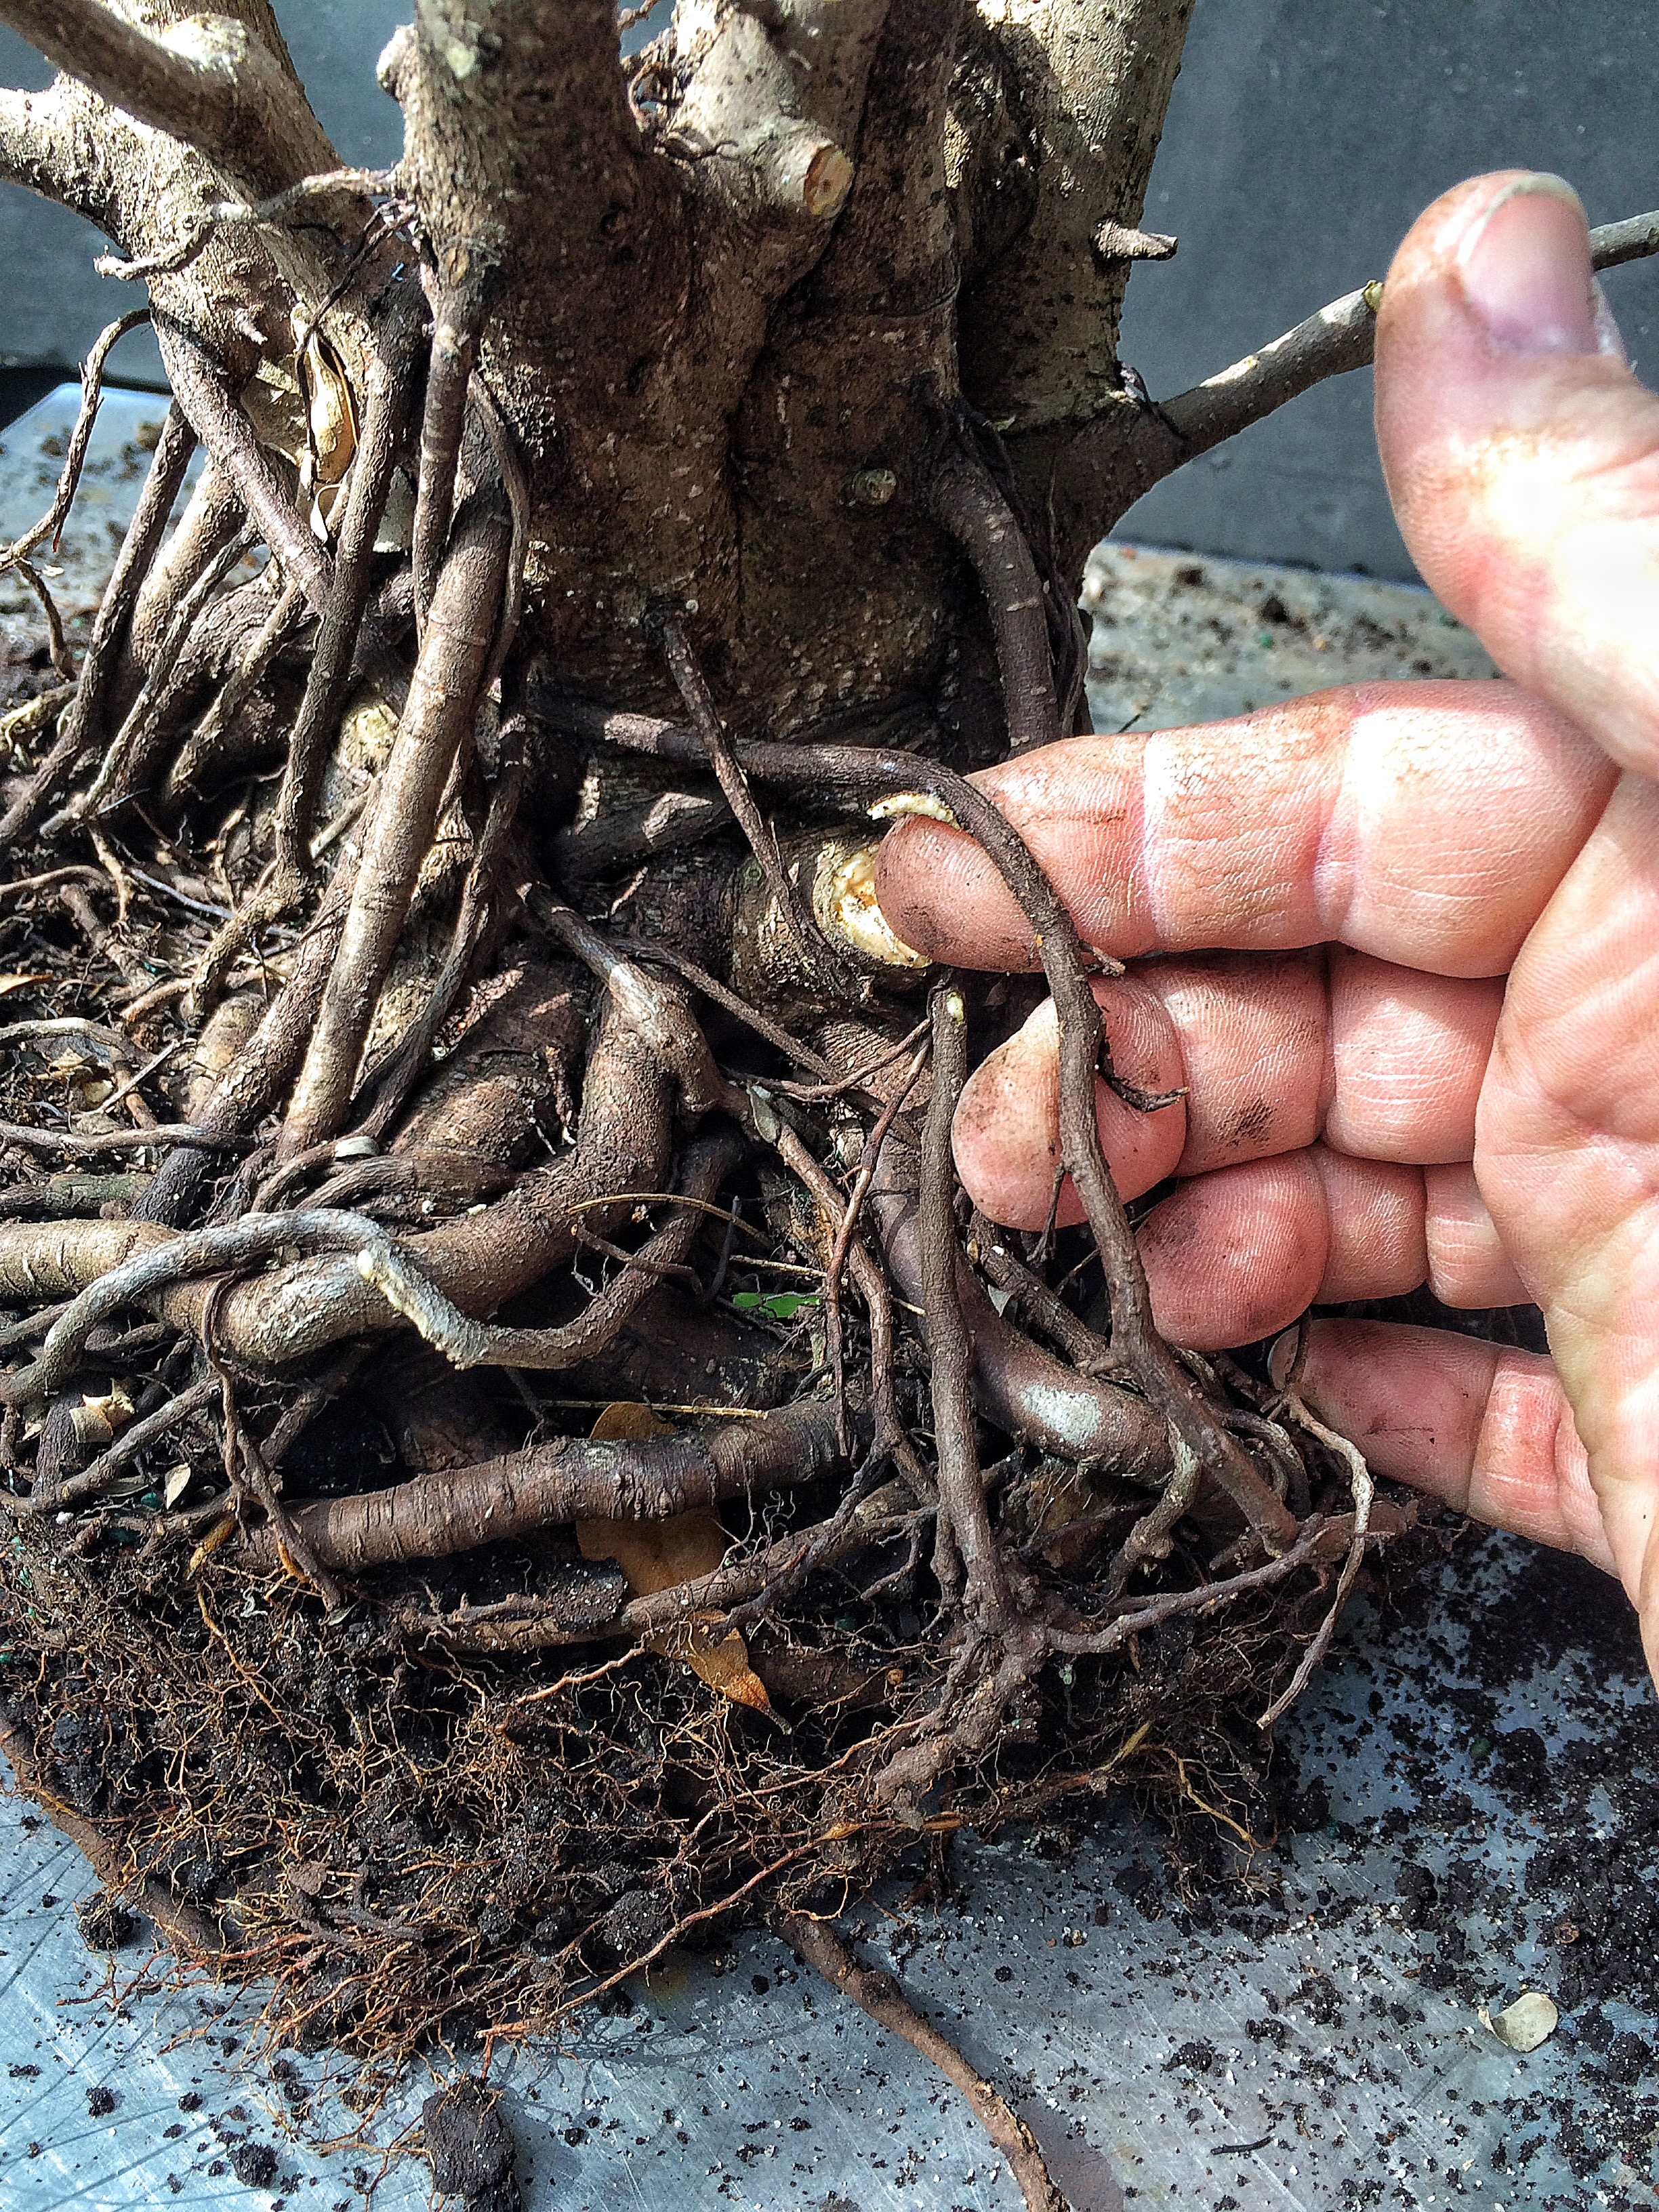
It’s like your first bikini waxing. Lots of beer involved in that process too. 
 And just like at the above mentioned party, there comes a time for the pot.
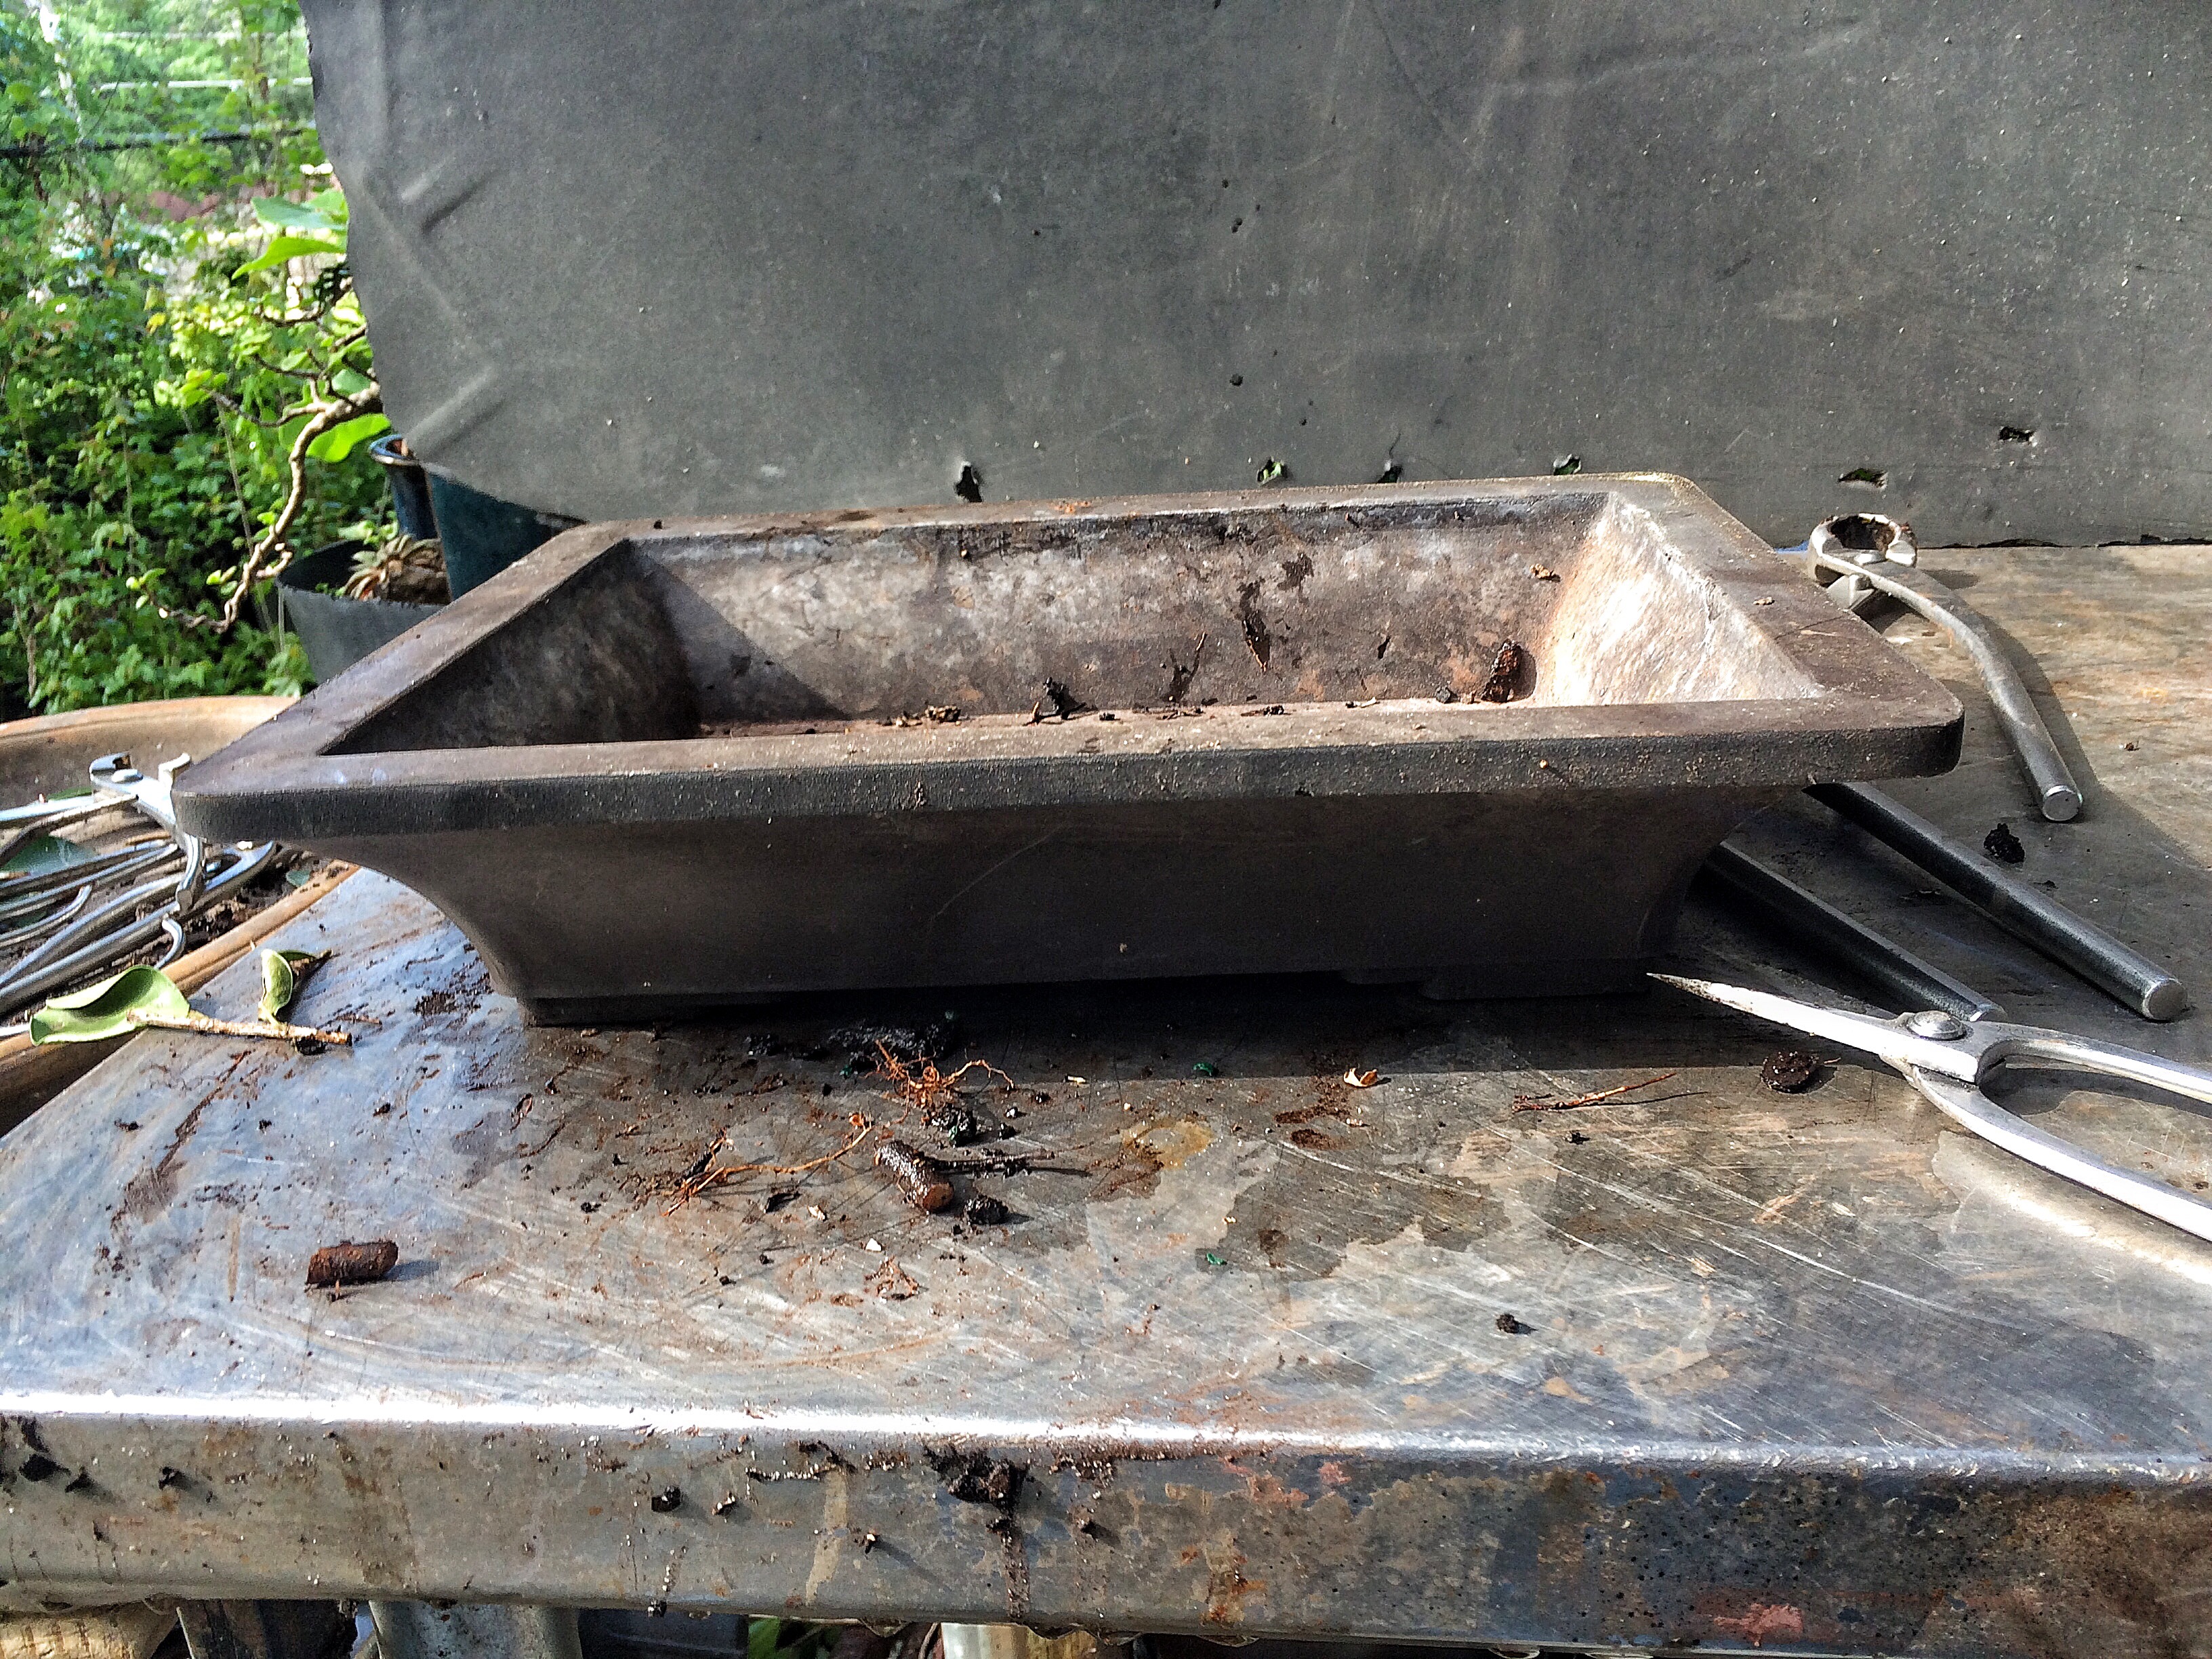 A bonsai pot. It’s a cool shape but it’s only a training pot. It’s made of mica. Or a combo of mica and plastic really. They used to be real popular and cheap (which helped their popularity greatly). They’re made in Korea and are actually very good horticulturally for your trees. They insulate the roots from heat and cold, because of the thickness and the mica. Virtually unbreakable too. Then the prices tripled and they fell out of favor. Ceramic pots are cheaper now, by comparison.
Wire.
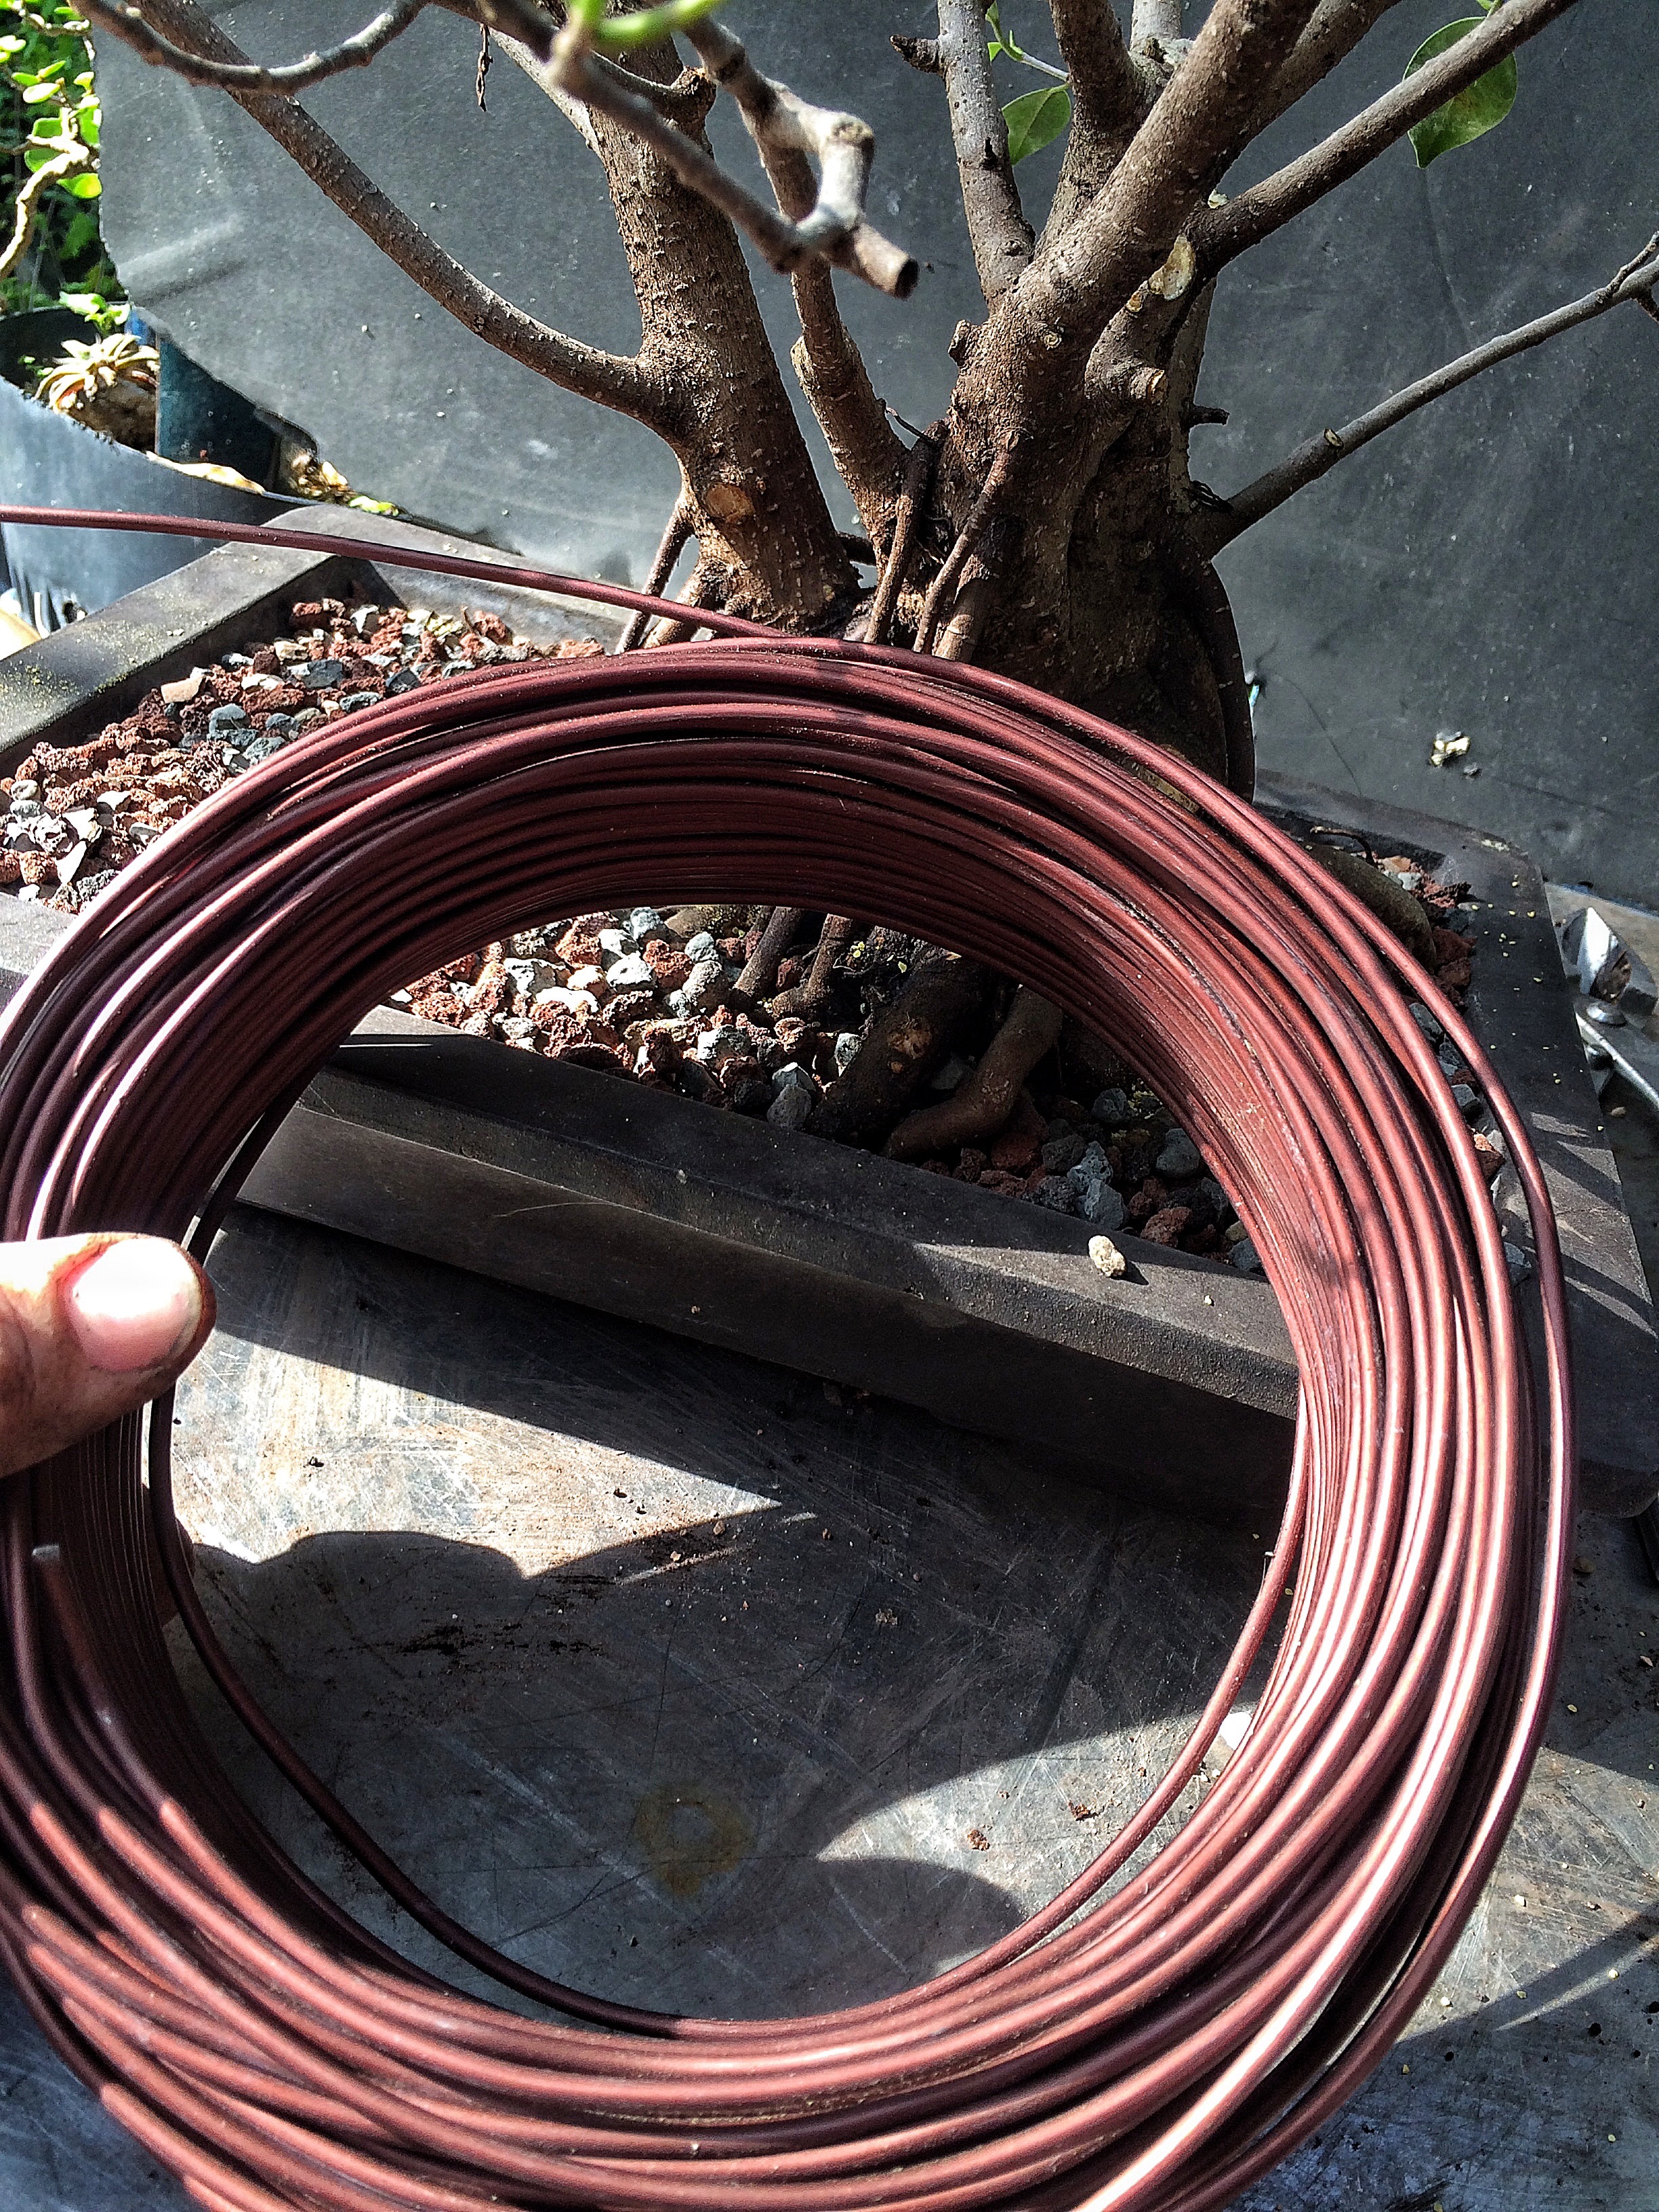 Not like that wire-of-many-colors I used in the last post. Pure American Bonsai Tools wire.
When I bend branches, I generally do this. Wire on.  Doubled for your protection.
The first bend is down. 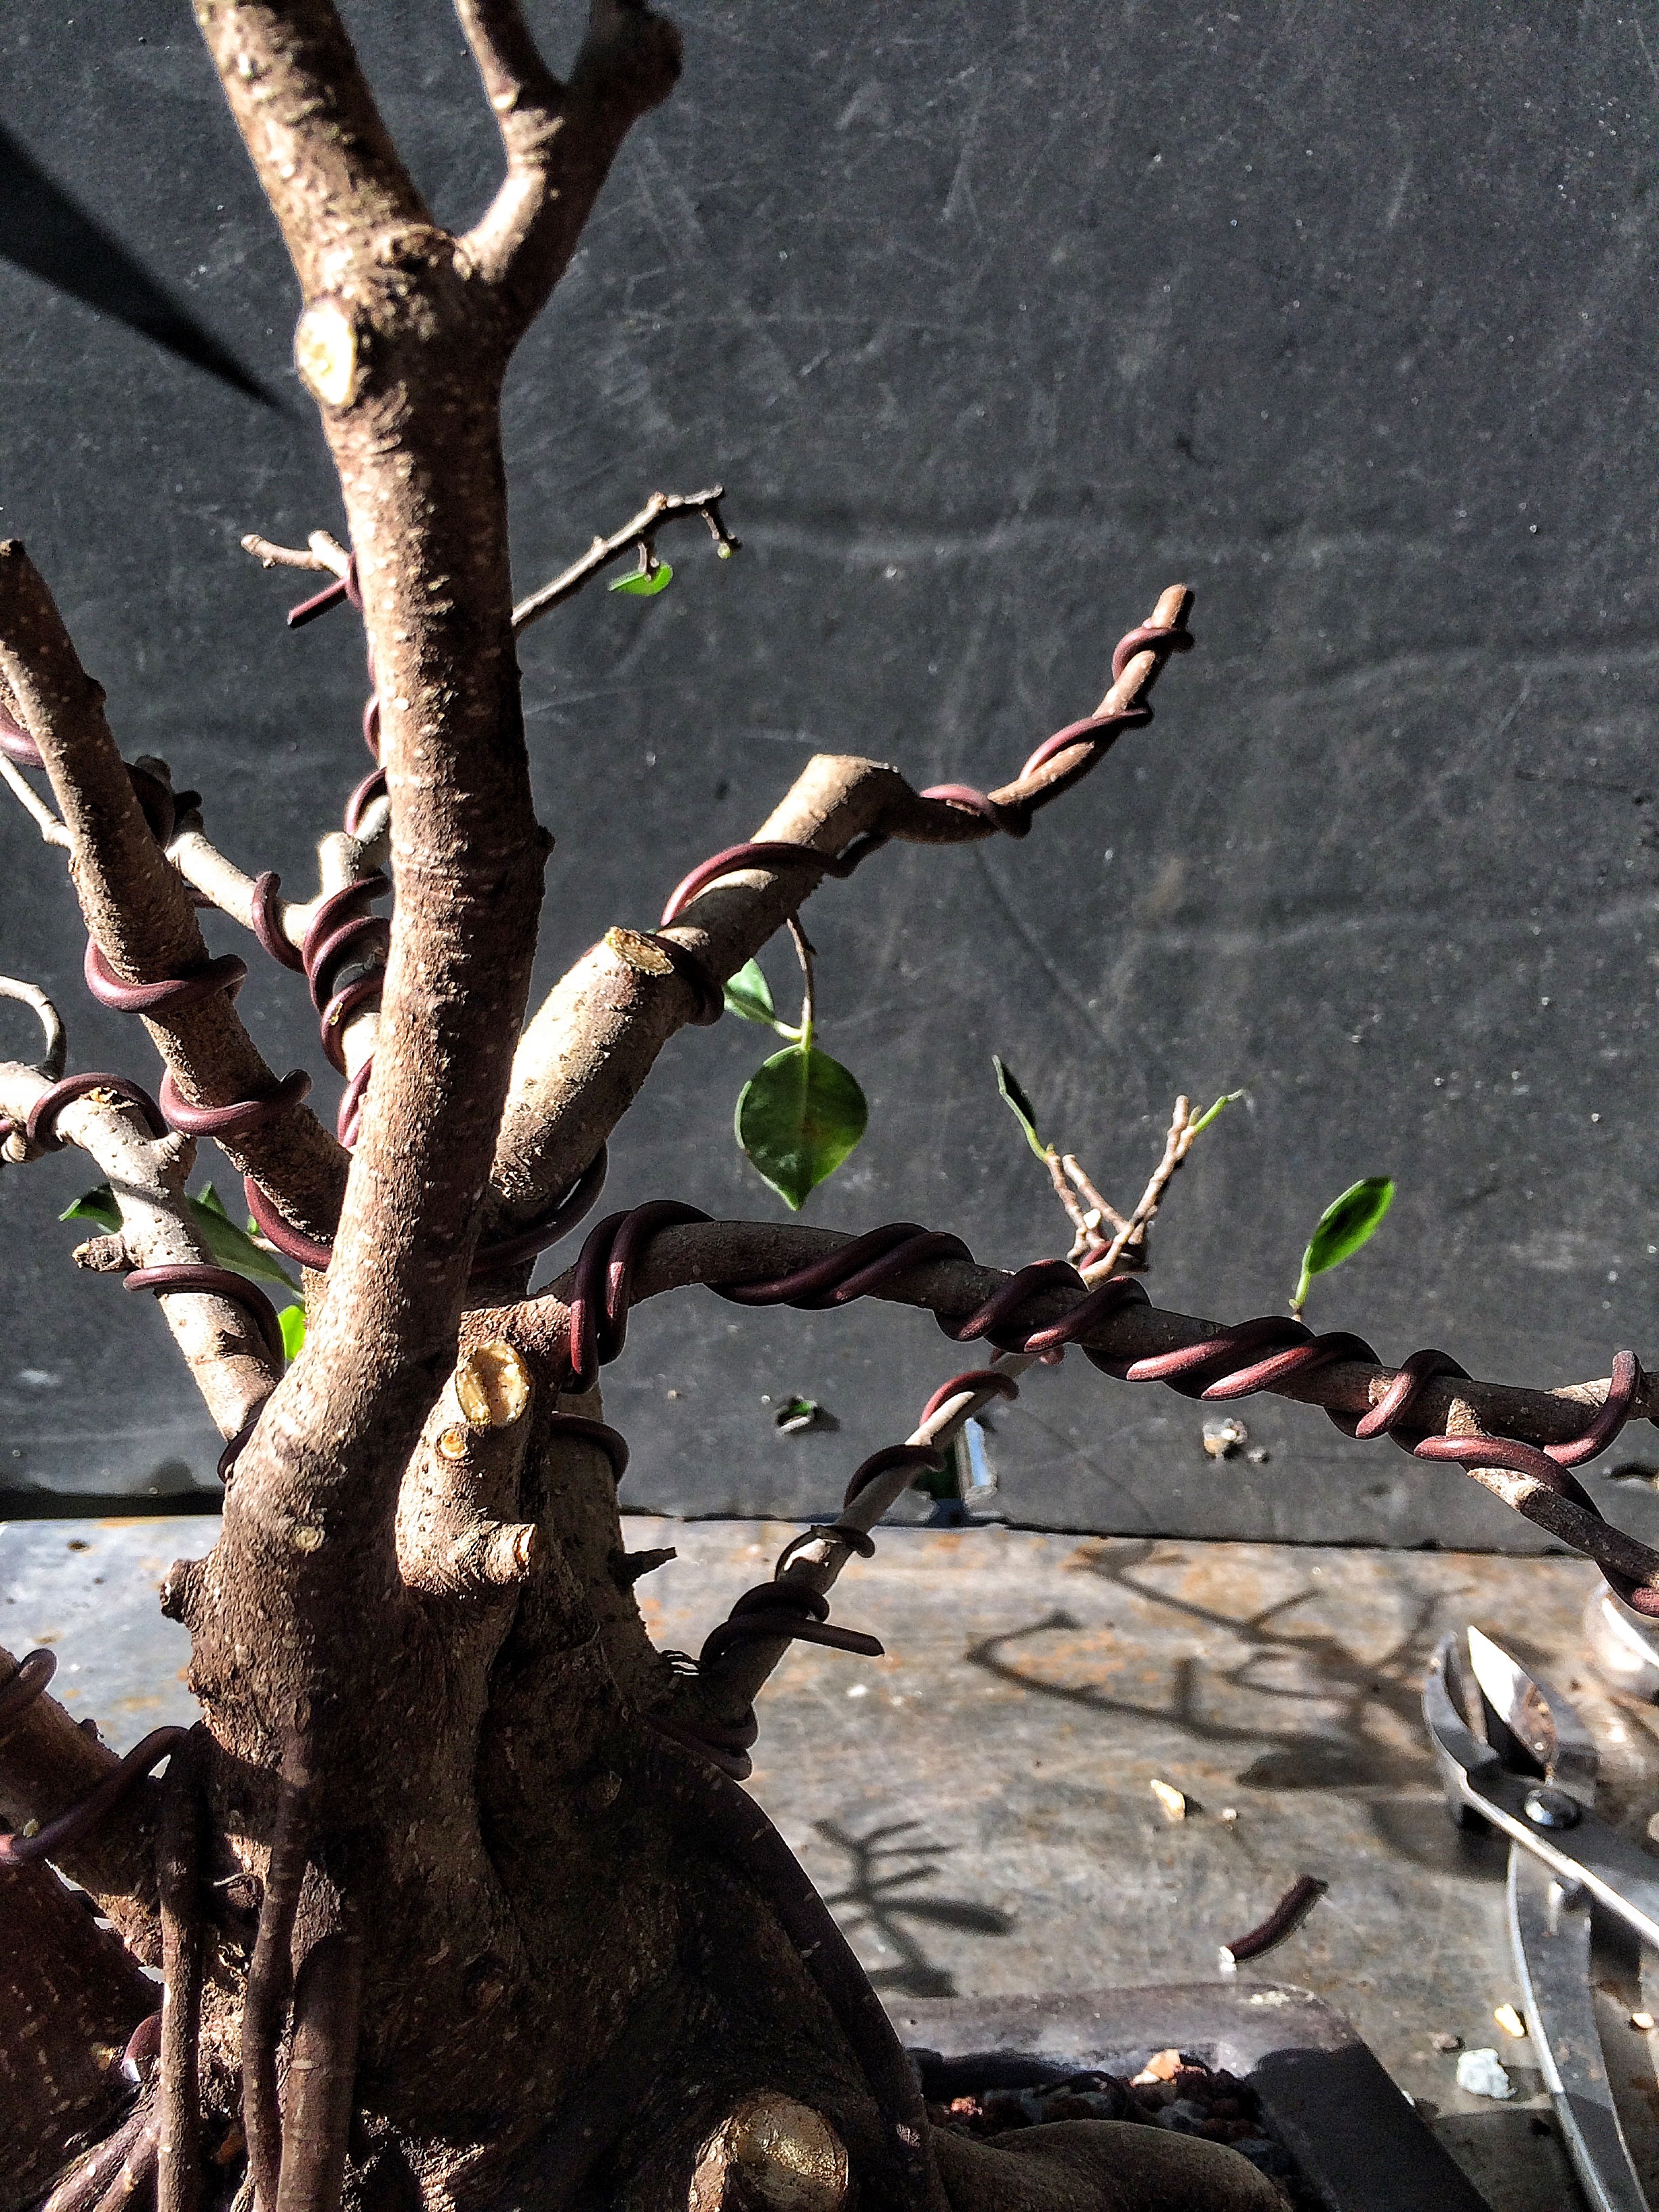
And then up again. 
The tips should alway be reaching for the sun.
There we go. 
No, wait…….. 
That’s not right.
 Too thick, too high in the tree. That whole taper principle. You start thick at the base and, as you climb up the tree, you taper to twigs.
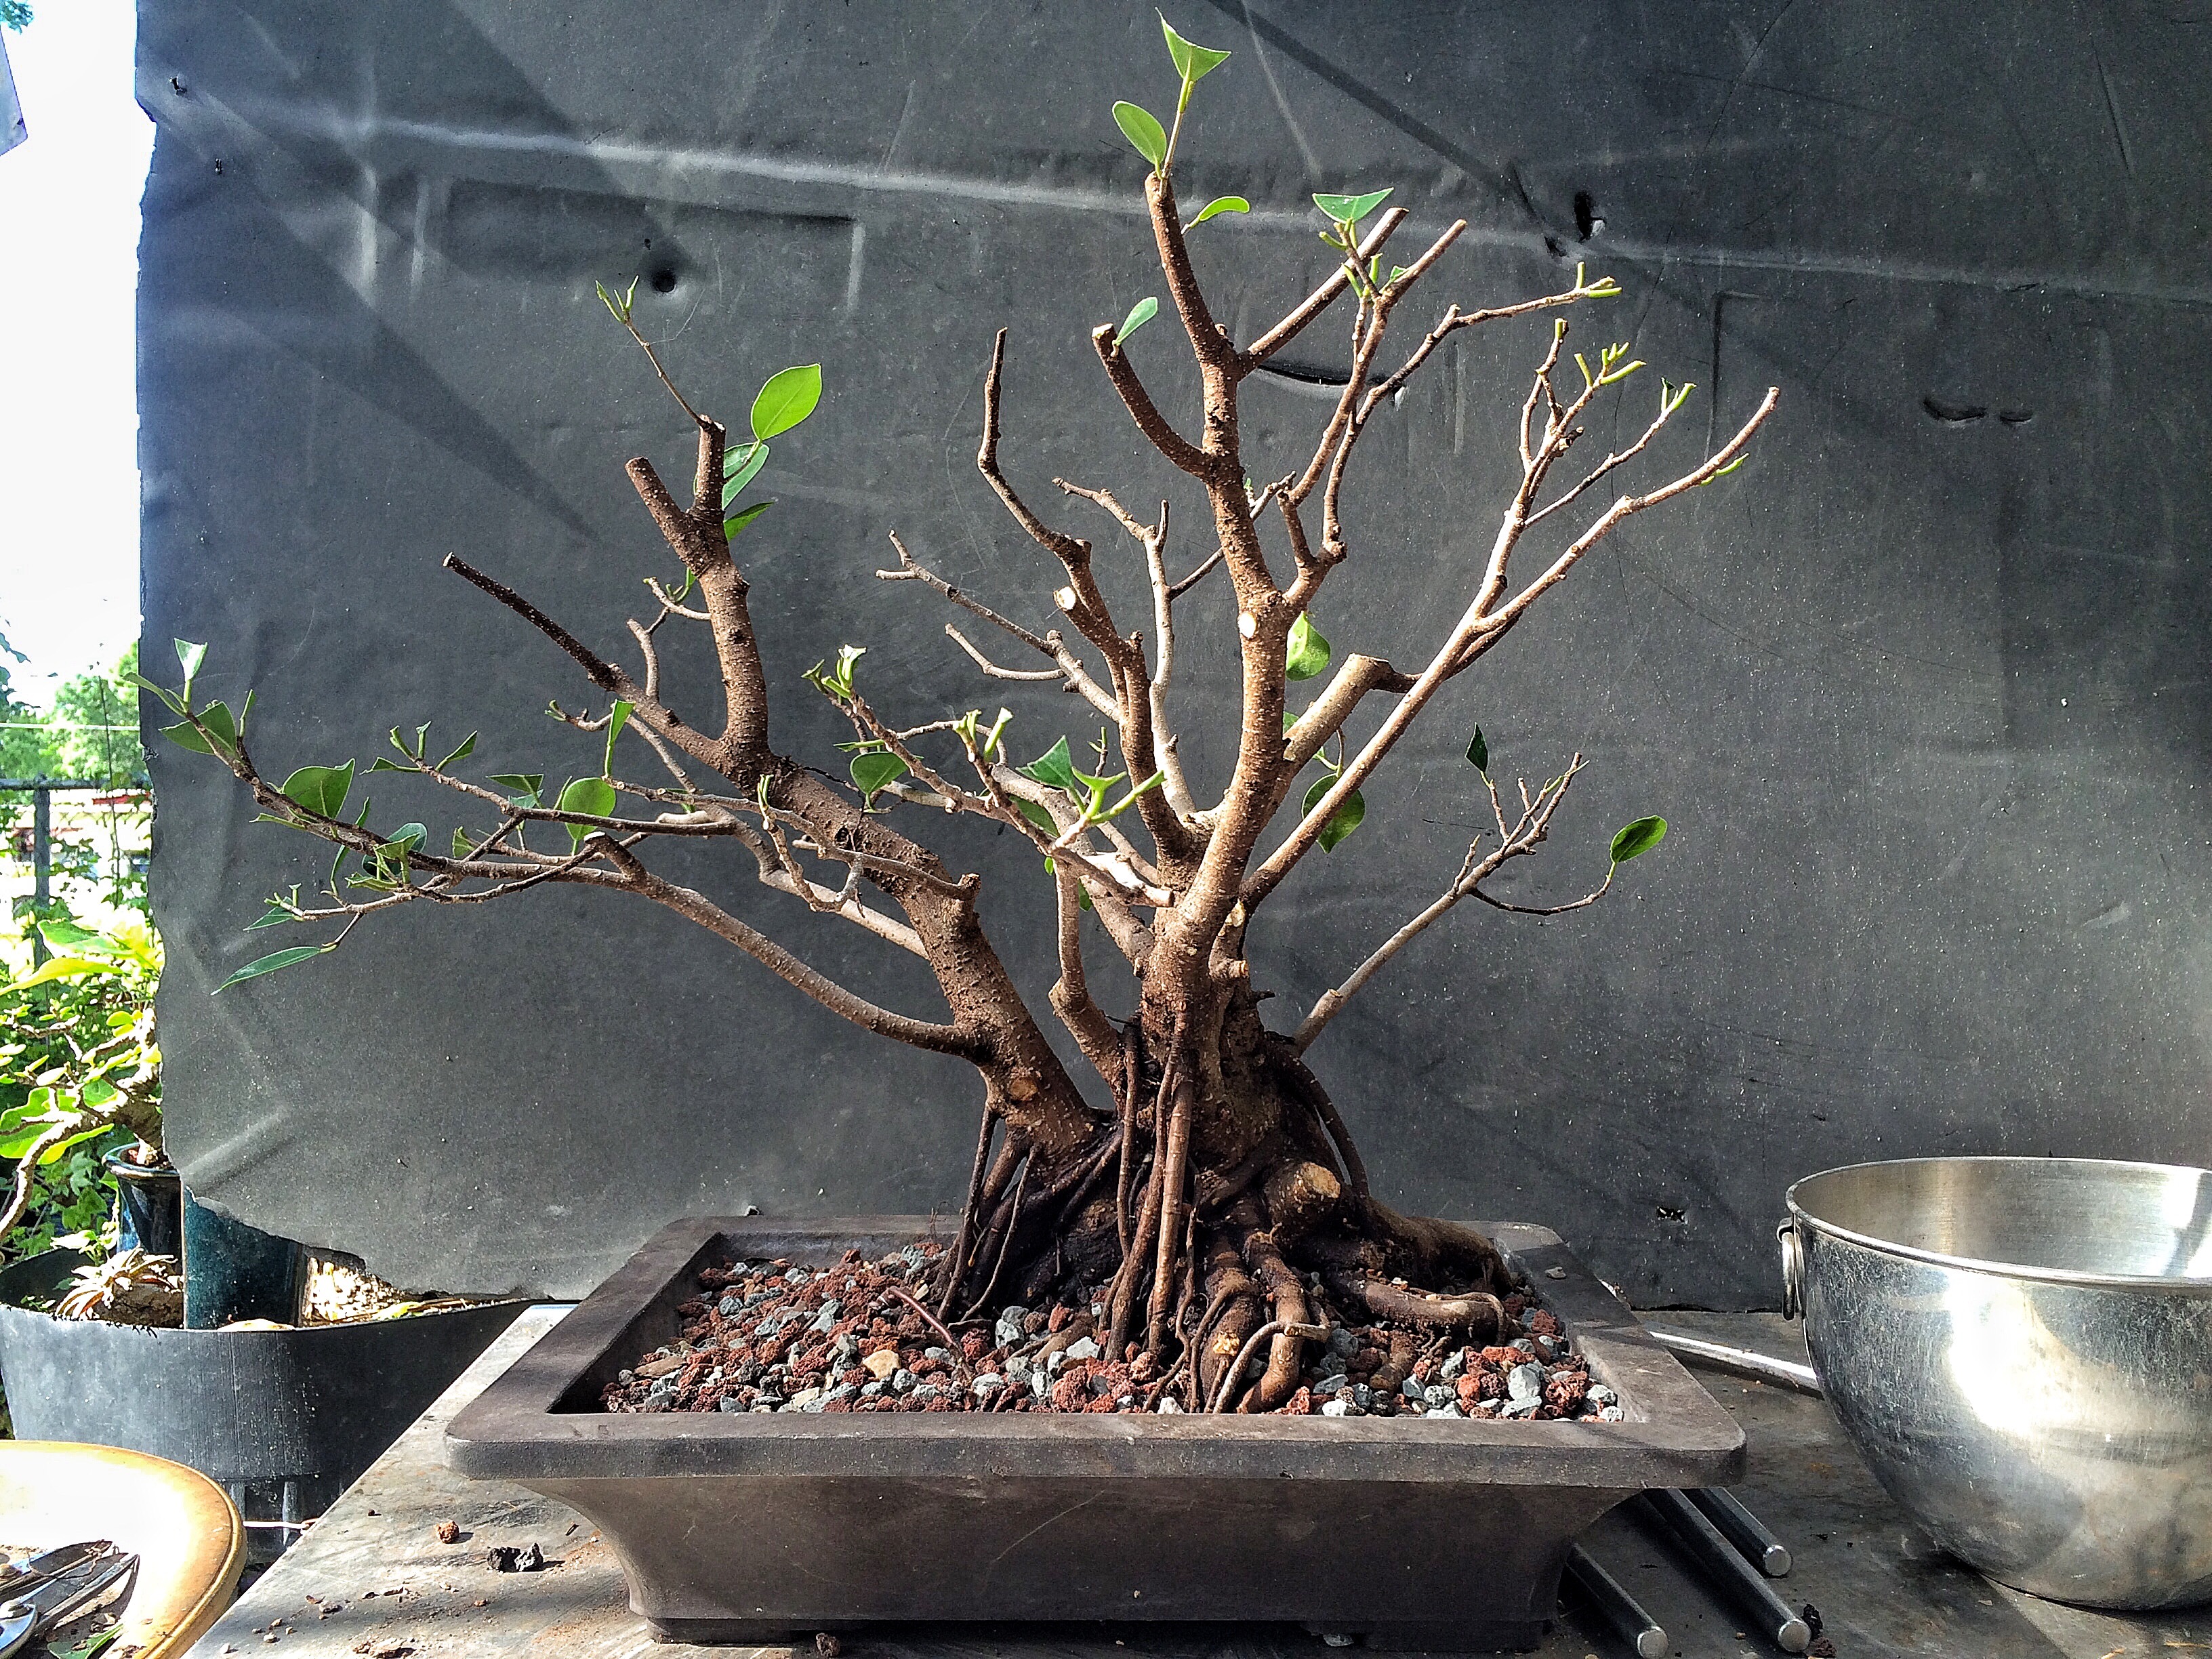
 It’s all magical in the sun like that. Stay gold, Pony Boy. Fertilizer and water and sun.
Here’s another YouTube vid, for your viewing pleasure. A Valkyrie eye view, so to speak.
And the moral of the story is this: If I suggest a tree to you, saying you should get it, maybe you should pick it up and get it. This was the first styling and first potting. And I only paid $25 for it about two years ago. If you want it now, I think I’d have to charge you just a leetle bit more.

Thank for an awesome post. I’m going to translate this post to my language and put a link to this post. Thank.
LikeLike
The translated post 🙂 http://cayhoa.com/cham-soc-cay/4-buoc-co-ban-de-cat-tia-cay-canh-qua-vi-du-thuc-te/
LikeLike
I hope you were able to translate some of the humor too
LikeLike