If you’ve been following the various social media platforms I subscribe to, I’ve posted a few pics of a celtis lævigata I collected a few years ago. My original intent was to chronicle the progression only on those sites by posting a photo every once in a while. Like this: on March 7th, 2016 on Instagram.

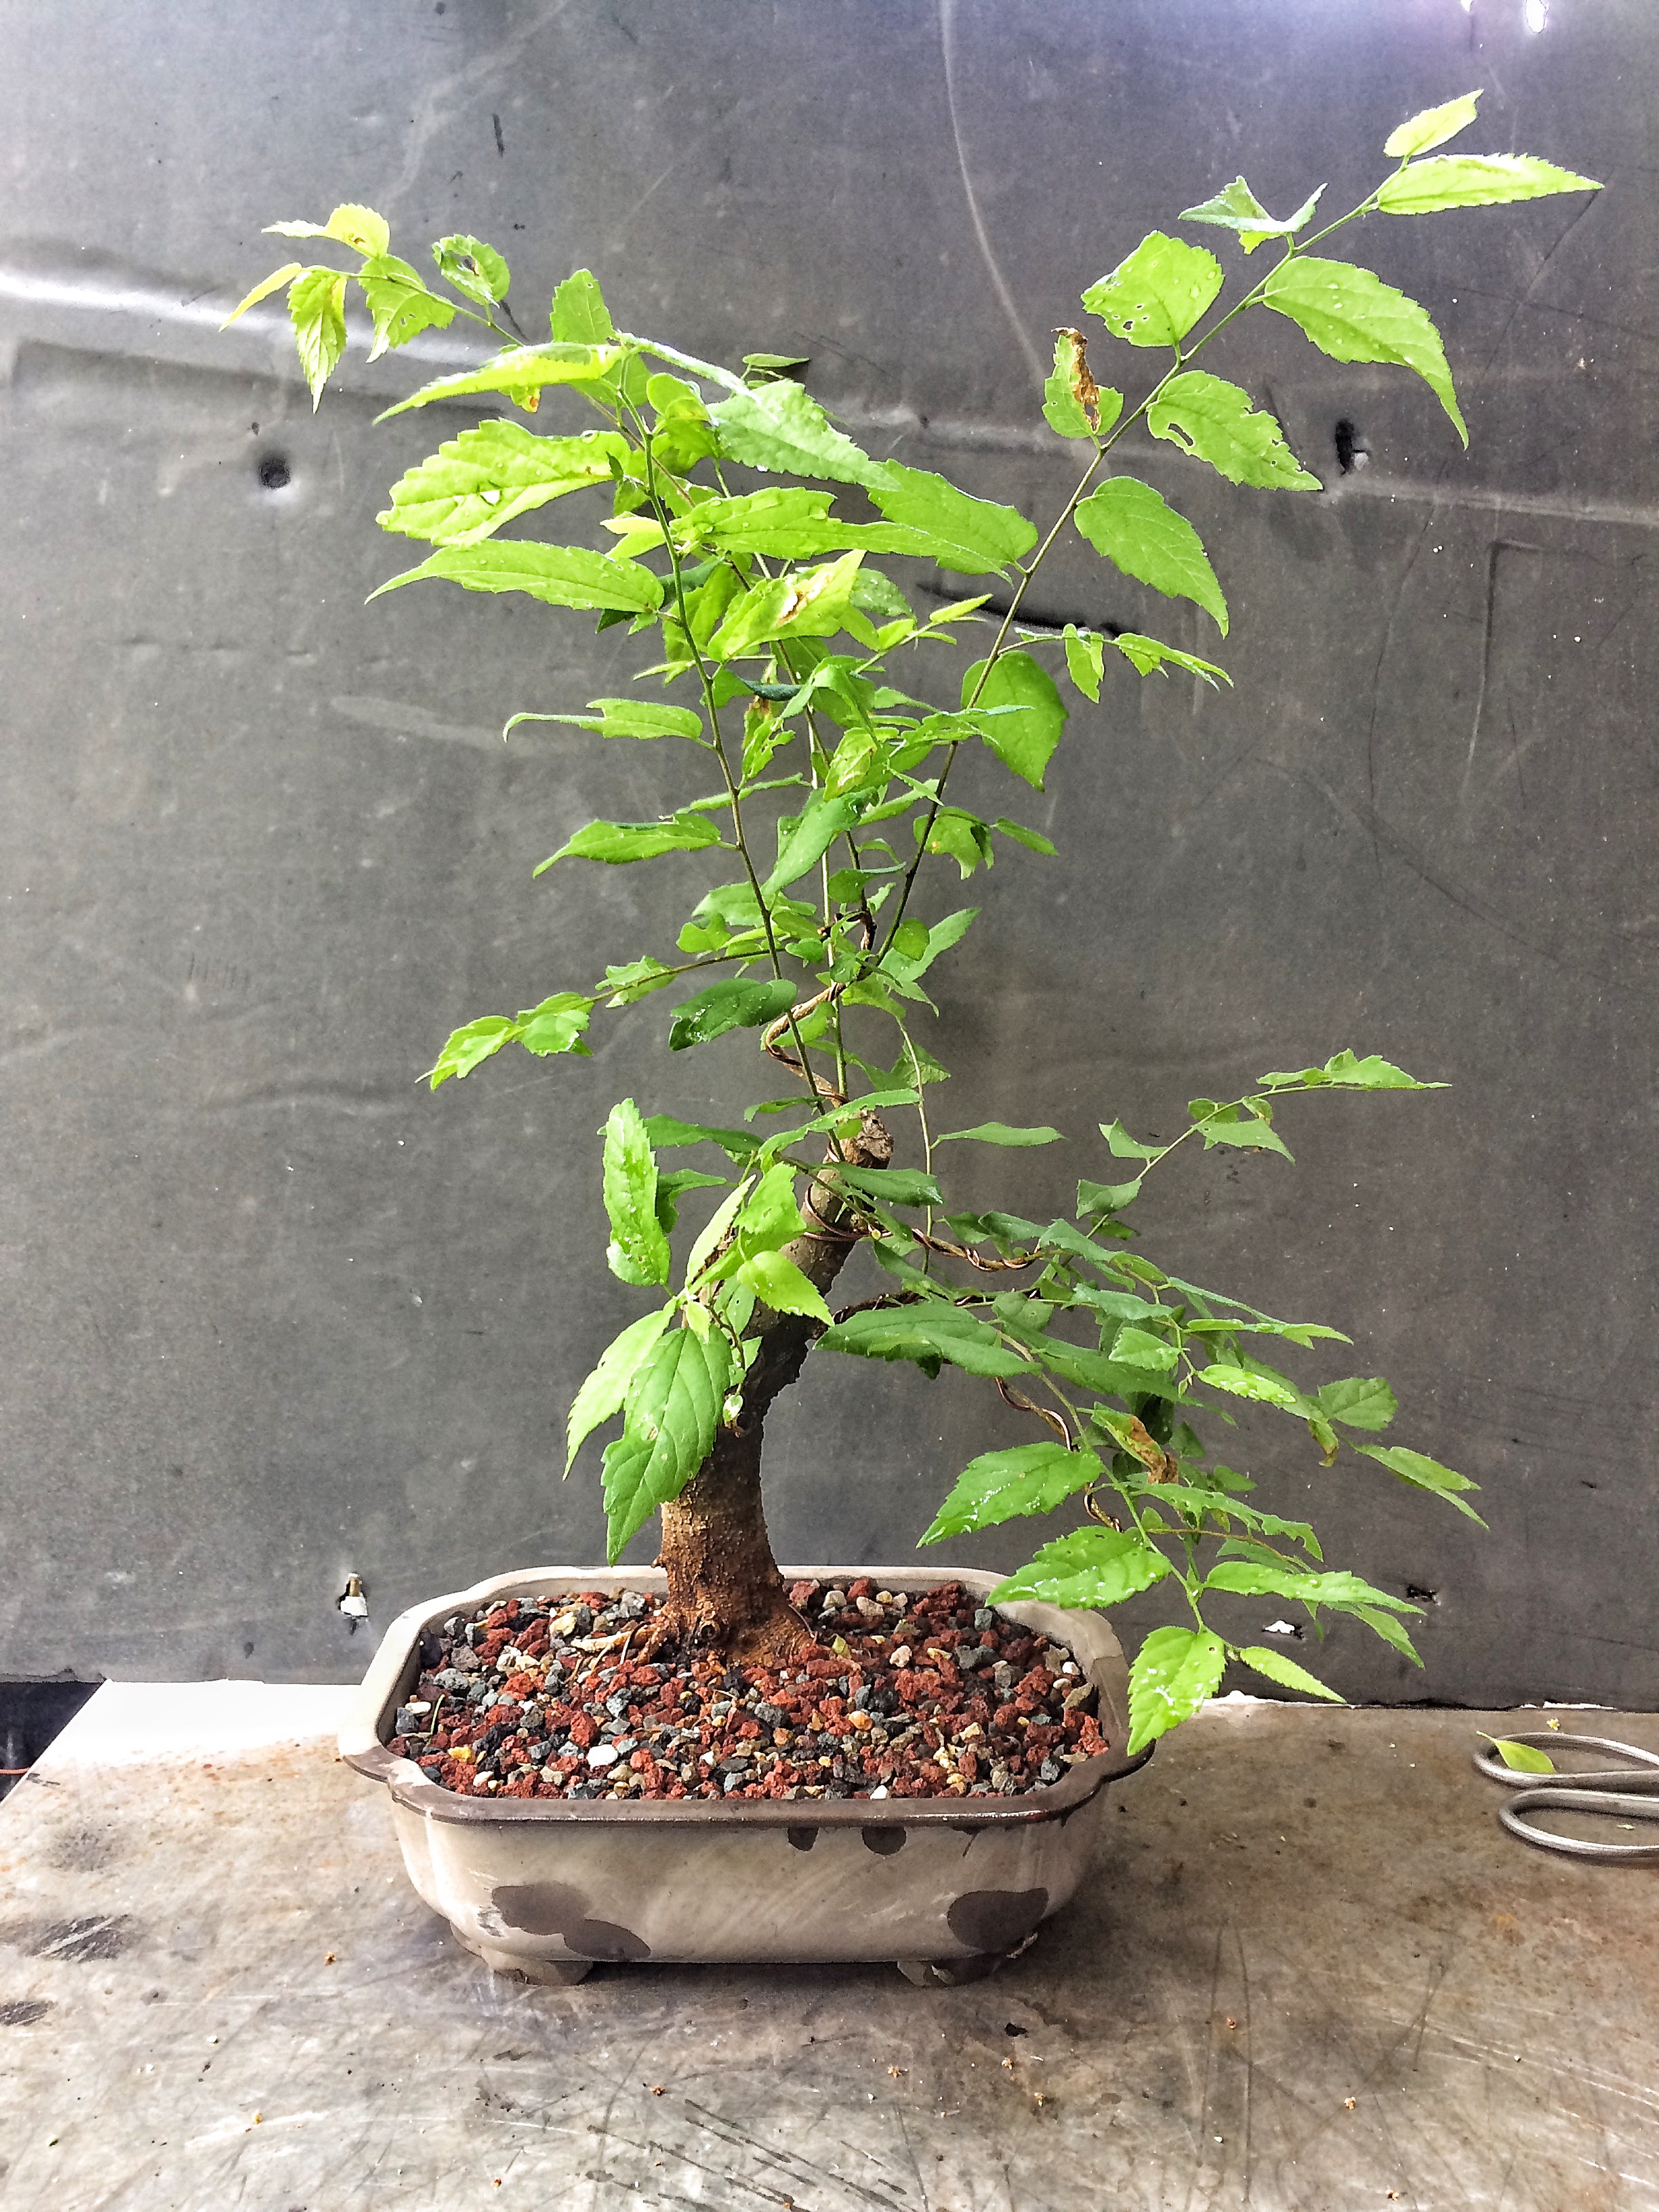
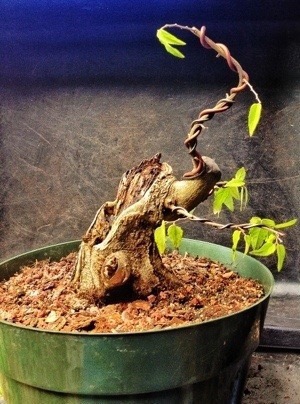
I had just potted it into bonsai soil and a training pot and added wire/pruned it.
Here it was ten days later.
 Working on the tree just the other day, doing all the wiring and defoliating, and pruning, I realized that my audience really wouldn’t learn anything from simple progression pics spaced out with weeks between them. I made a commitment when I started the blog that I was not going to just show before and after pics of near finished trees. If I did that, it wouldn’t differentiate me from most of the Professional’s blogs out there. People appreciate the step-by-step pics with the “why” explained. It’s gratifying to receive all the comments and emails thanking me for that.
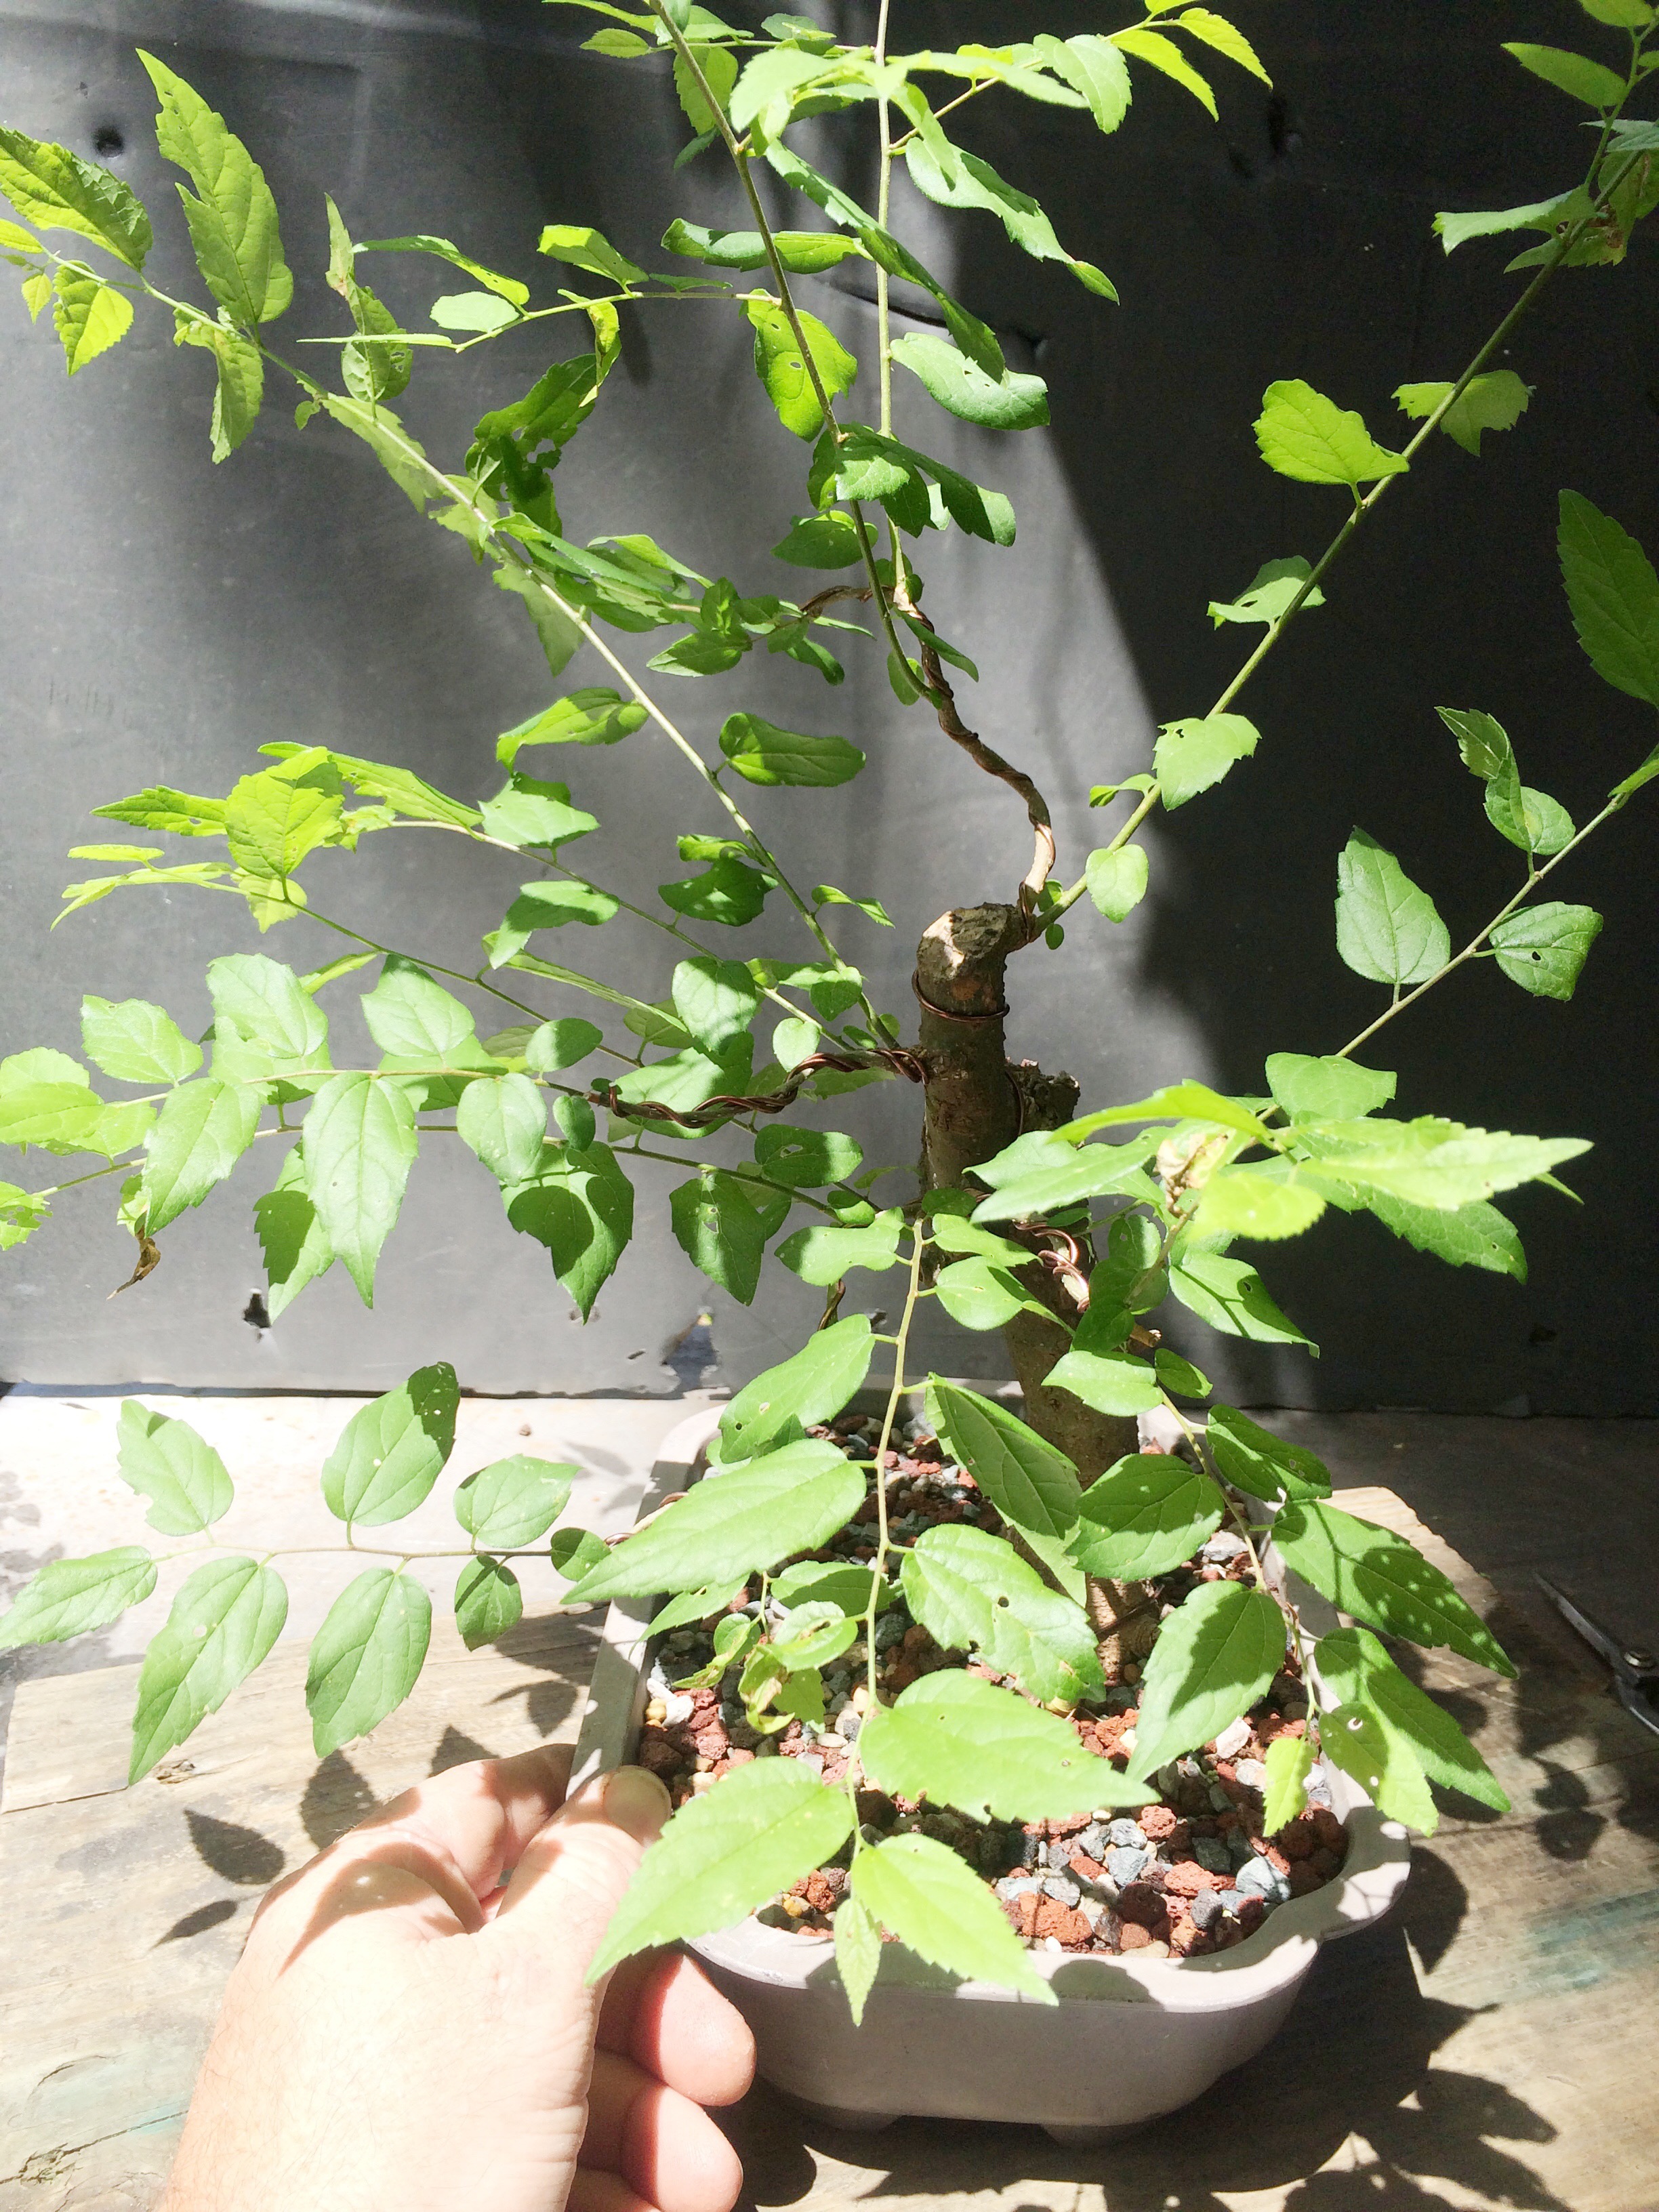
Sooooo….let me continue, a month or so into the process, here’s our celtis now.
 At this point in the spring, the leaves have hardened off (mostly) and it’s not likely to grow much more, for at least a month, when the summer rains begin (the old adage about April showers bringing May flowers…..doesn’t apply to Florida. Spring is warm and dry, it’s really a tough month for bonsai. I know, I know, as I write this, mid-April, there are places where the leaves haven’t even broken bud. I was up in Tallahassee the other day and some of the winged elms were just popping. This brings the most important point up, namely, bonsai horticulture is mainly timing. When to repot, when to trim pine candles, when to prune junipers, when, when, when? Timing mainly has to do with where you live. The main idea of this long, rambling aside is that what I’m doing now is correct for the Orlando Florida version of zone 9 a/b. It might not be for the New Orleans version of zone 9. And that’s a fact, Jack. Seek out local bonsai people for the correct timing. Books and..ahem, blogs, are generalized and not much use.)
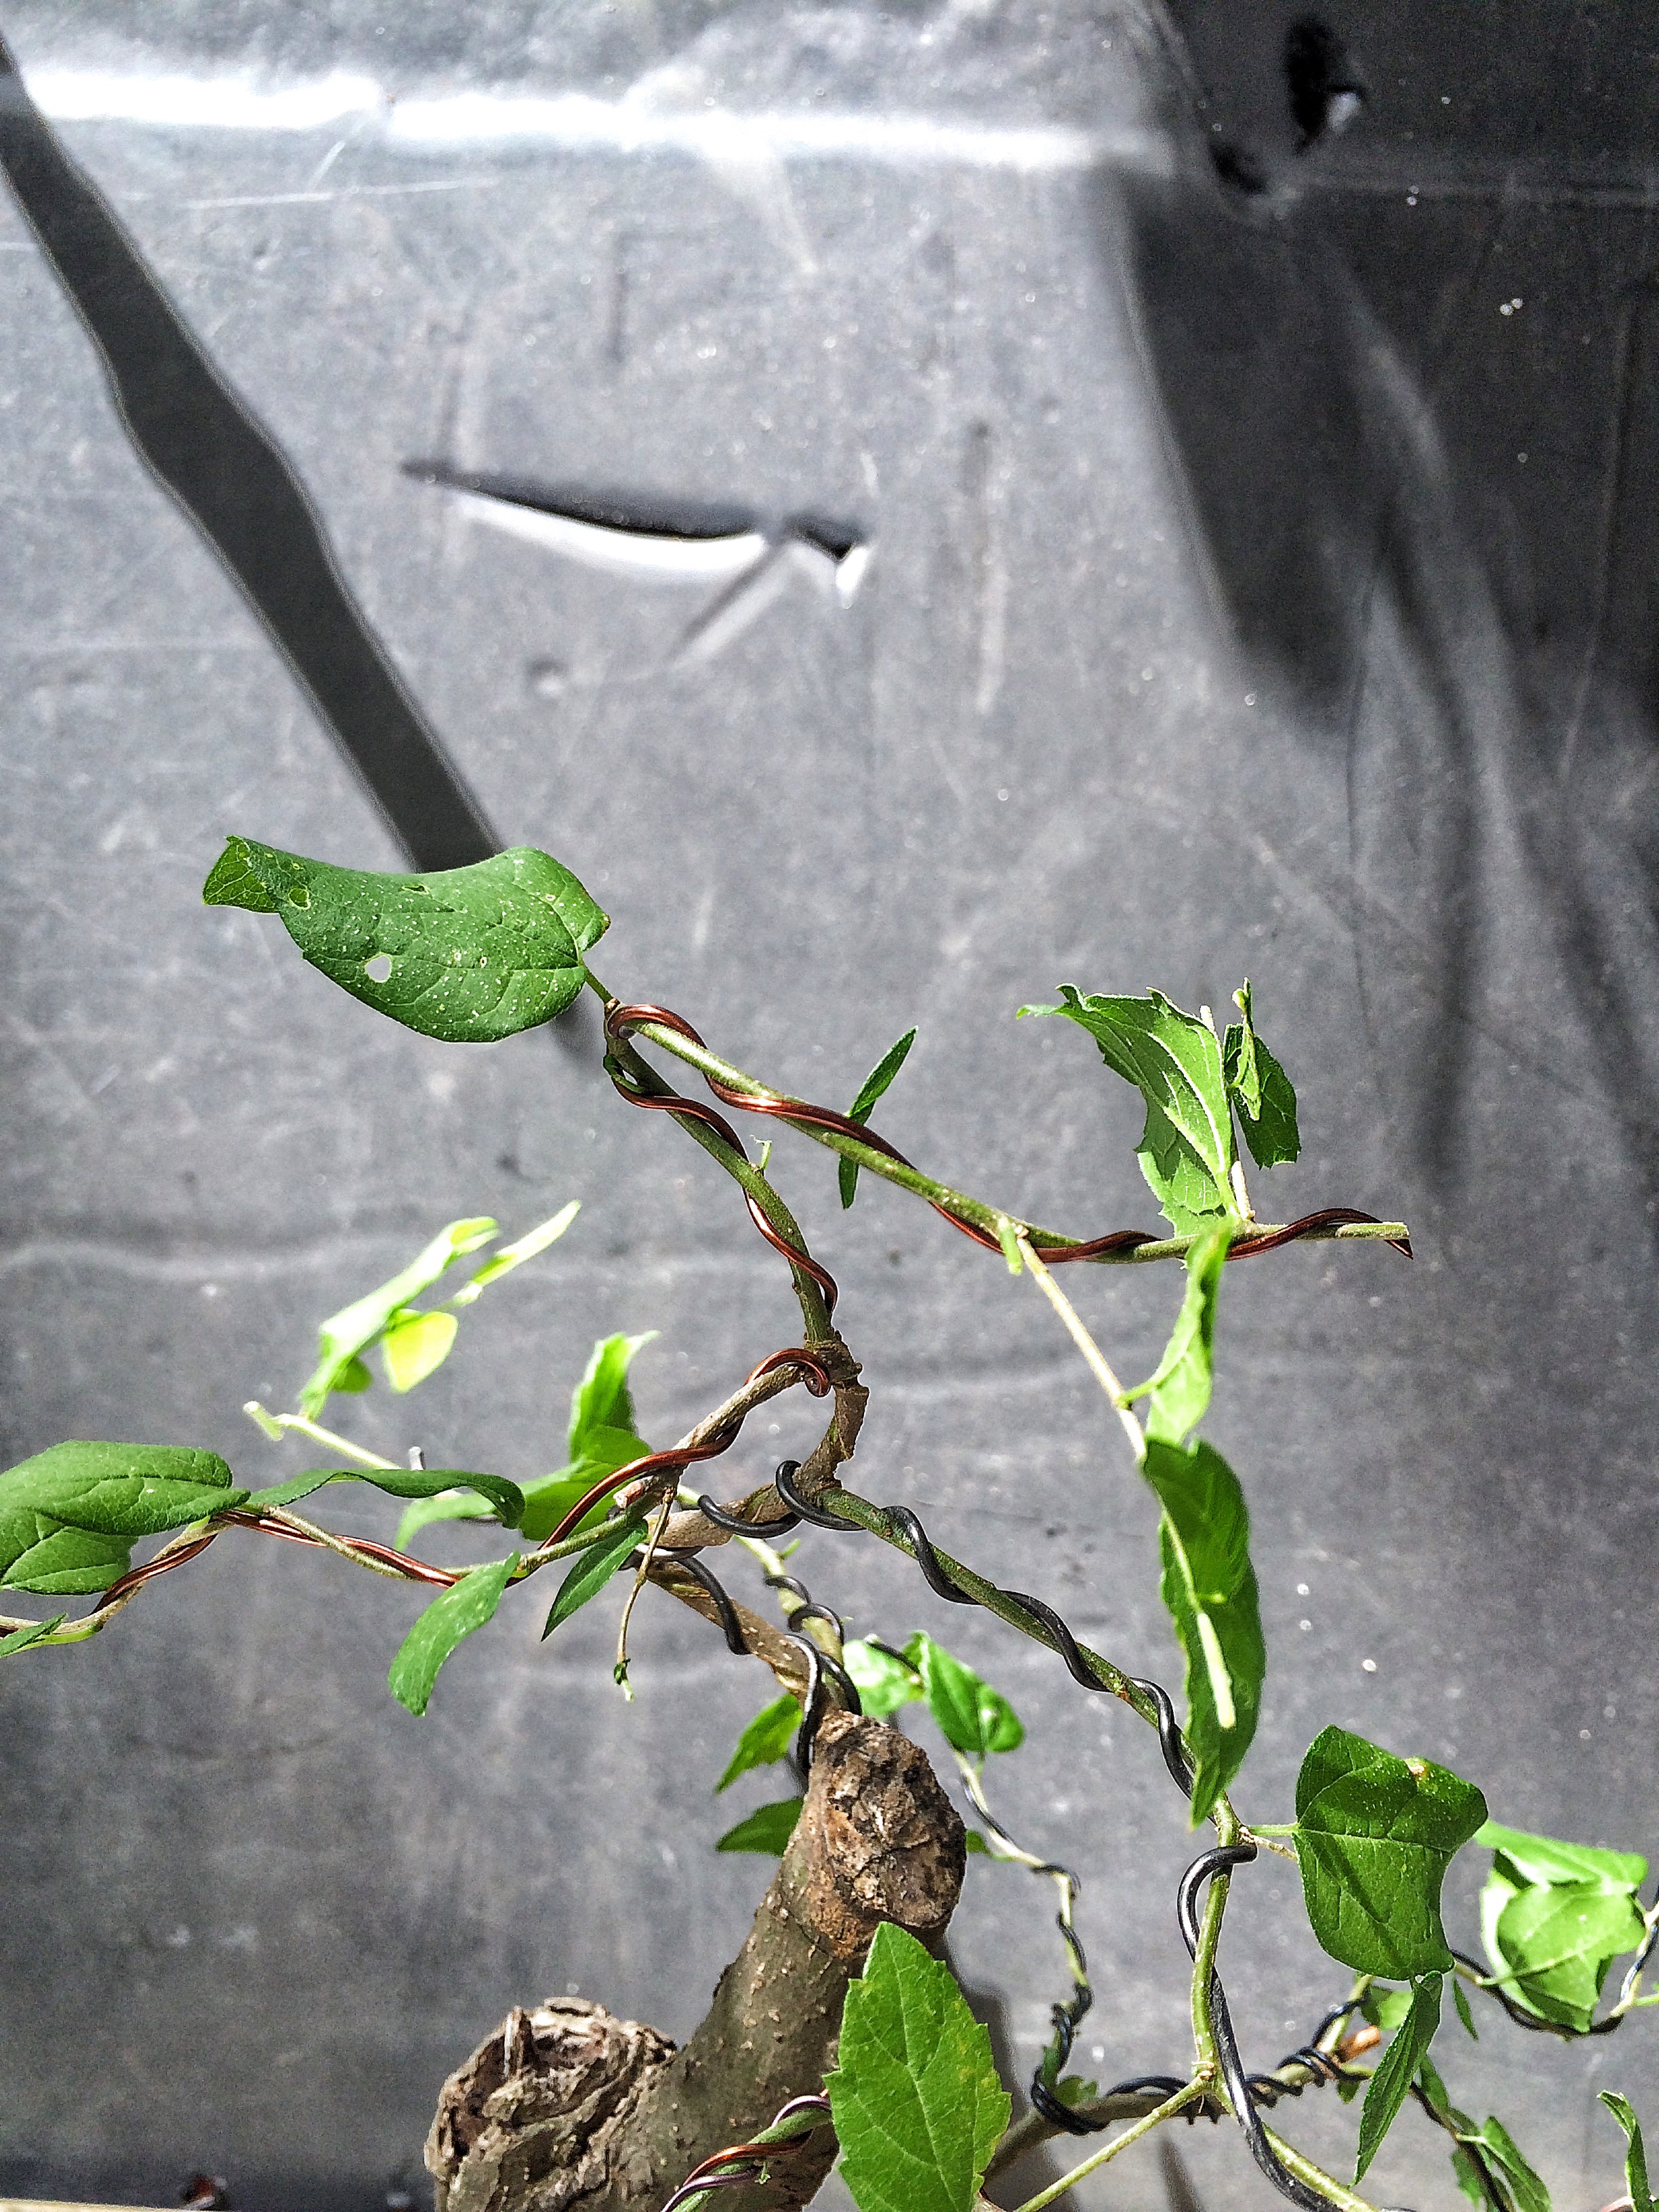
Way back on March 7th, I had wired up some branches.
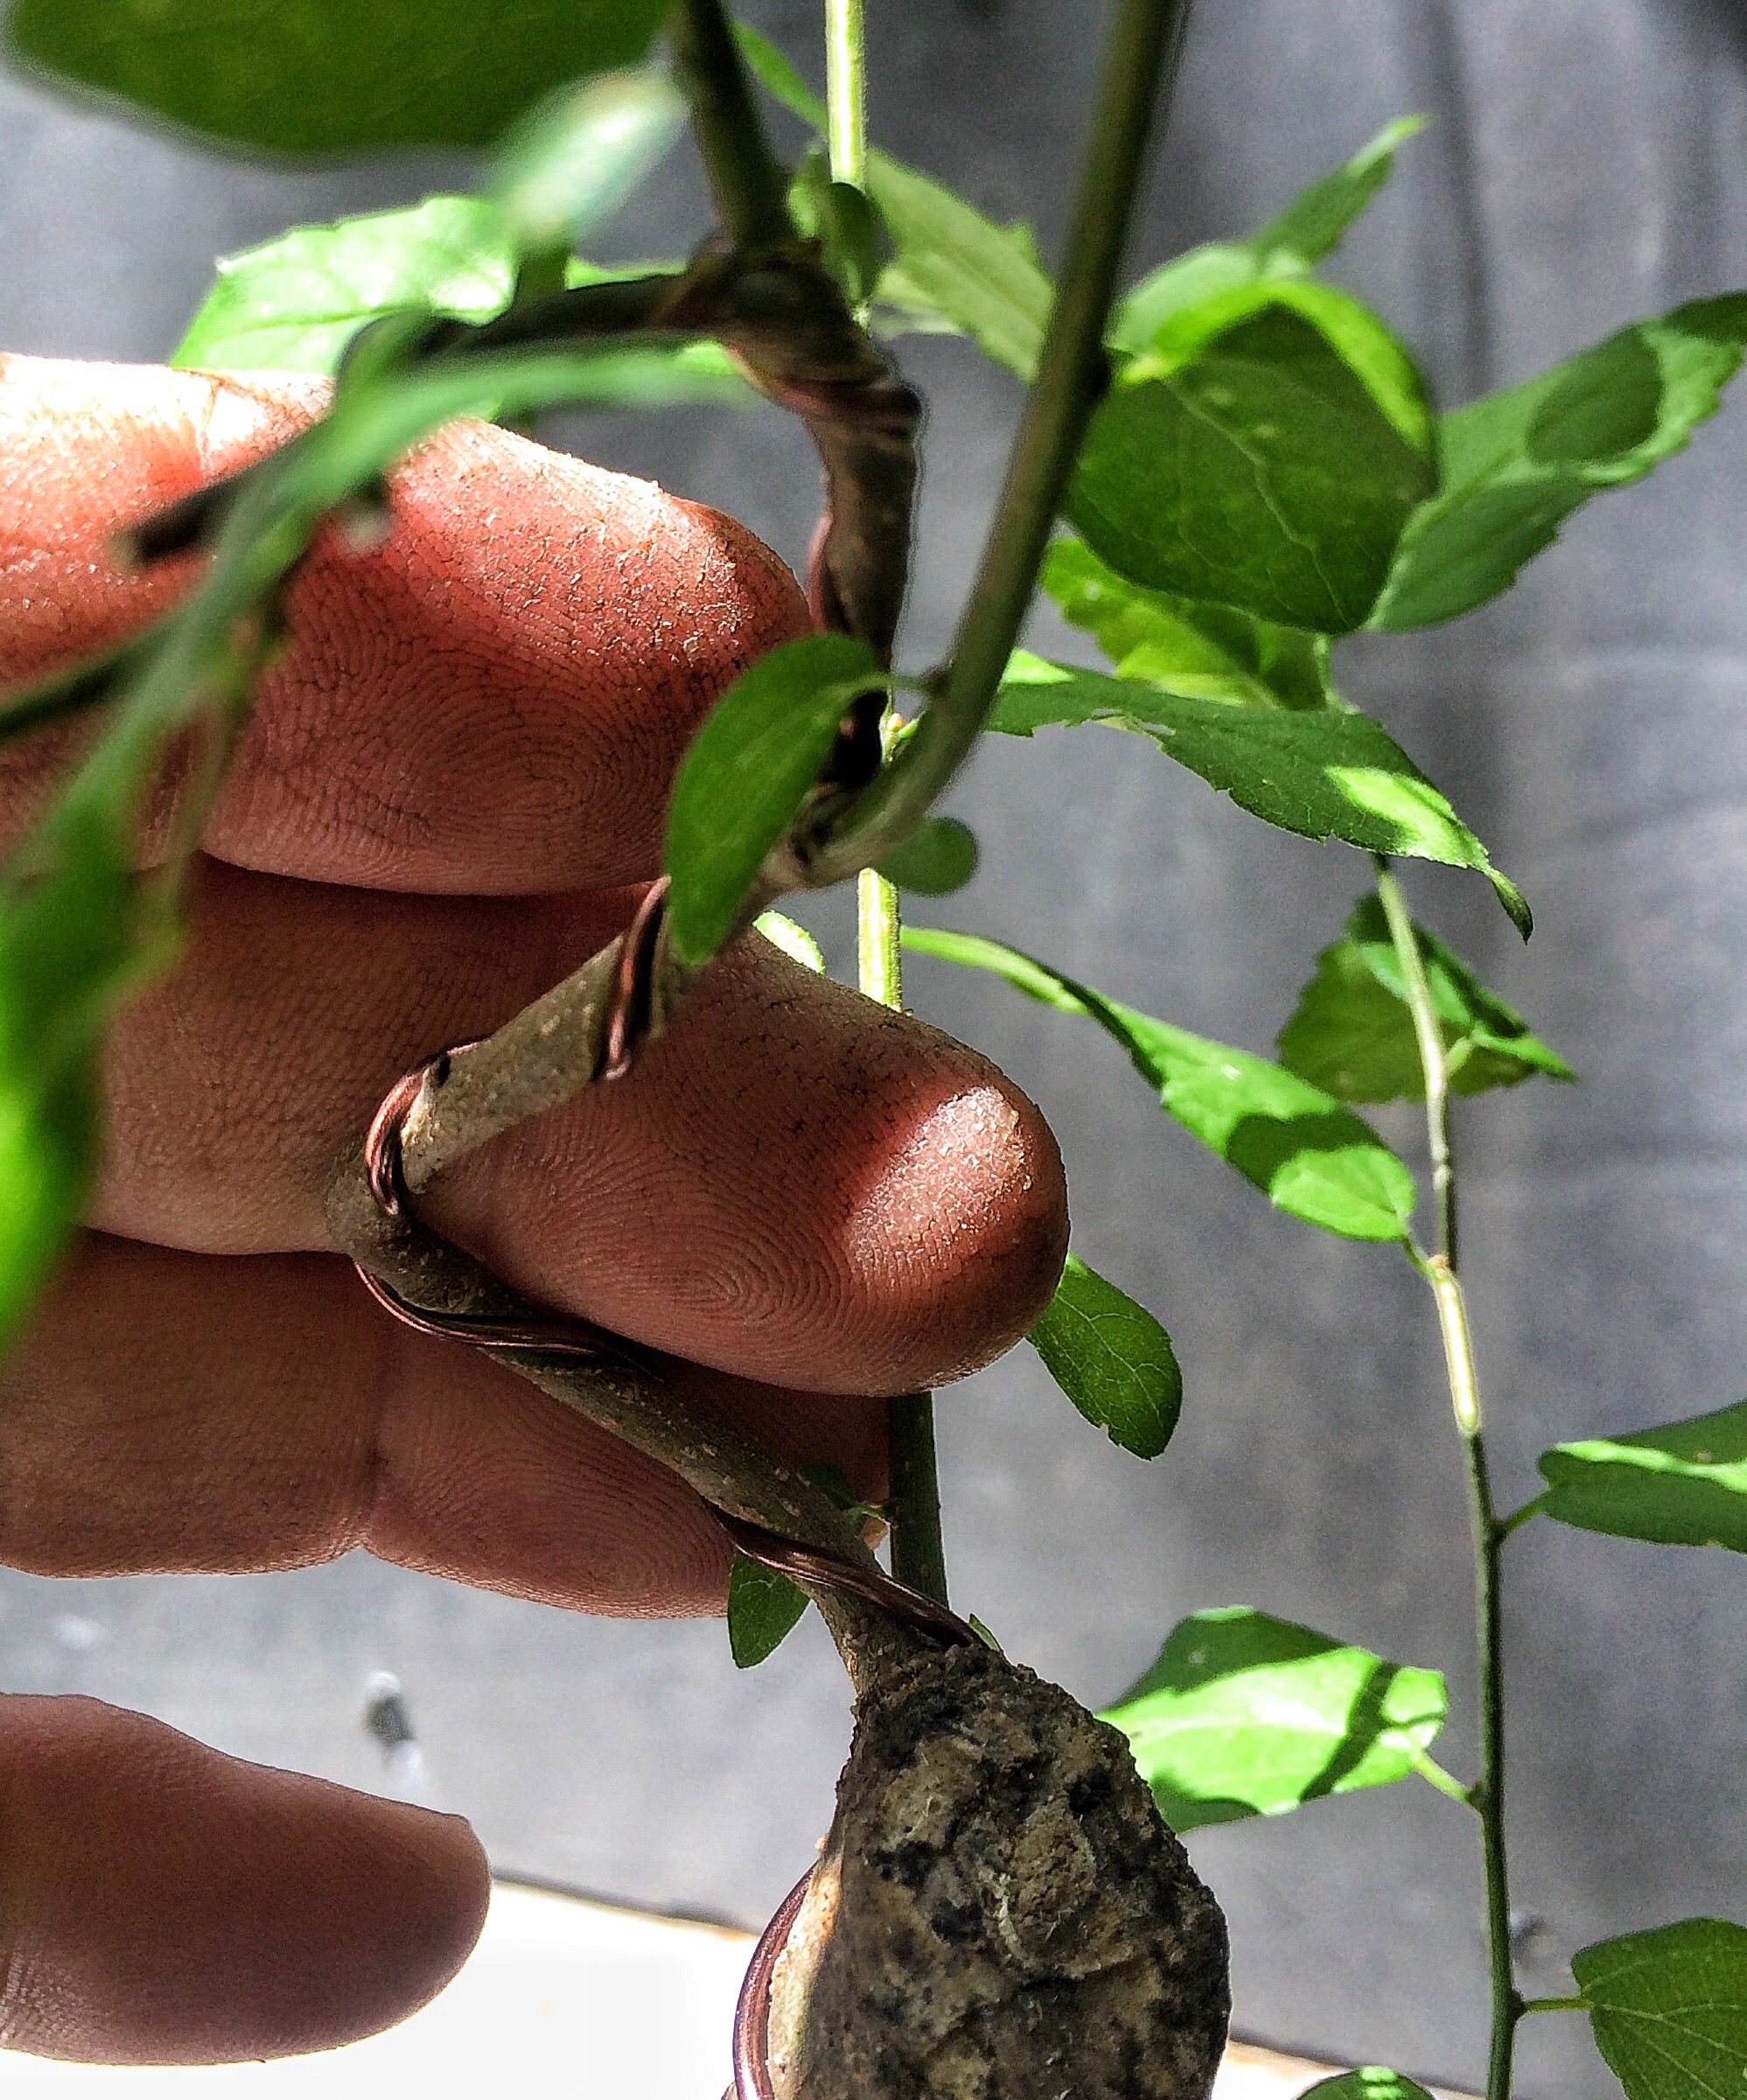 When people ask me how long the wire should stay on, I always answer: “Well, it needs to stay on as long as it needs to”. That’s not me being sarcastic, that’s being dead serious. Example, it’s been a month with this wire on and it needs to be removed. If I put it on in November of last year, it would need to come off now. One month compared with 5 months. The growth rate is what determines the time frame. Anyway, it needs to come off now.
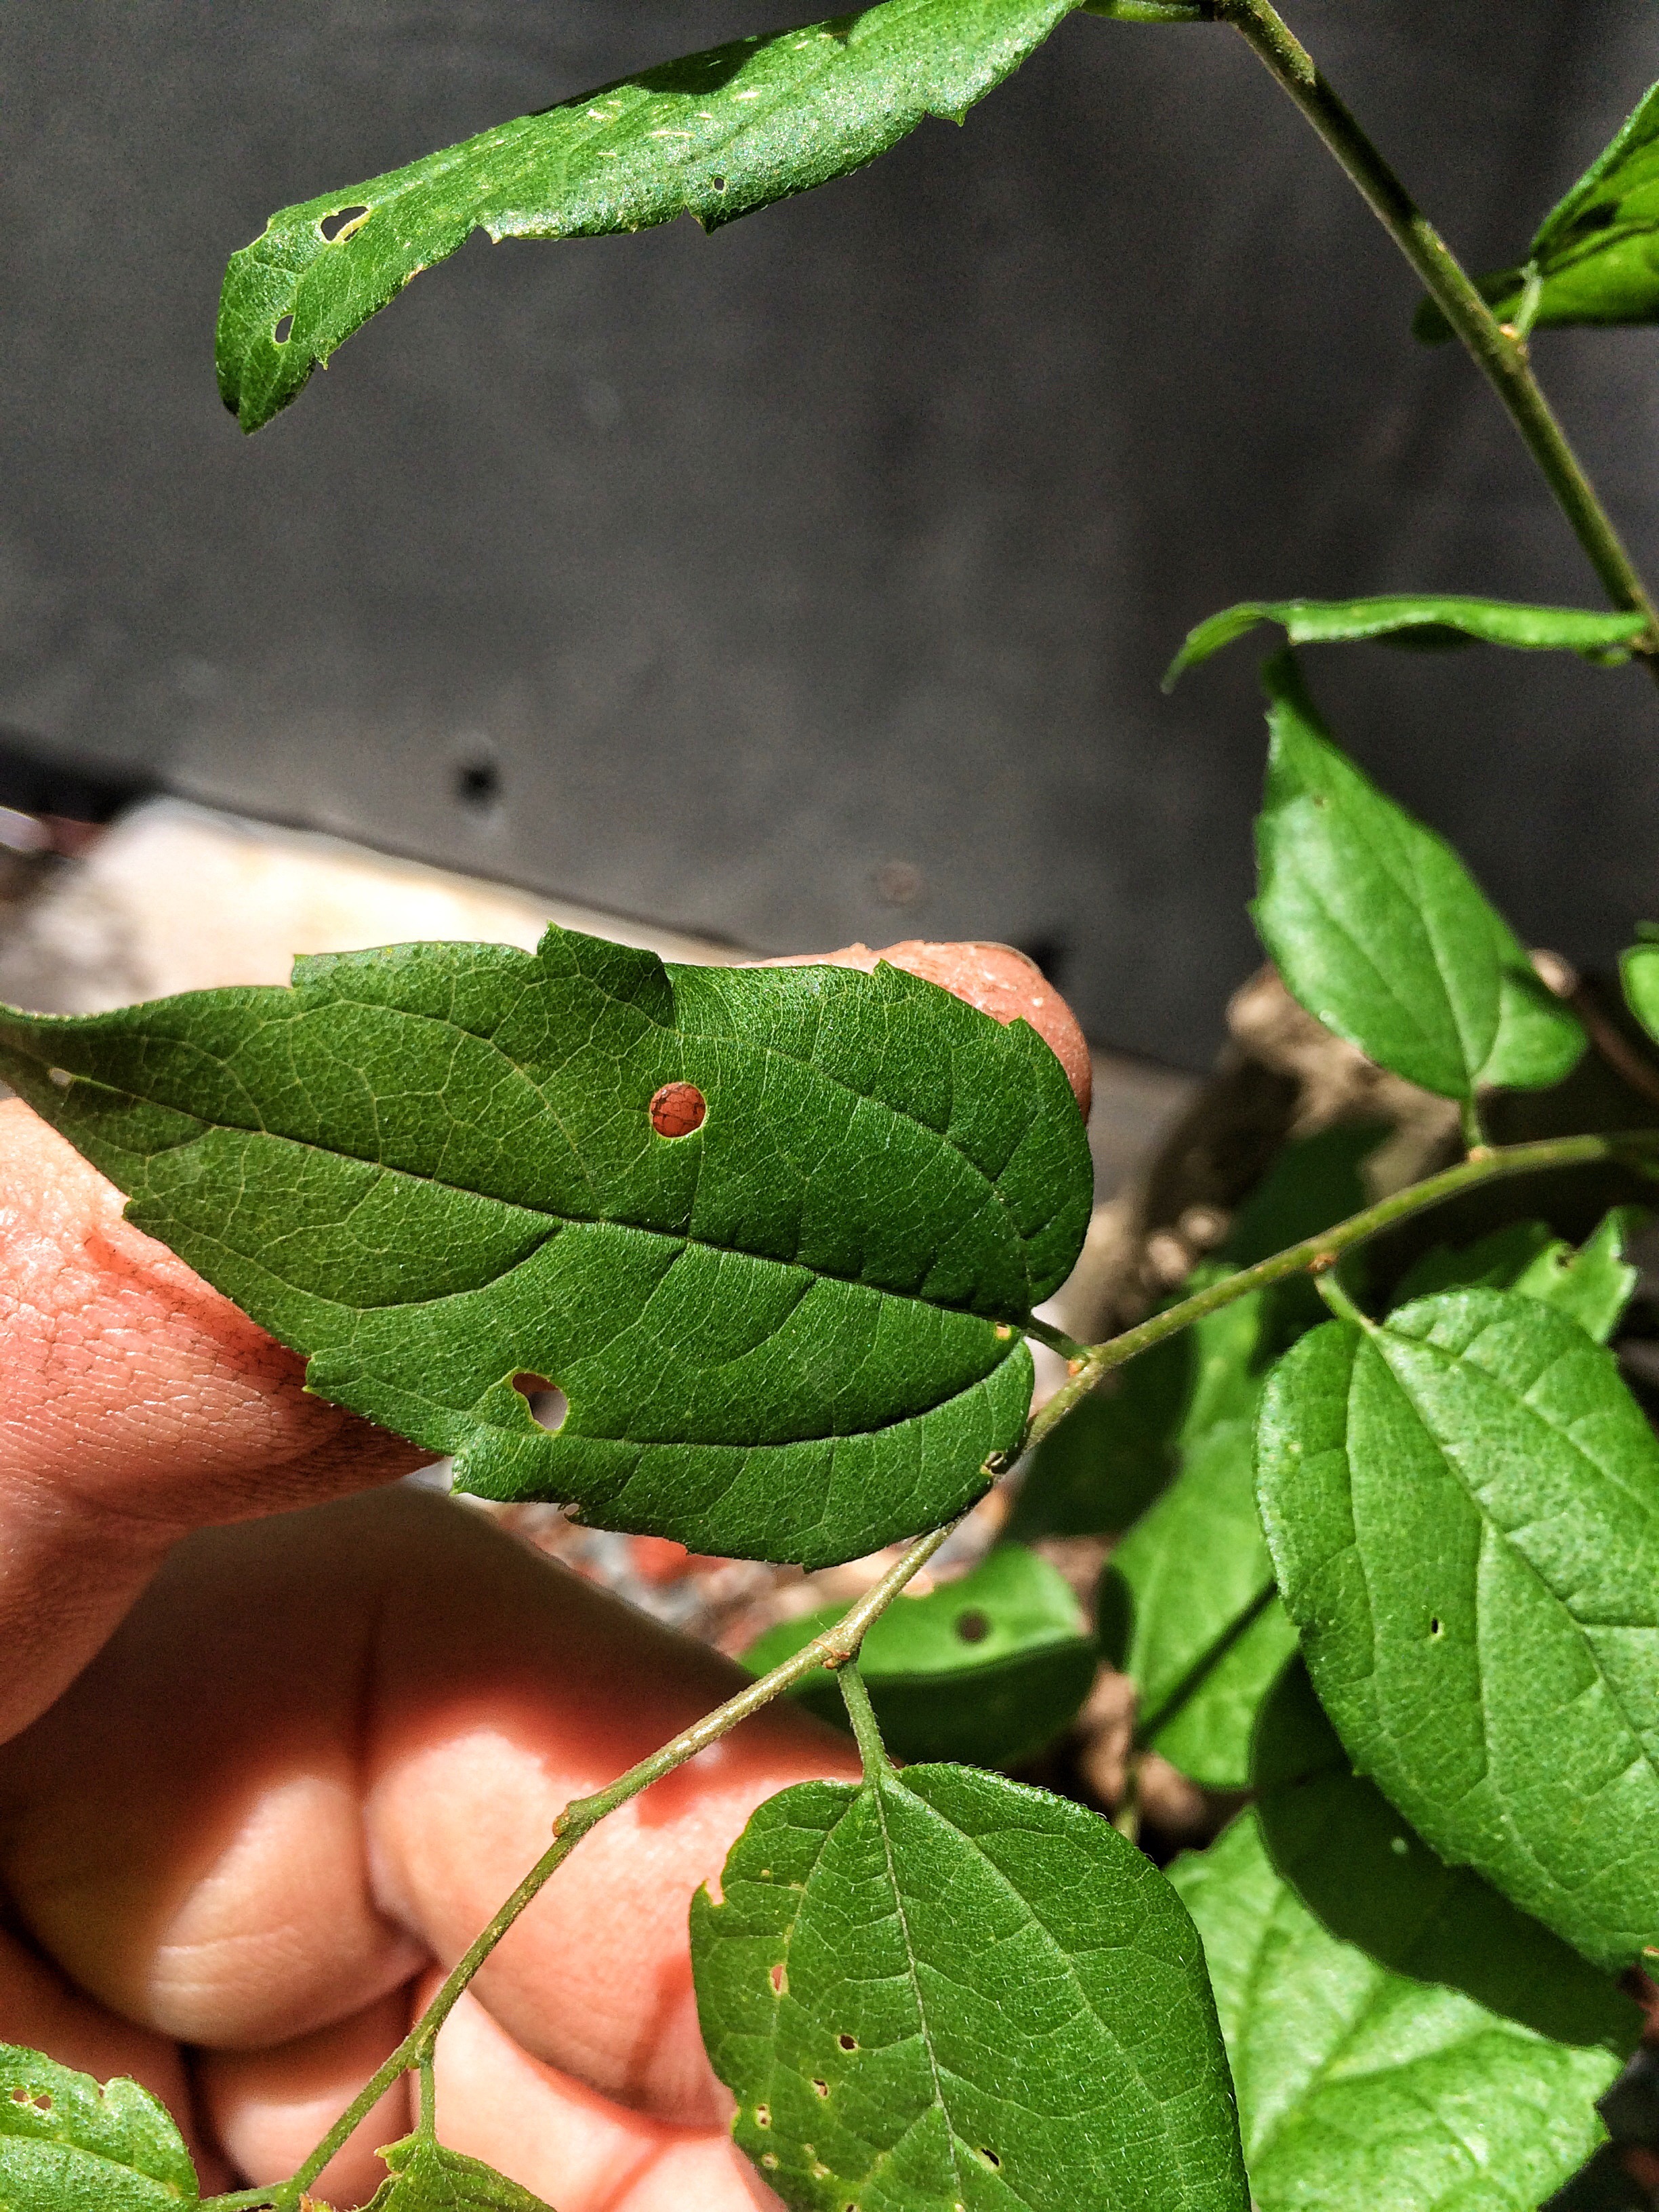
It also looks like I need to do some bug killing.
 I have anothe southern hackberry that needs to be perfect in about month and a half for the Bsf convention.
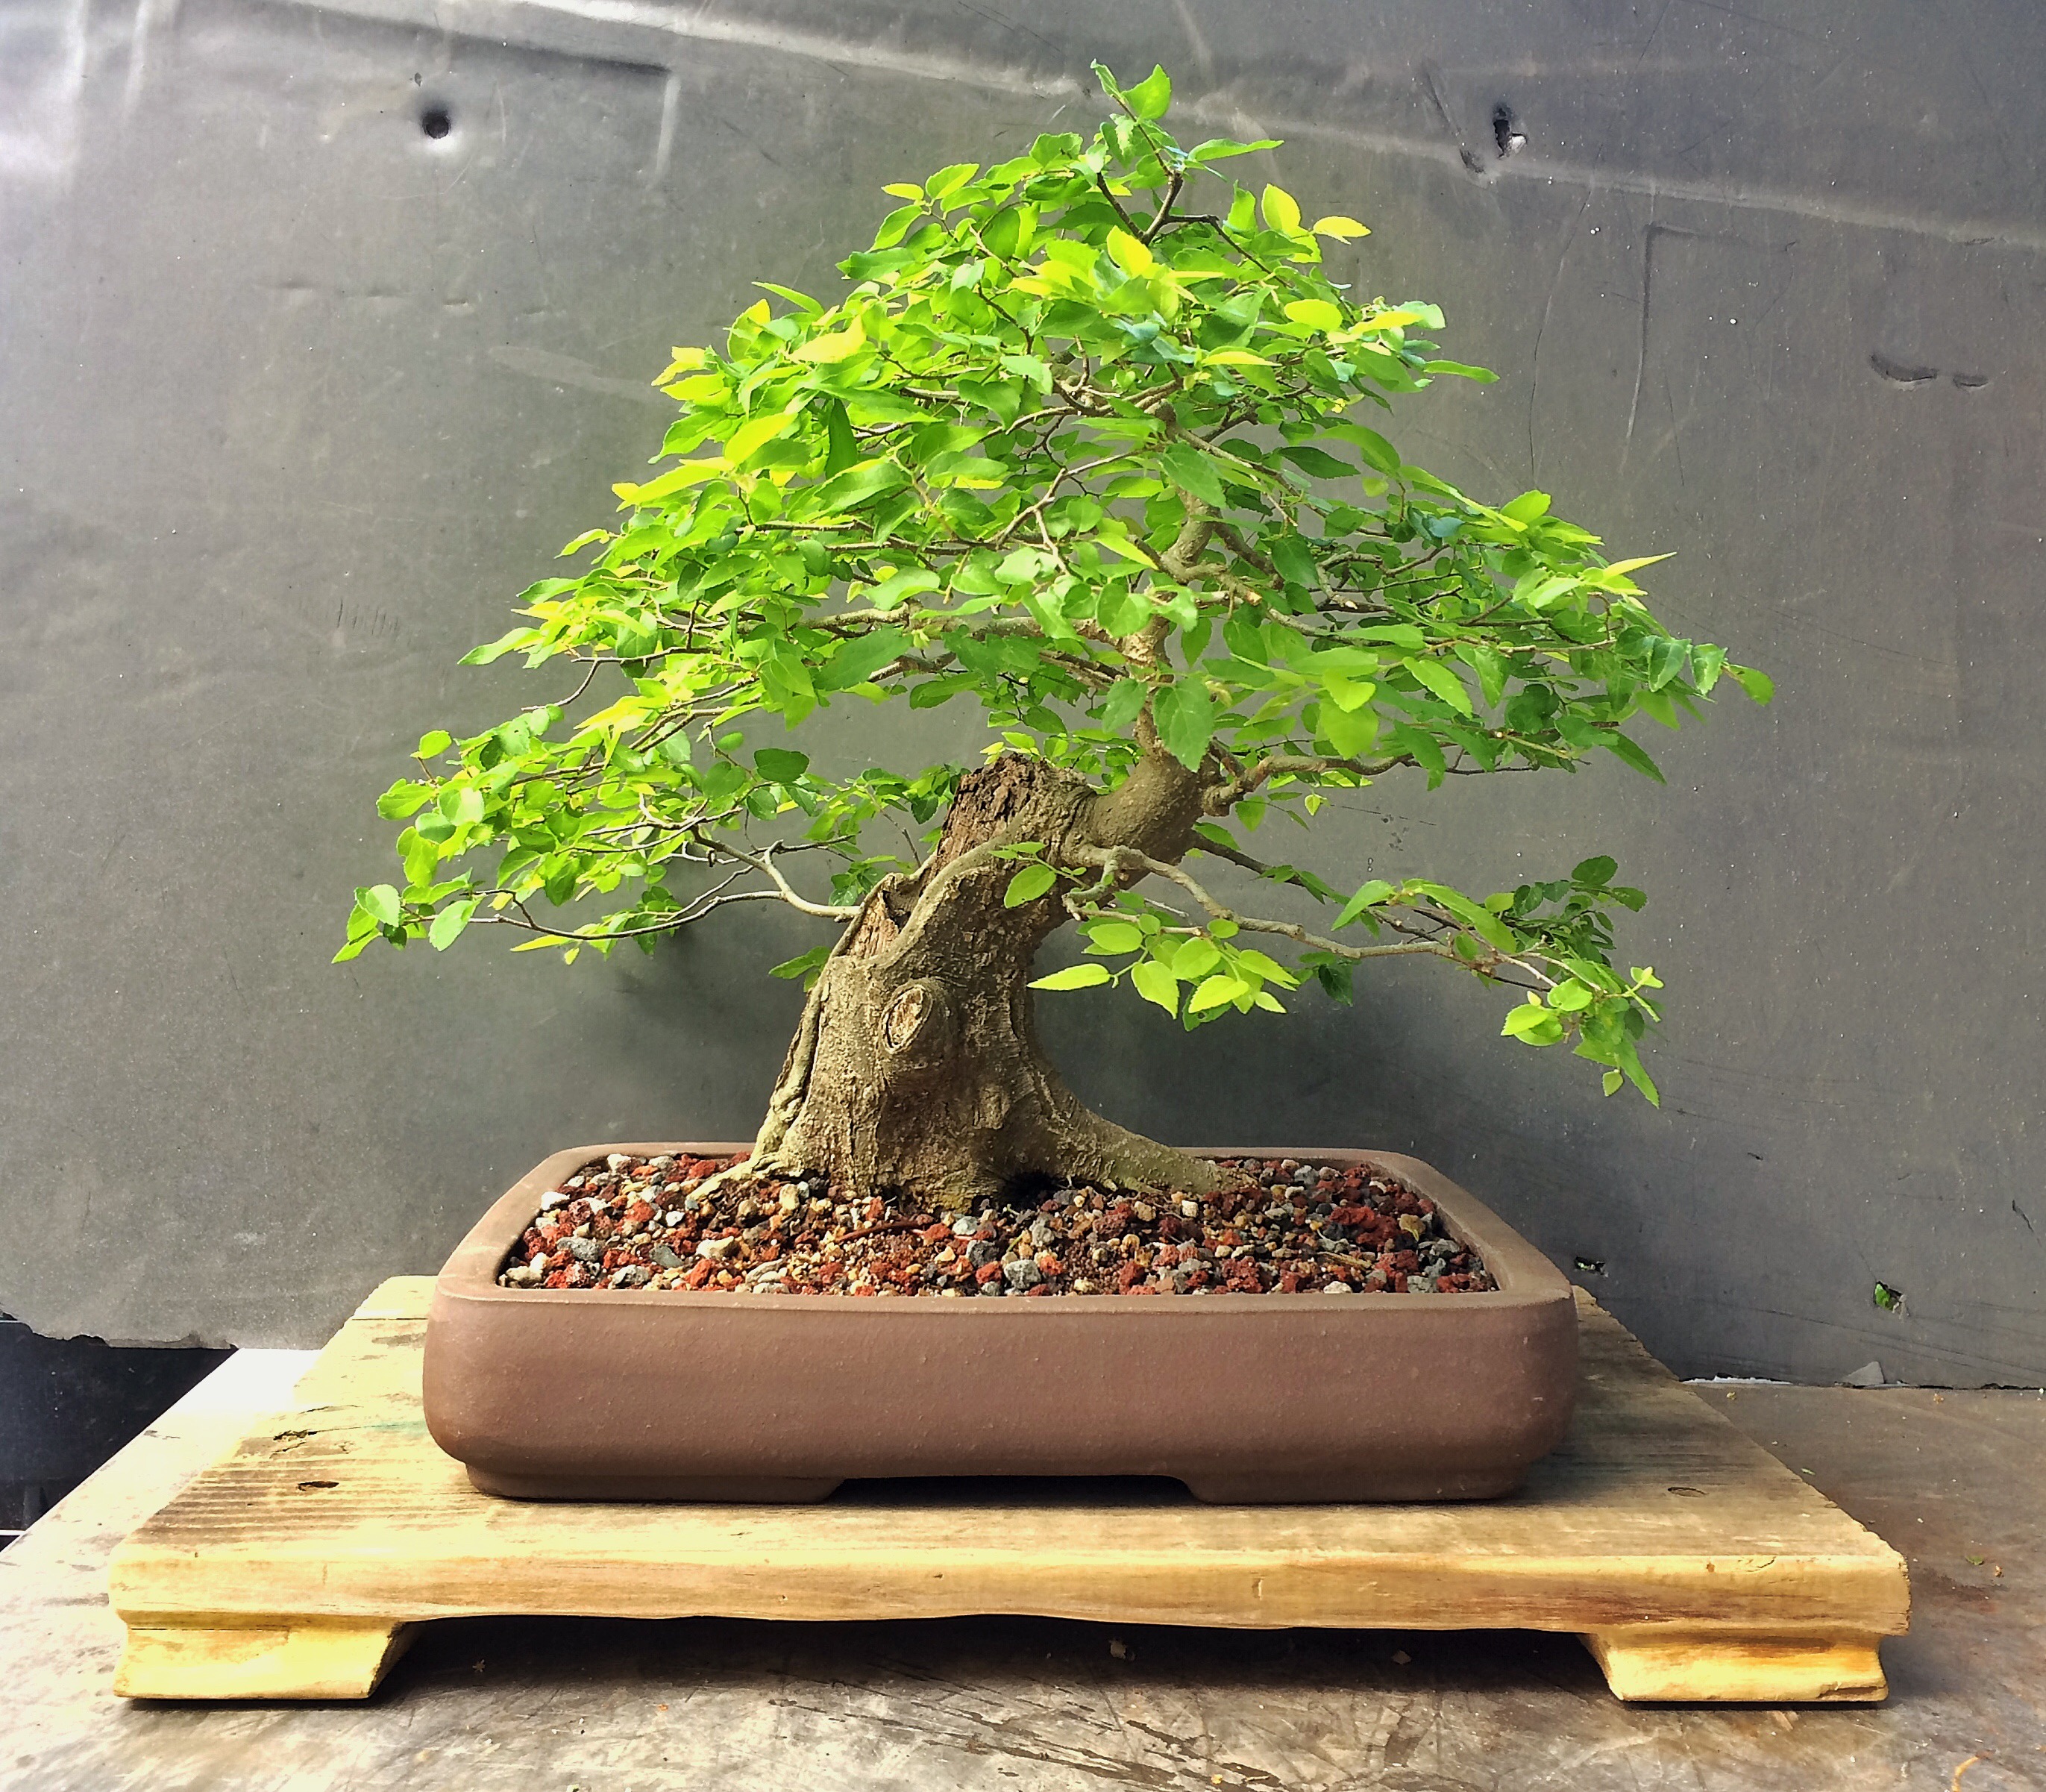 You’ve seen it before in this post. And just like today’s tree, it had humble beginnings.
 And I treated it just like I’ll be treating our current victim.
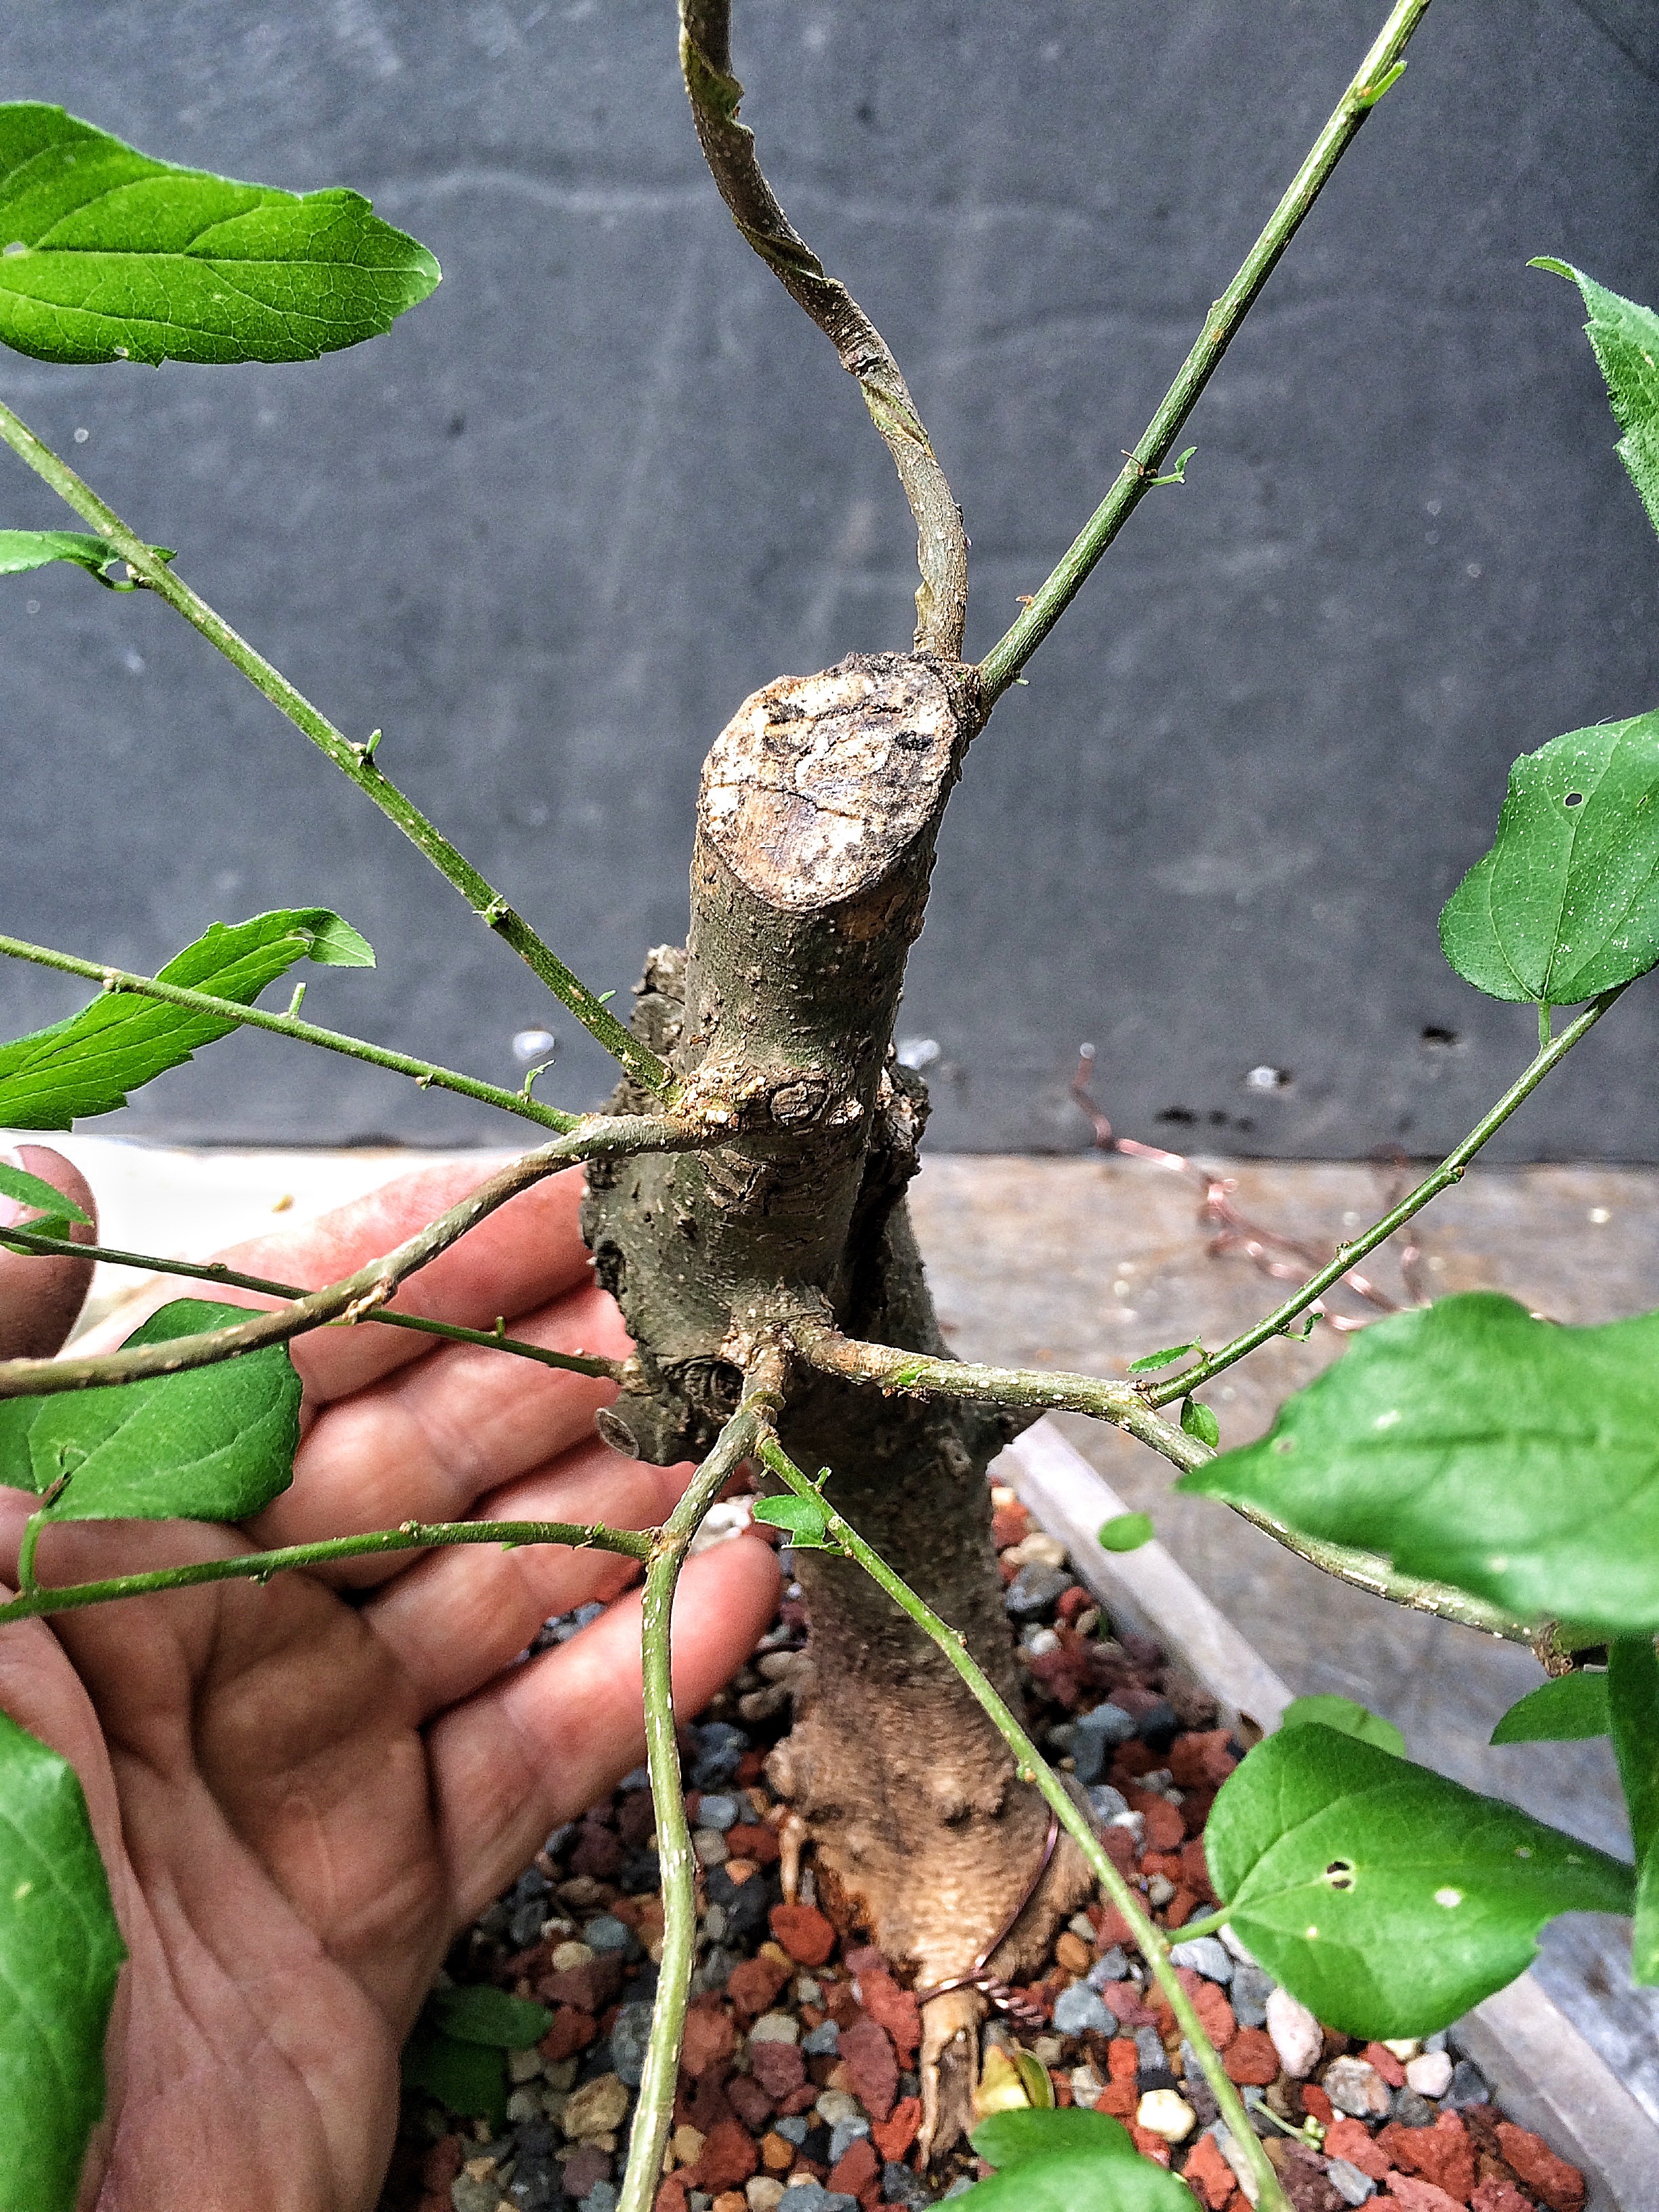
 First step, remove the wire and defoliate the inner leaves. You’ll notice the wire scars, don’t worry, this tree will grow them out.
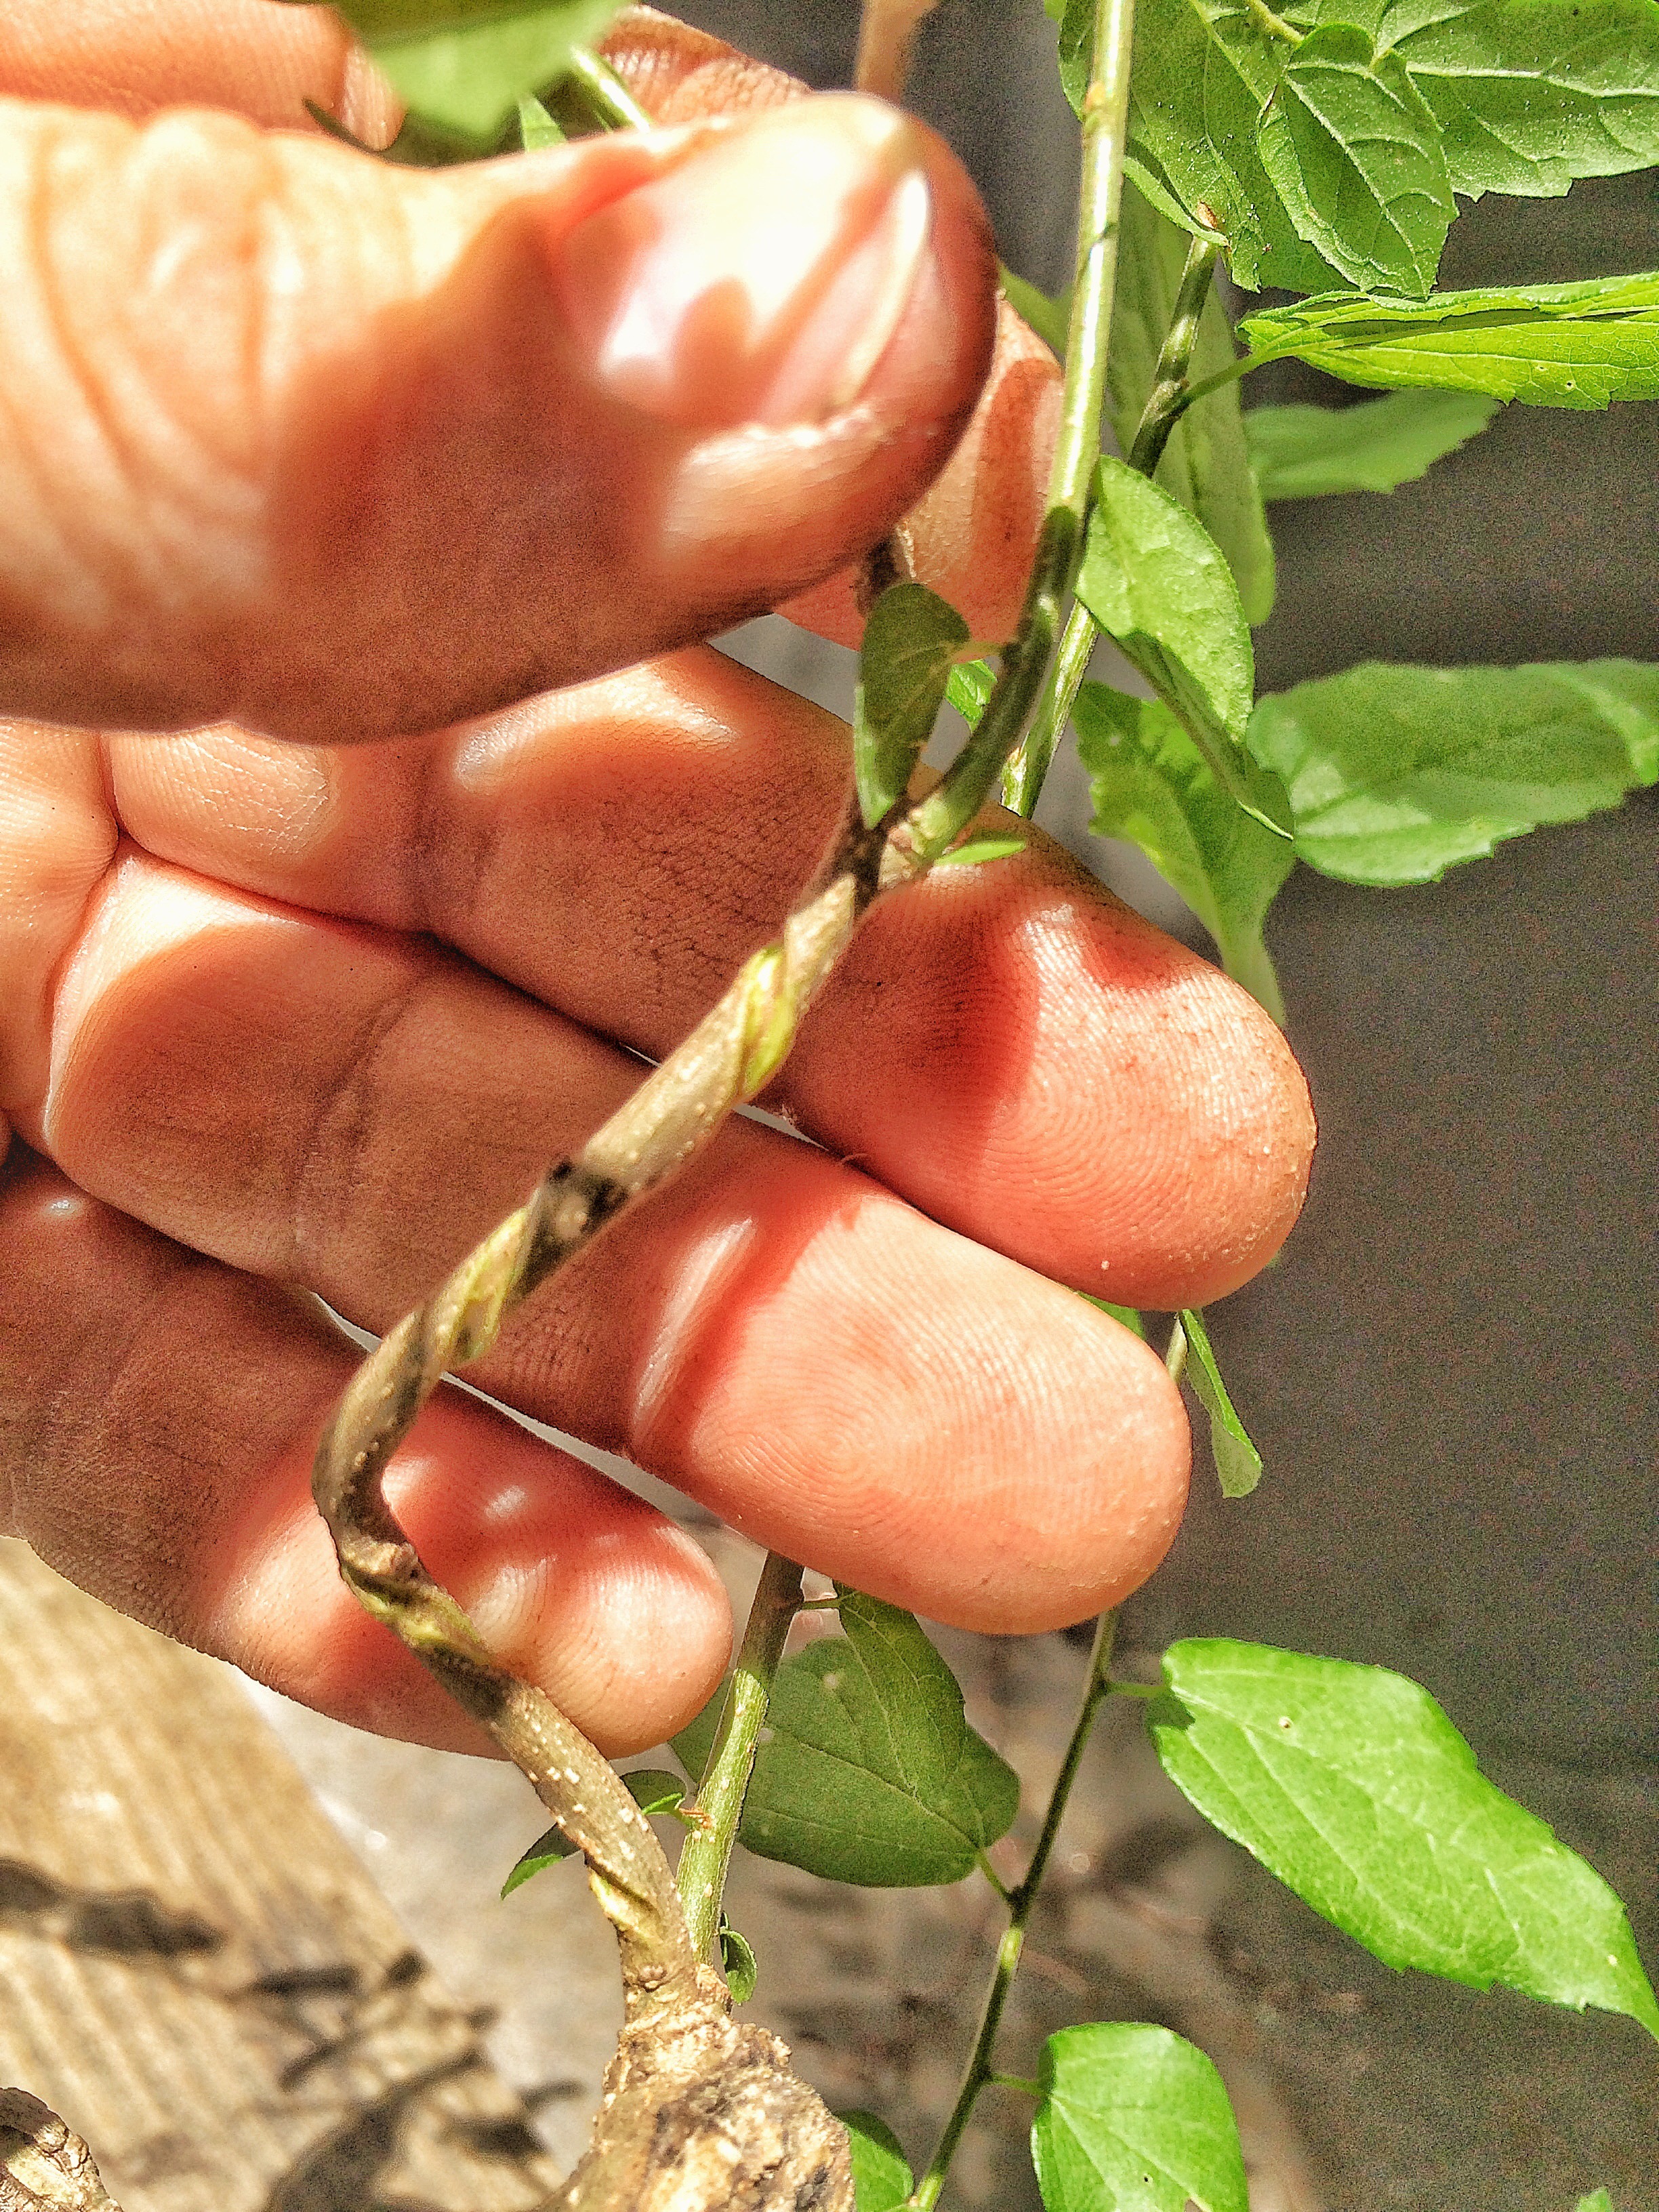
Clip clip clip.
 I normally wouldn’t do a total defoliation at this time because the tree just used a lot of sugar reserves (energy) growing all the new foliage and branches. By performing a partial defoliation and keeping some leaves and growing tips intact, I’ll be able to jumpstart a second growth spurt. I’ll also be fertilizing and watching the watering too. Disclaimer! Don’t do this on a sick or weak tree, a steak dinner and heavy exercise is not good advice for a sick man, or a tree for that matter. Fertilizer forces the tree to use energy it might not have, to grow, and cutting off all the leaves or branches (how plants make food) make for a serious one/two punch that could kill your tree.
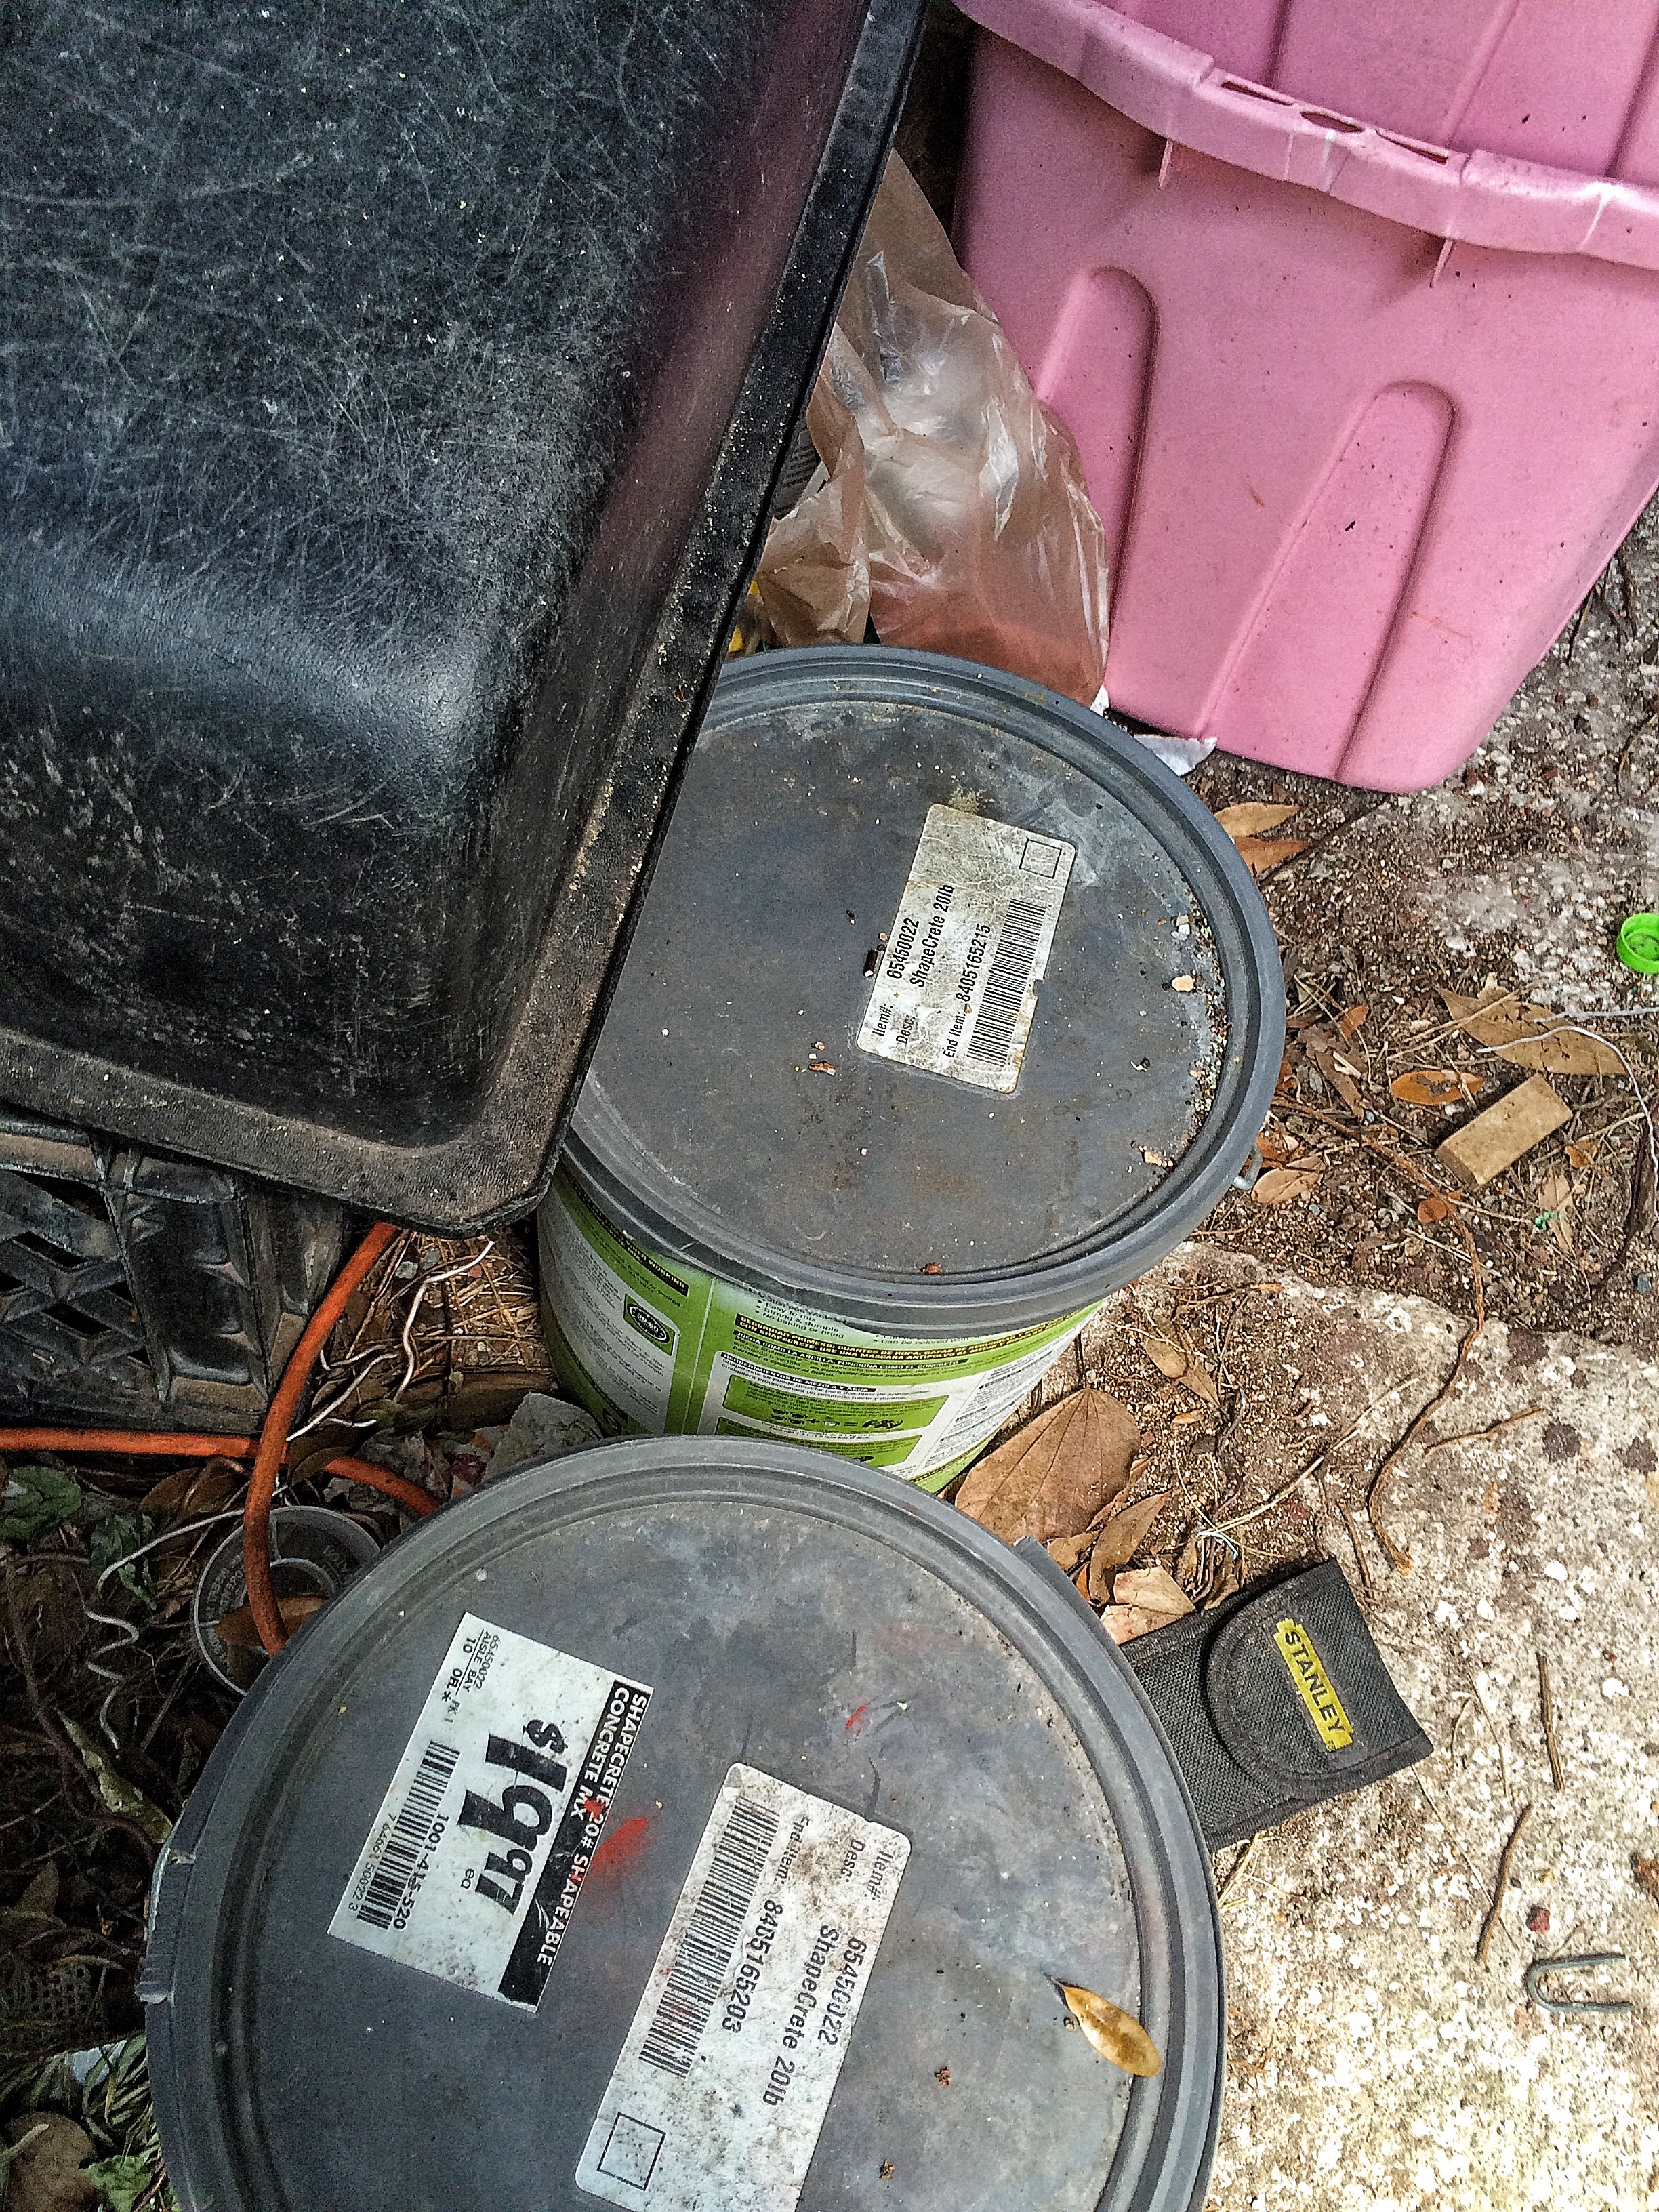
This isn’t a weak tree. Now…..where’s my bucket of wire? Not here…….damn, it’s in the wife’s car.
 I drove it up to Tallahassee for a workshop and I’ve been lazy and haven’t cleaned it out for her.
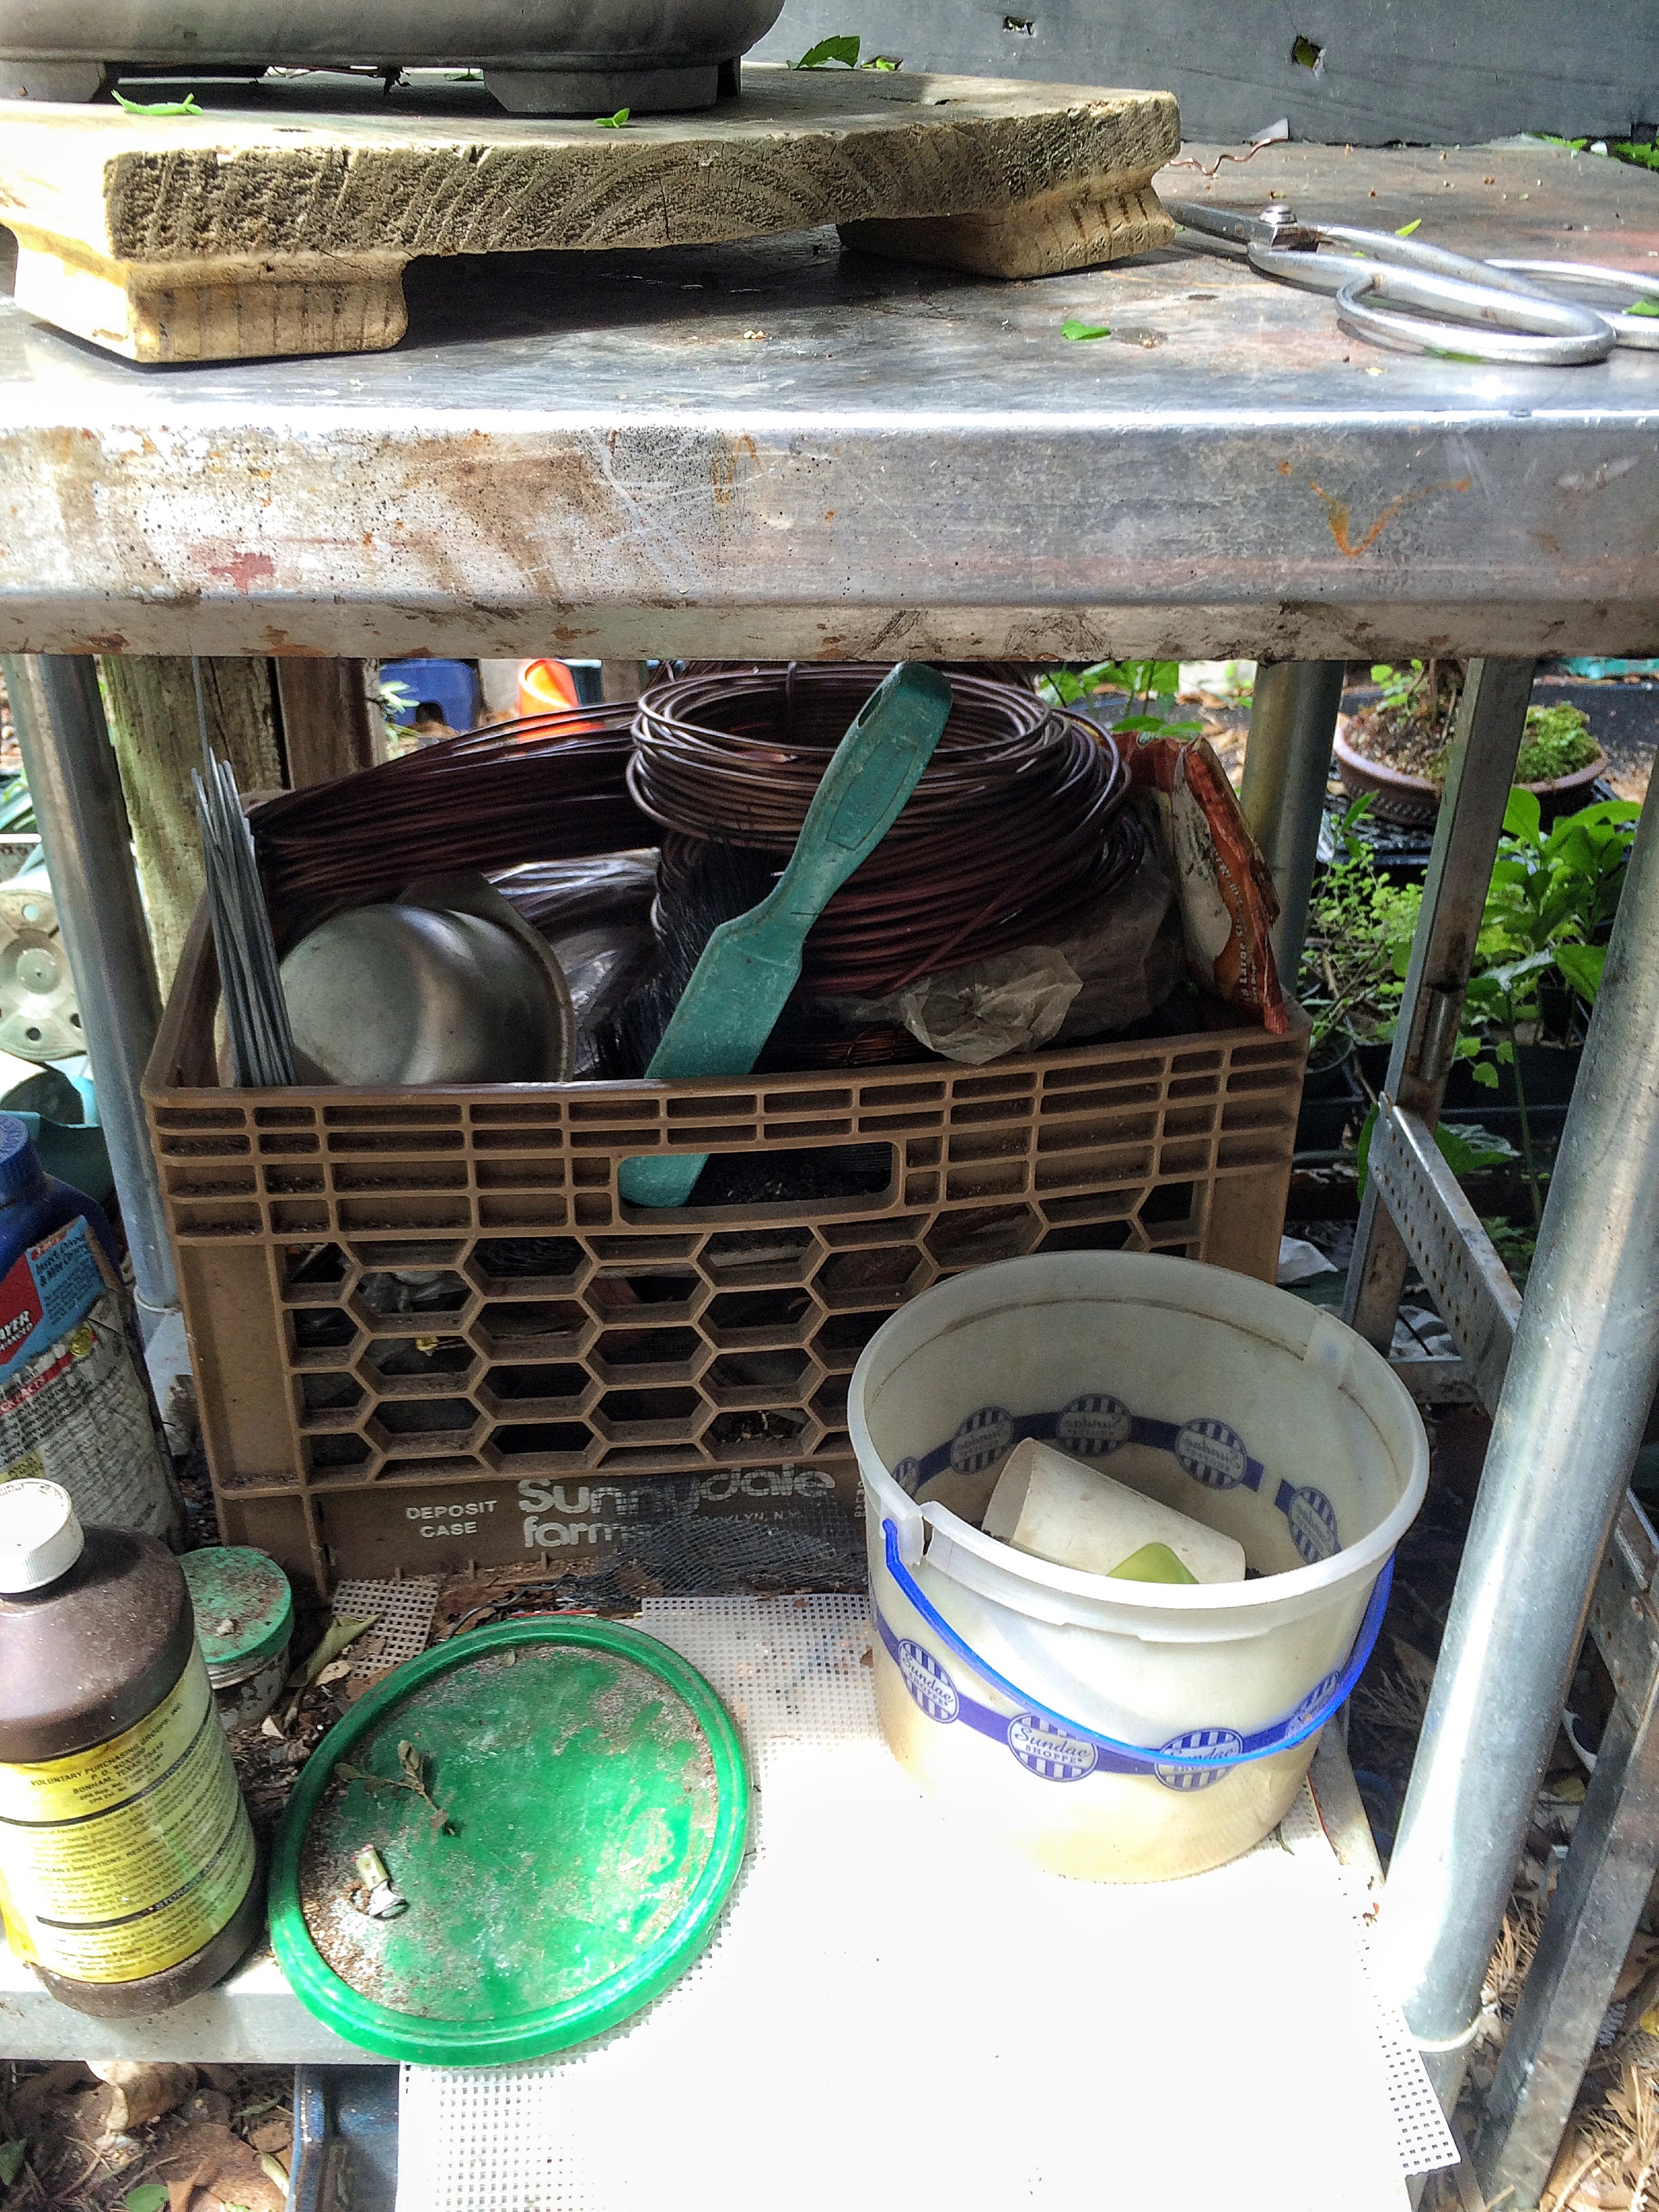
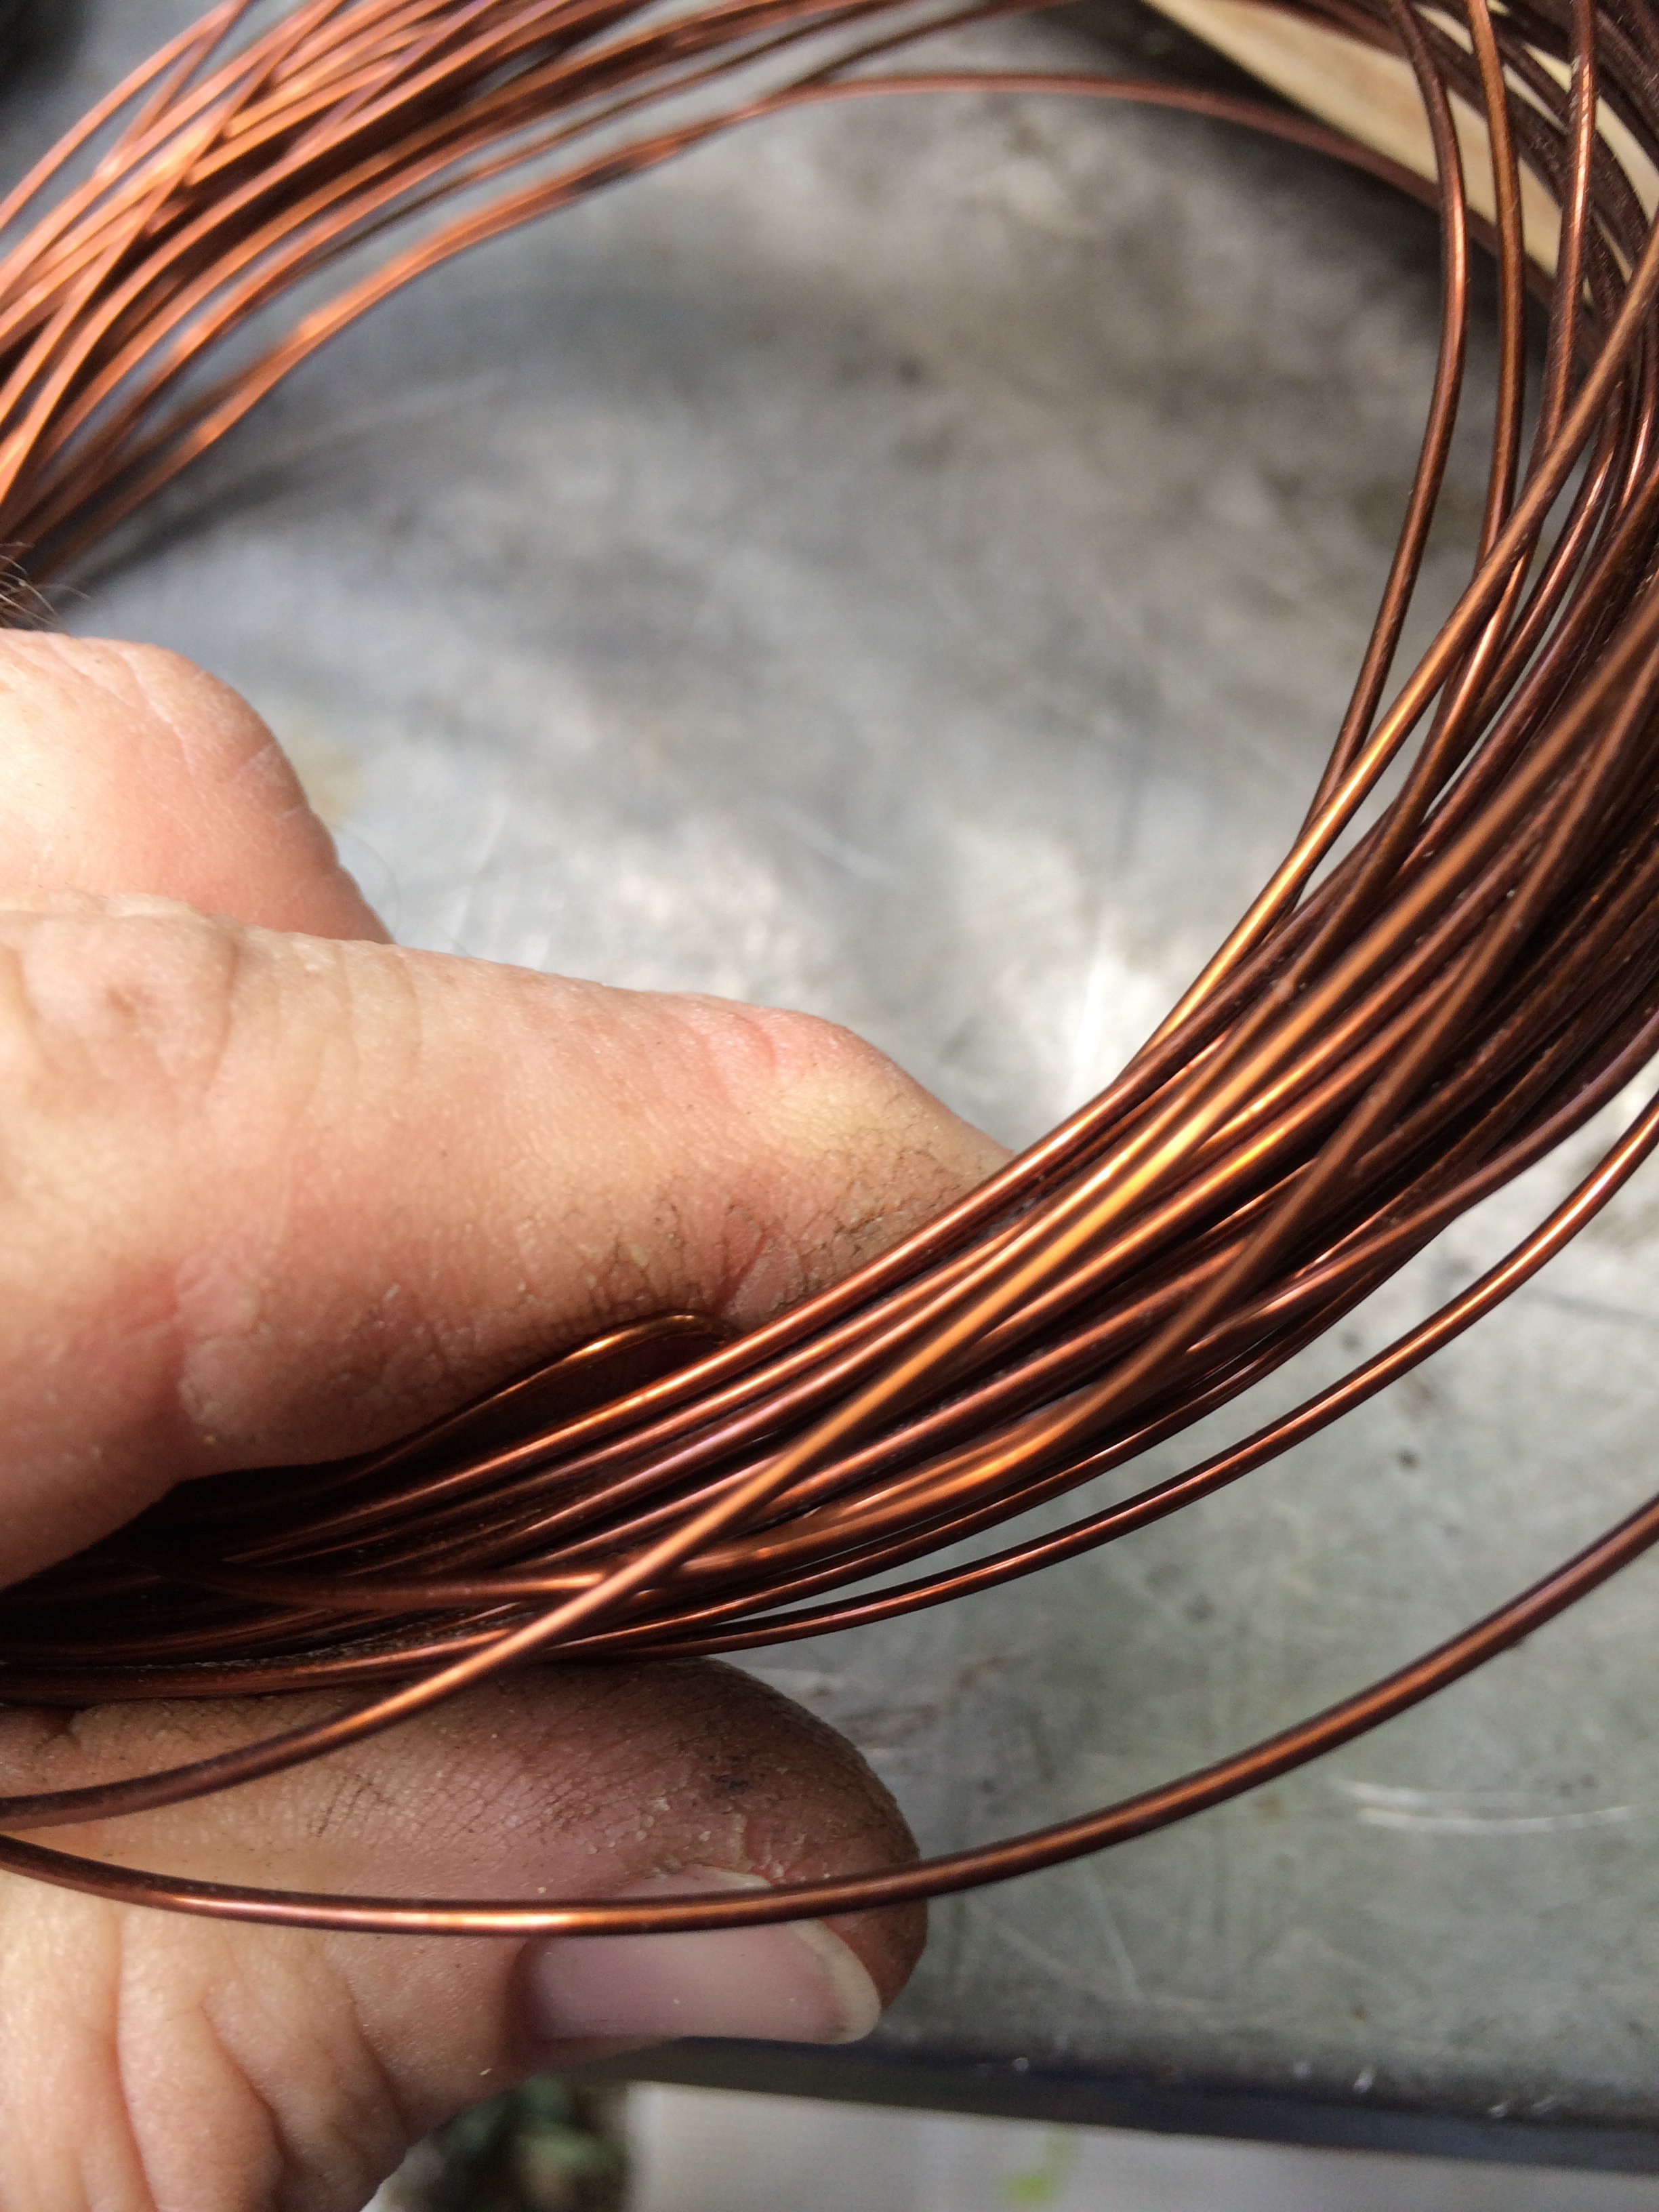
No worries, I keep extra wire under my work table. In case you were wondering what’s under there, here’s a peek. That’s where I keep my best scotch too.
Wire. It seems I have every color aluminum except pink.
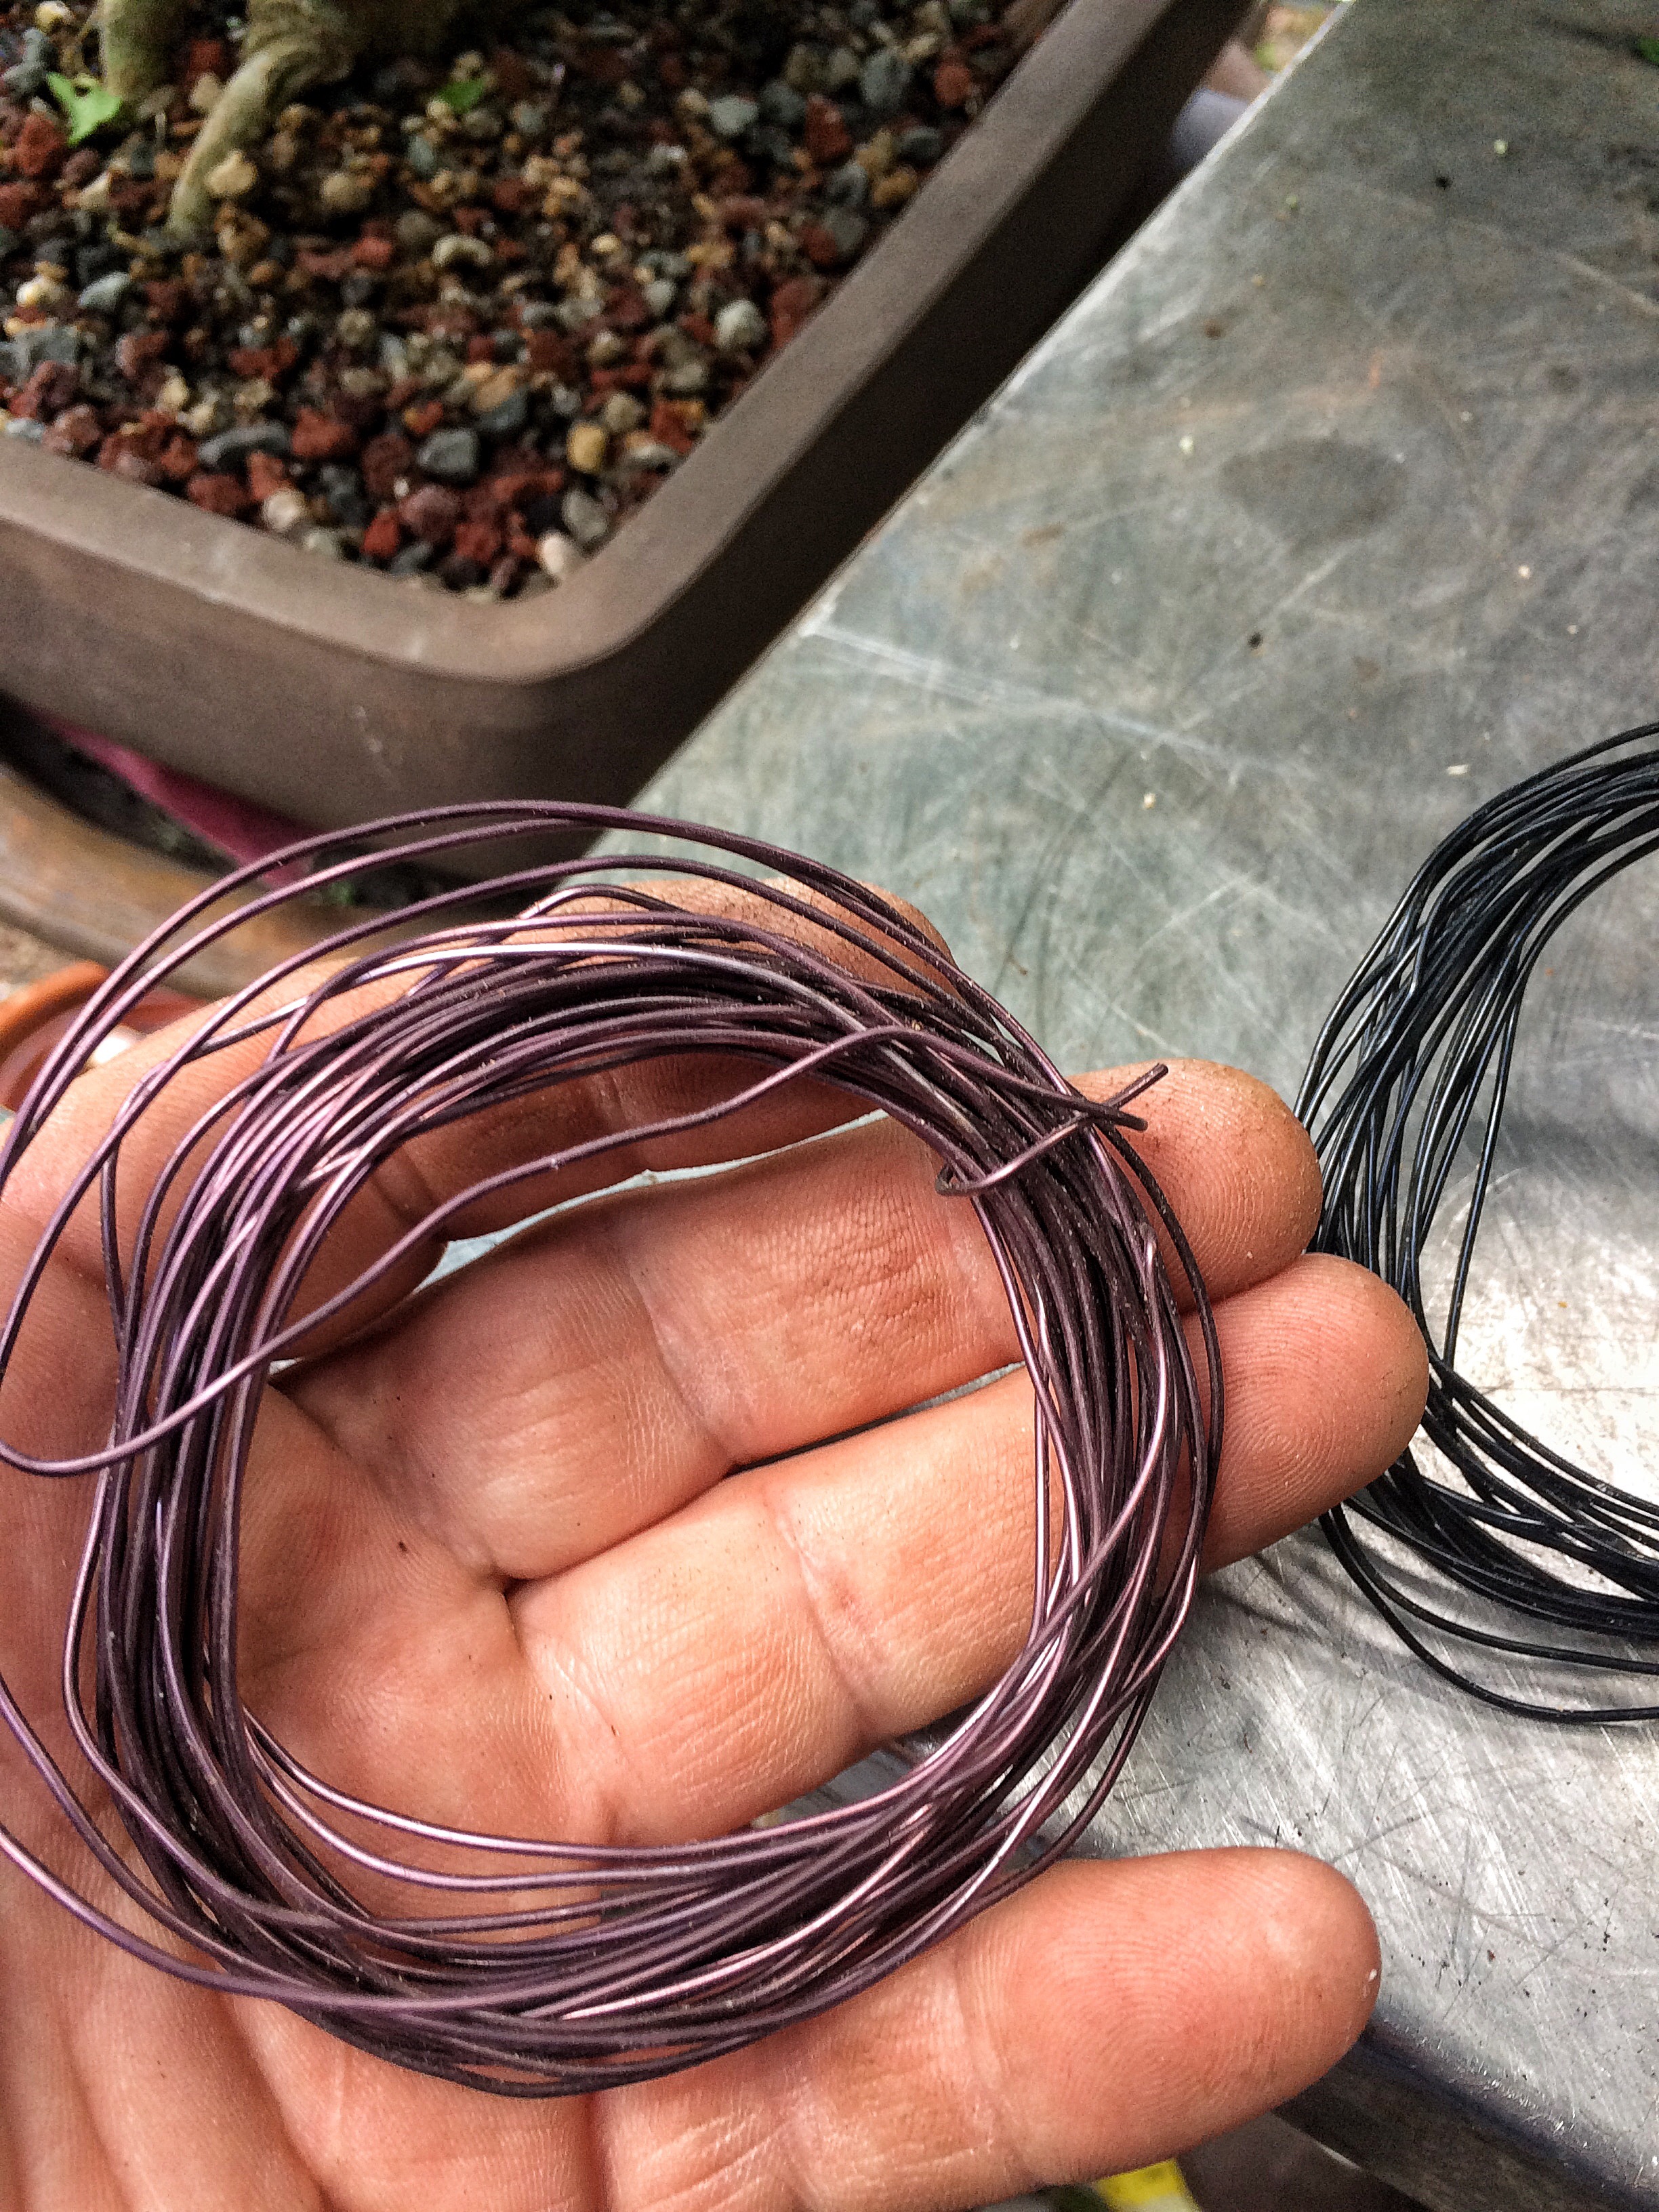
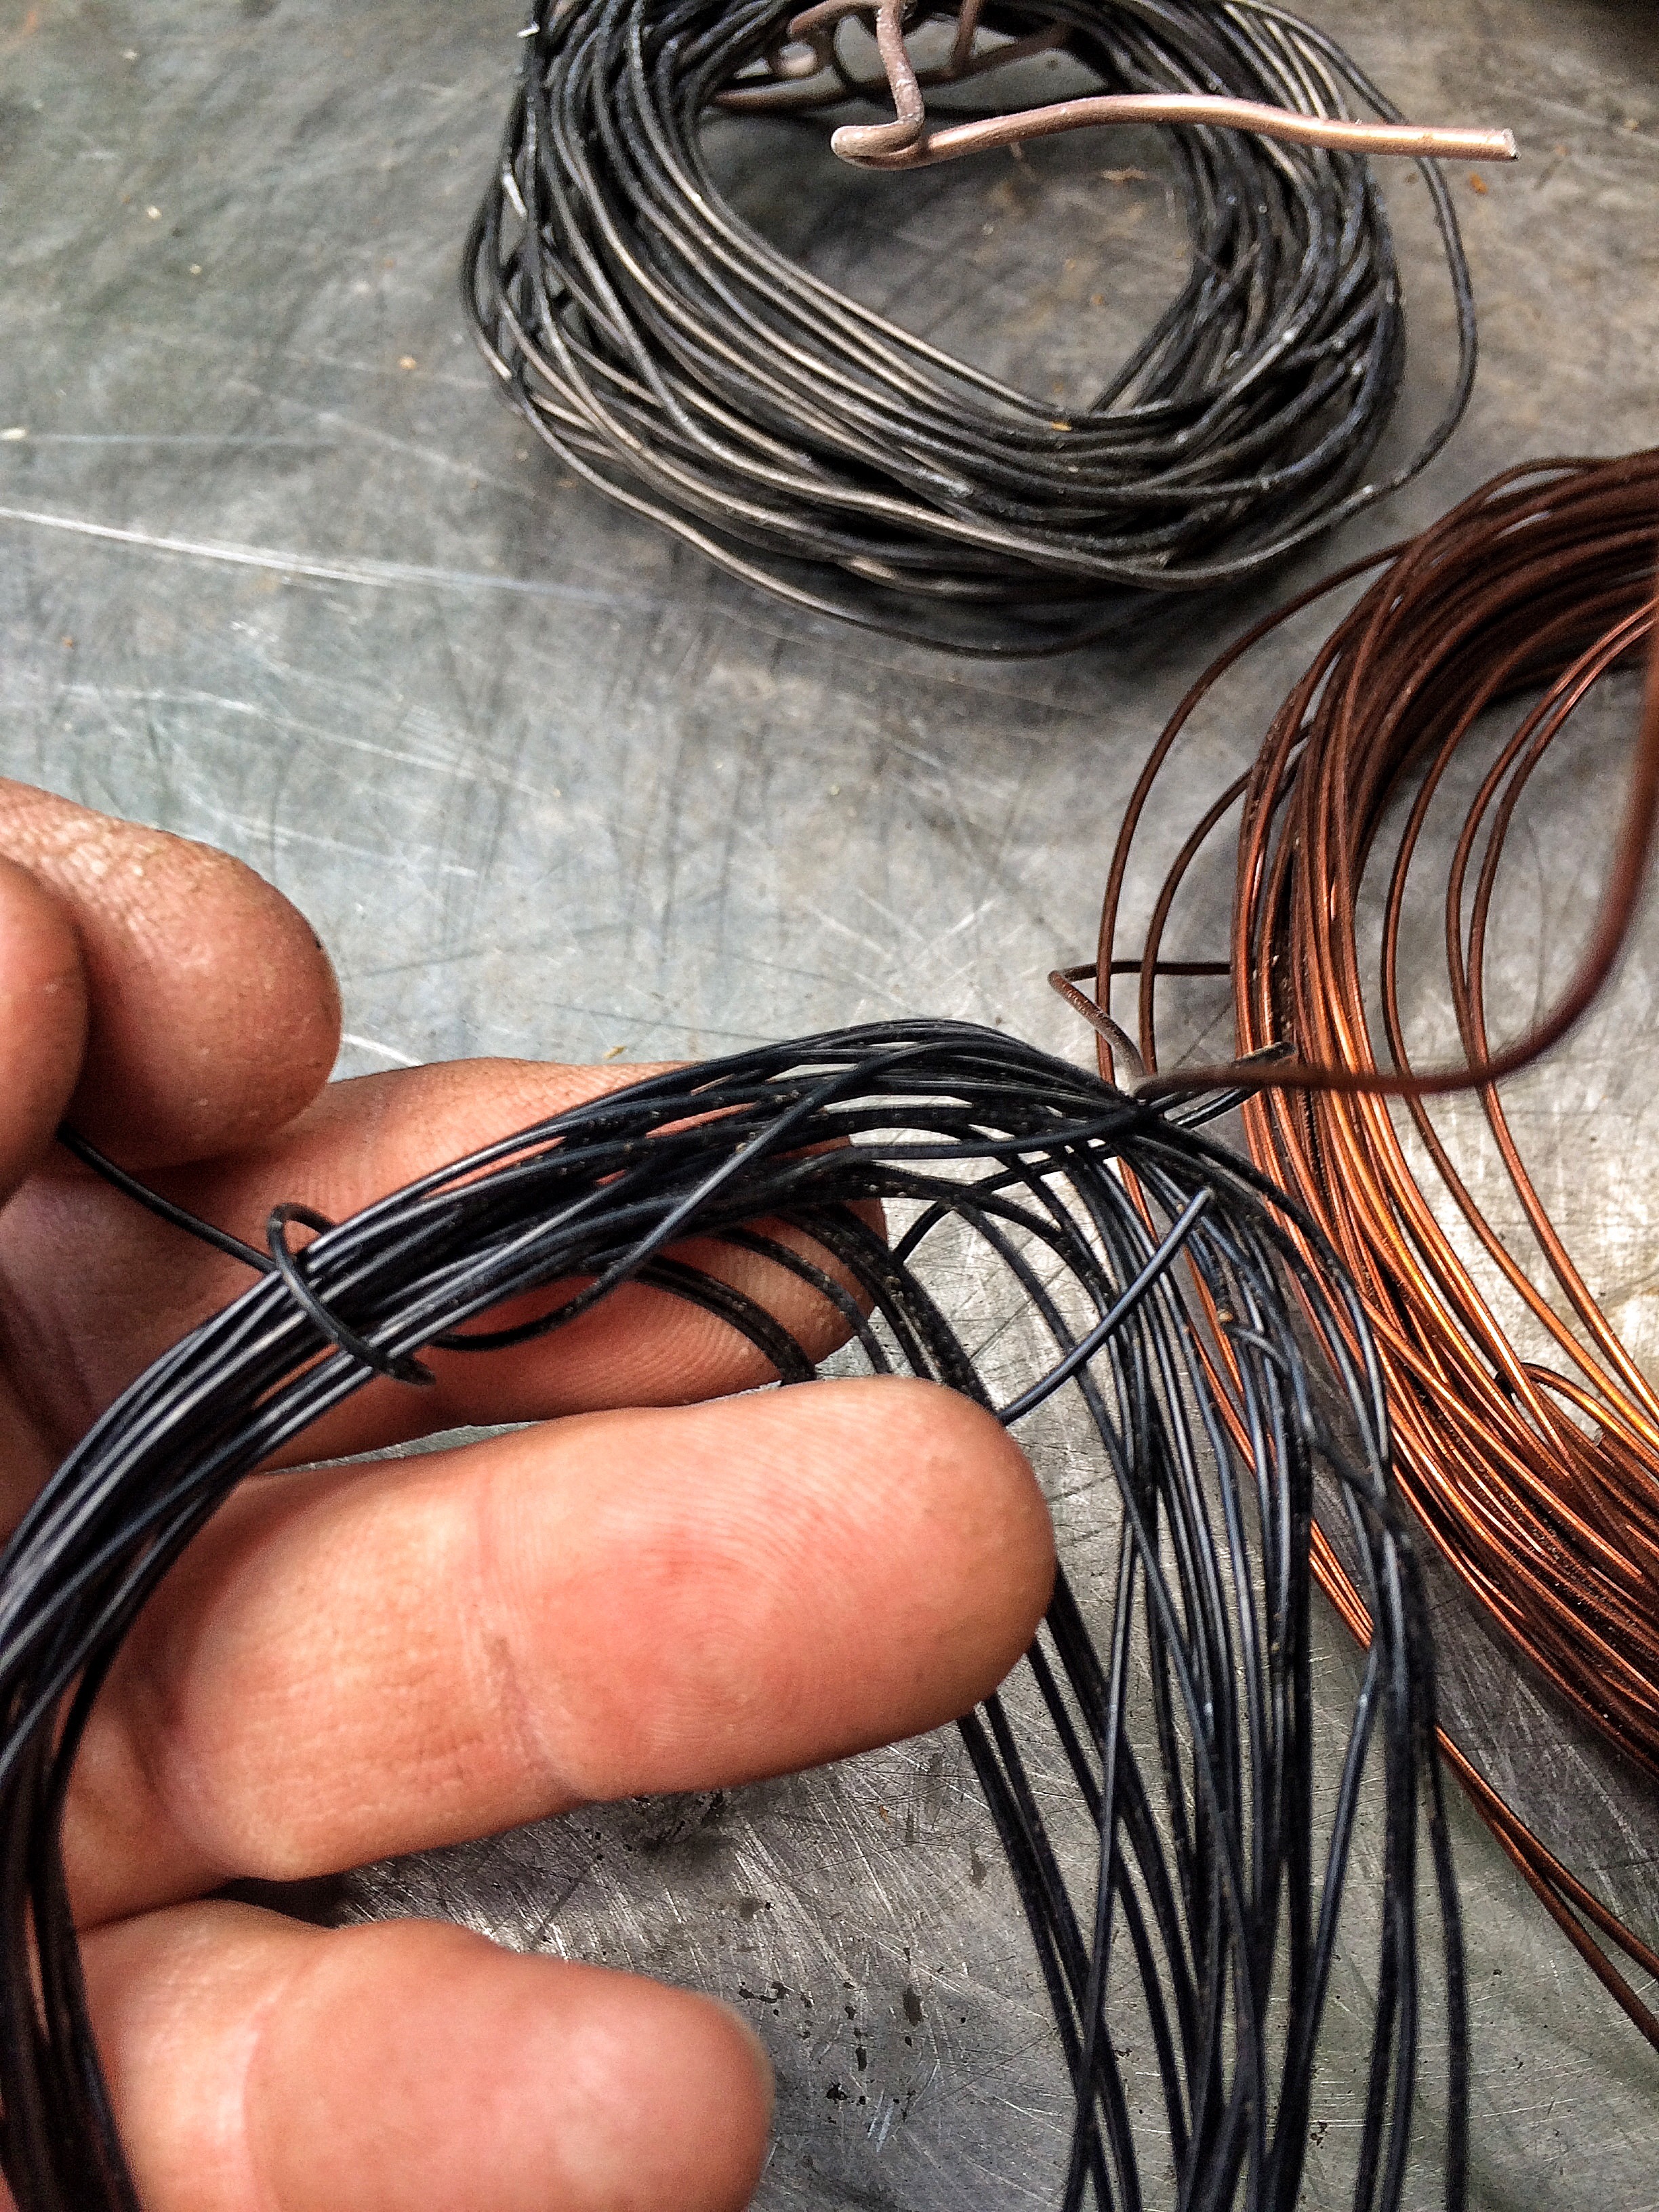
 Purple, black, orange.
I really need the pink wire…..
What matters is that I have 1mm, 1.5mm, 2mm, and 2.5mm. Who cares what color it is. No ones gonna see it. Well, except for the several thousands who’ll read the blog I guess.
My one dilemma is whether or not I should keep this branch. 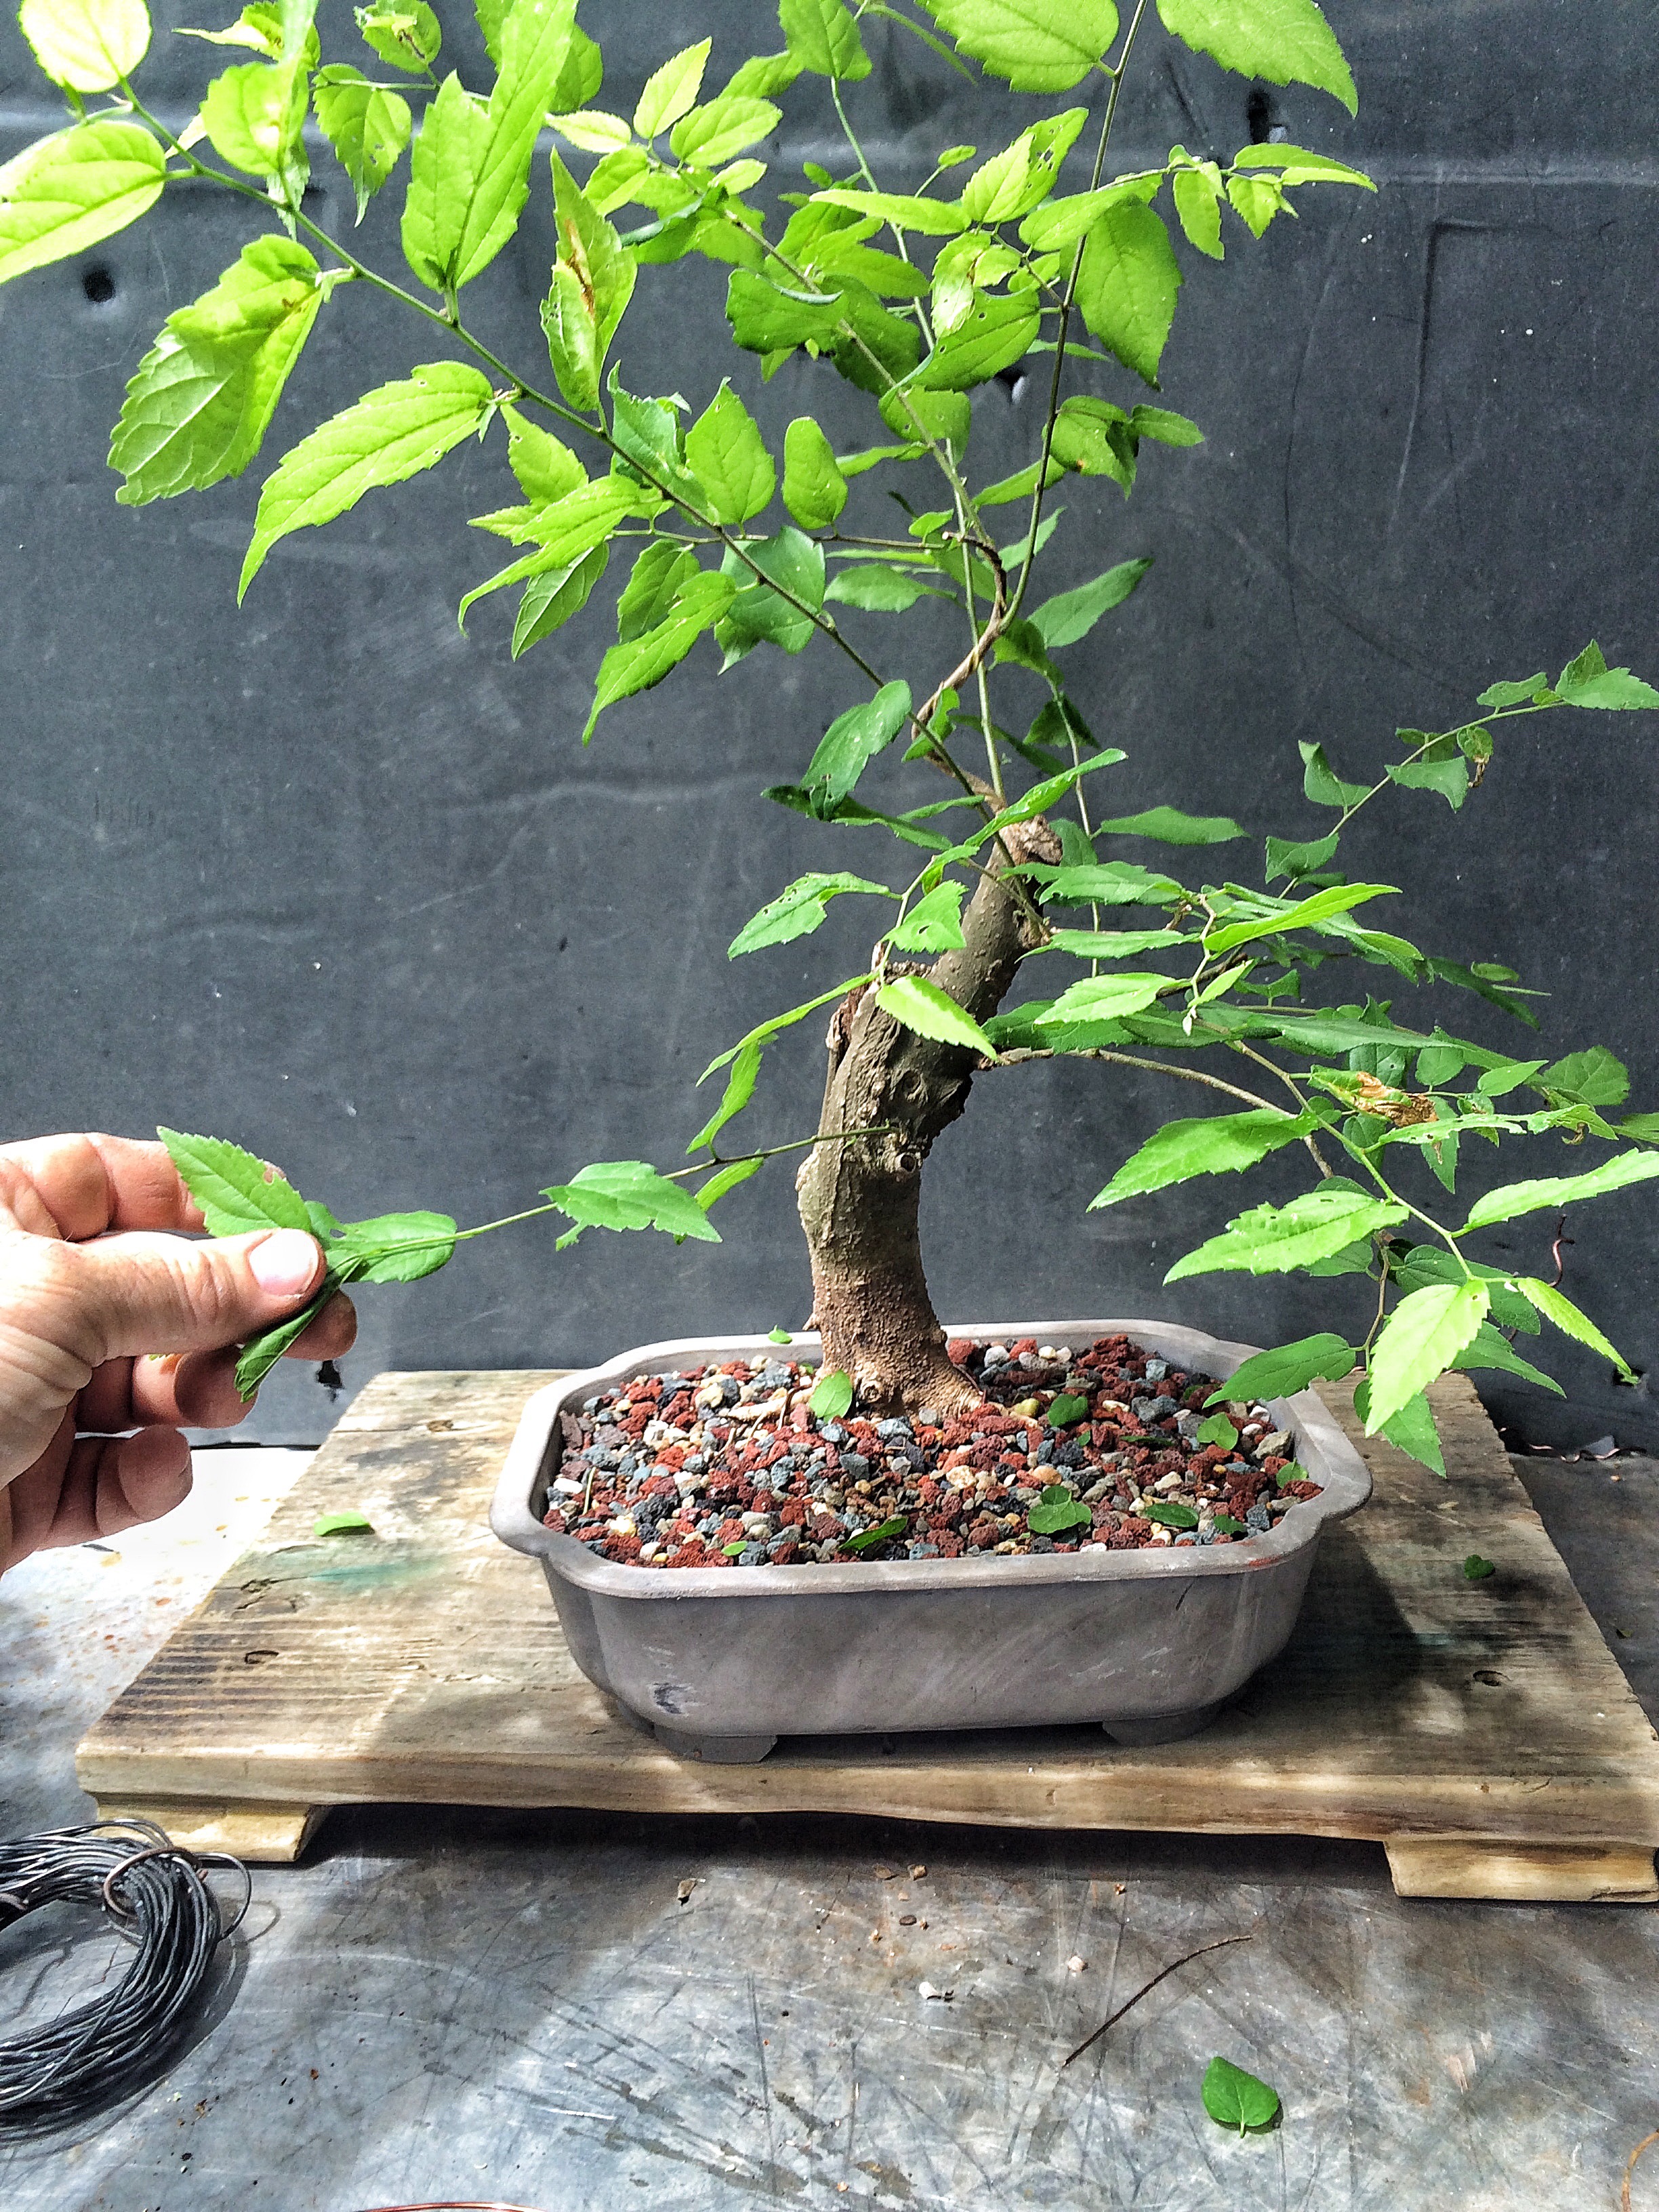 It’s coming right off the front of the tree, which is a no-no in the bonsai circles I frequent.
You know what? I’m keeping it. They don’t call me an iconoclast for nothing. 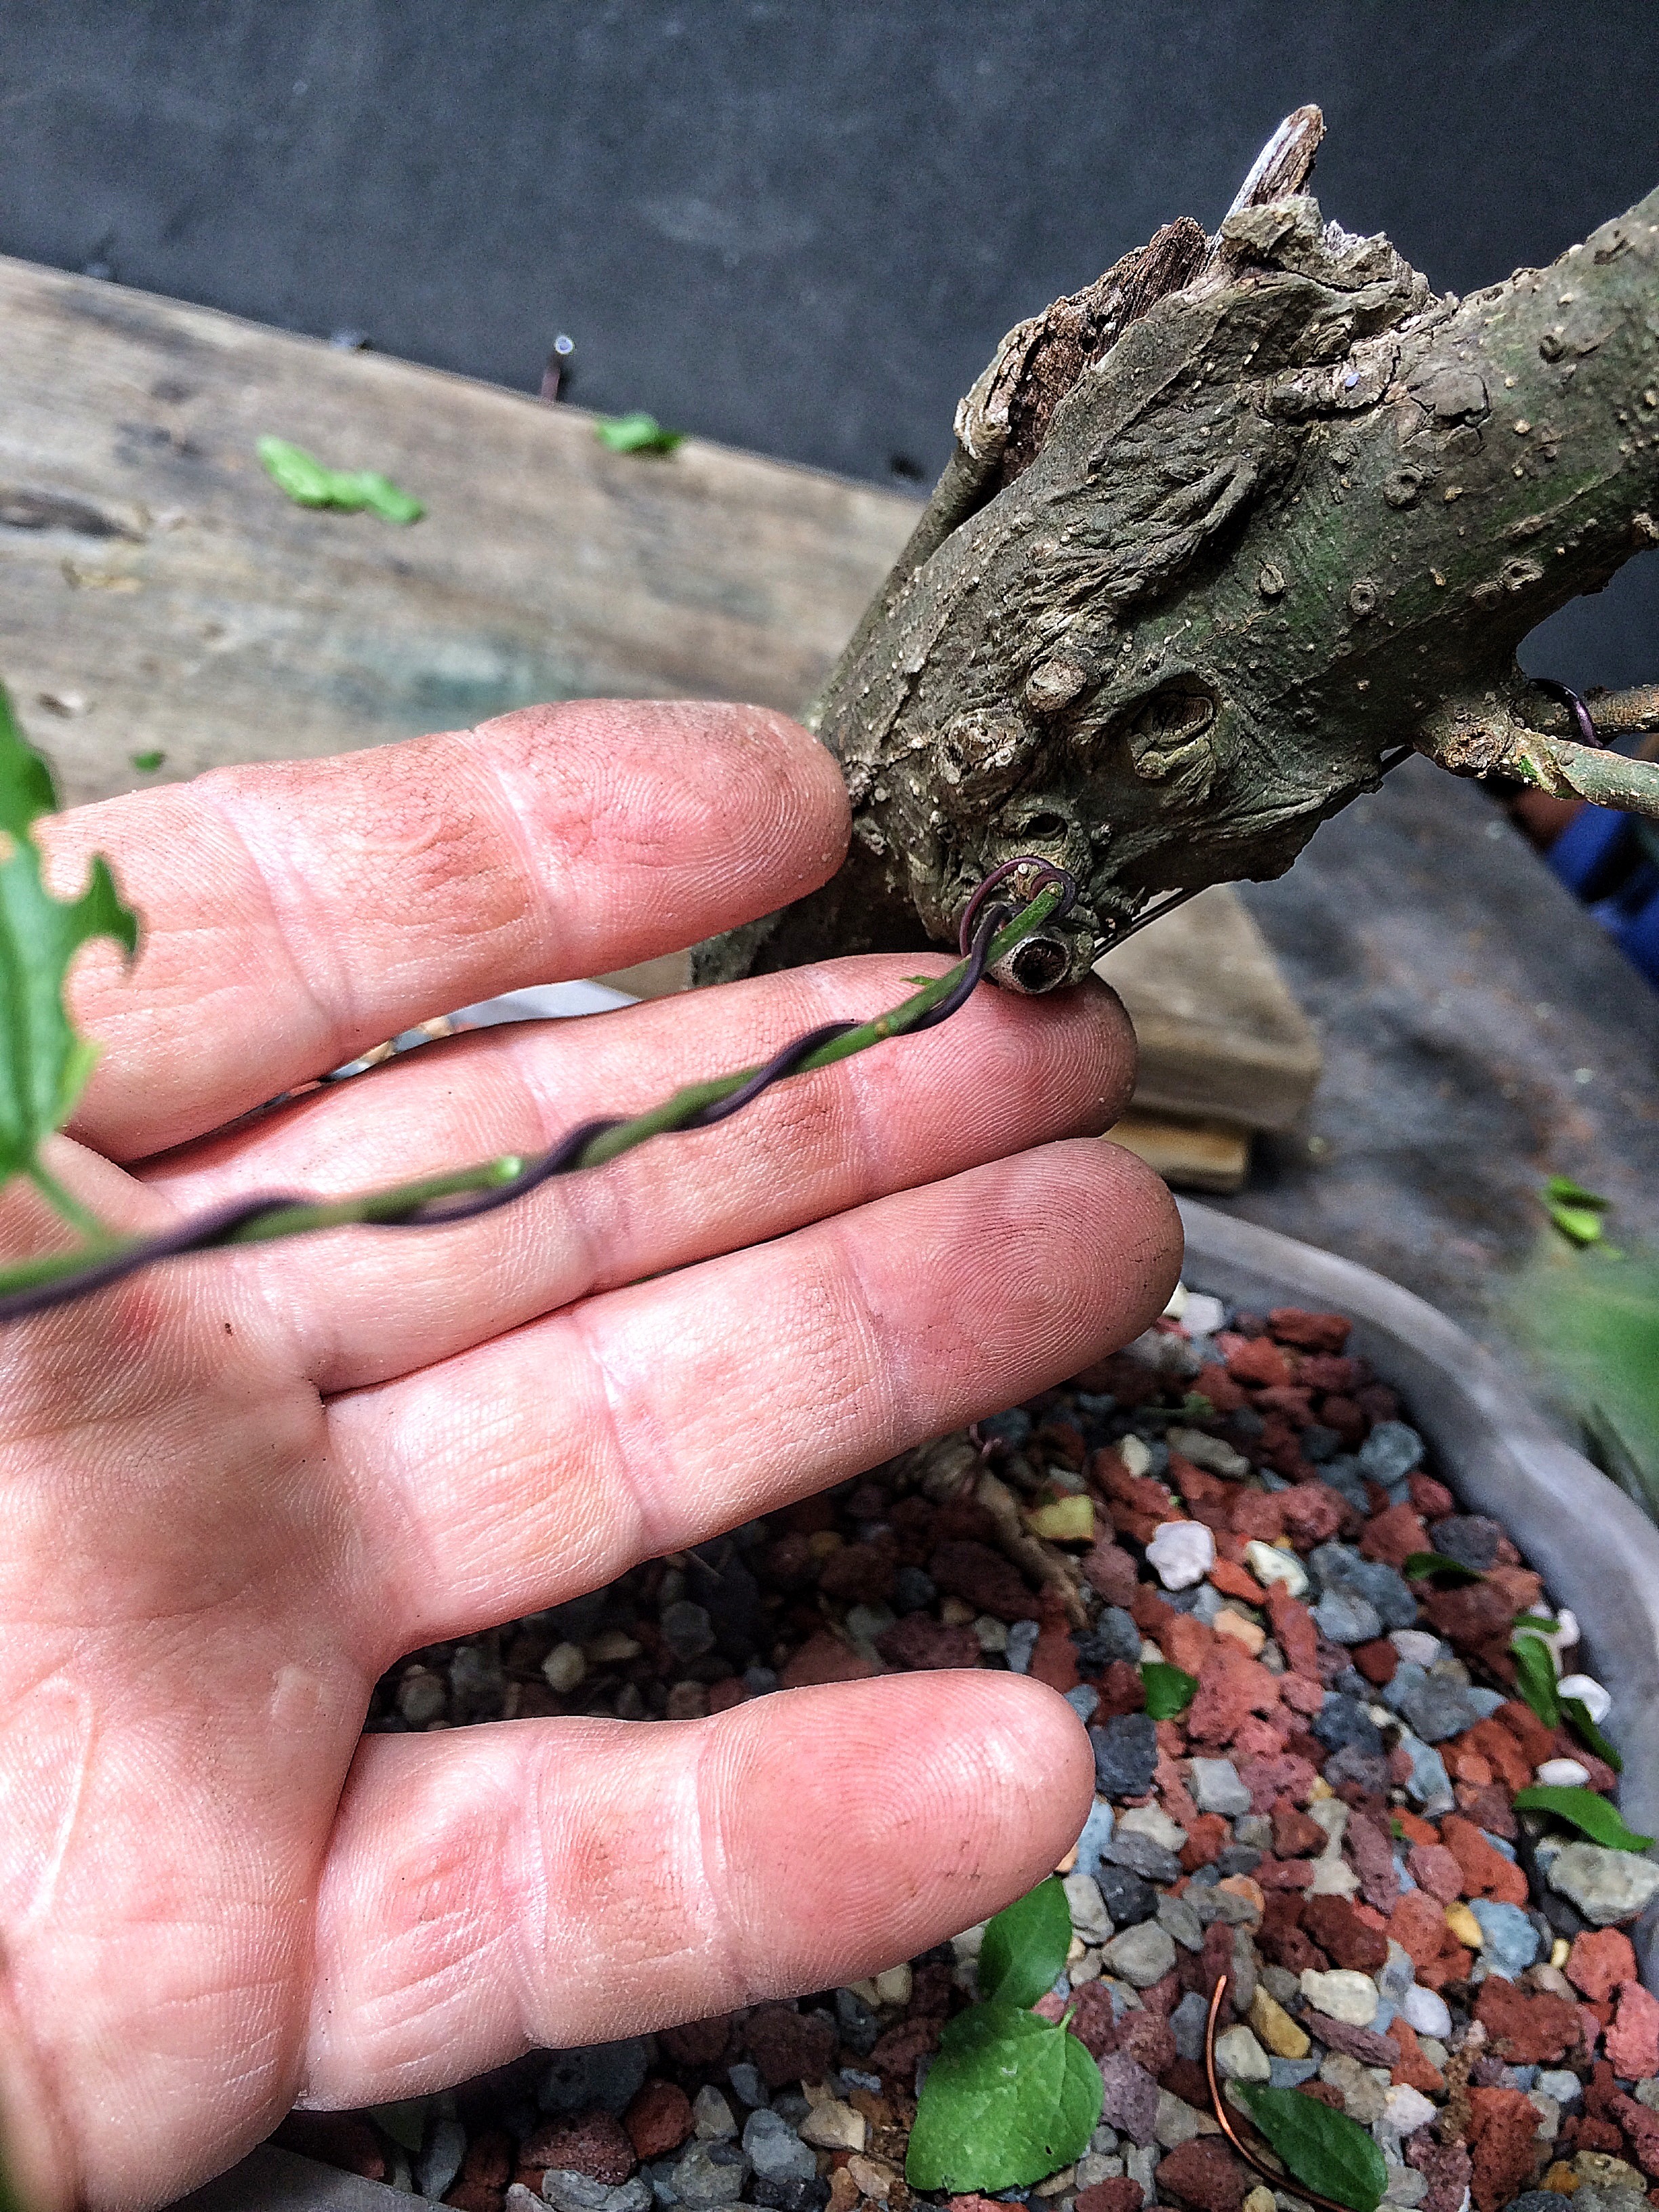 “Hey, there goes Adam, smashing religious images and being generally iconoclastic and stuff…”
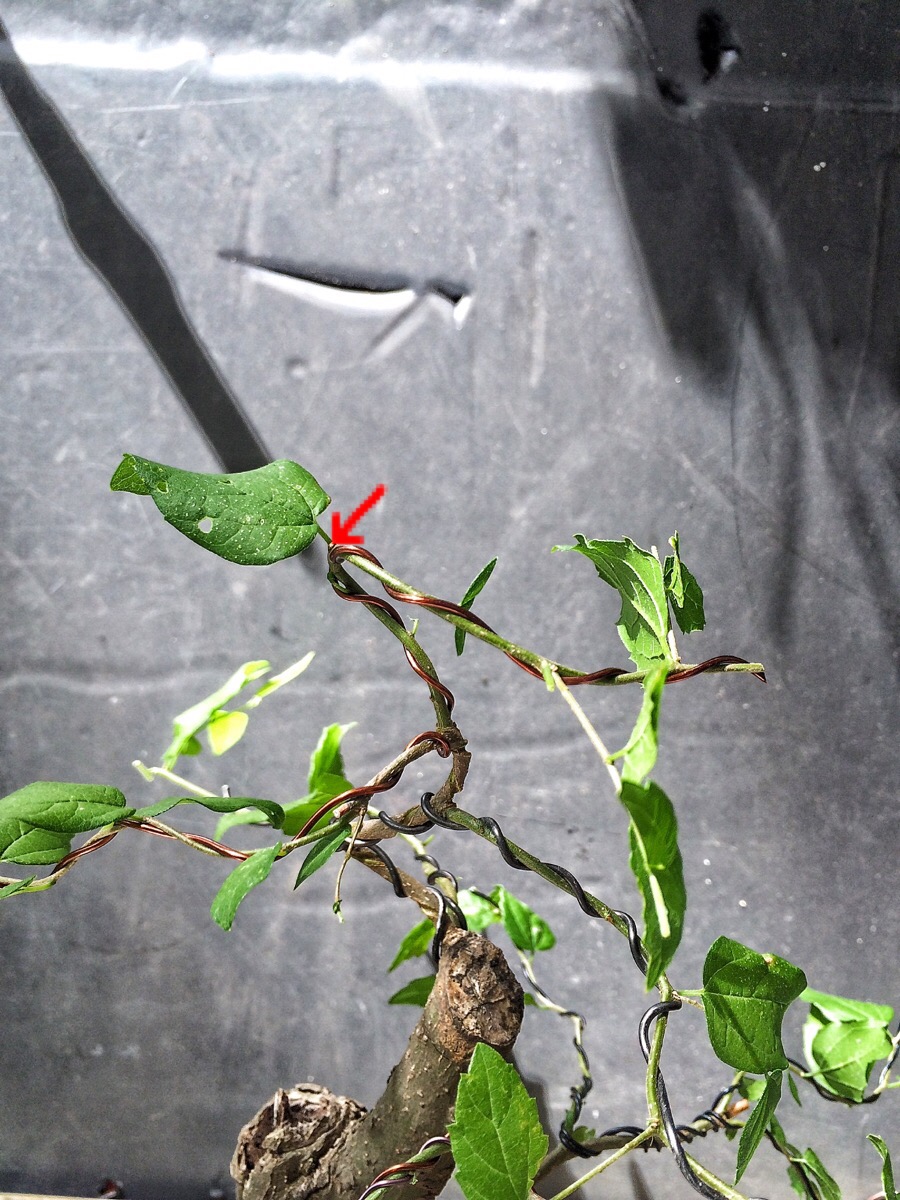
On the top branching, where the wire was cutting in, if you wrap the wire the opposite way it was going…… 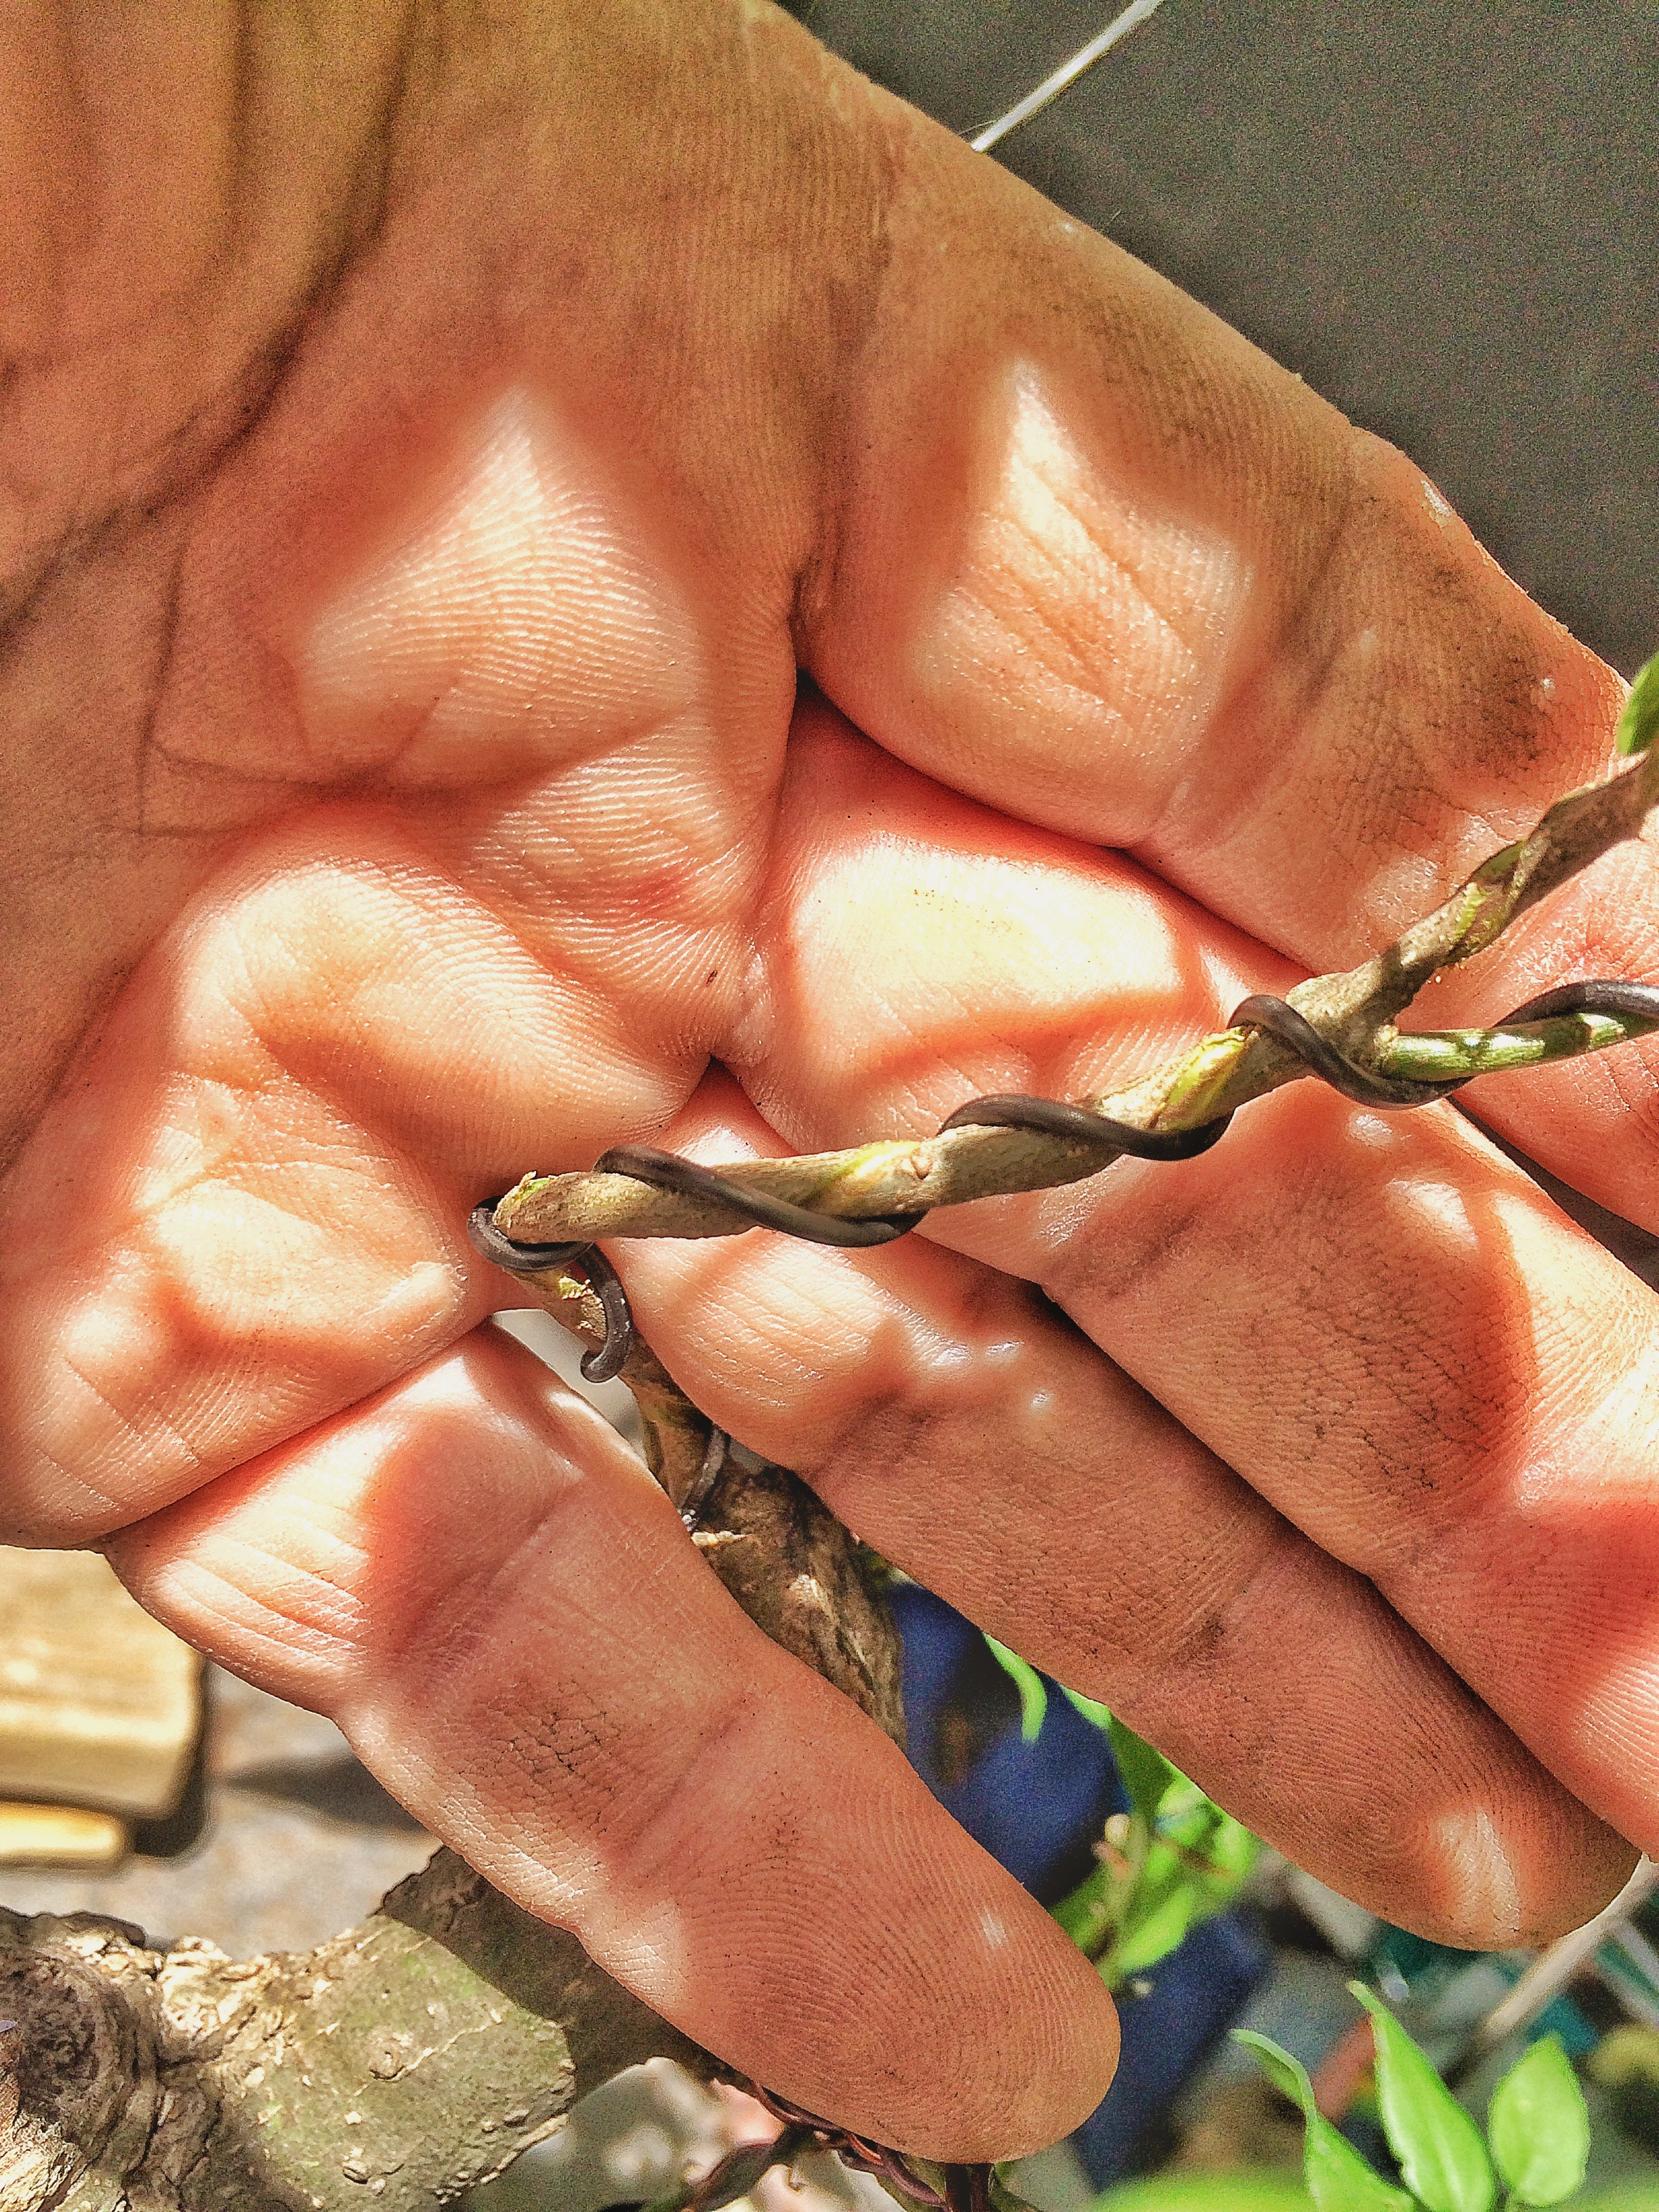 ……and you let it cut in again, you’ll get two results. The bark will get chunky faster (healing causes faster growth in that area) and the spiral scar will be less conspicuous and blend in.
Before branch placement-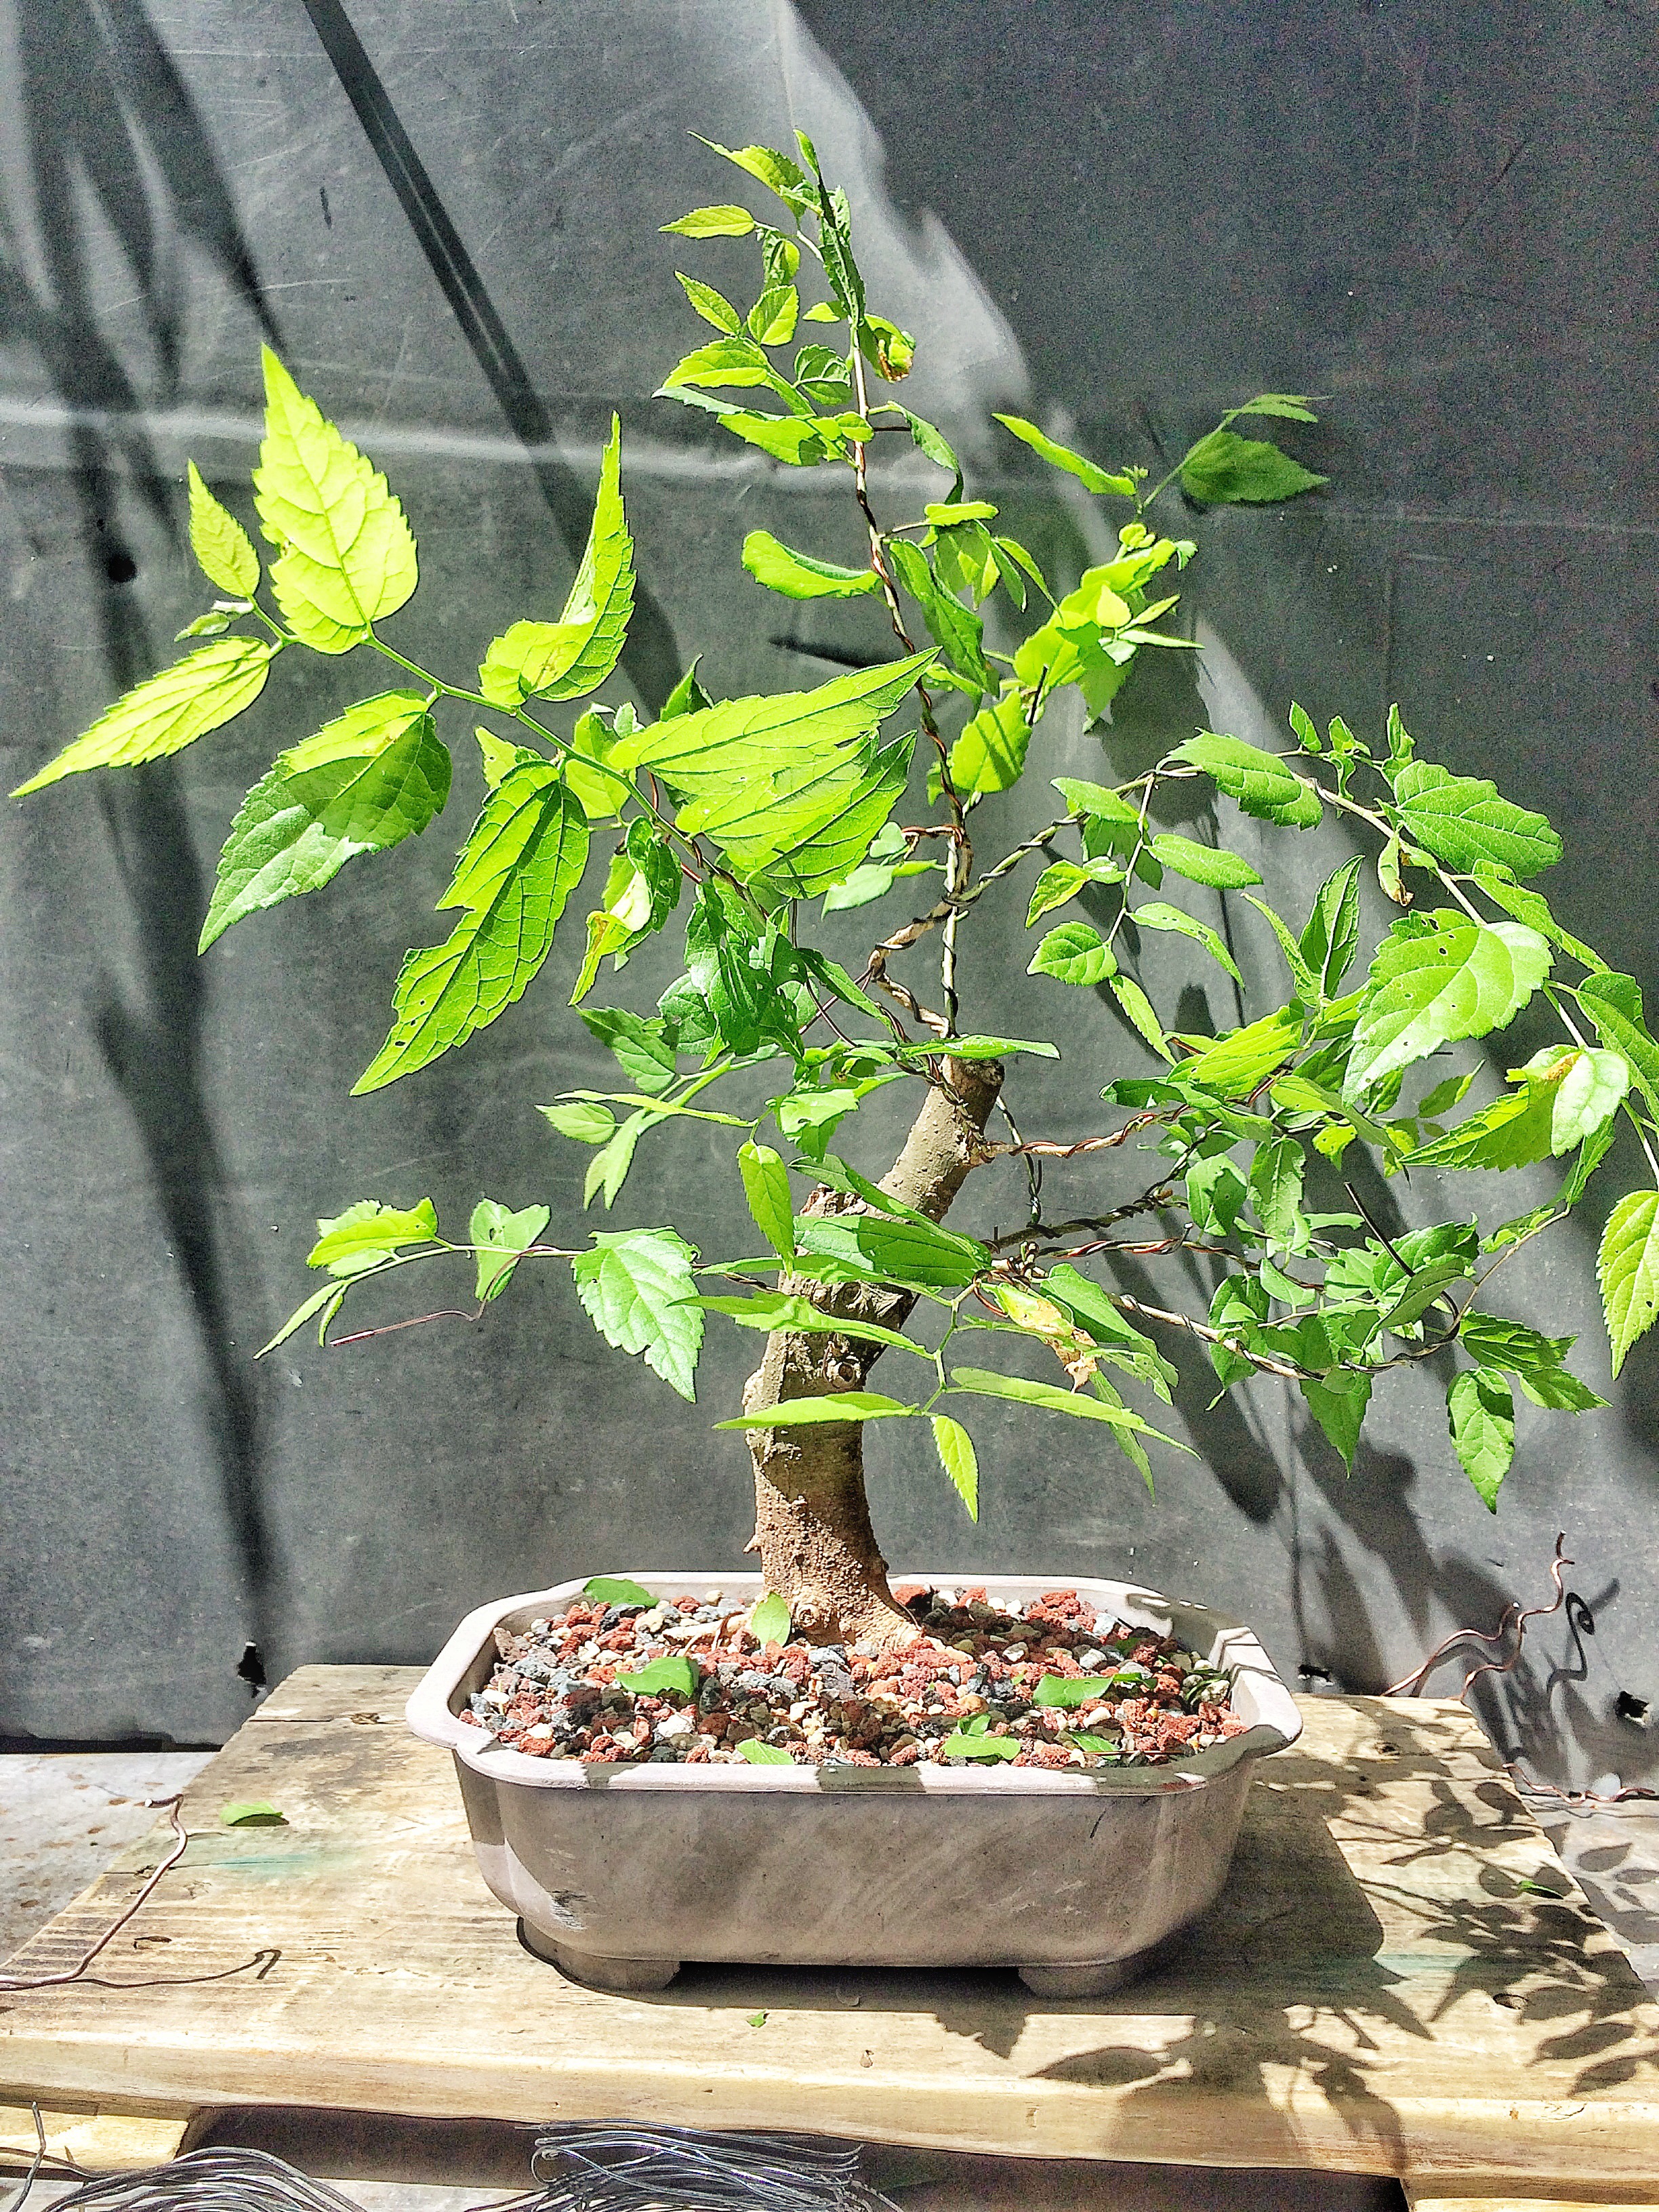
And after- 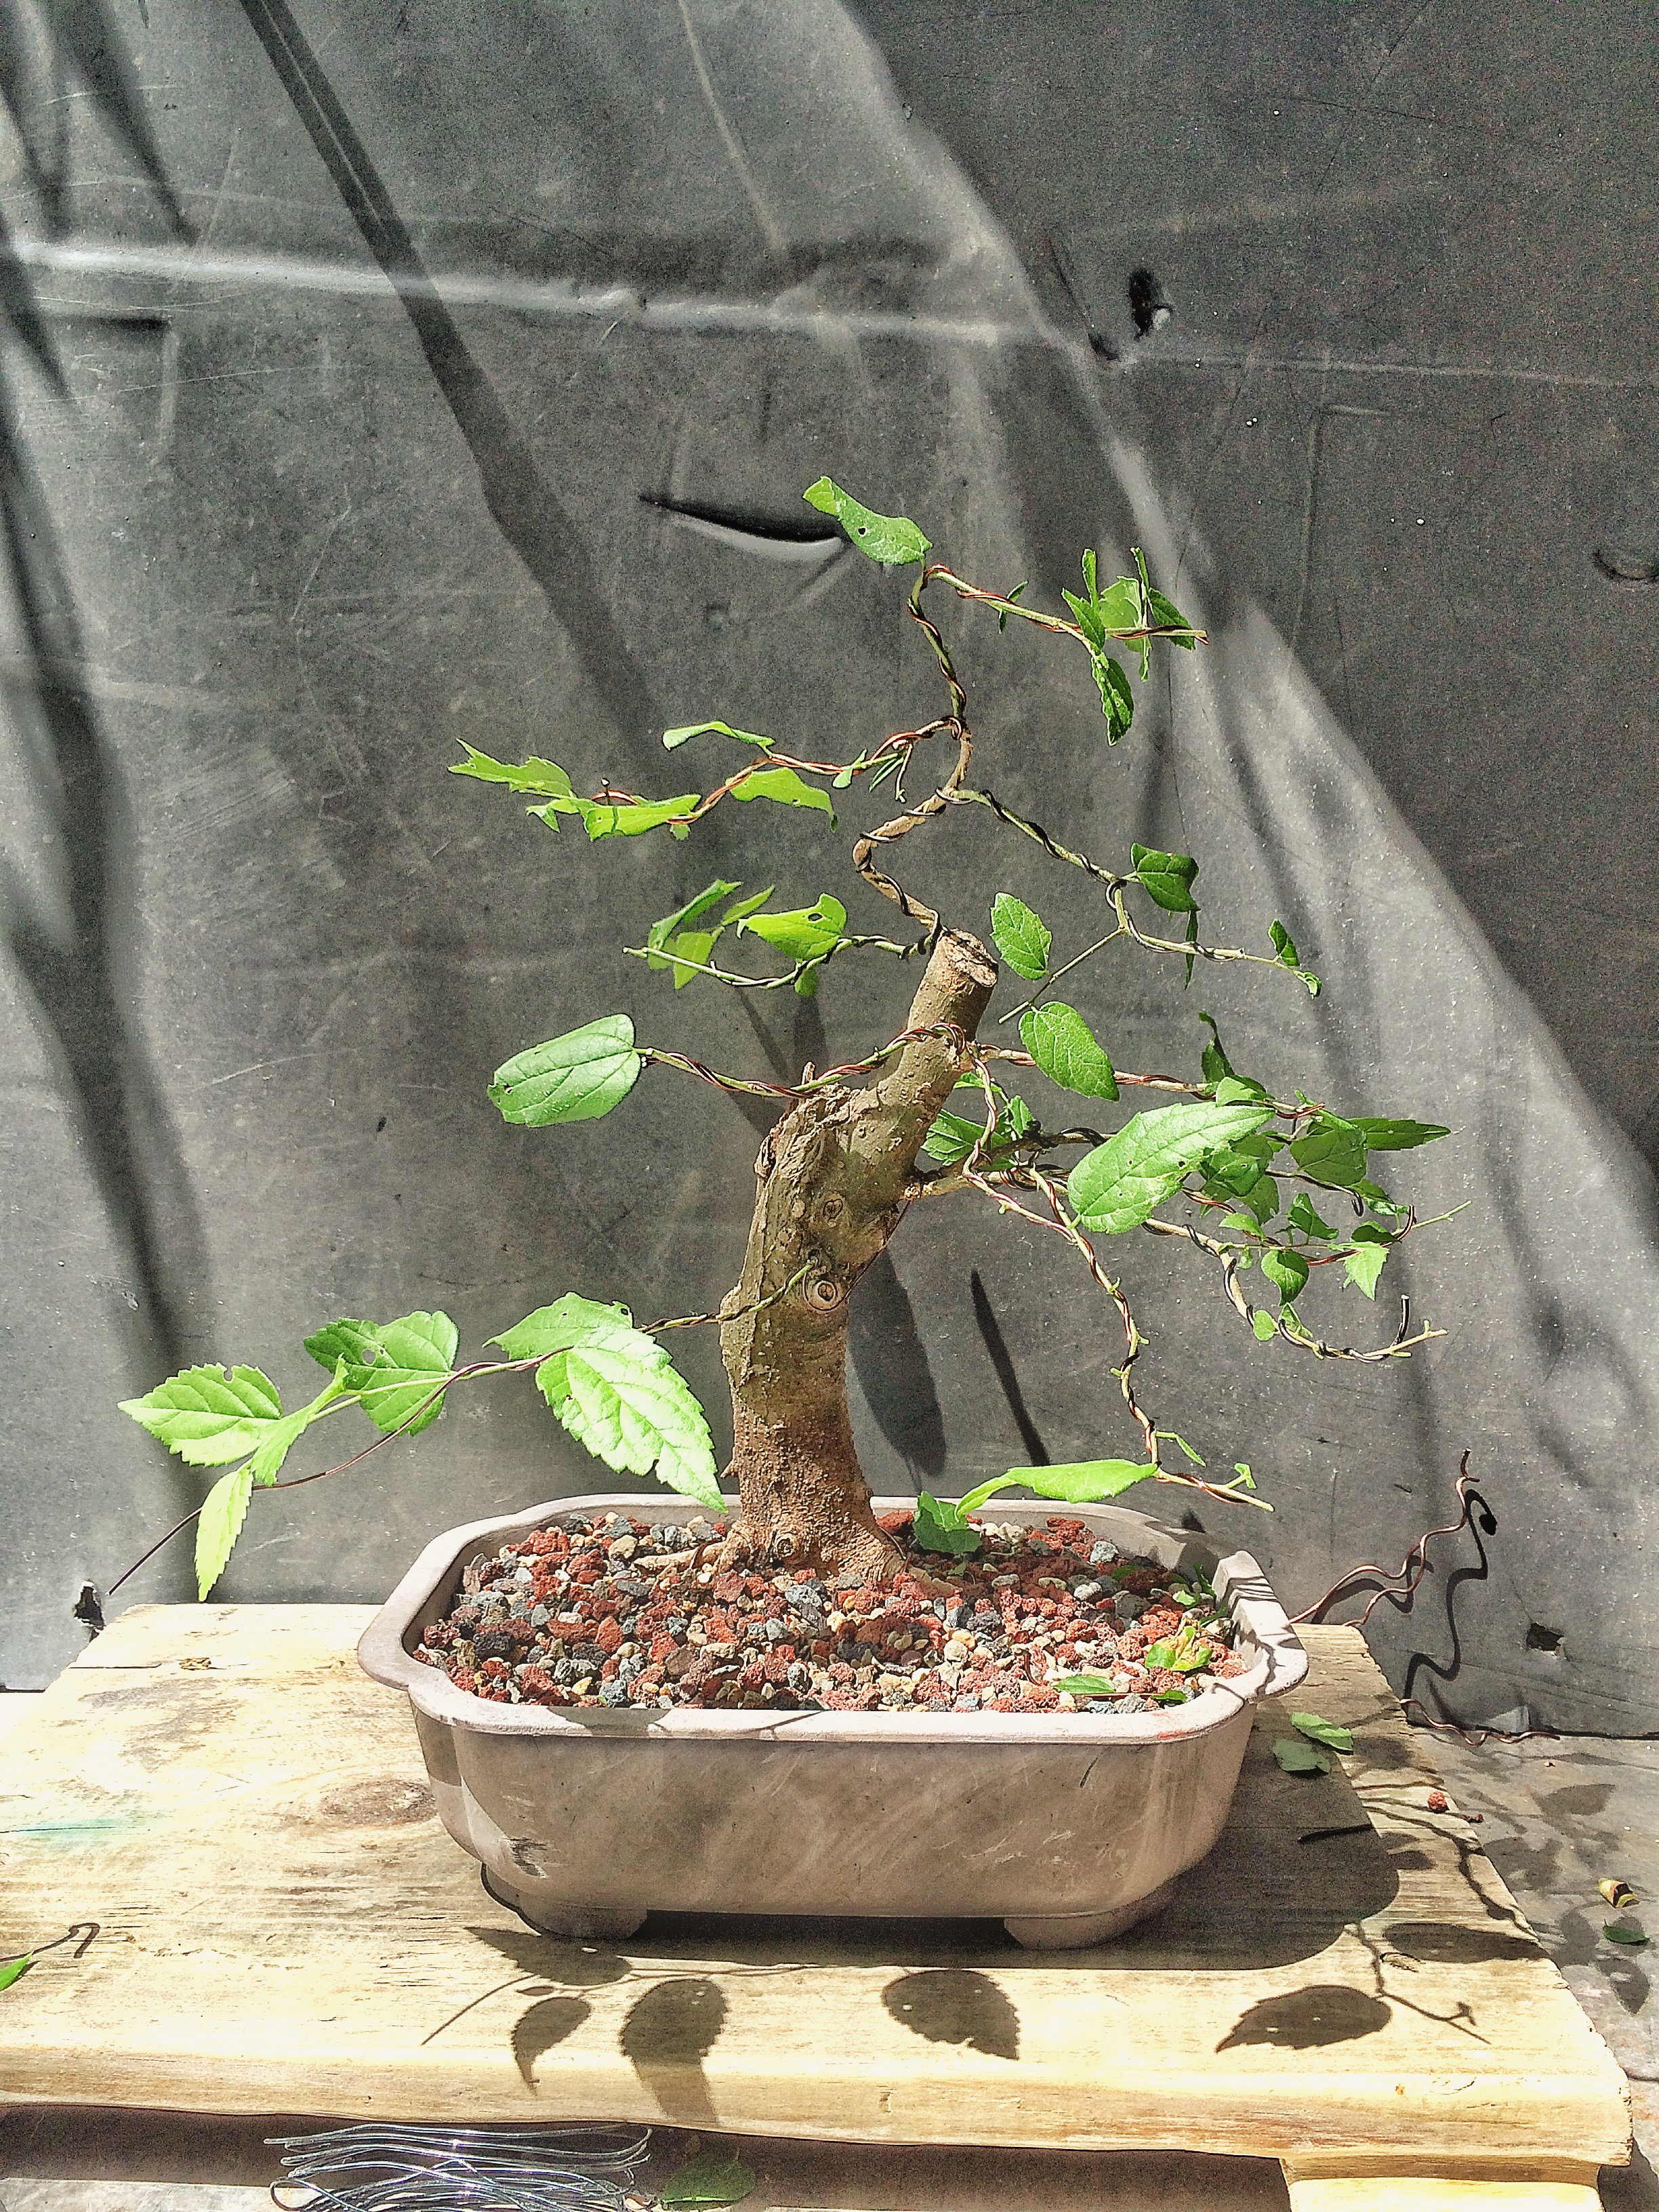
Side views- 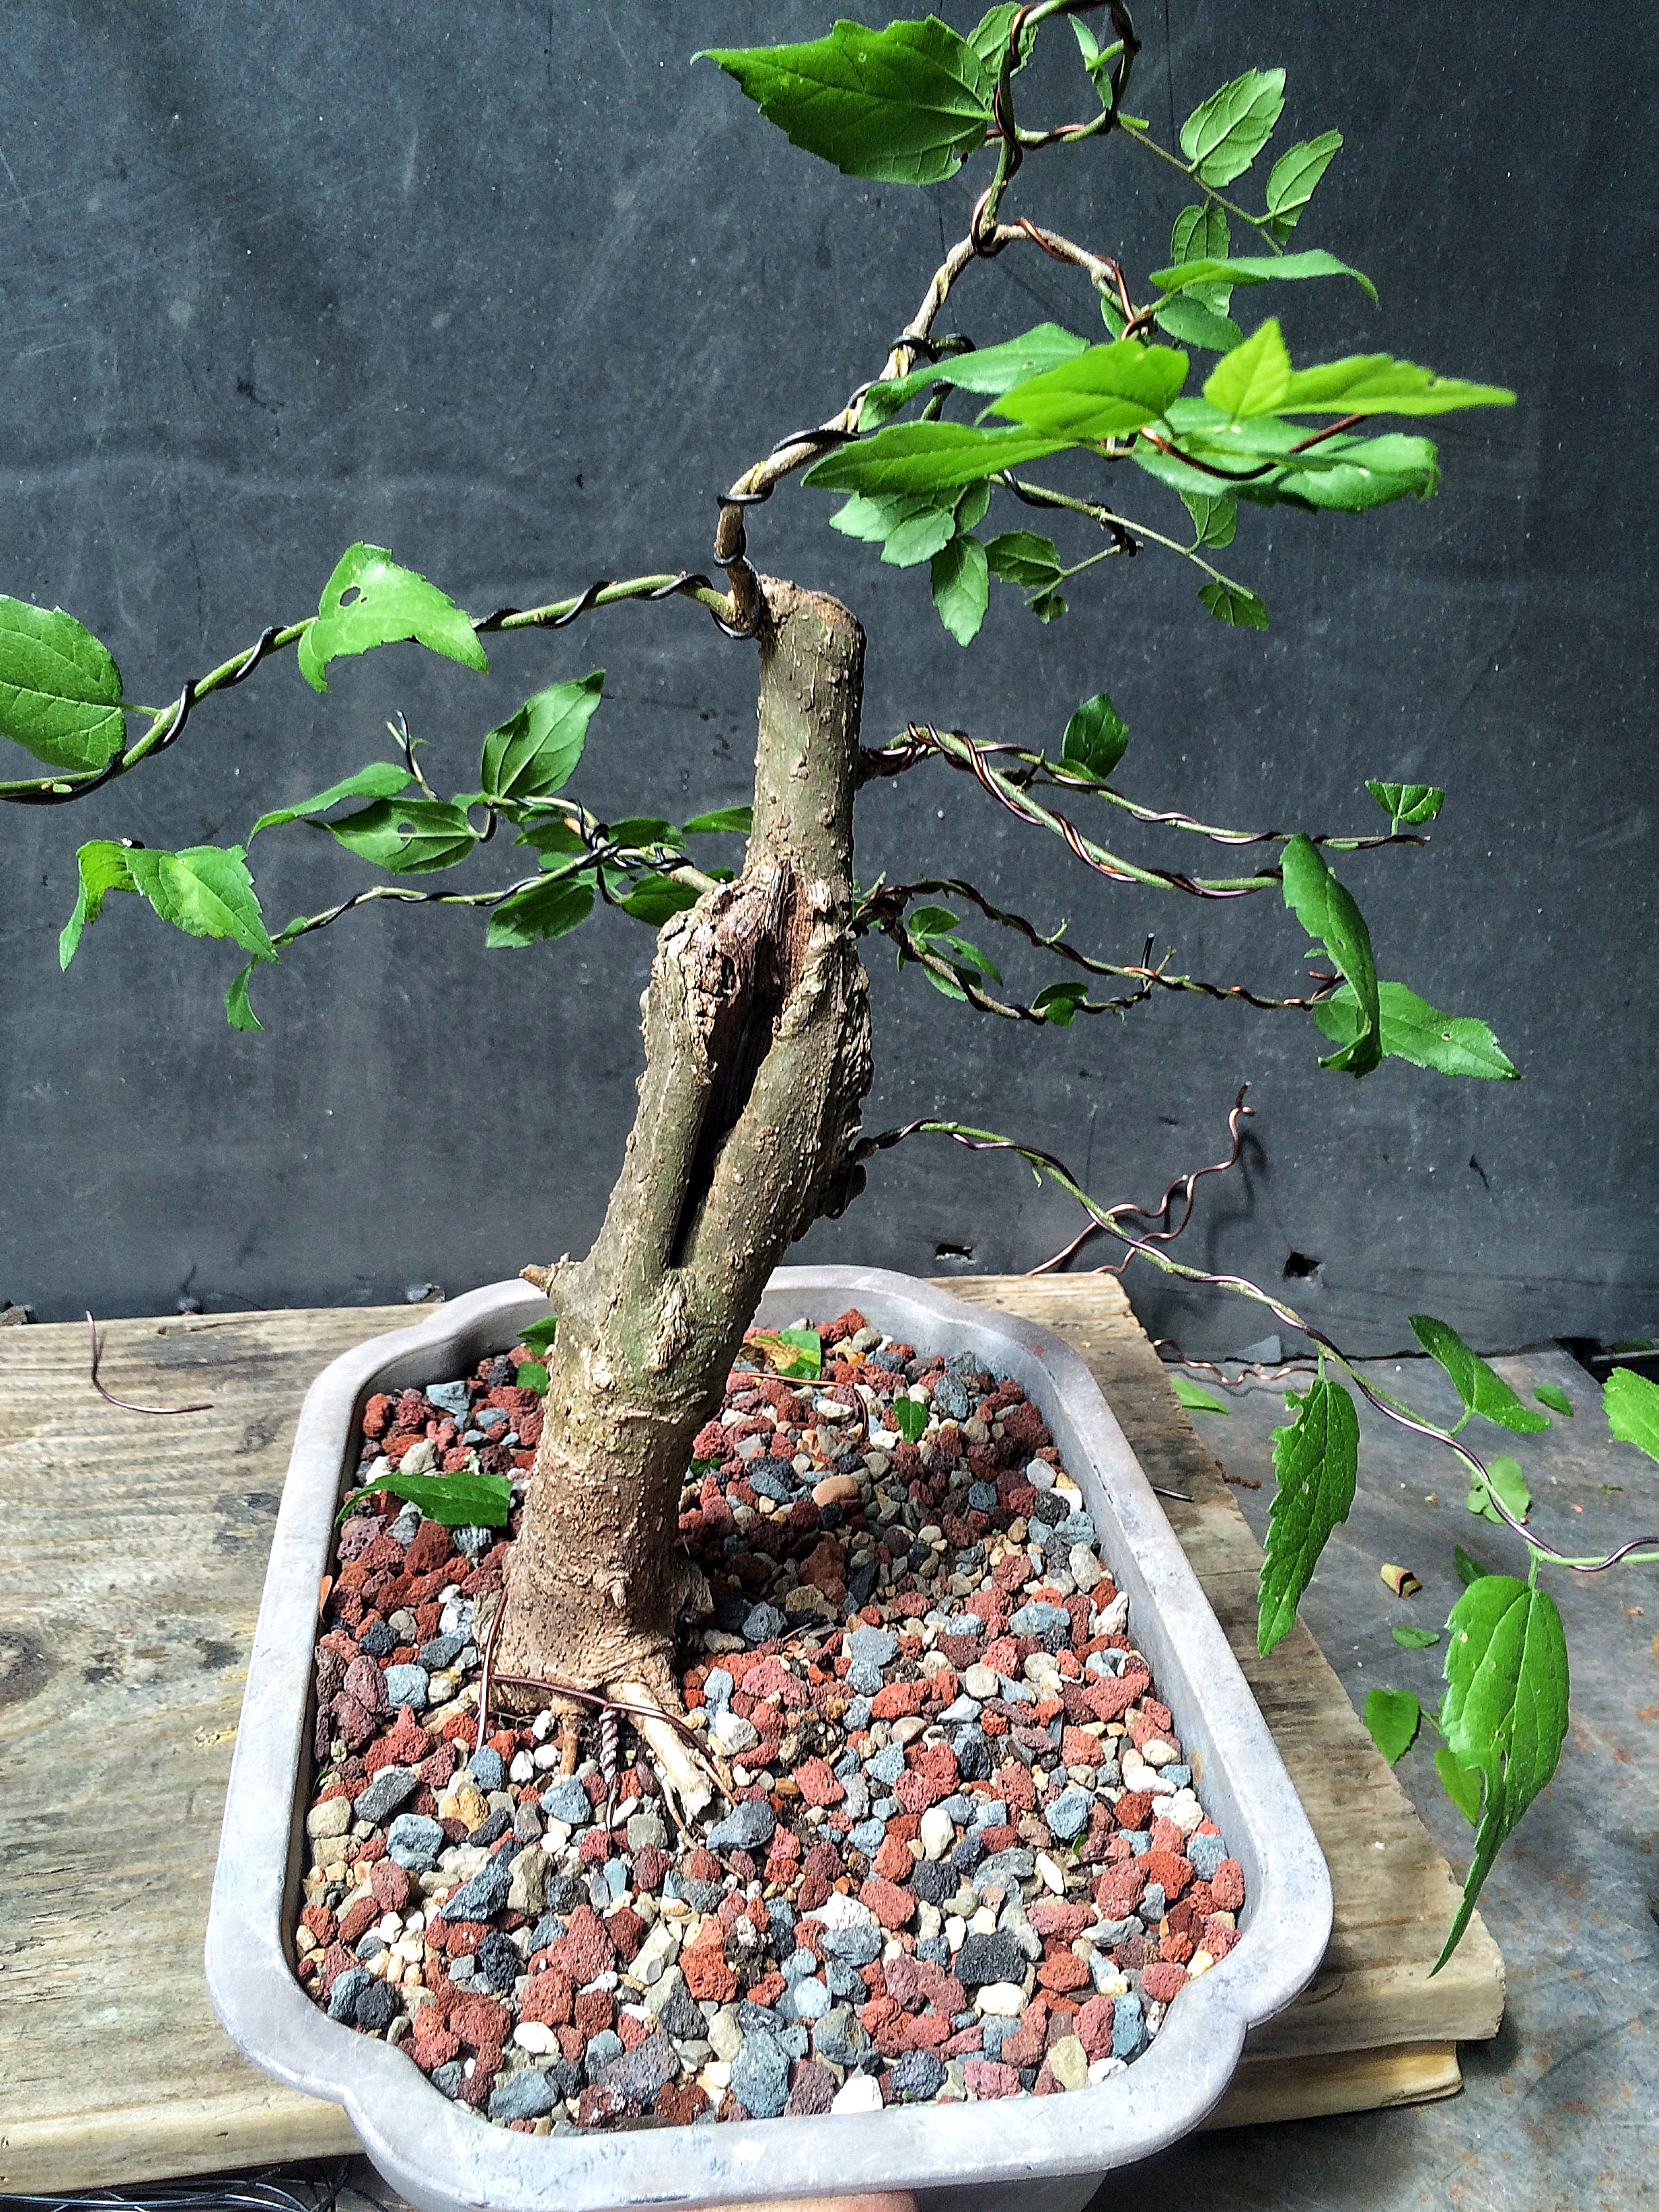
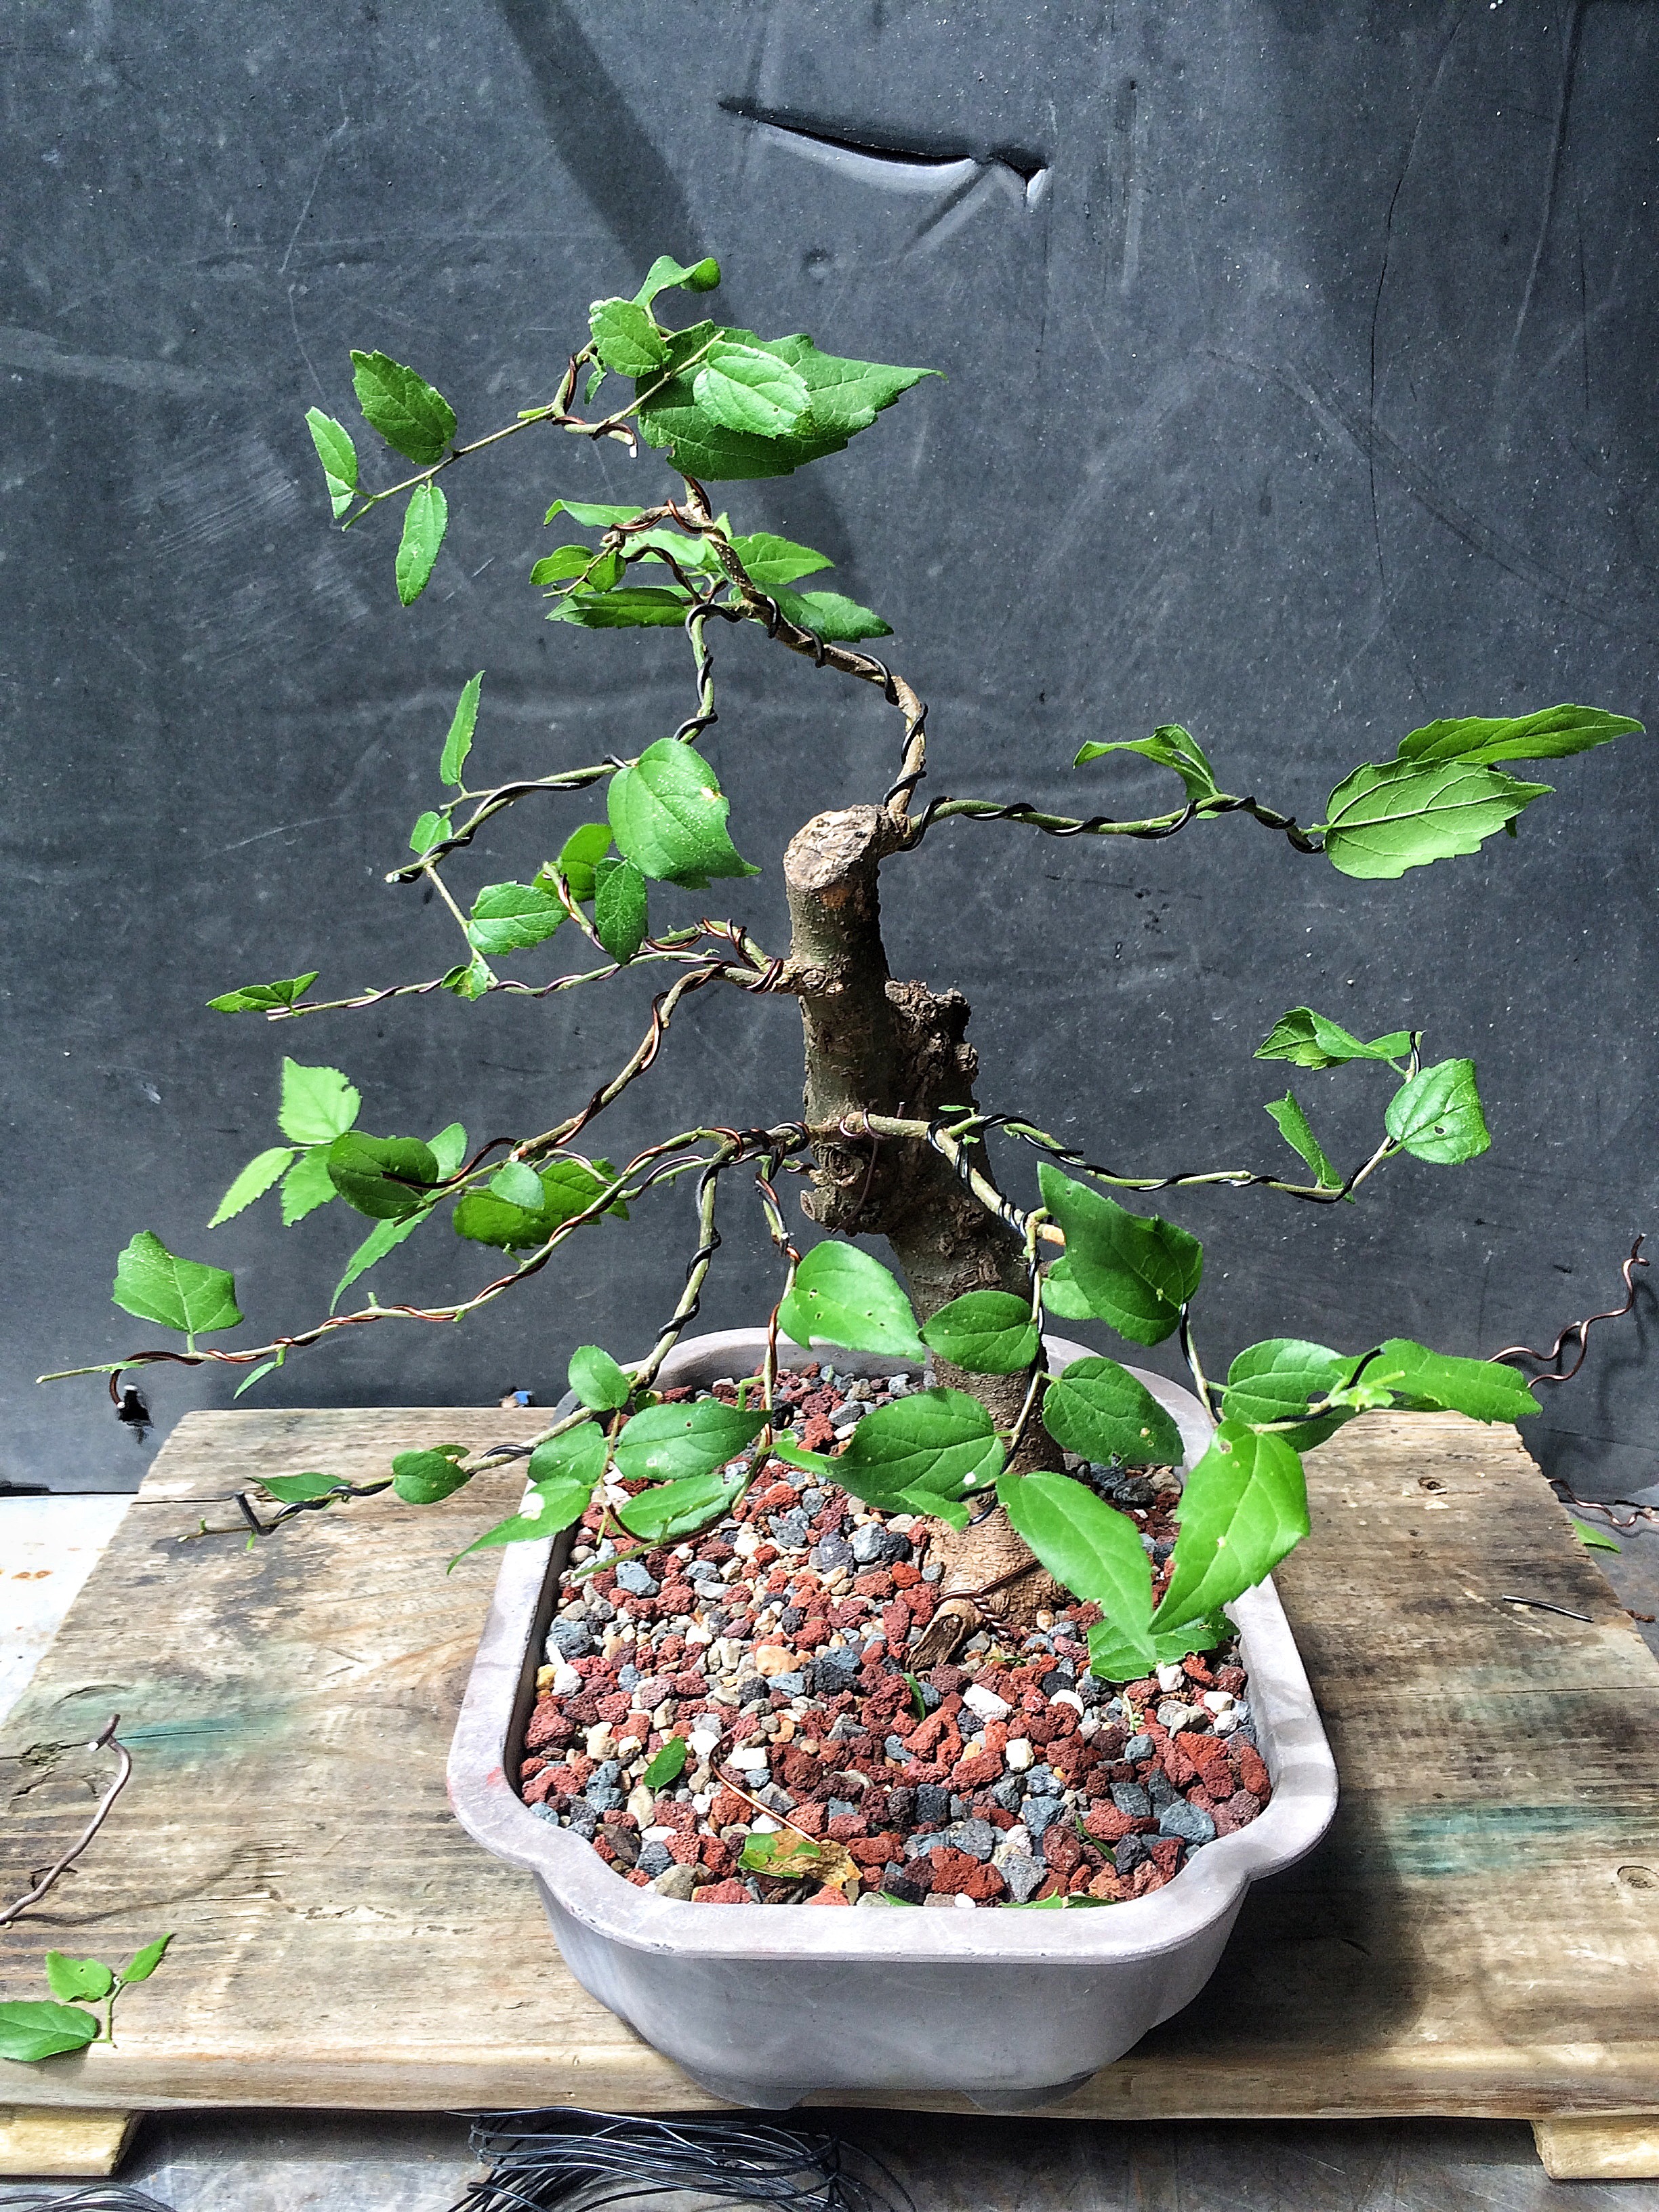 Many people say that this styling technique prematurely places branches before the primary branches are thick enough. What I say is, “This is a tree that we have to look at, why can’t it have a canopy that looks like a tree? You do know that it will still develop the thickness it needs in time anyway, why are you so worried that I’m not doing it your way?” The truth is that any growth thickens a branch, not just using sacrifice or escape branch techniques. People get into bonsai to have a tree to look at.
Top-
 That flip is called “the Puerto Rican top”. You take the top, apical branch, and bend it down as a side branch and leave a bud on the top of the curve.
 And then continue building the top from there.
The birds eye view really shows the placement of the branches and which ones I left long to help aid them in grow faster. 
Now it just needs about a month and I’ll update again. Here’s a vision of what I think it might look like.  Something like that. That might be a little too pine tree-ish. That’s okay though. I’m not a stickler for species style purity like some of our other bonsai brothers are. Some of those guys are almost totalitarian in their pronouncements that trees must be styled the way they grow in nature. If we followed that rule, seriously, a black pine would look like a bush. So would a juniper, unless you were using a Juniperus virginiana, the red cedar, which is one of the only tree type junipers out there.
Perspective, my friends, take a step back and think; art is not absolute. If it were, we’d all still be painting animals on cave walls by firelight, eating worms and wearing mangy animal pelts.
Speaking of mangy, my pal Seth posted a virtual on Facebook of a willowleaf he’s been working on. Here’s the tree. 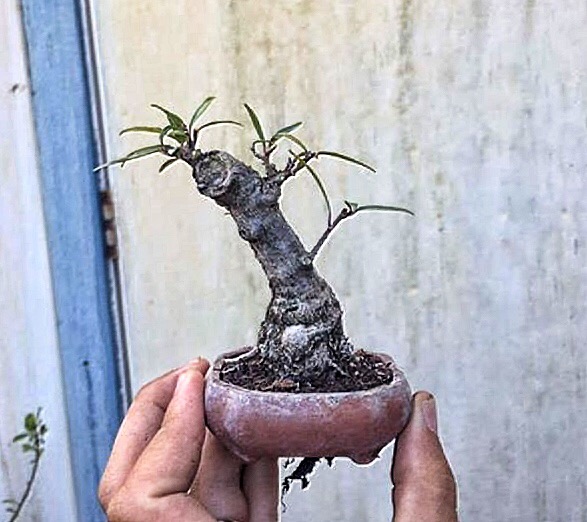
Here’s his virt. 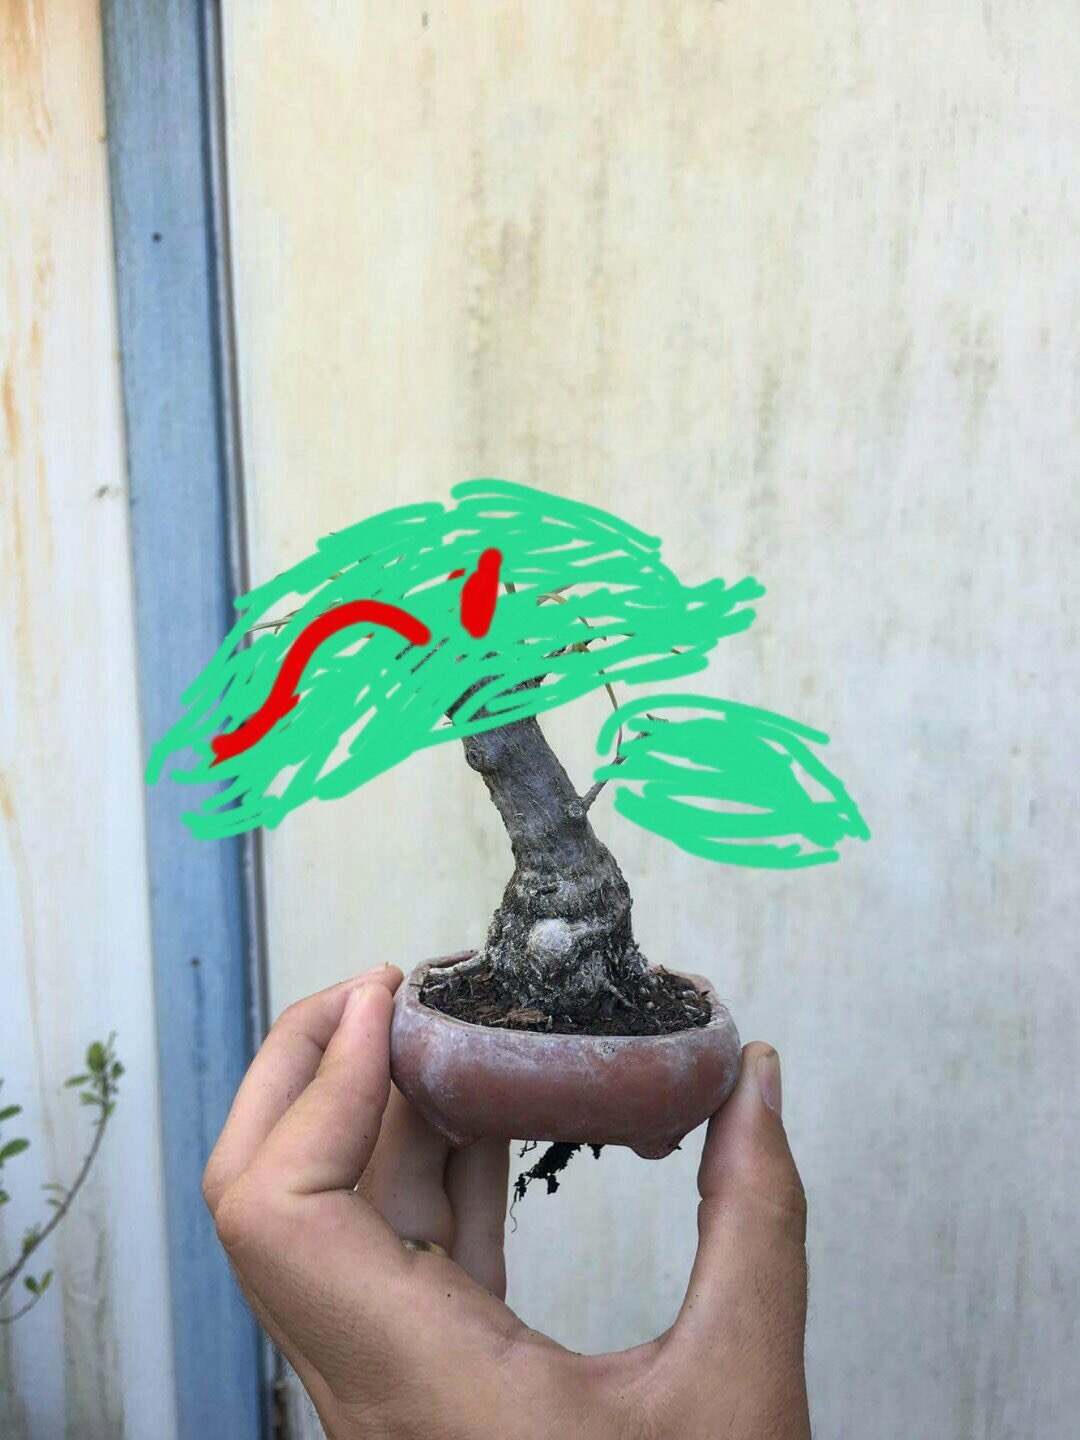
Me, being the show off I am, posted this pic. 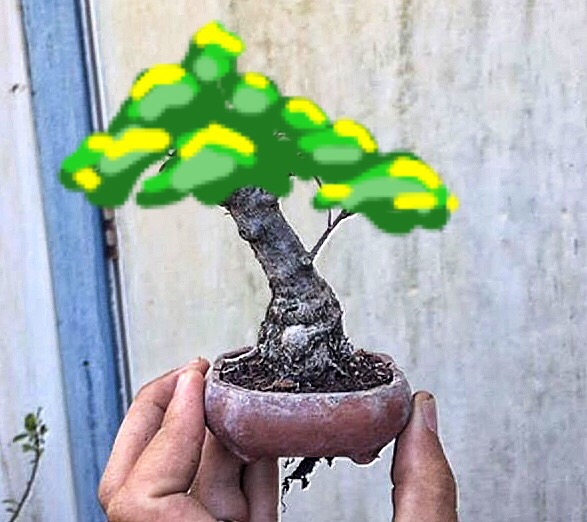 I, of course, picked on him and offered my artistic services, for a fee. That got us talking about art and I called him the ultimate put down, a “Permanent Intermediate”. To clarify, it is those same P.I.’s that denied the Impressionists entrance into the Salon and caused them to create the Salon des Refusés of 1863.
So, to annoy him further, let’s take a poll (that’s what she said): who likes my virtual better than Seth’s? Remember, I have the power to delete all comments I don’t agree with. So I expect to win. Sorry Seth. Doesn’t look good for you.
One last look at the hackberry (or Sugarberry or southern hackberry, celtis lævigata).
 It’s called hackberry because a mature tree will develop wart-like growths on the bark, like on an old hag. Which now explains the title of the blog.
Look for updates soon!

great post as usual //////// Alvin brooks plant city,fl
On Thu, Apr 14, 2016 at 10:45 AM, Adams Art and Bonsai Blog wrote:
> adamaskwhy posted: “If you’ve been following the various social media > platforms I subscribe to, I’ve posted a few pics of a celtis lævigata I > collected a few years ago. My original intent was to chronicle the > progression only on those sites by posting a photo every once in a” >
LikeLike