I was picking up some tools from American Bonsai Tools in their warehouse a month or so ago and I came across this cool…..thing.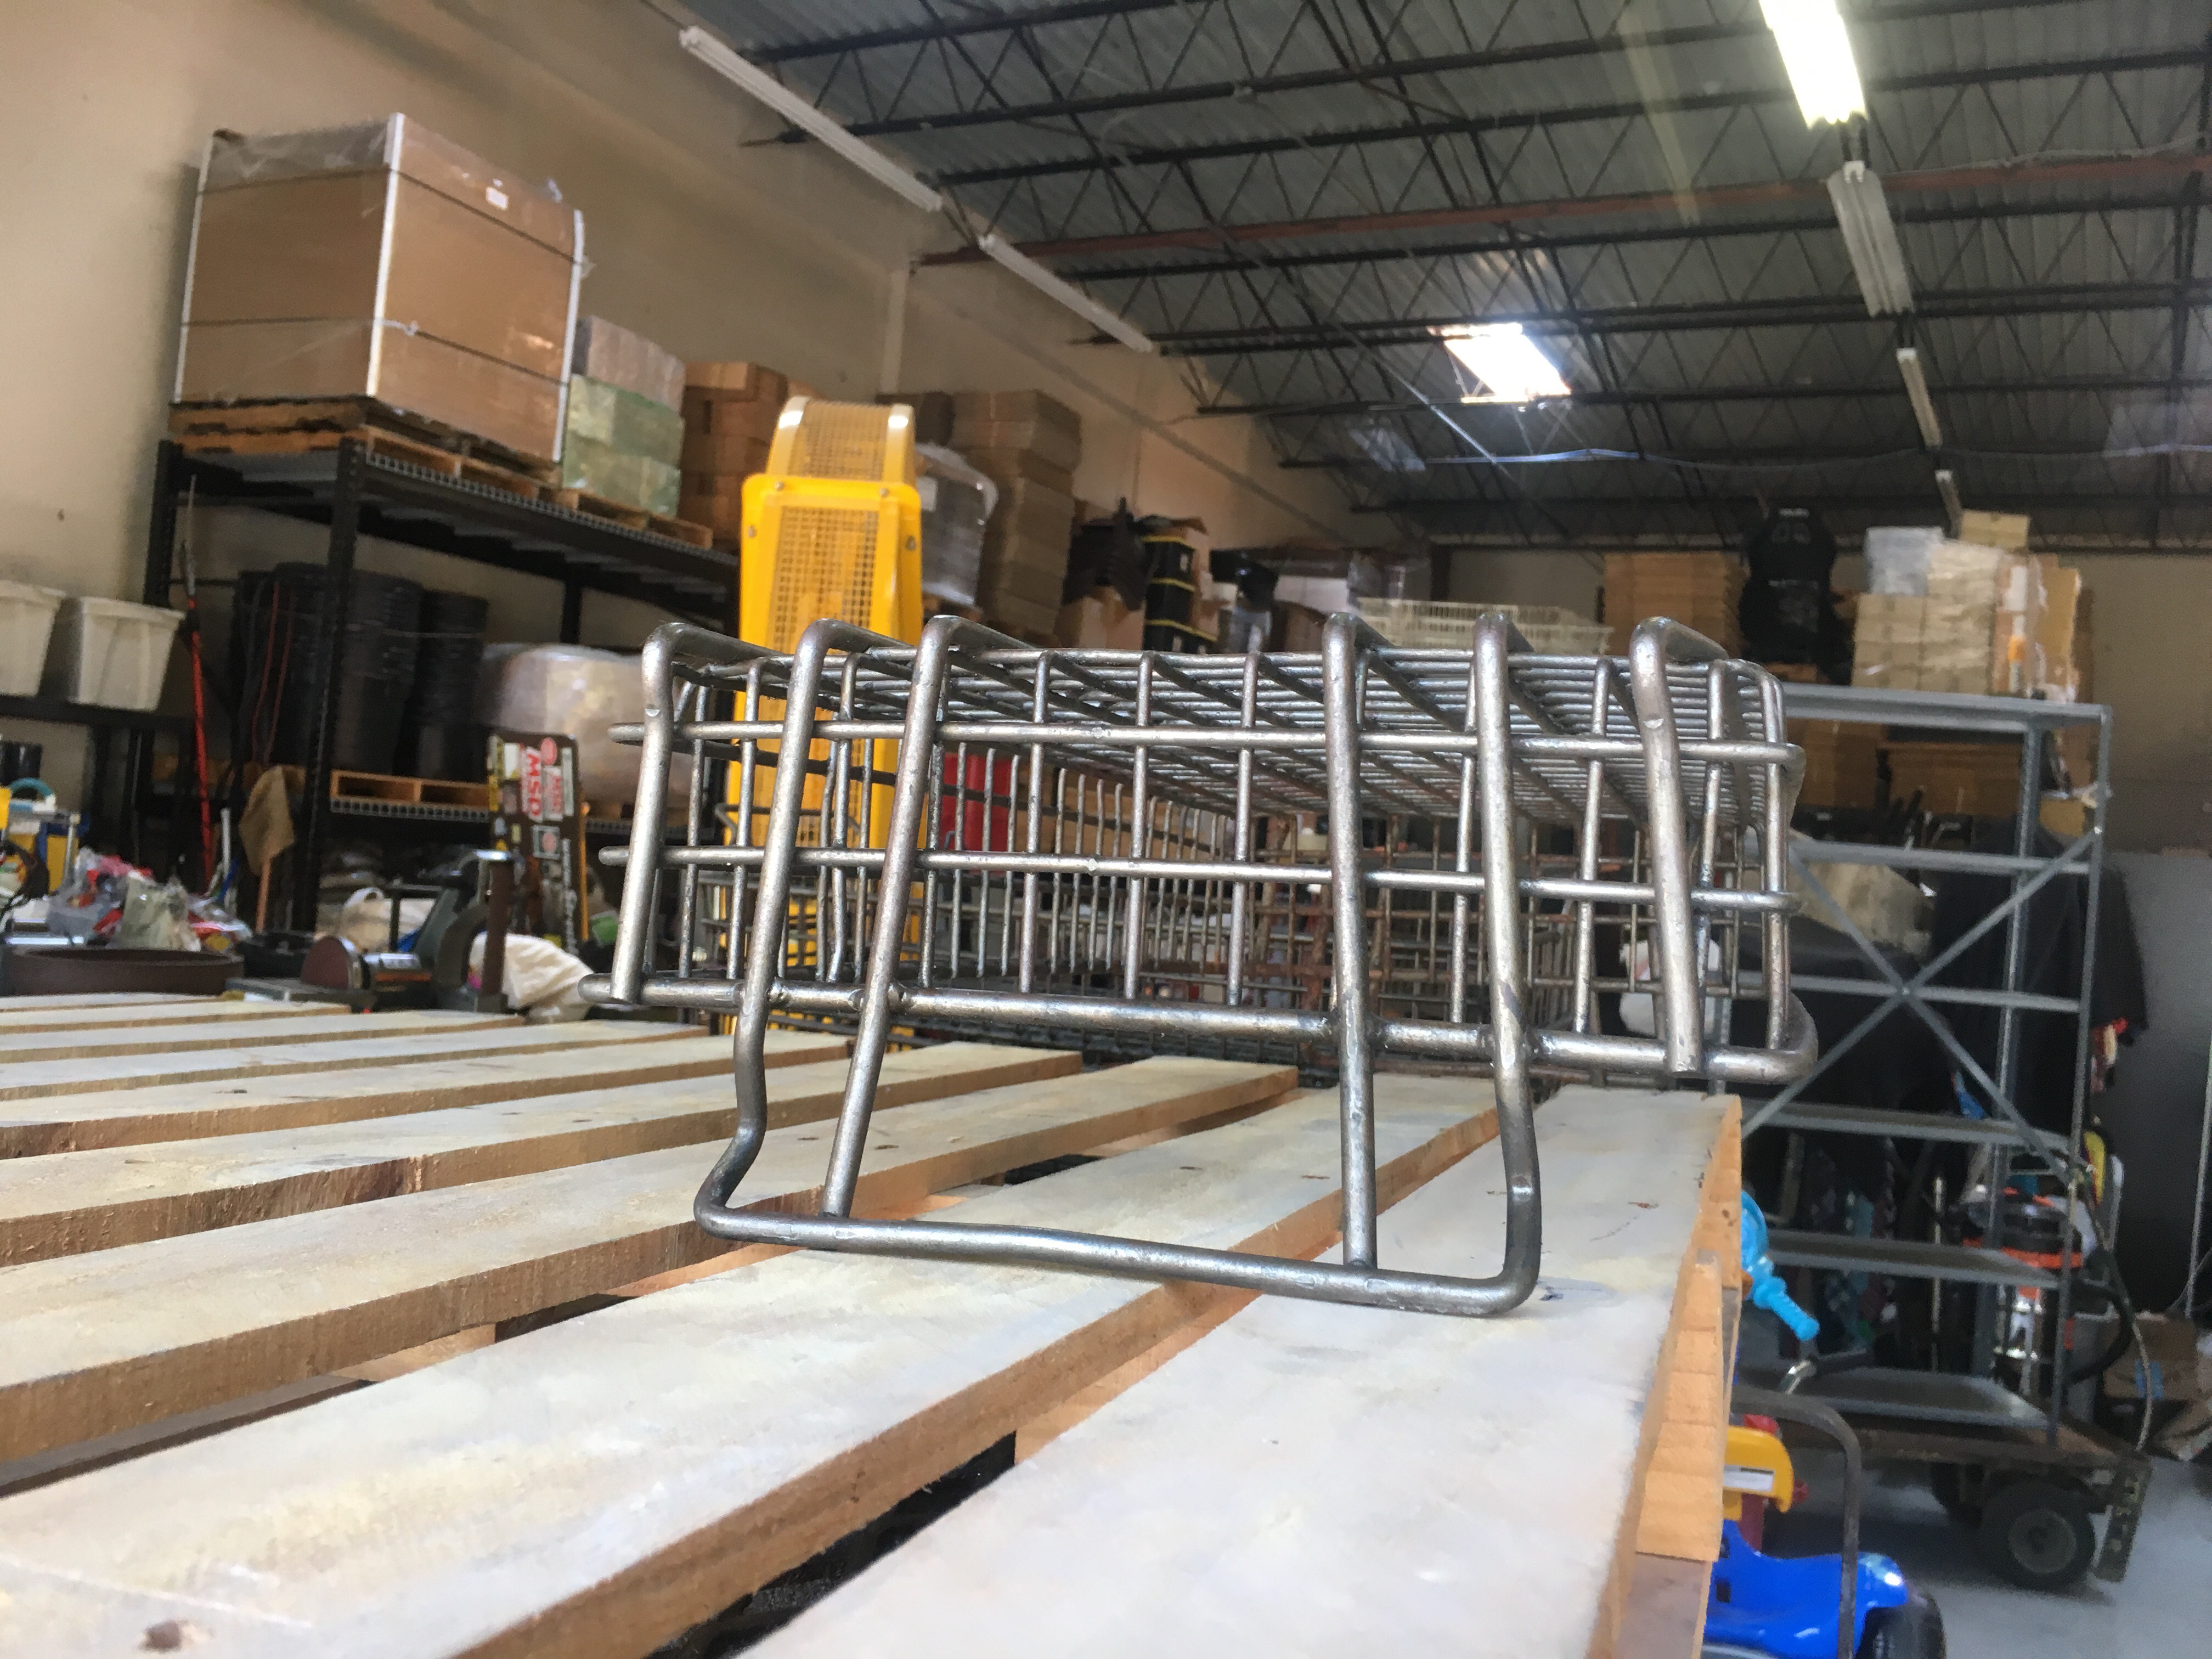 Cullen, the owner, likes antique things that are made well. Stools, lamps, metal shelves and such. I would guess my find is a sorting bin of some, ah…sort.
 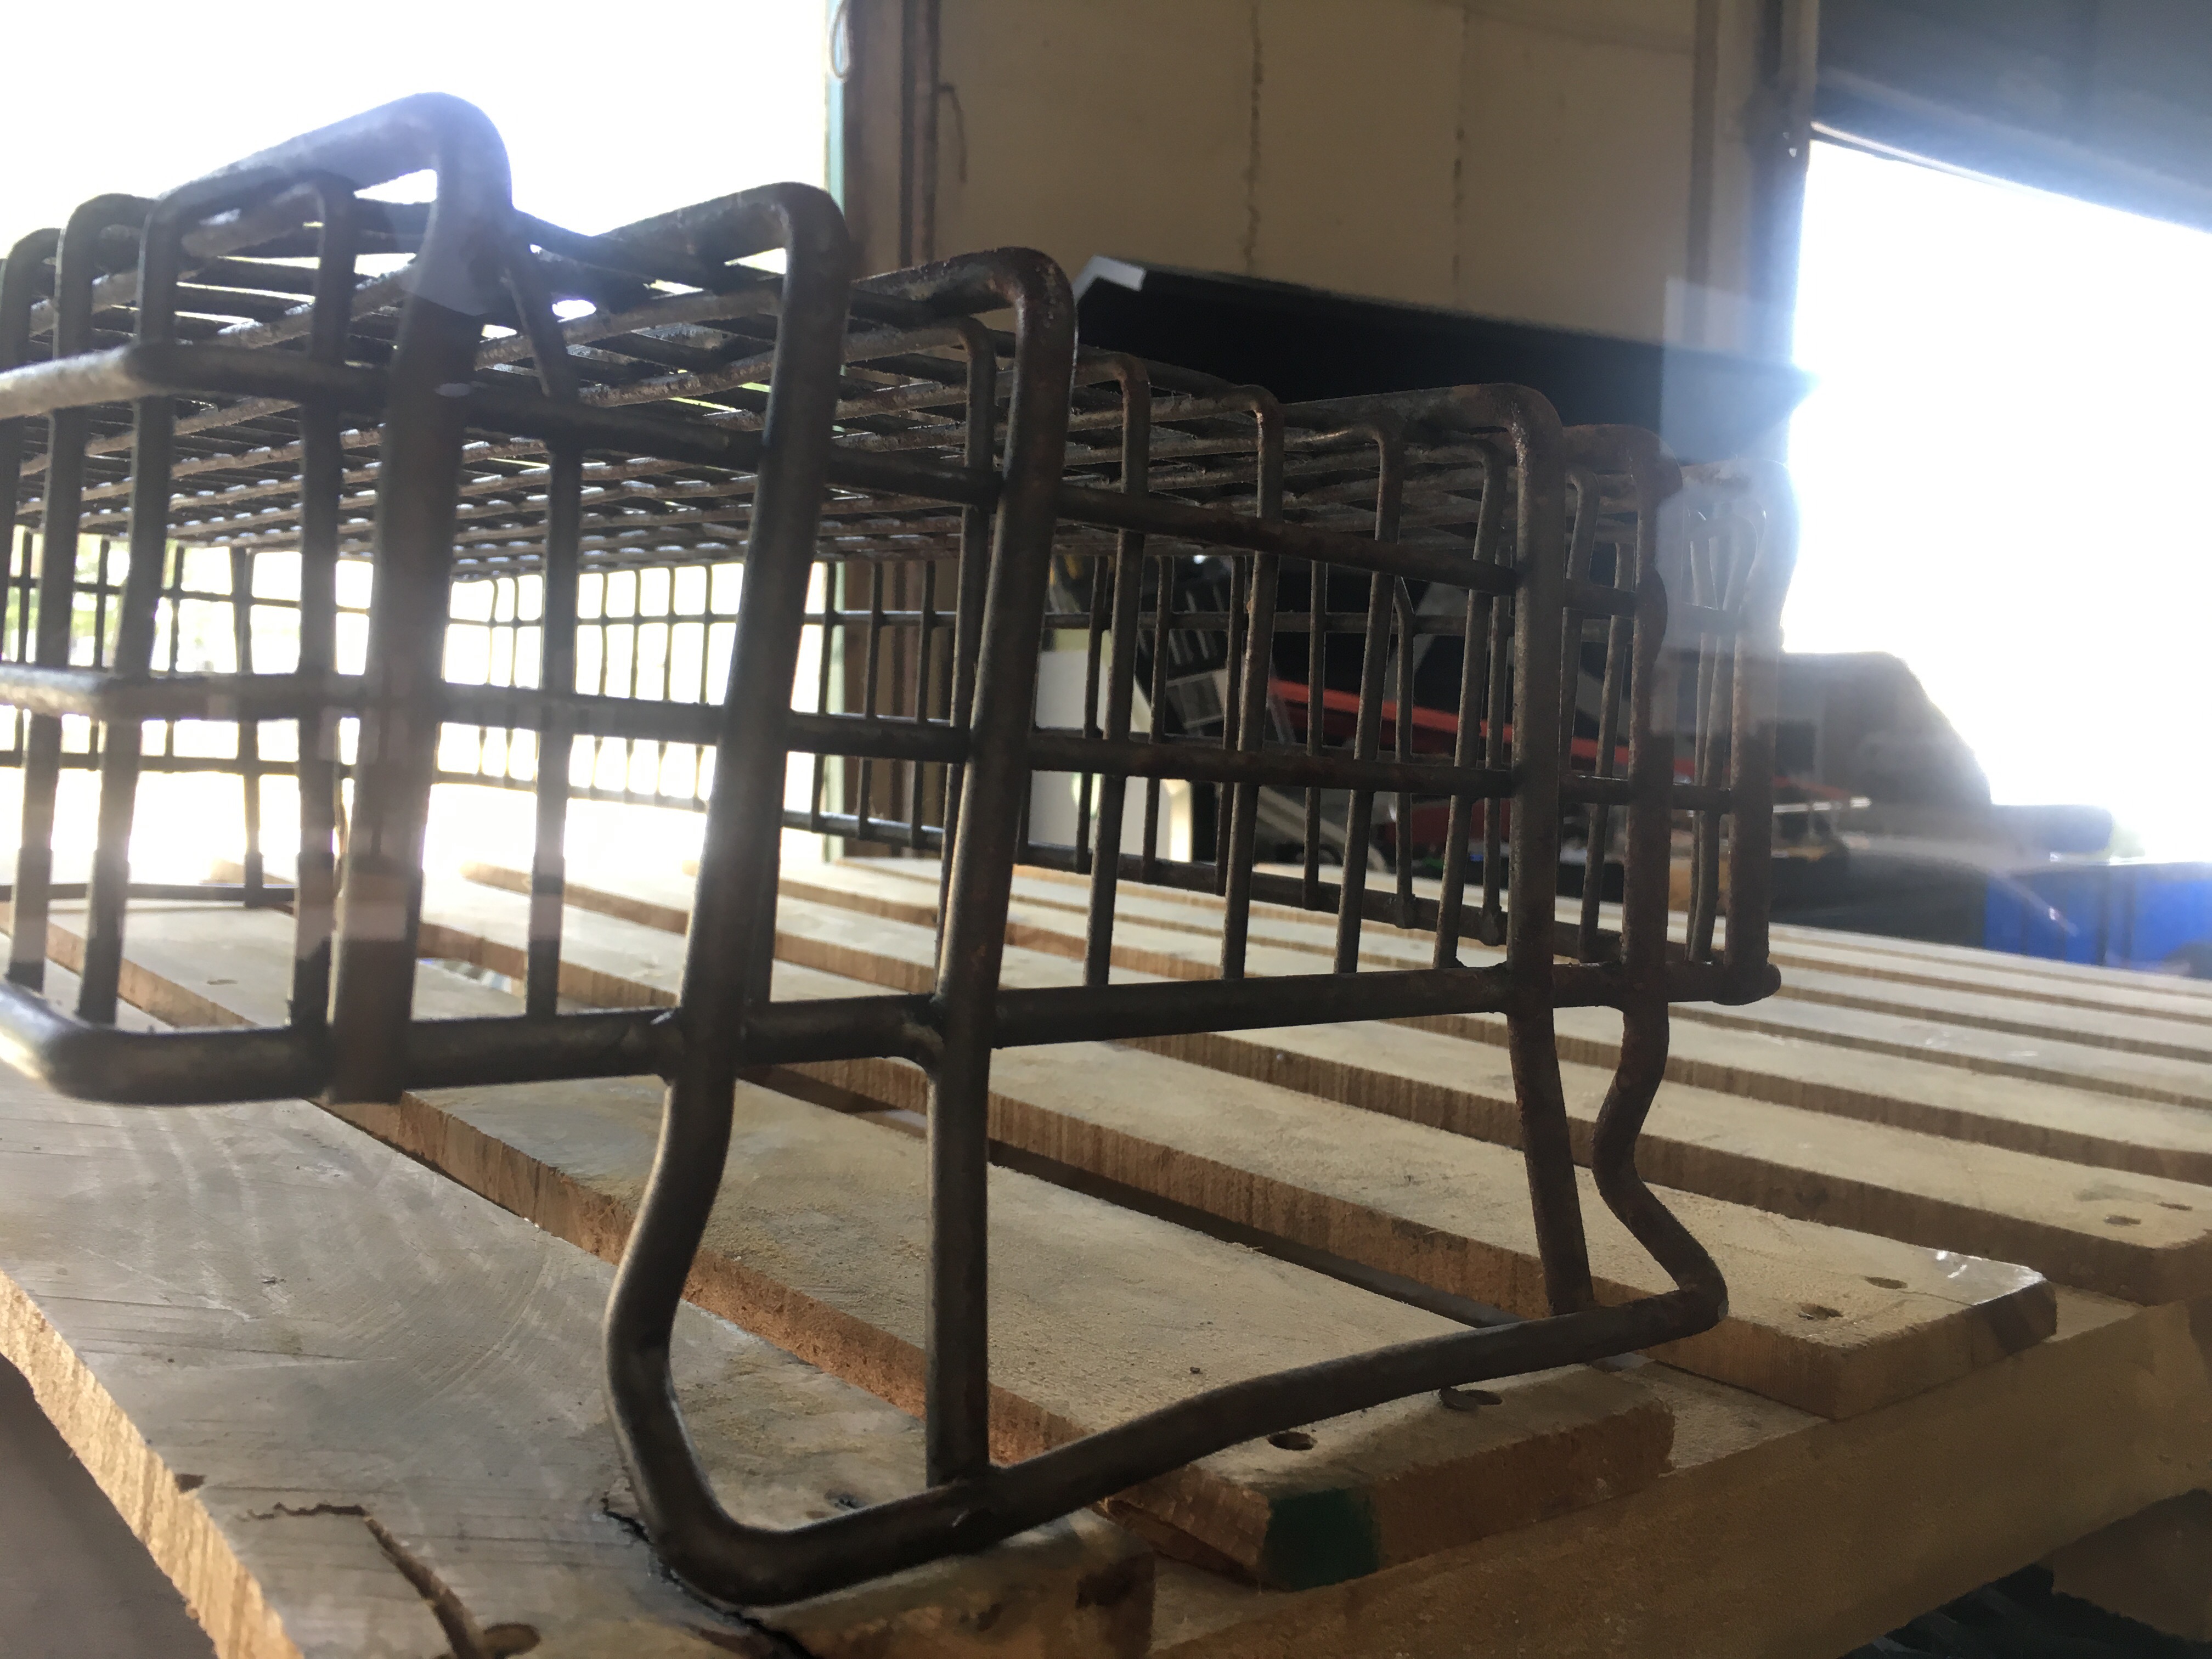 It’s old and a little beat up. Like I am becoming.
 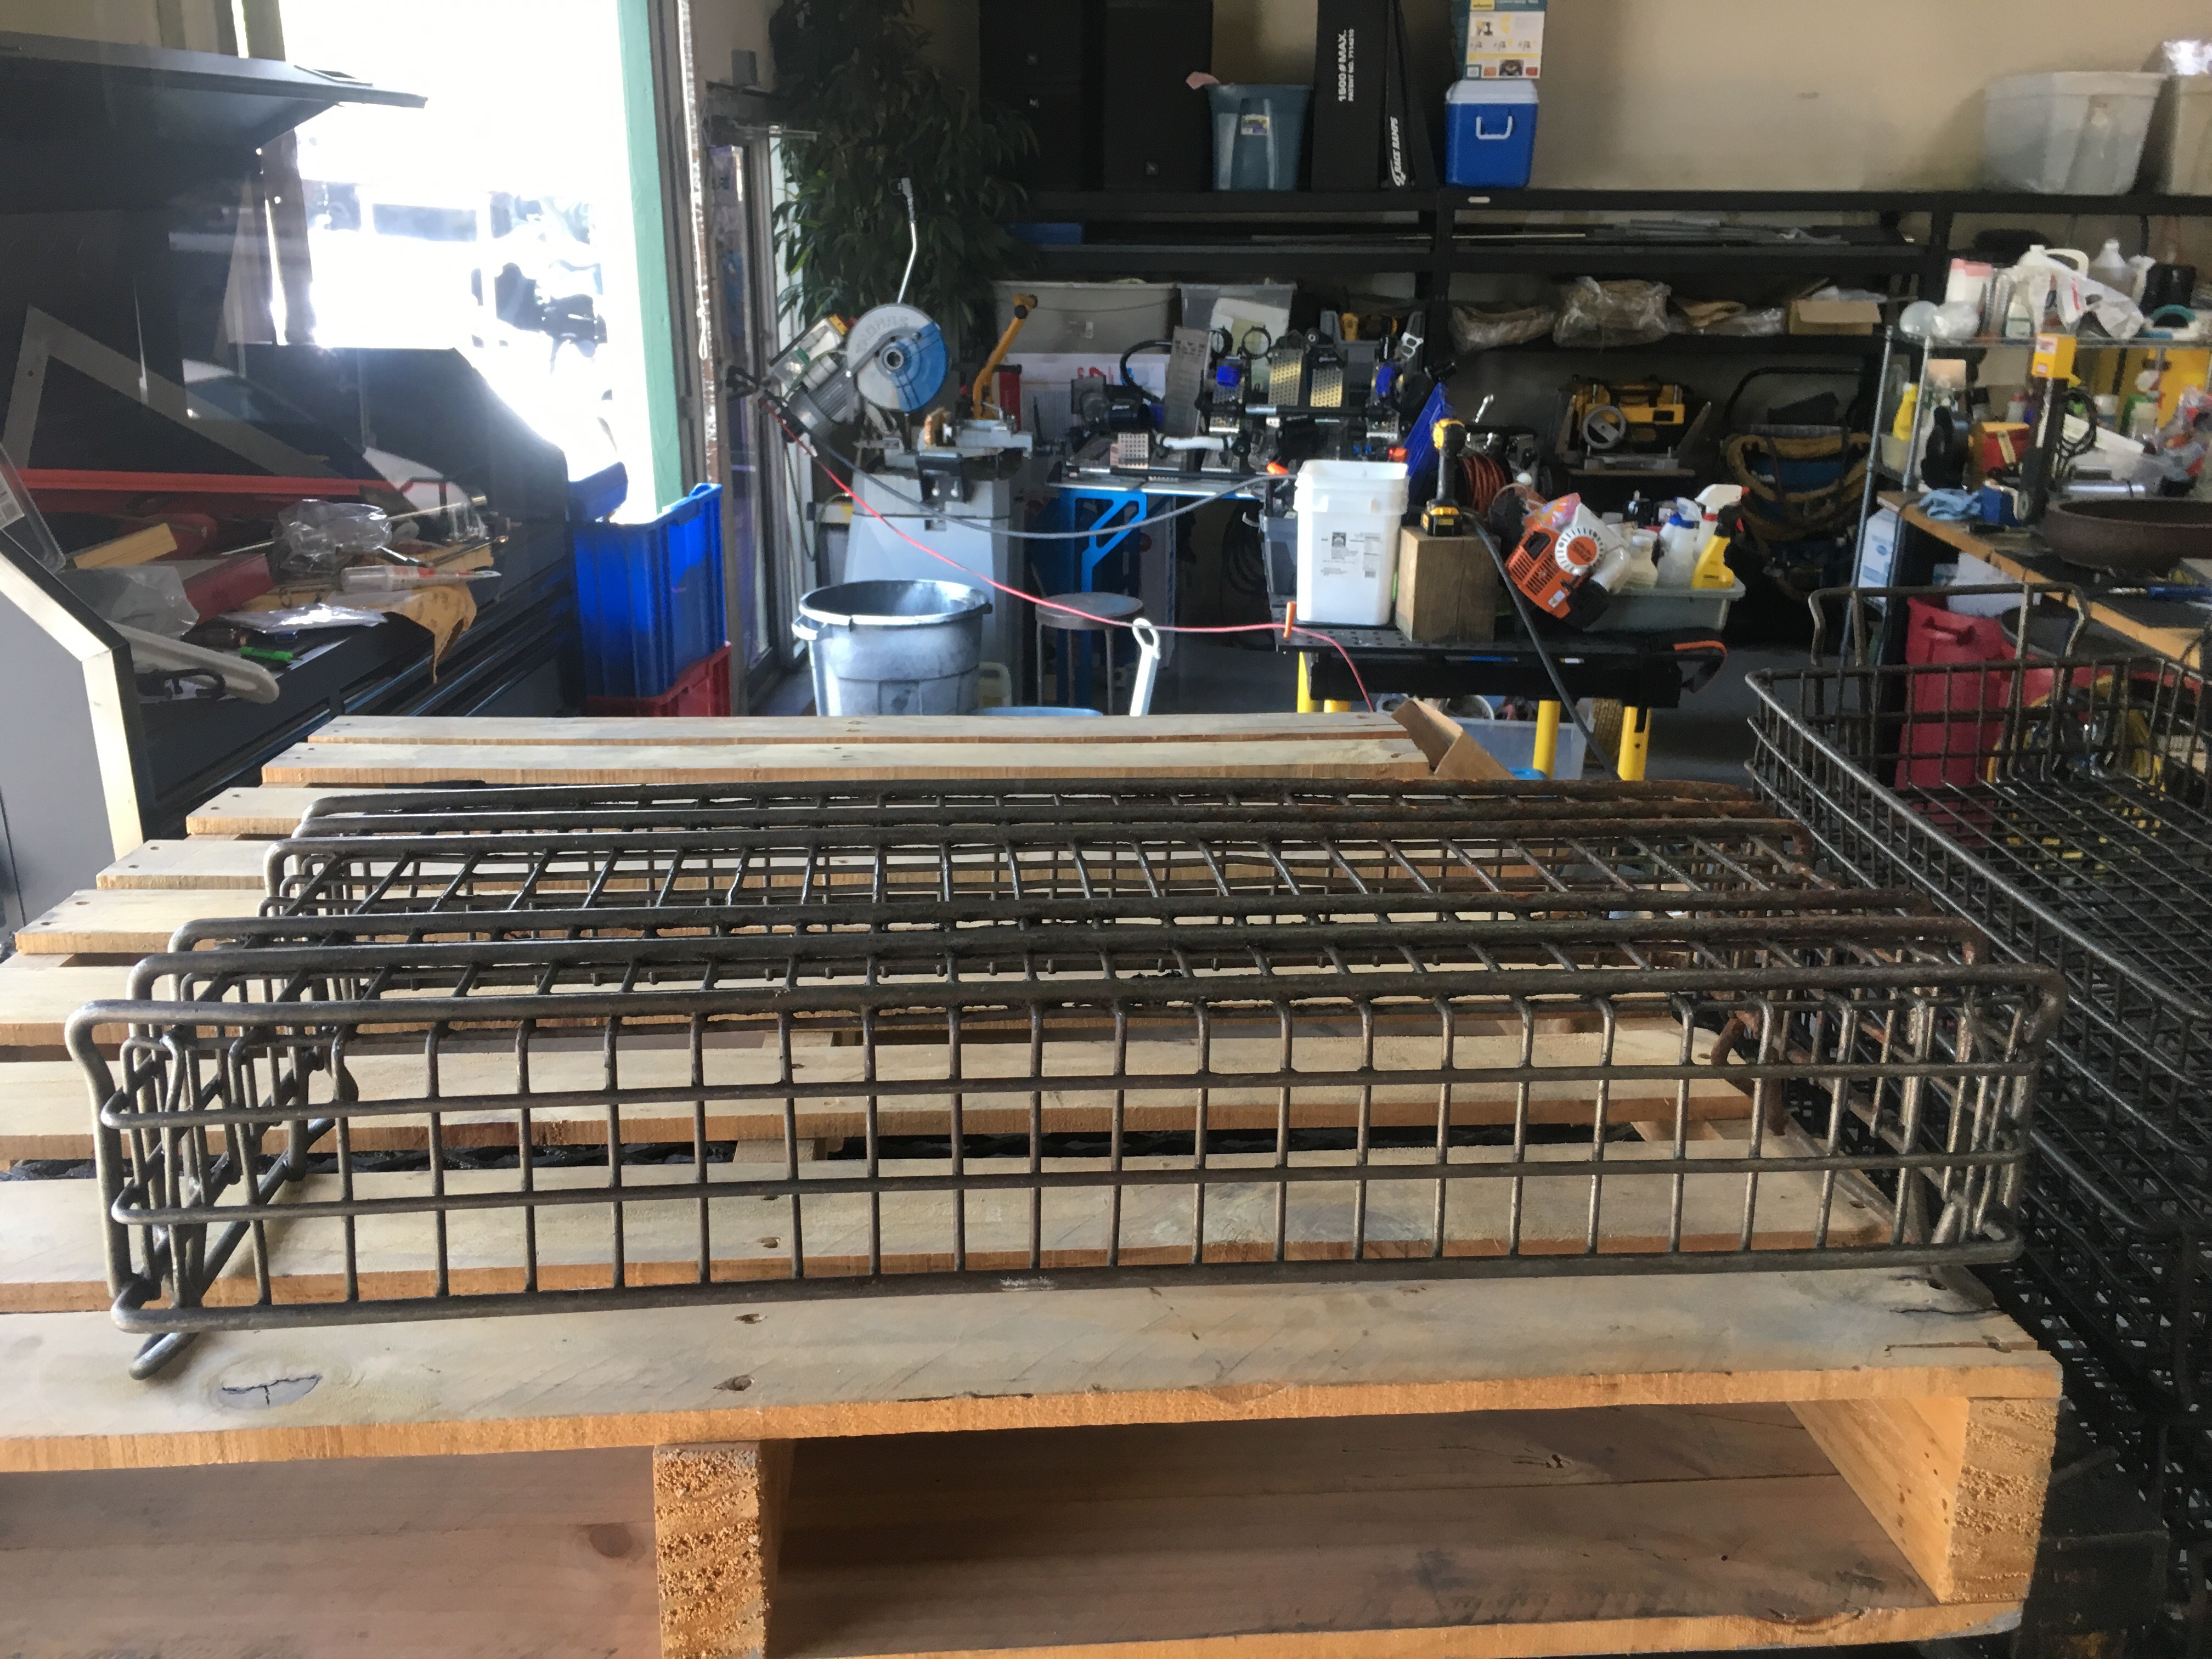 A little rusty. But still strong and useable. In today’s world, something like this would be replaced with plastic or even cardboard.
 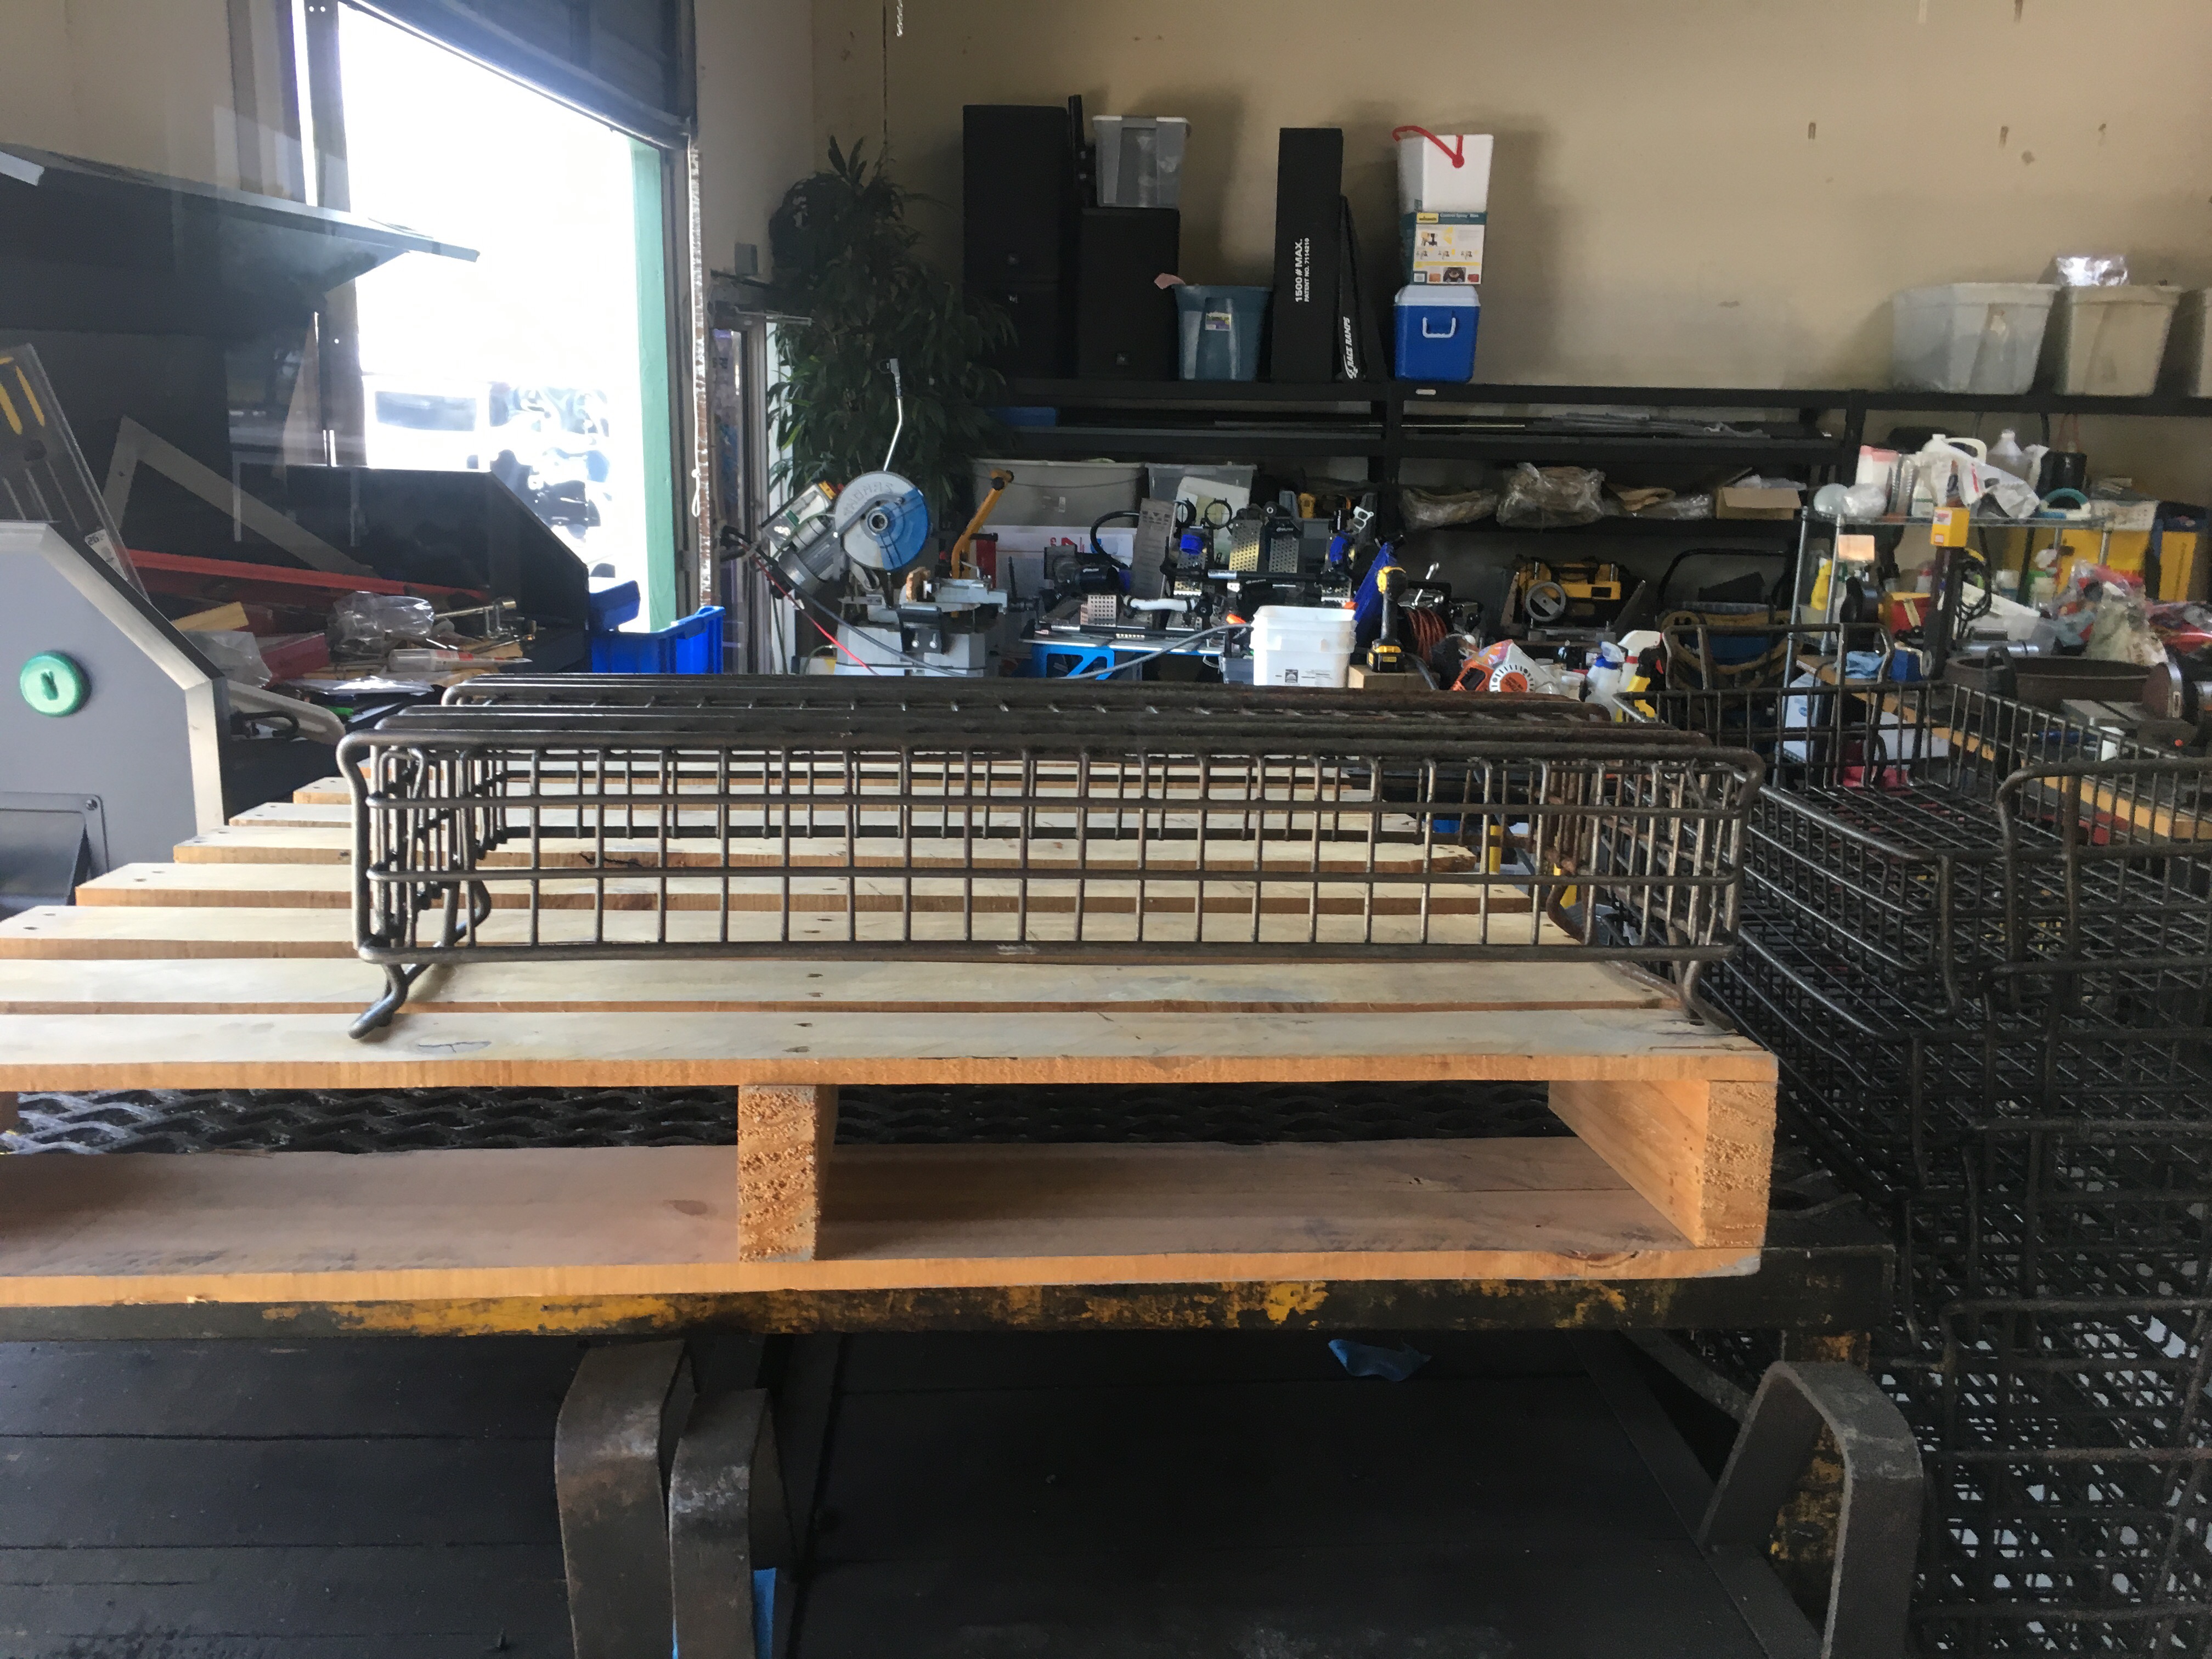 I like it. He said I could have it. Now to figure out how to turn it into a bonsai display stand.
Ah. I know, I have some old wood in my shed.  Old pine planks from broken down pallets I collected before it was cool to make things out of pallets. I was a hipster before it was hip. The ultimate hipster.
 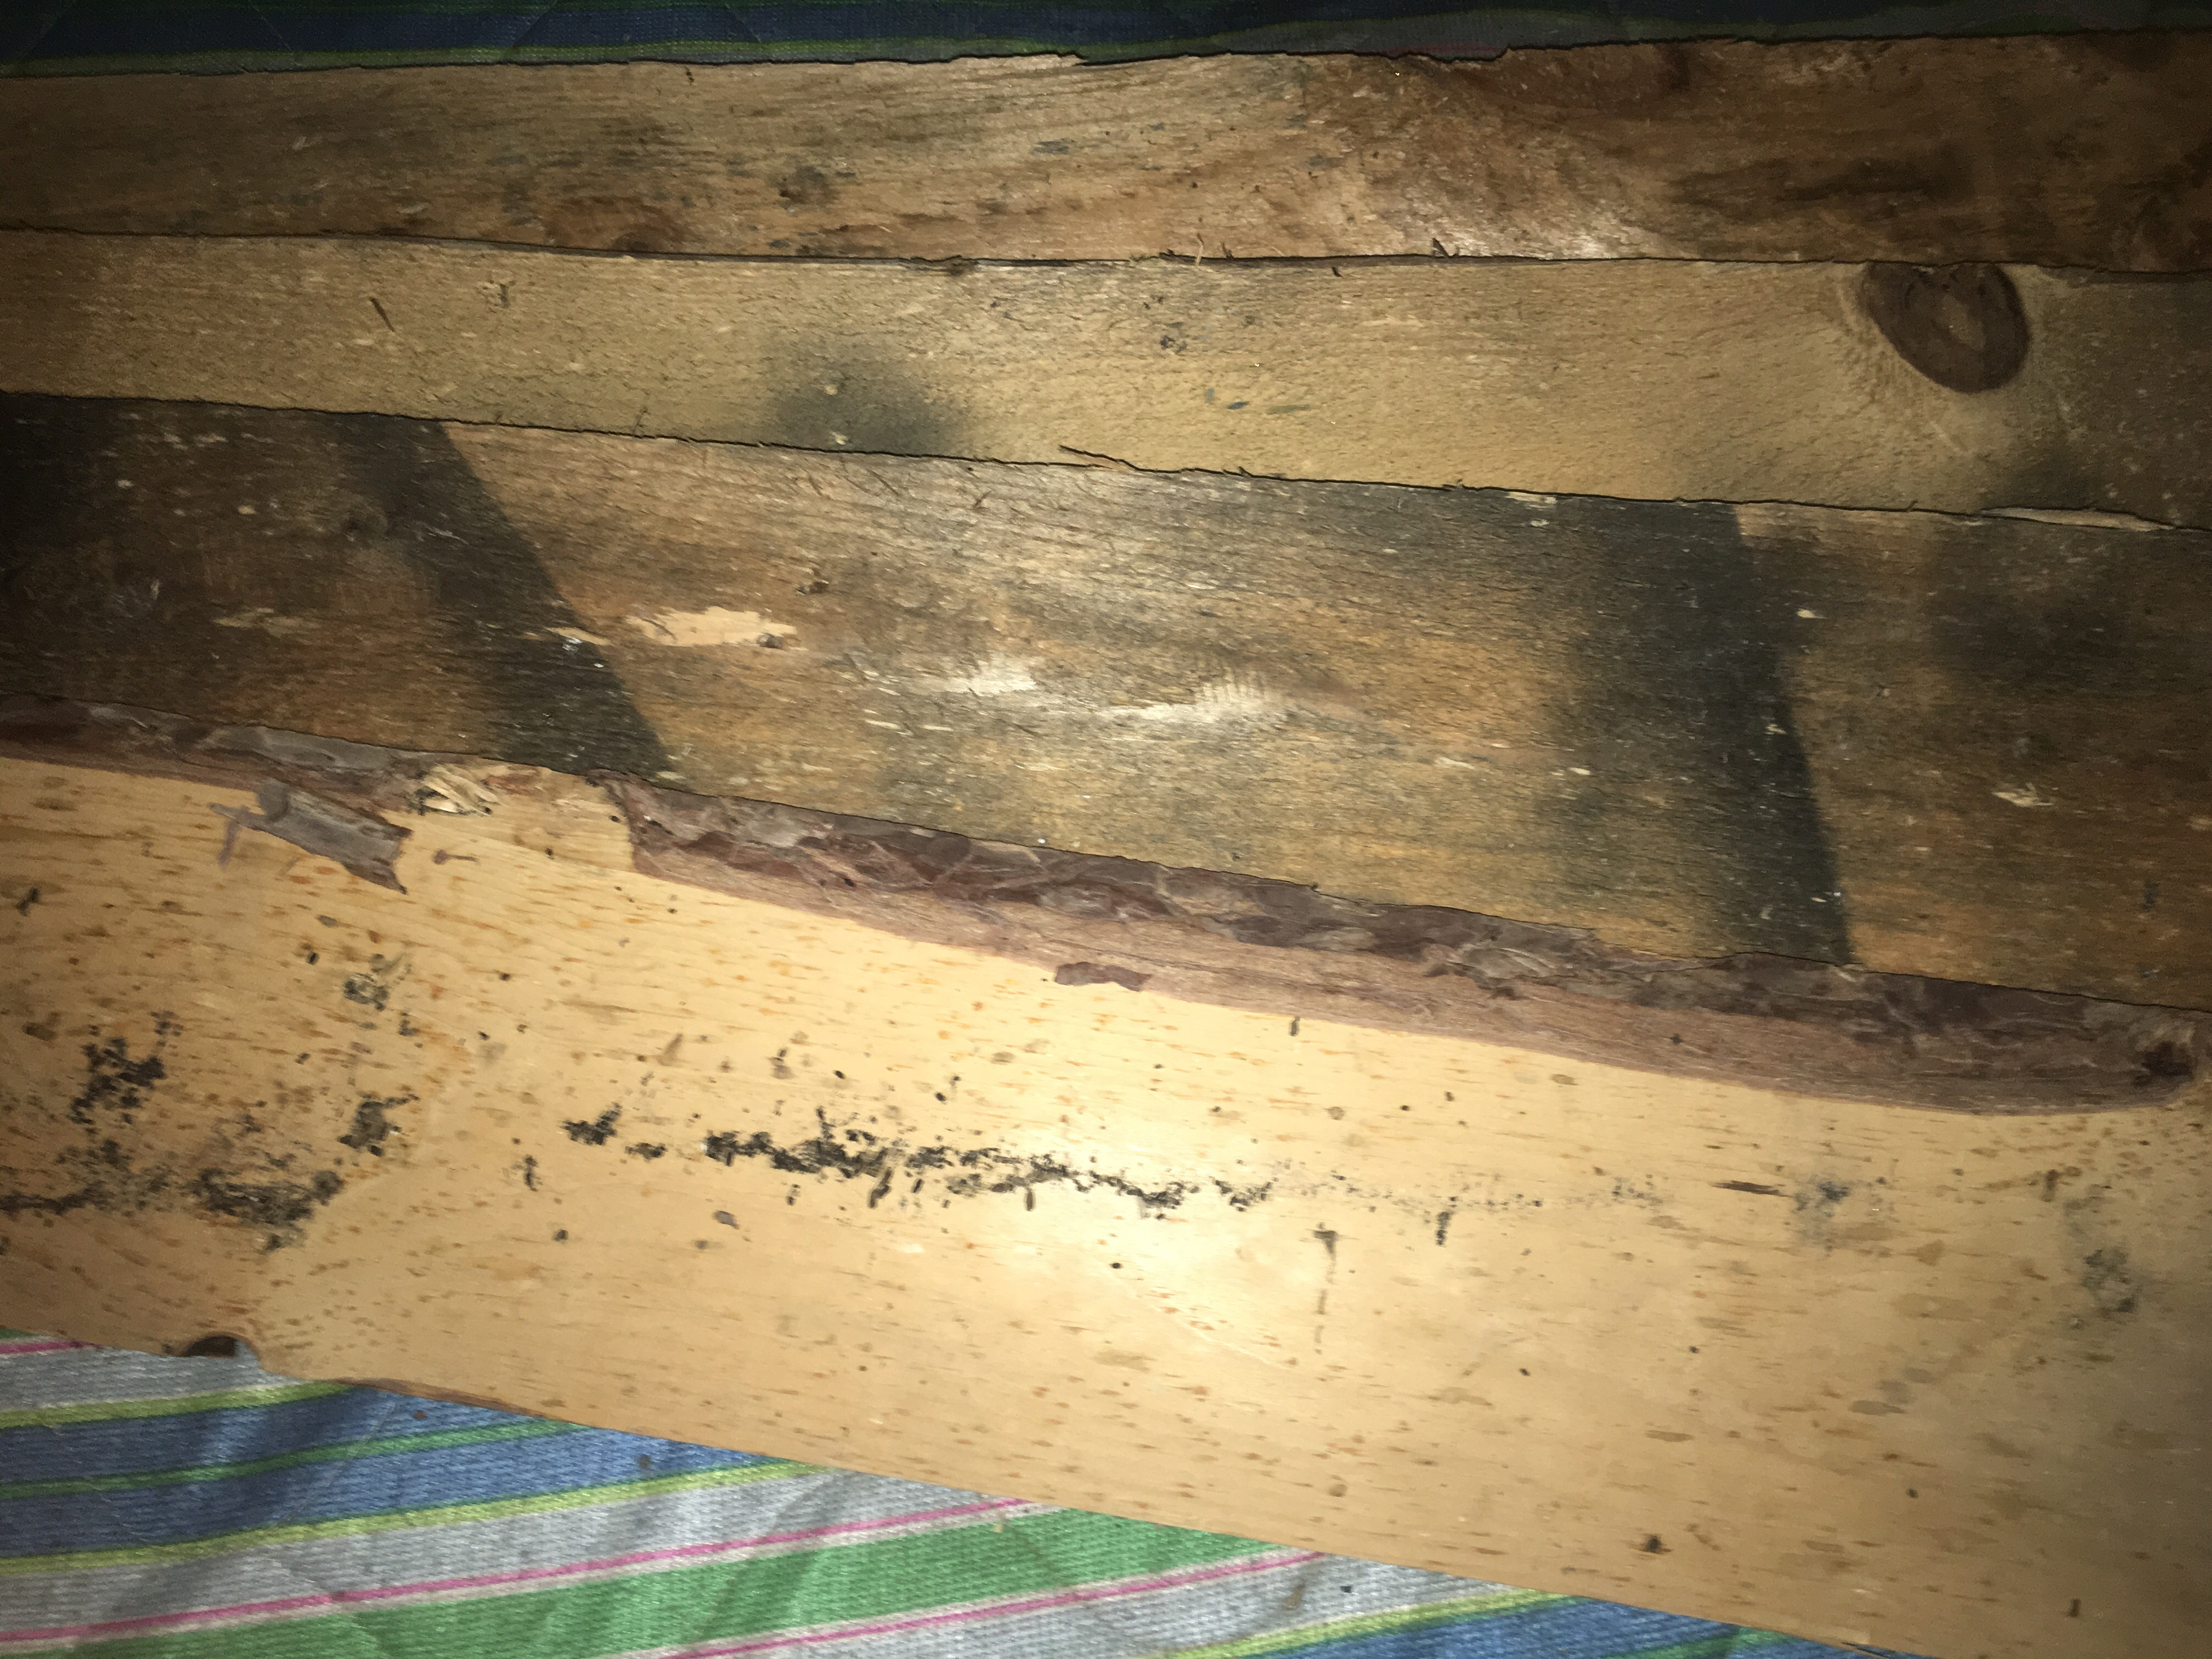 Don’t judge me. I hoard building materials.
And the texture of the wood matches the bins character. 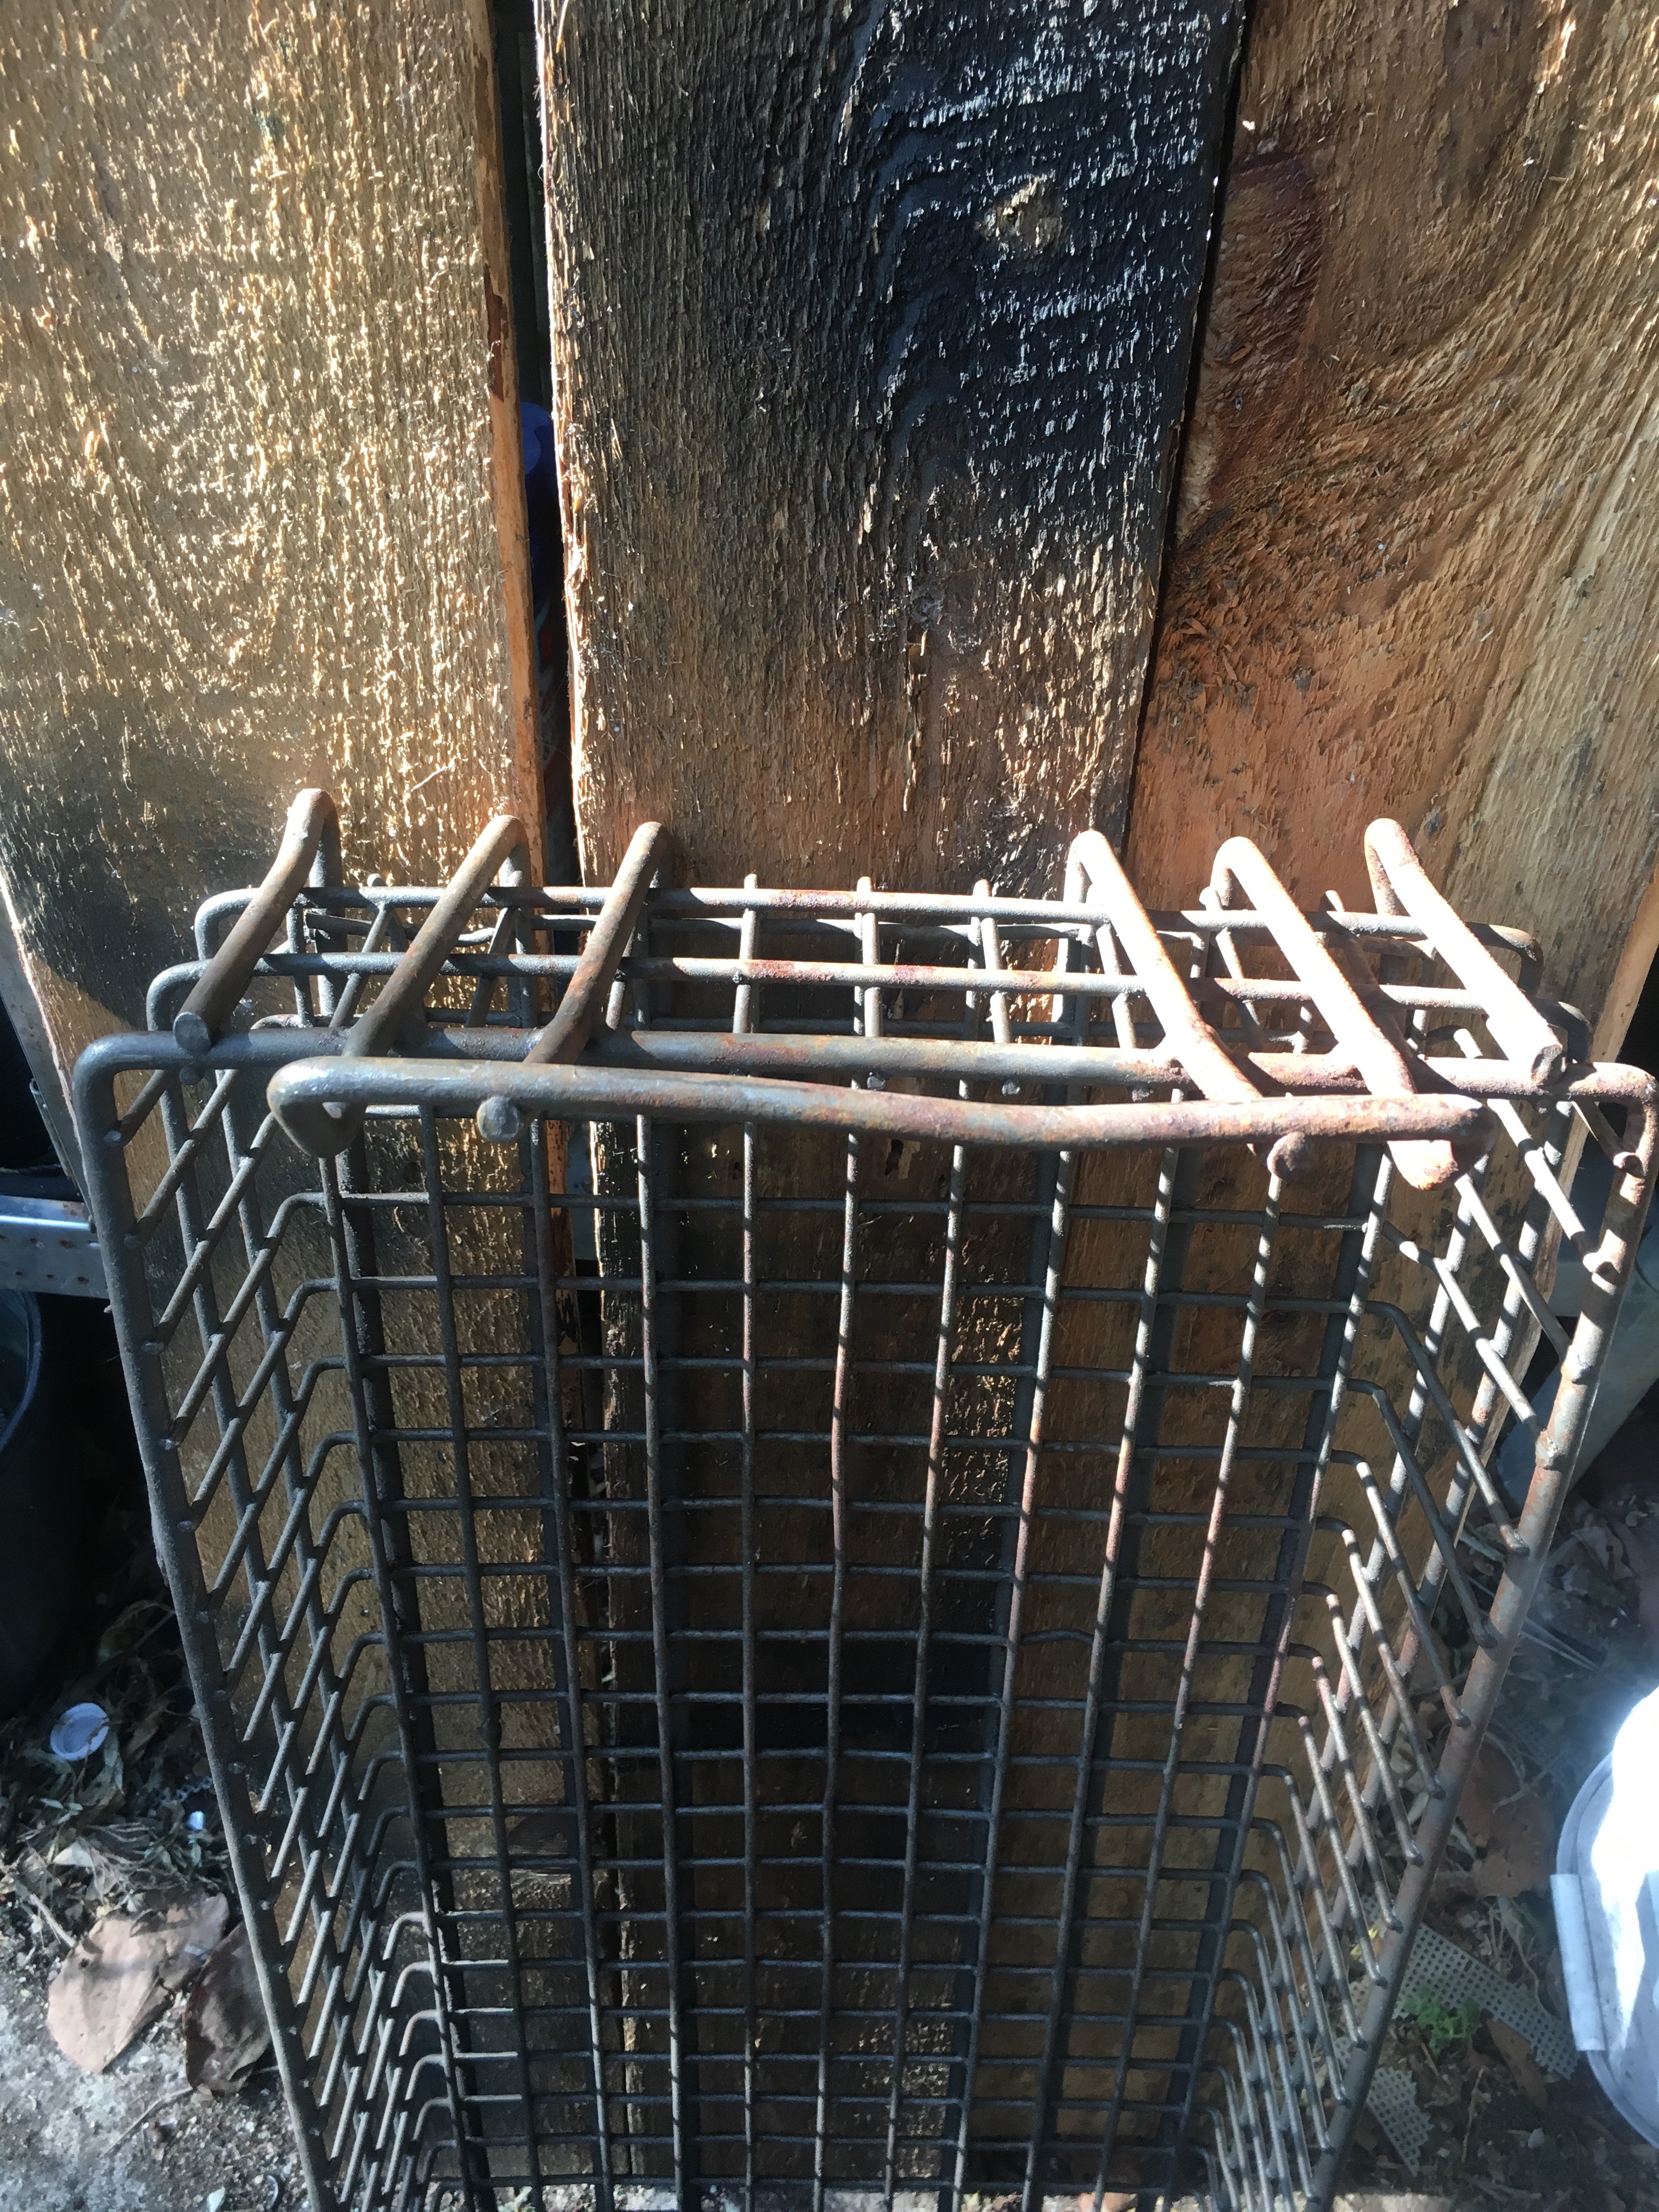 To Work!
The planks arent wide enough so I need to join some together for a large enough top. That means I get to play with the table saw! 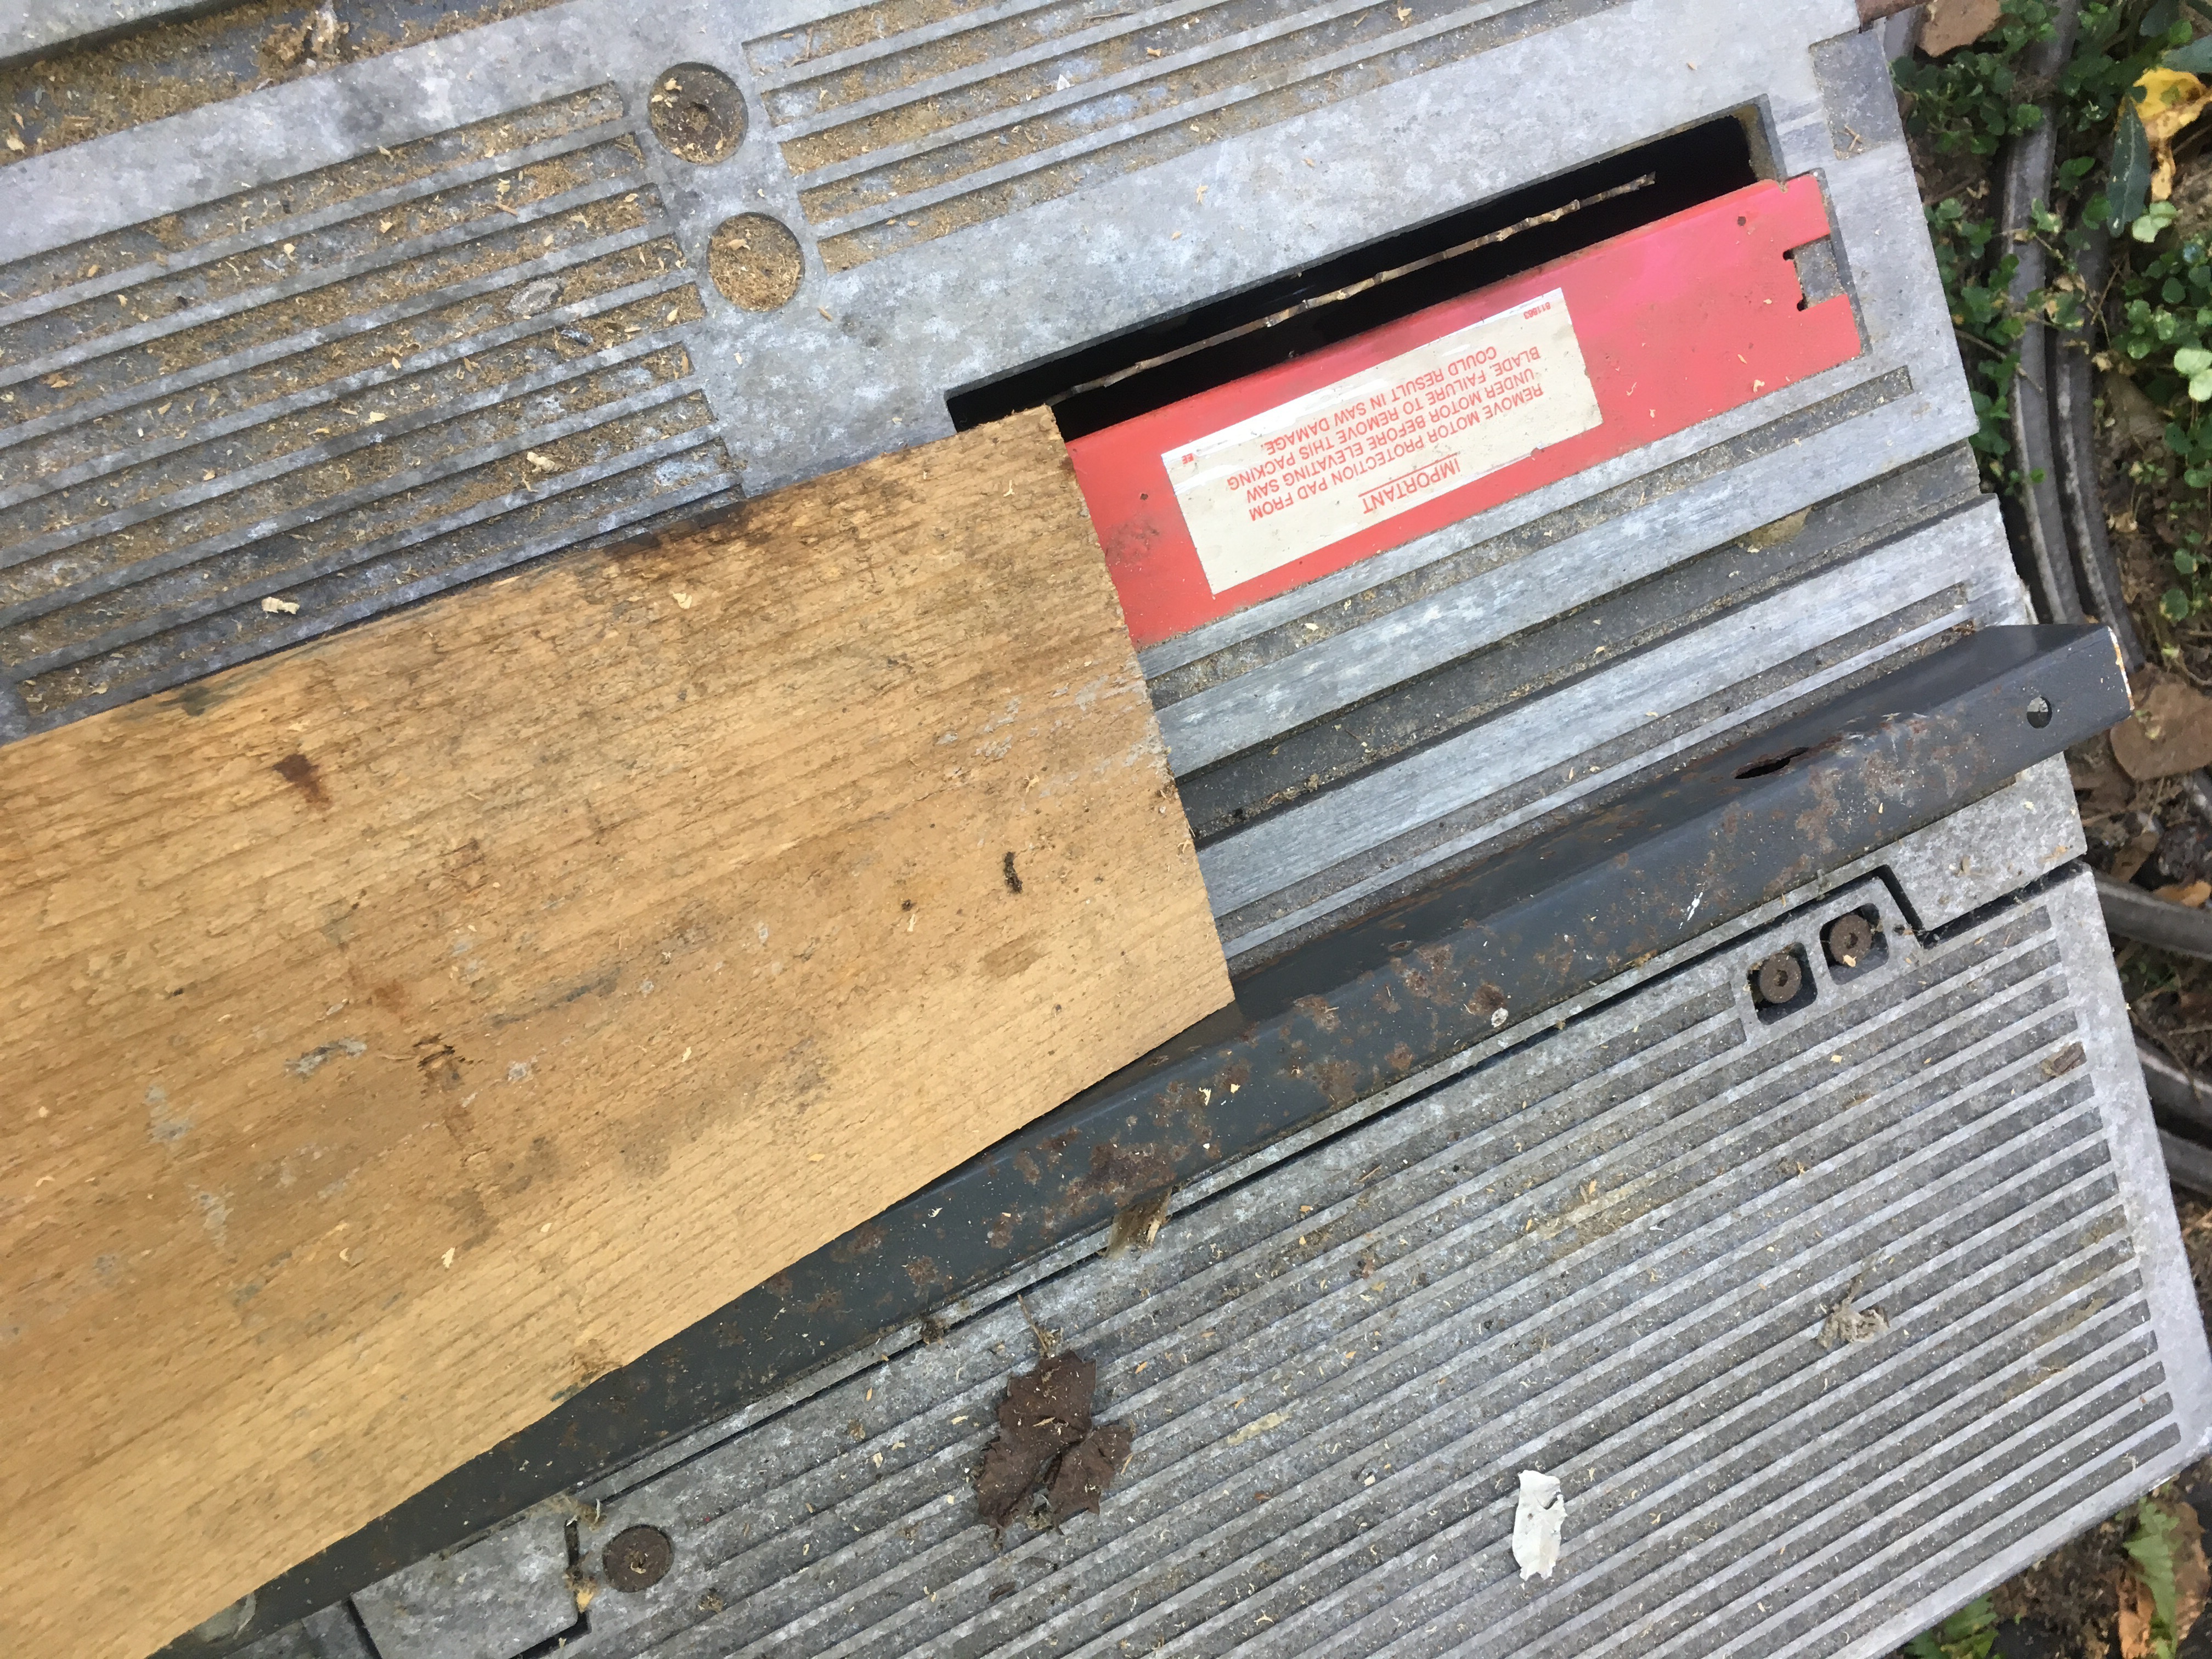 Too bad you can’t hear this. It sounds like what being a man sounds like.
 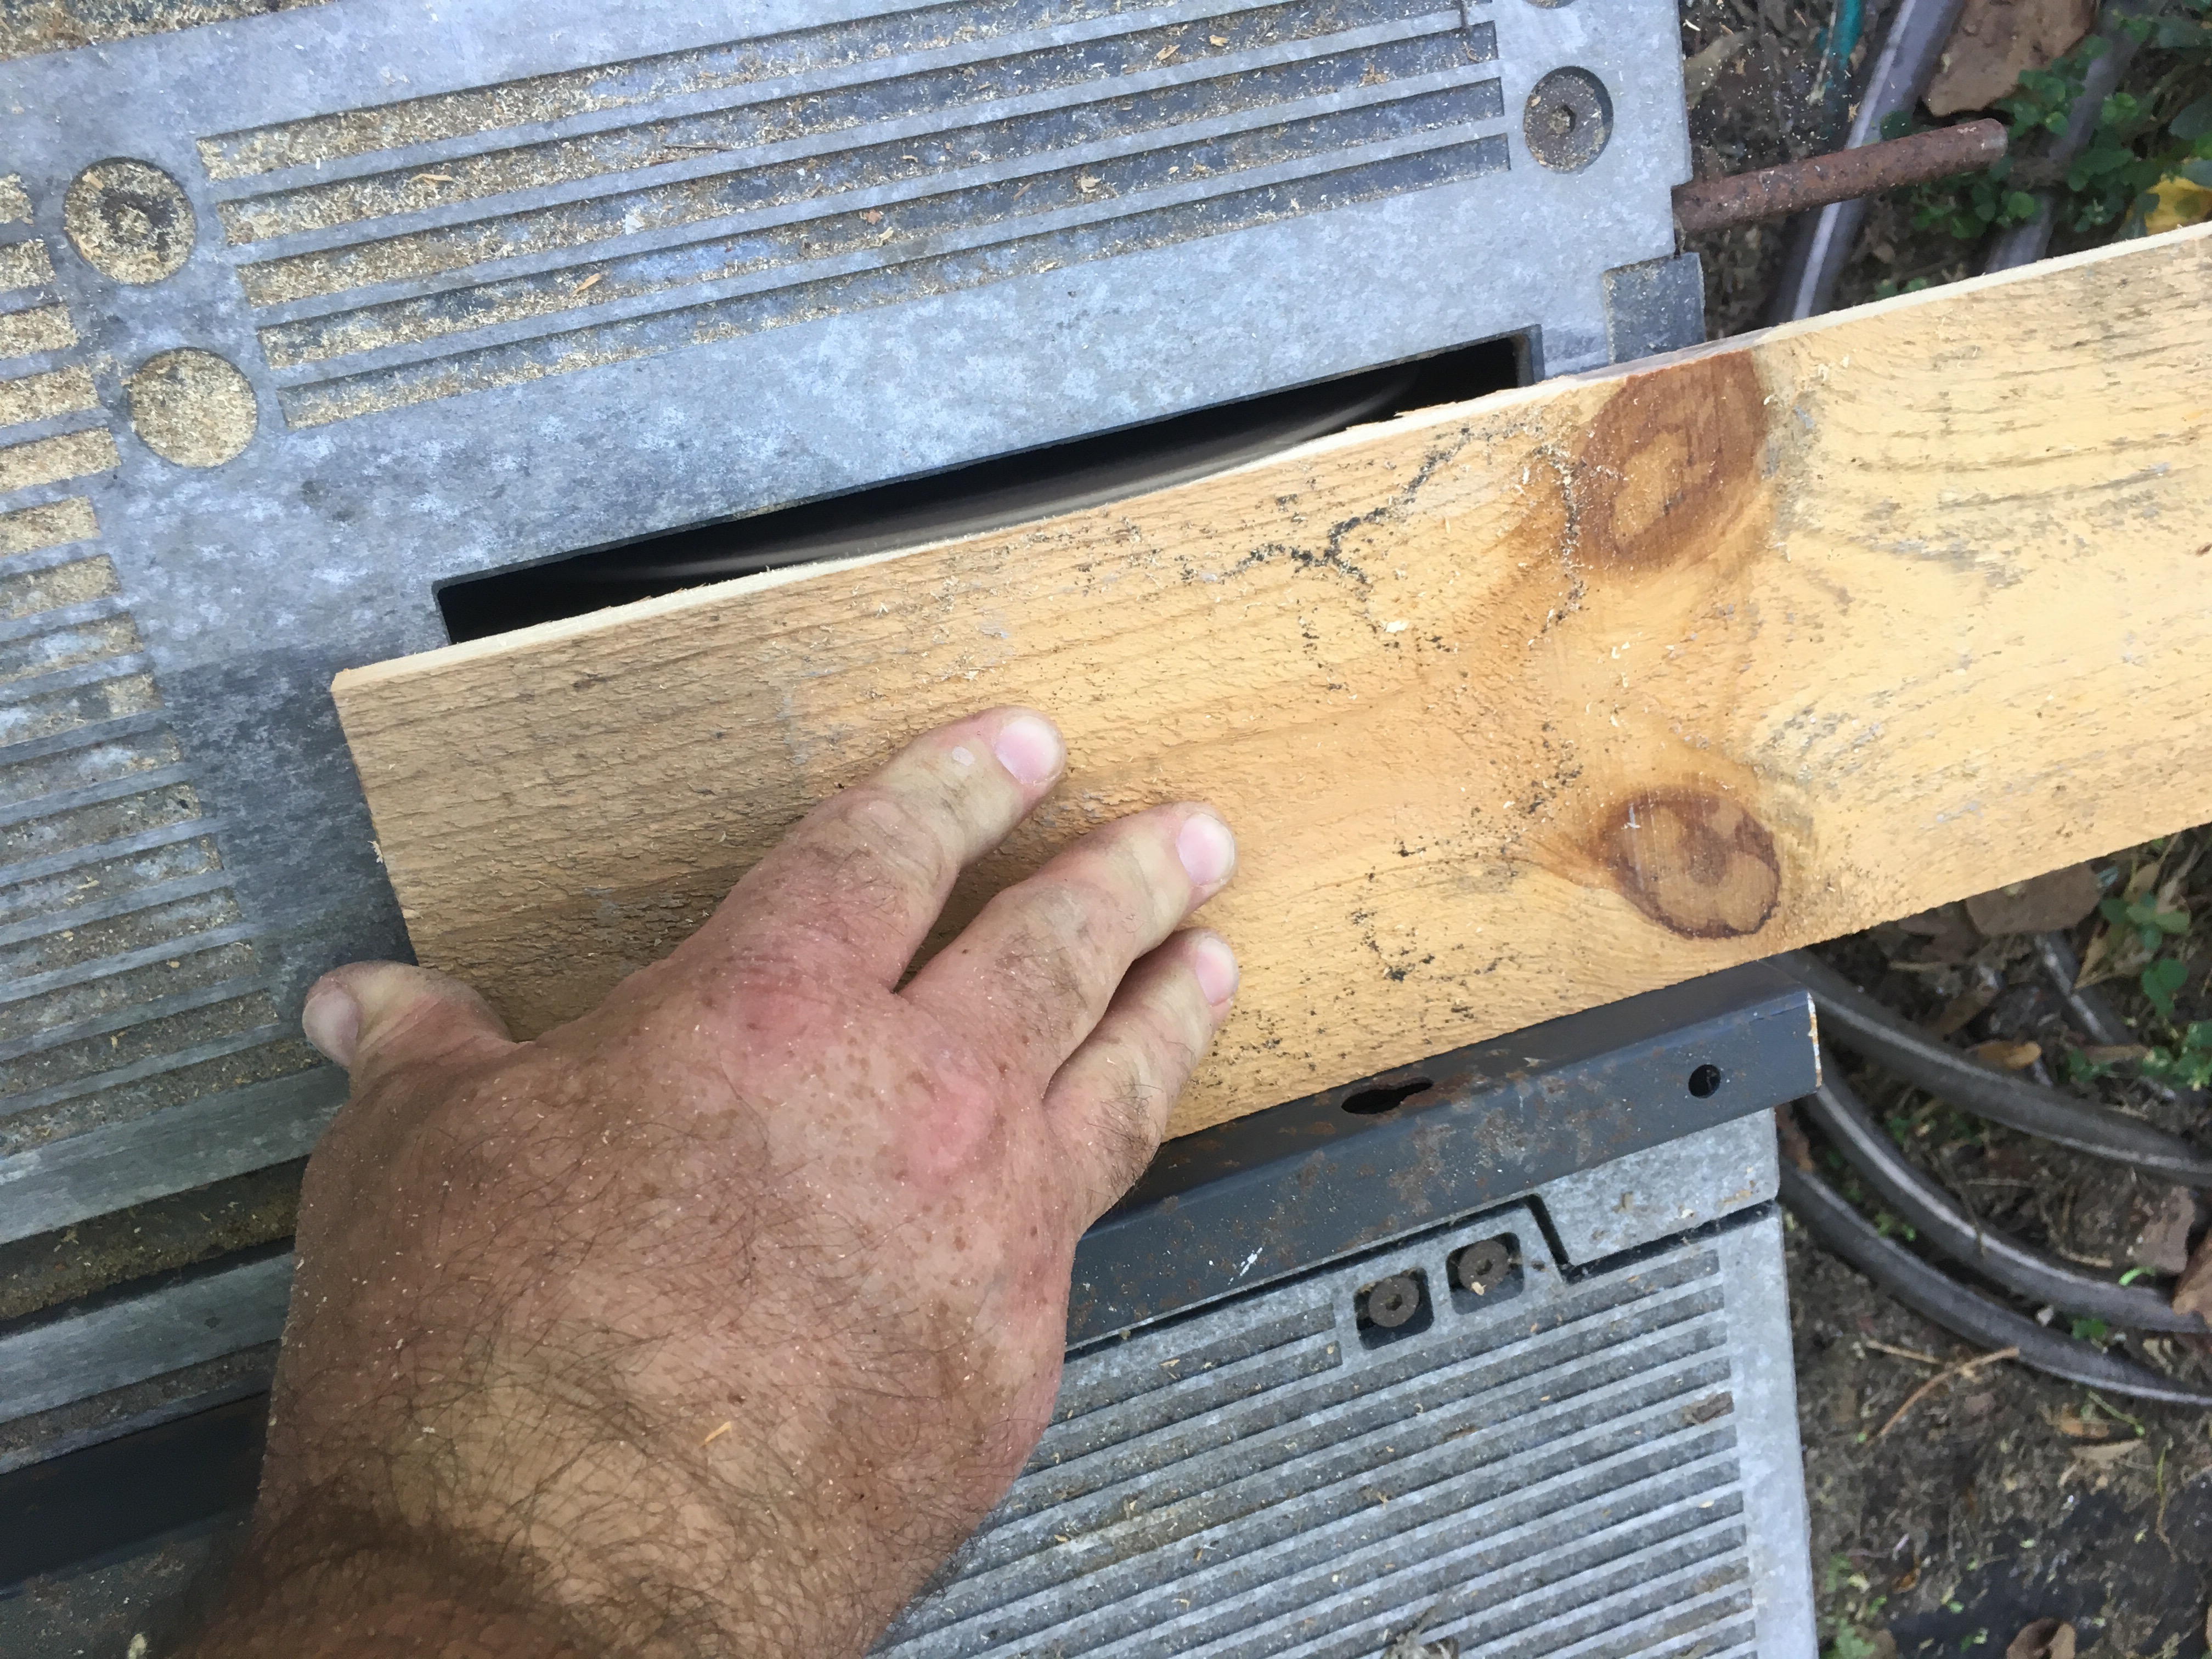 Eat your heart out Sean Smith.
 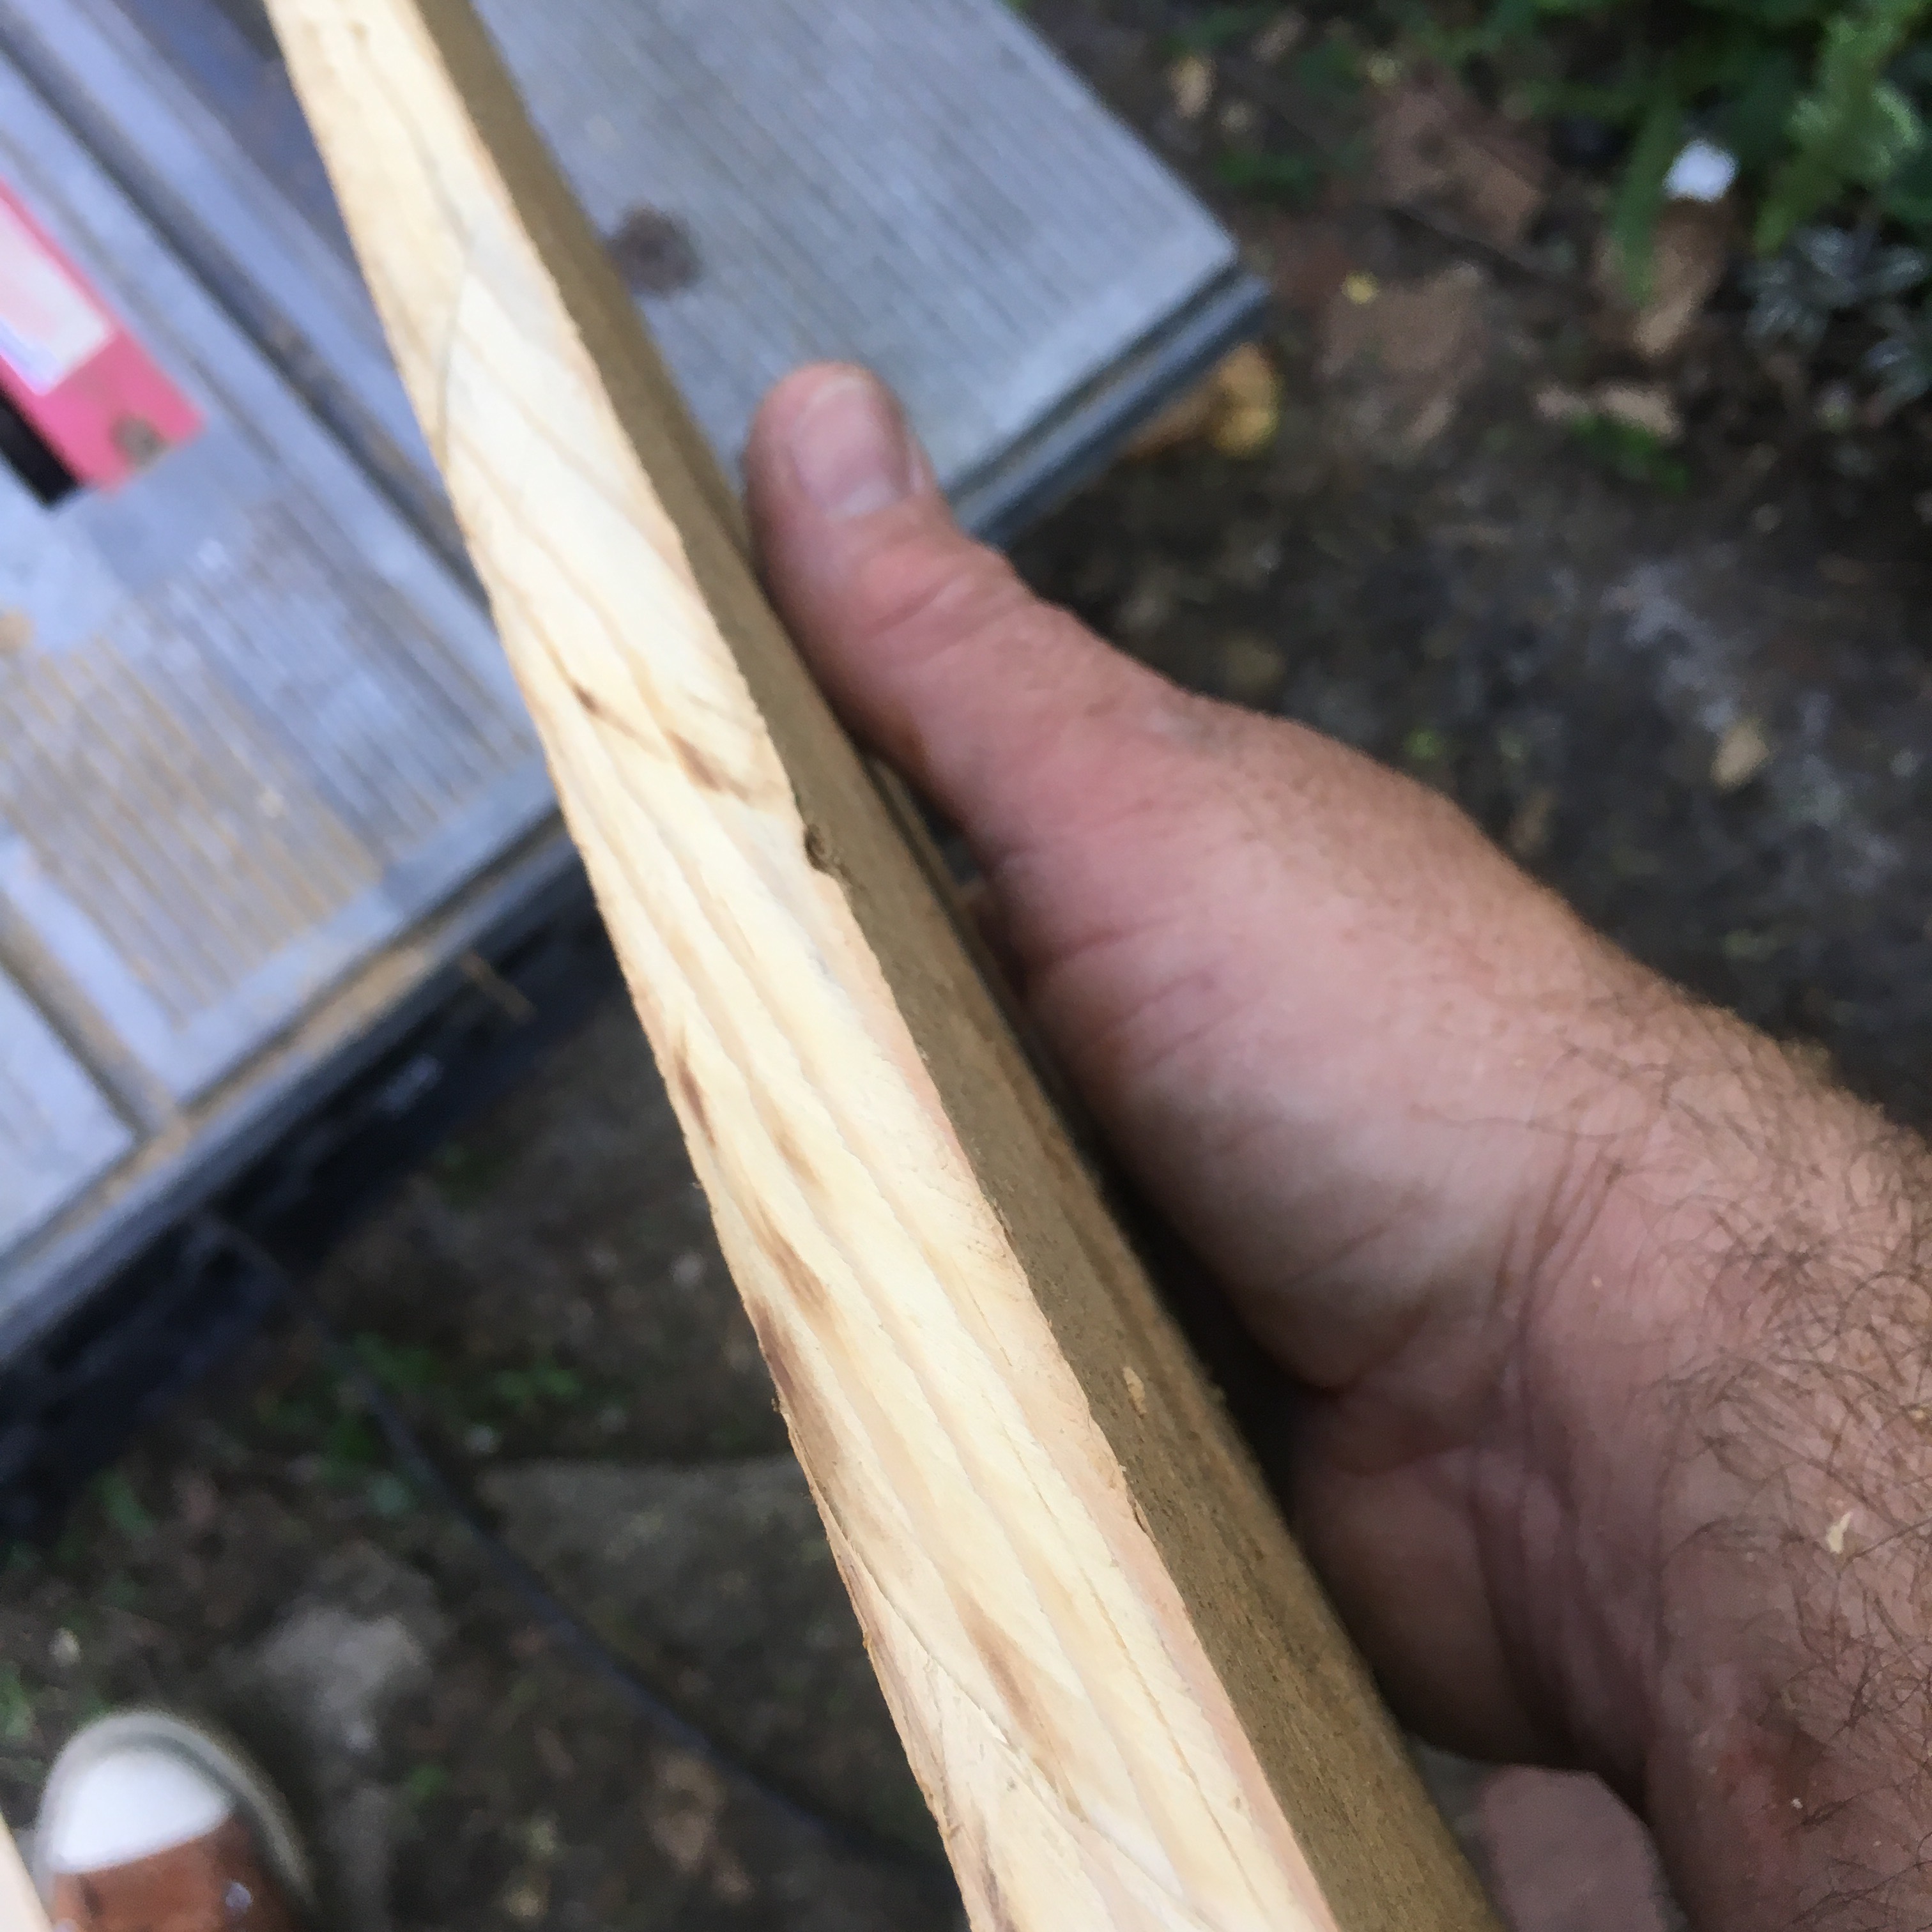 What I’m doing with the saw is to make some flat edges to glue together, to “join”, as they say.
 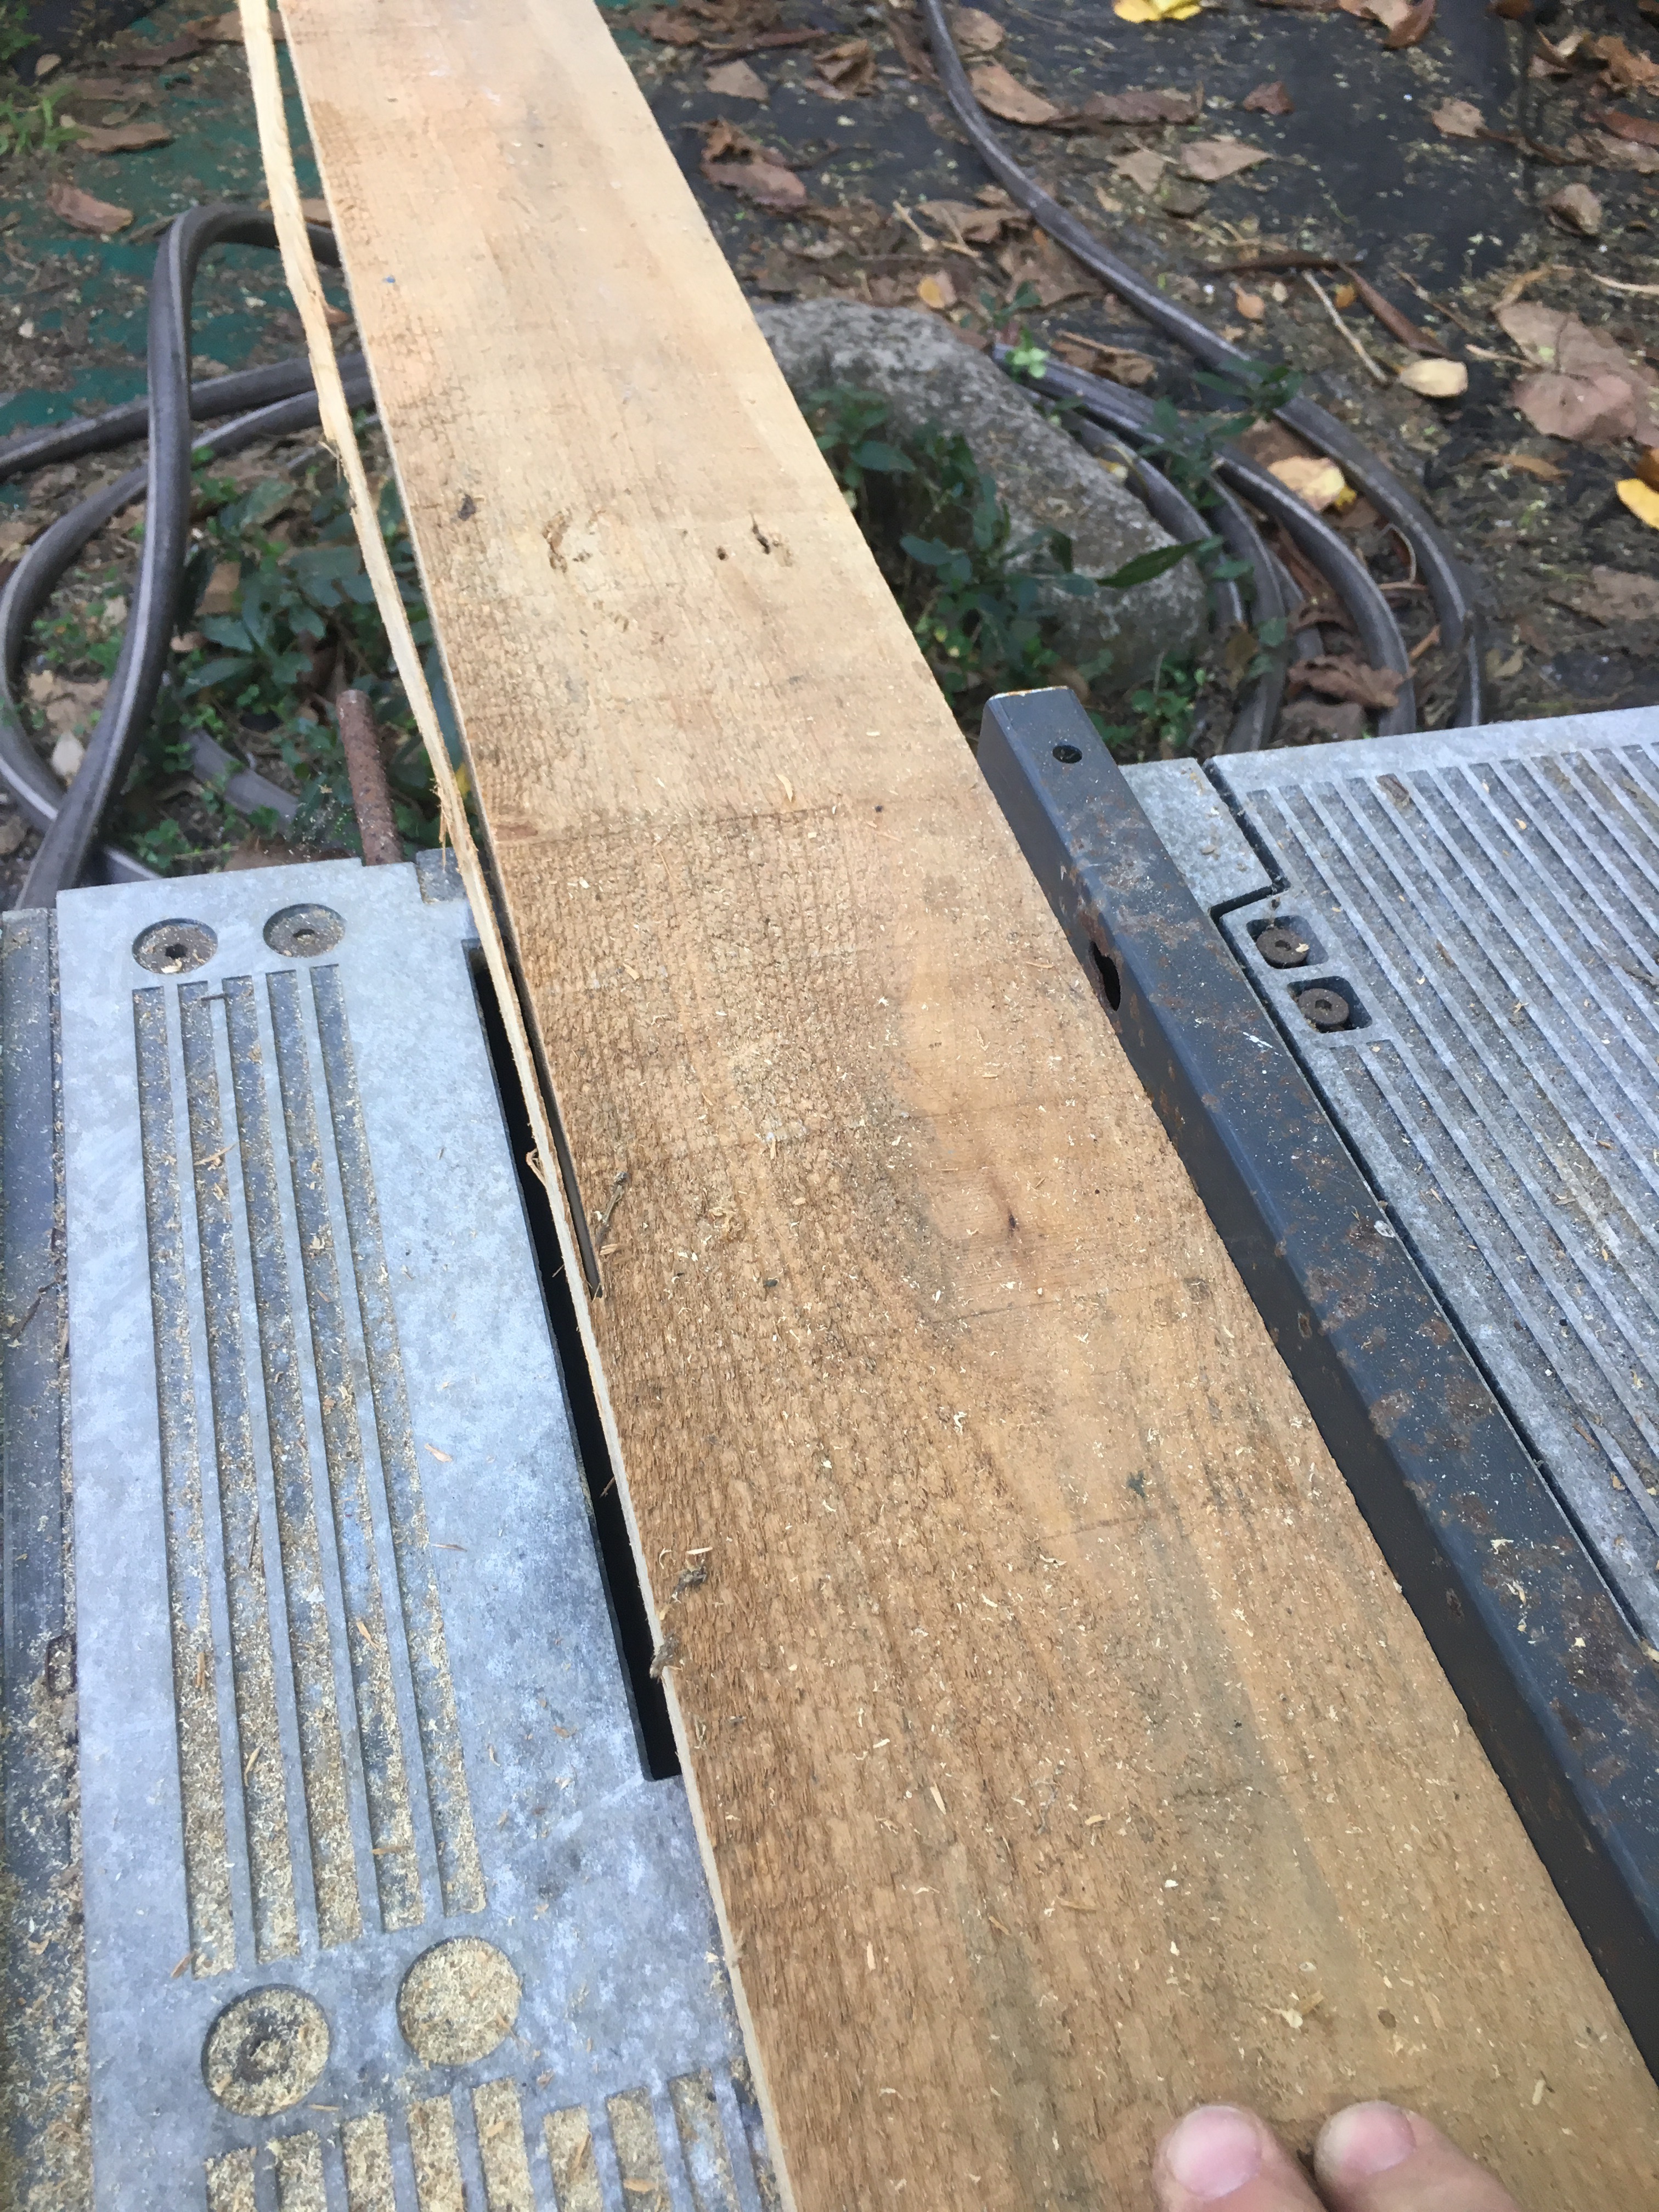 It would be better if I had an edge planer but this’ll do. Now some glue….
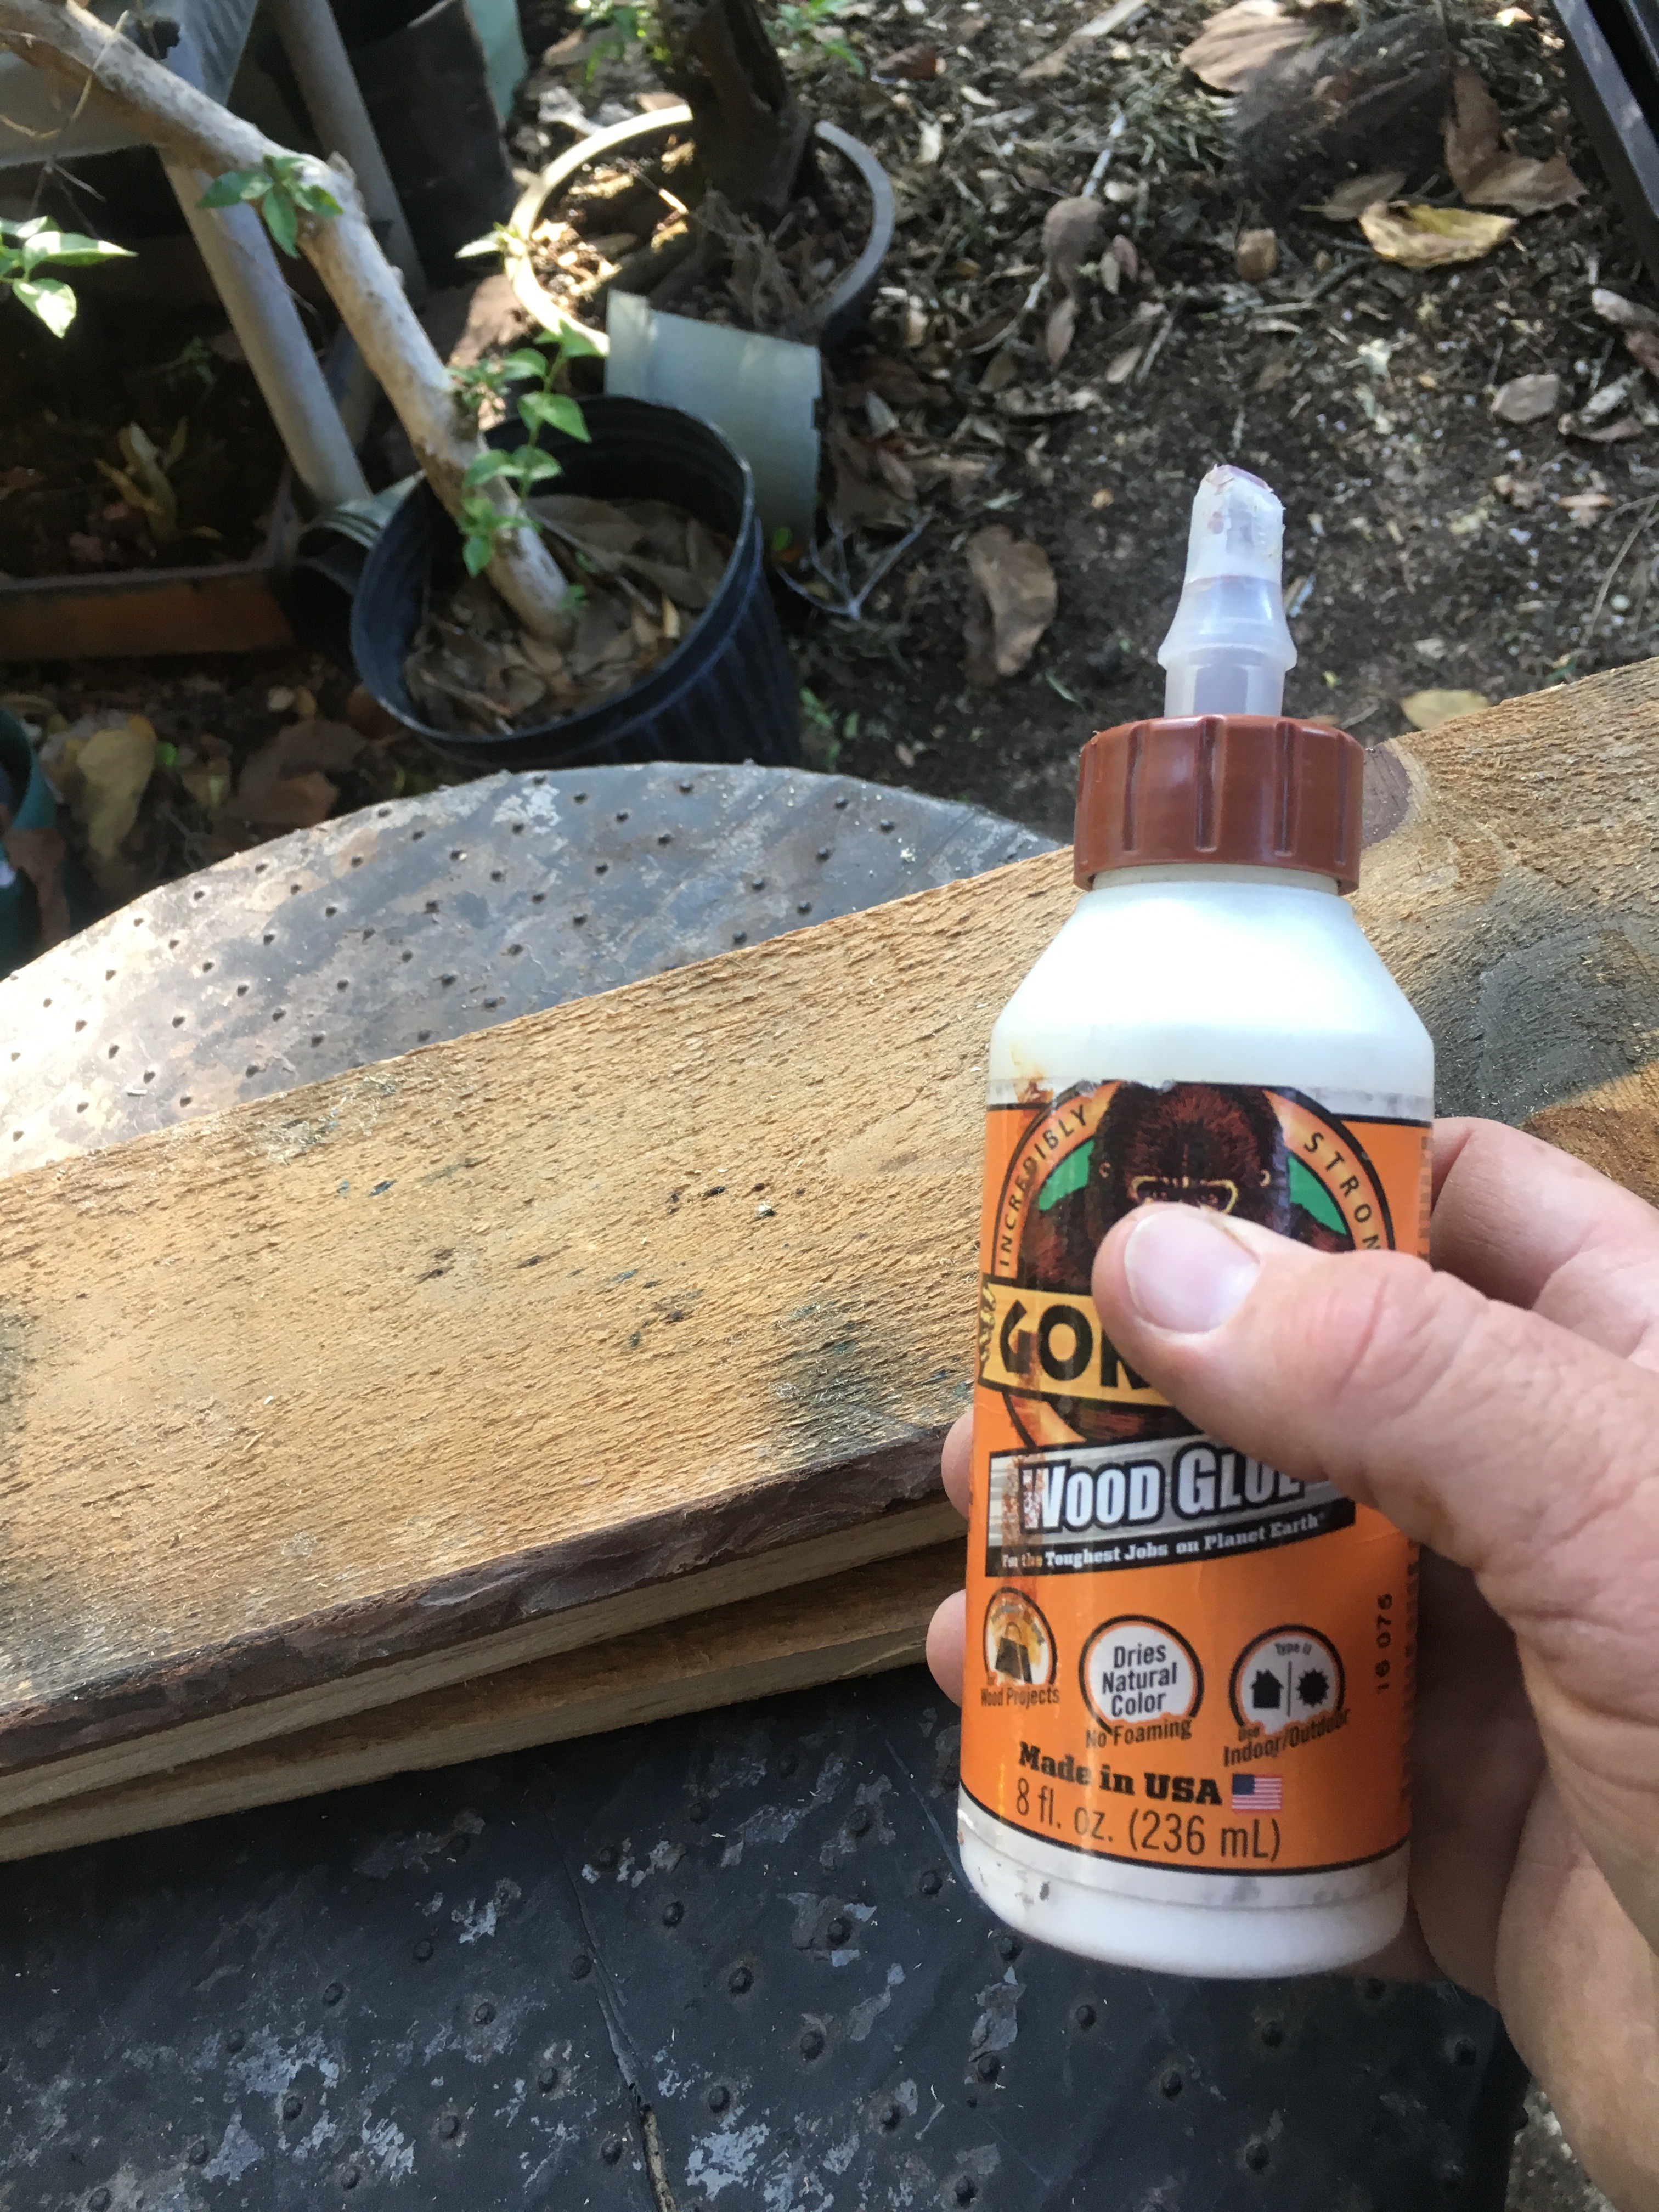 …..and the clamps. Wasn’t that a punk rock group?
 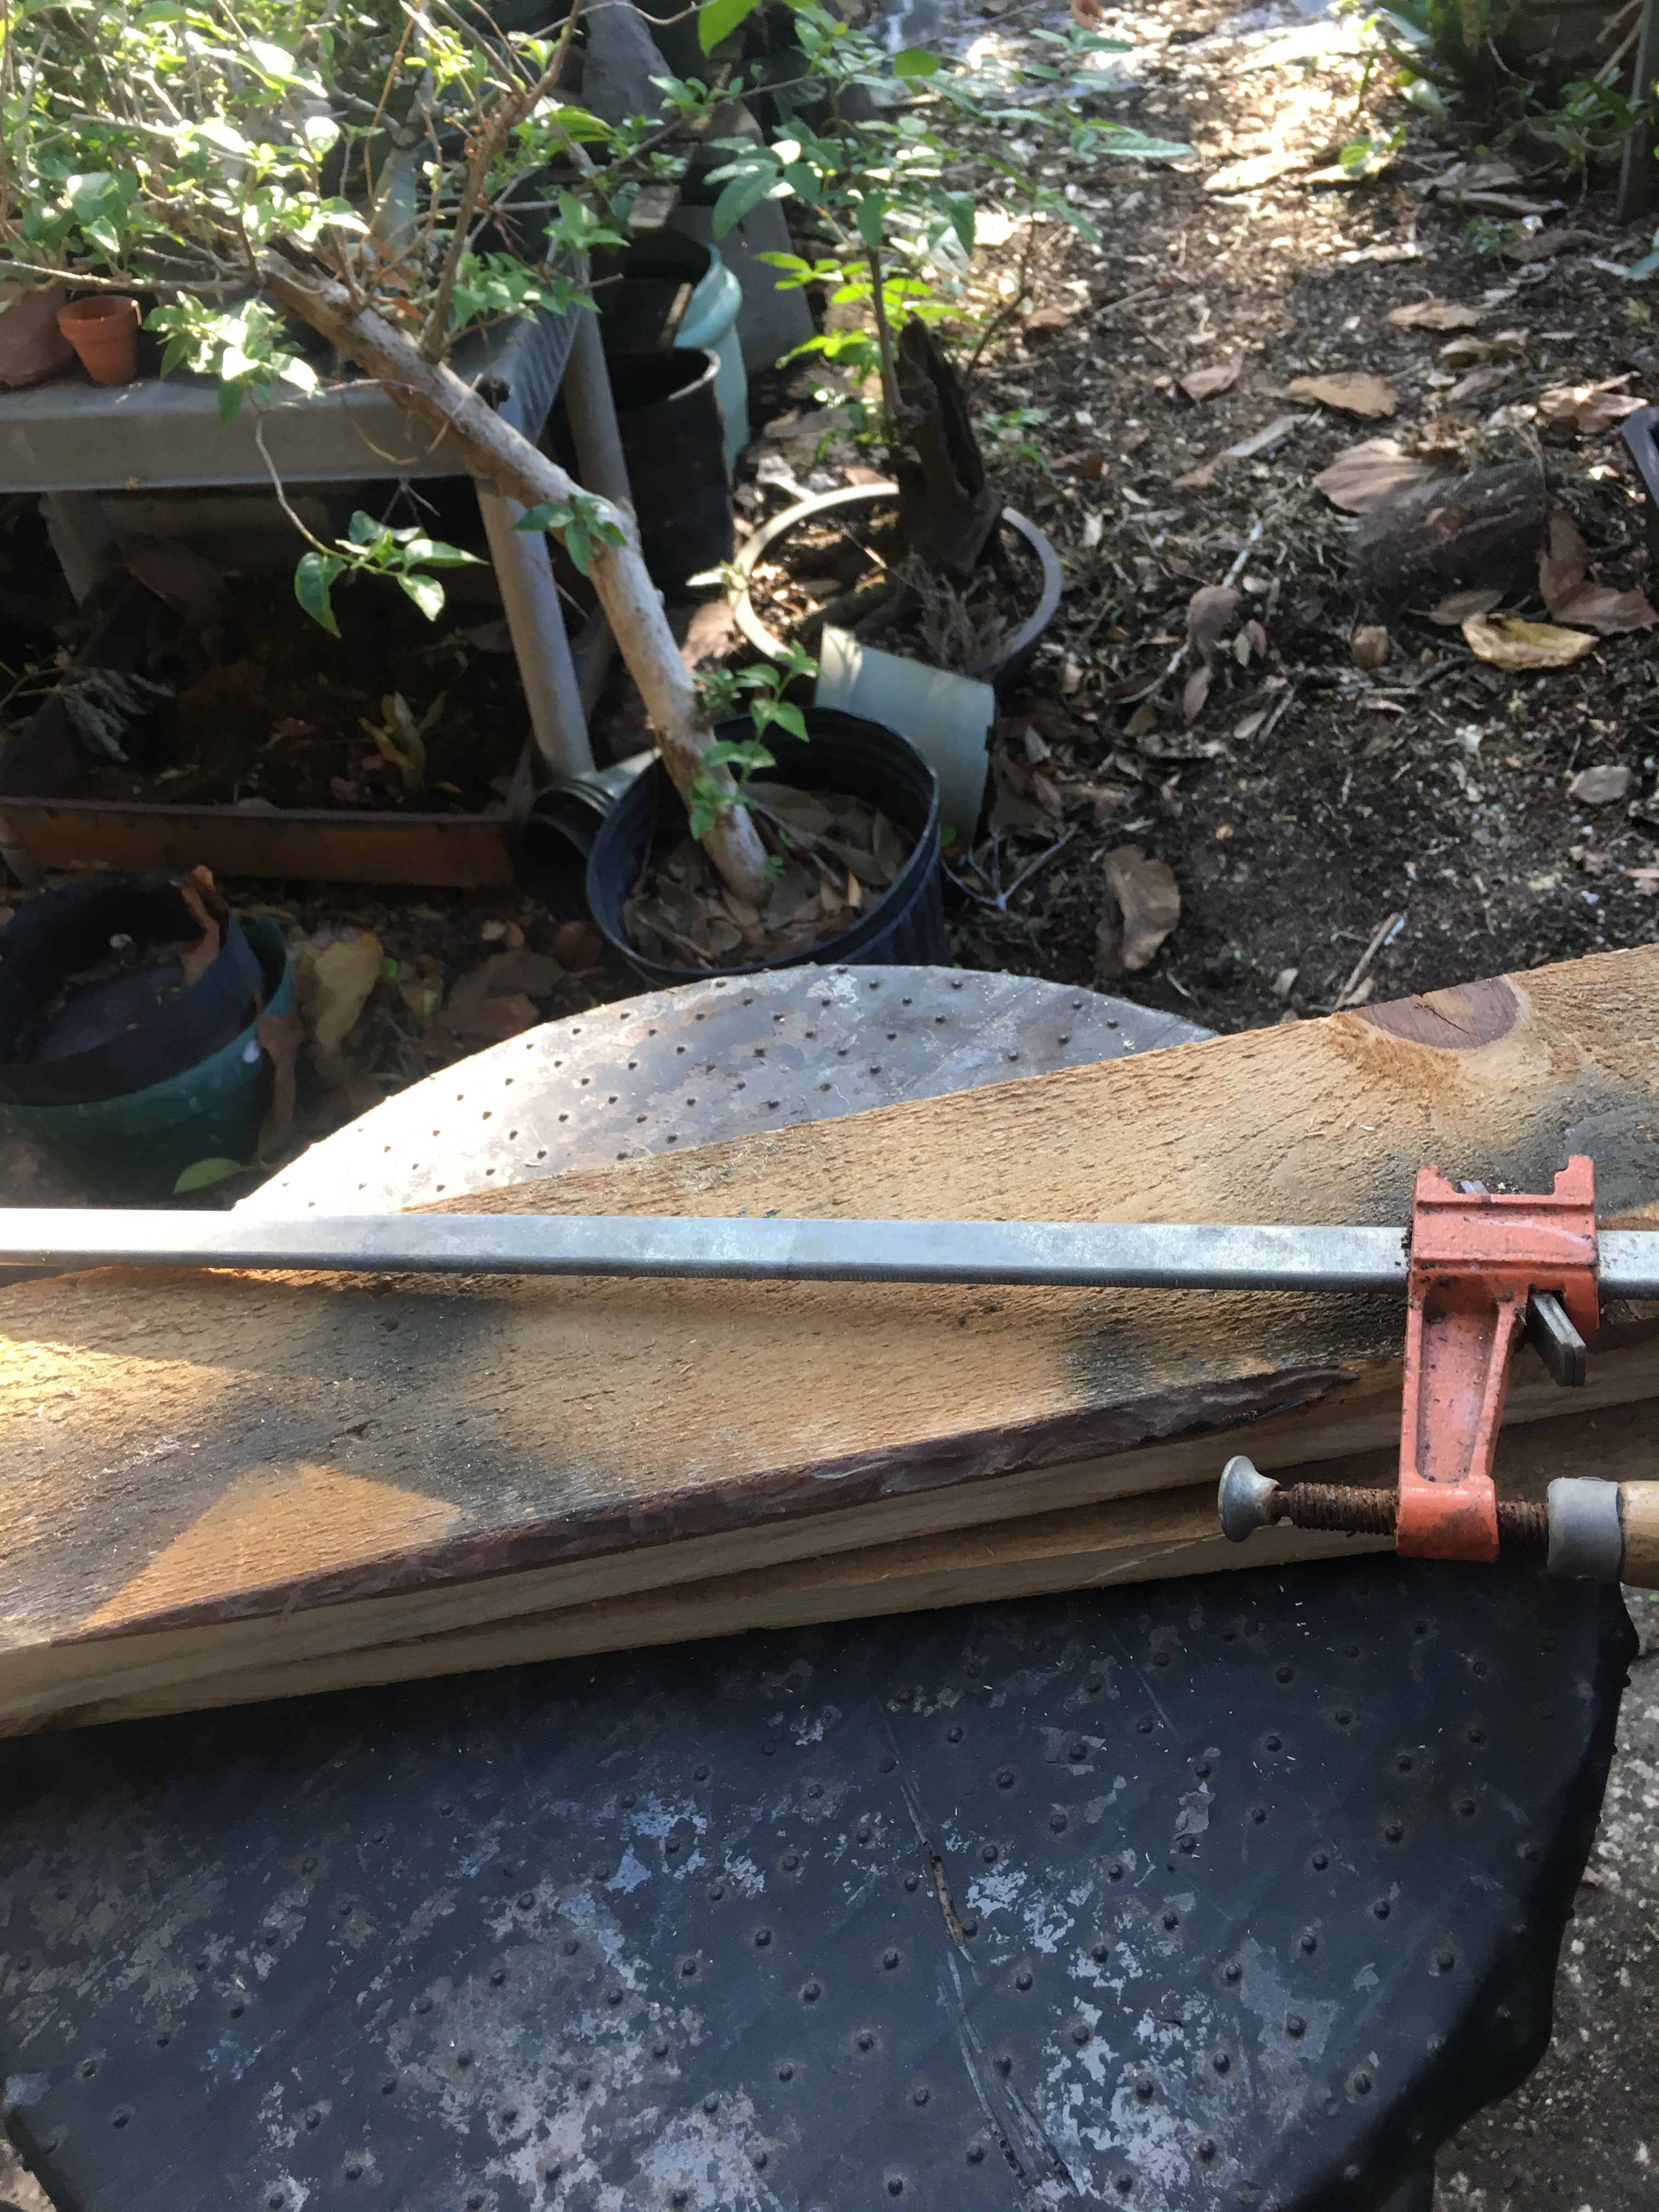 First, measure the pot to make sure the top is the right size.
 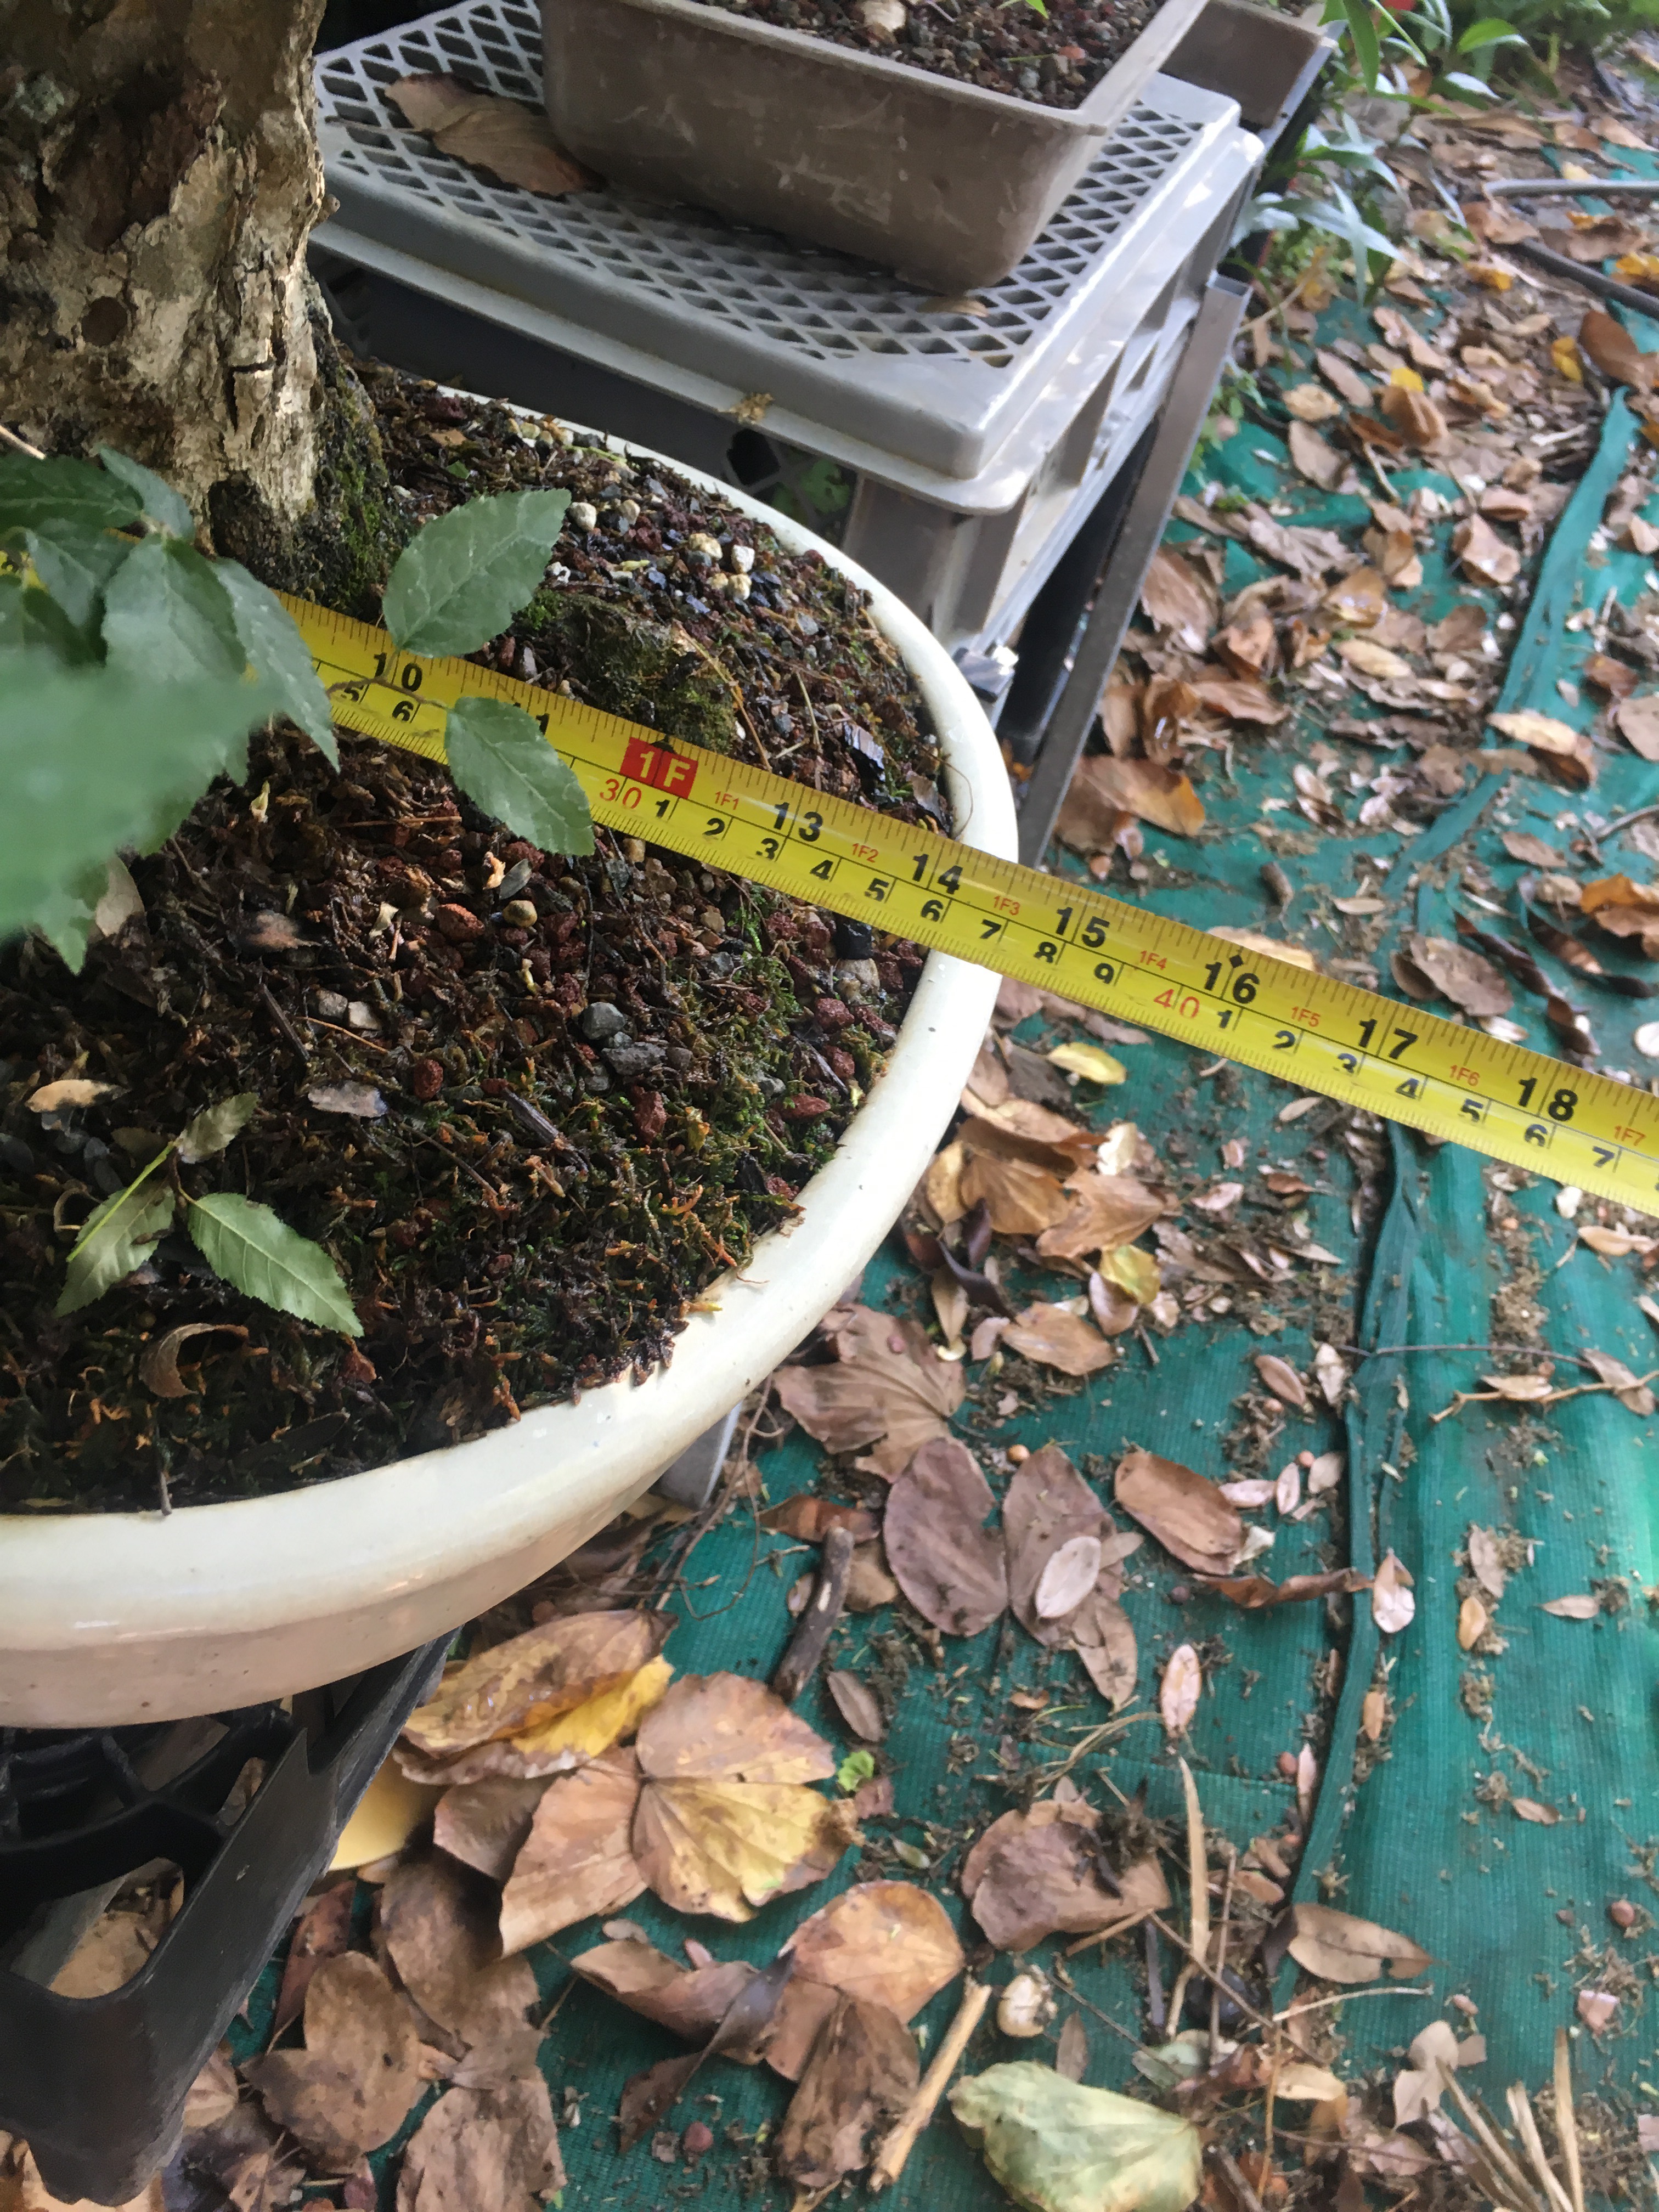 Looks good.
 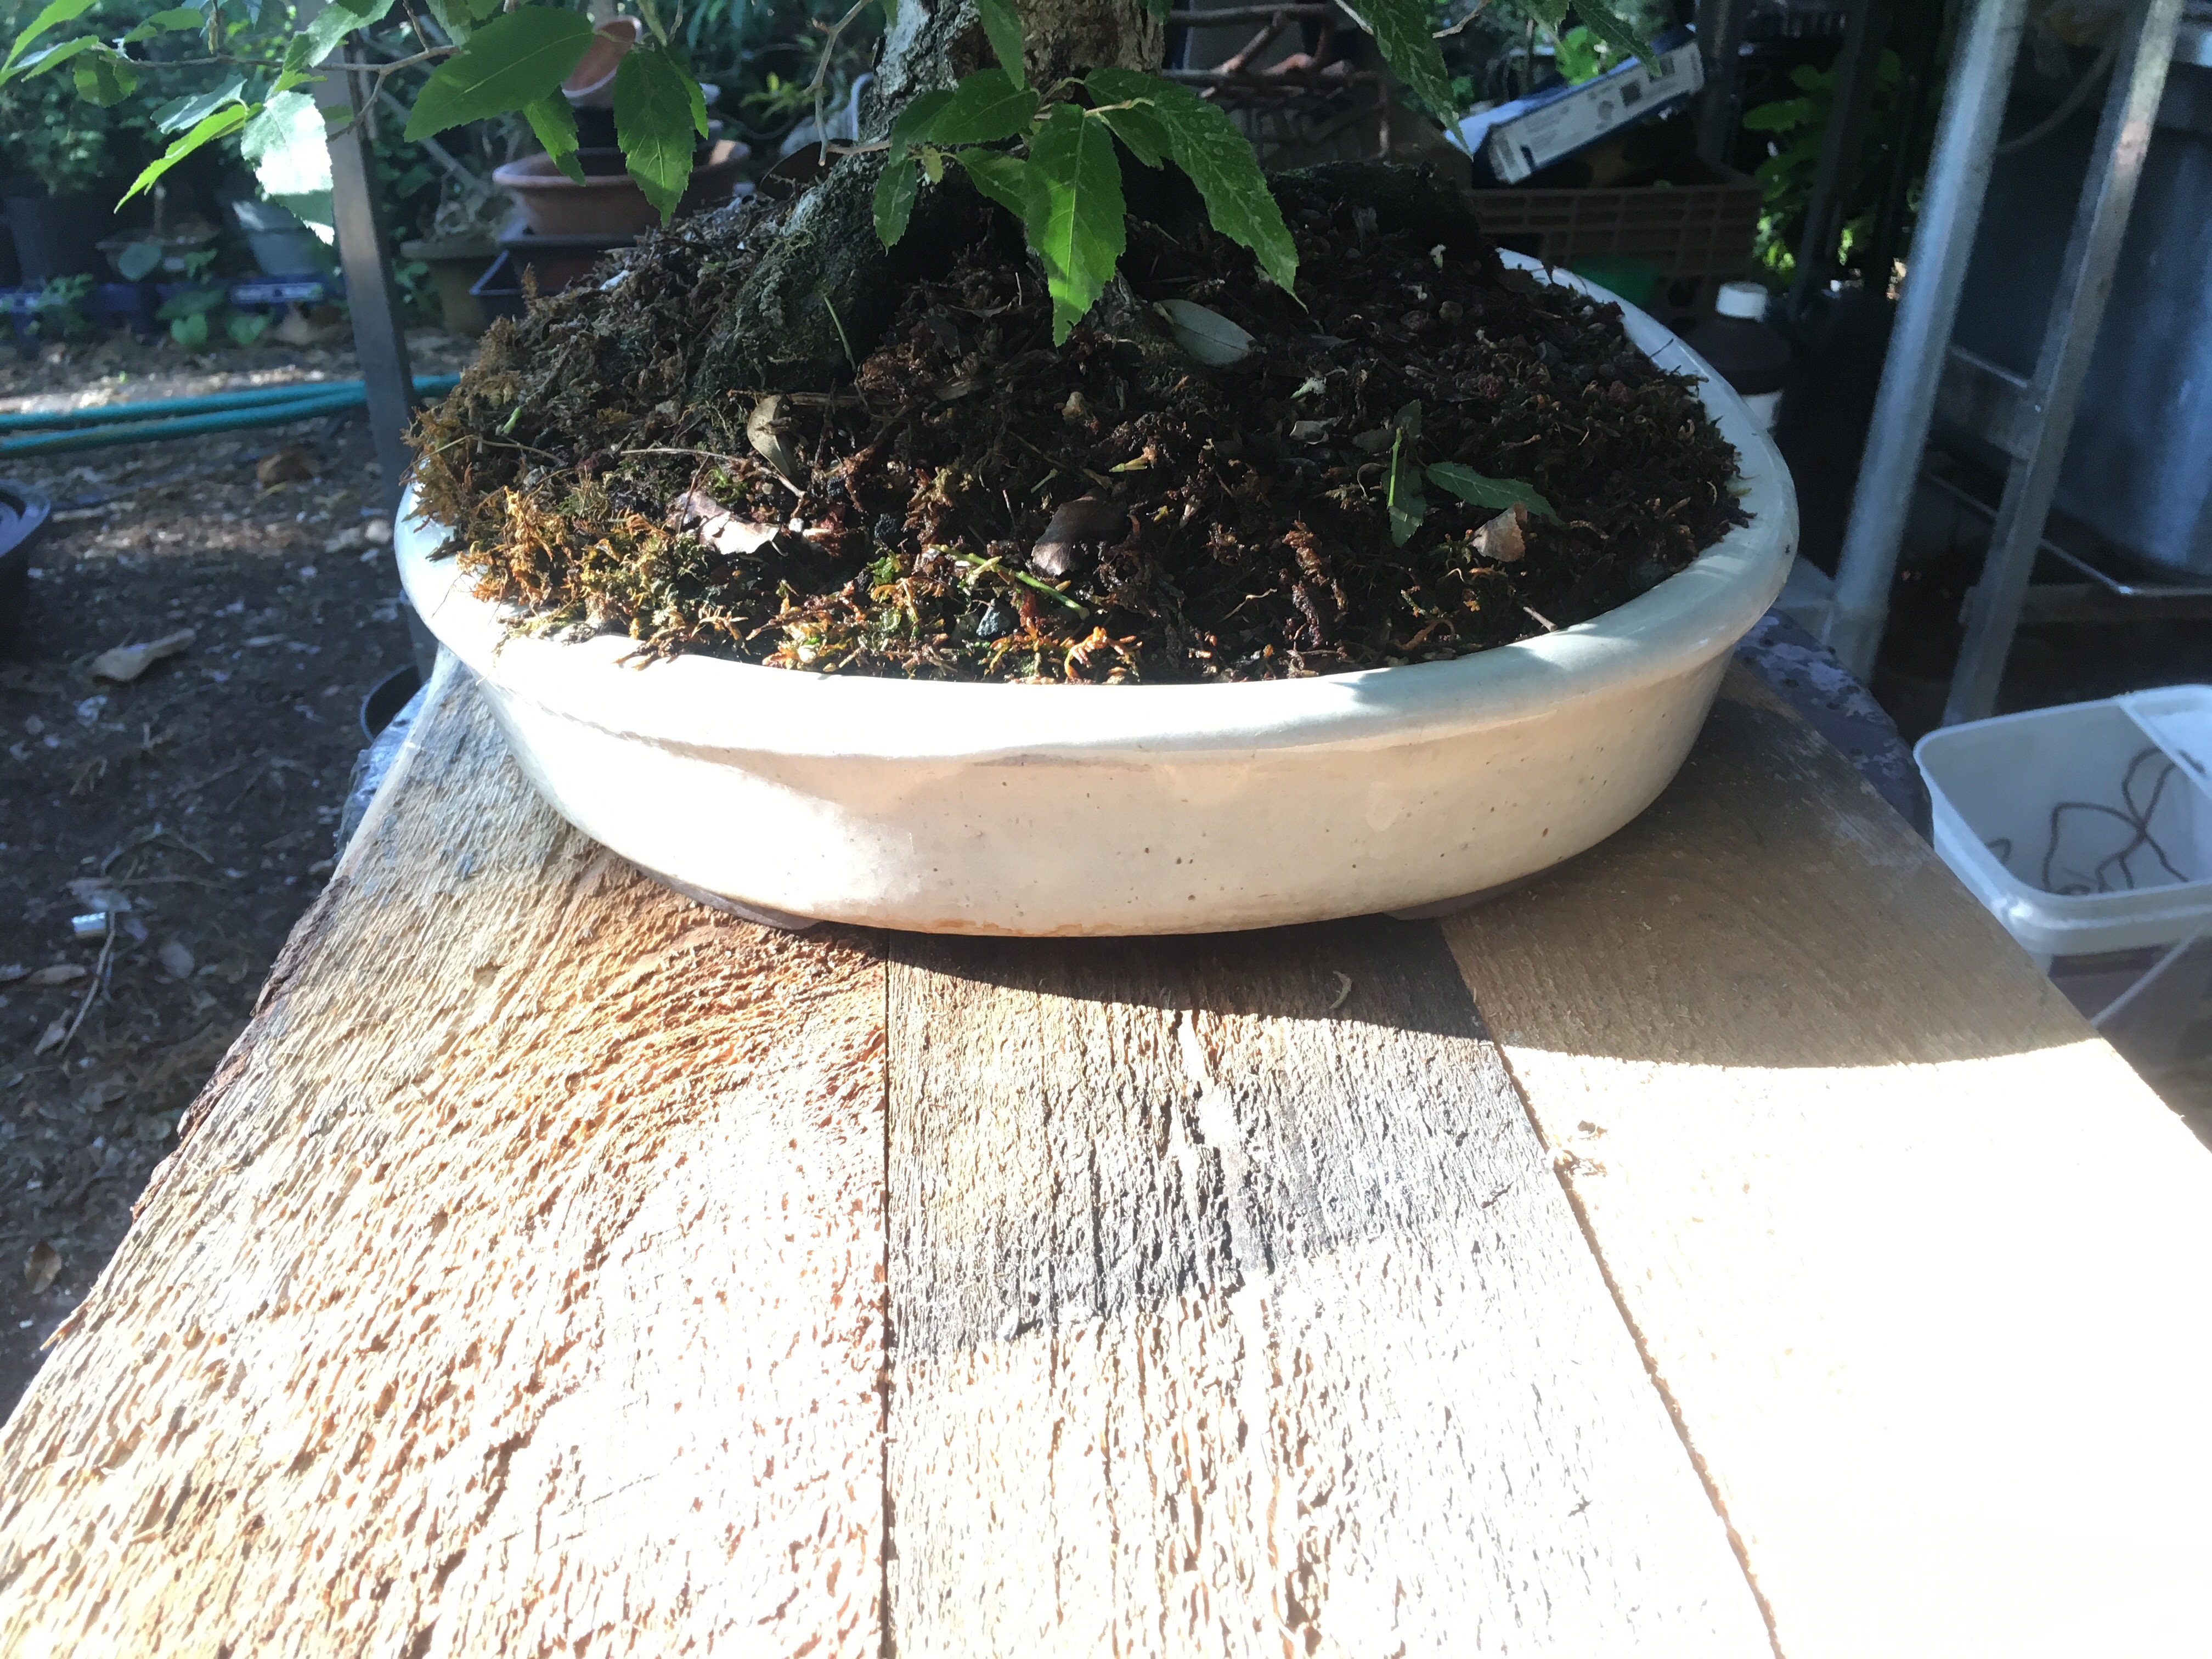 Measure once, cut twice, that’s the motto my father in law lives by!
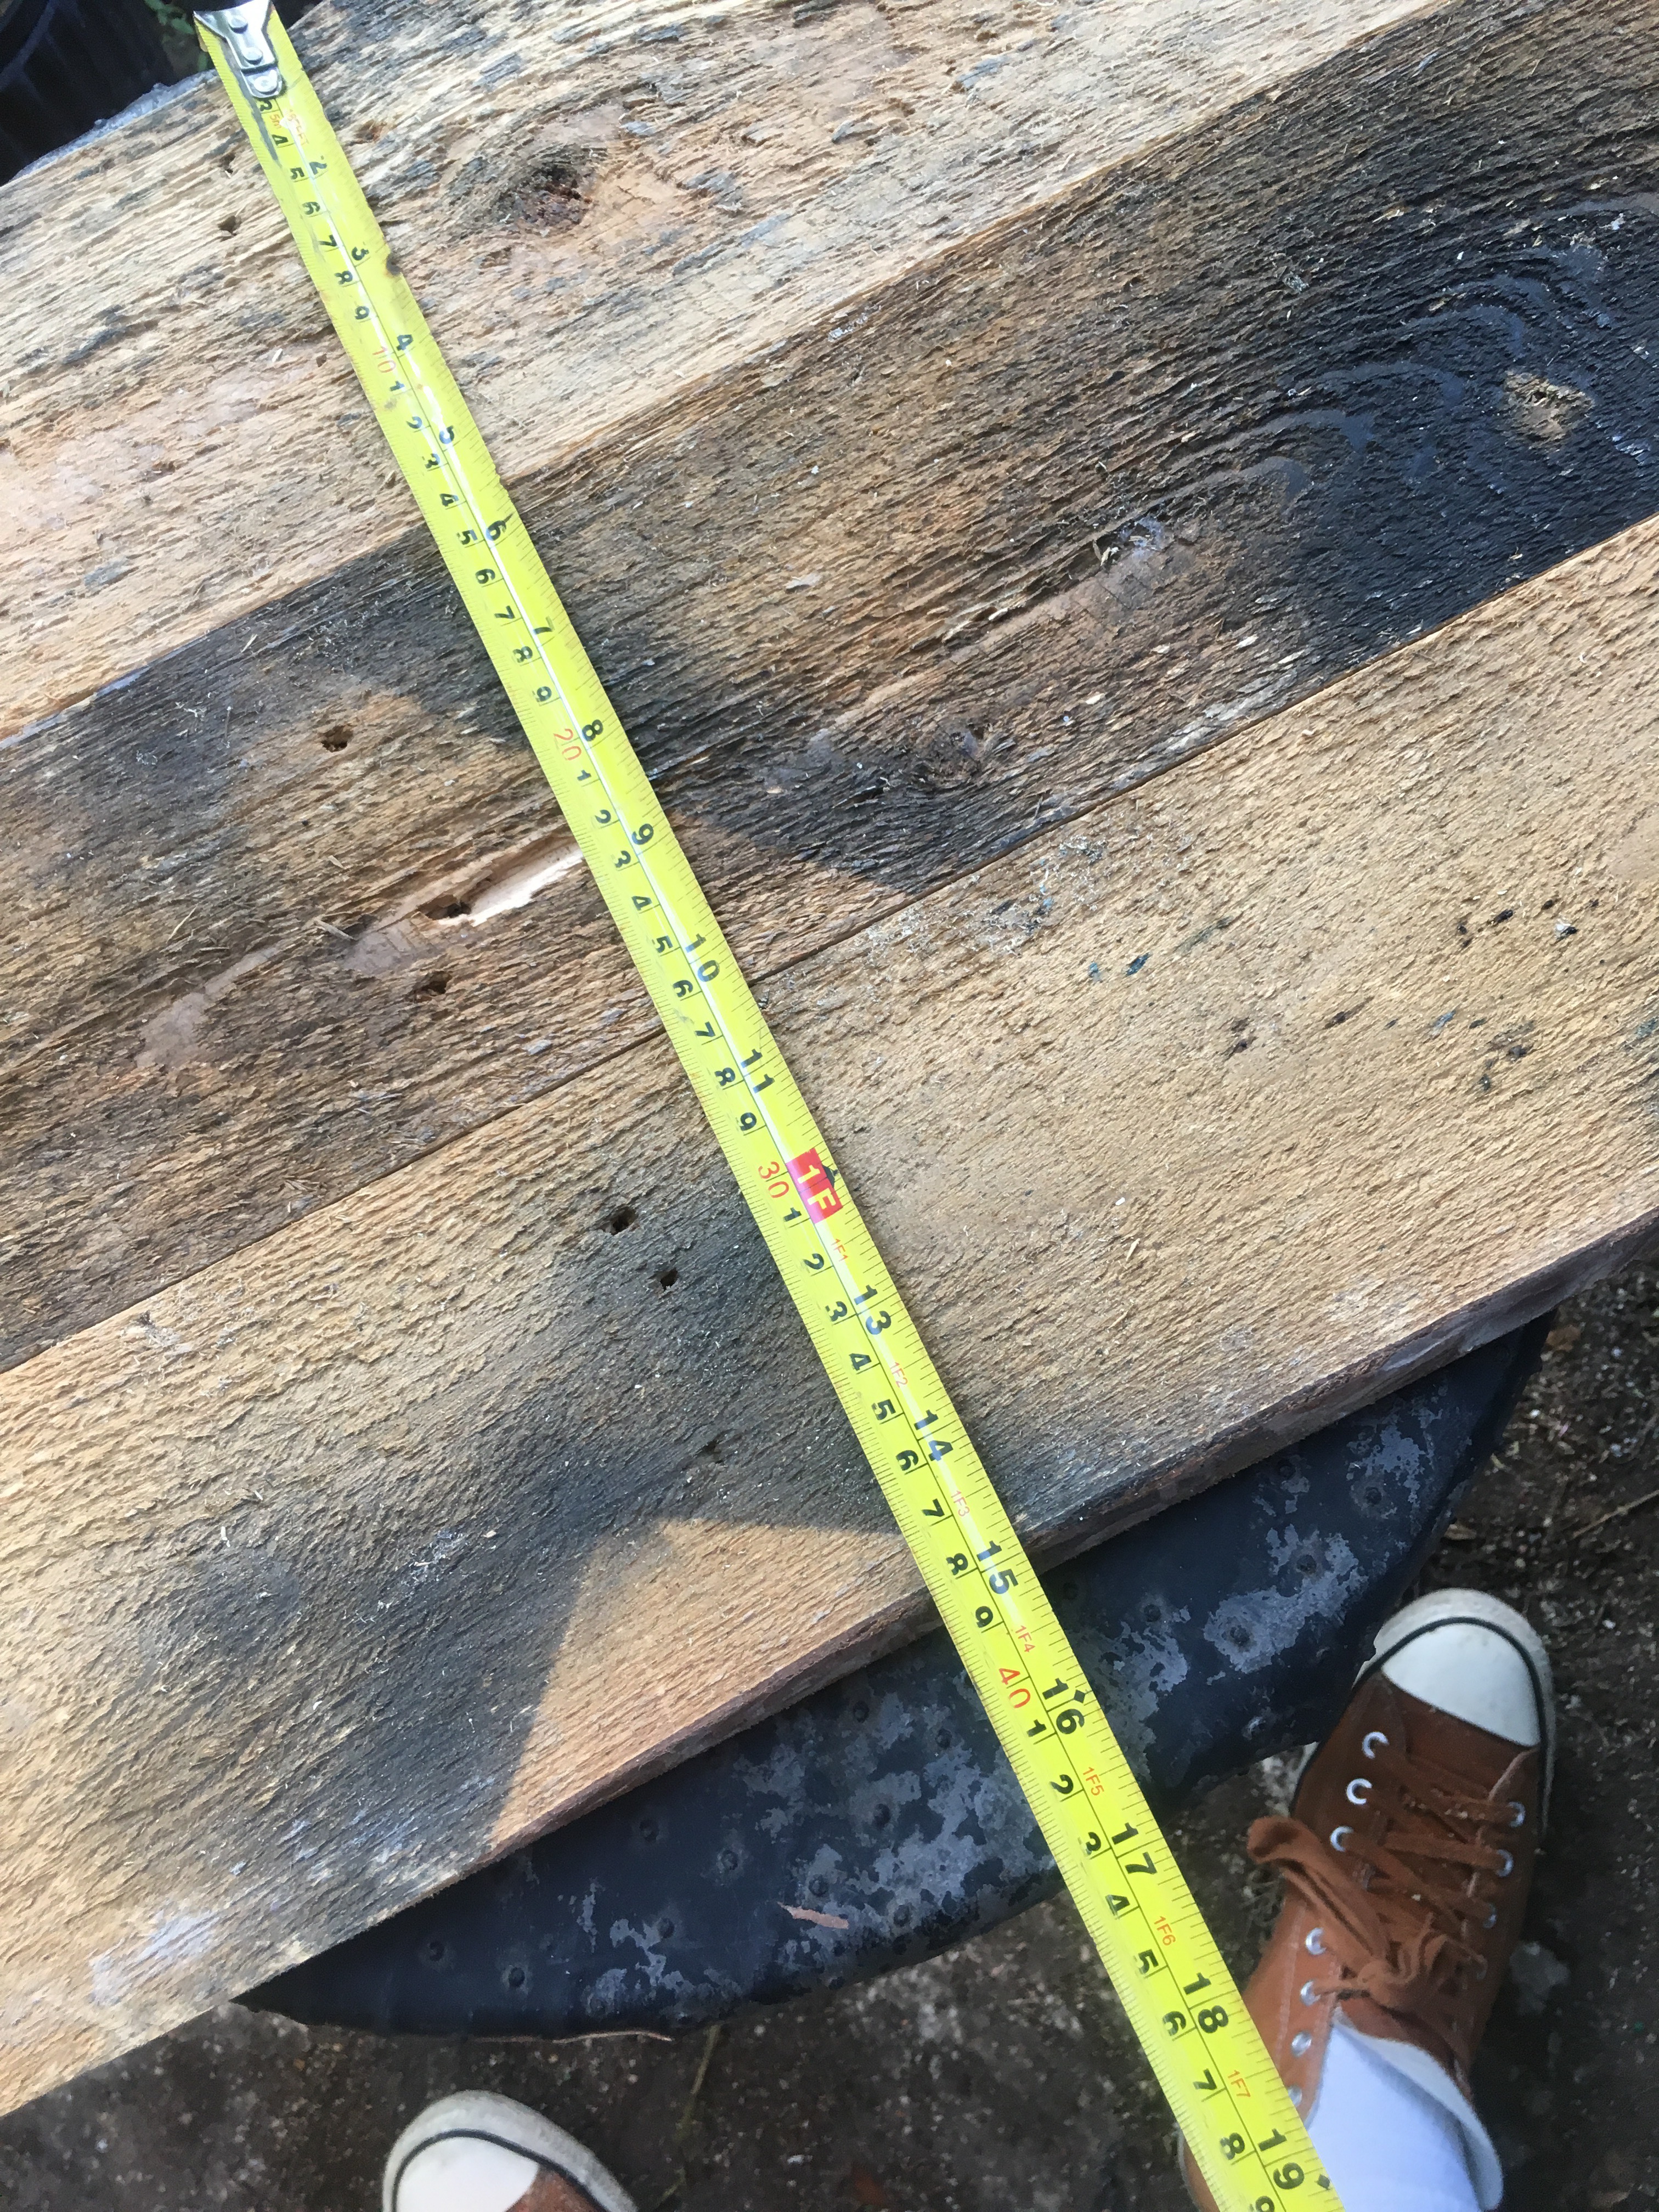 Cool. Not just my Chuck Taylors but the board size too. Now the glue and then the clamp….
 Awesome….the clamp has succumbed to the humidity that is Florida. Rusted shut like the mind of the Perpetual Intermediate that will hate this stand. Yeah, I’m taking about you! What do you do with a clamp that doesn’t clamp? No worries, we don’t need no stinking clamps, we have bonsai wire!
 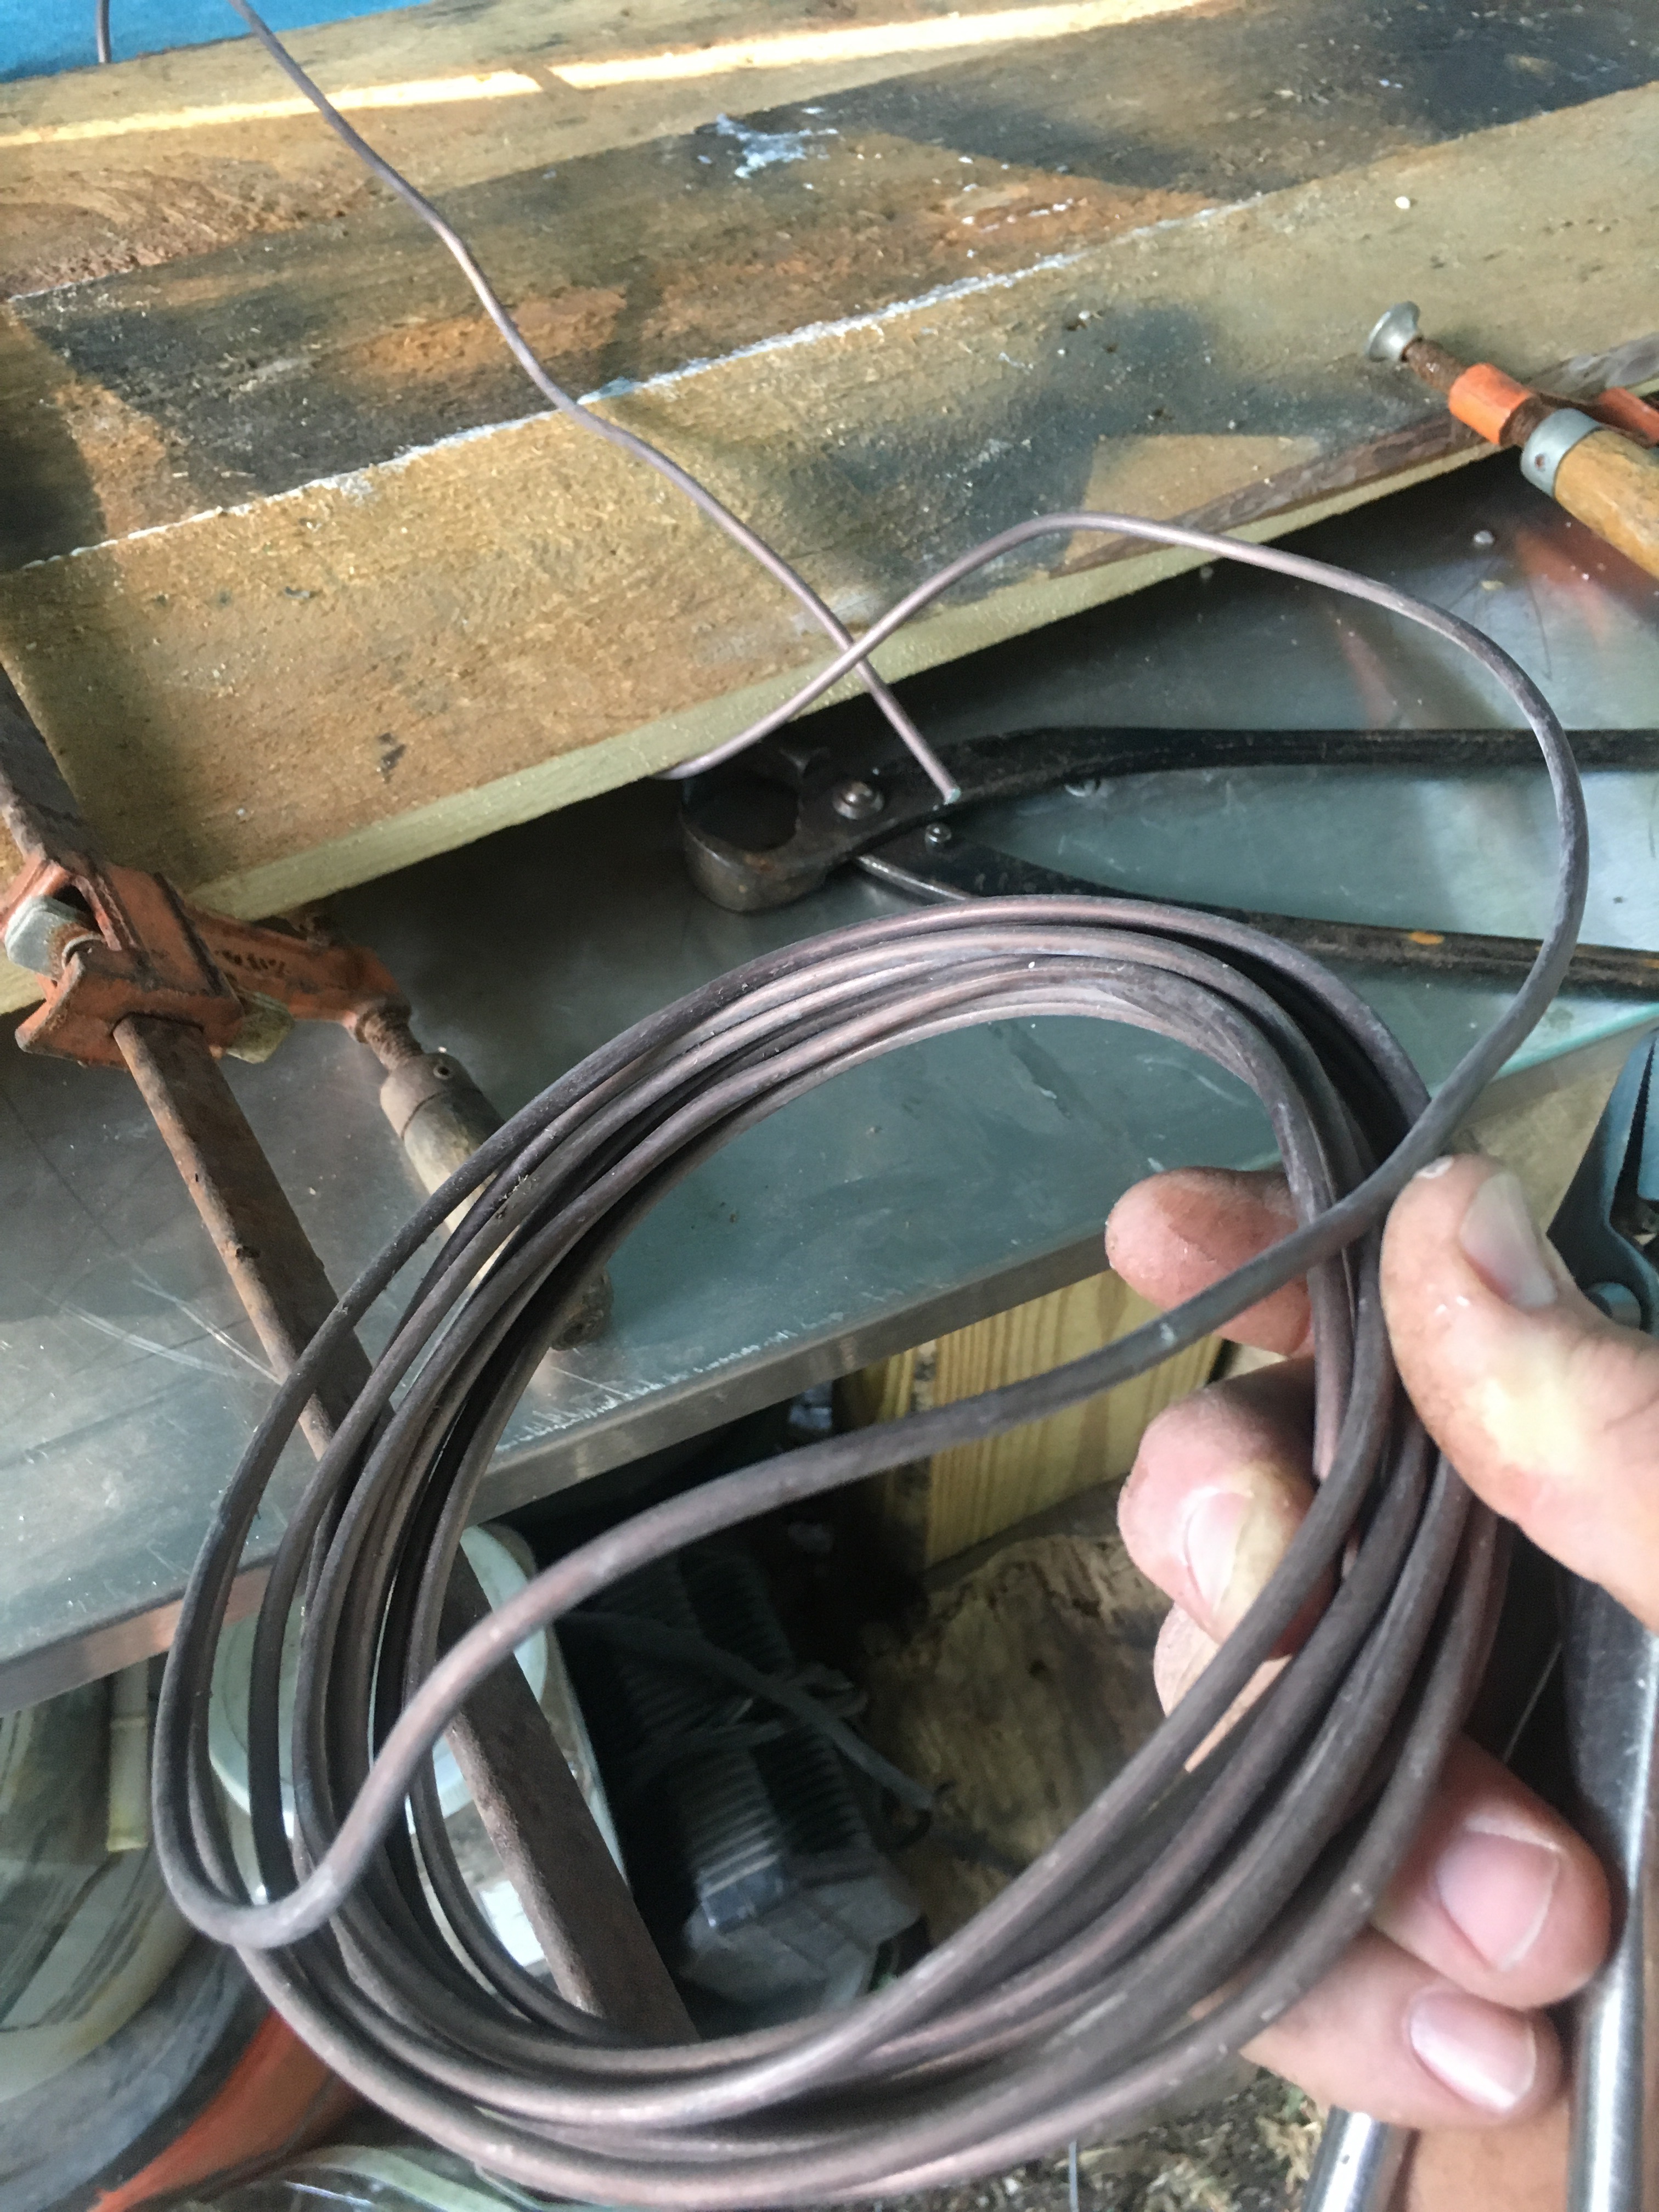 A couple of lengths.
 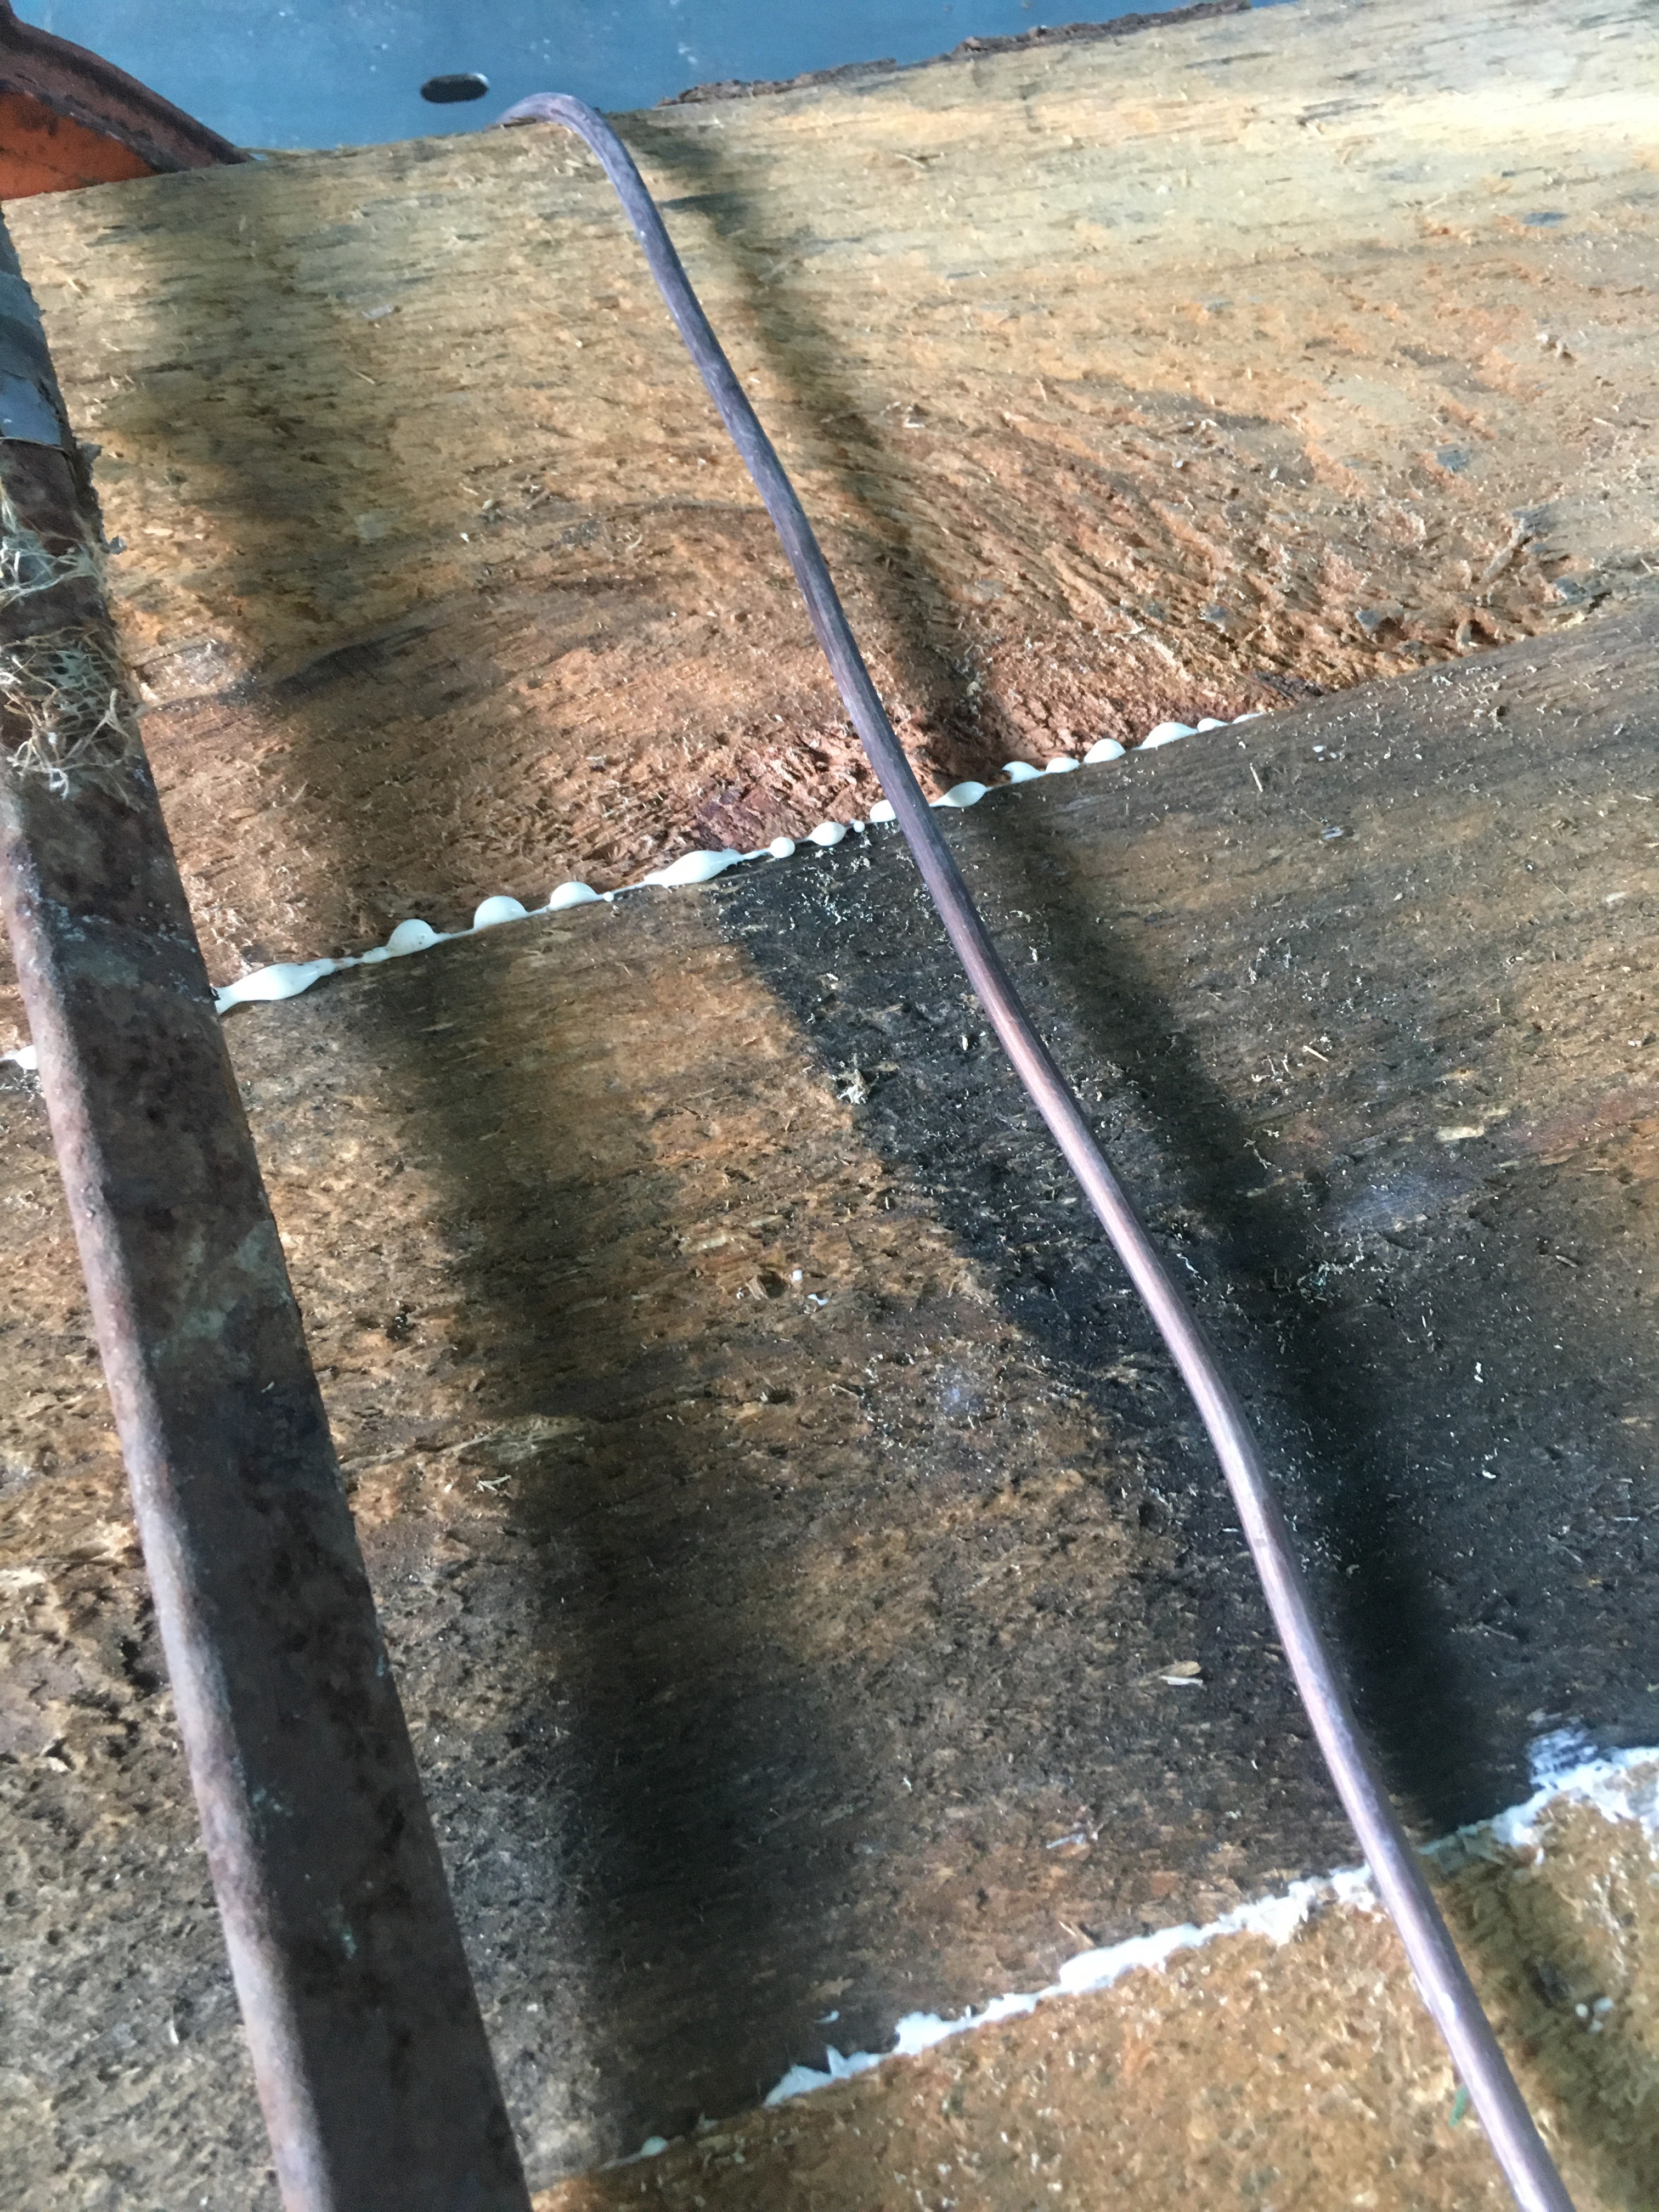 It is aluminum, alas, but it’ll work. It always does.
 Twist em’ tight.
 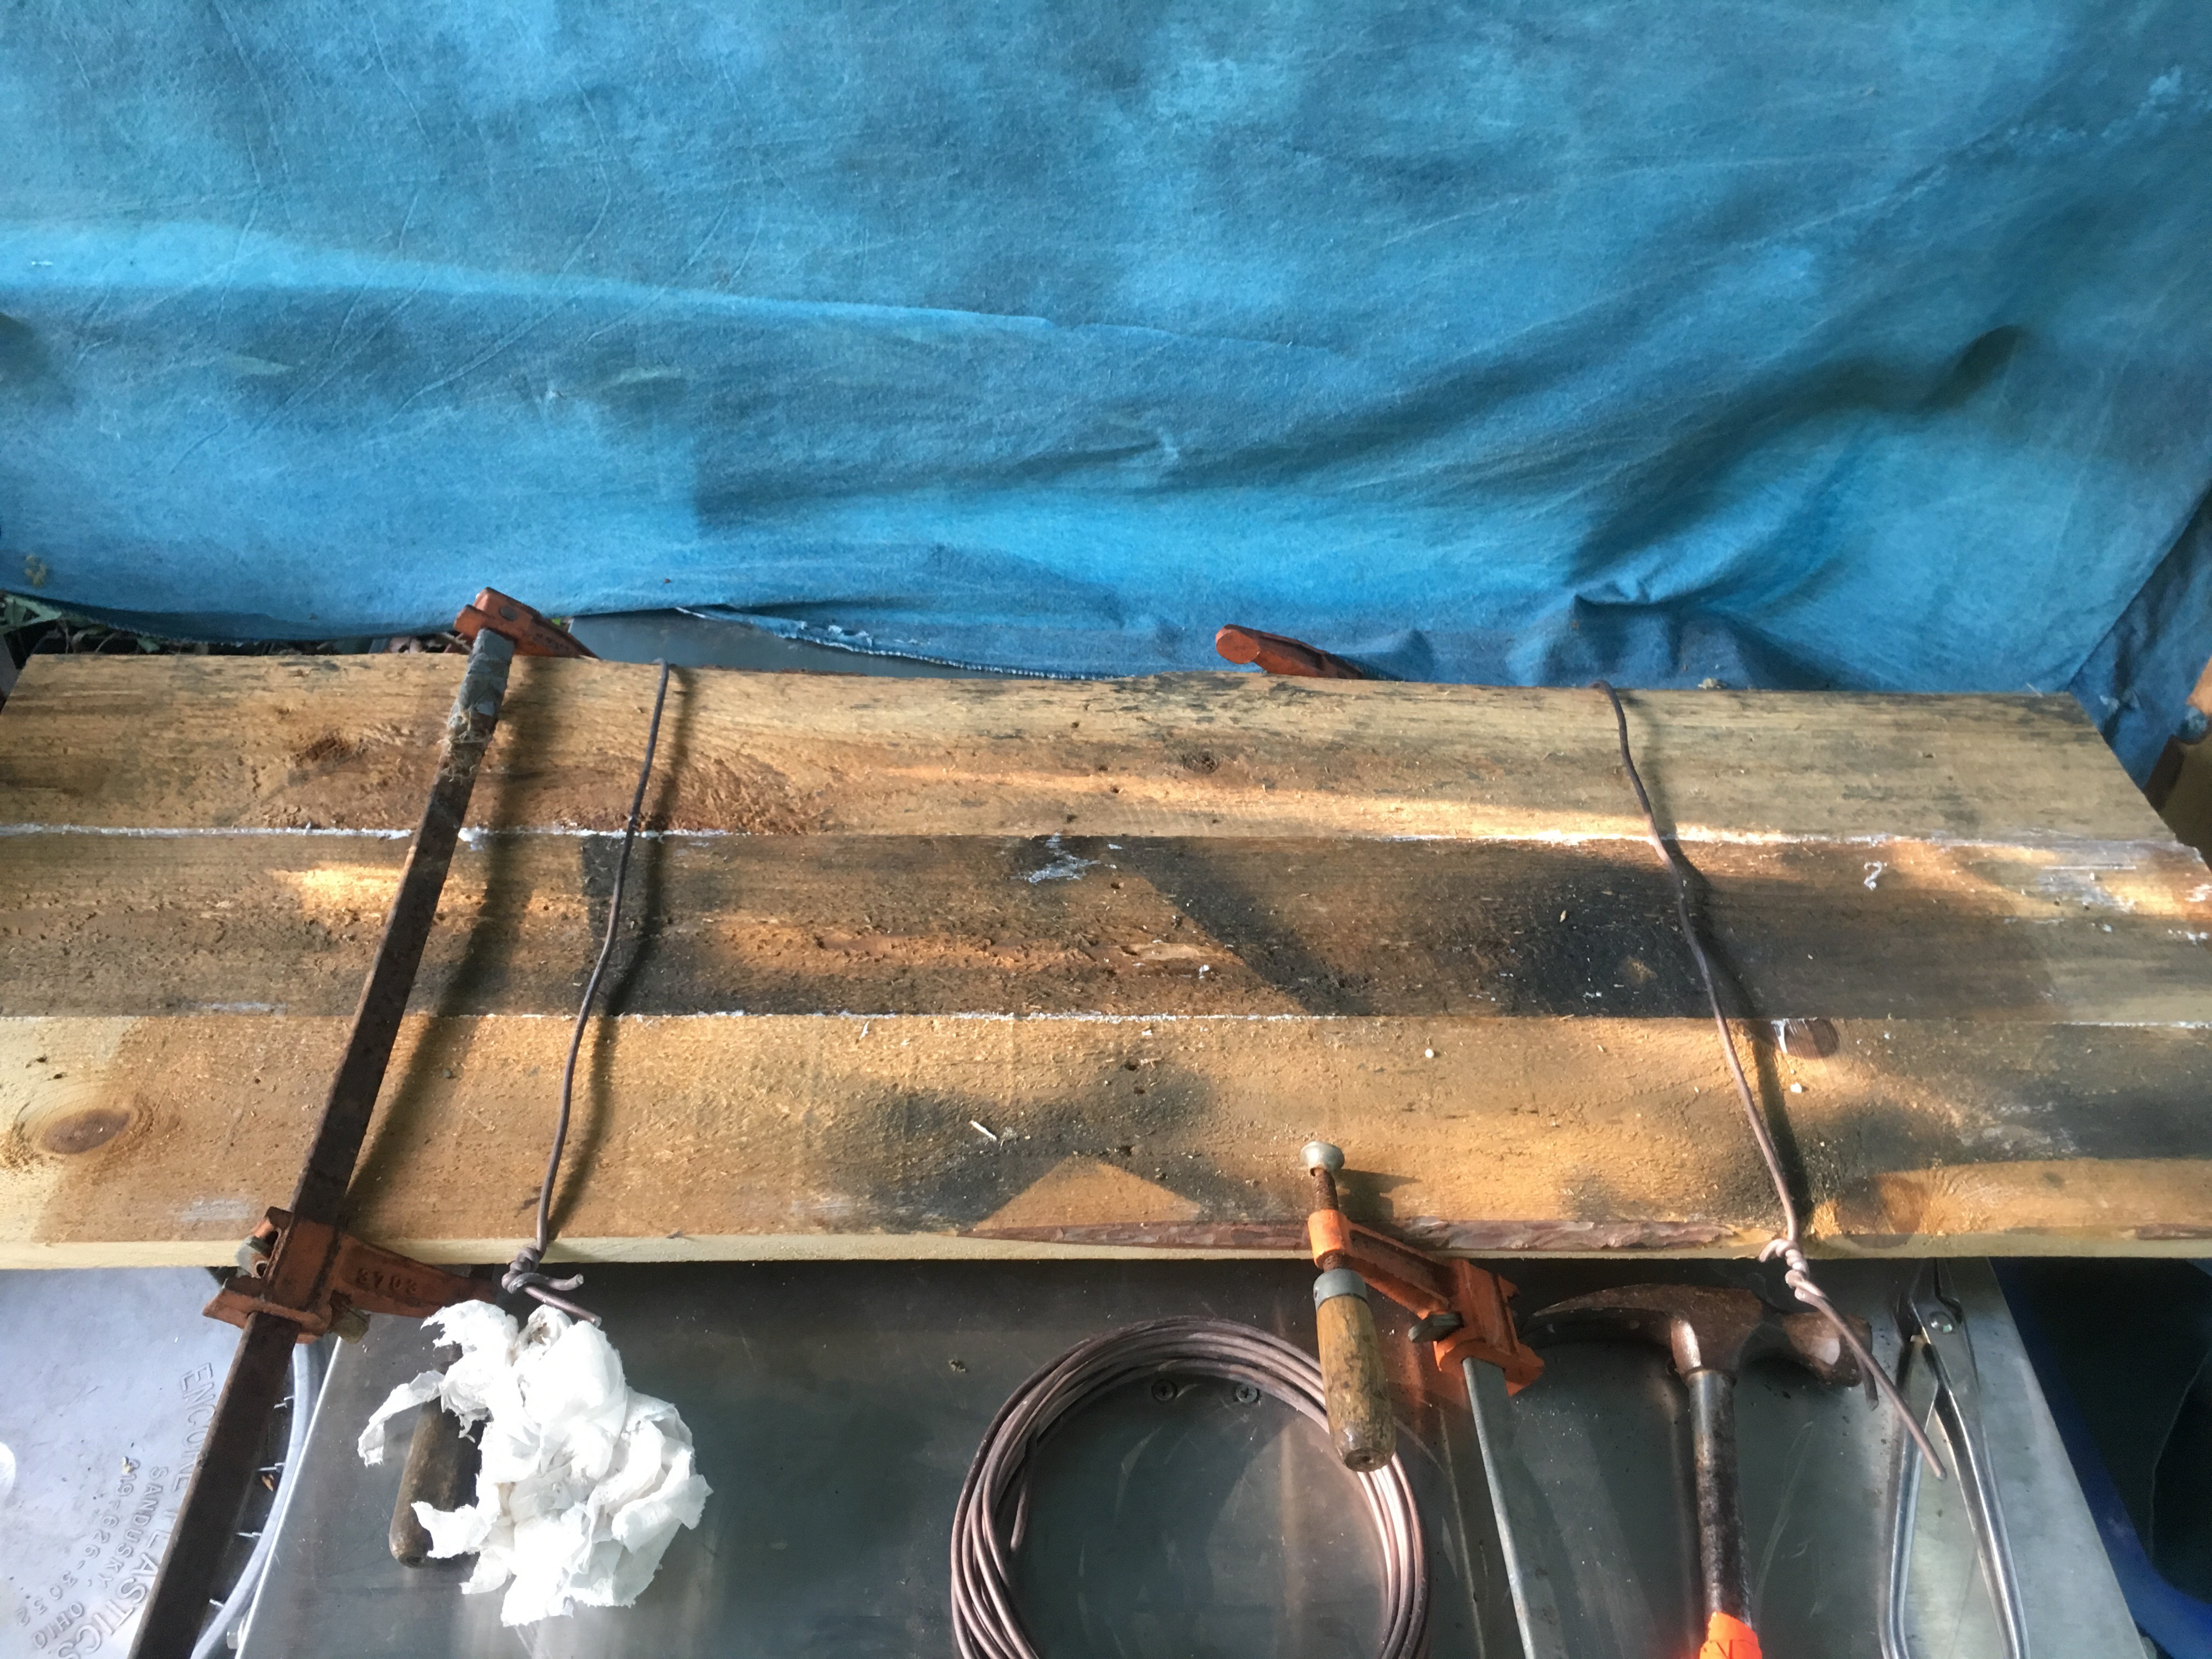 Bondage….

The clamps are just to keep the boards even. And they look good, in case people are only looking at the pics. 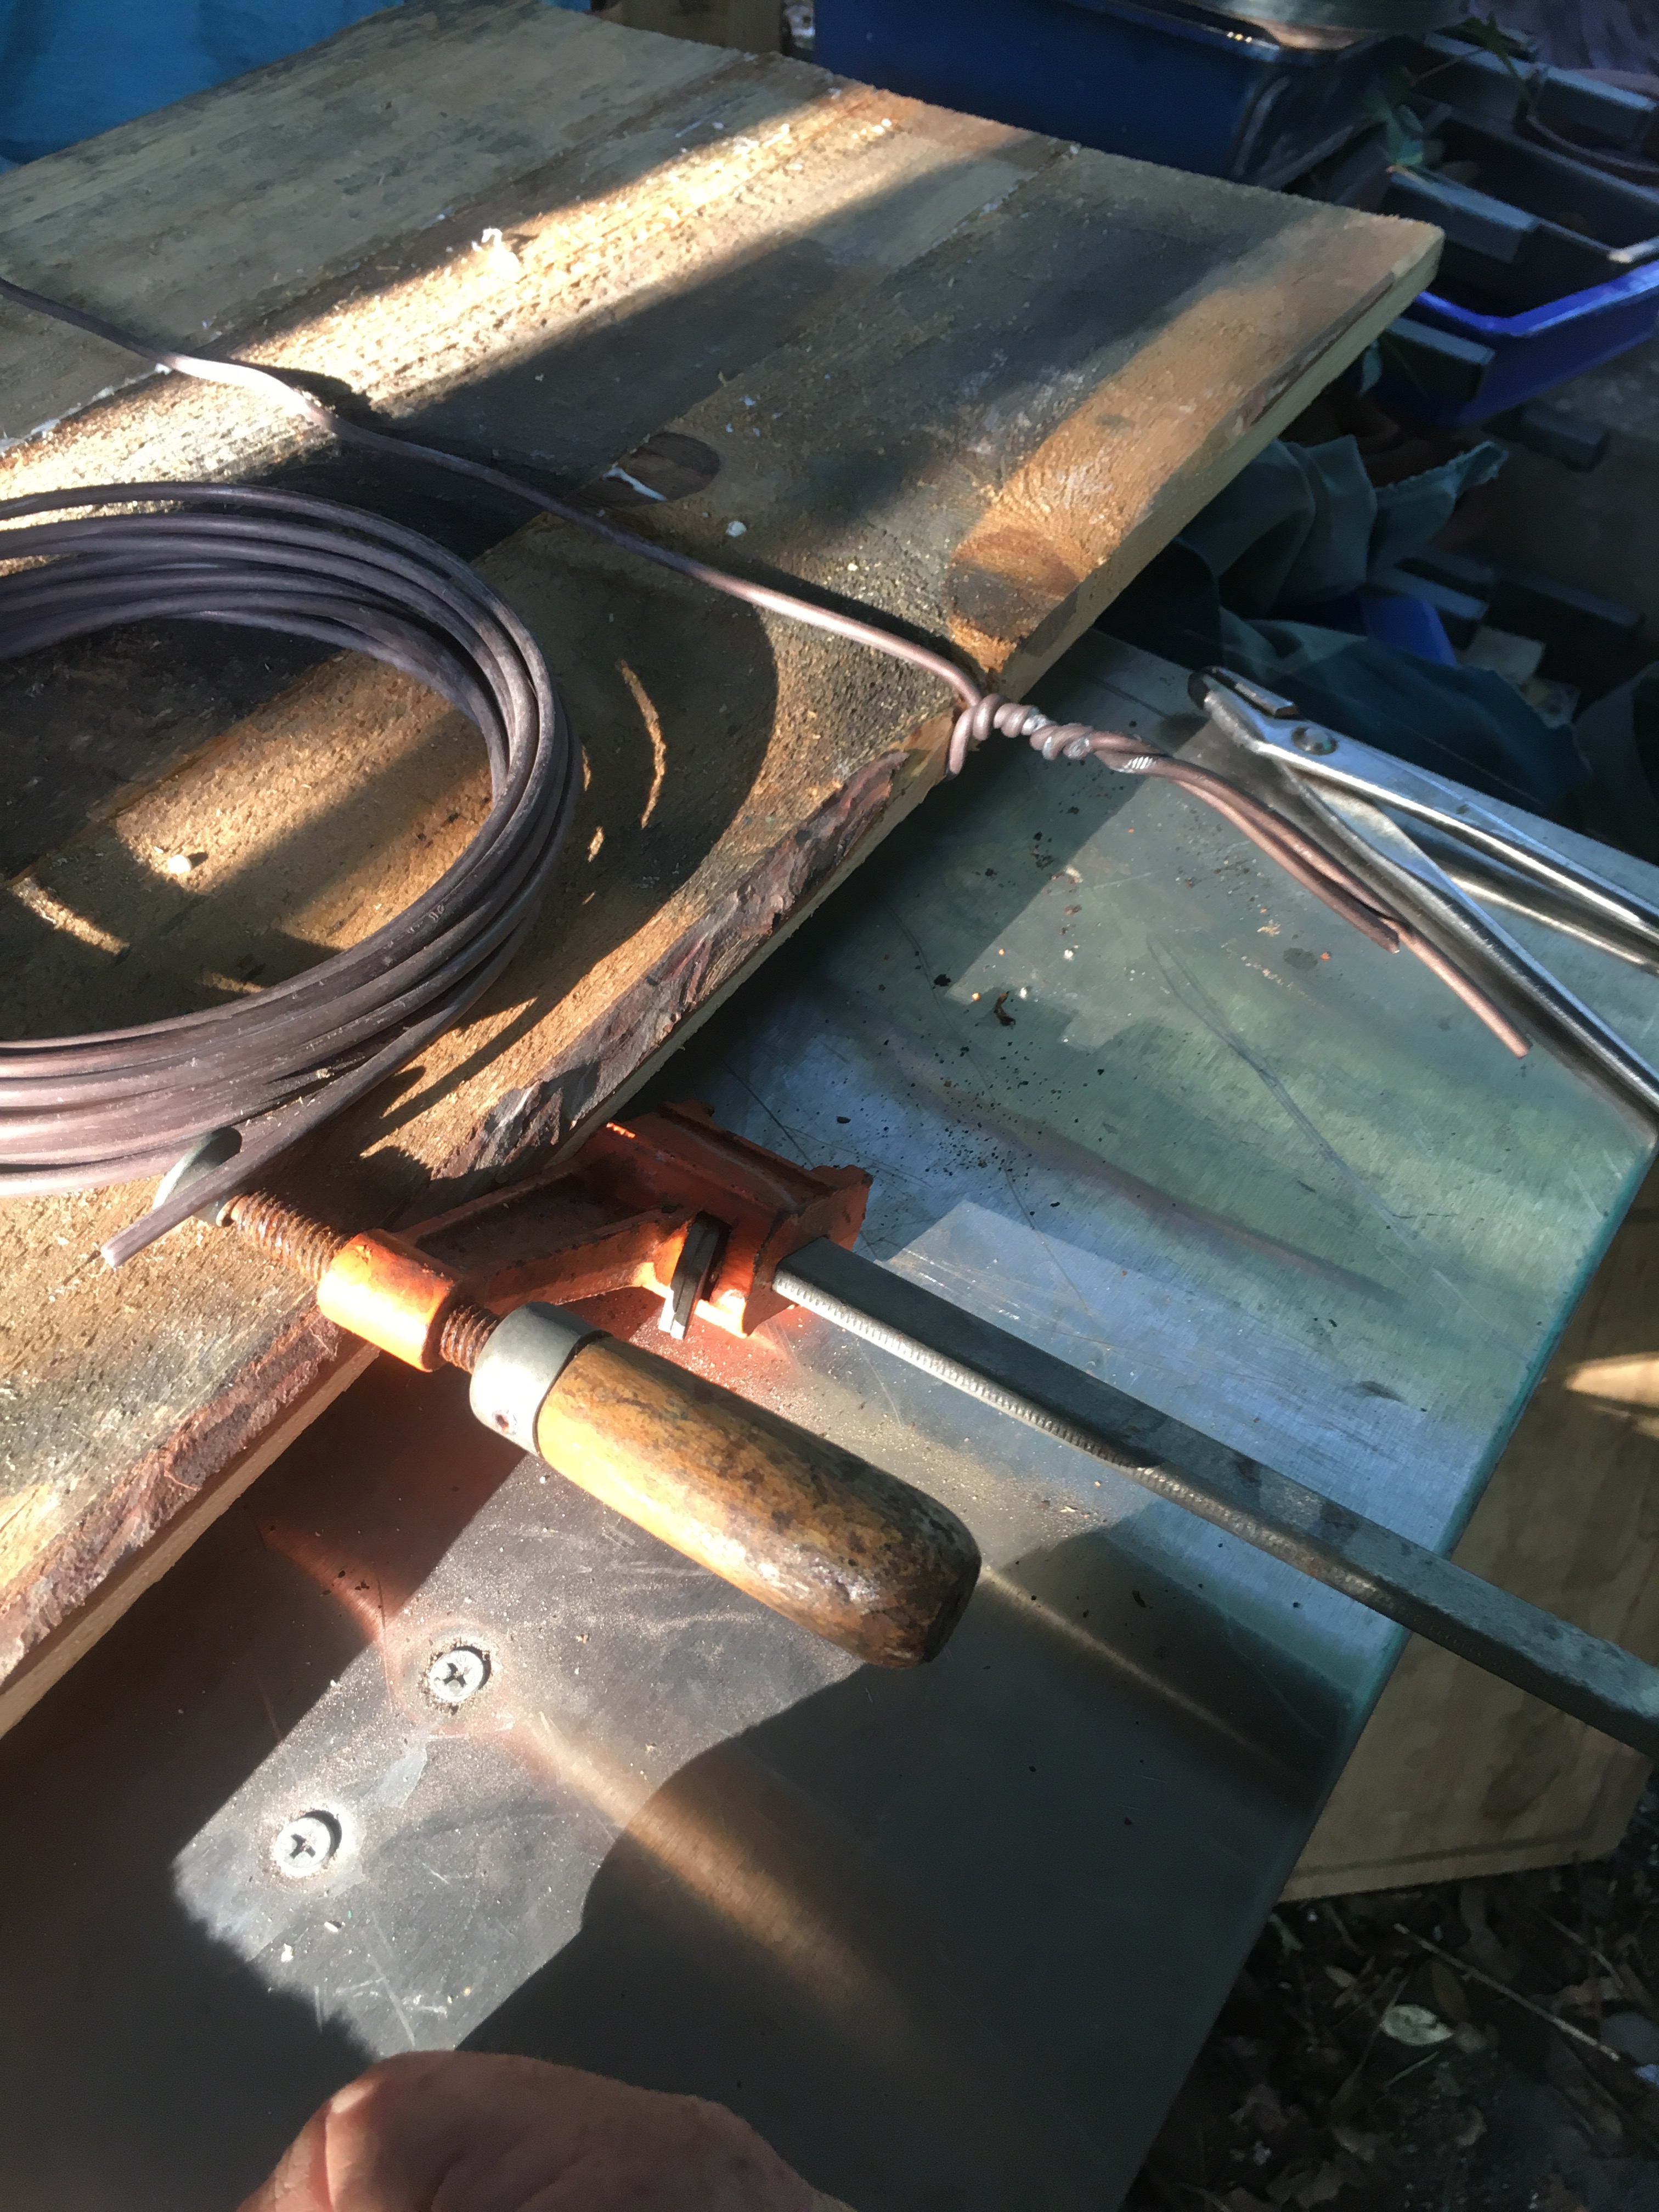
Now, time to alter the metal contraption. 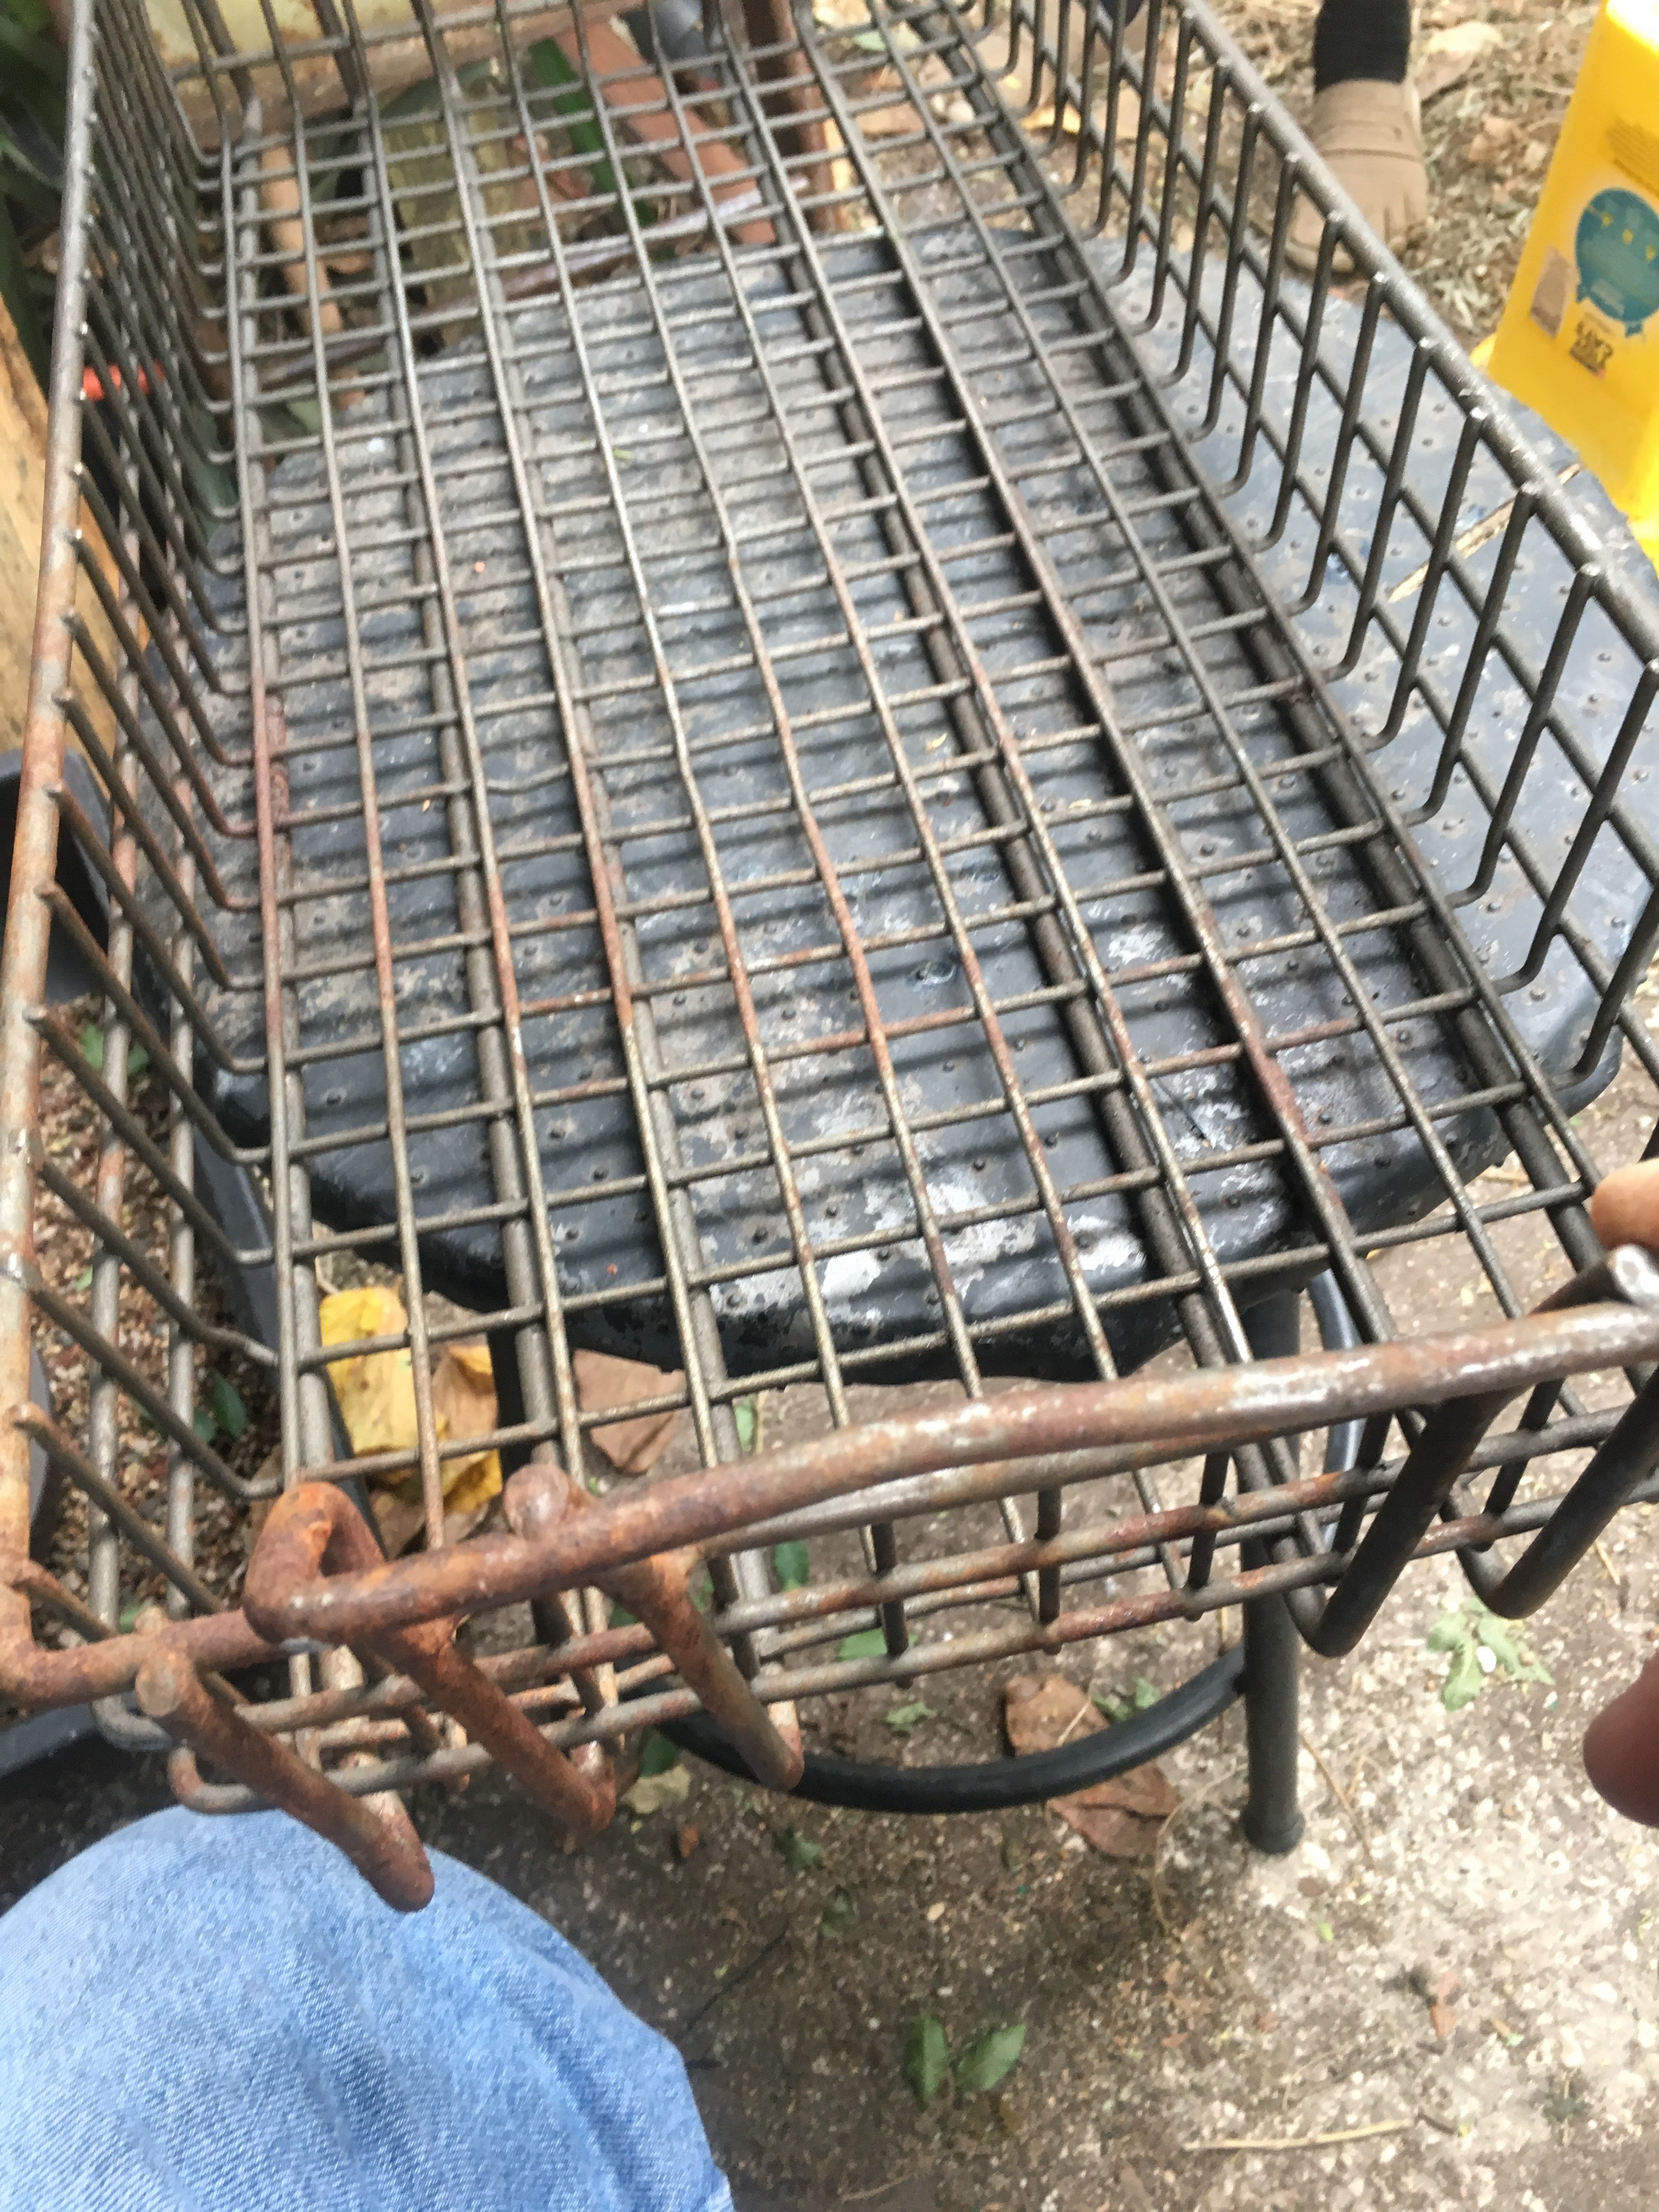 For this I turn to my trusty angle grinder with a metal cut off wheel
 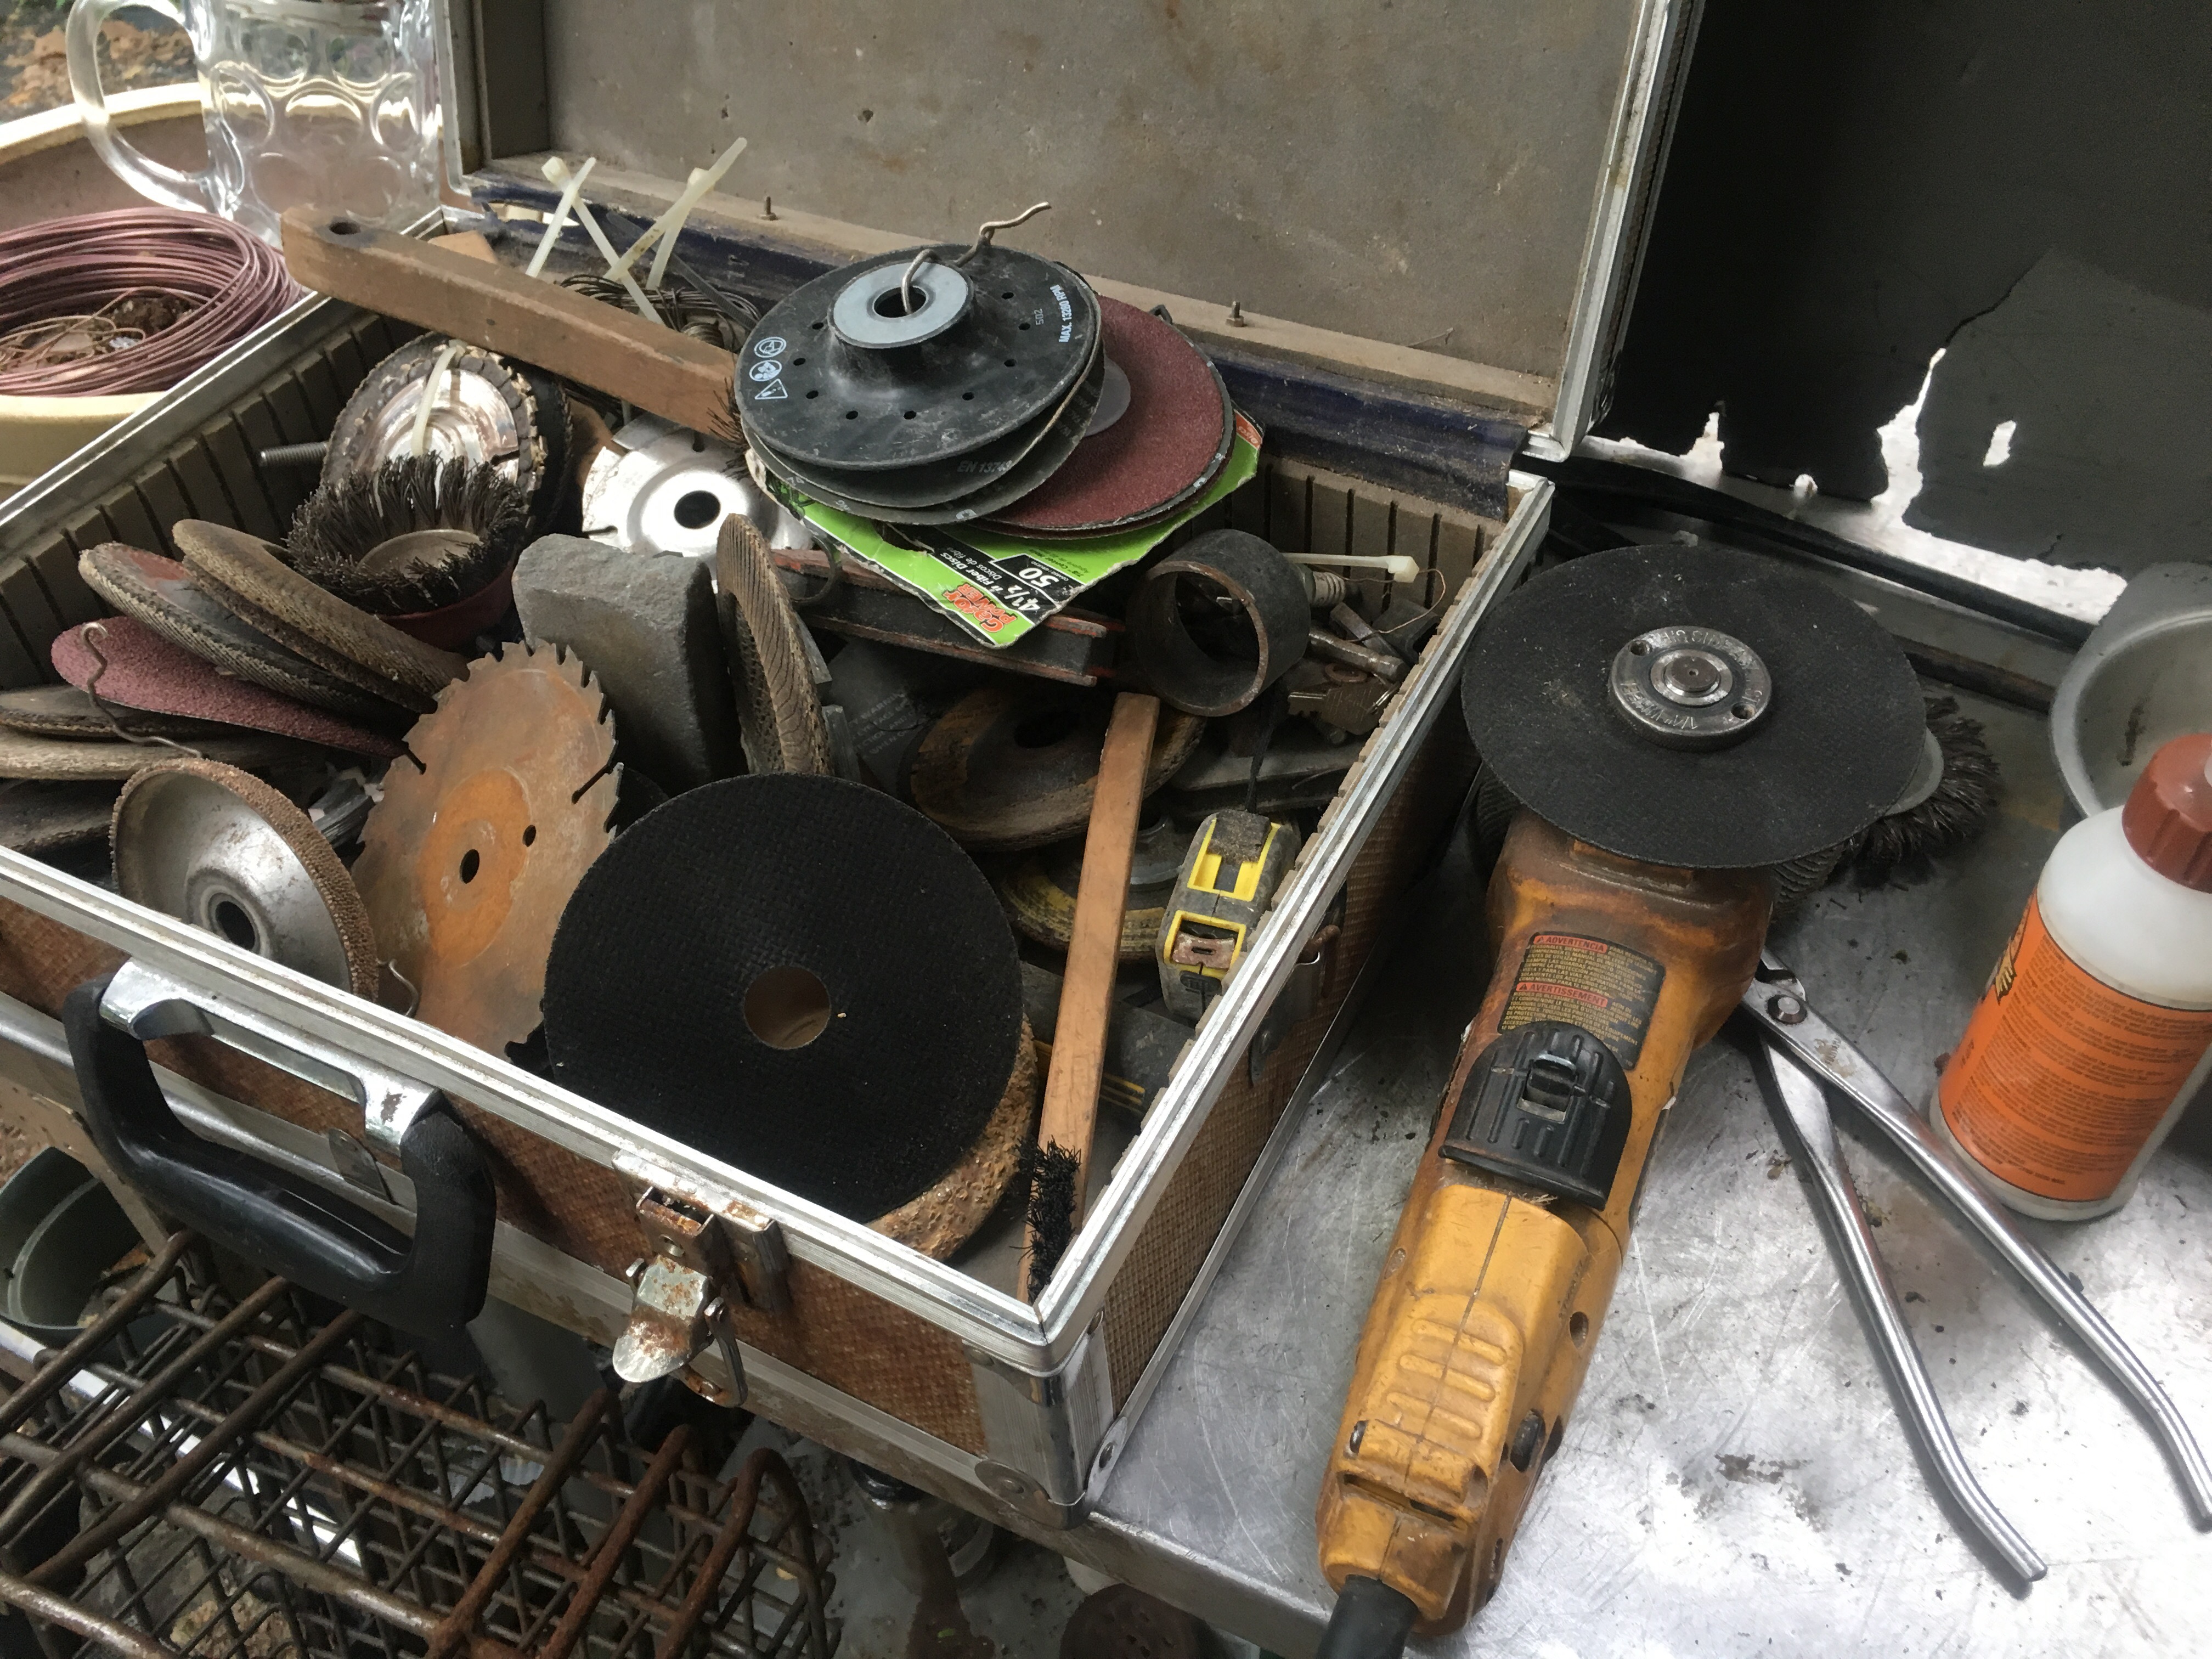 ….and, I can’t plagiarize this any more, but, the most important part about shop safety are these…
 ……safety glasses!
The next pic is courtesy of Ben. 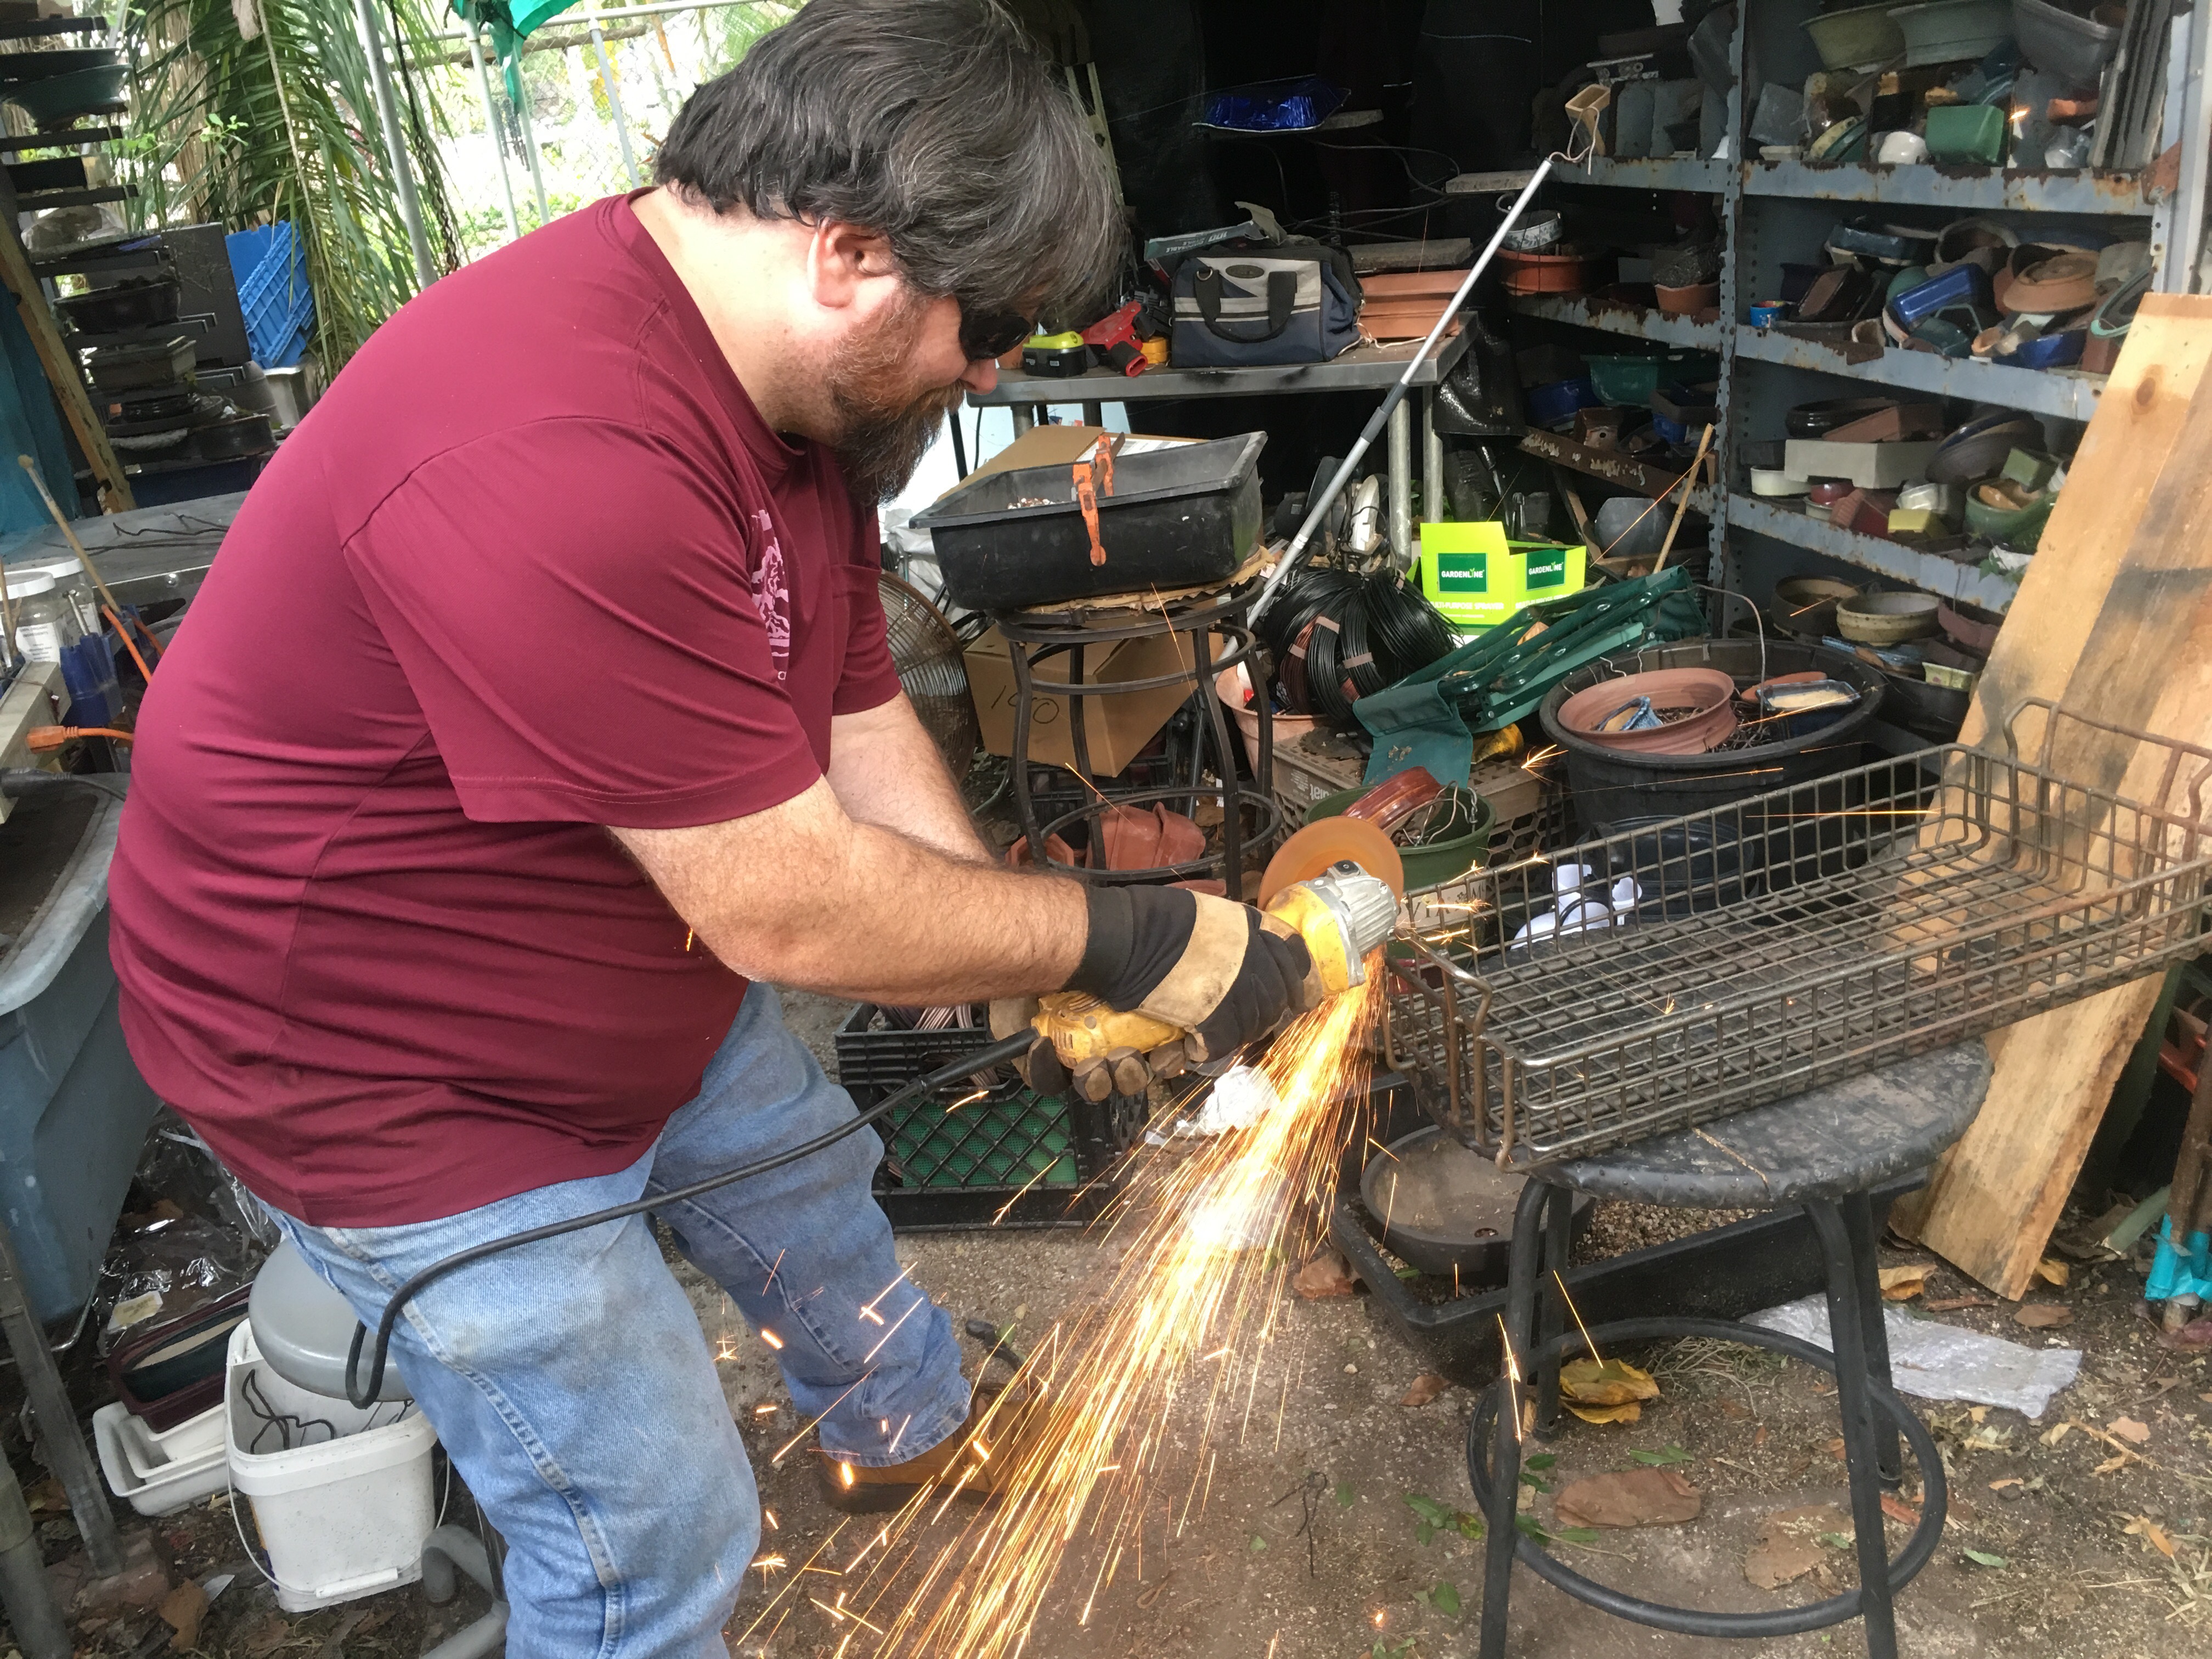 Now you’ve done it, you broke it! Split it in twain!
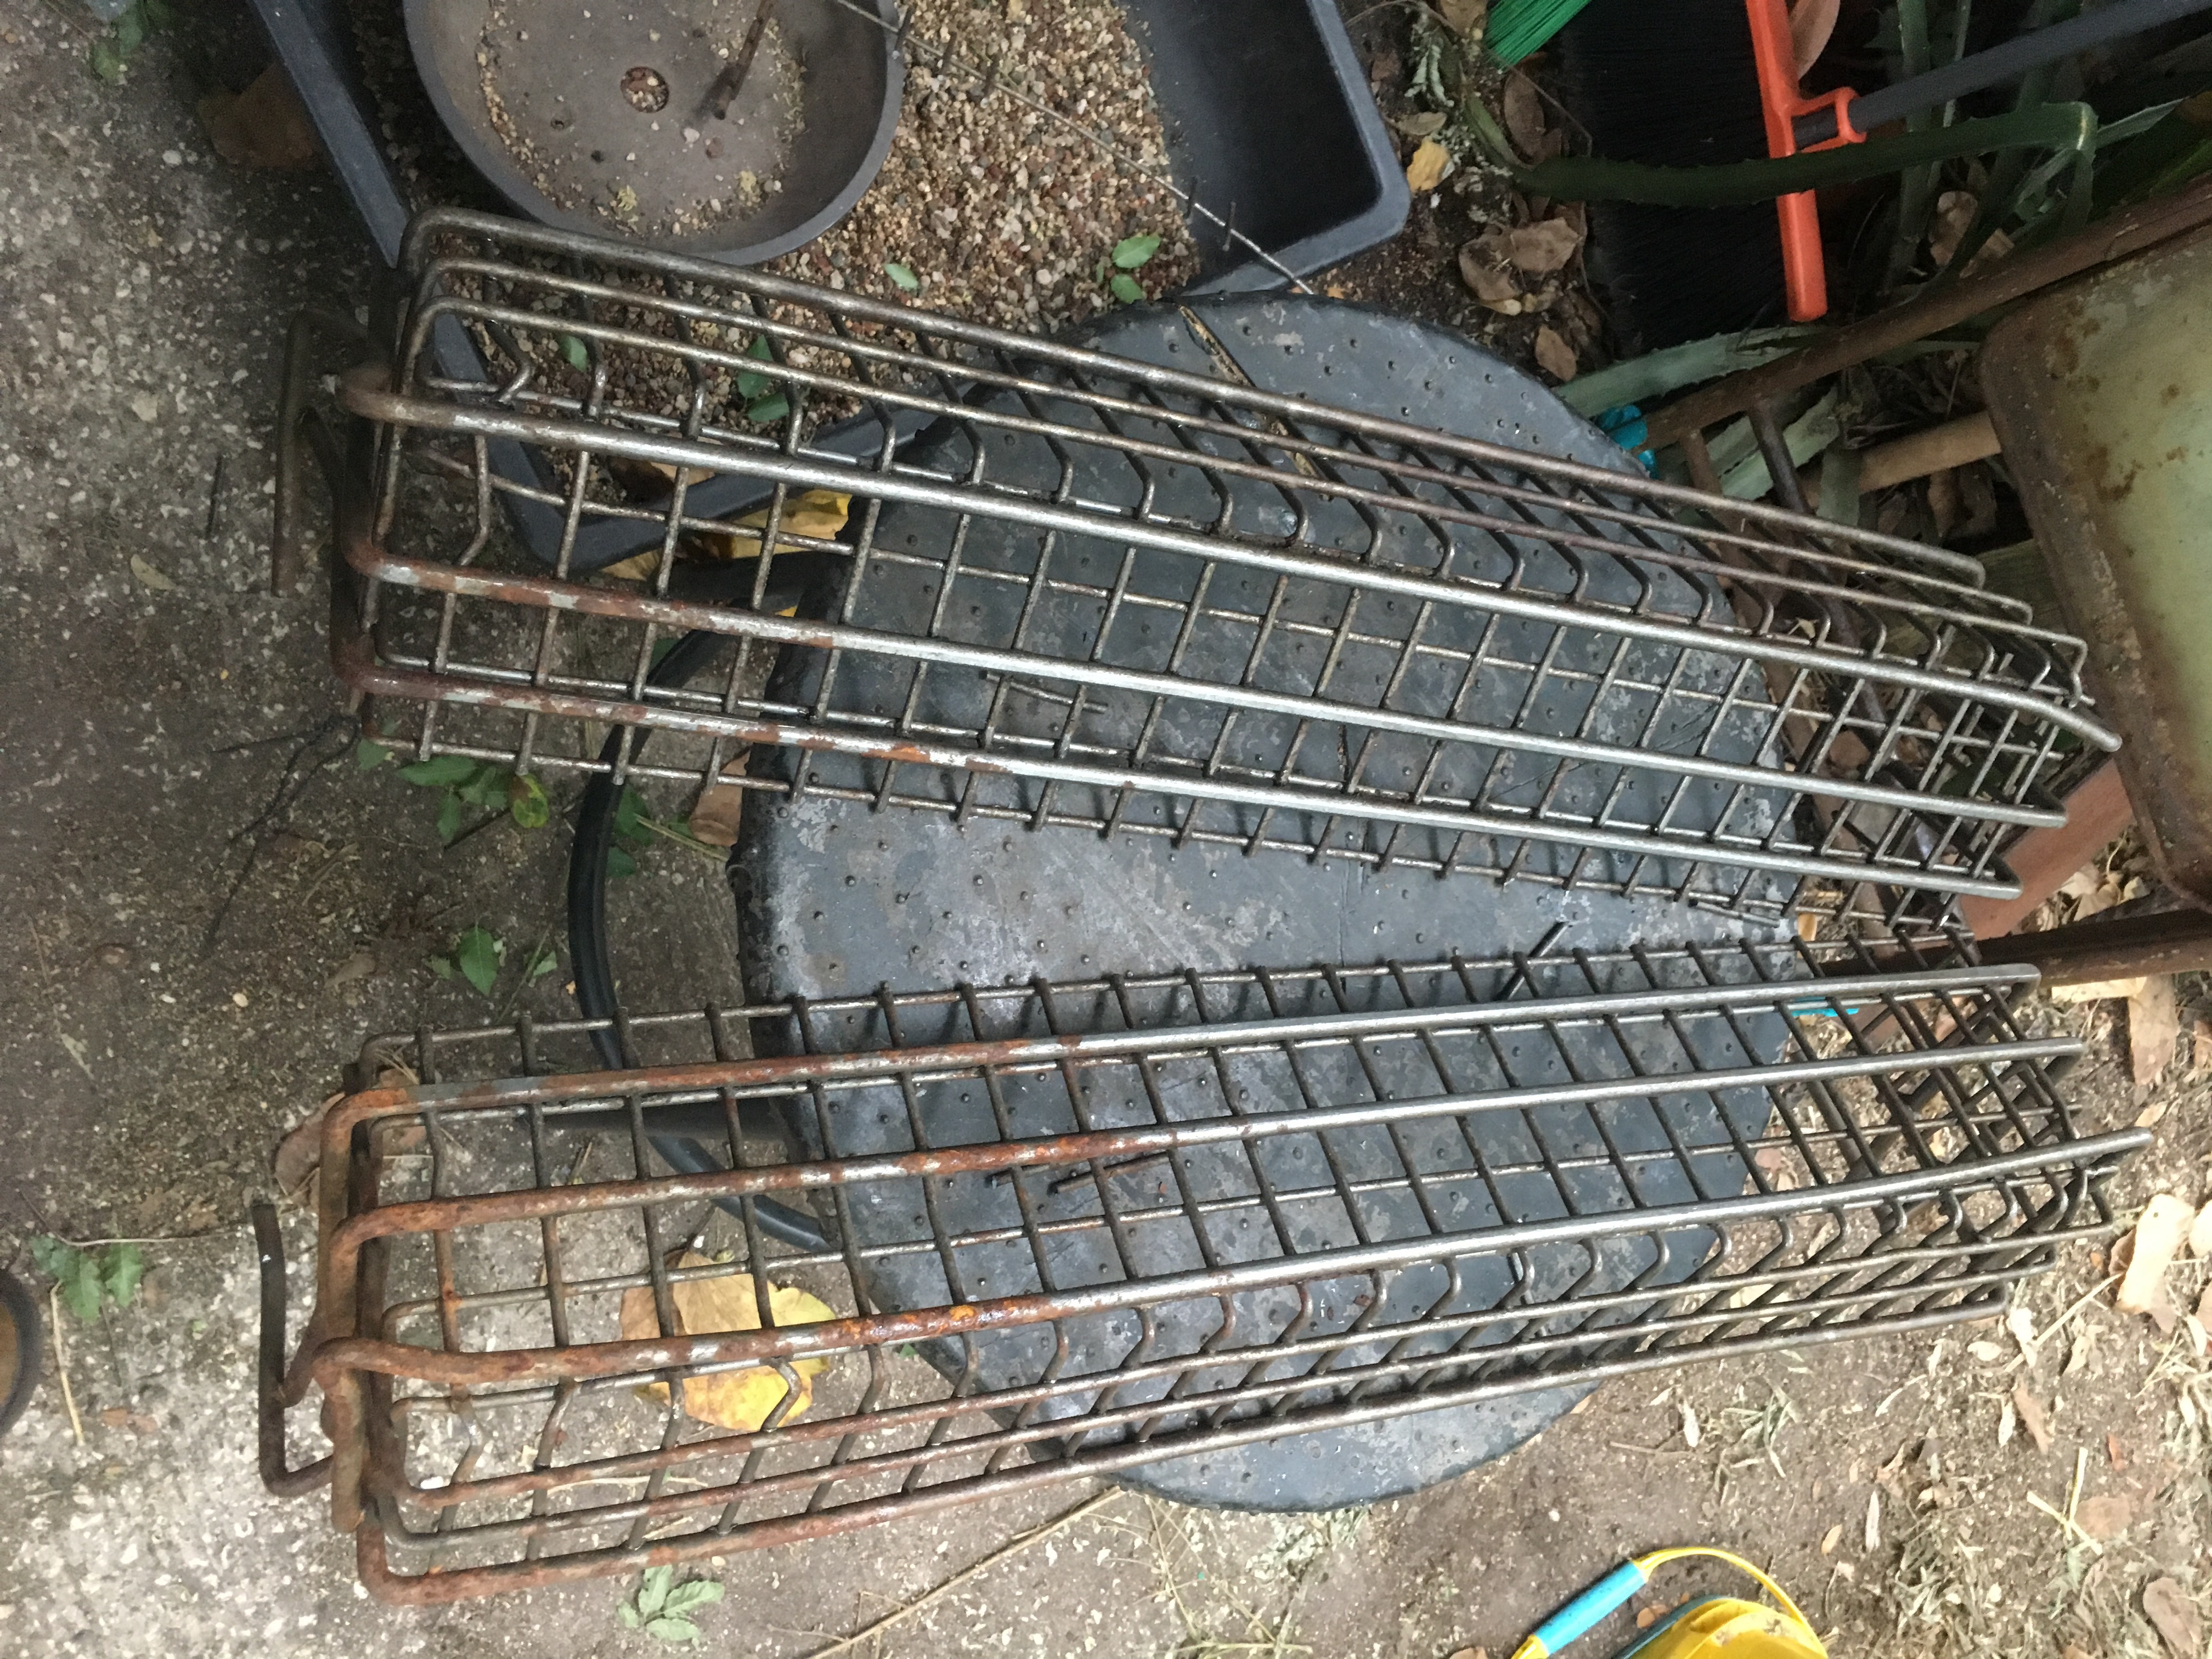 Now we put it back together. I found these pieces of angle iron when I was digging the post holes for my new fence.
 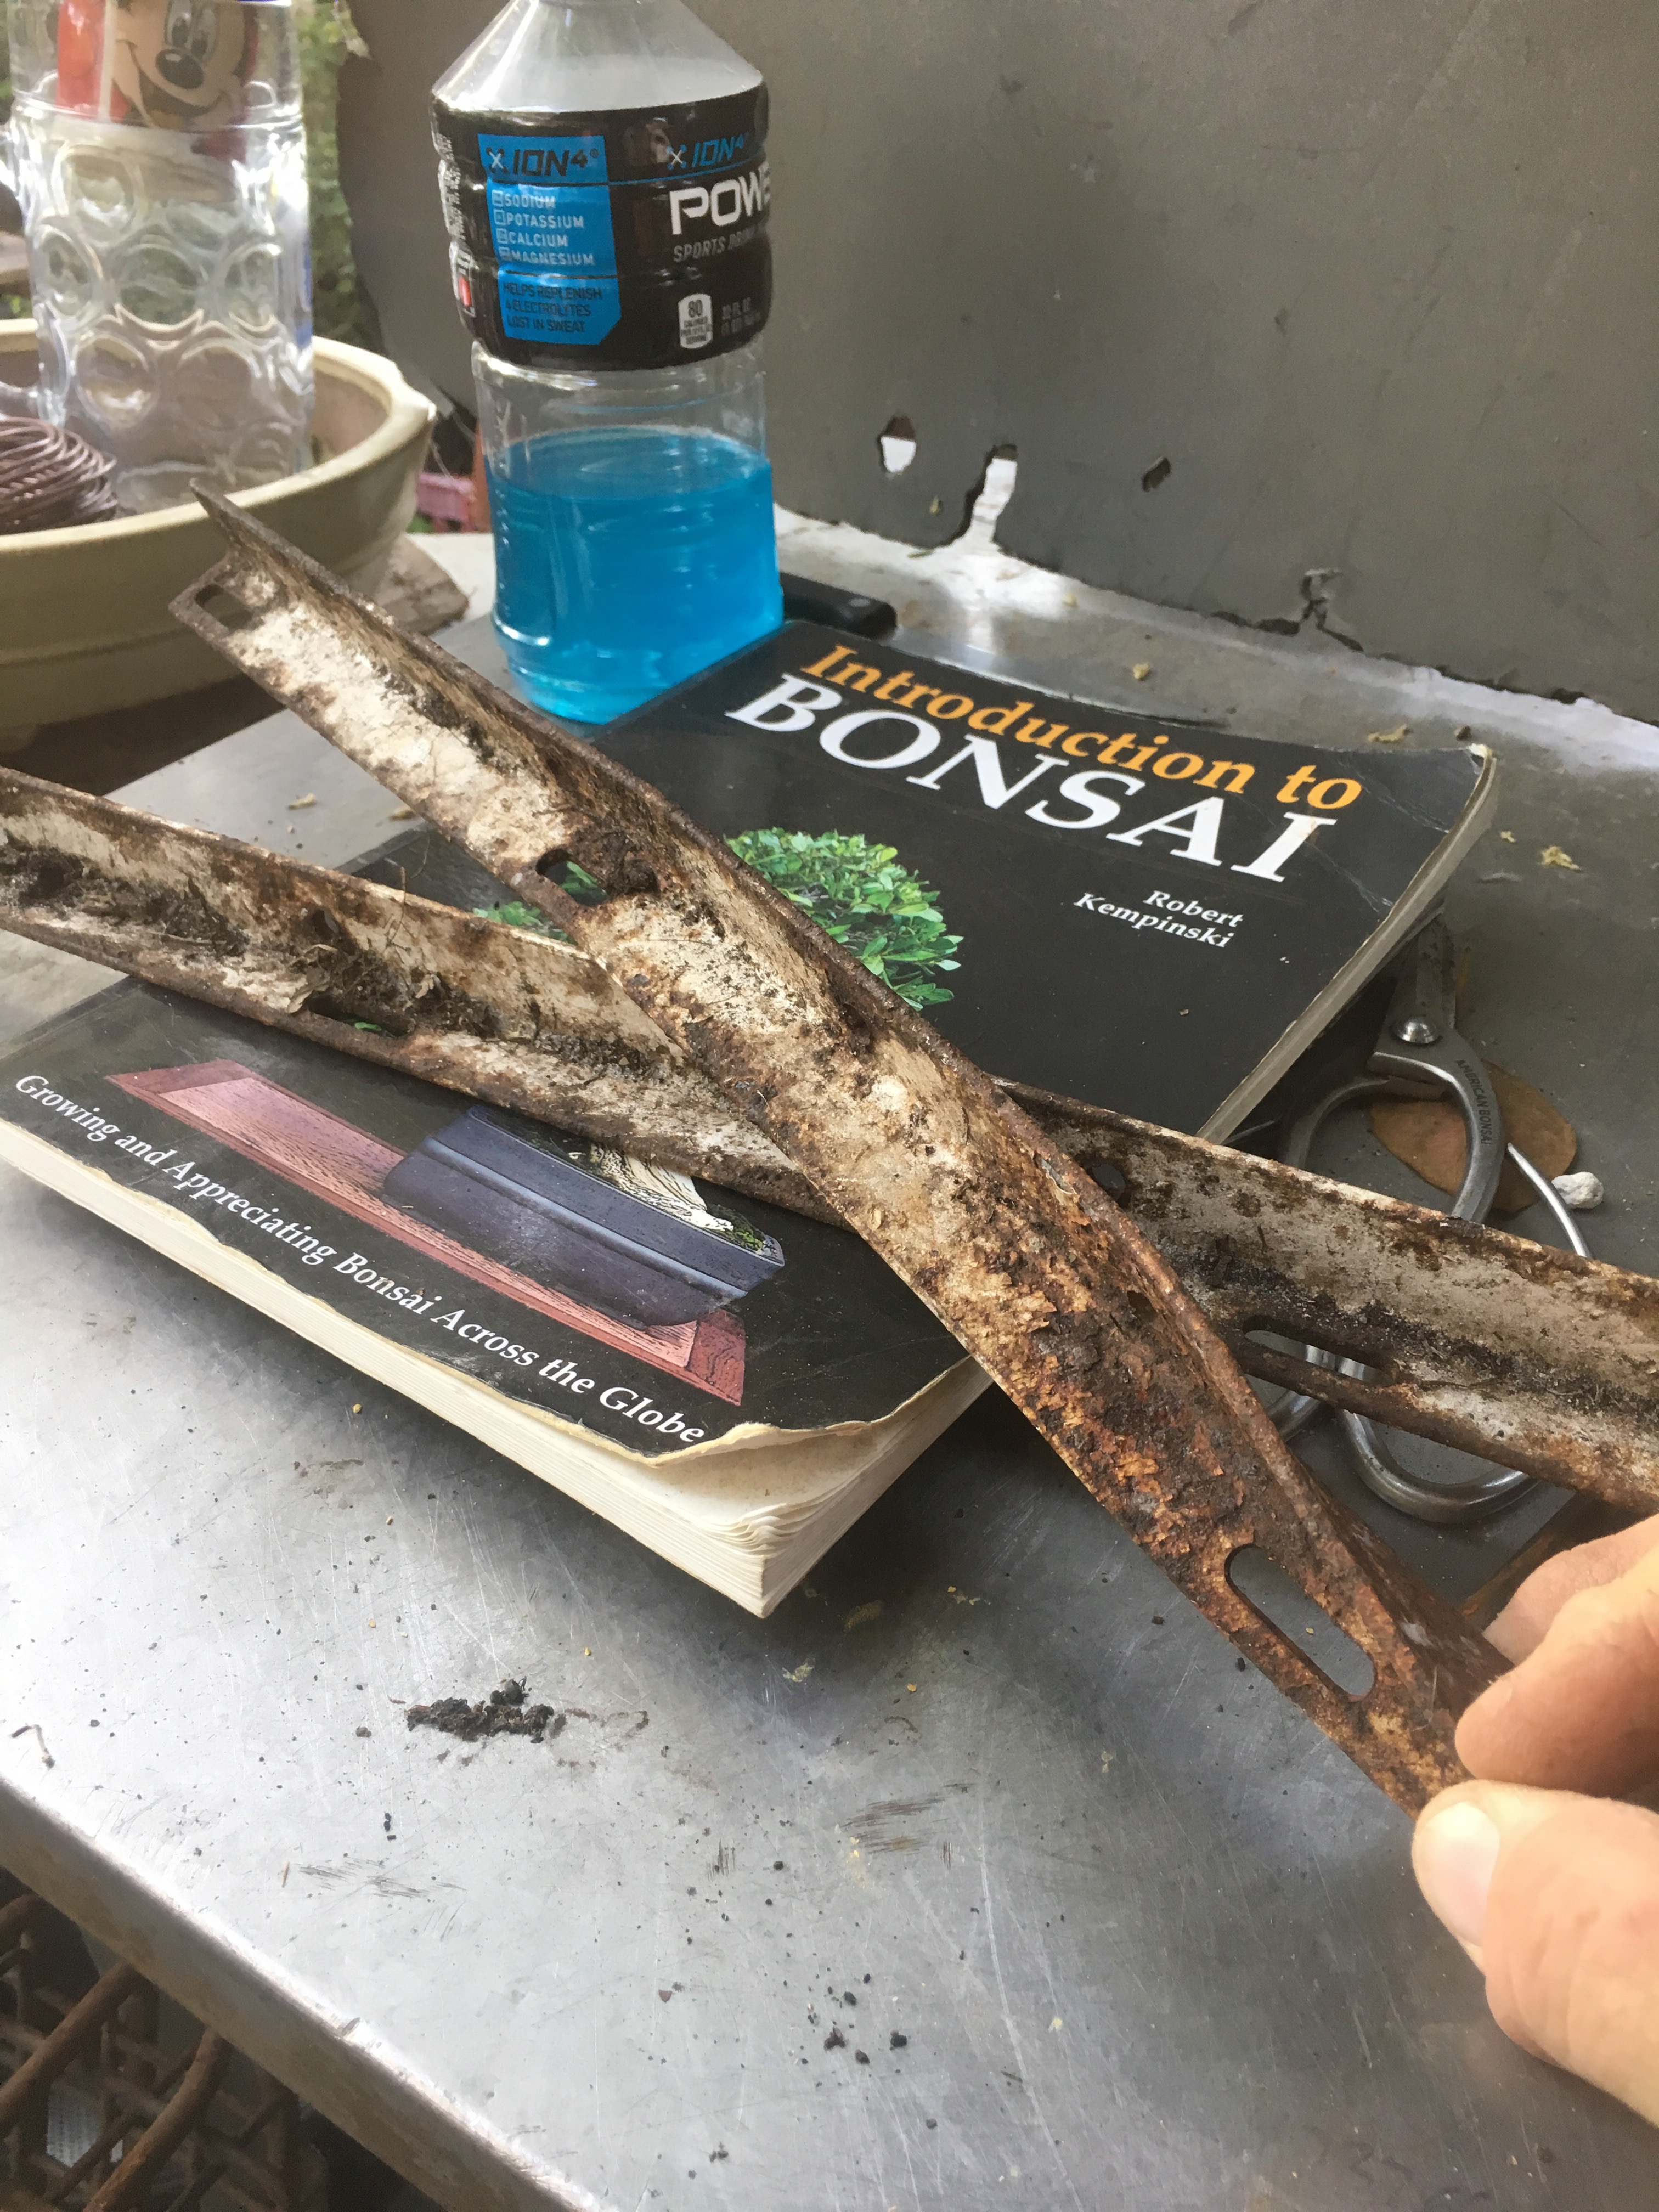 Good book btw!
A little cutting to fit. 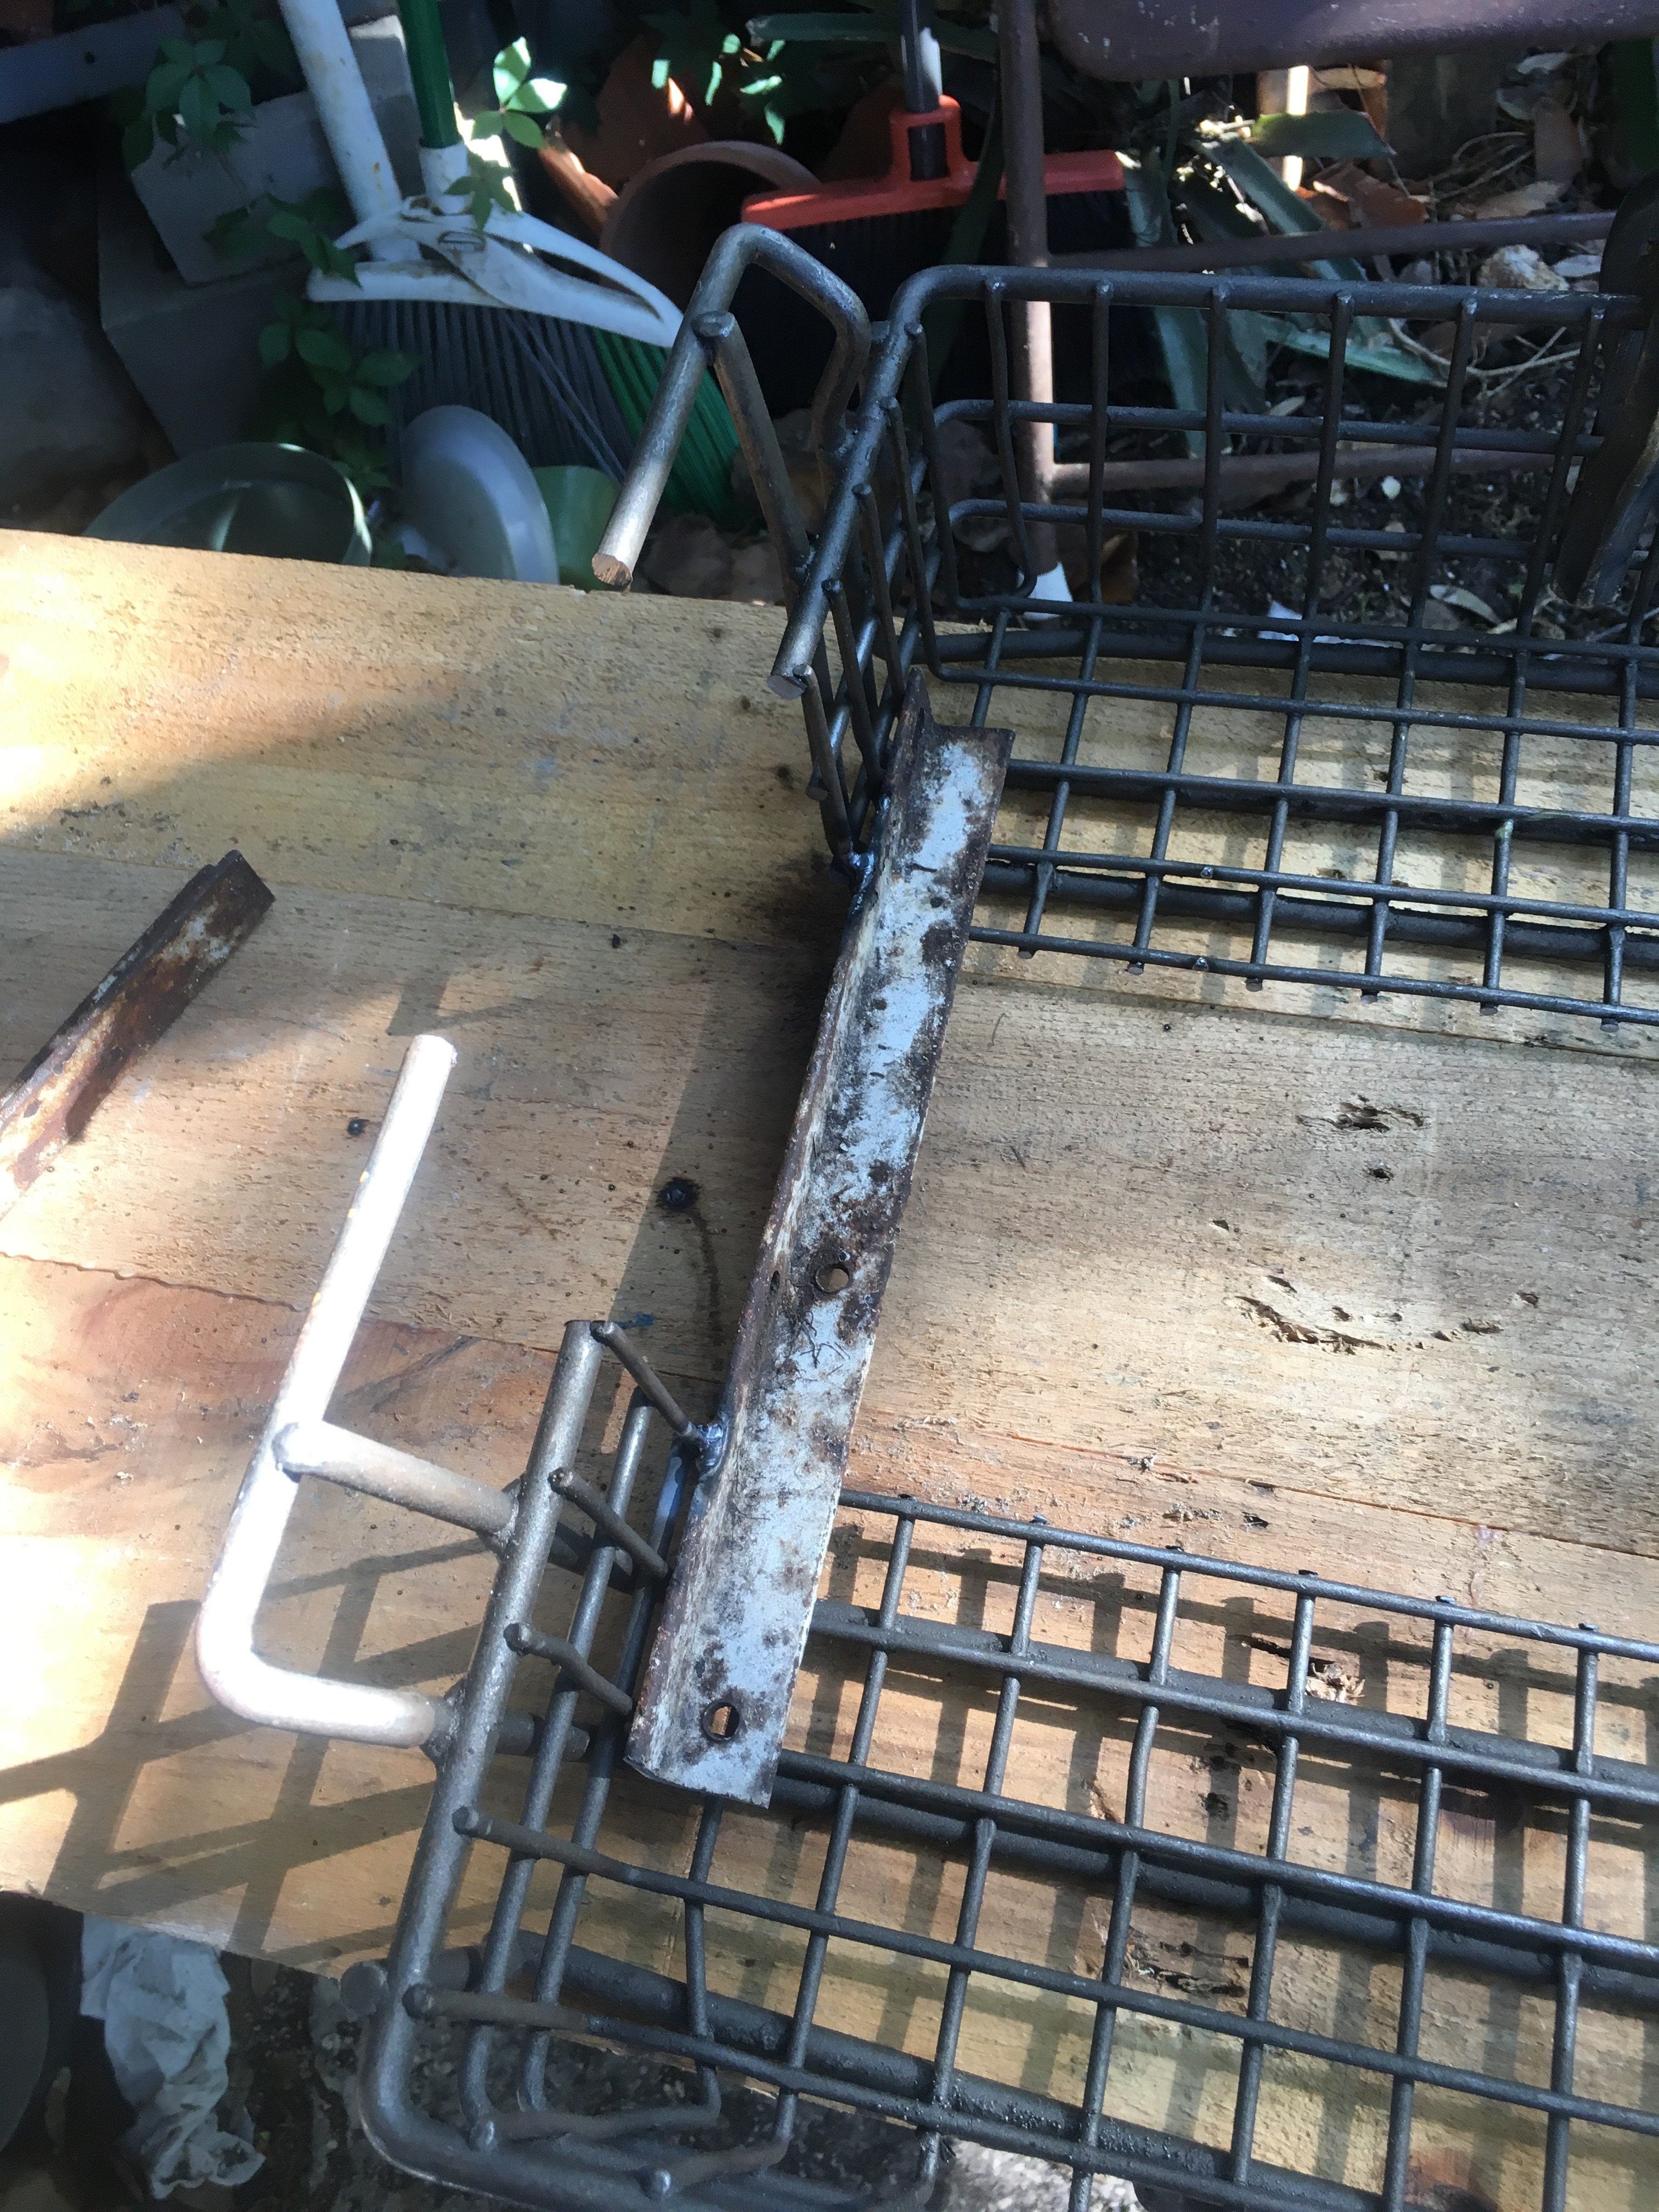 And I have Guaracha to weld them. He actually wouldn’t let me do it, even though I know how. He’s greedy.
I told him to make the welds dirty and mean looking. 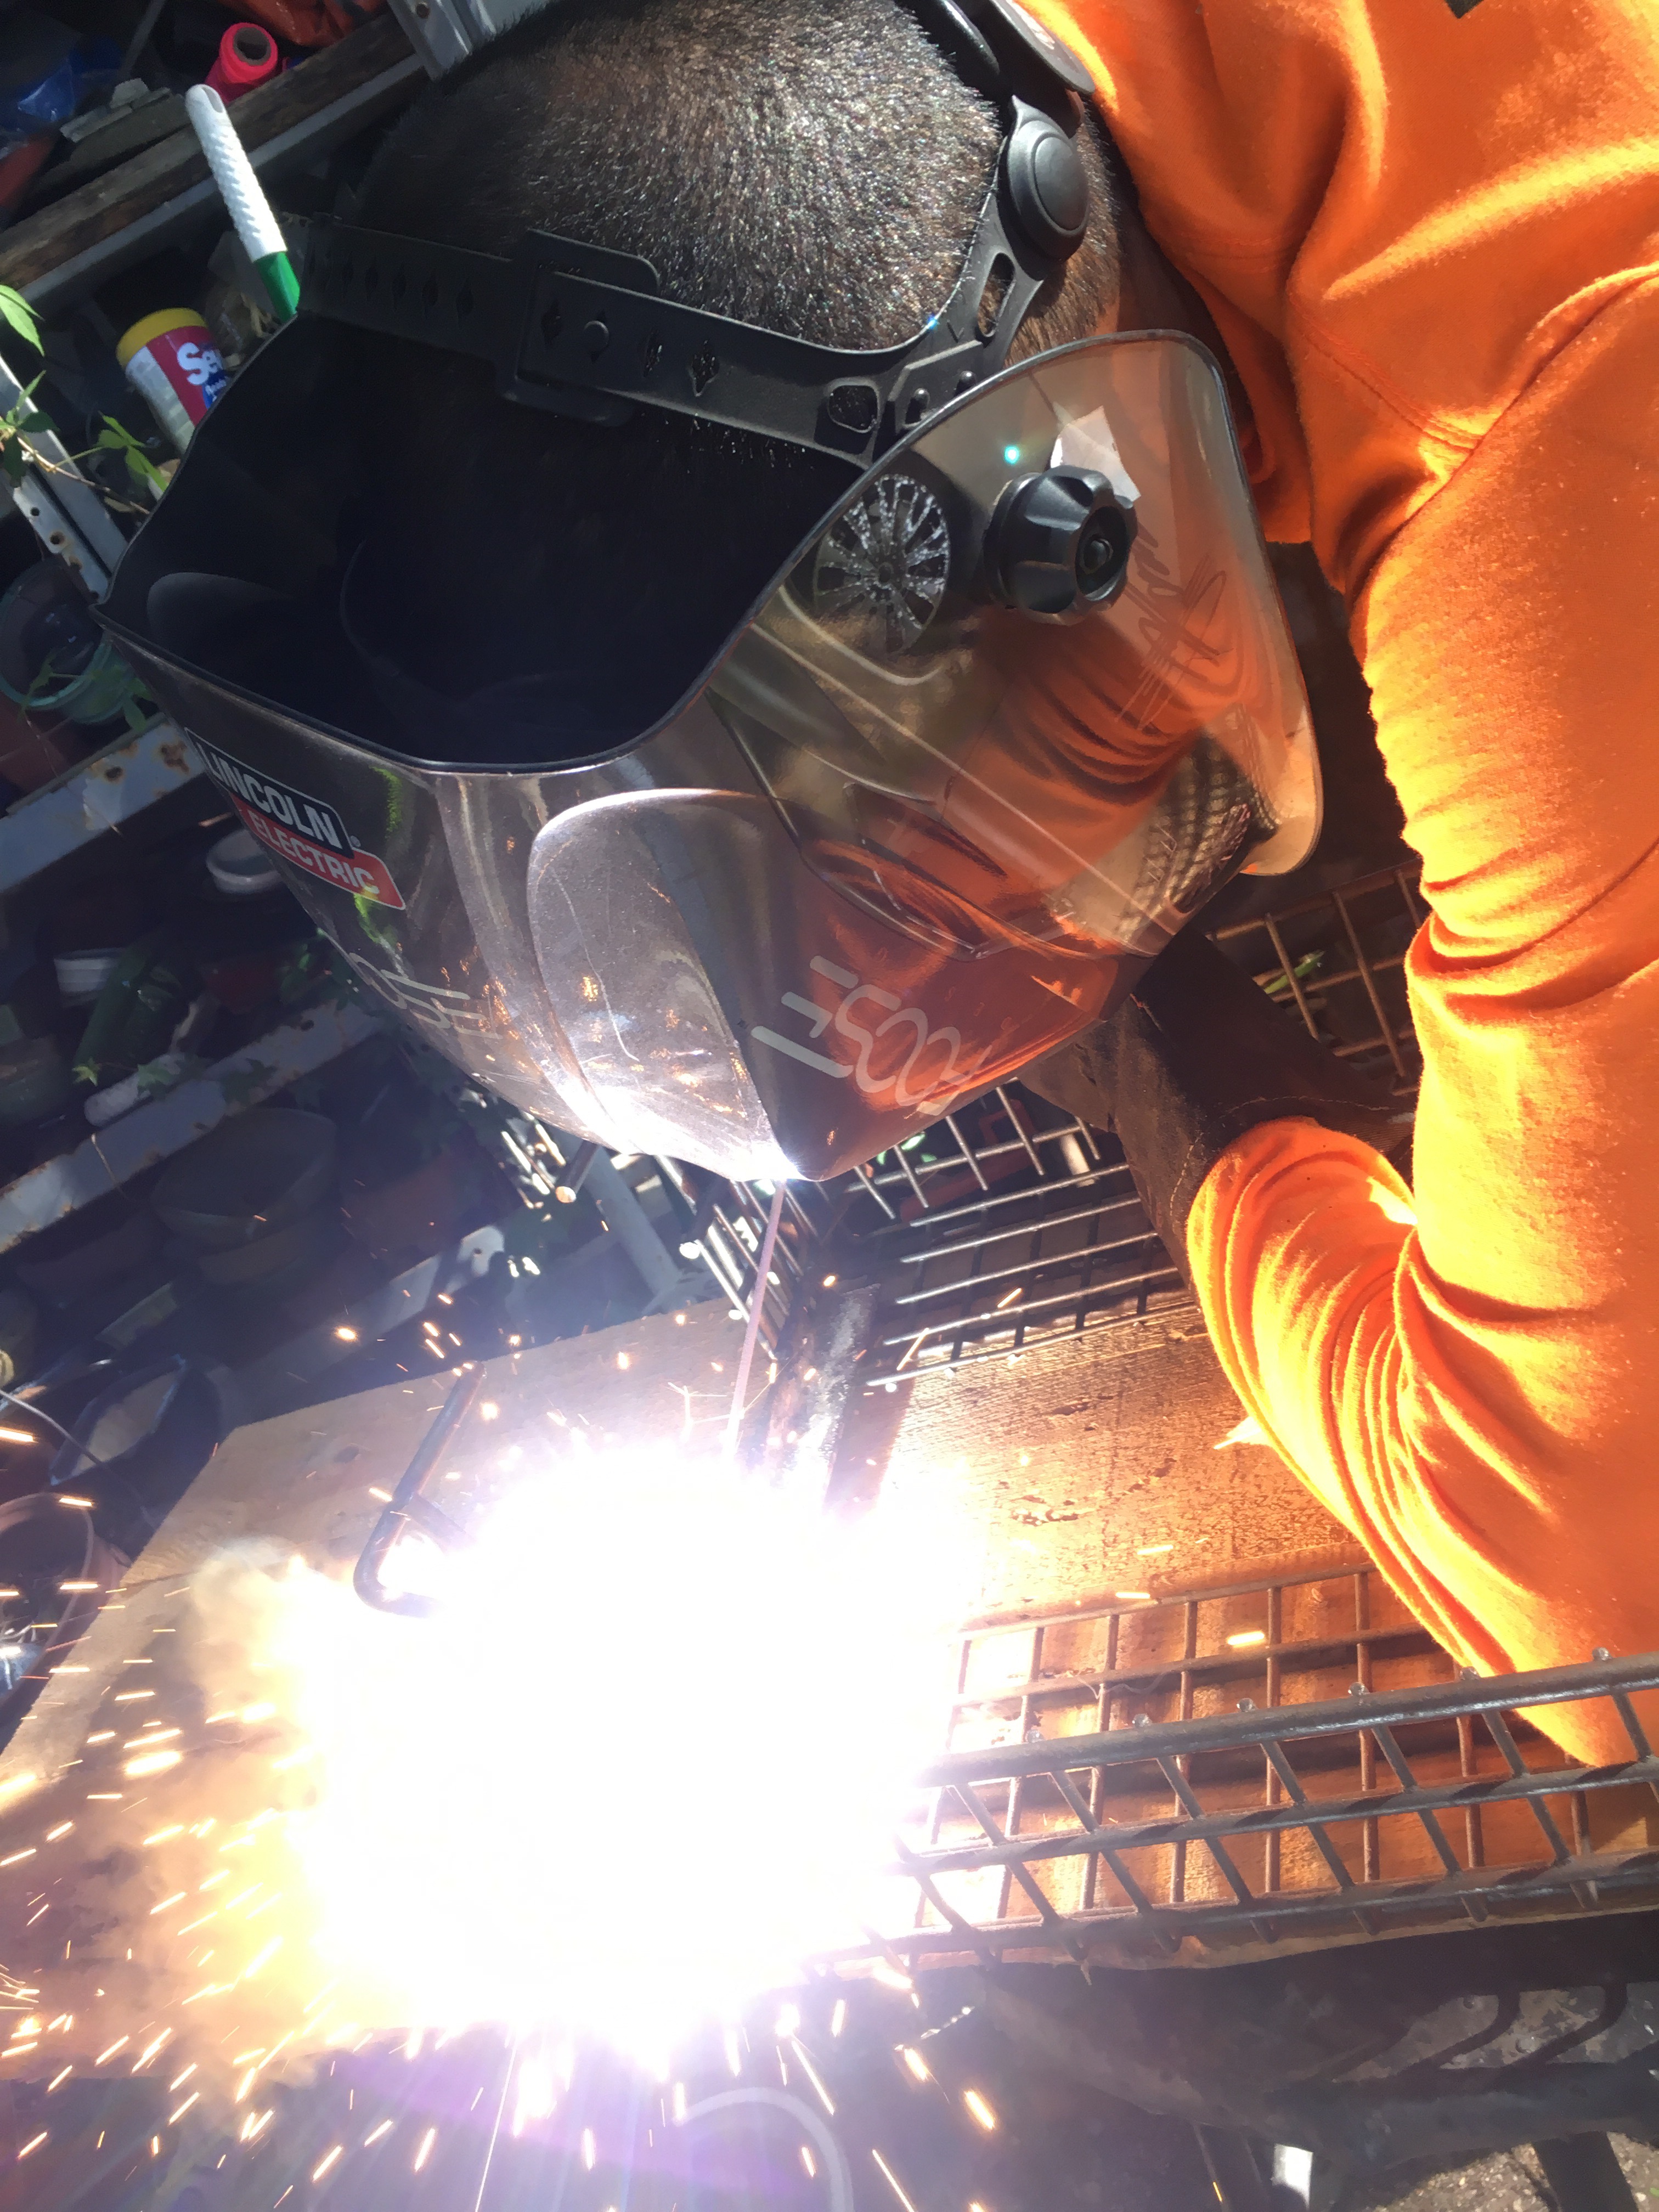 You know, to fit in to the overall look.
Now, the fun part! Trying to figure out the finish on the wood.
Let’s see, I tried burning.  Wire brushing.
  Wire cup wheeling.
 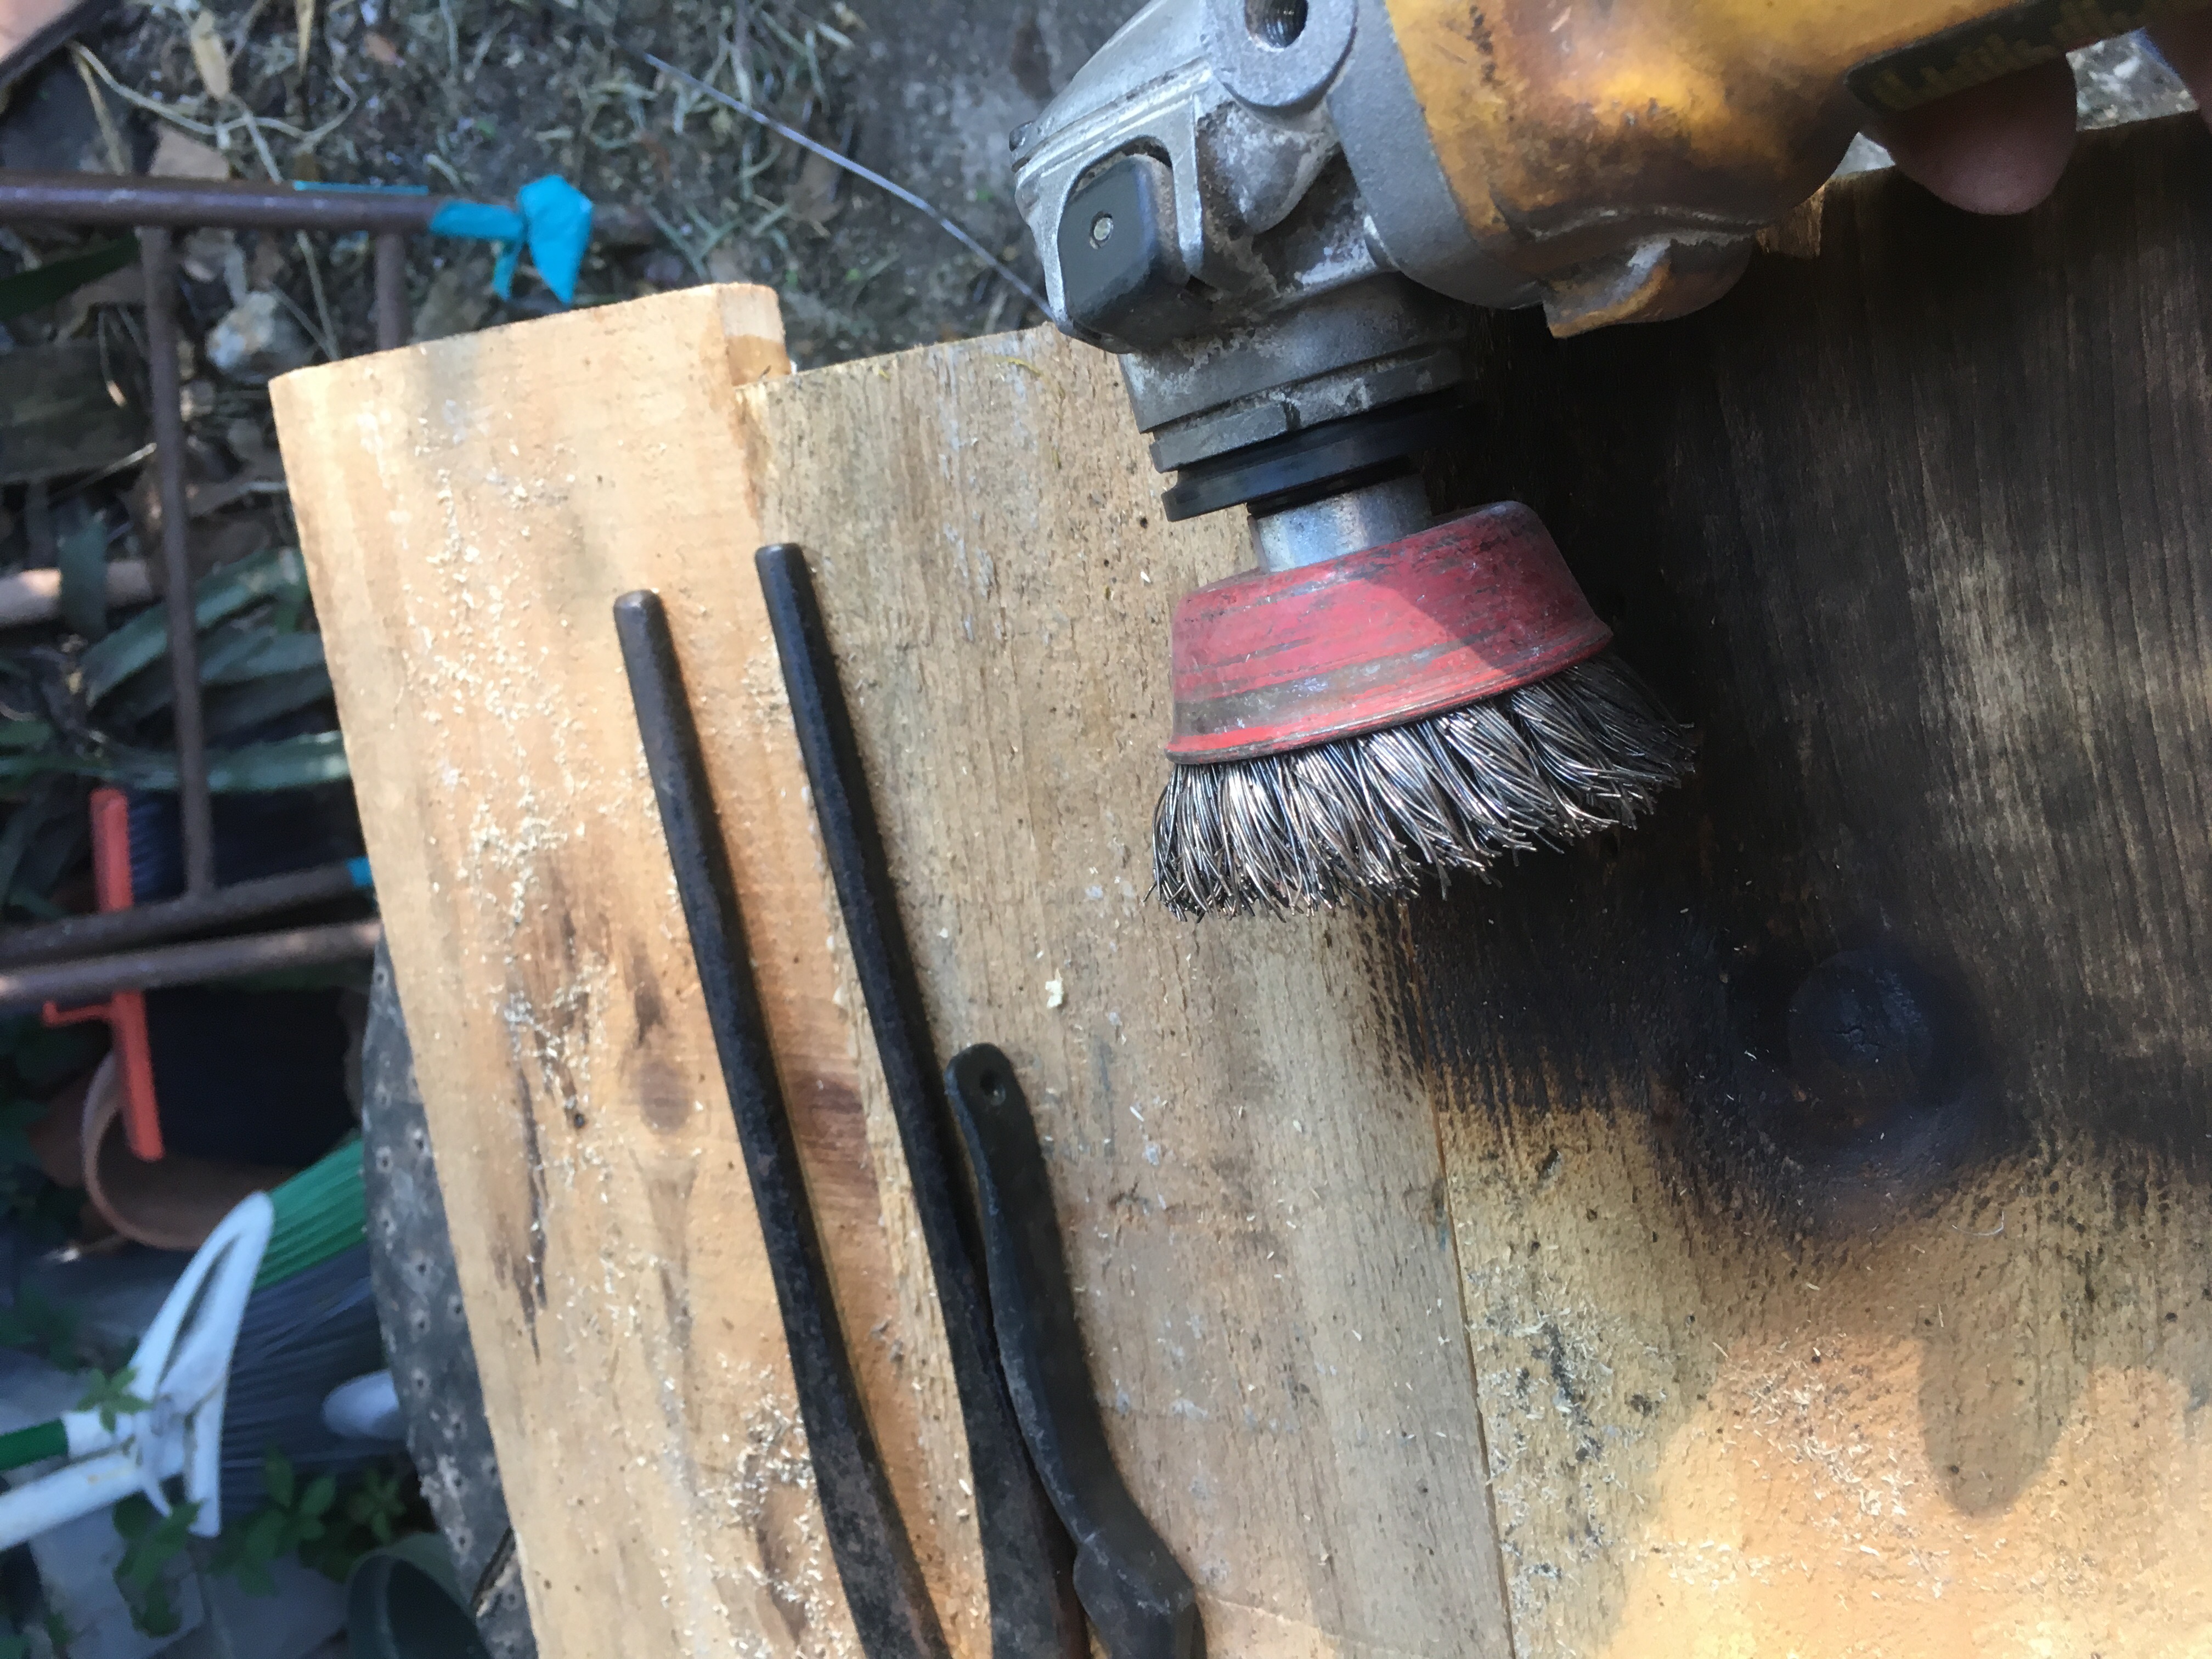 Did I mention that there are active termites inside this wood?
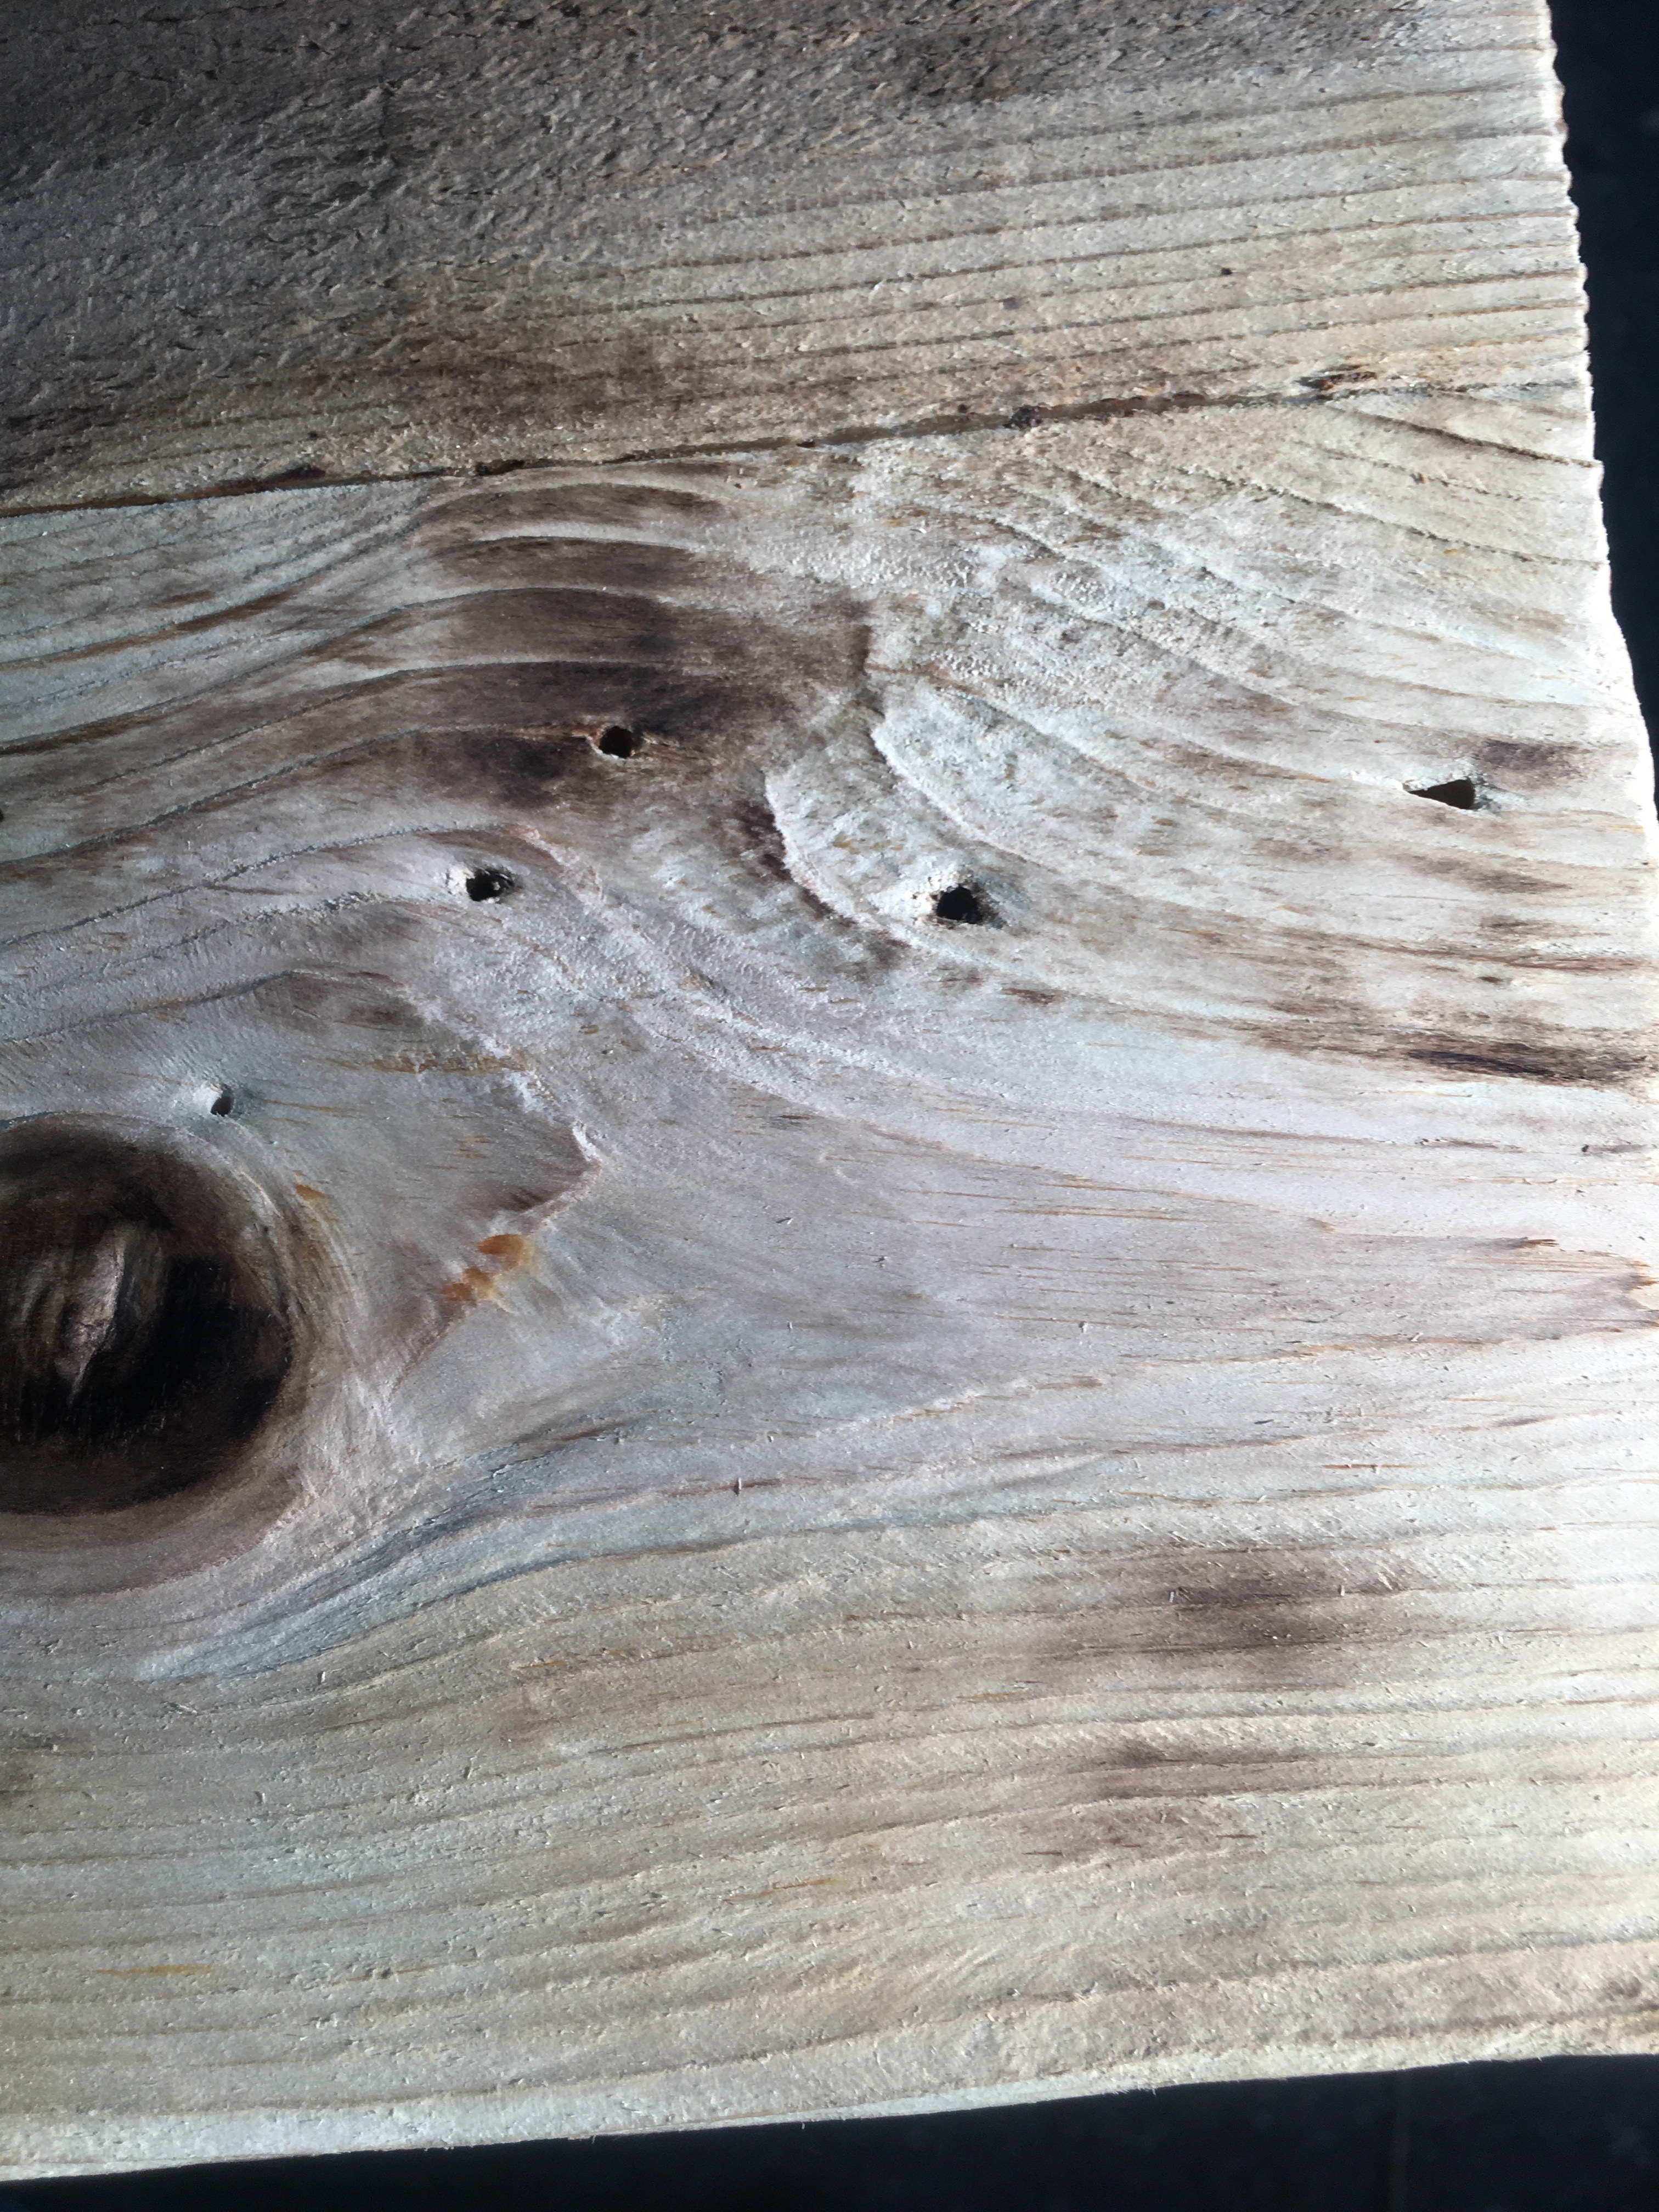 A scotchbrite pad.
 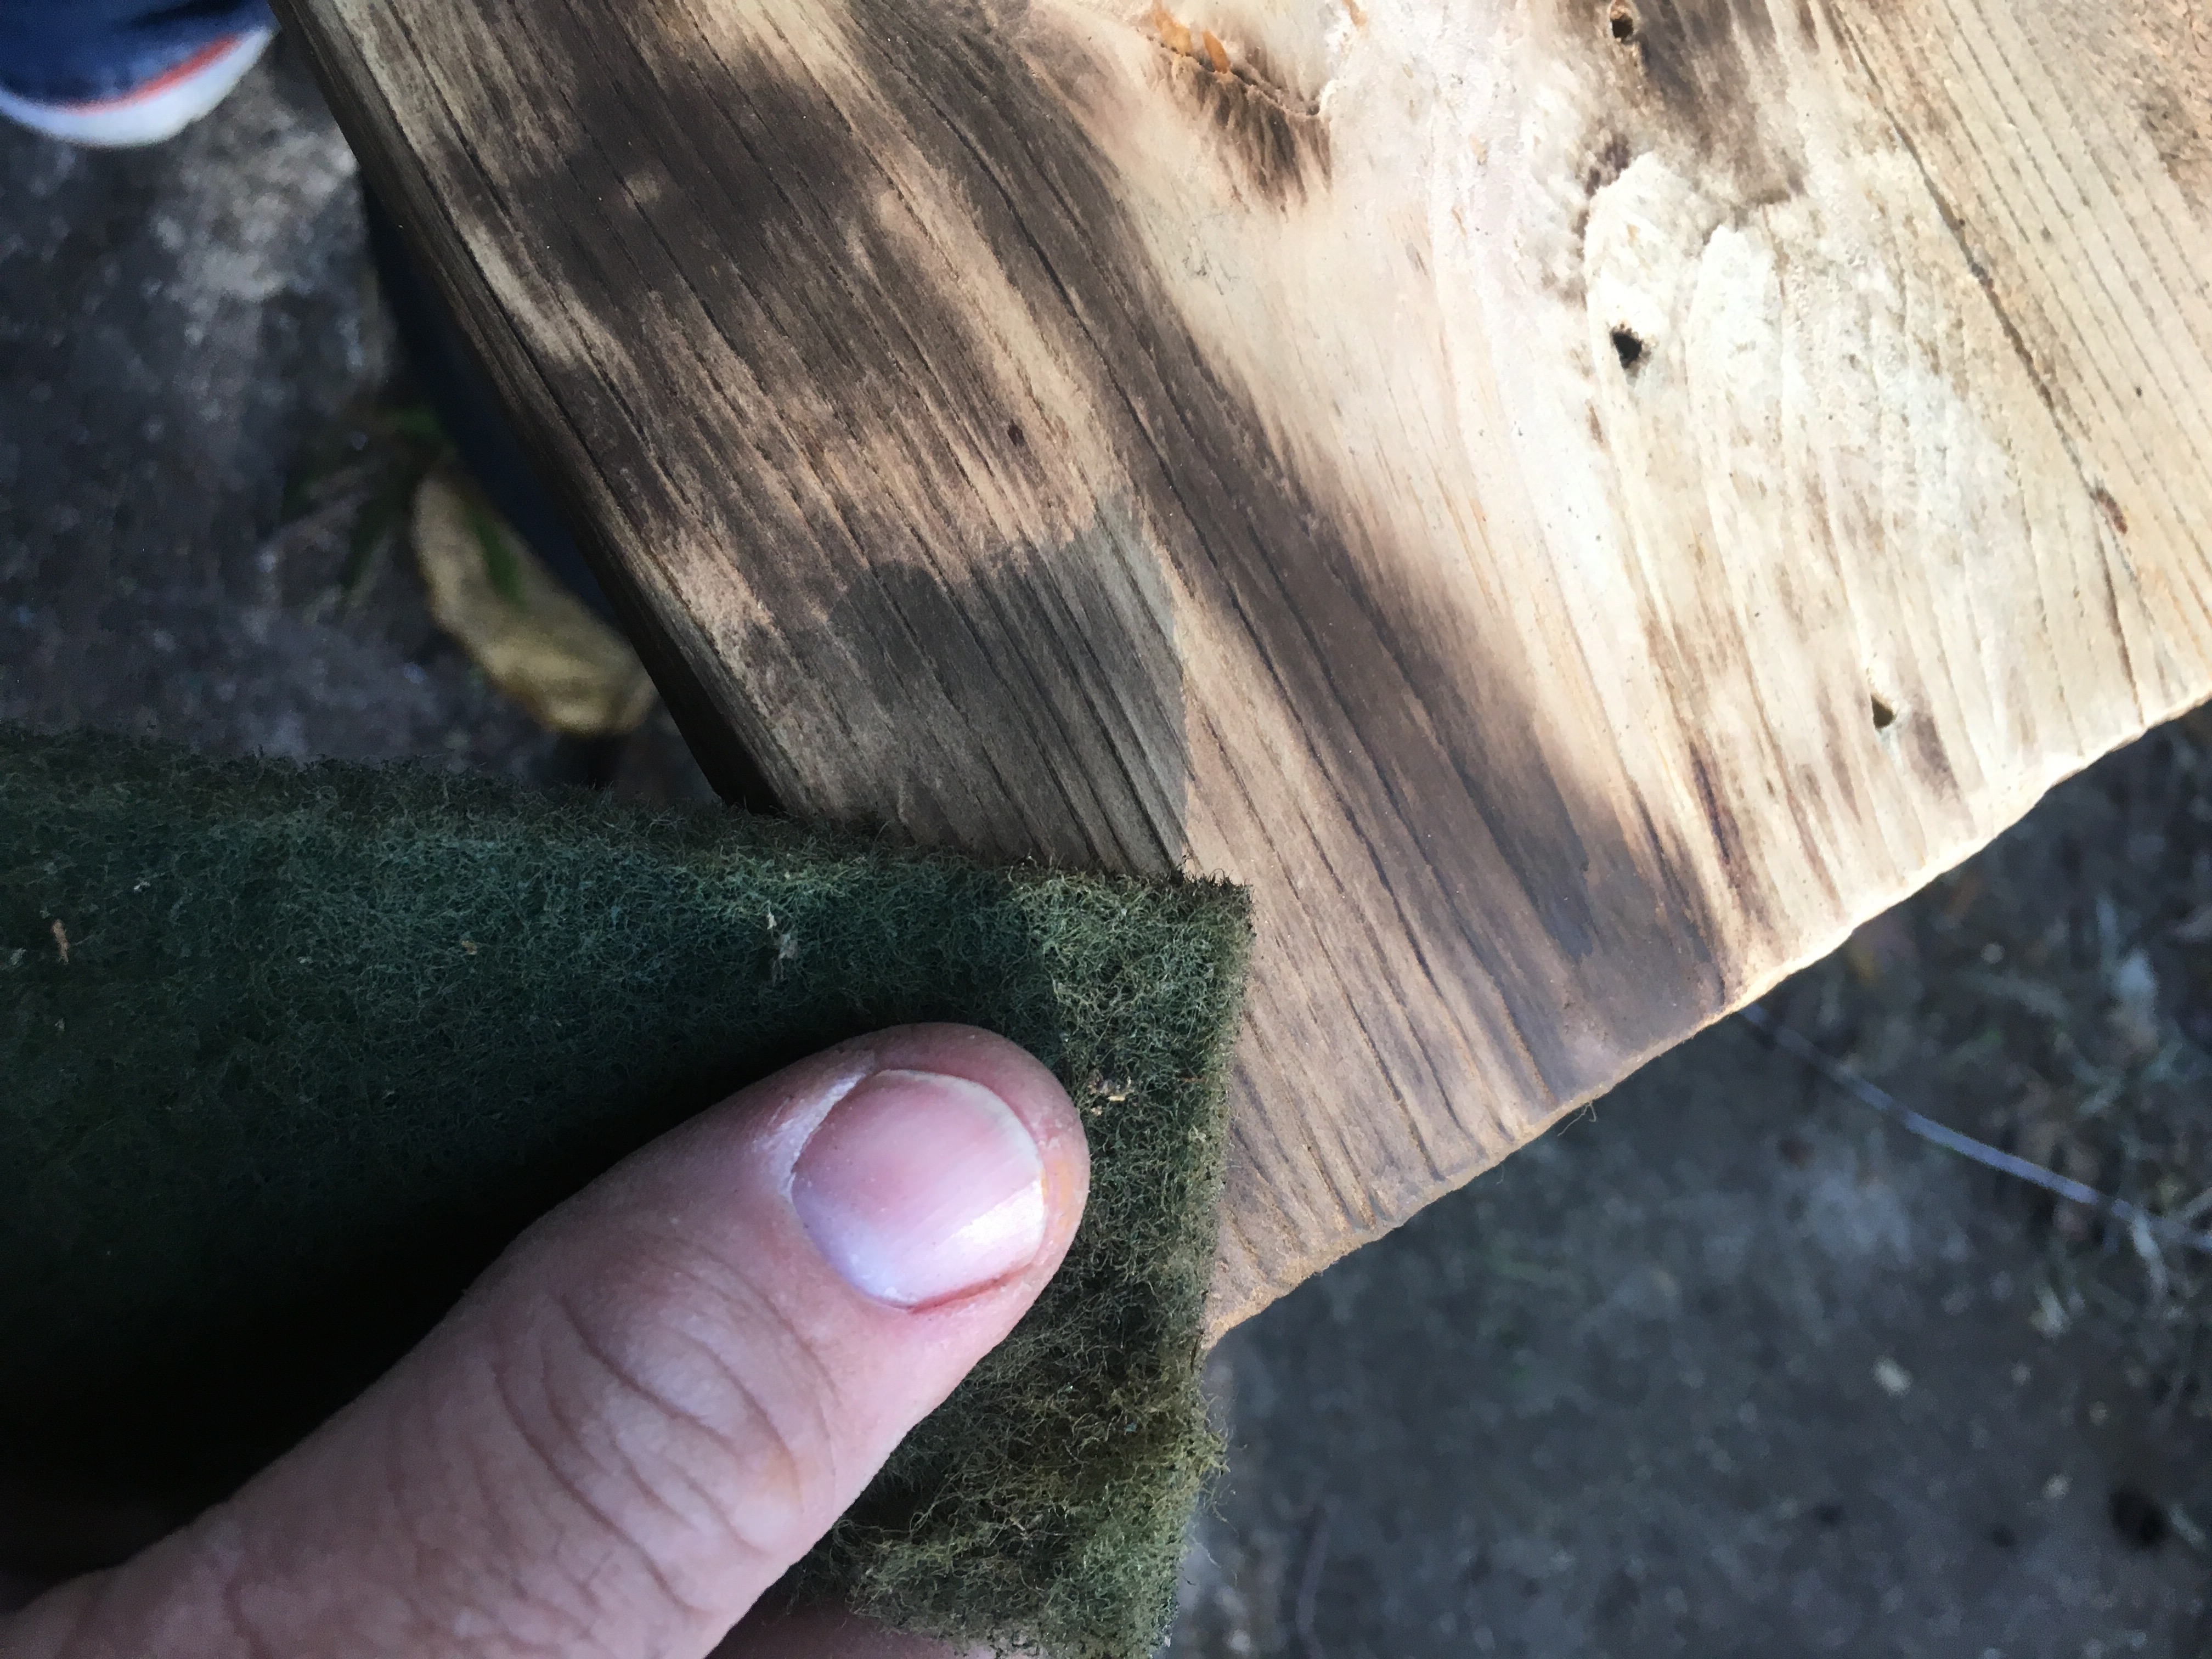 Some of my rusty vinegar stain.
  I’d like to get the wood dark, to contrast the pot, which is a cream color.
 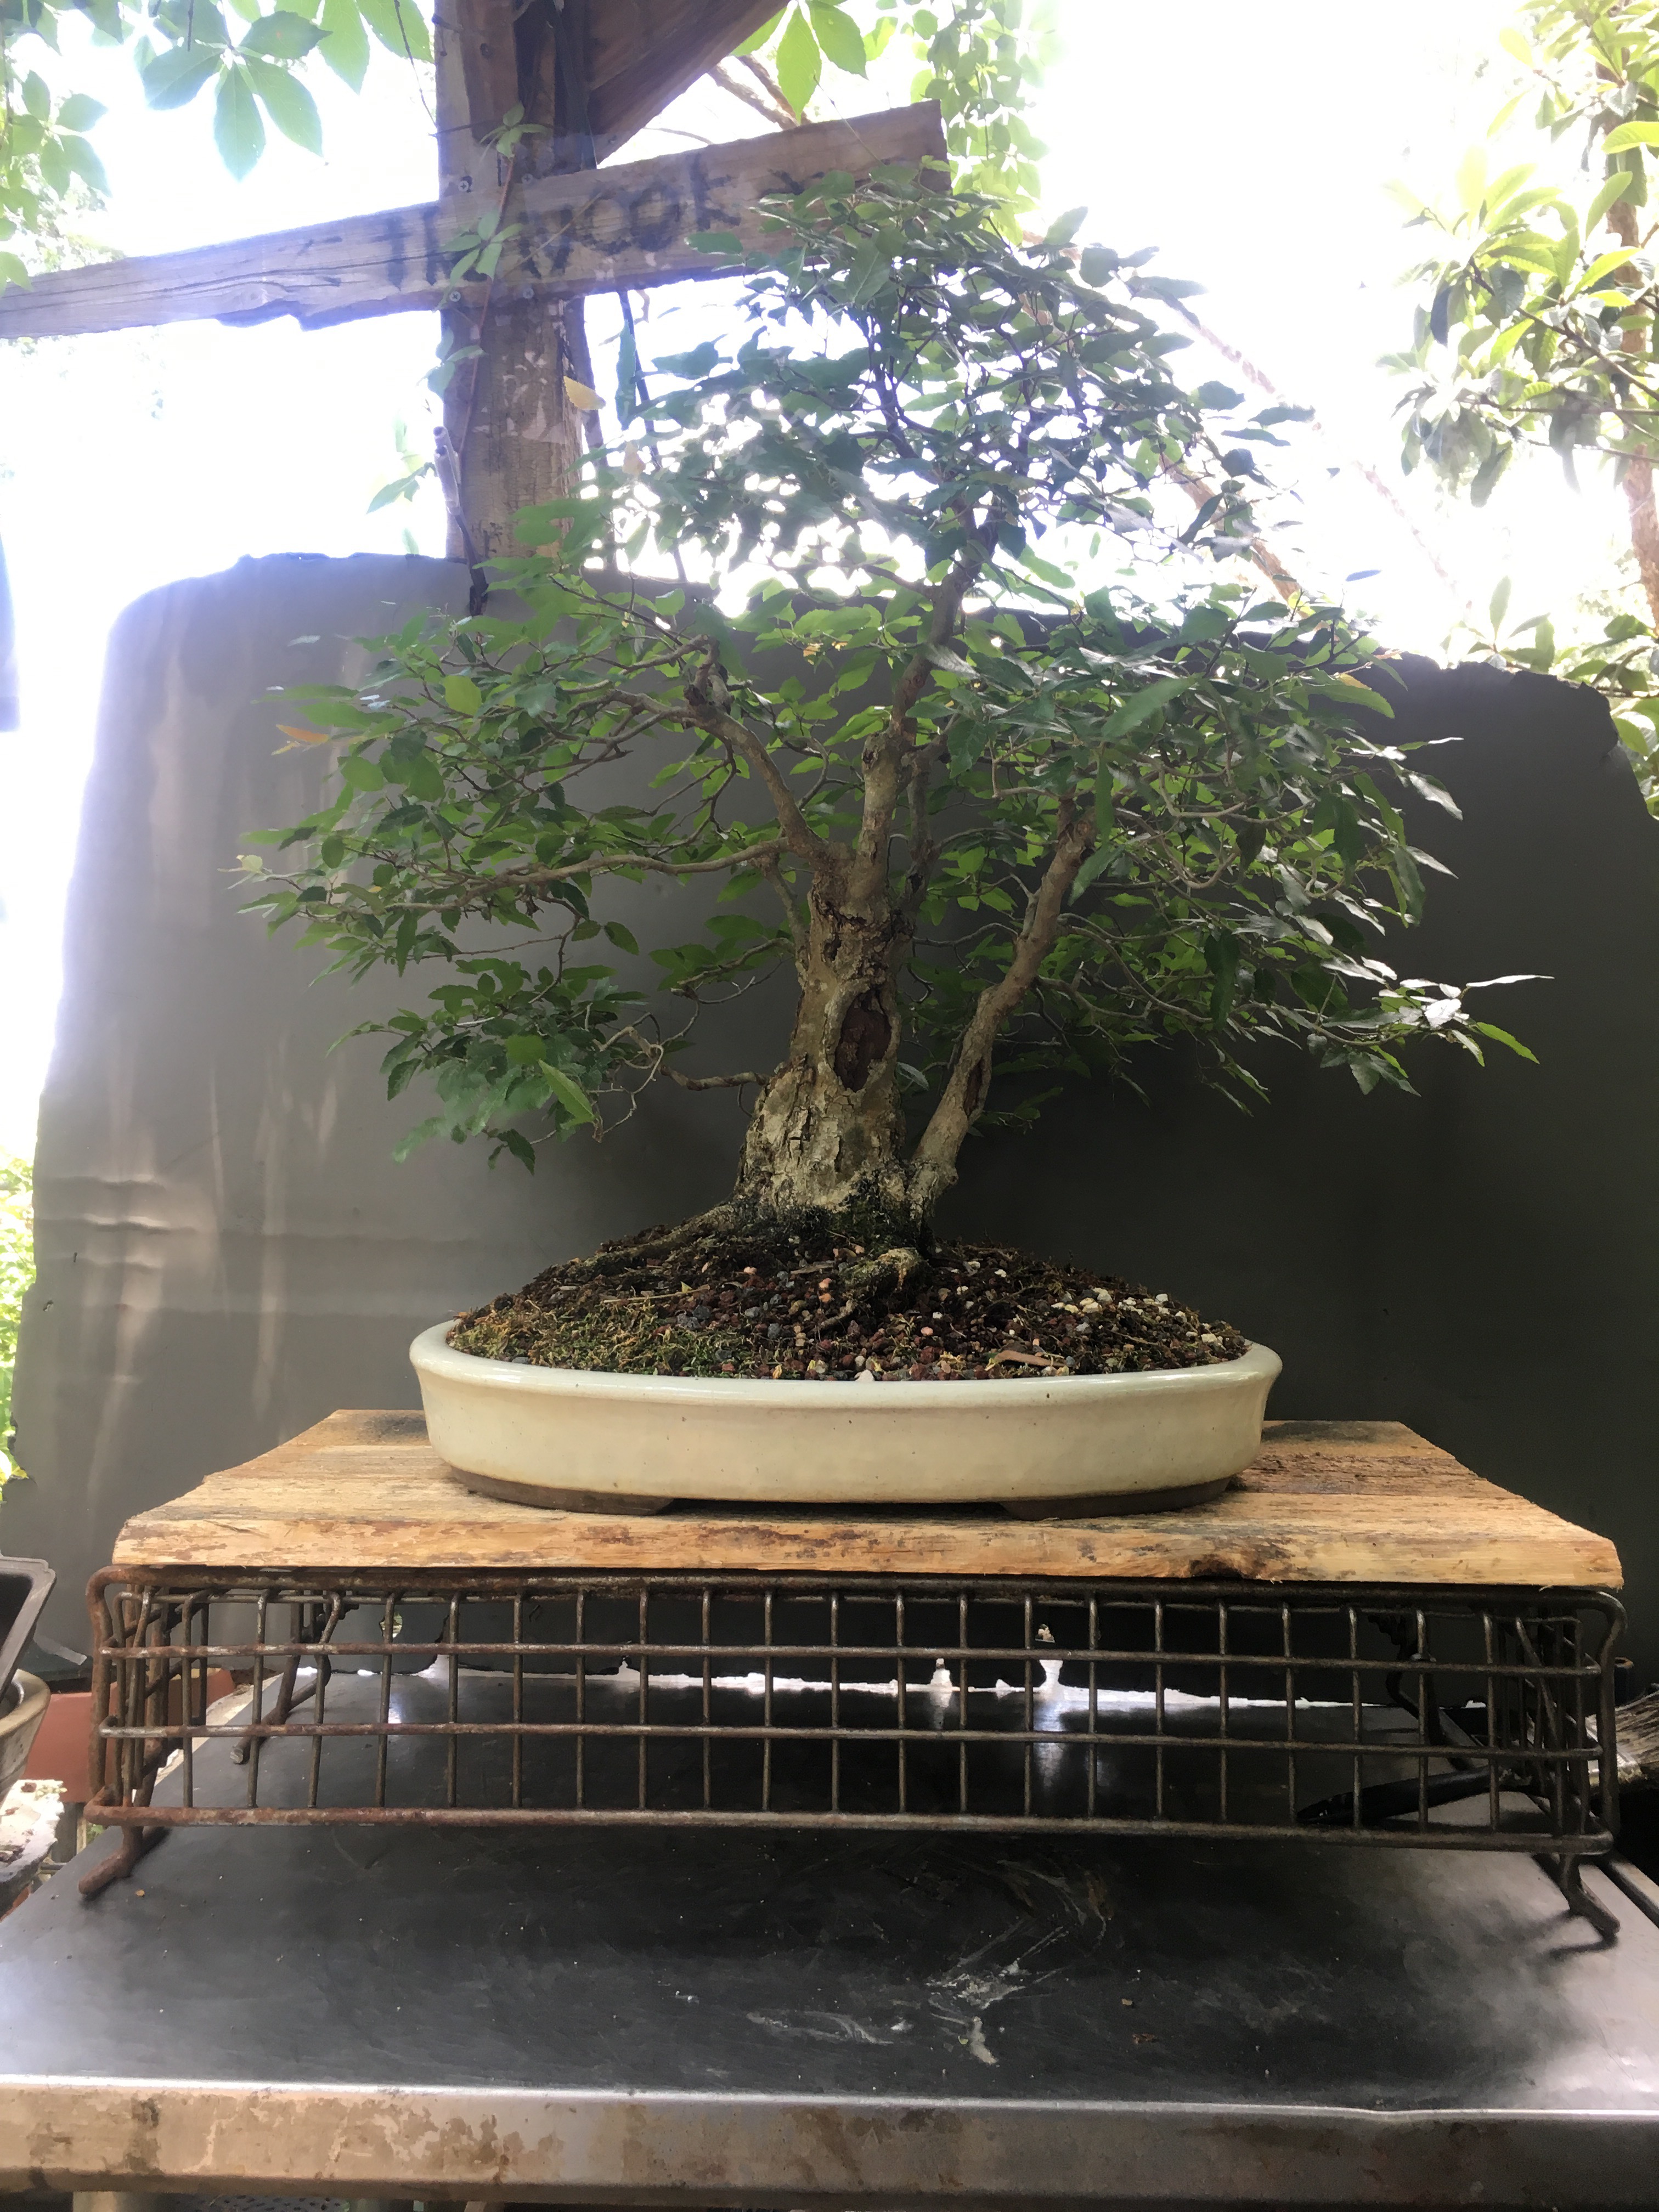 Something’s not right. I know, I’m not showing enough of the metal. Metal is important, Metal is life, Metal rules. That’s kinda the Main Idea of this stand.
Like this. 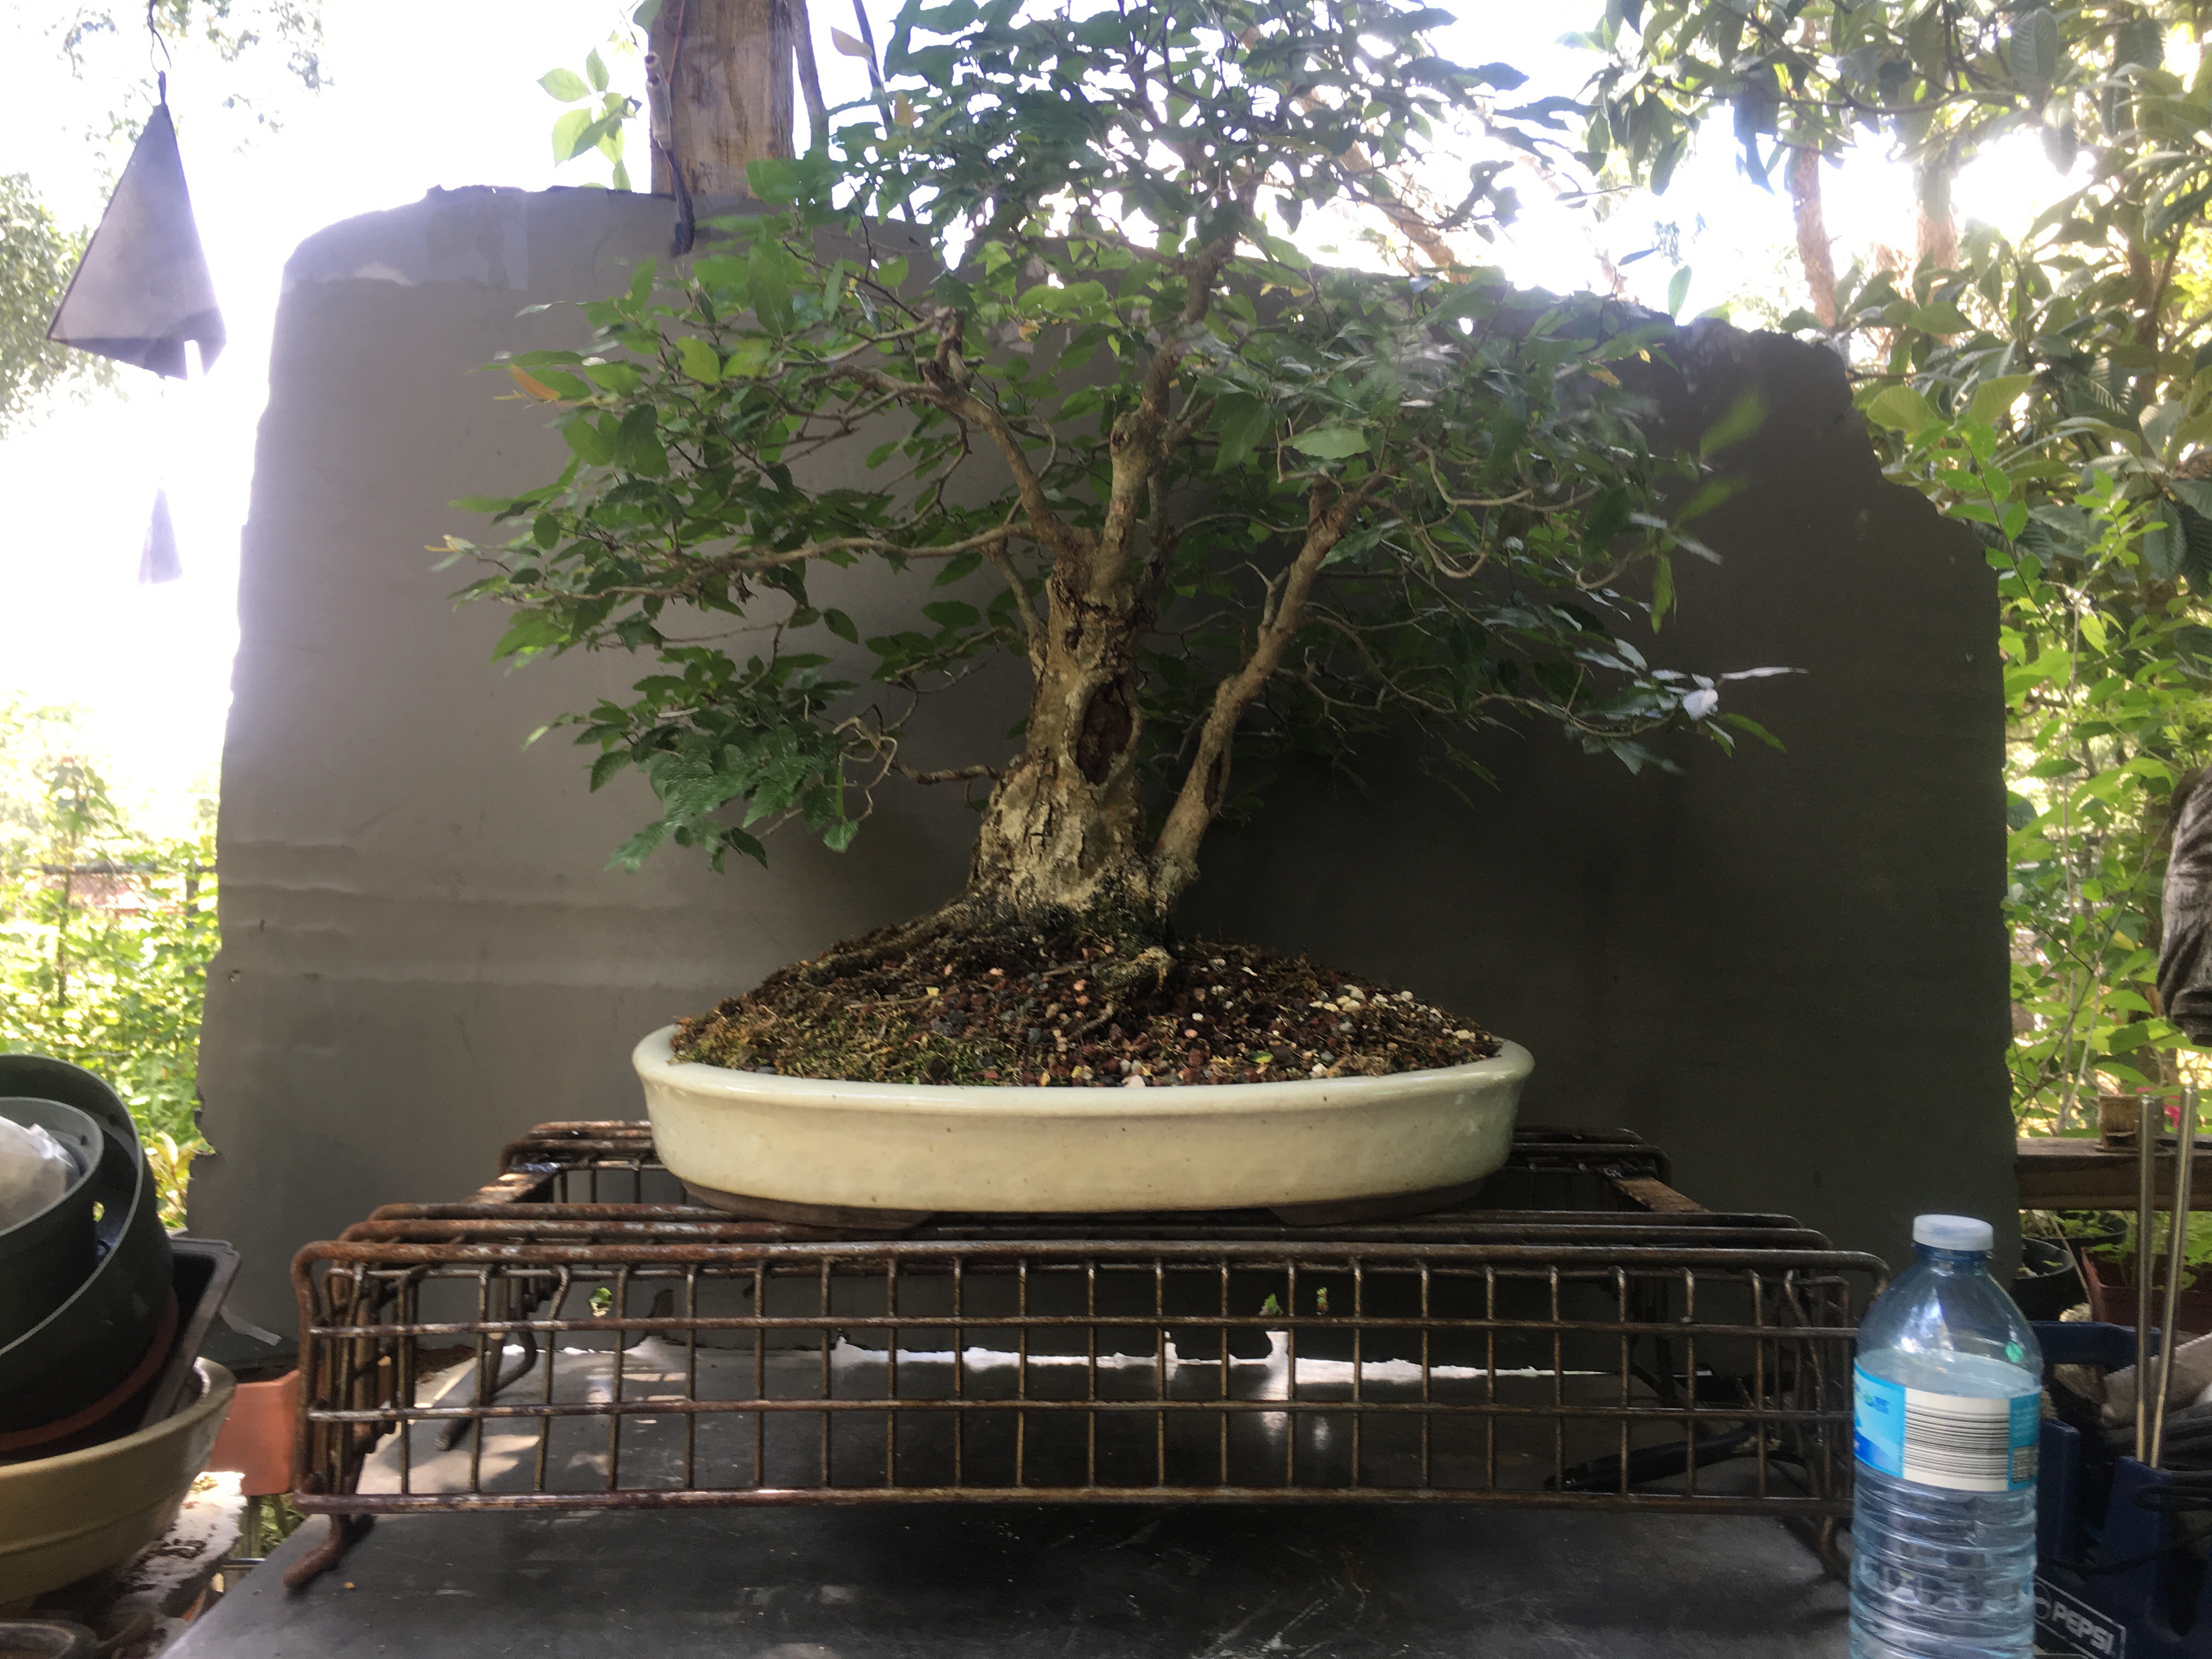 But I still need that wood aspect. How about this?
 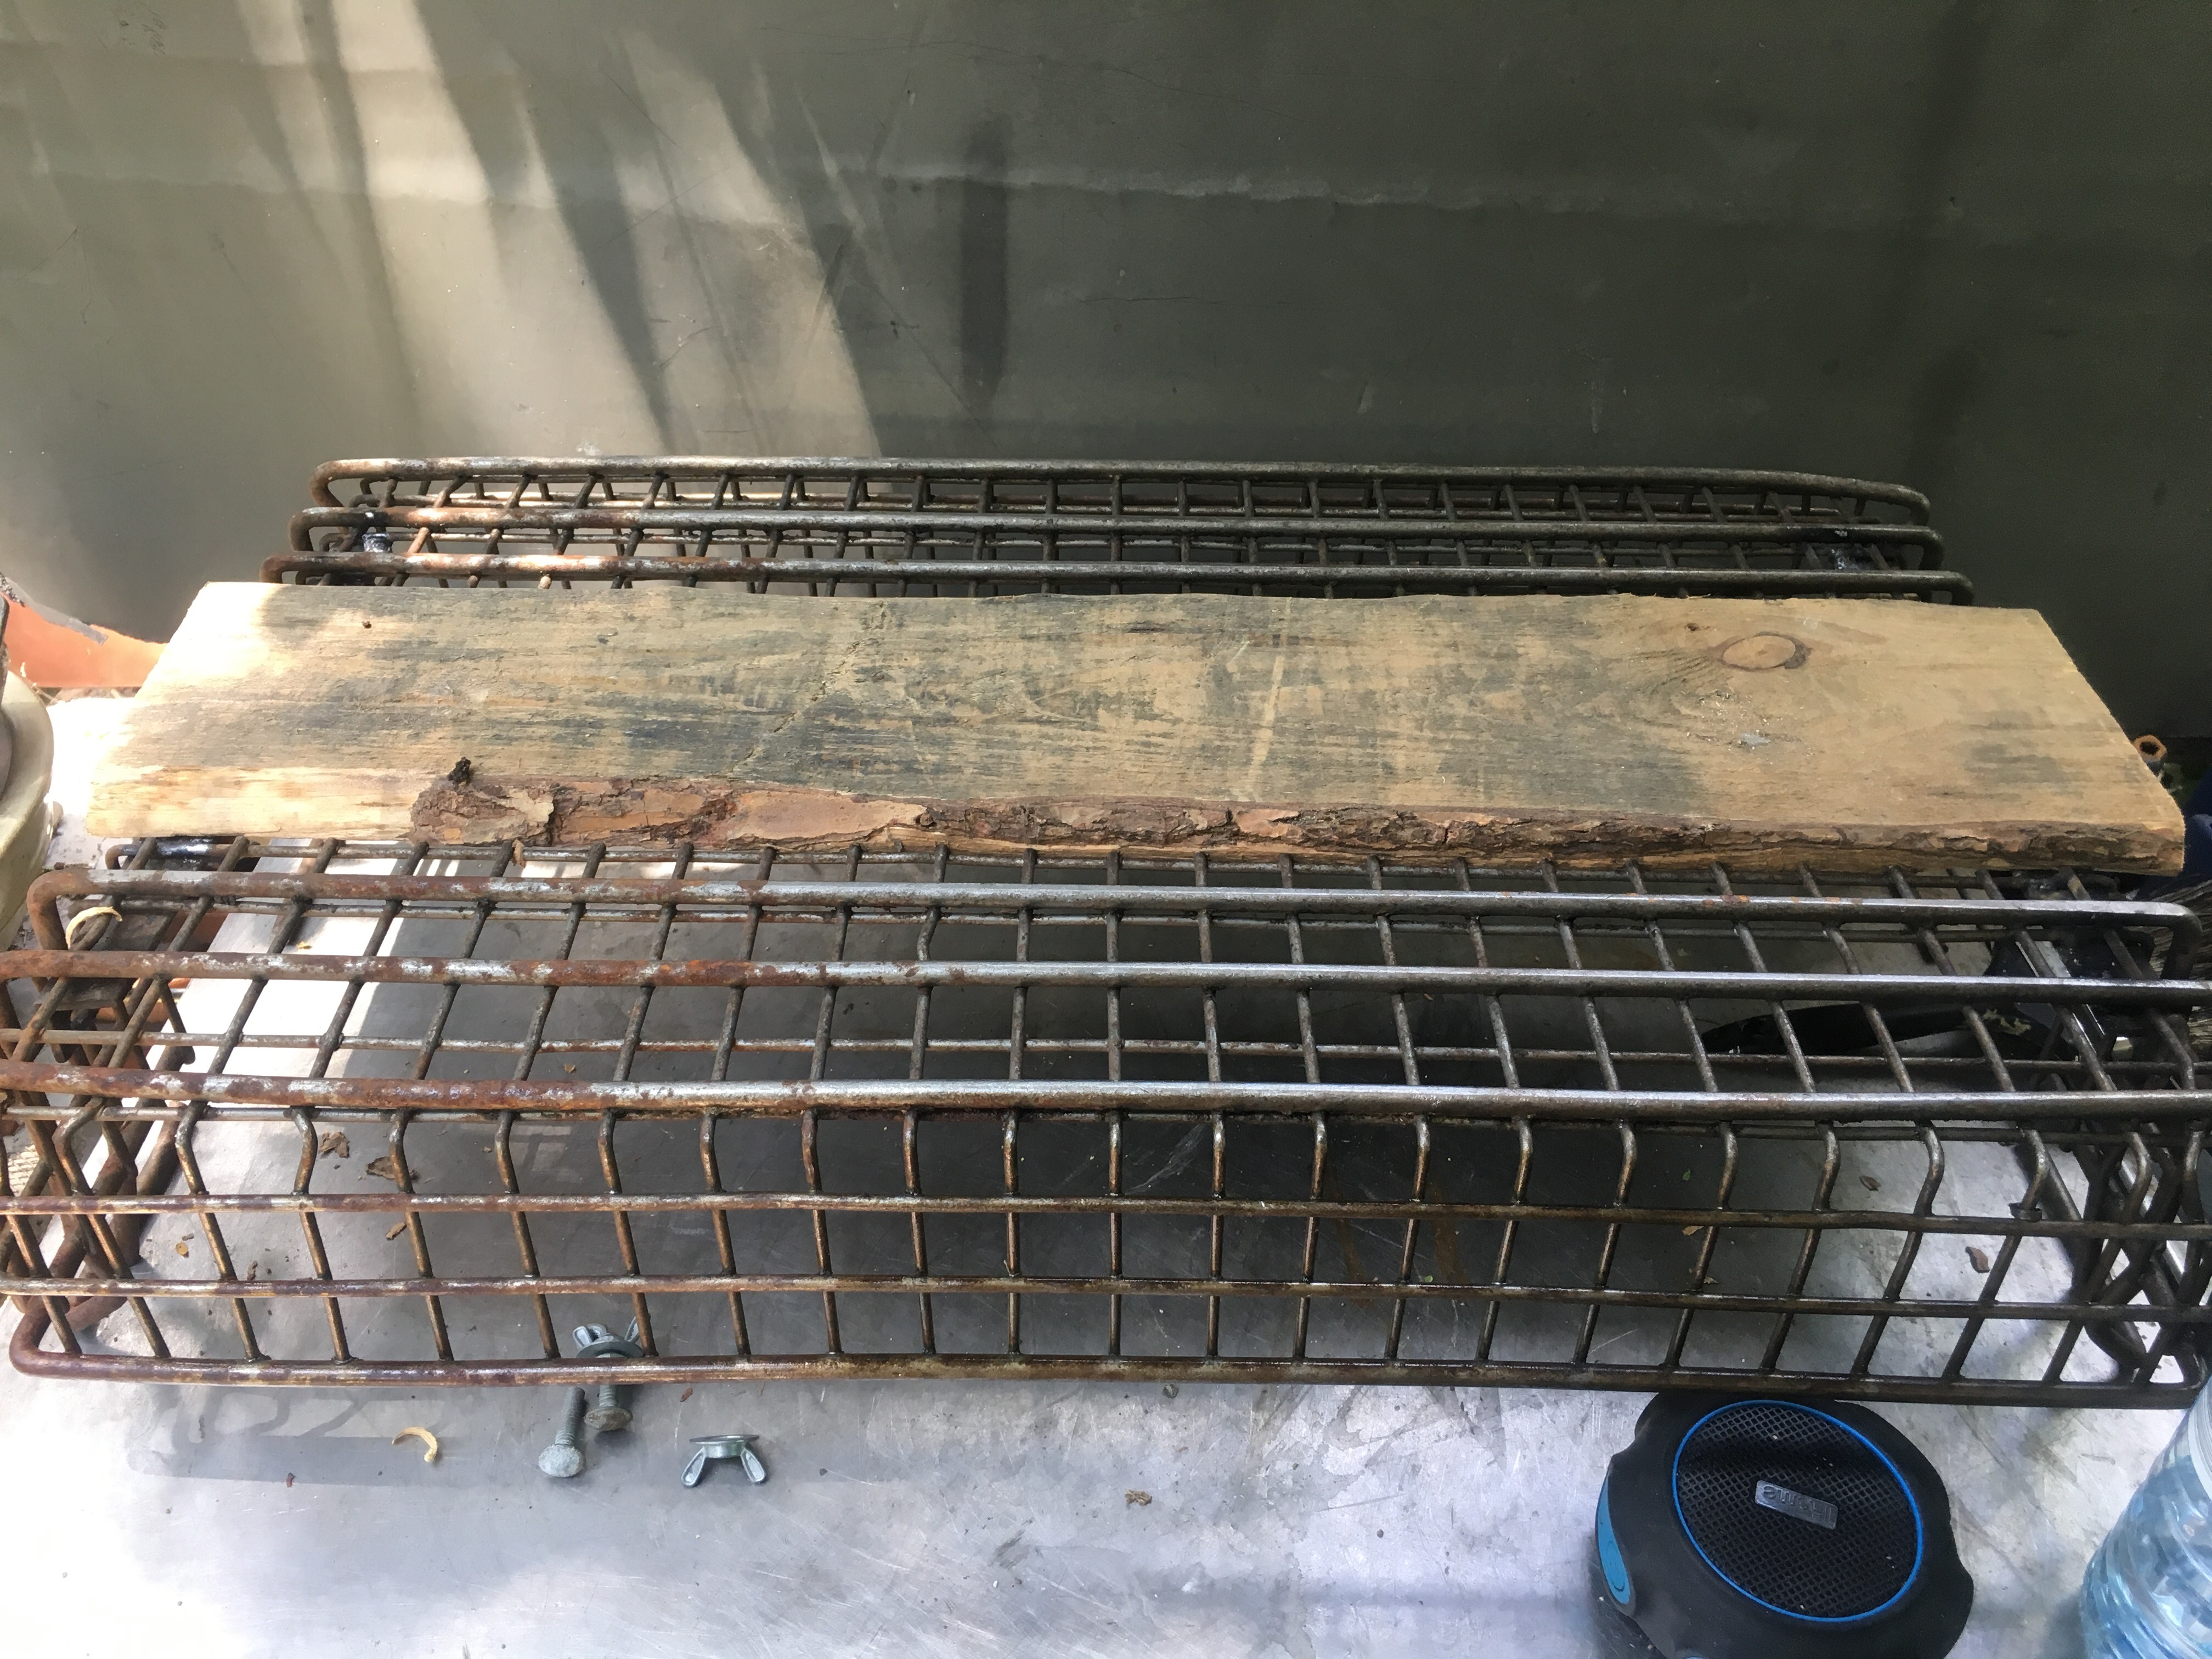 That’s perfect. So much for all that clever joinery with glue and the bonsai wire…..I’ll use it somewhere else, I’m sure. But the board is too thick, I’ll need to plane it down about a quarter inch.
 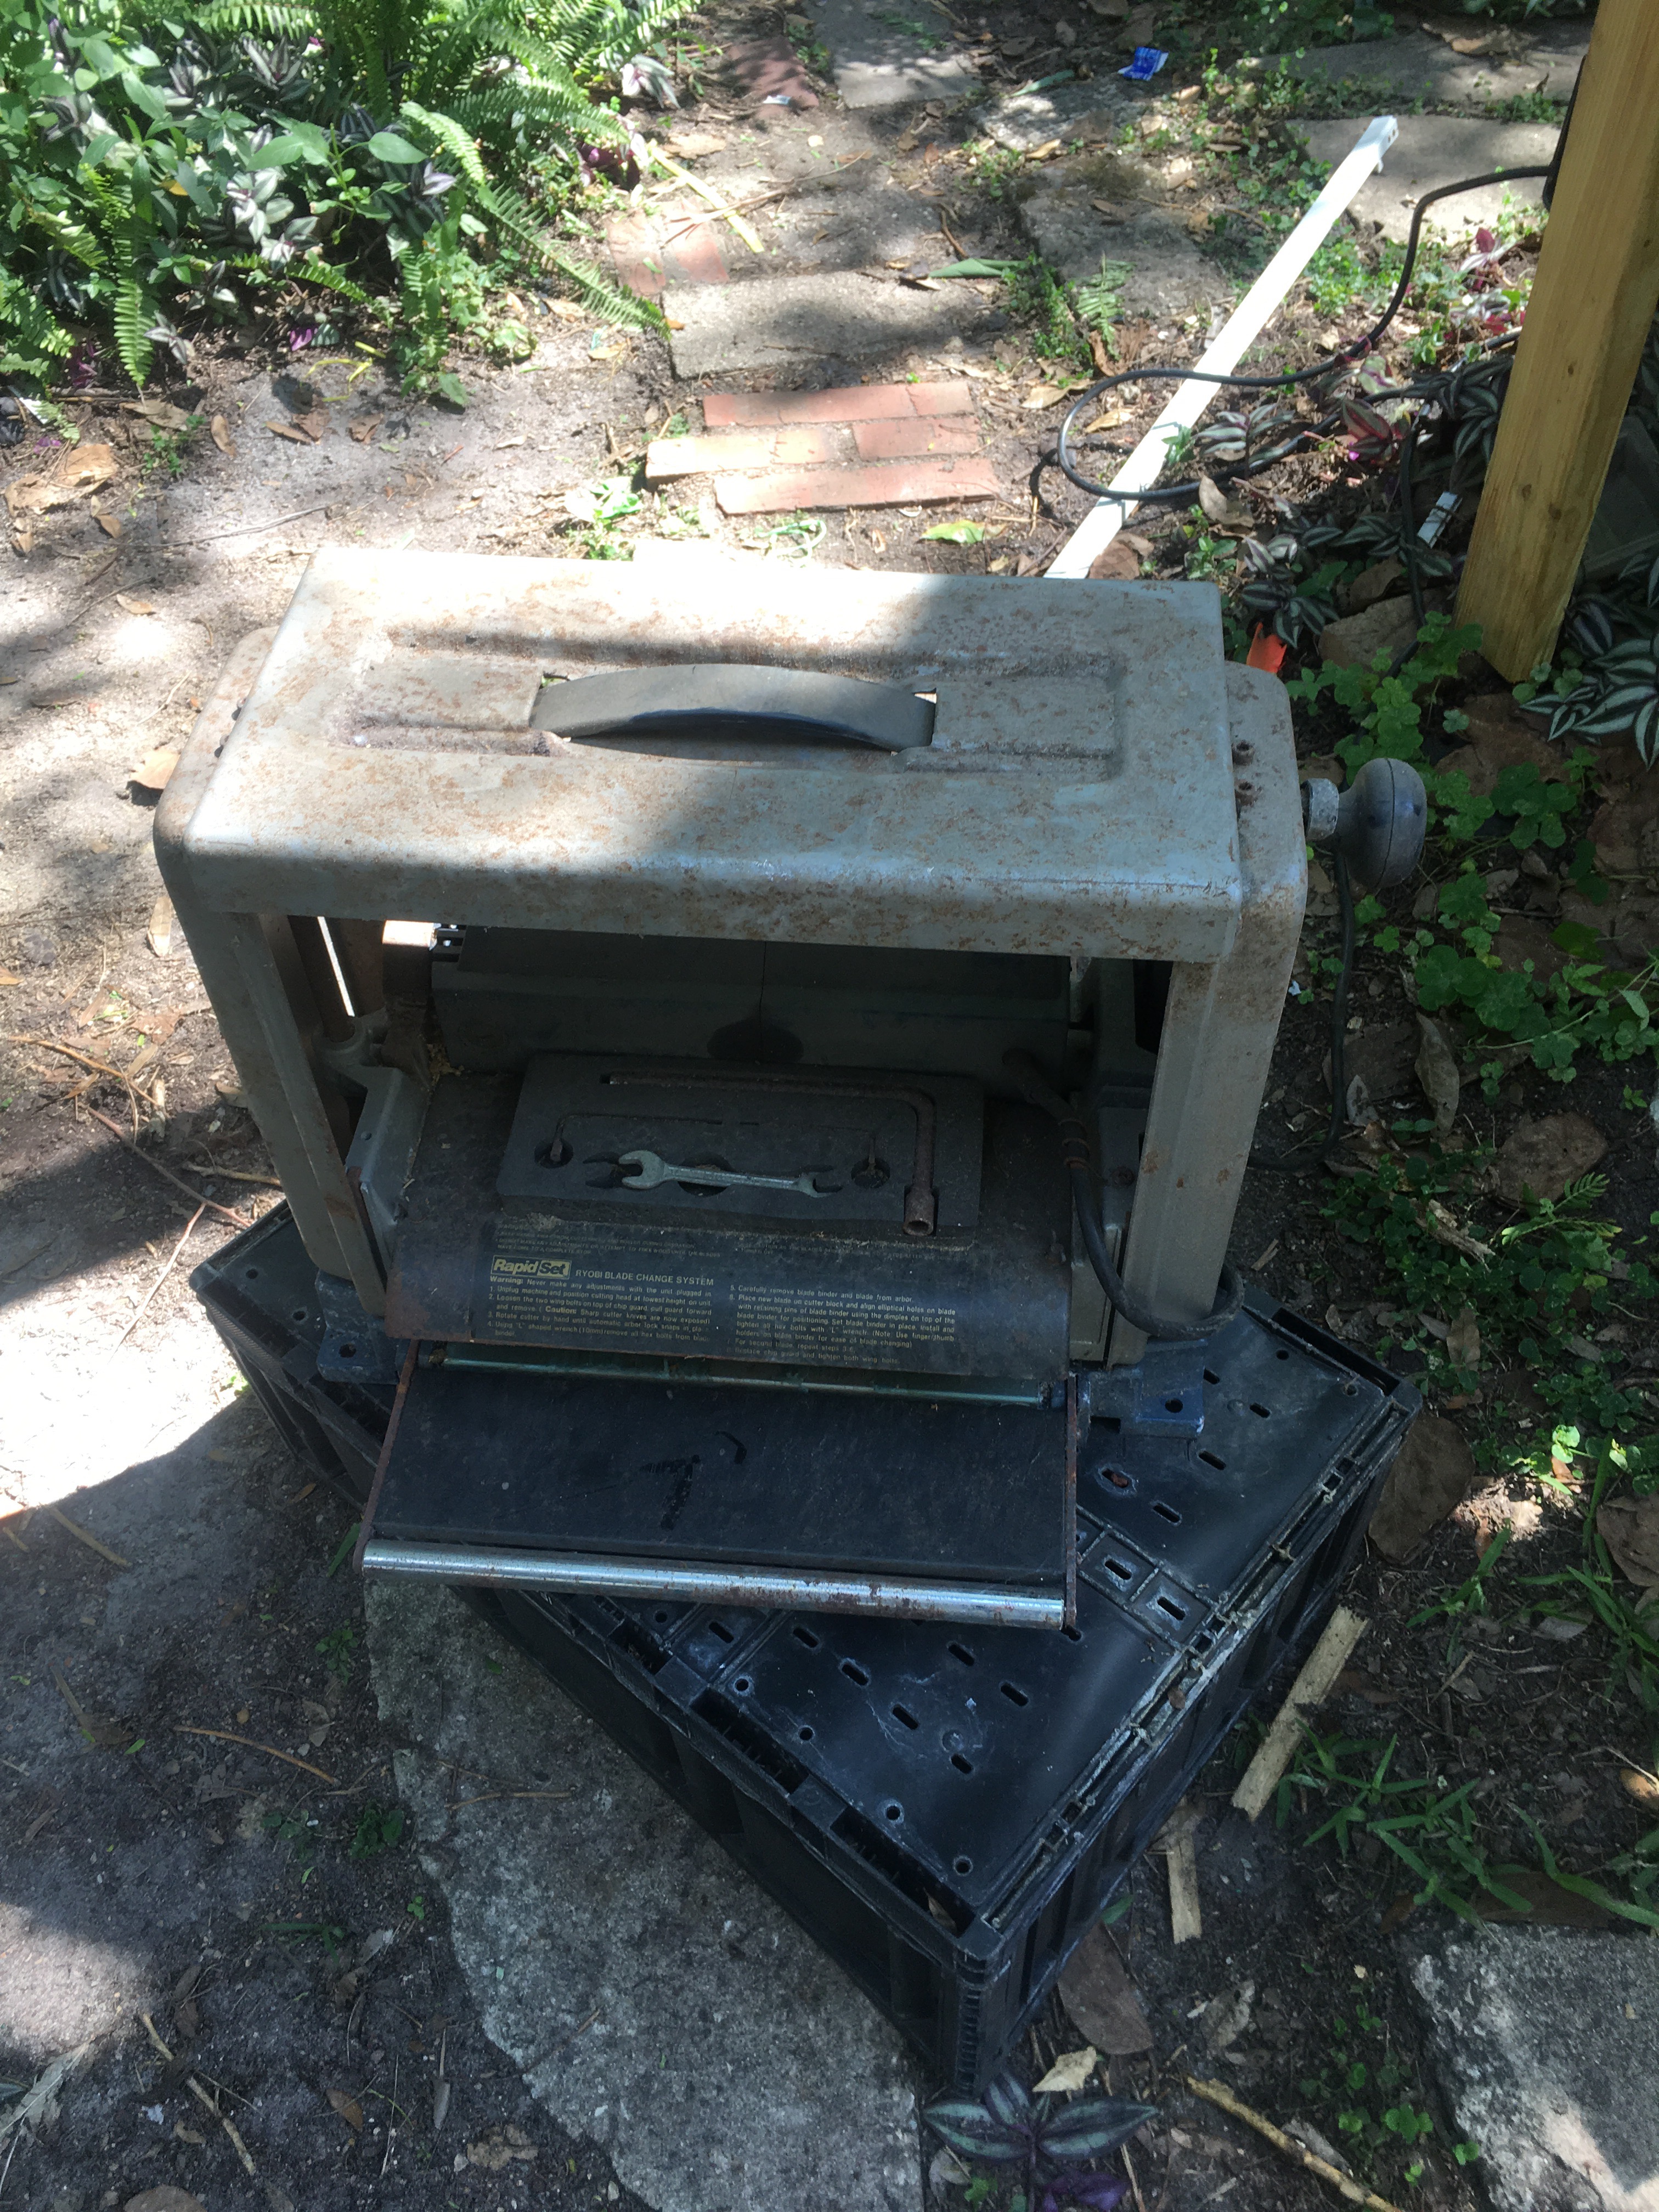 This, my friends, is the tool to have if you use recycled wood.
There’s the noise! The smell! The machinery! 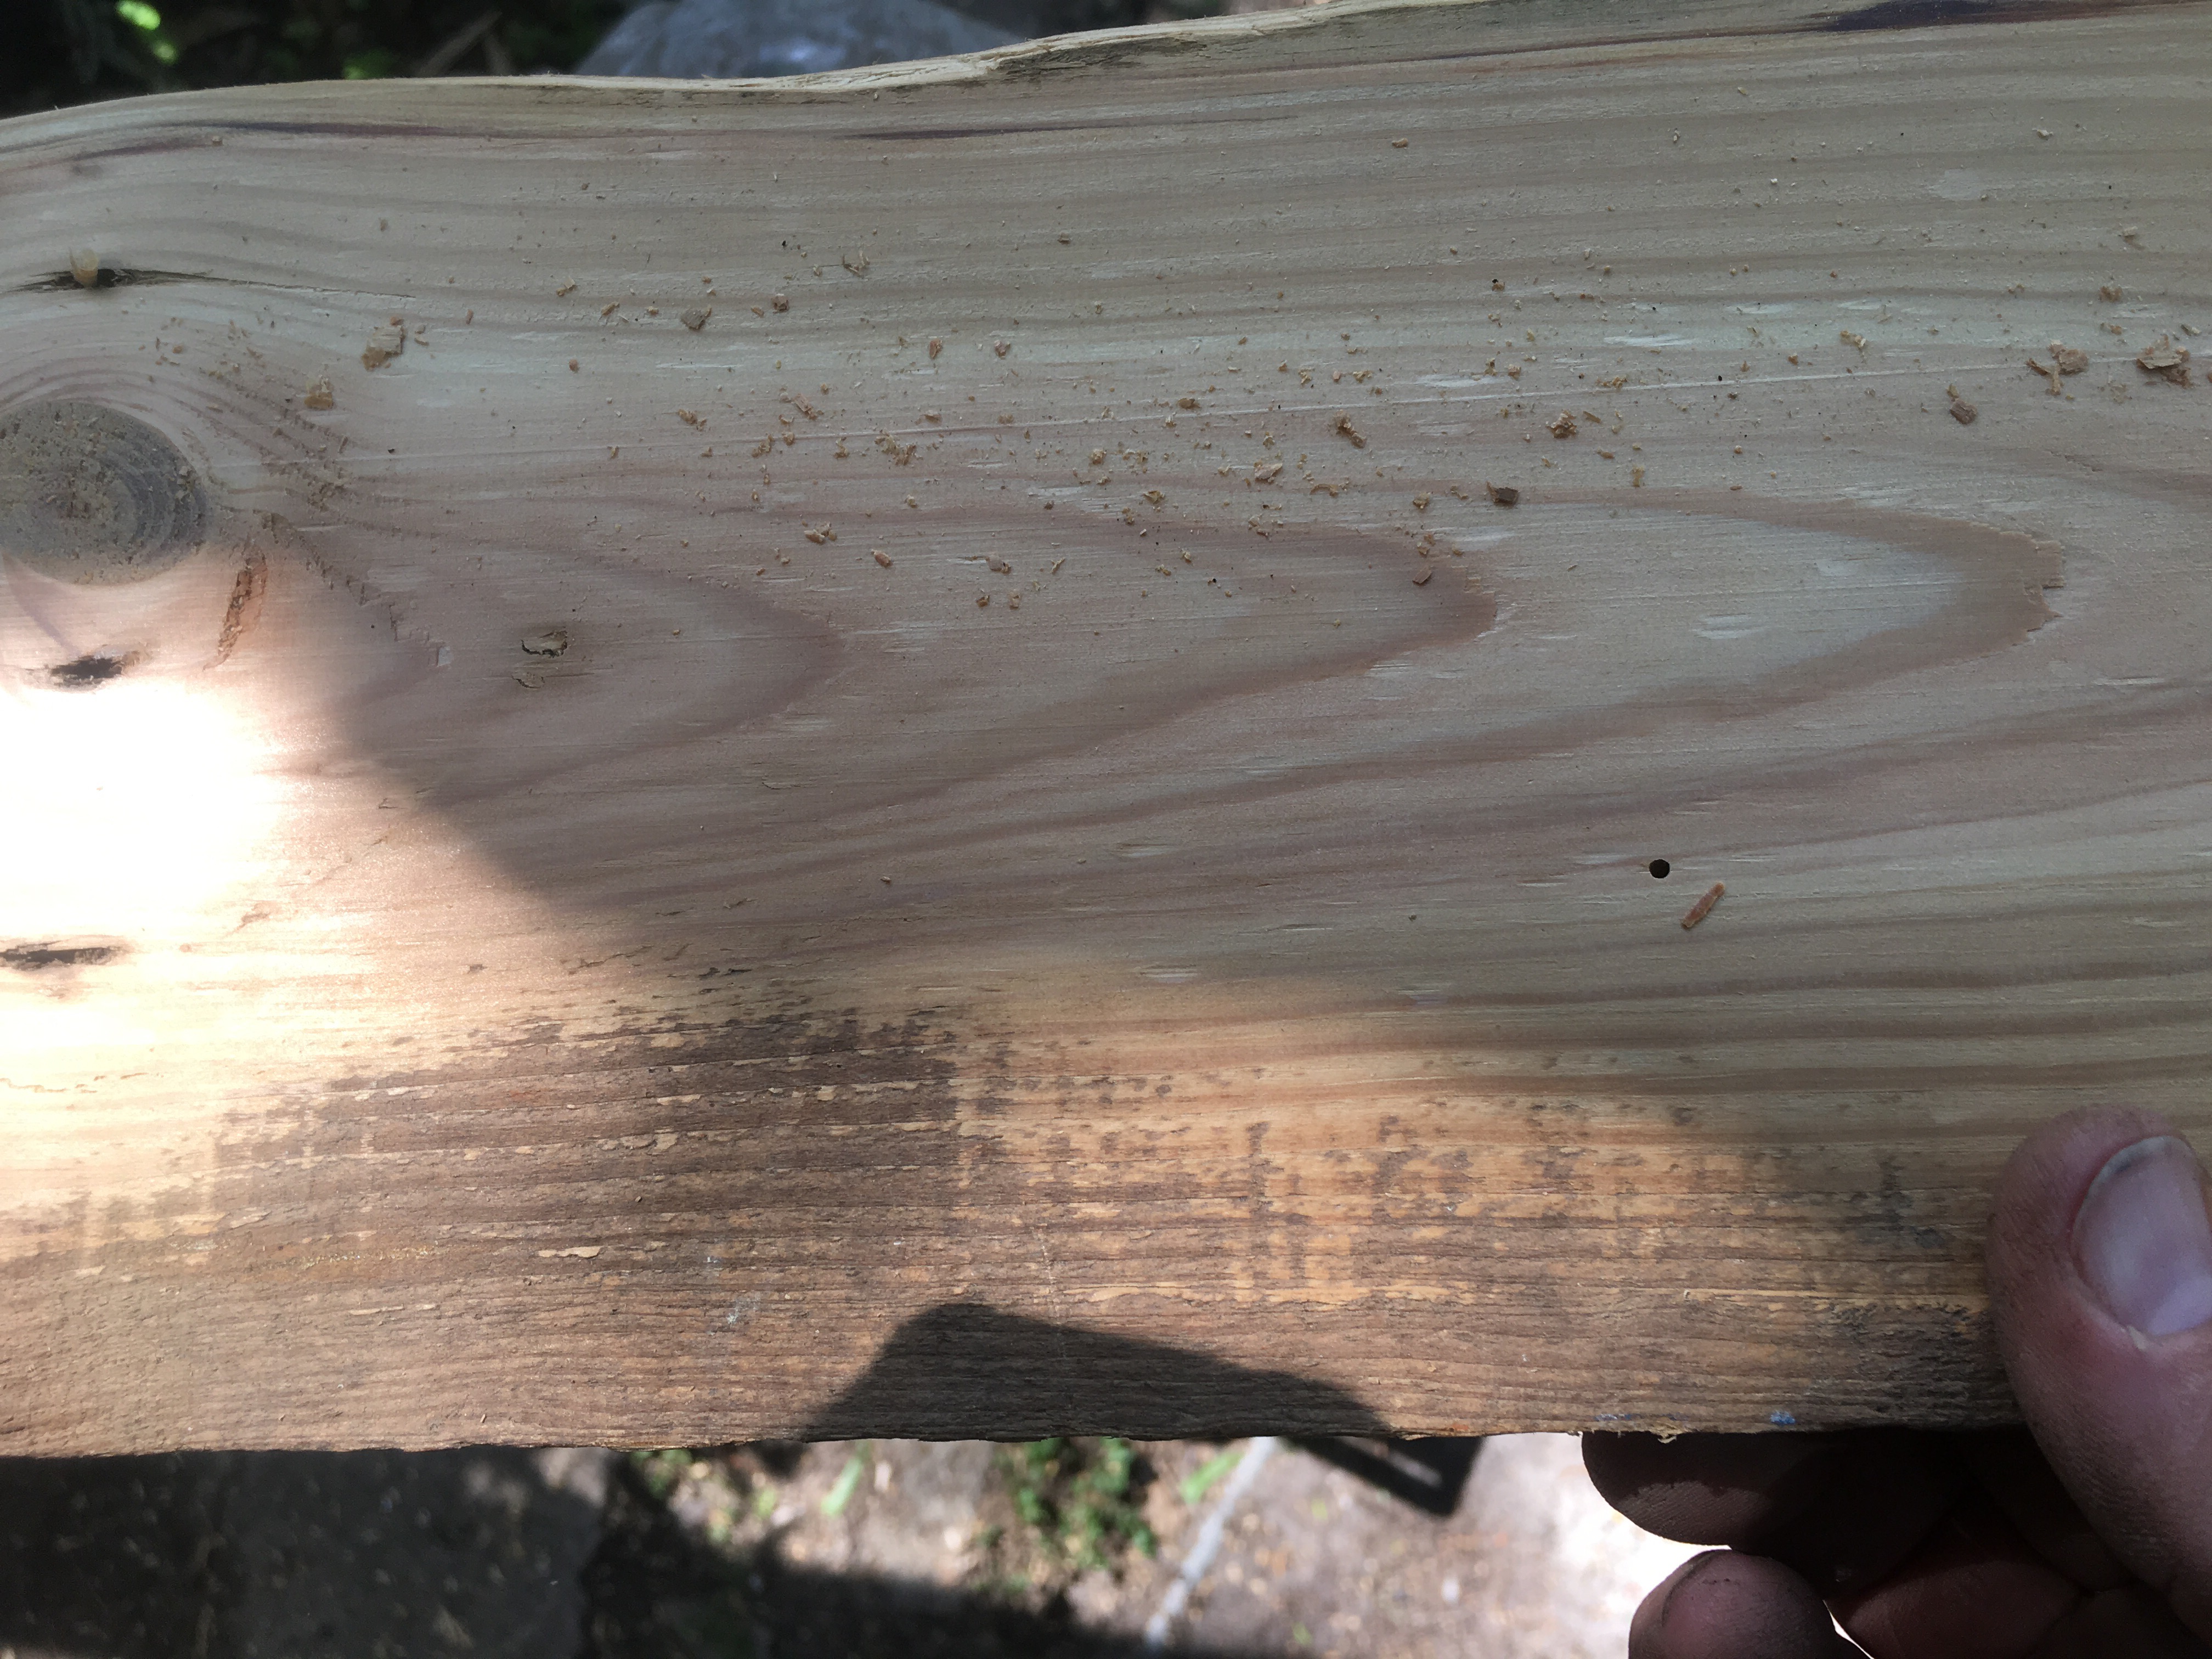 The shavings!
 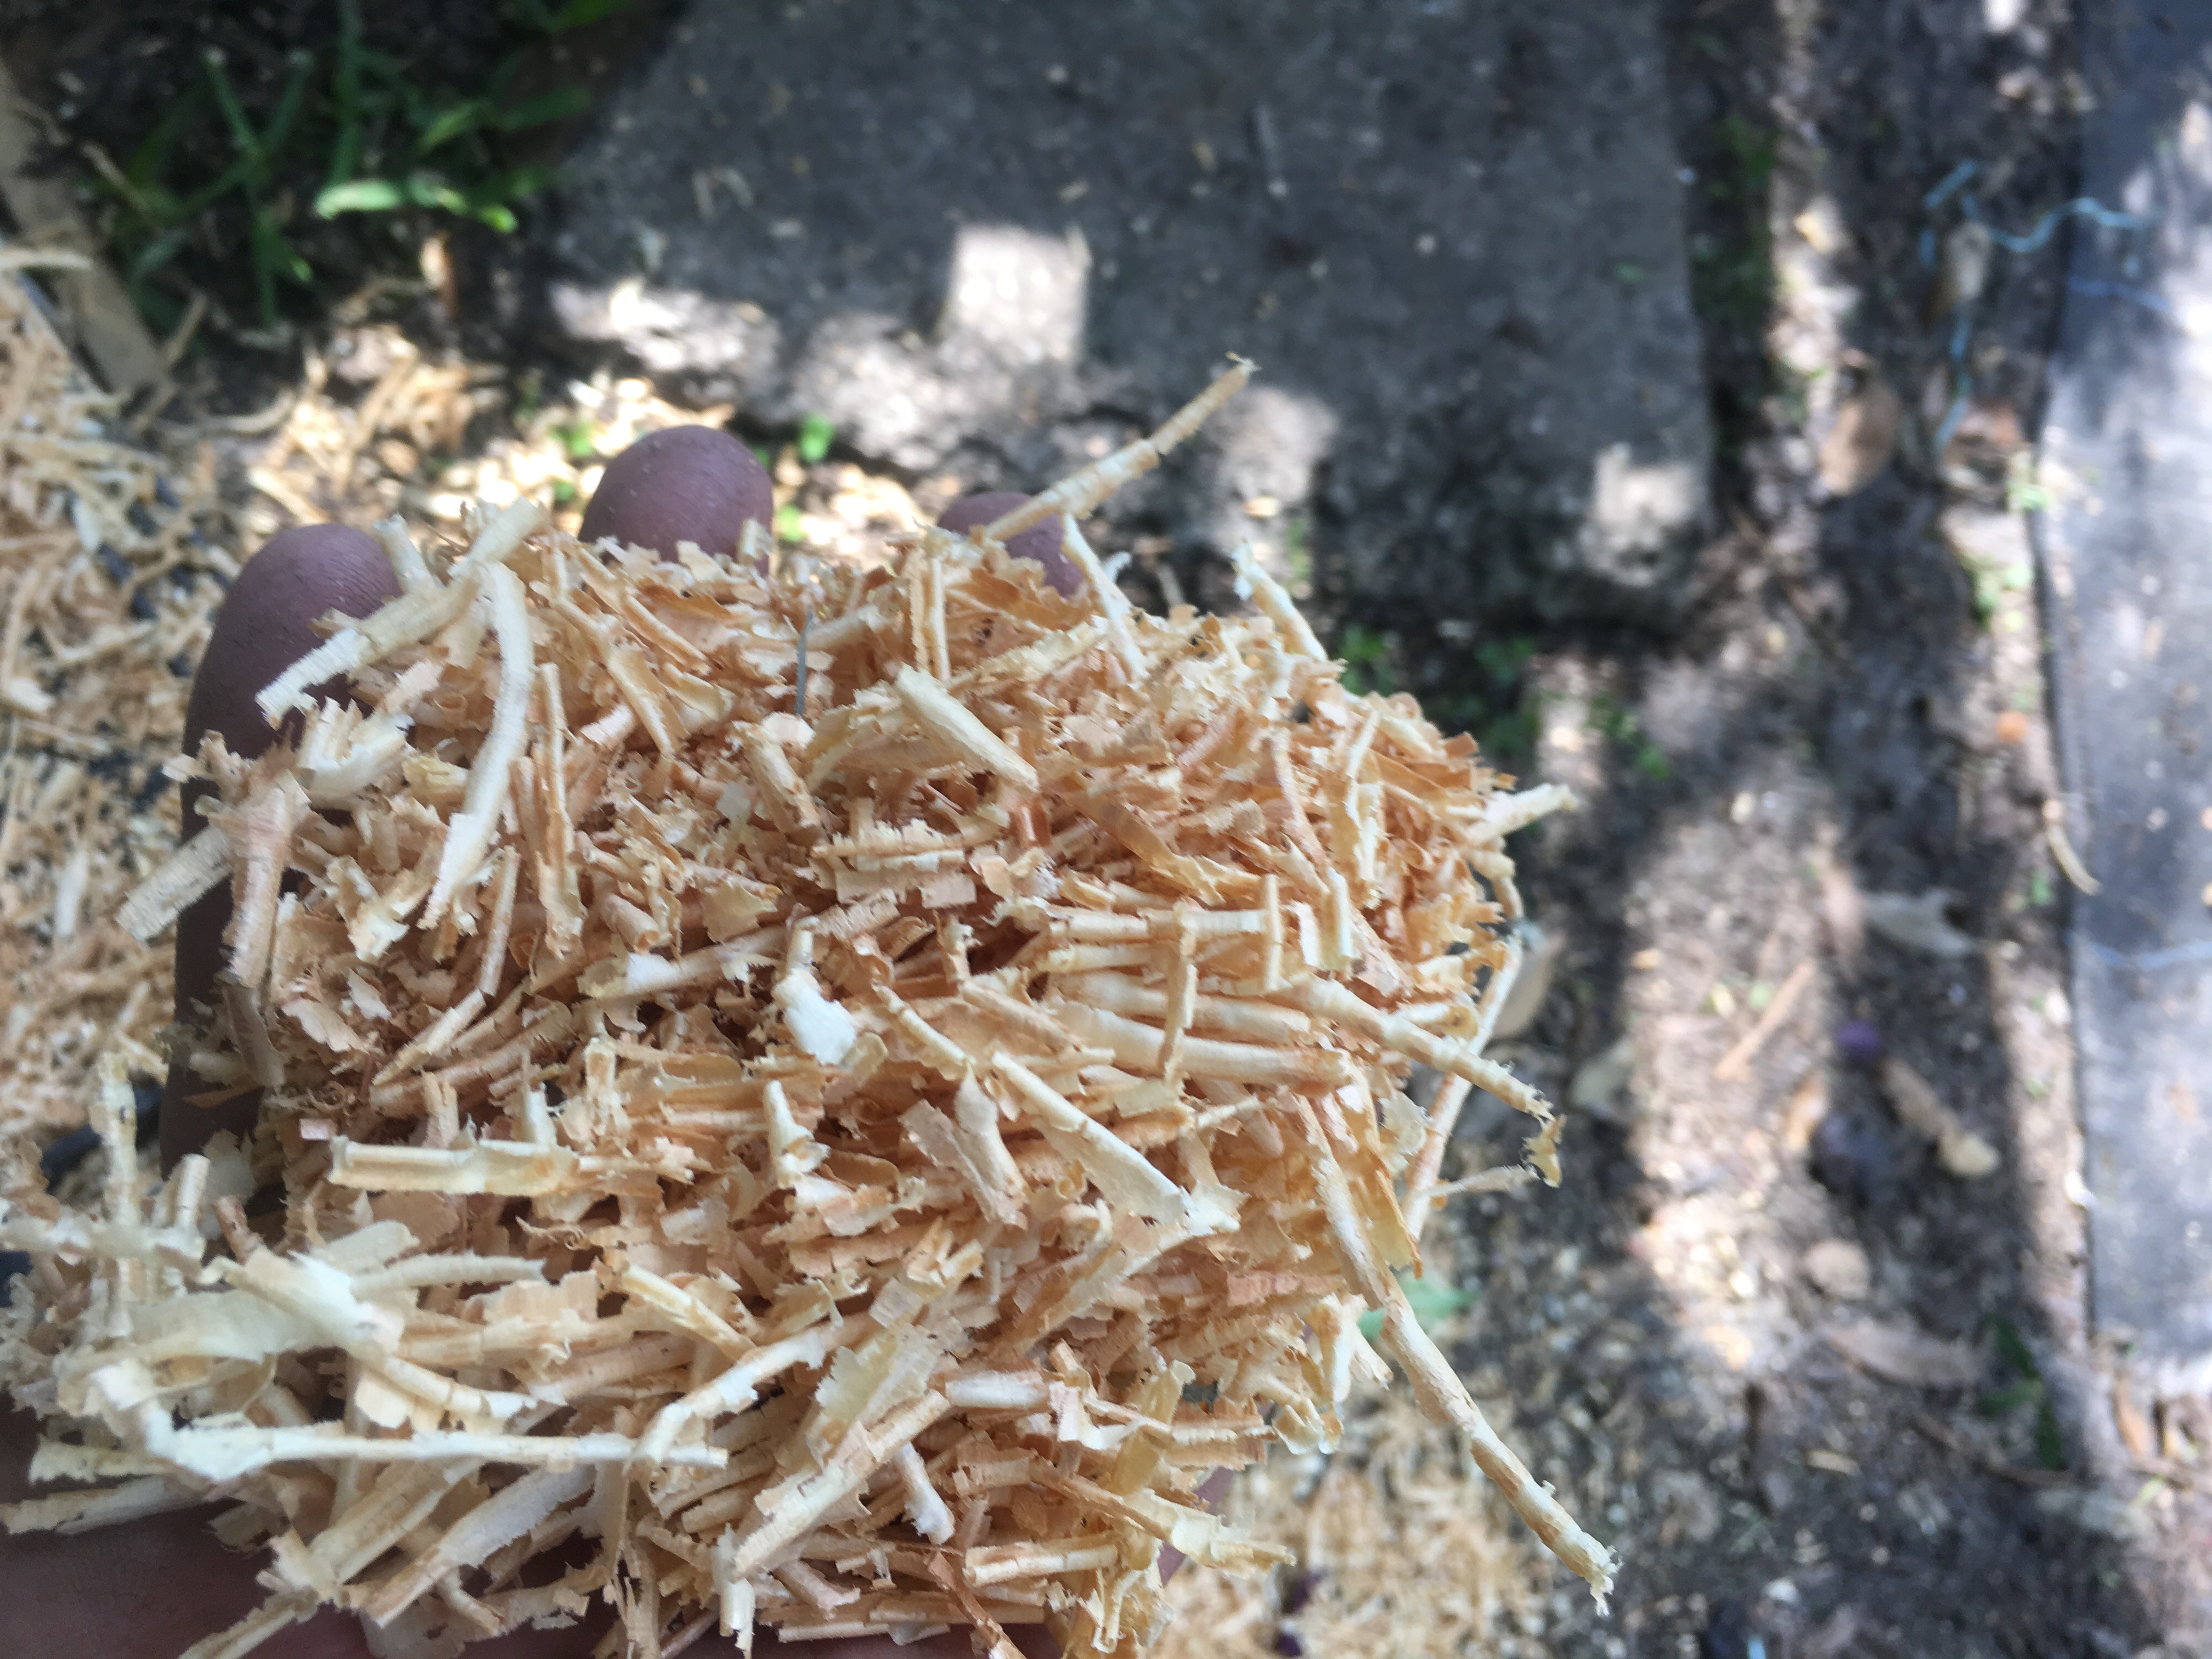 It either makes you feel manly or like you want a hamster, which is definitely not manly. I’m a little confused on how I’m feeling right now.
There we go, it’s level now. 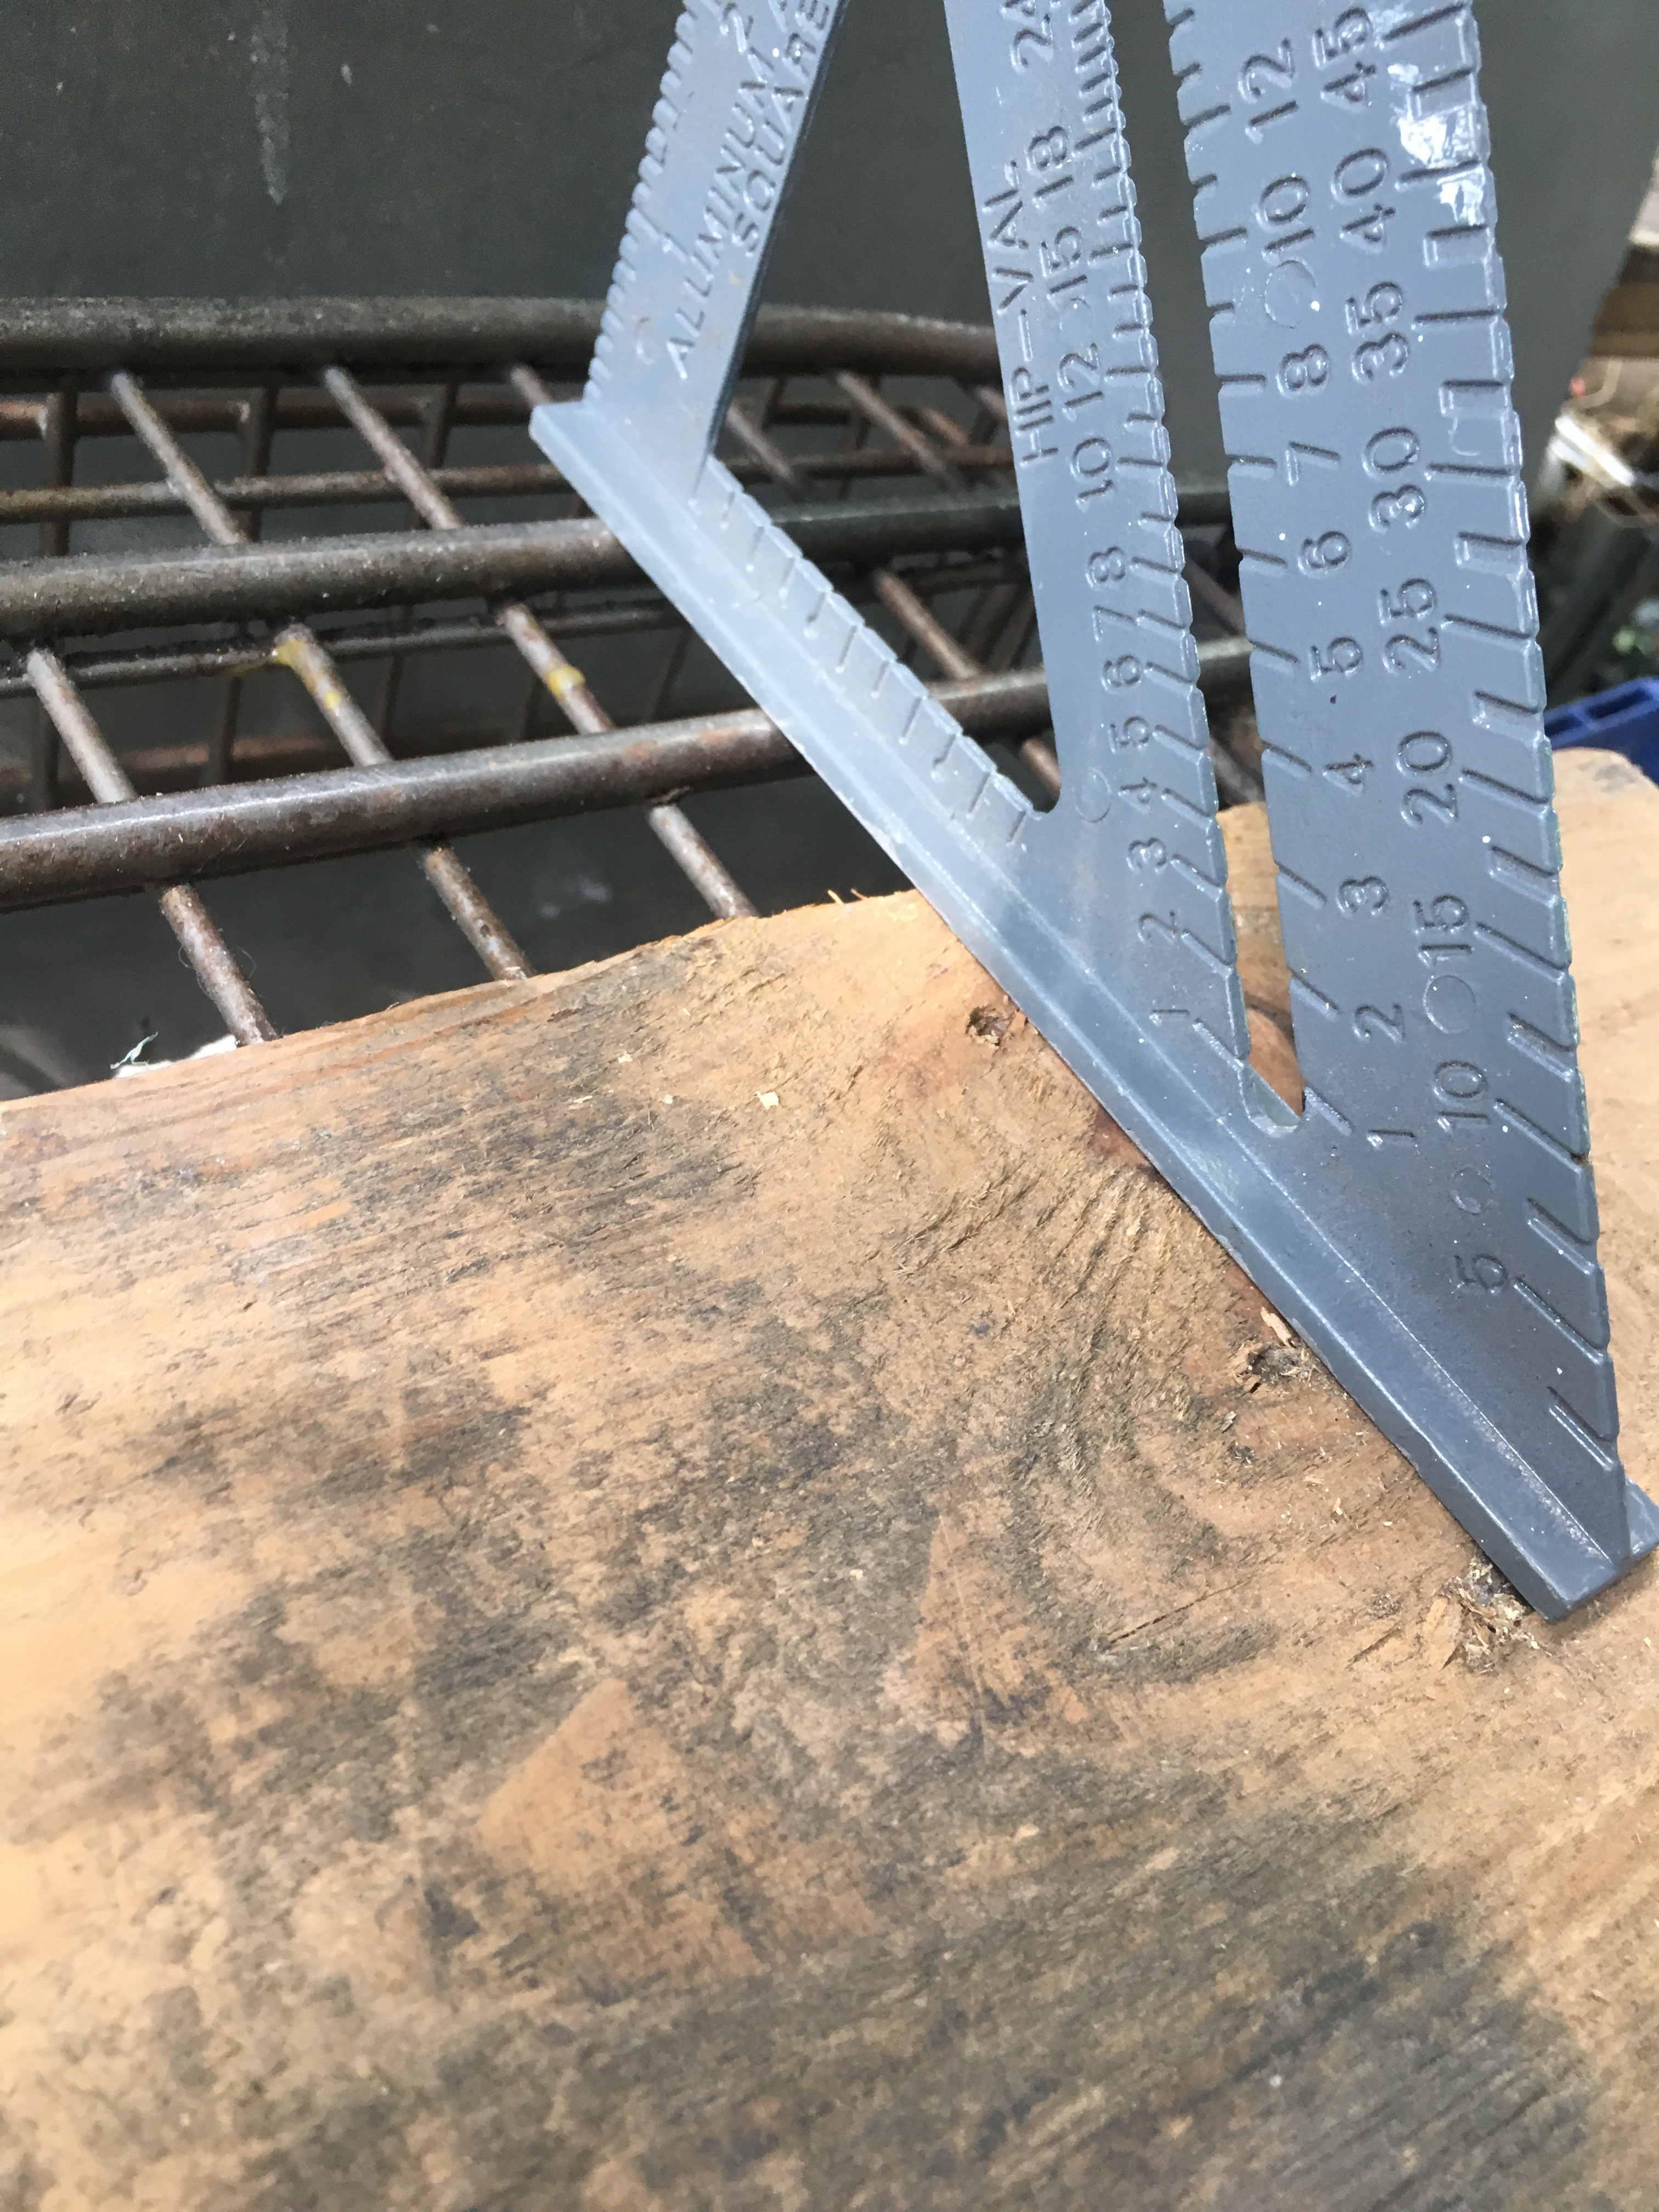
Back to some more experiments with the finish.
Wax!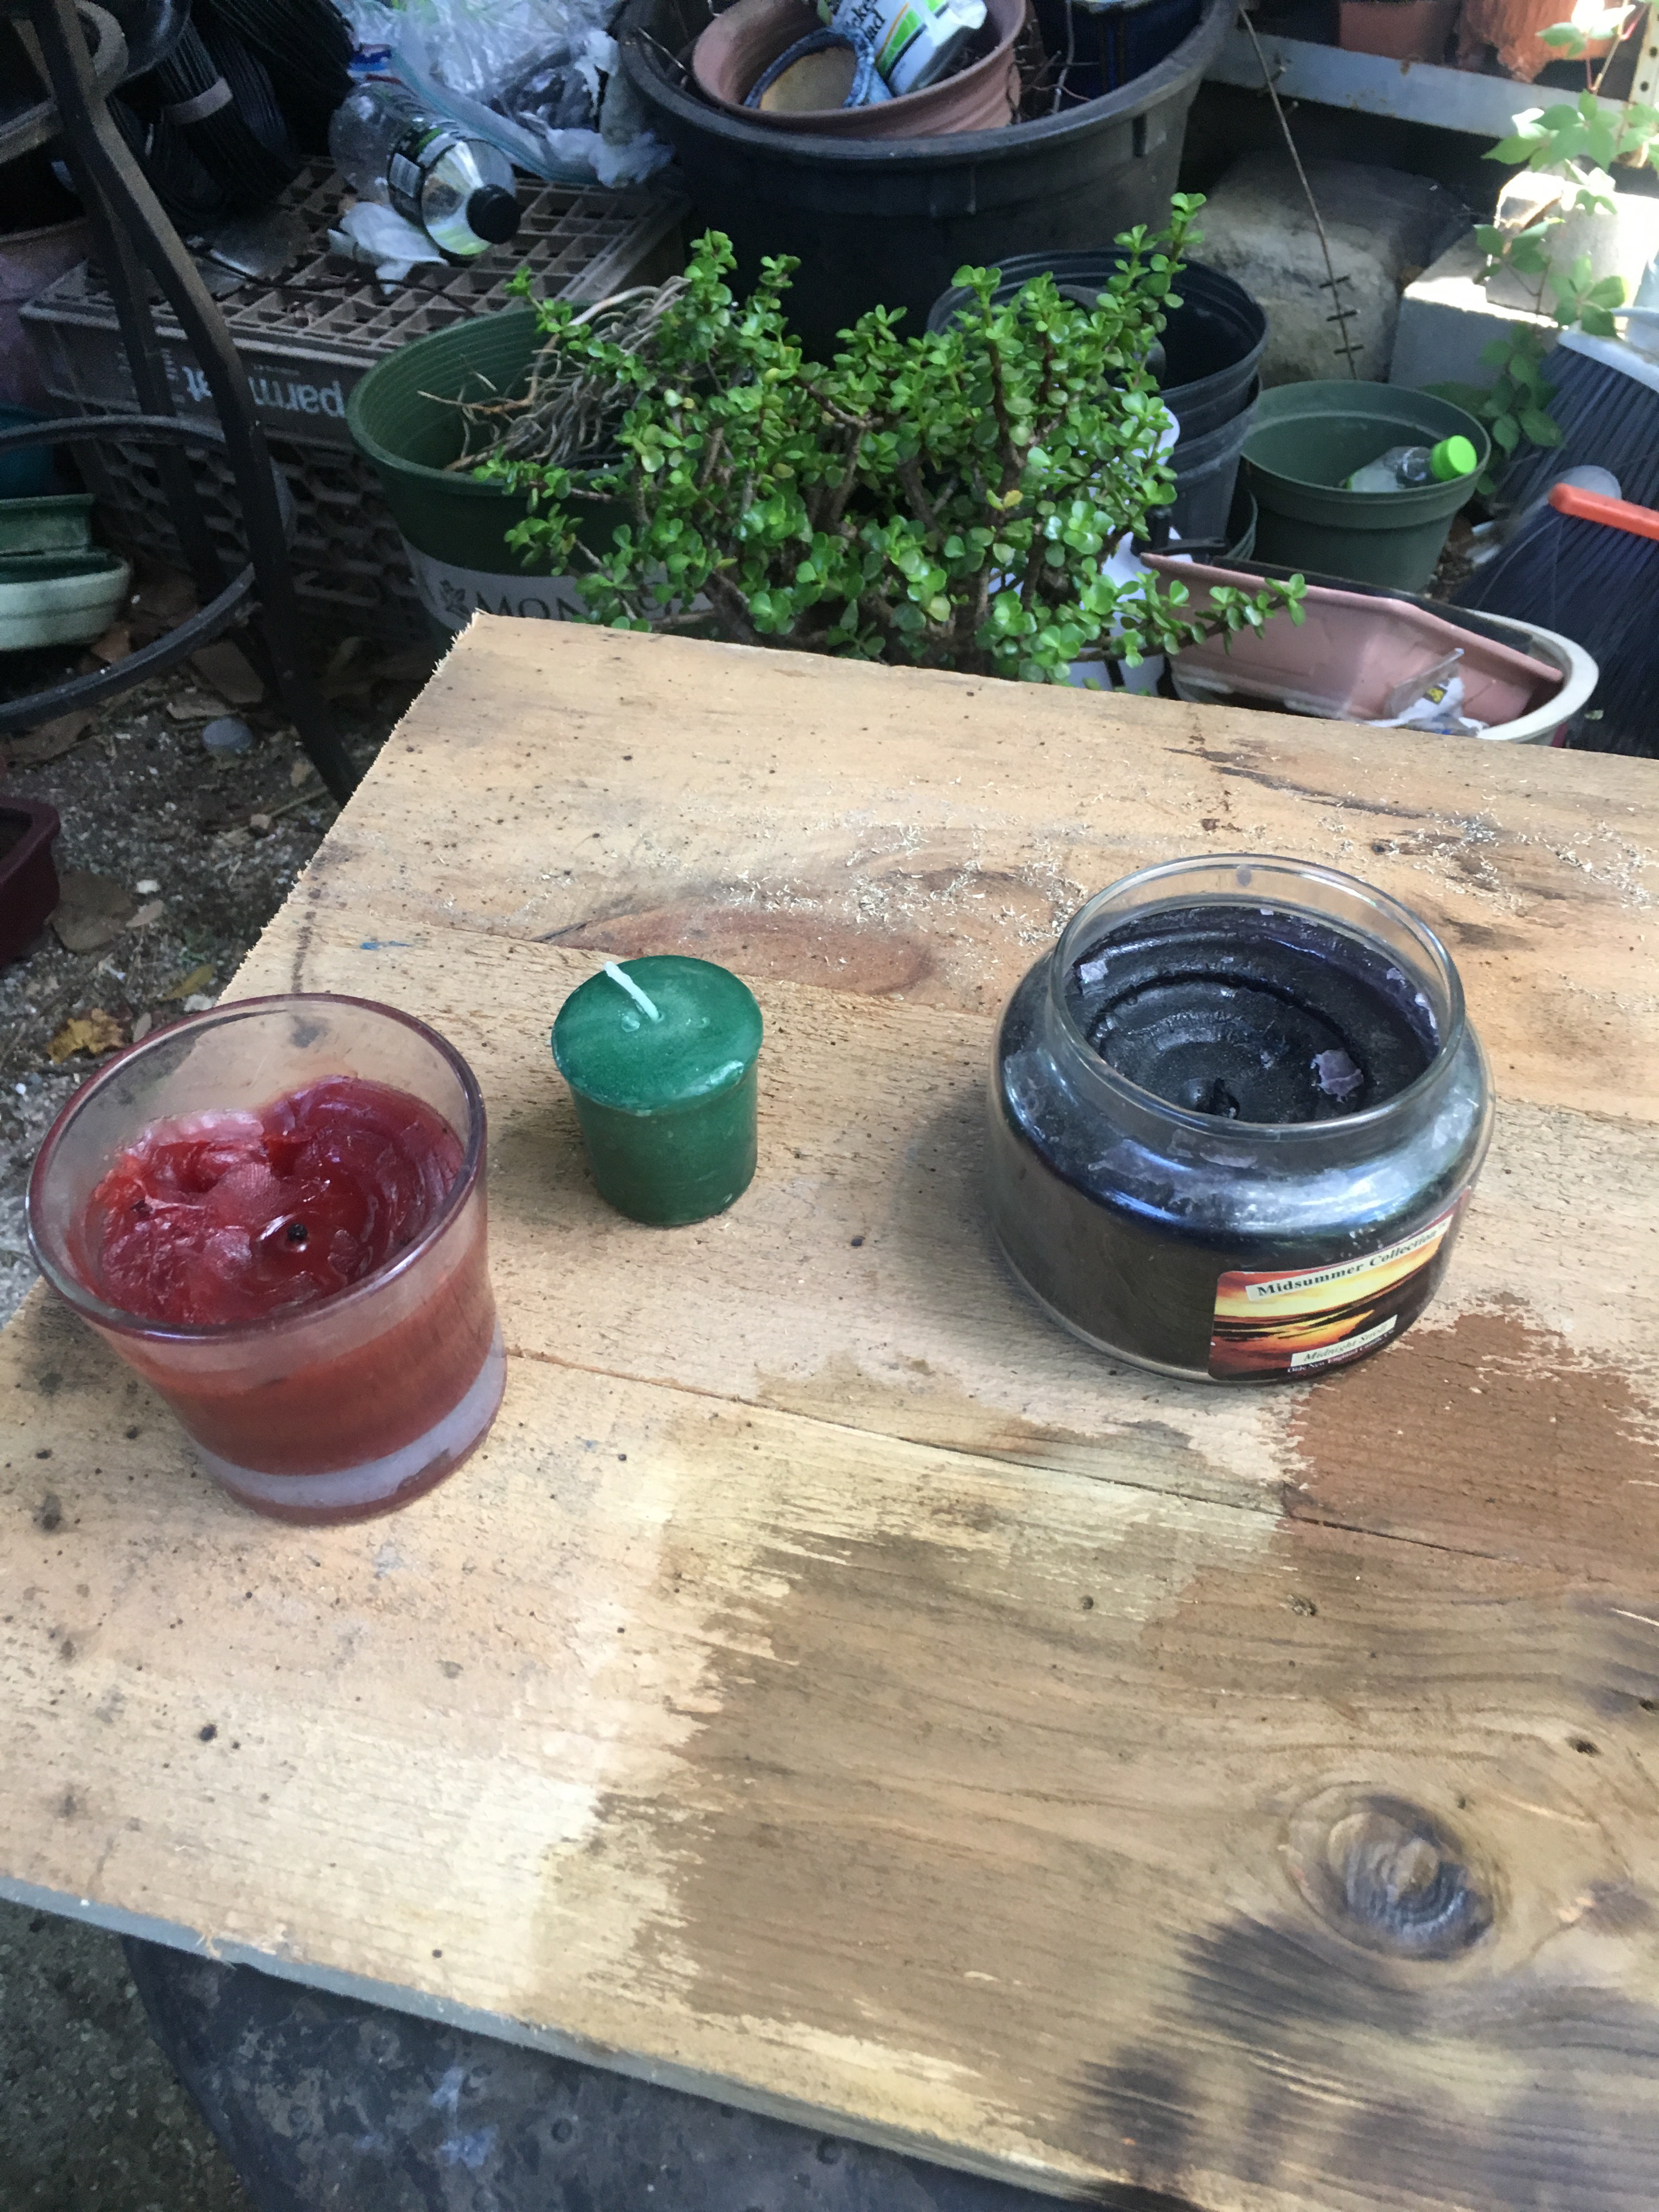 ……hmmmmnnn…..
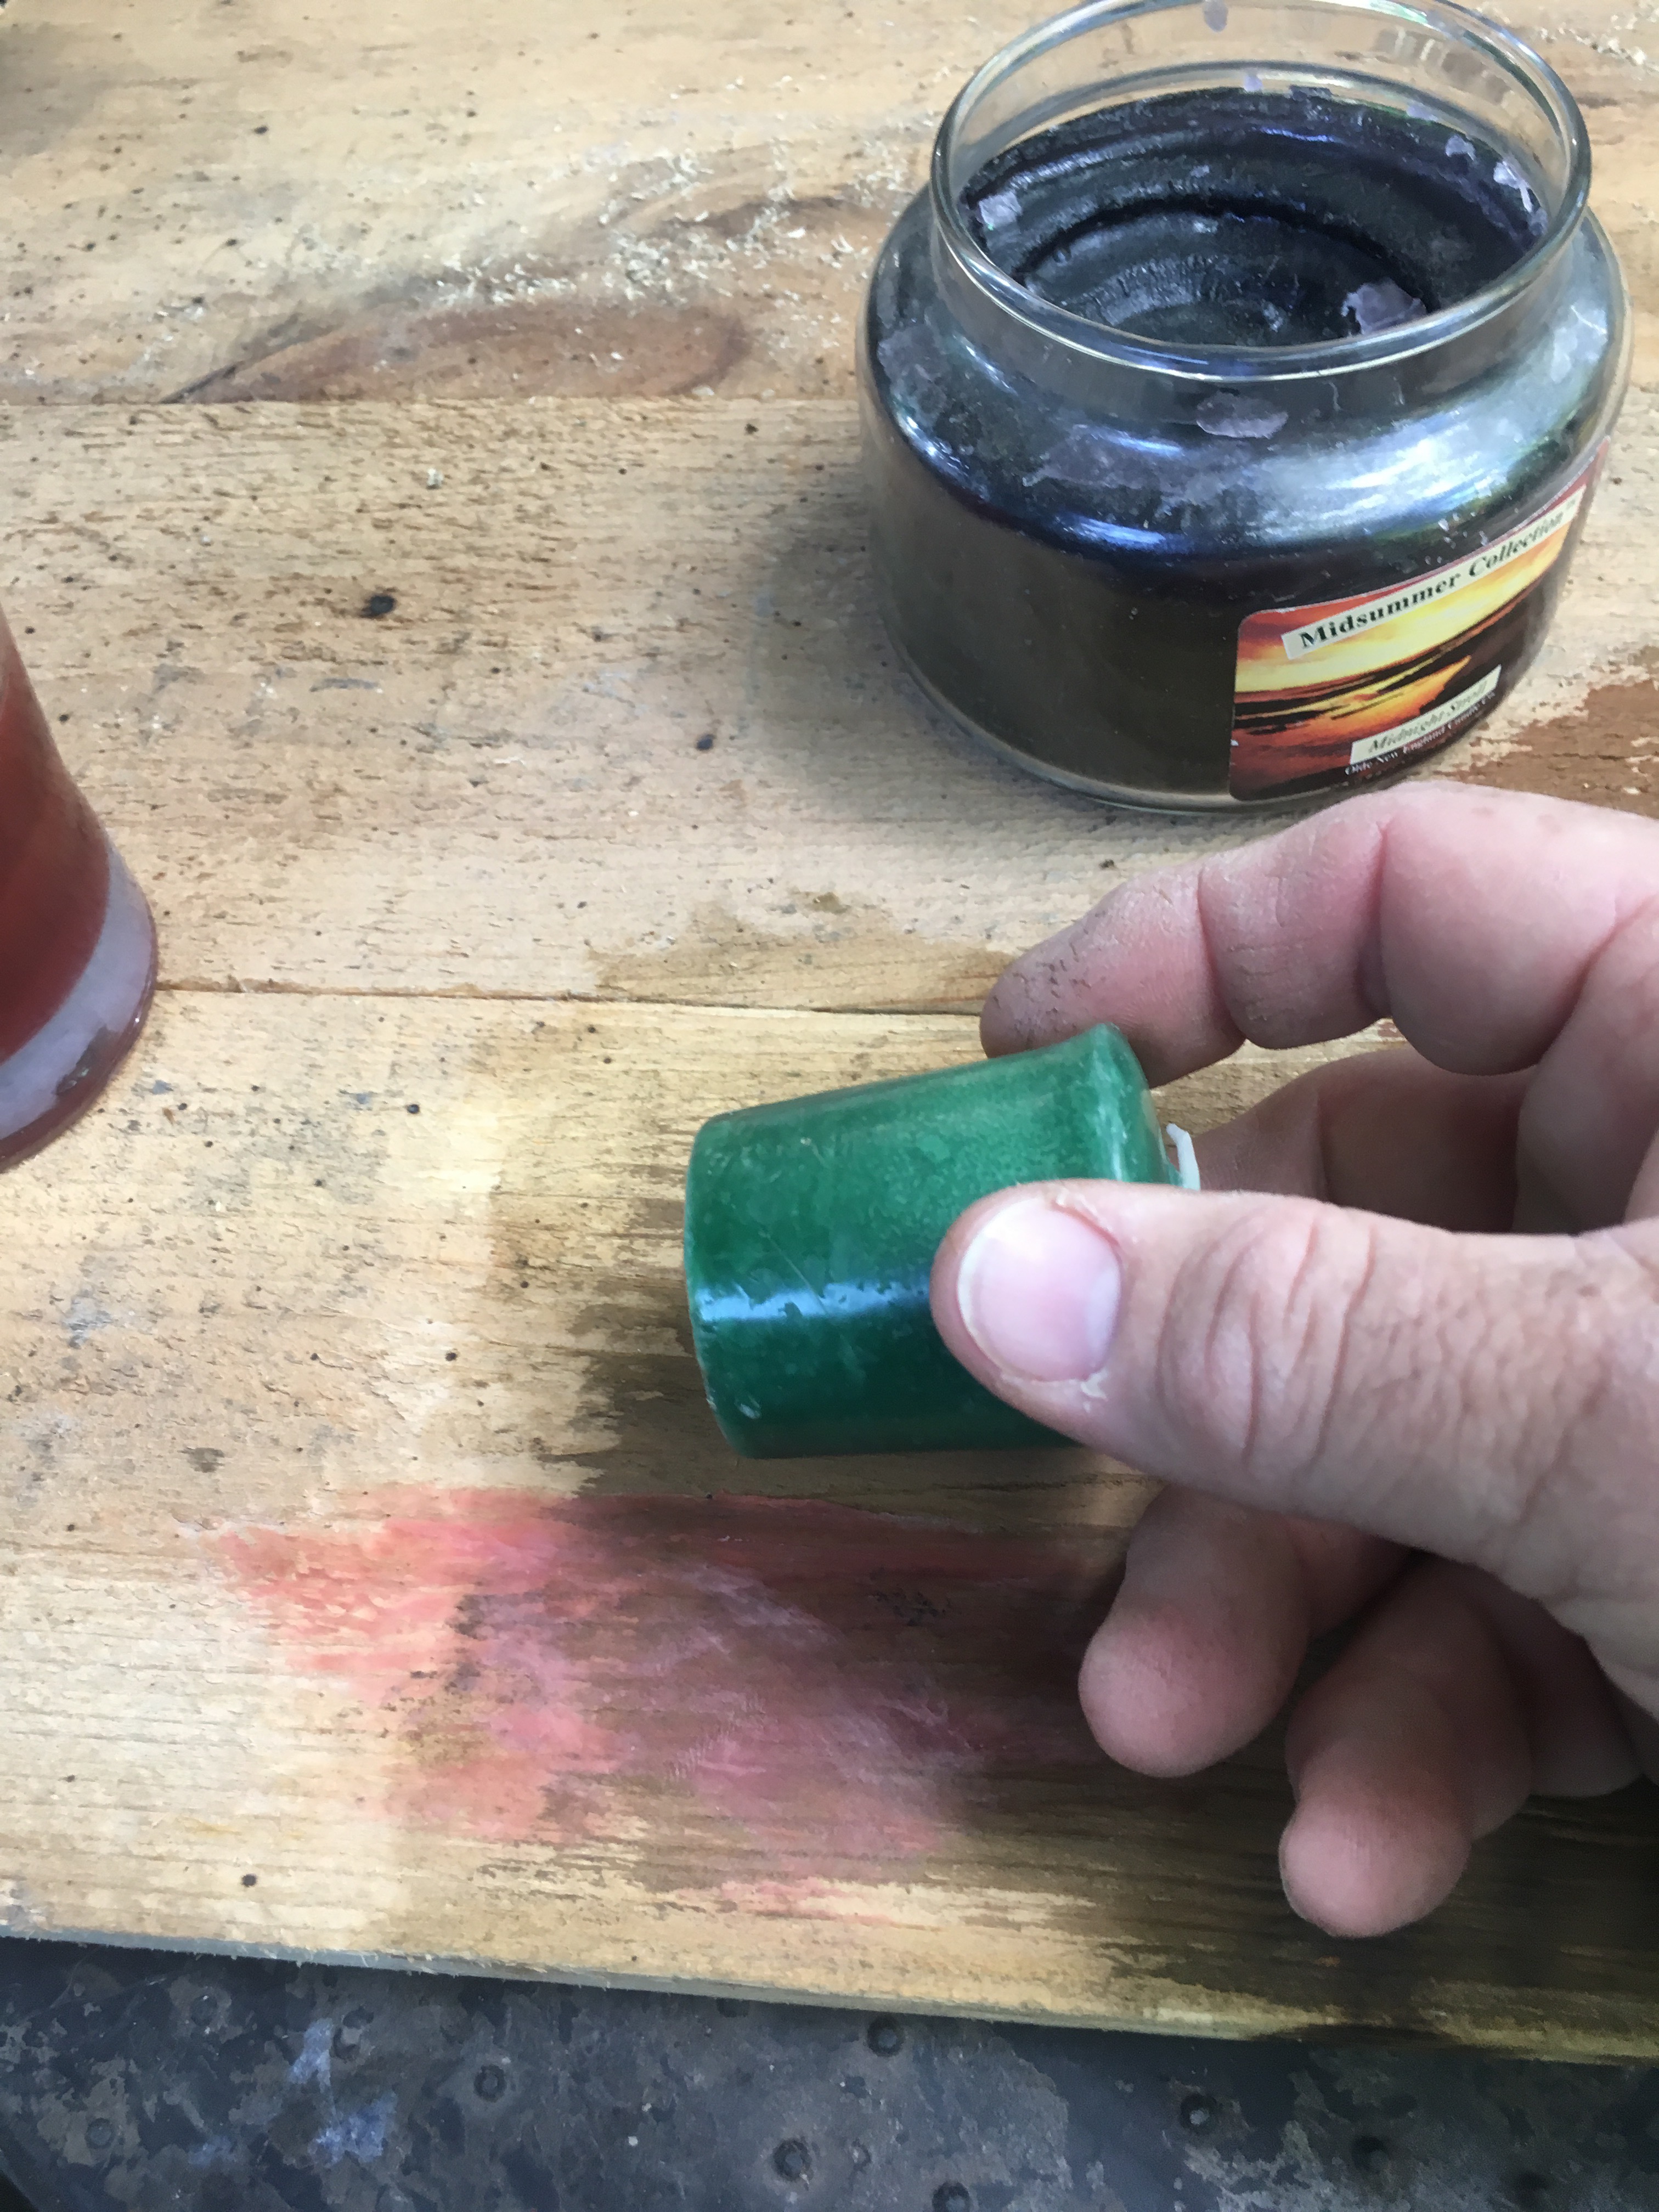 ……interesting……
 ………..scented candles…..
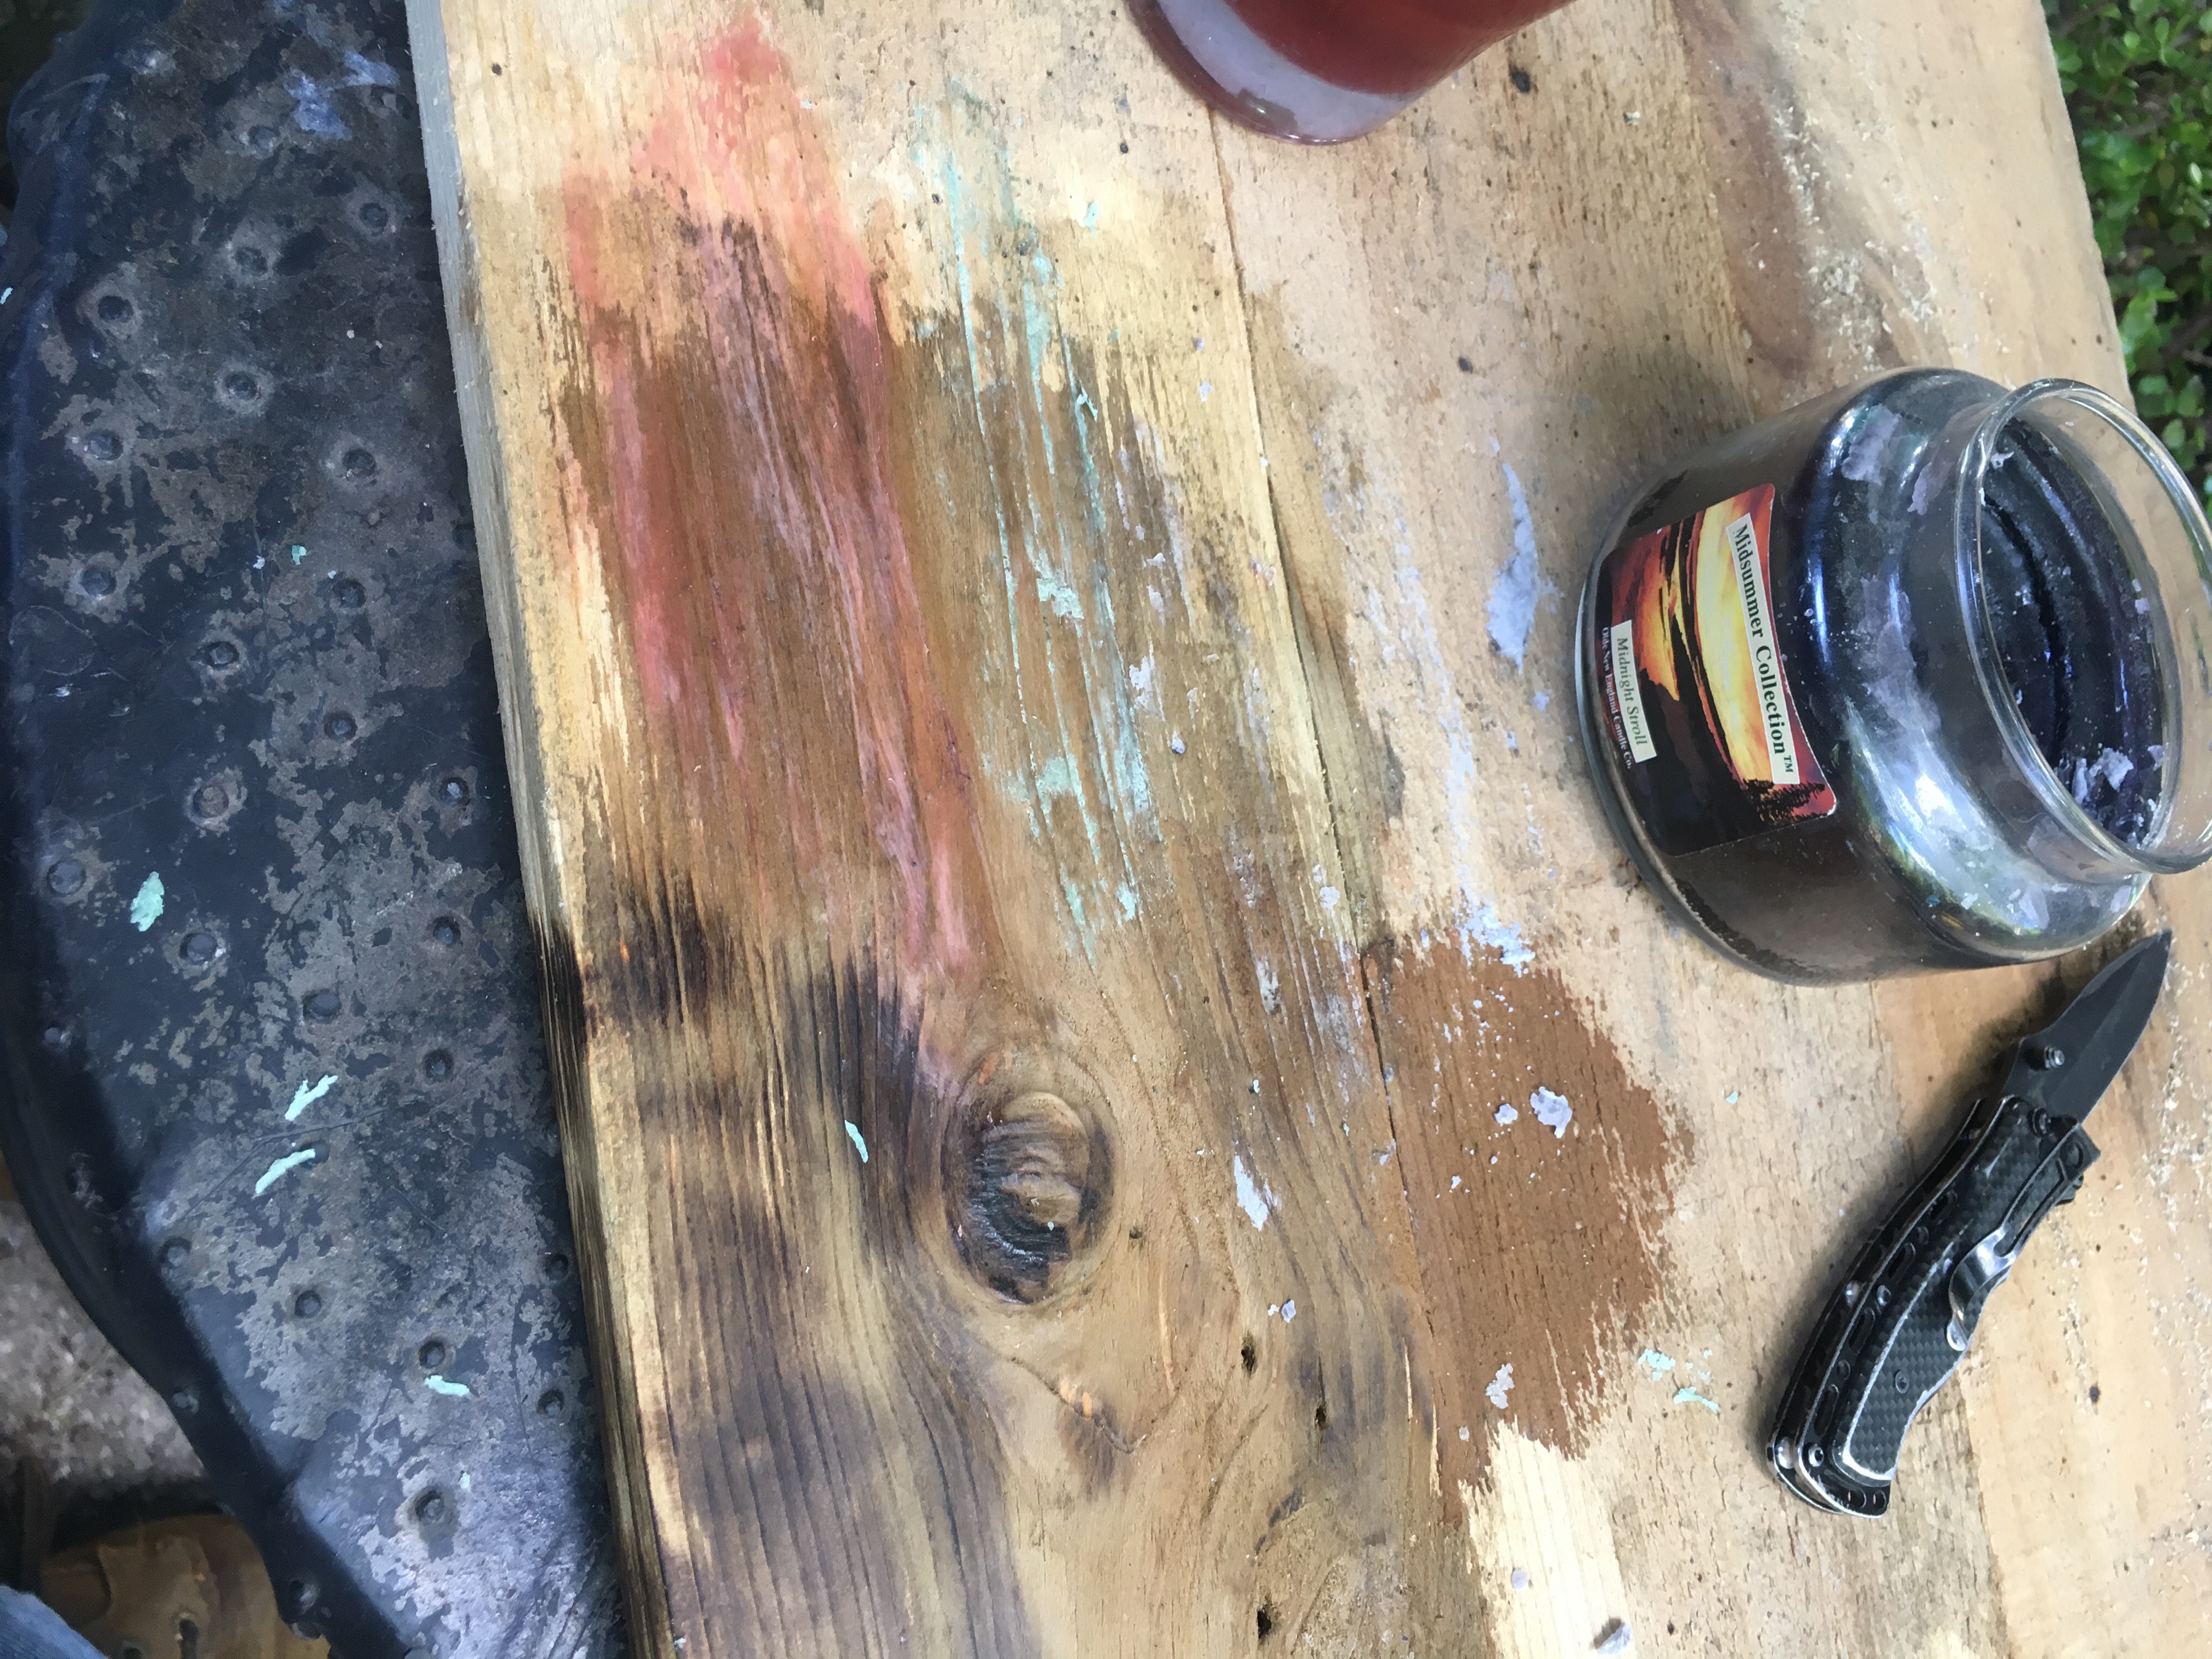 I think I know what to use.
The color though, it’s still not right. So I went to my neighbor, Bob, and asked him what he thought. He said, “I have just the thing..” and dug around and got me some stain…..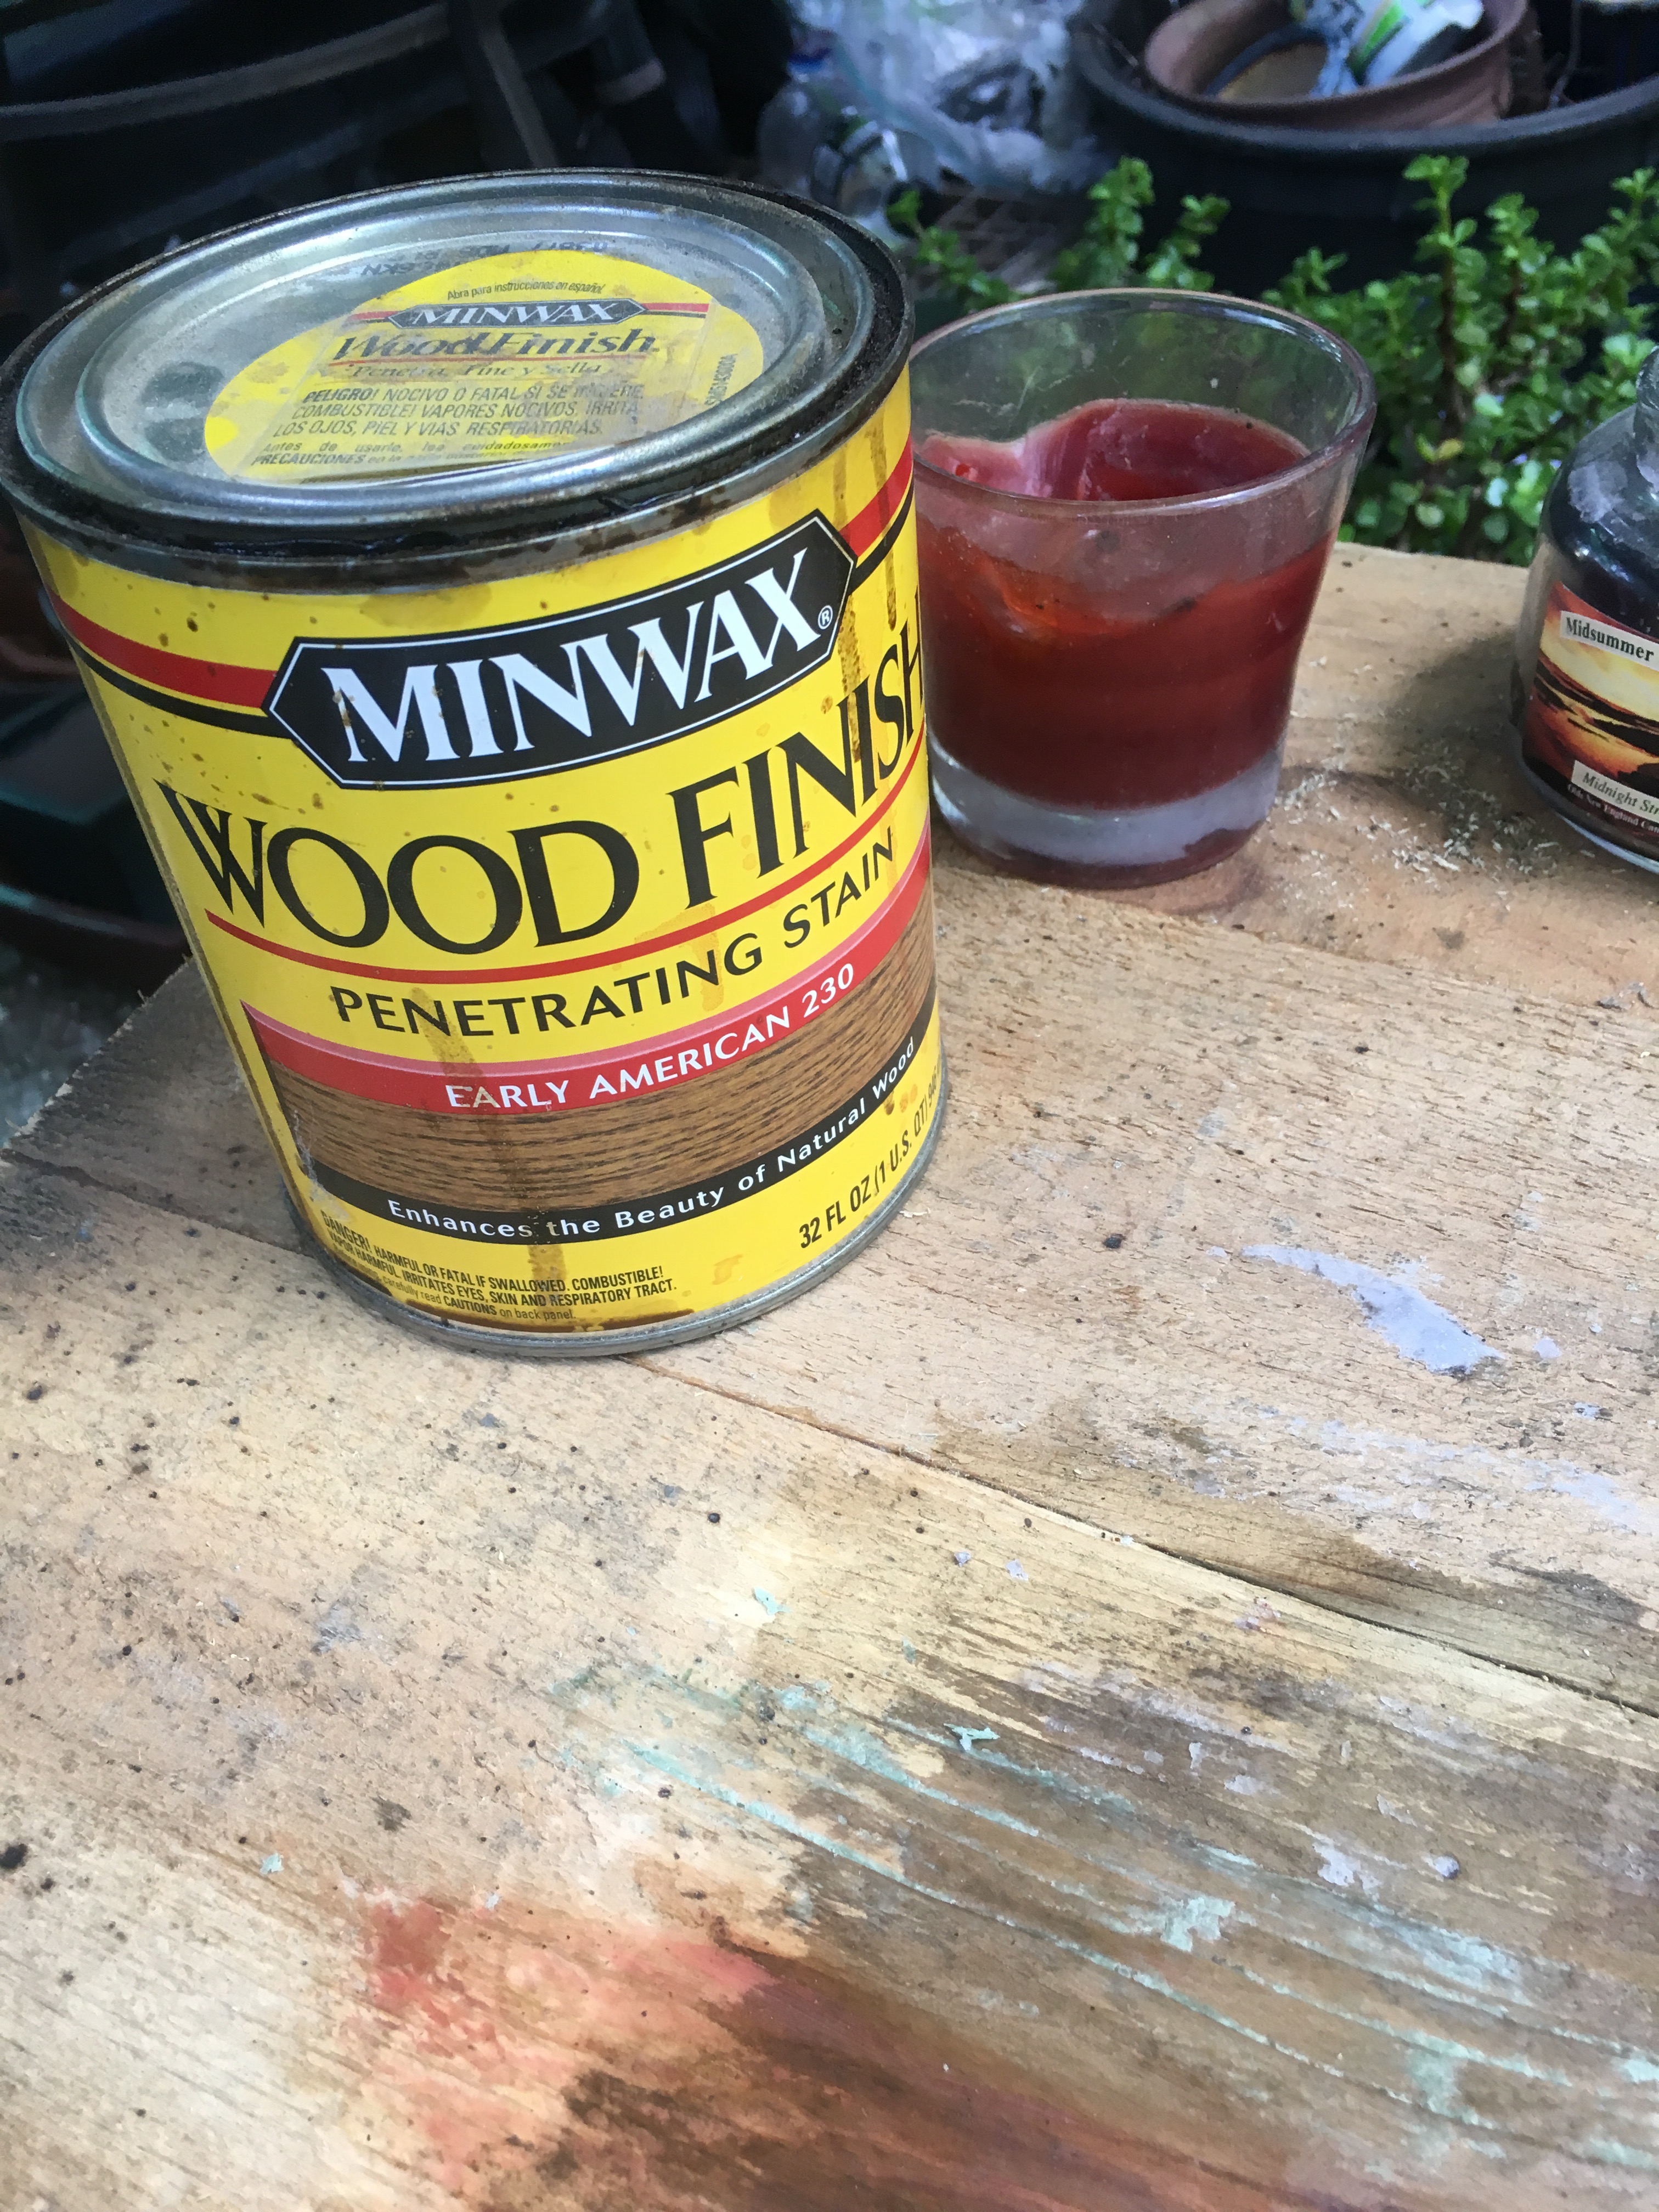 ……aha…..
 I think that’s it.
And I have the sequence of application, for those who wish to steal my techniques. I can put it all together now.
First:
A wire cup wheel on the angle grinder. The idea is to accentuated the grain.
The top. 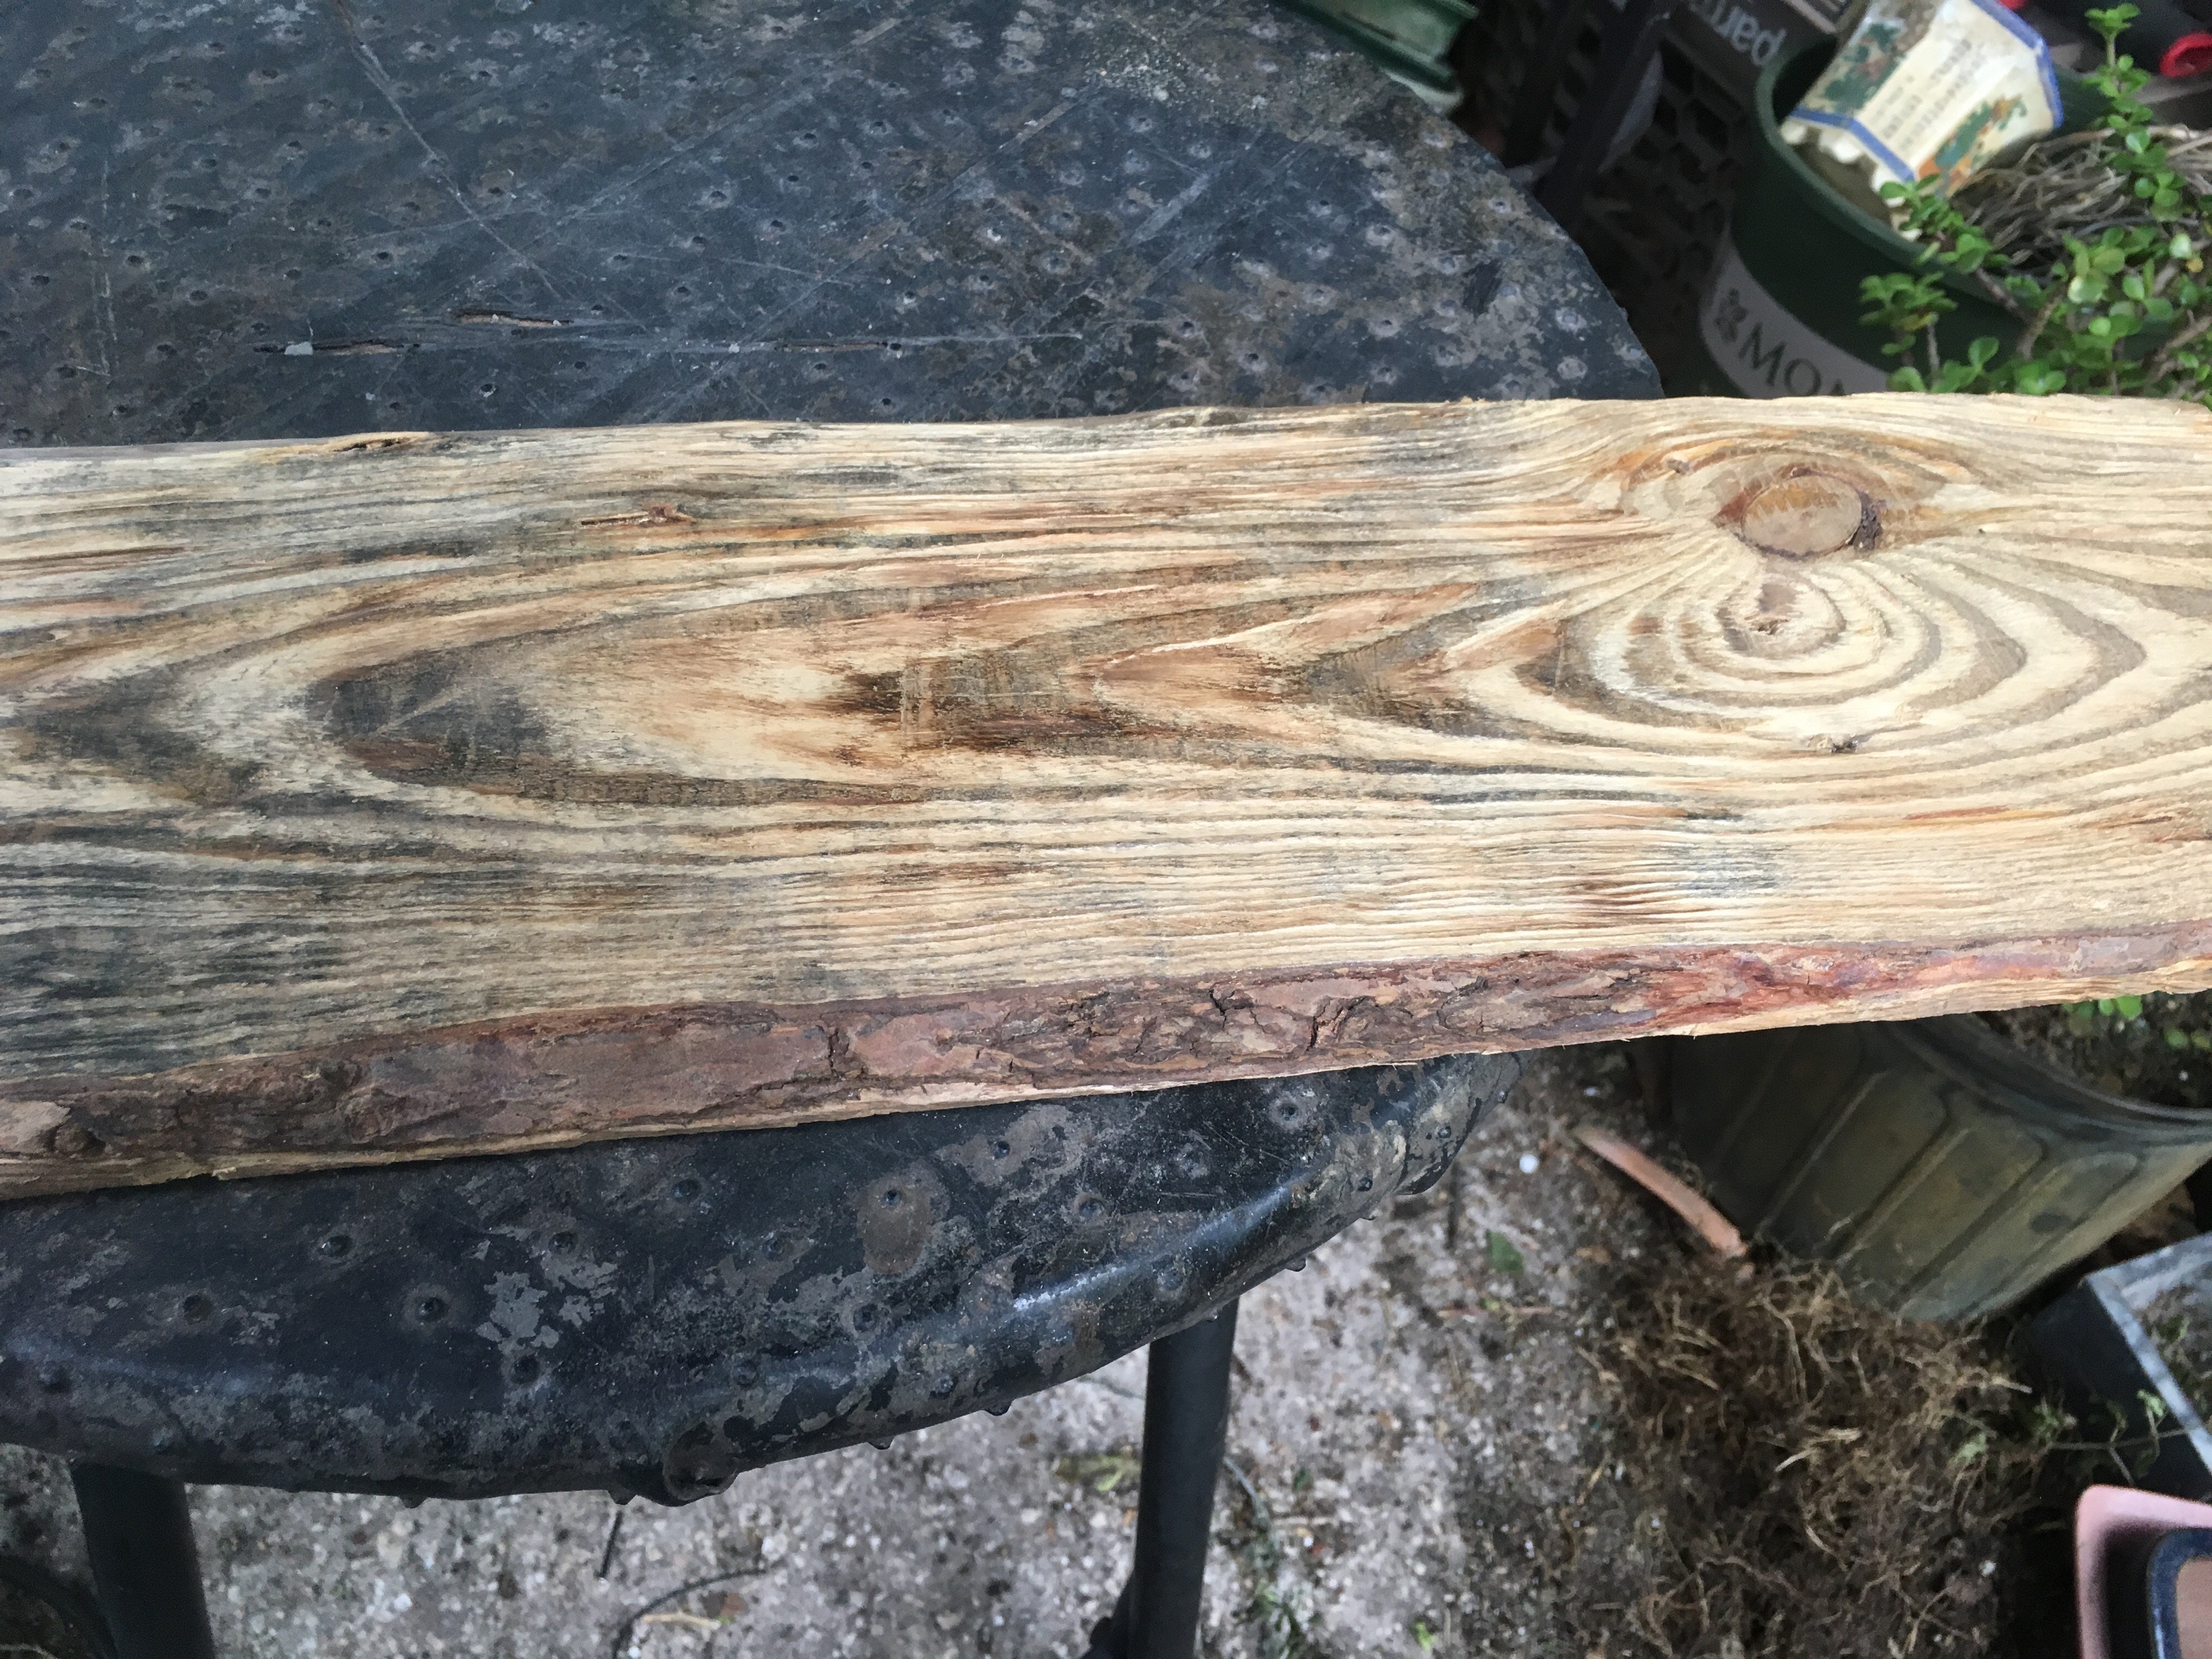 On the bottom I burned it first then wire wheeled it.
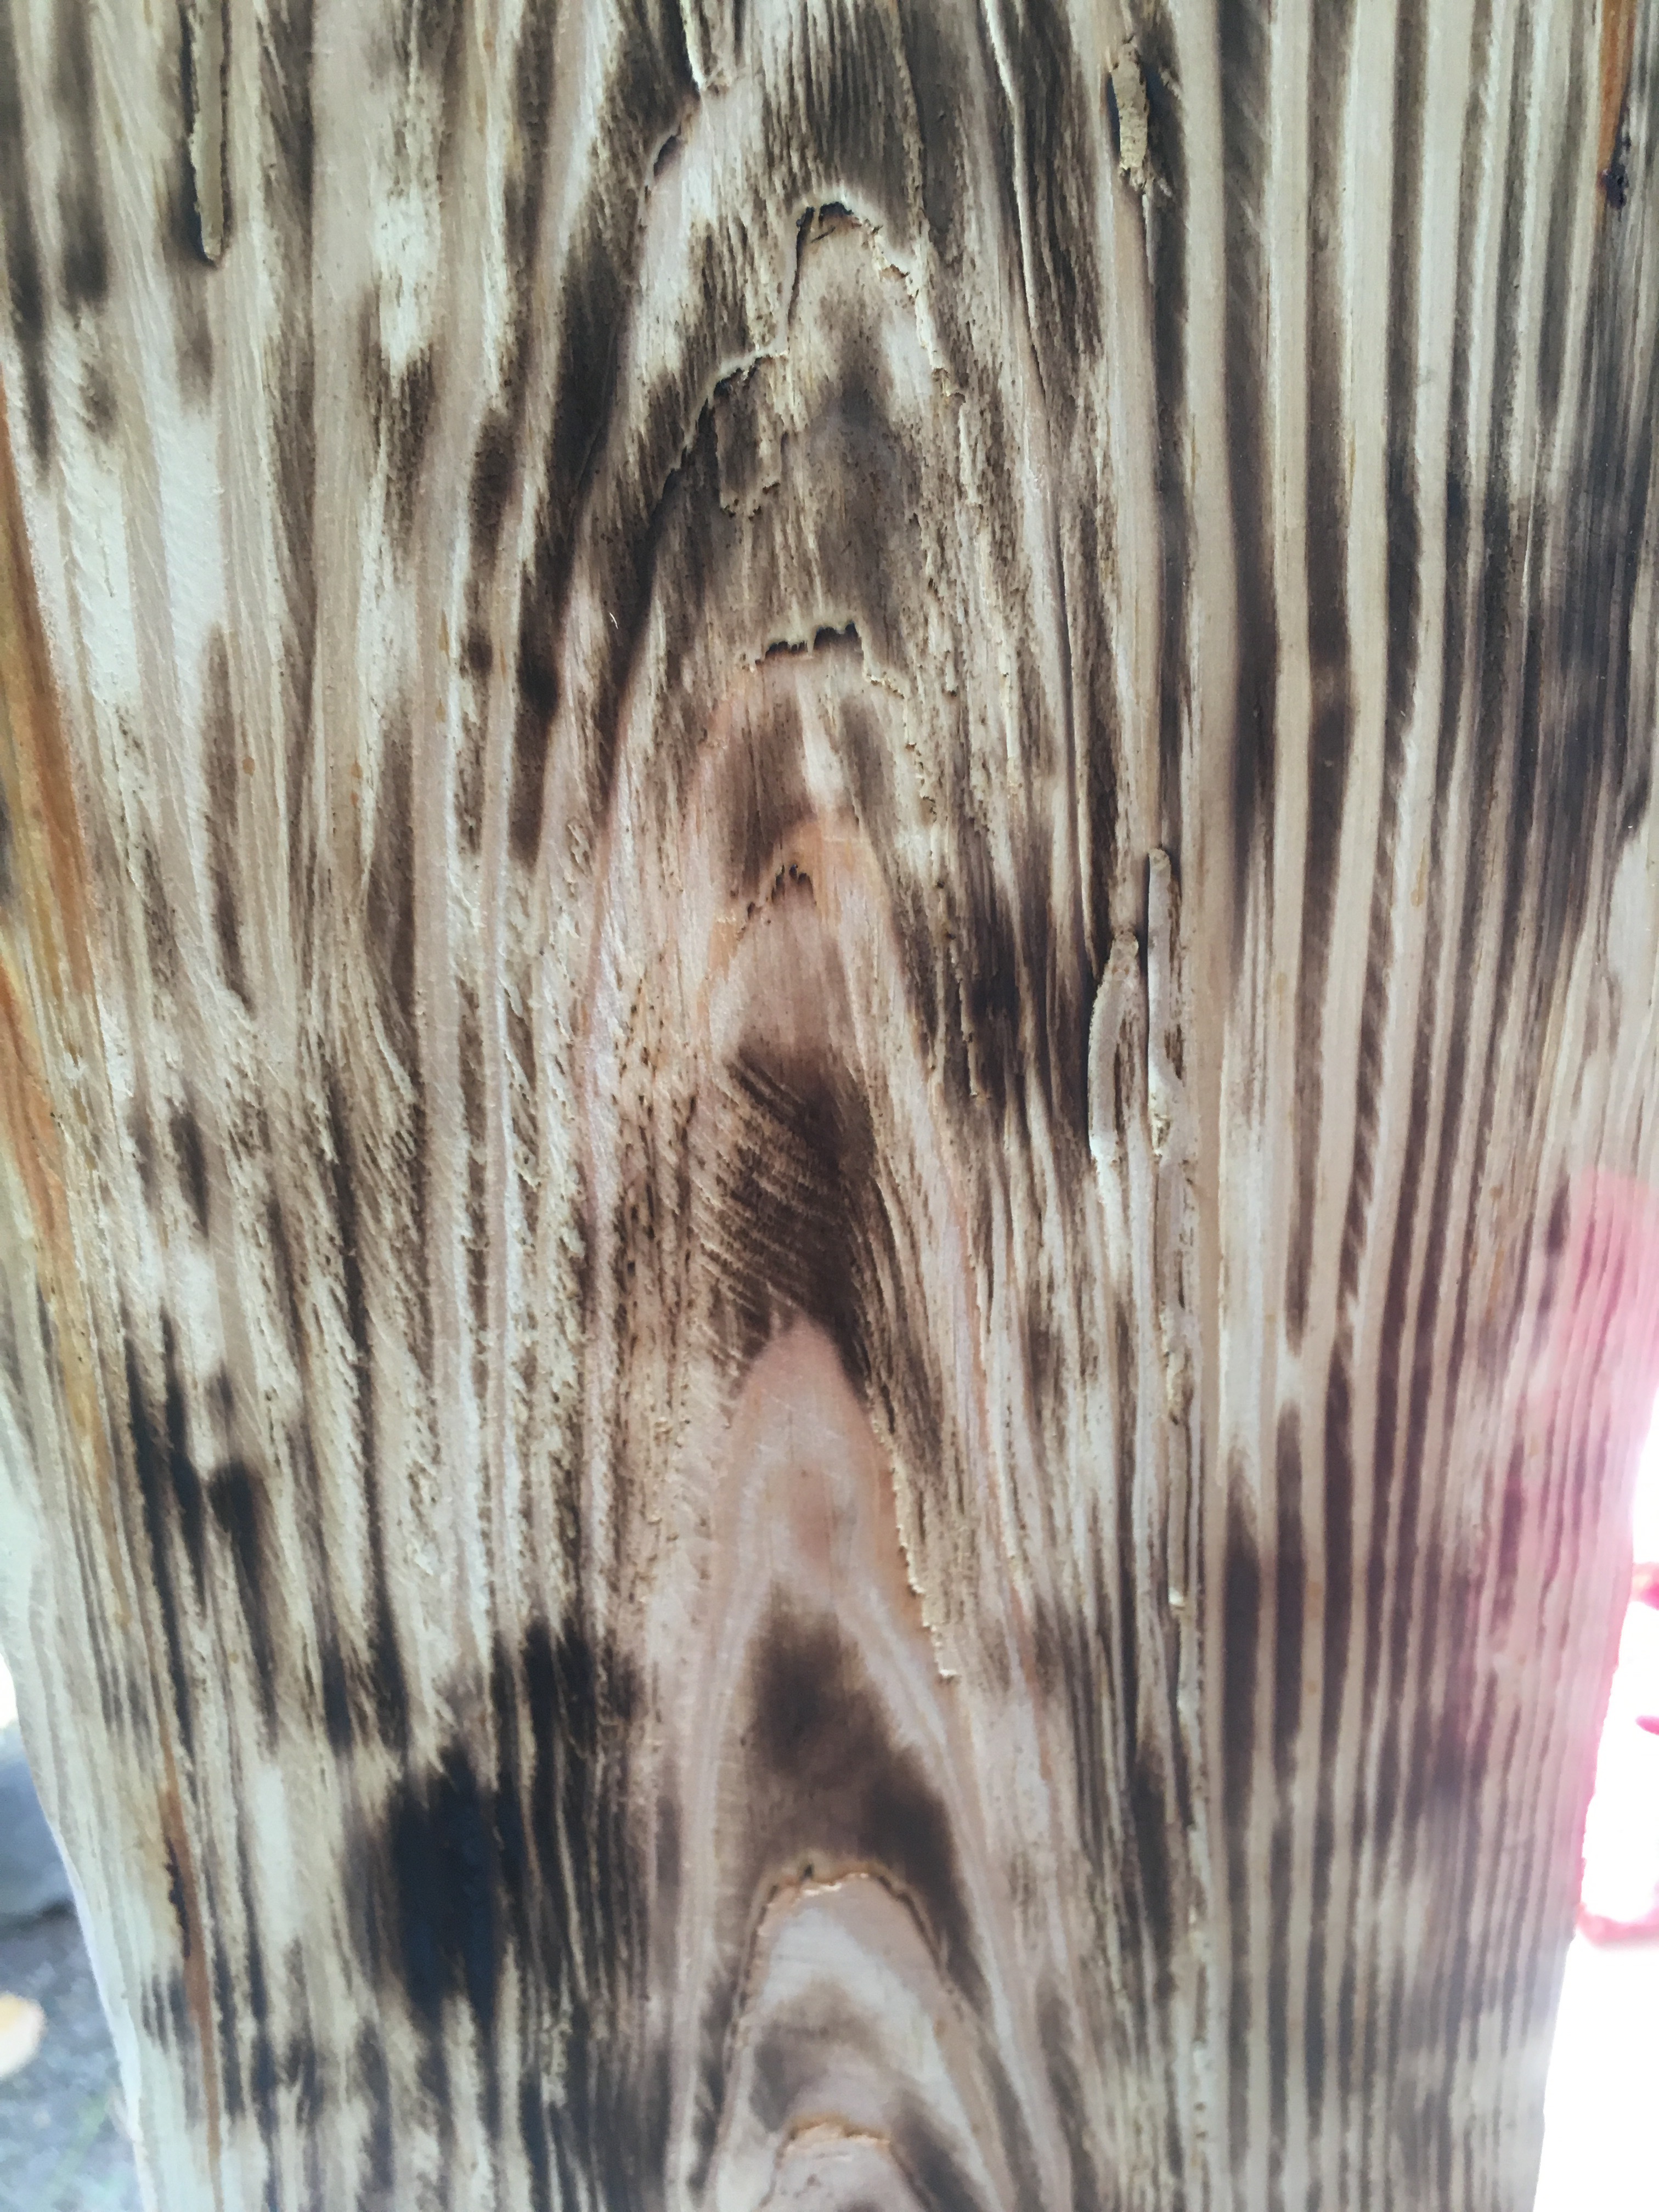
I burnt the top too, a little, just to boil the pine resin, darken it a bit.  Then the stain.
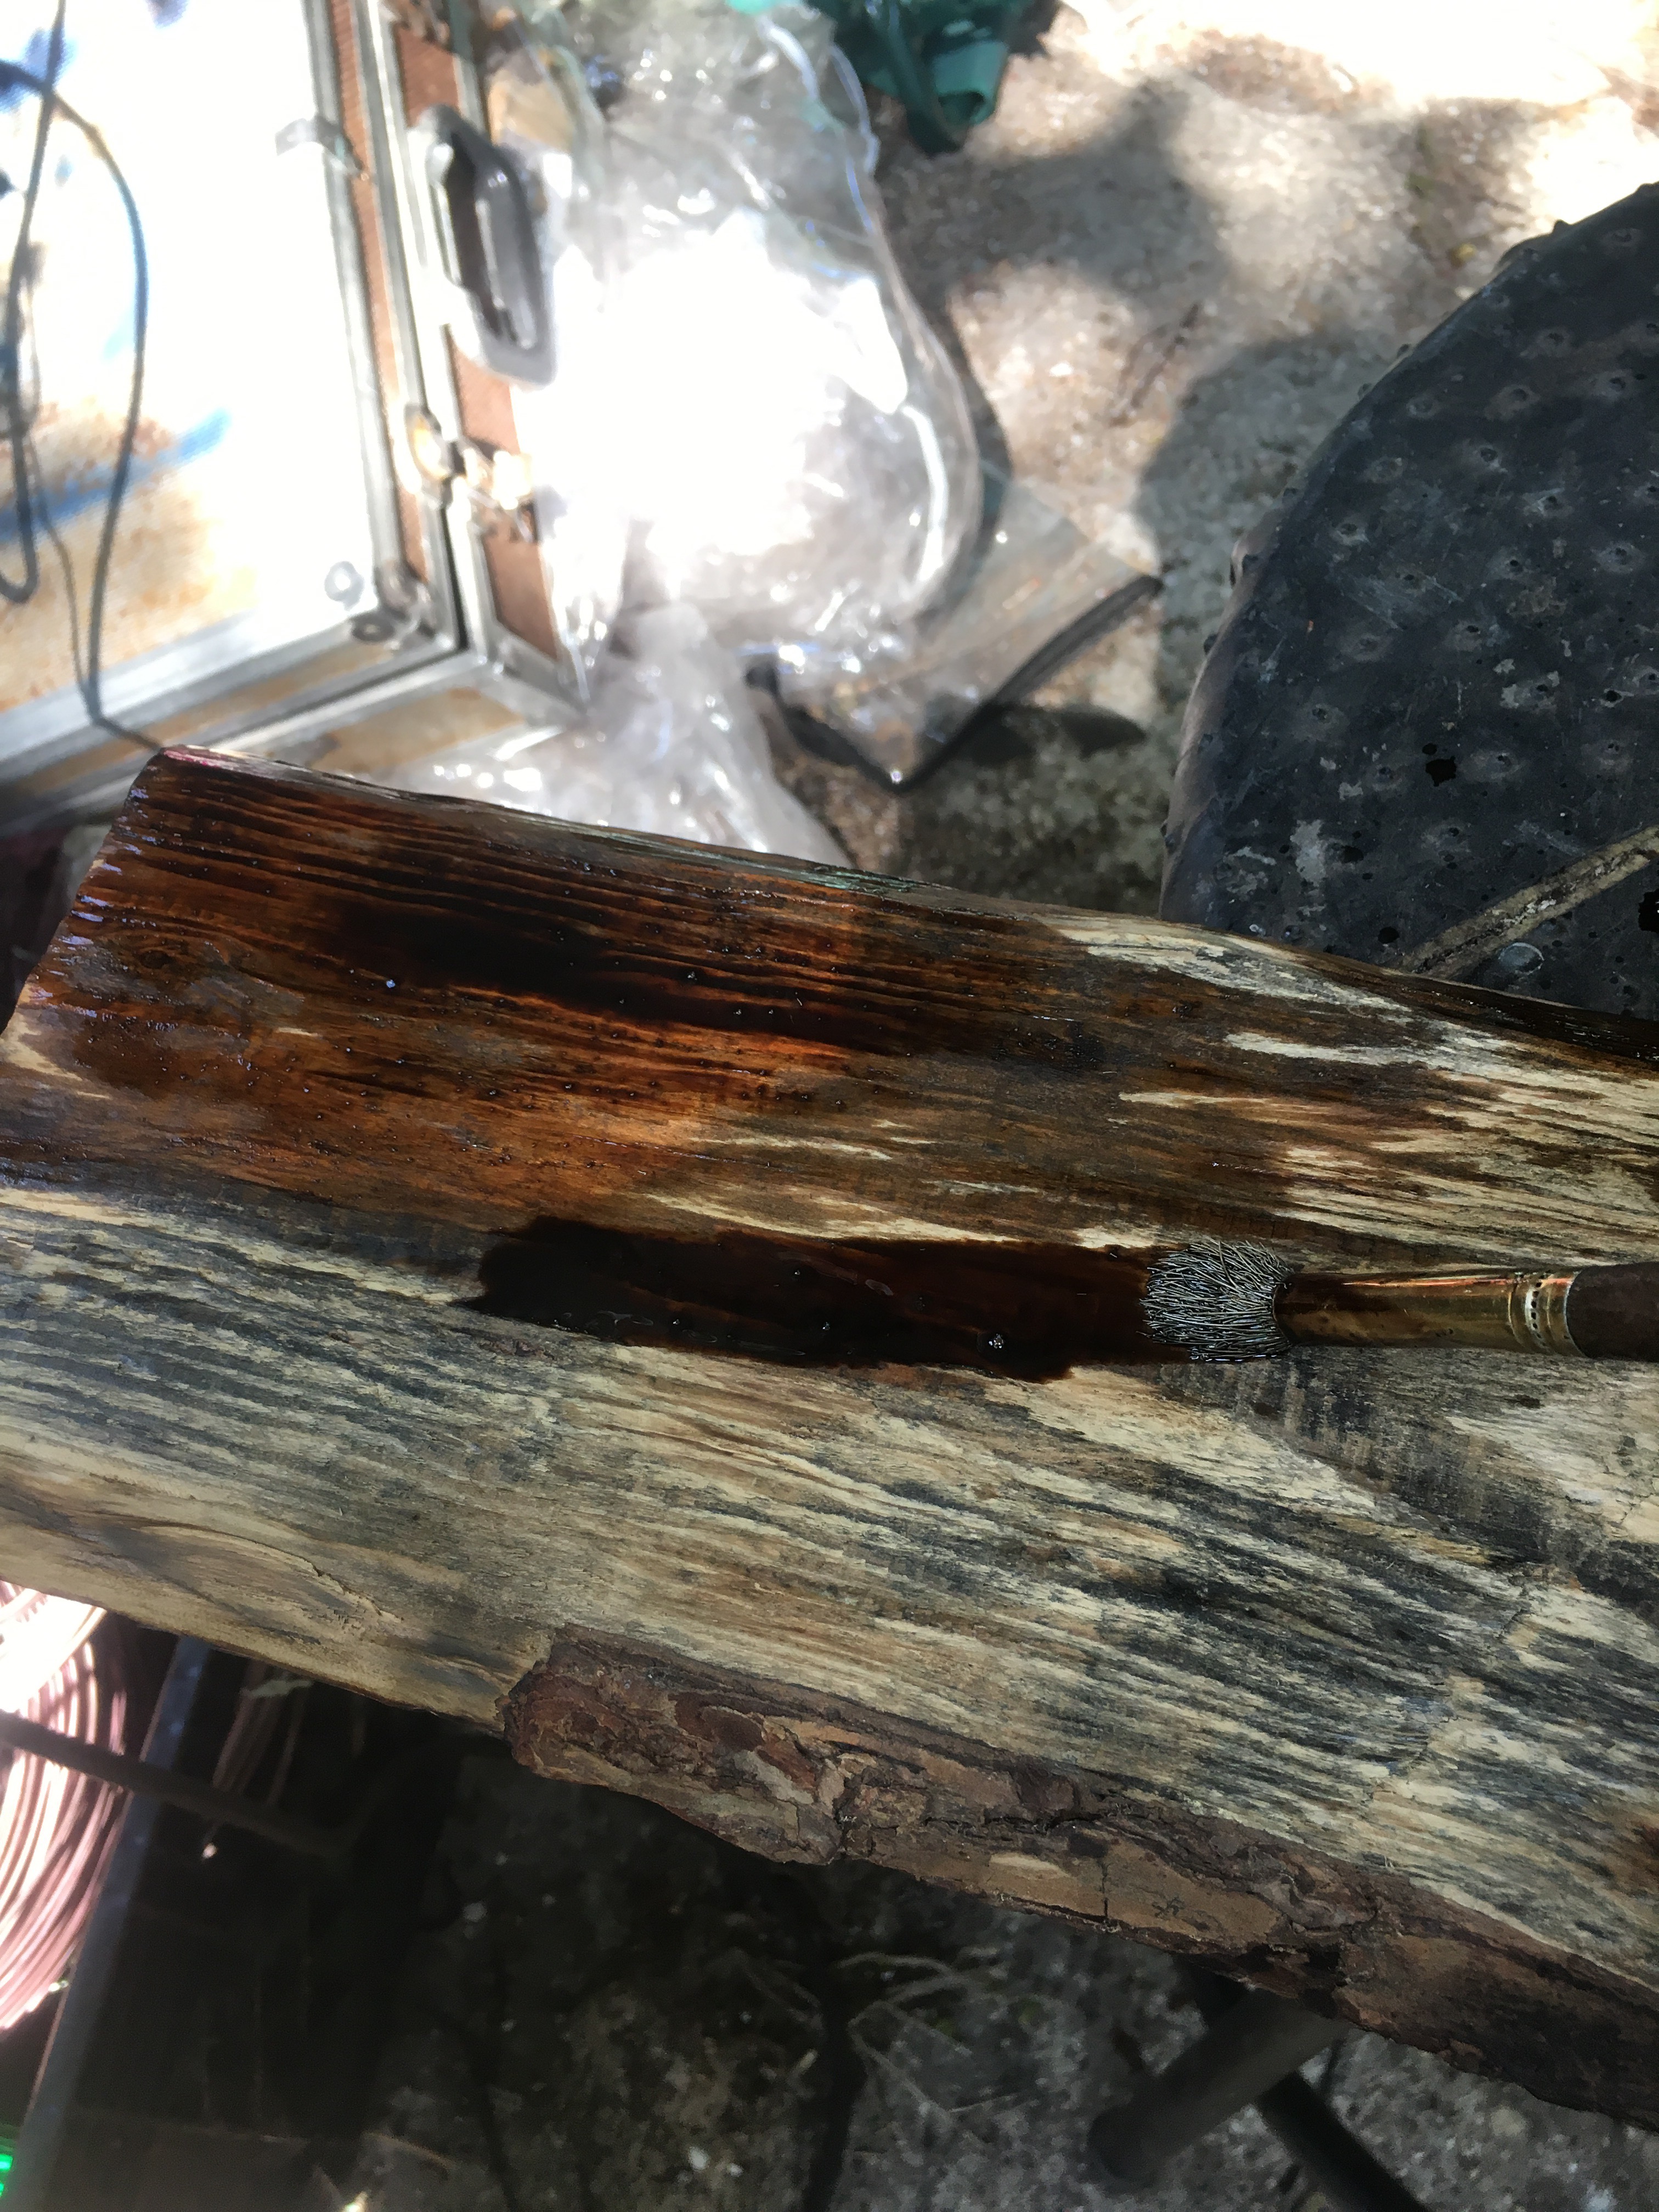
And then, while the stain was still wet, I set it on fire.
Oh yeah, fire. 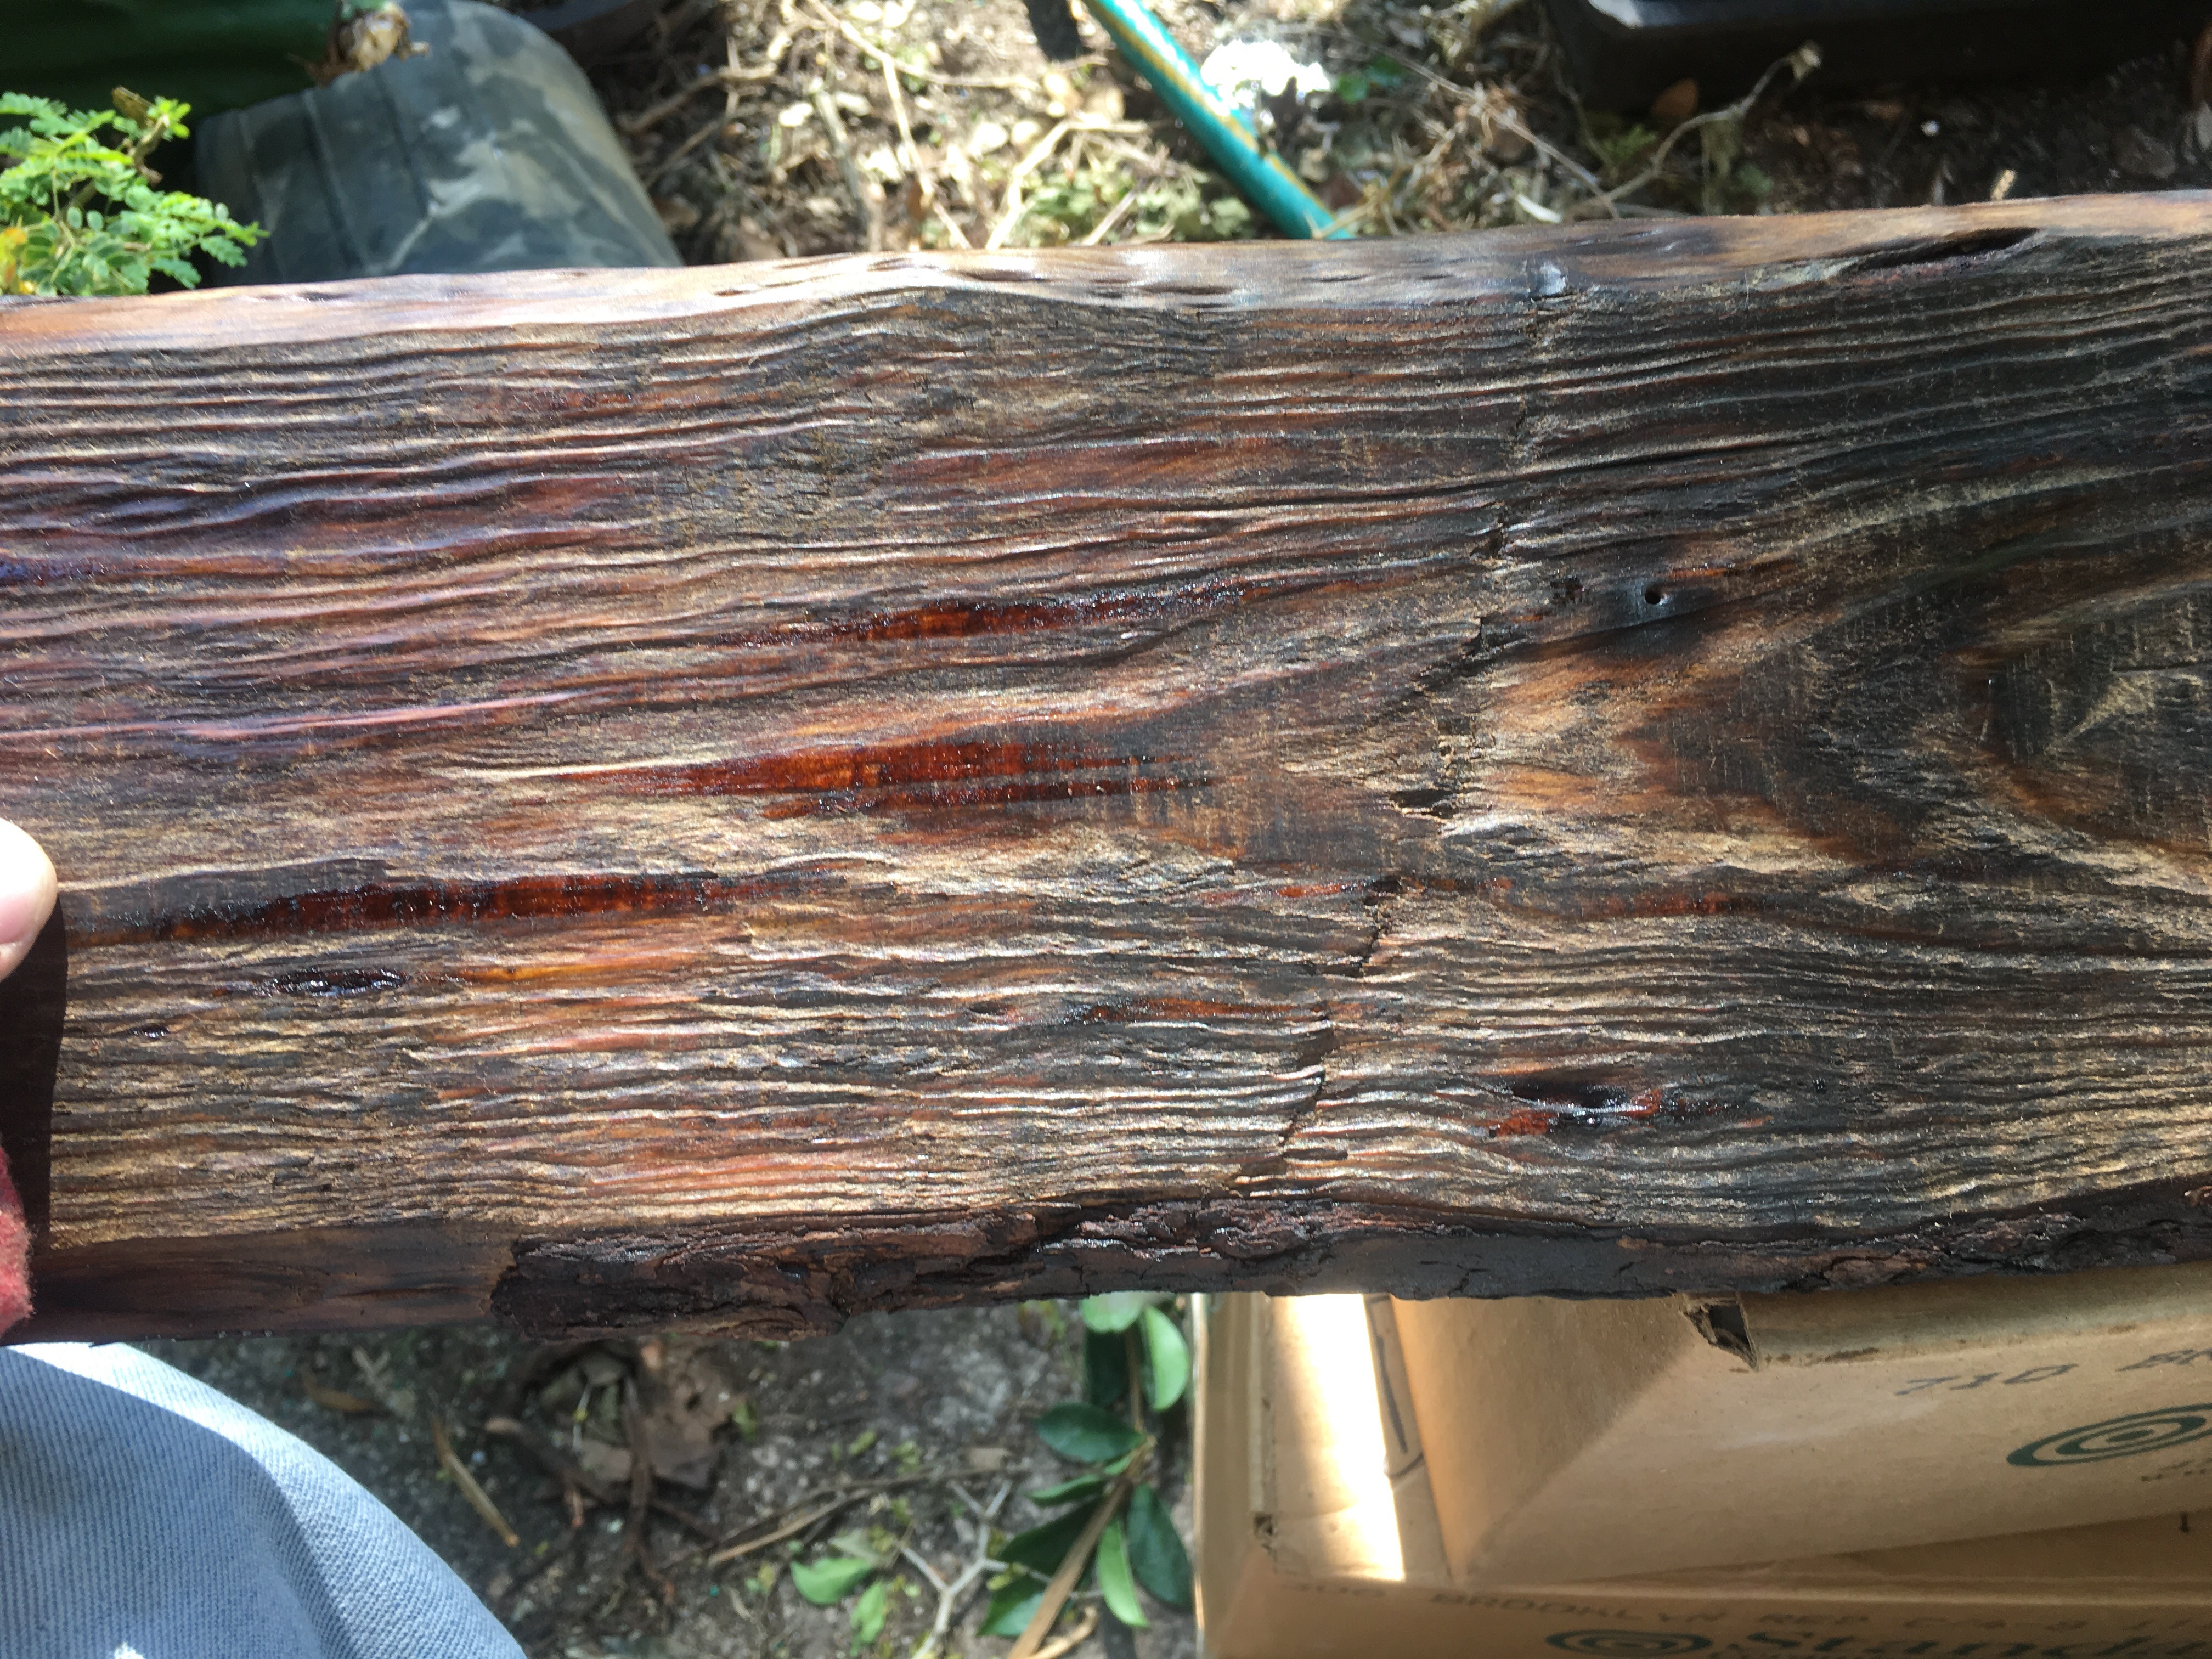
Then the wax. I chose the green because I liked the smell, like Christmas trees. 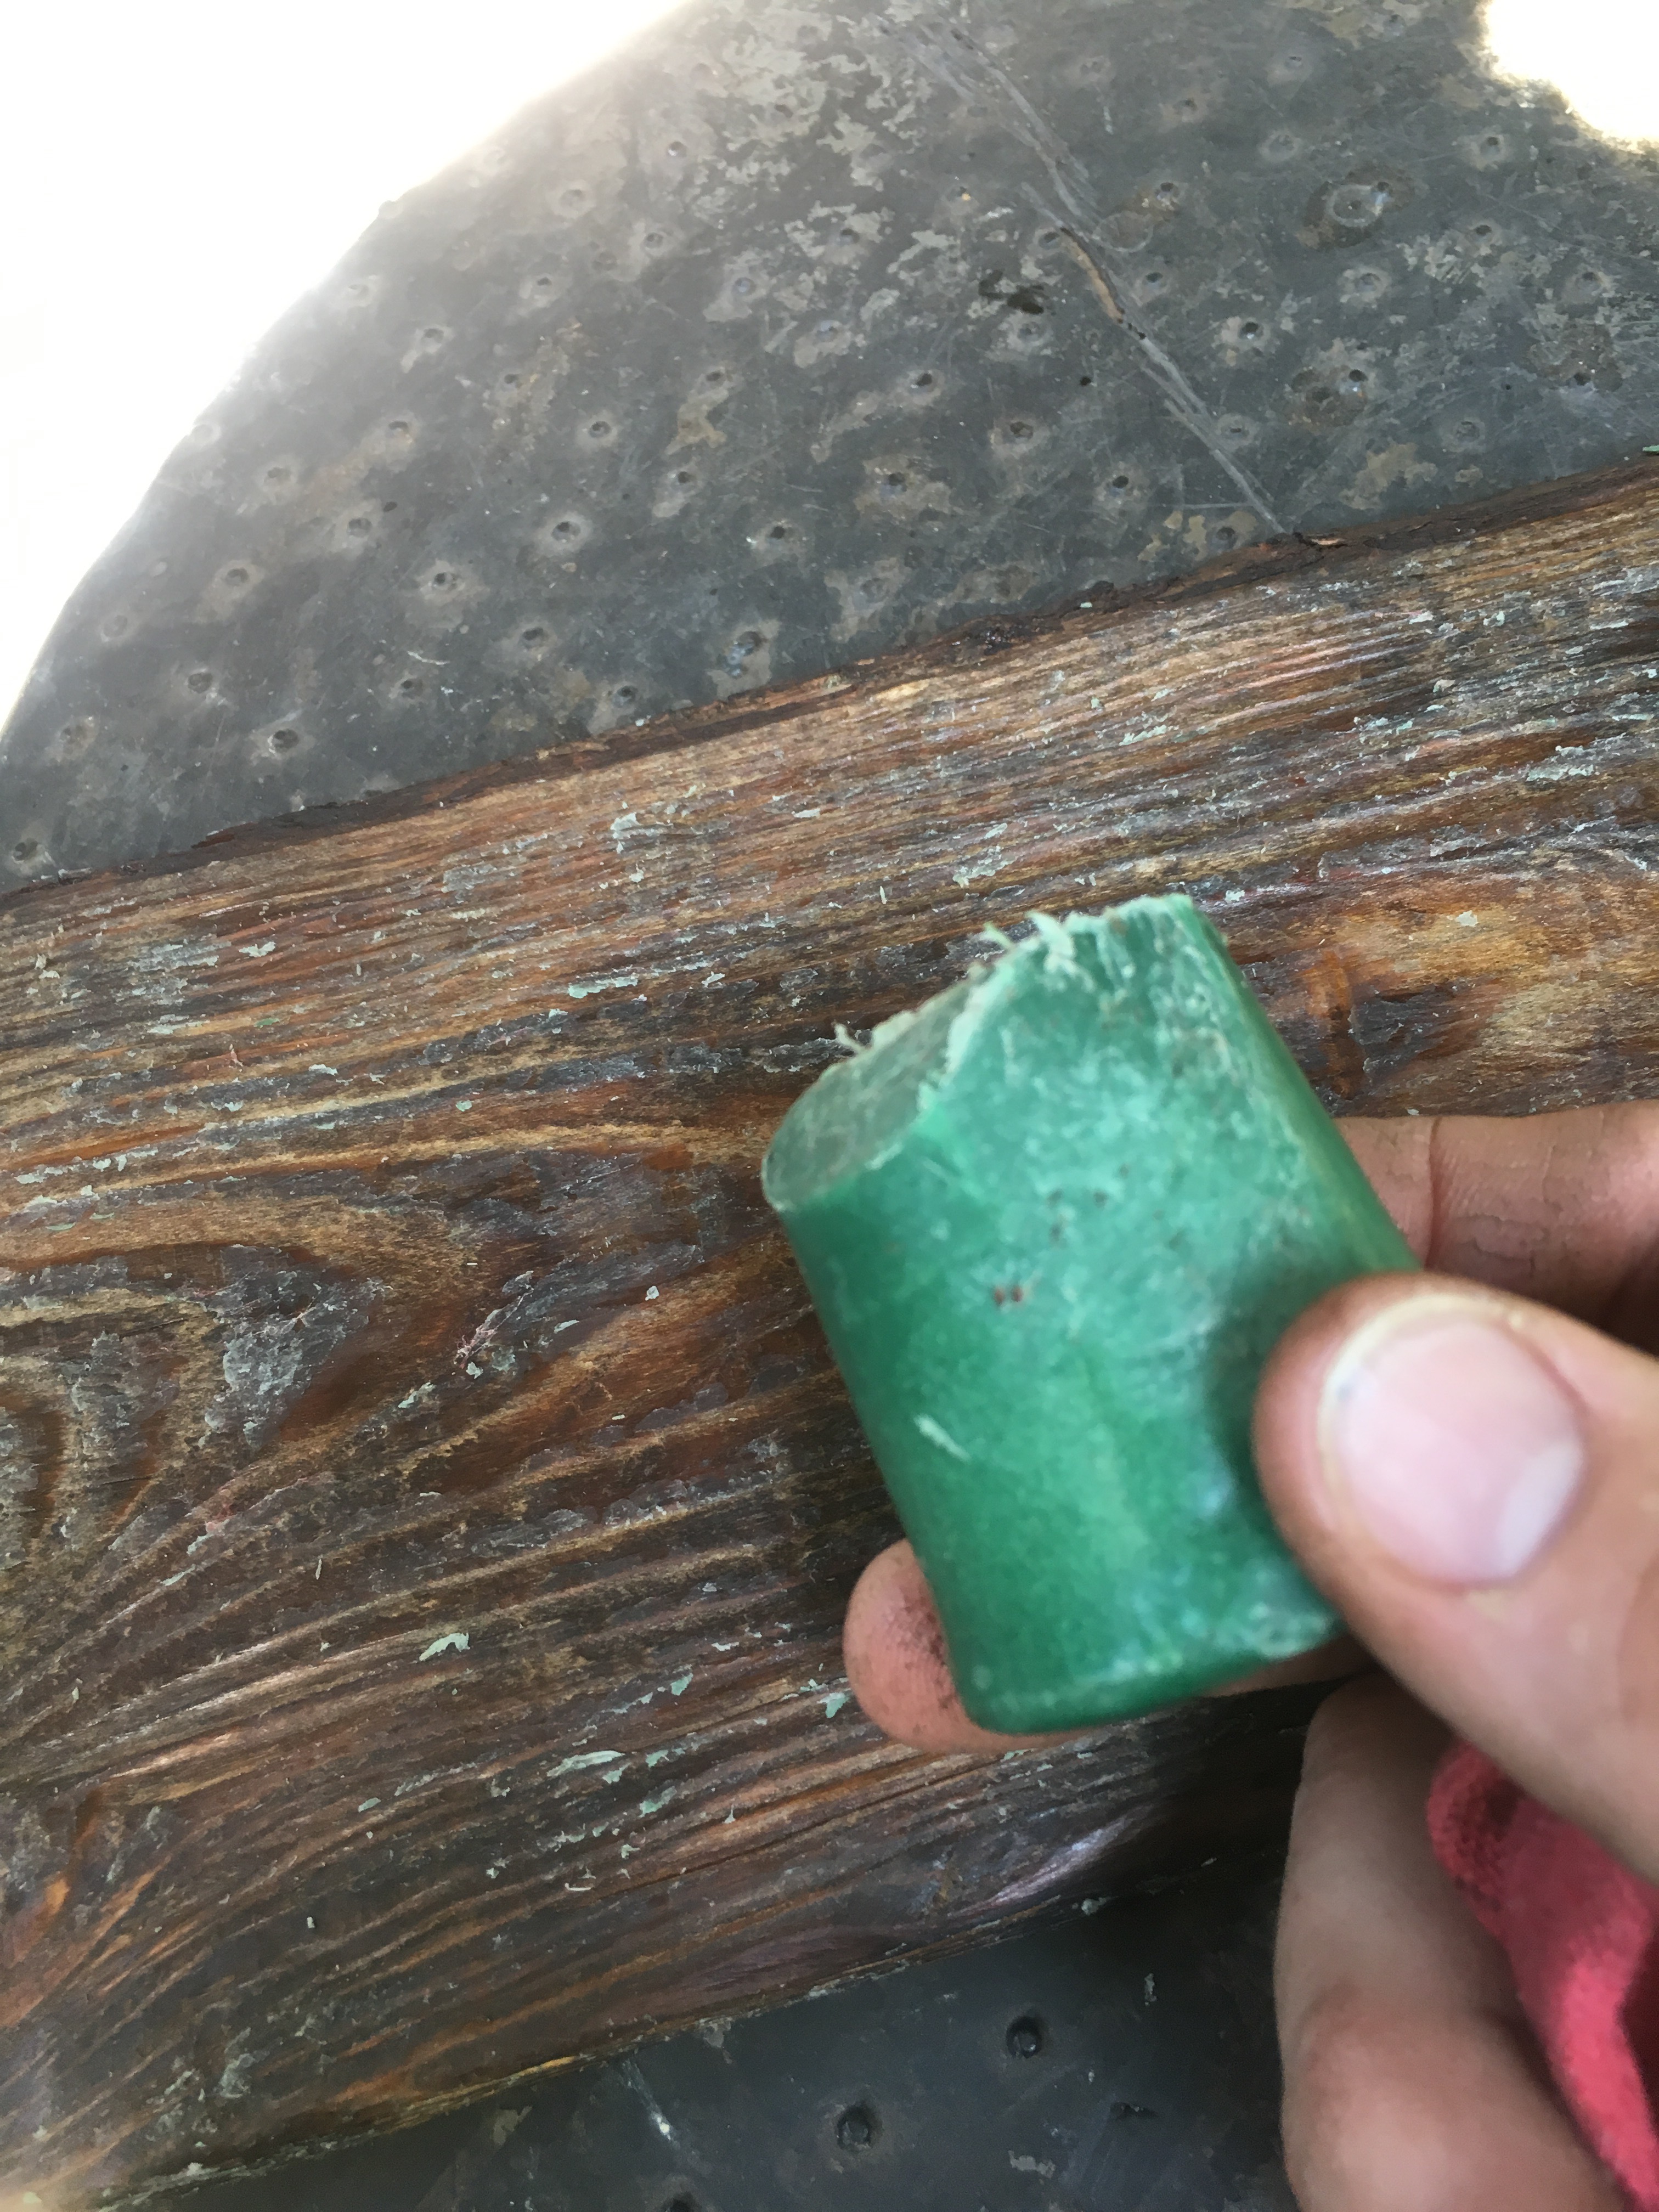
Some polishing and…..viola! You can see the difference between the top board….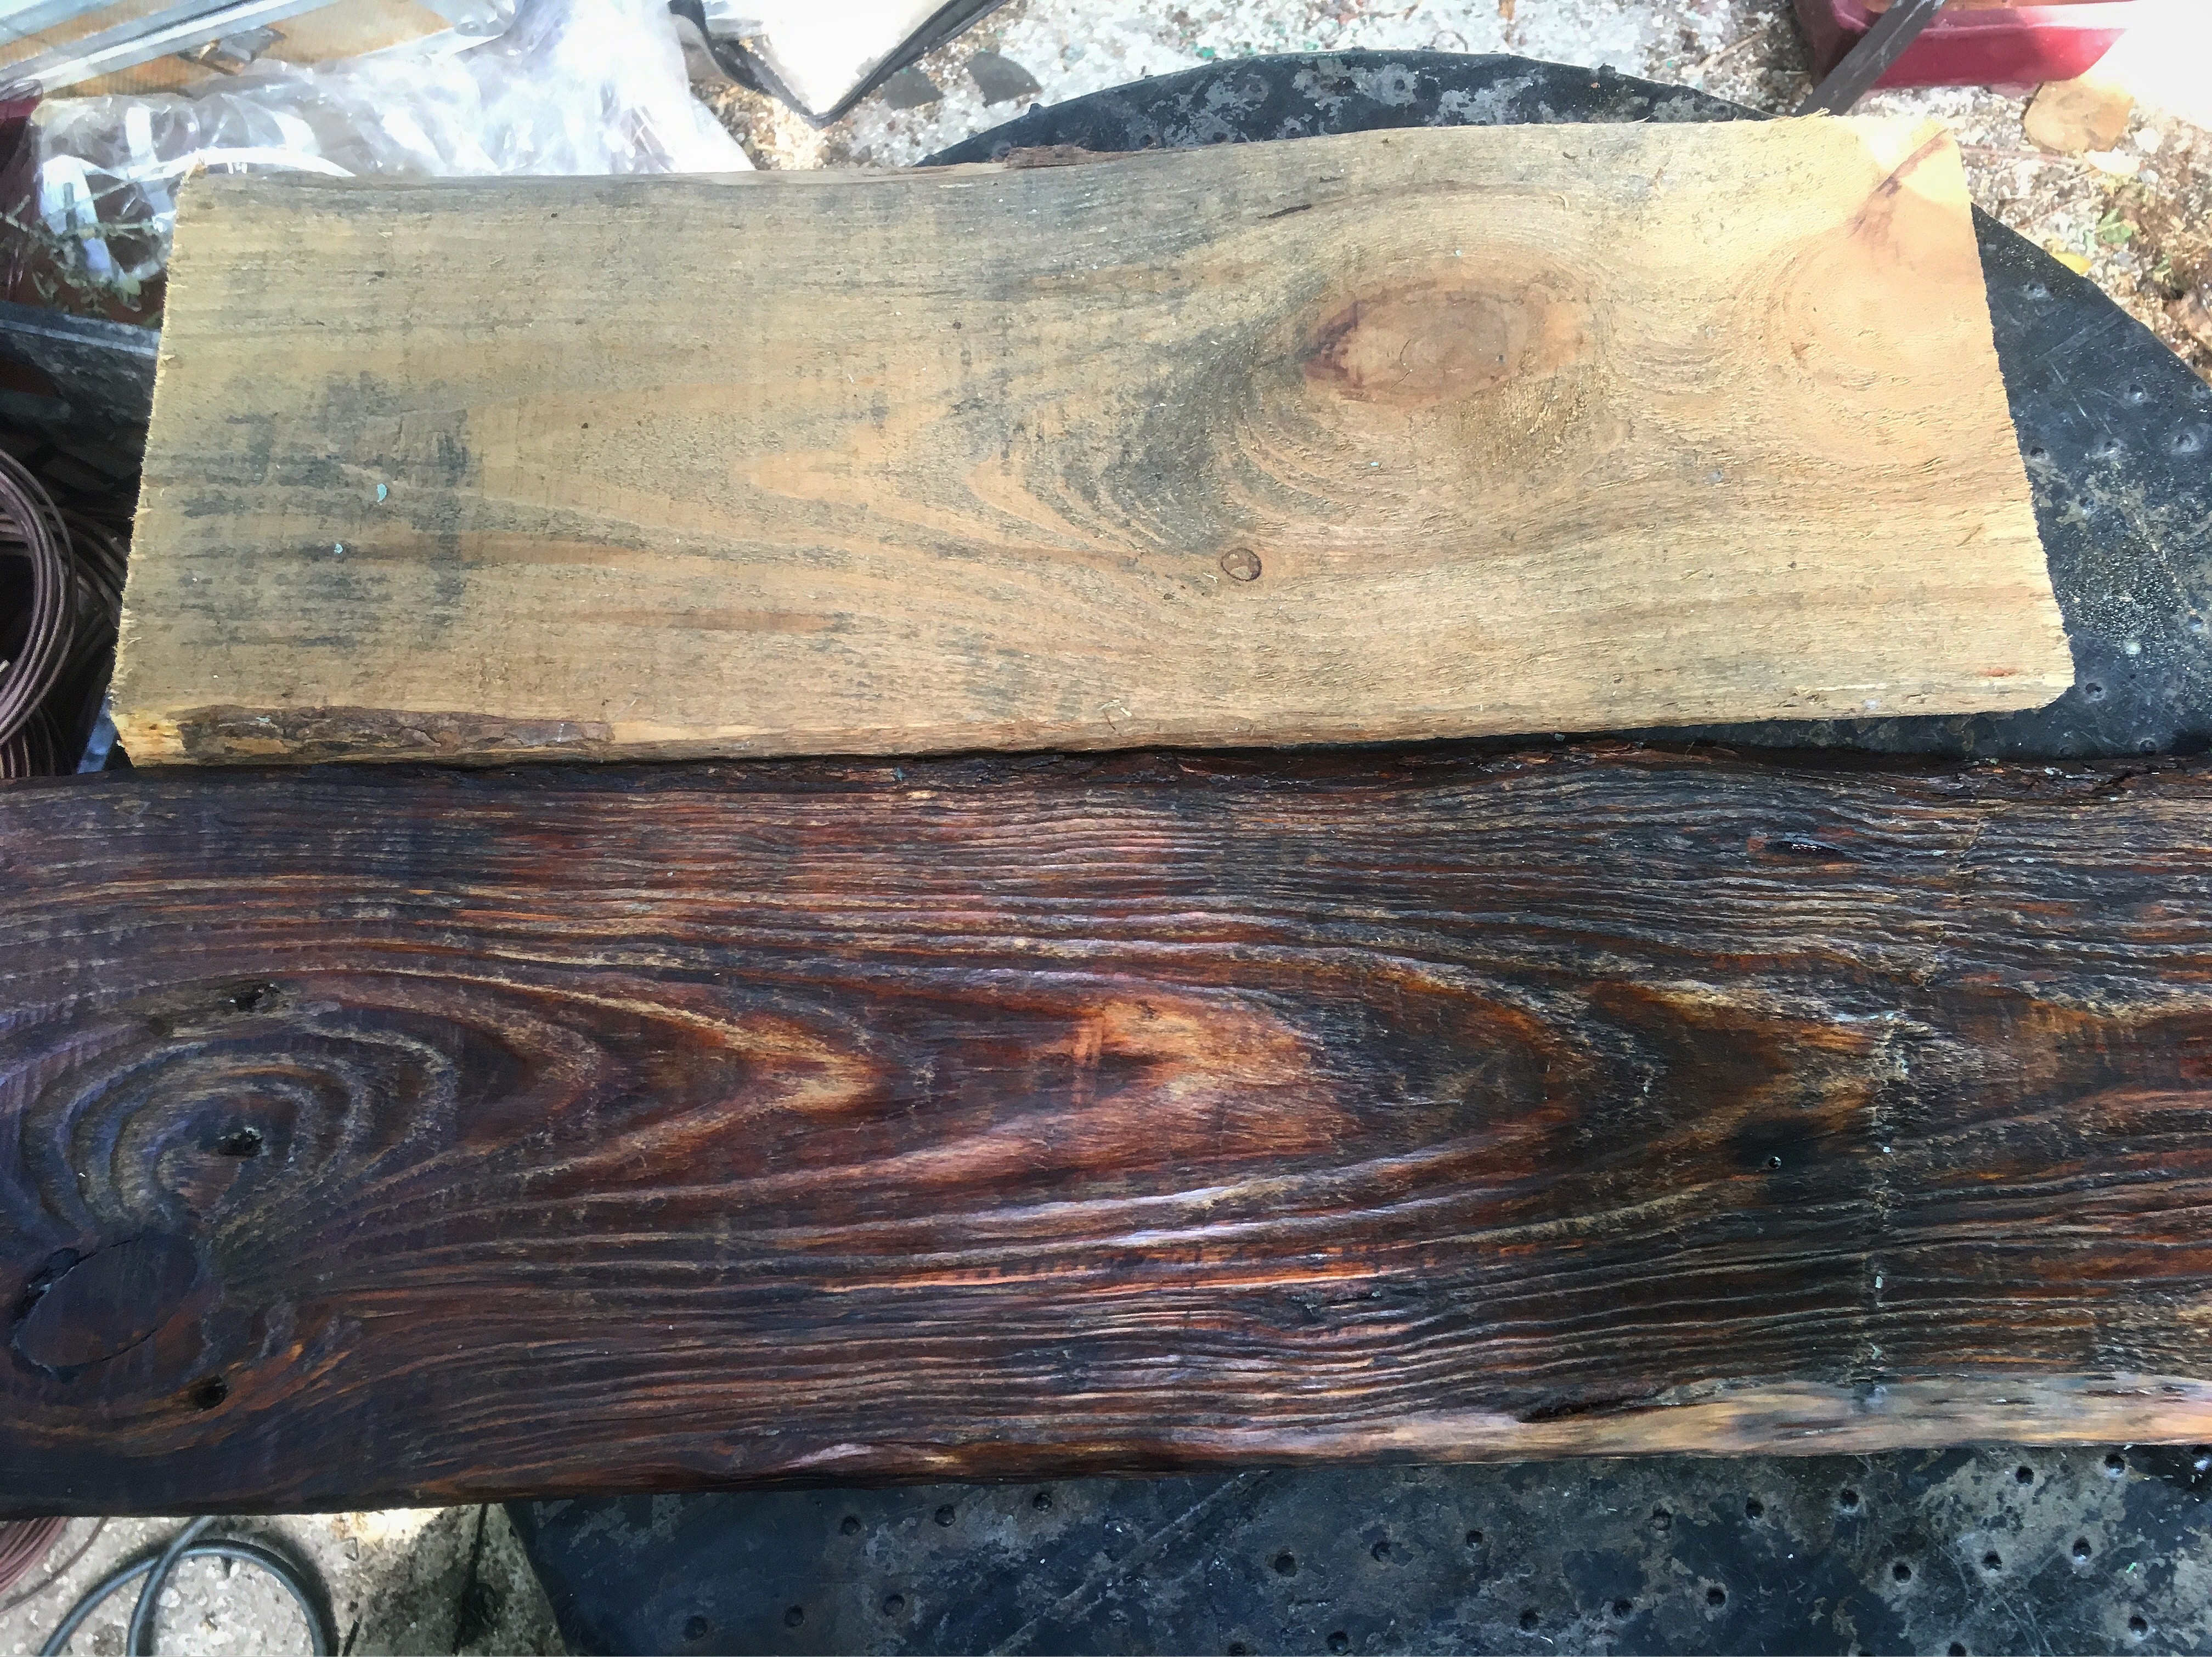 …..and the “finished” one.
Drill a few holes. 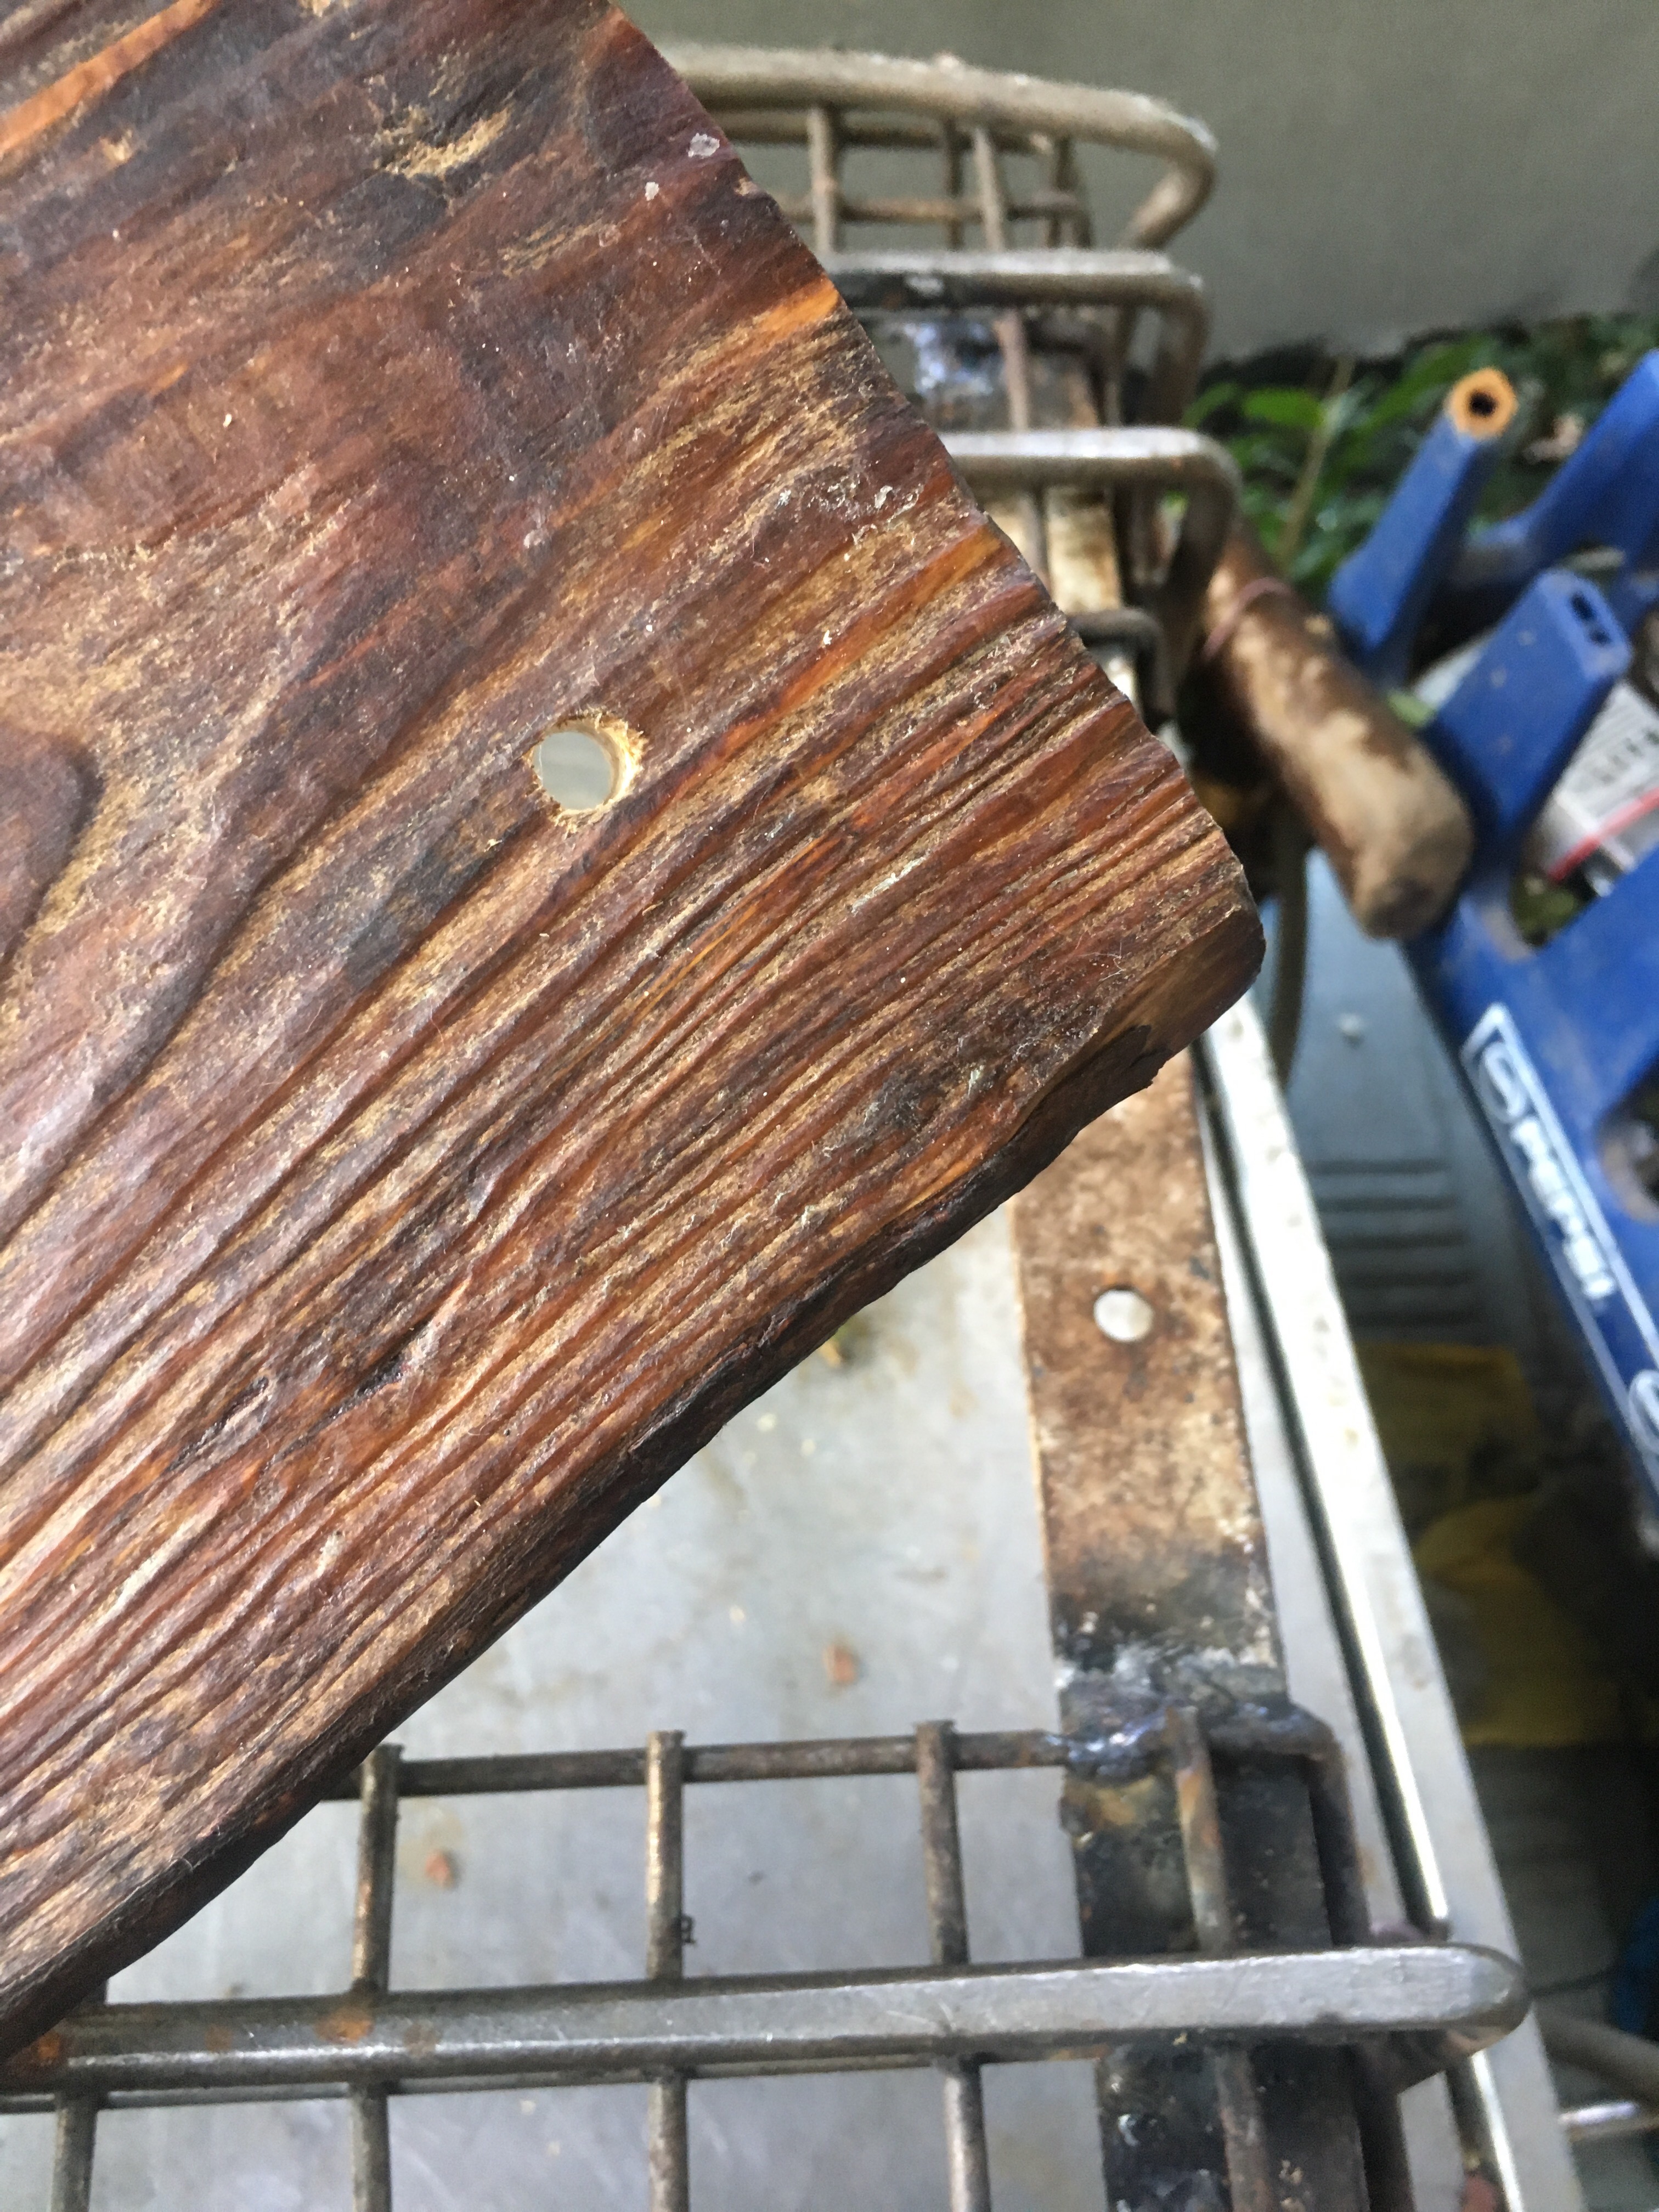
And some lacquer for the steel, to stop the rust. 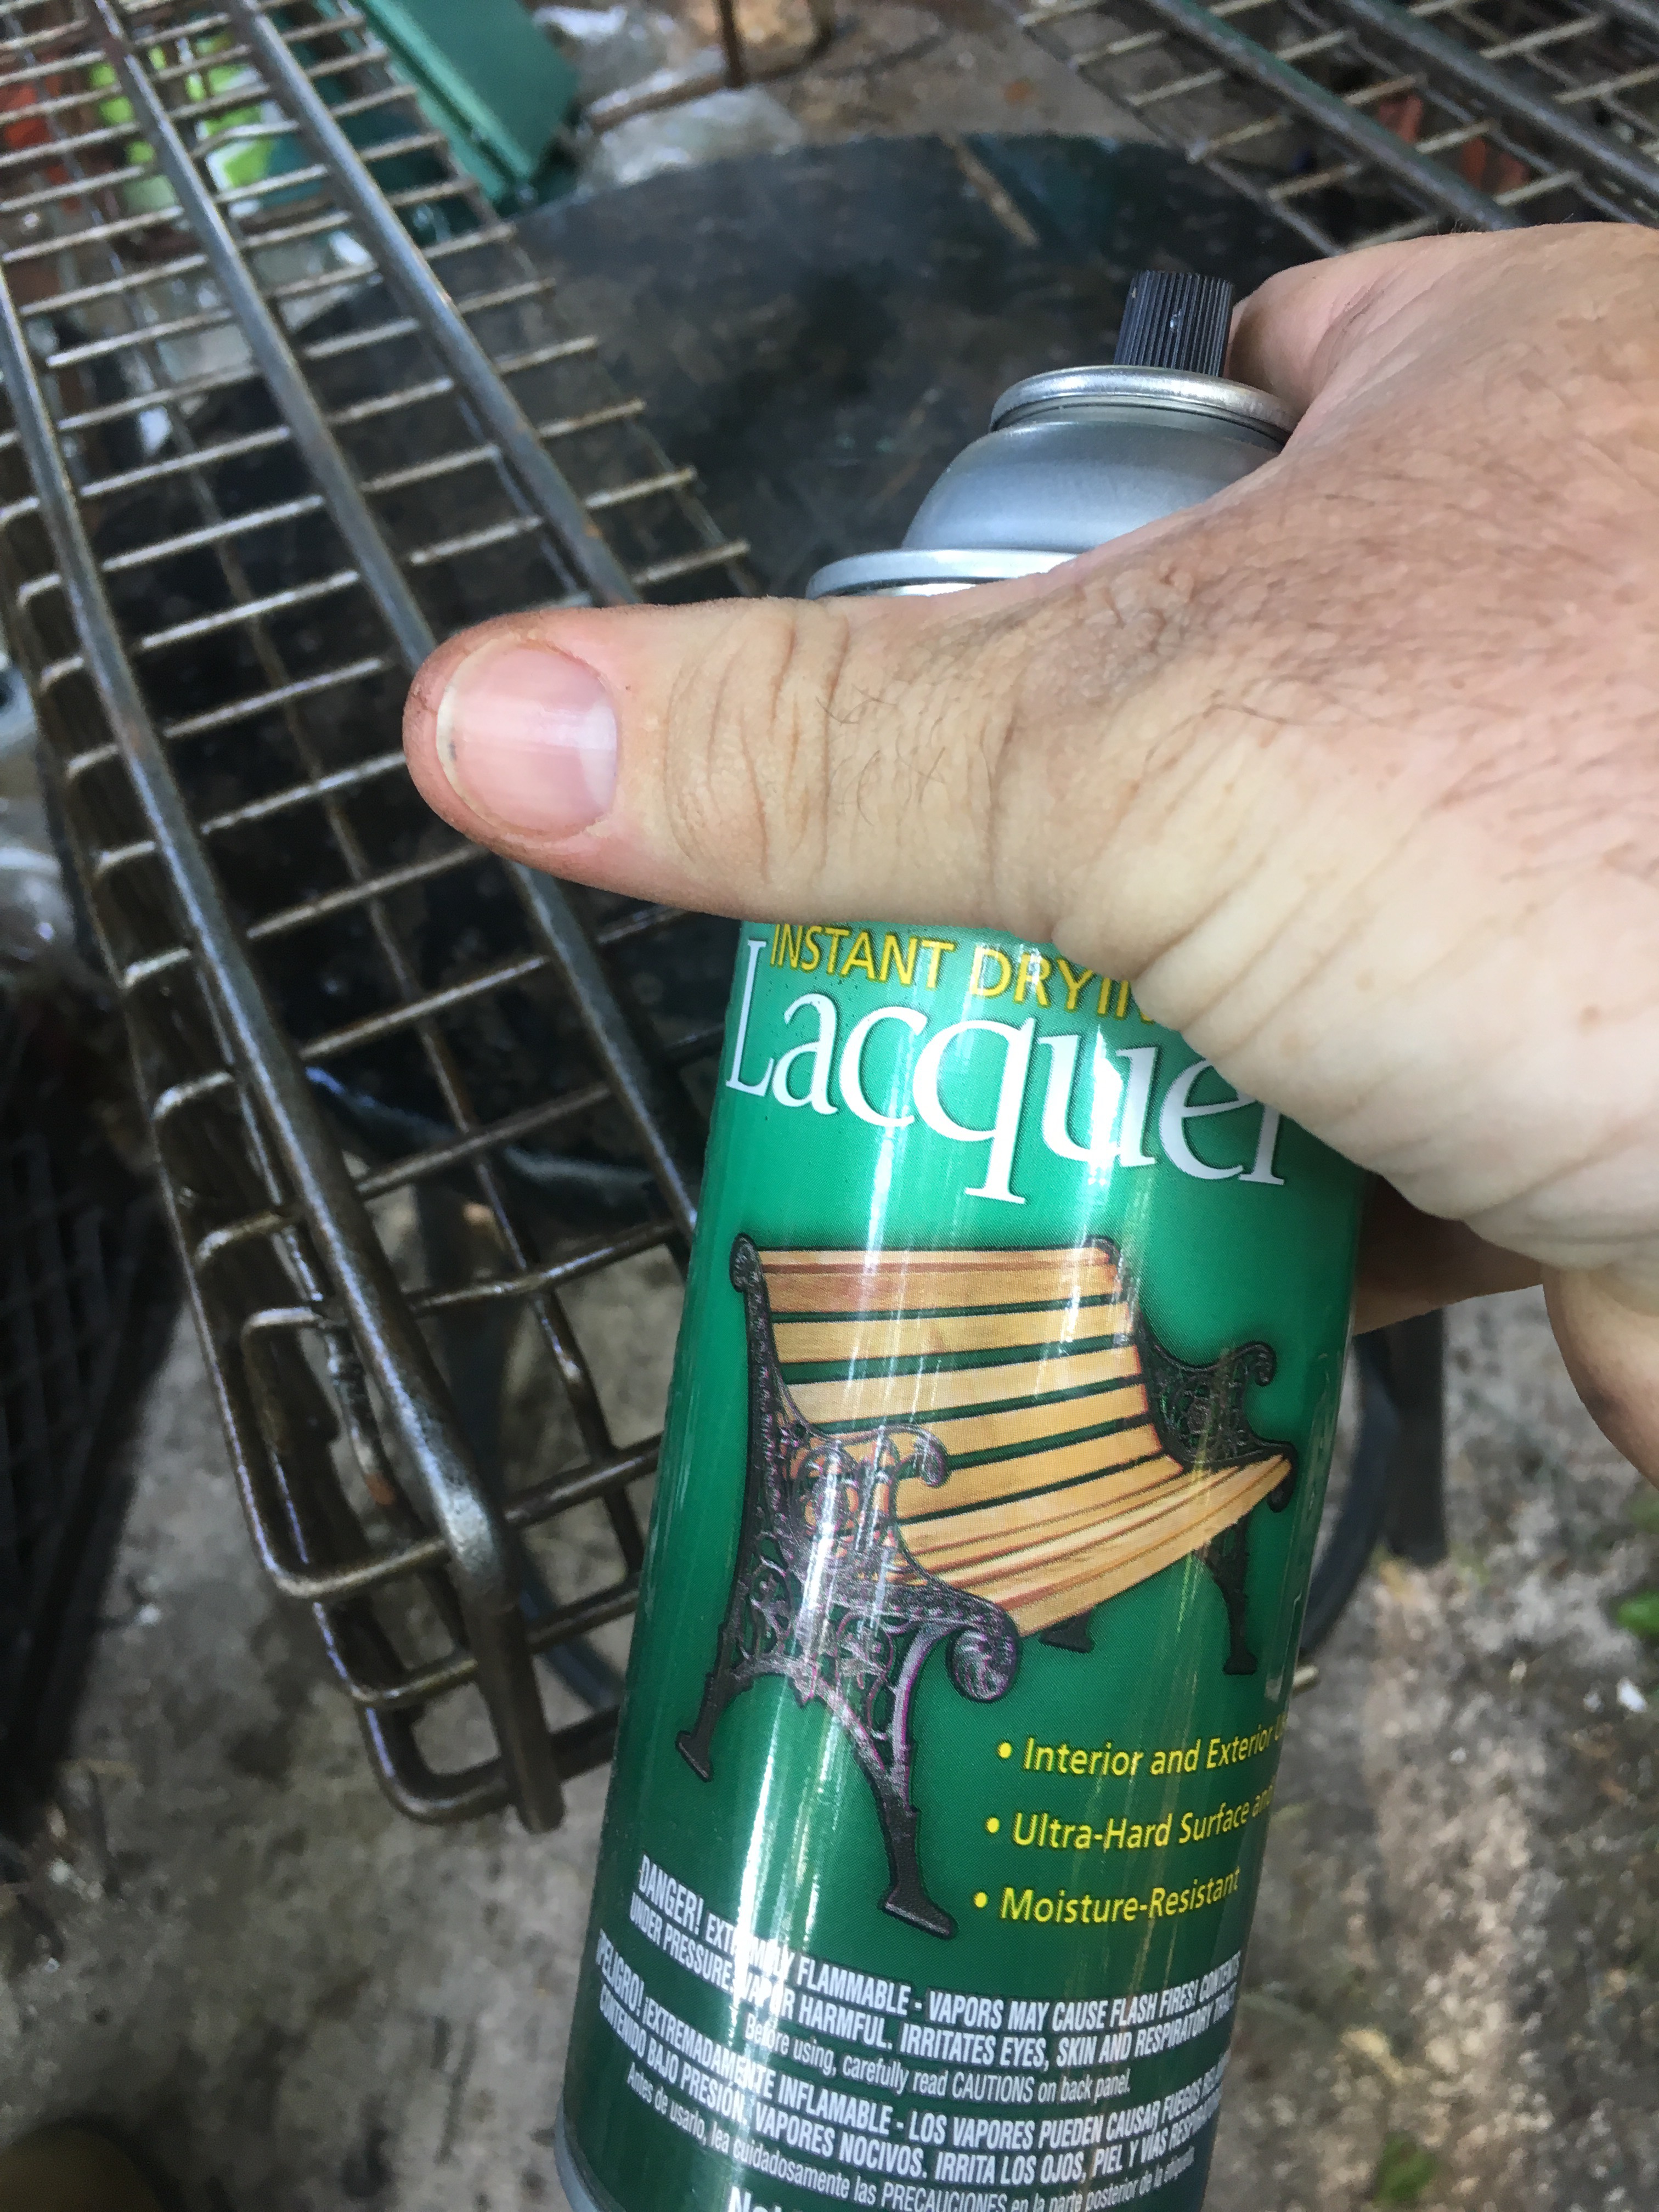
And Bob’s your uncle (my neighbor, in this case, thanks man!).
Looks good to me, about the look I had in mind. 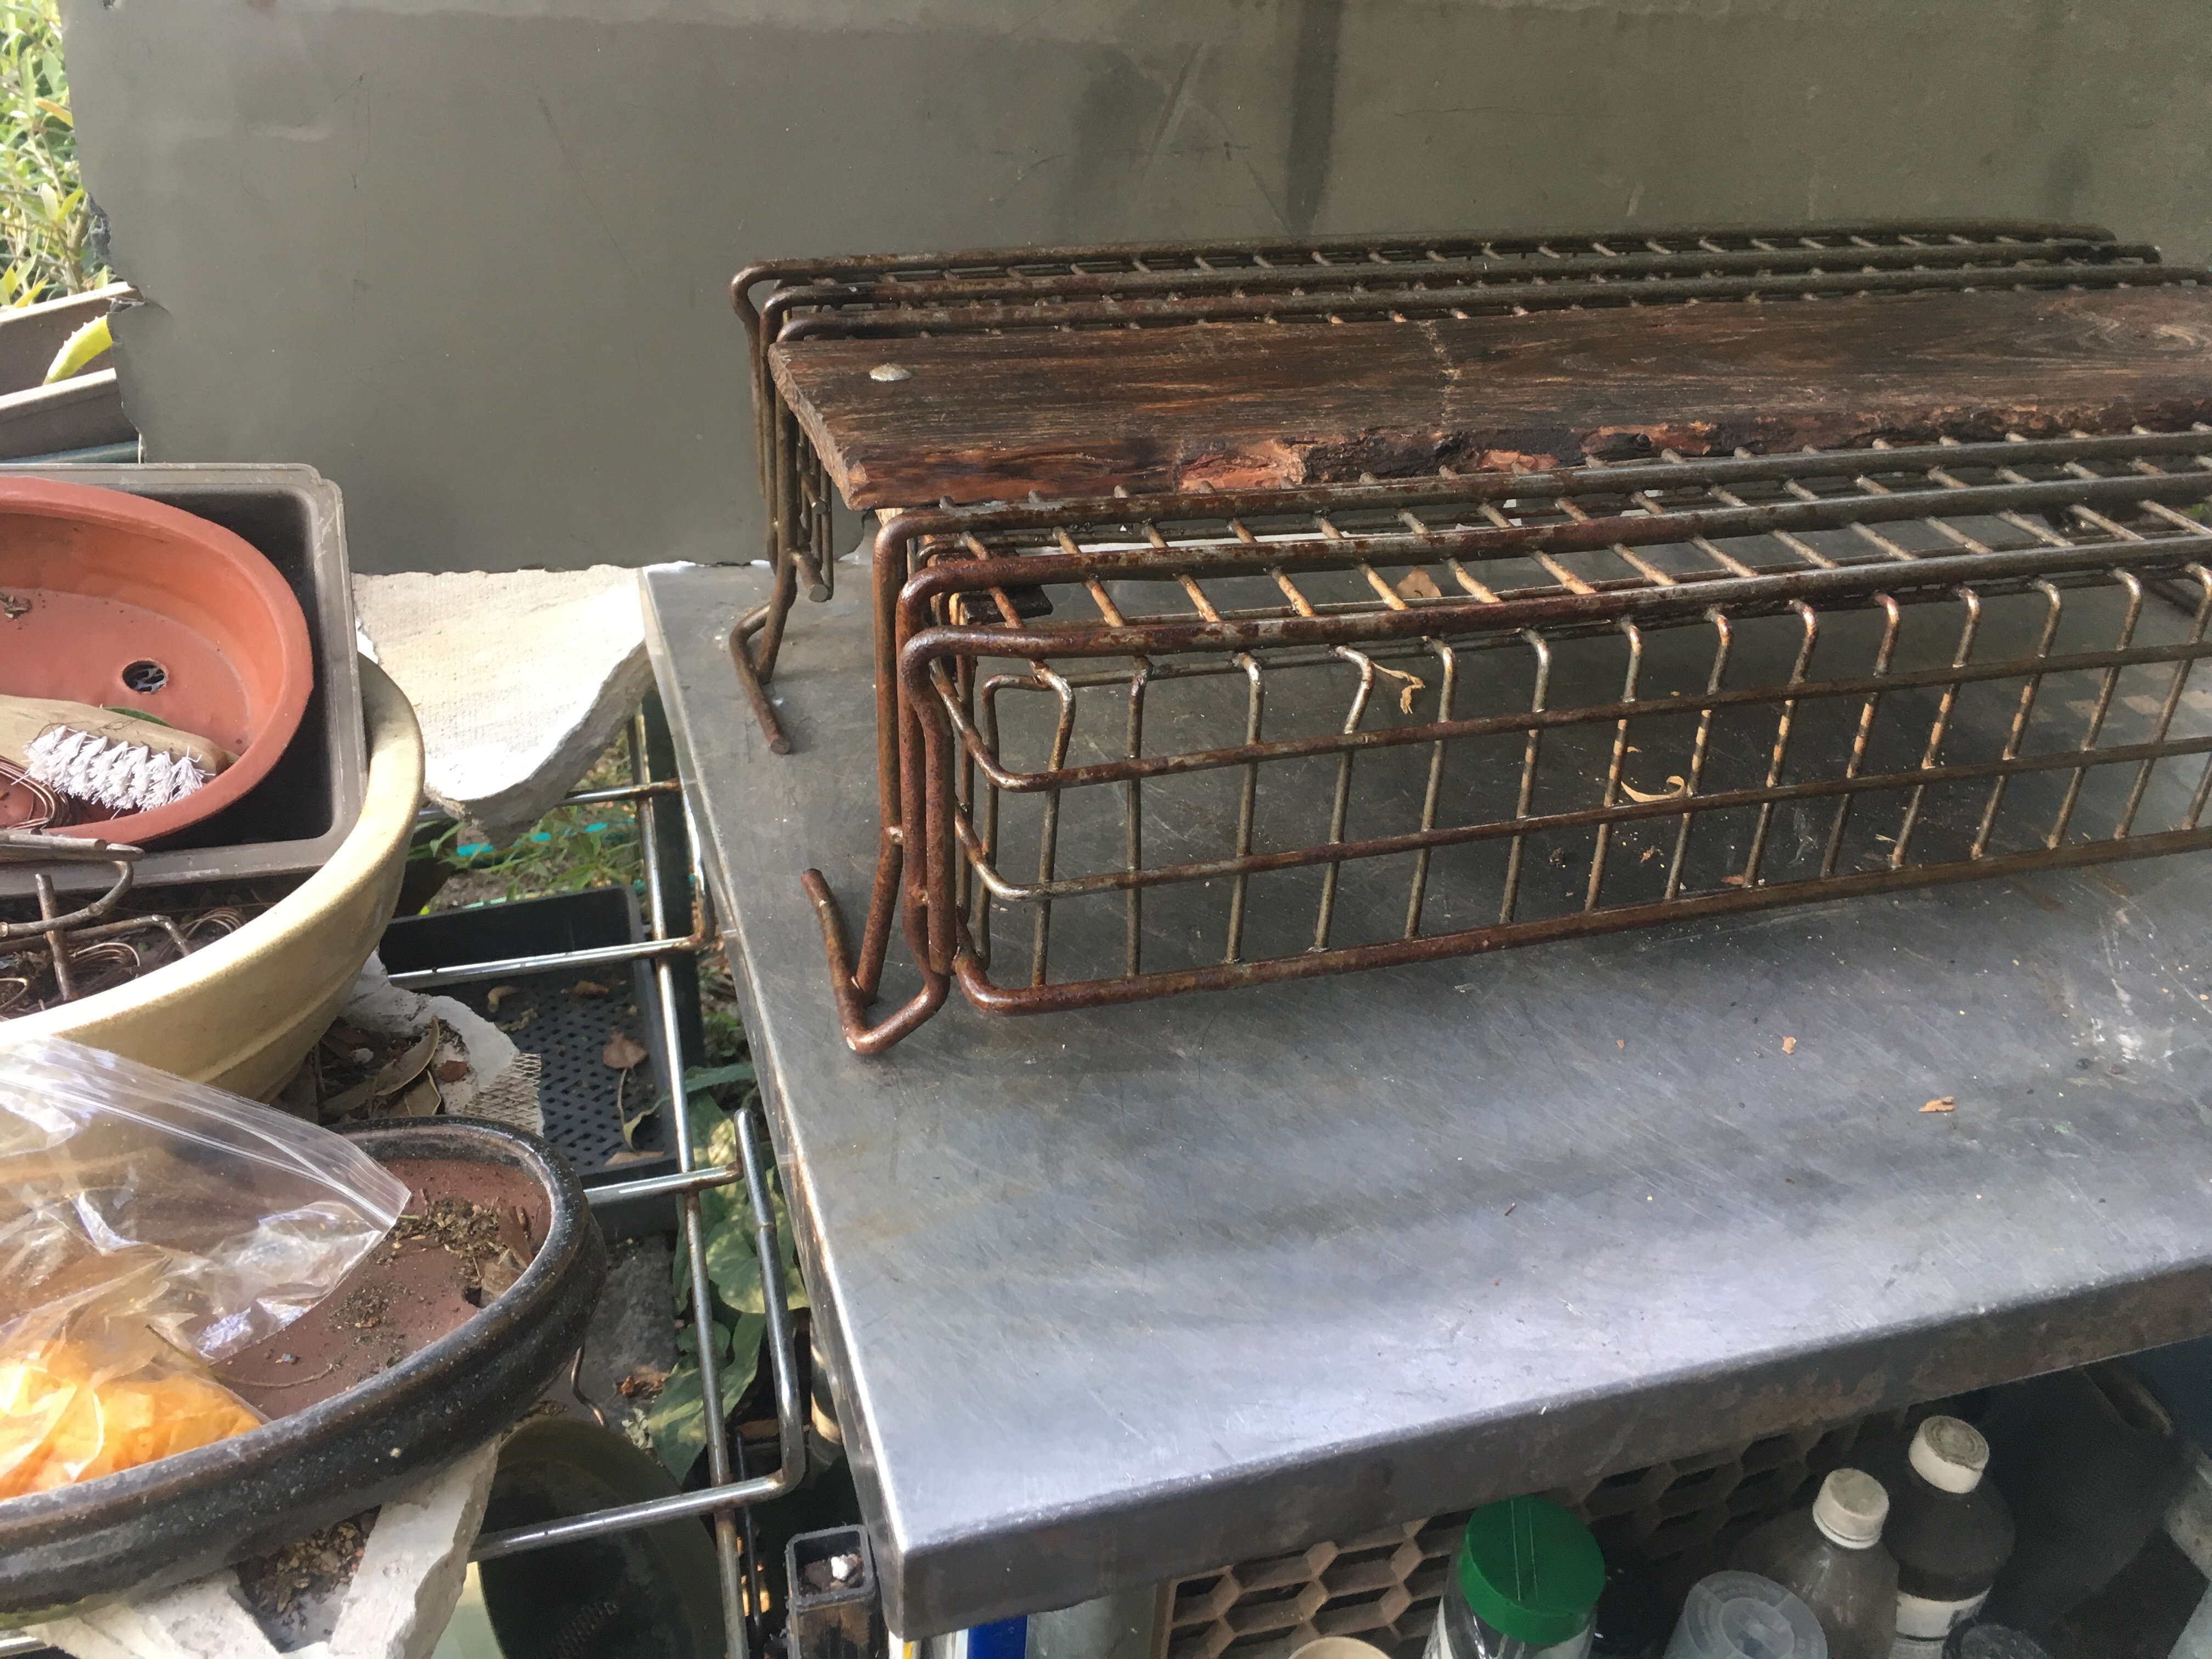
Old but still strong. 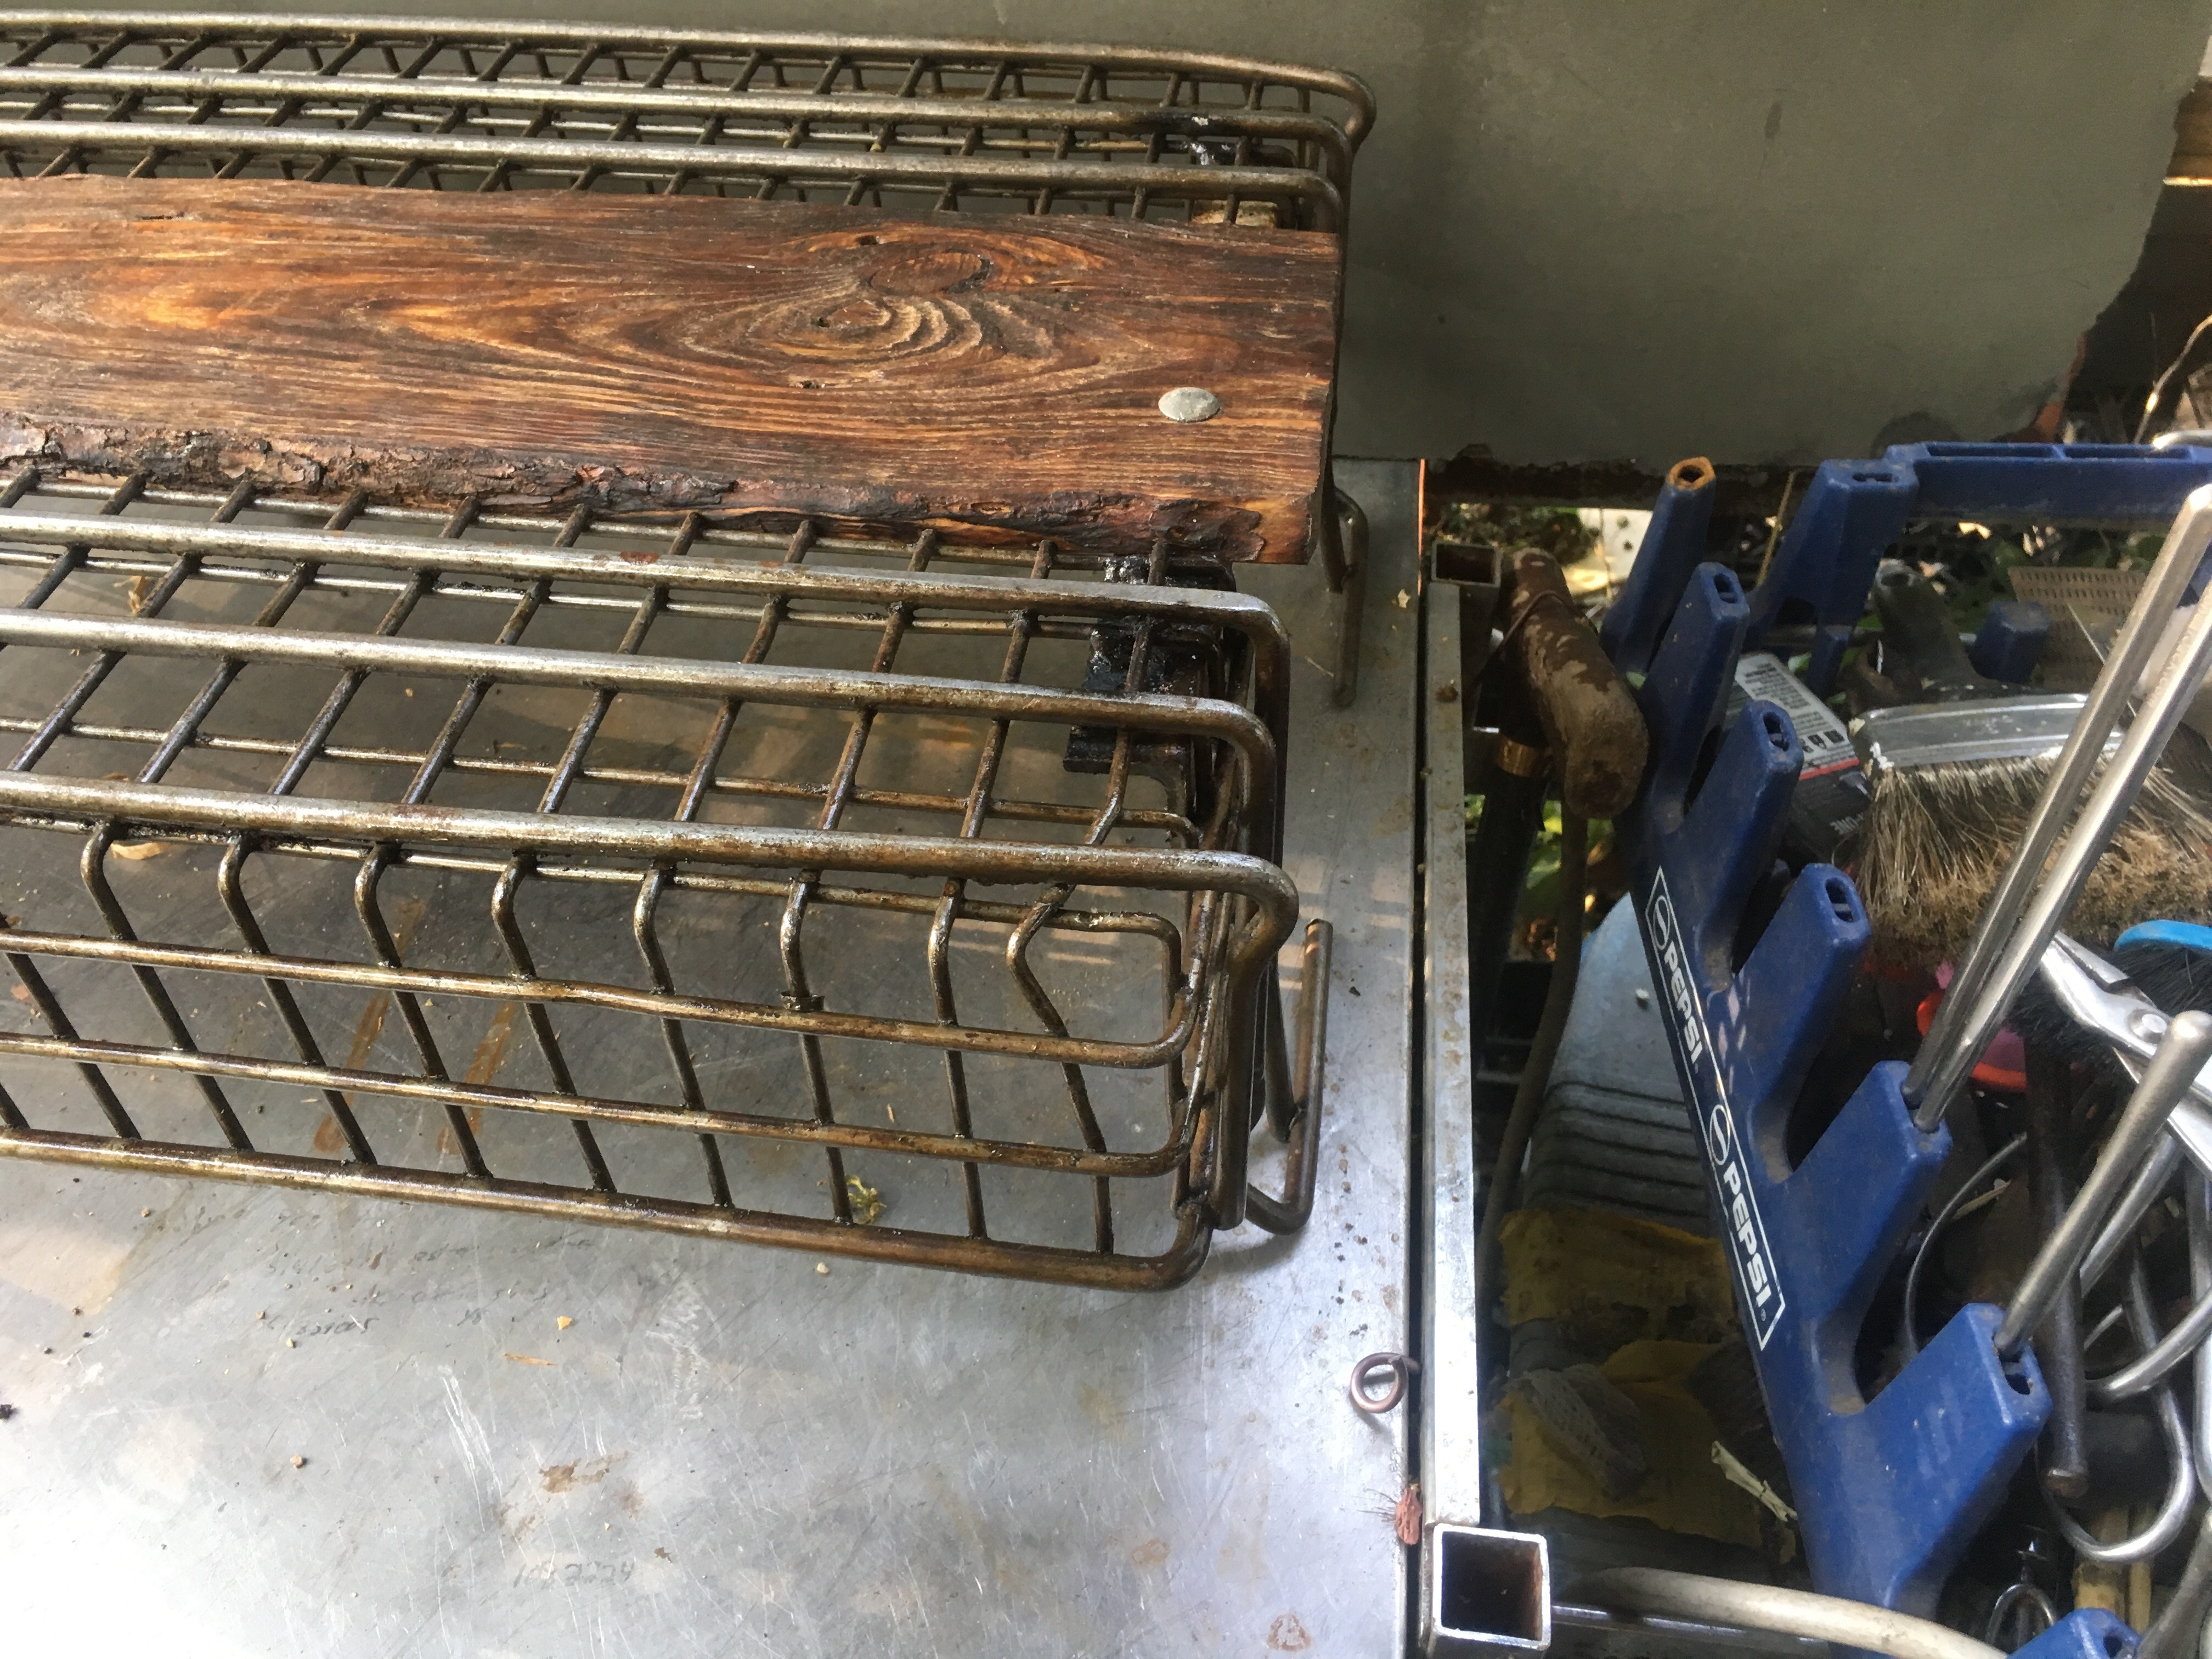 Aged but noble, showing the materials it’s made of.
 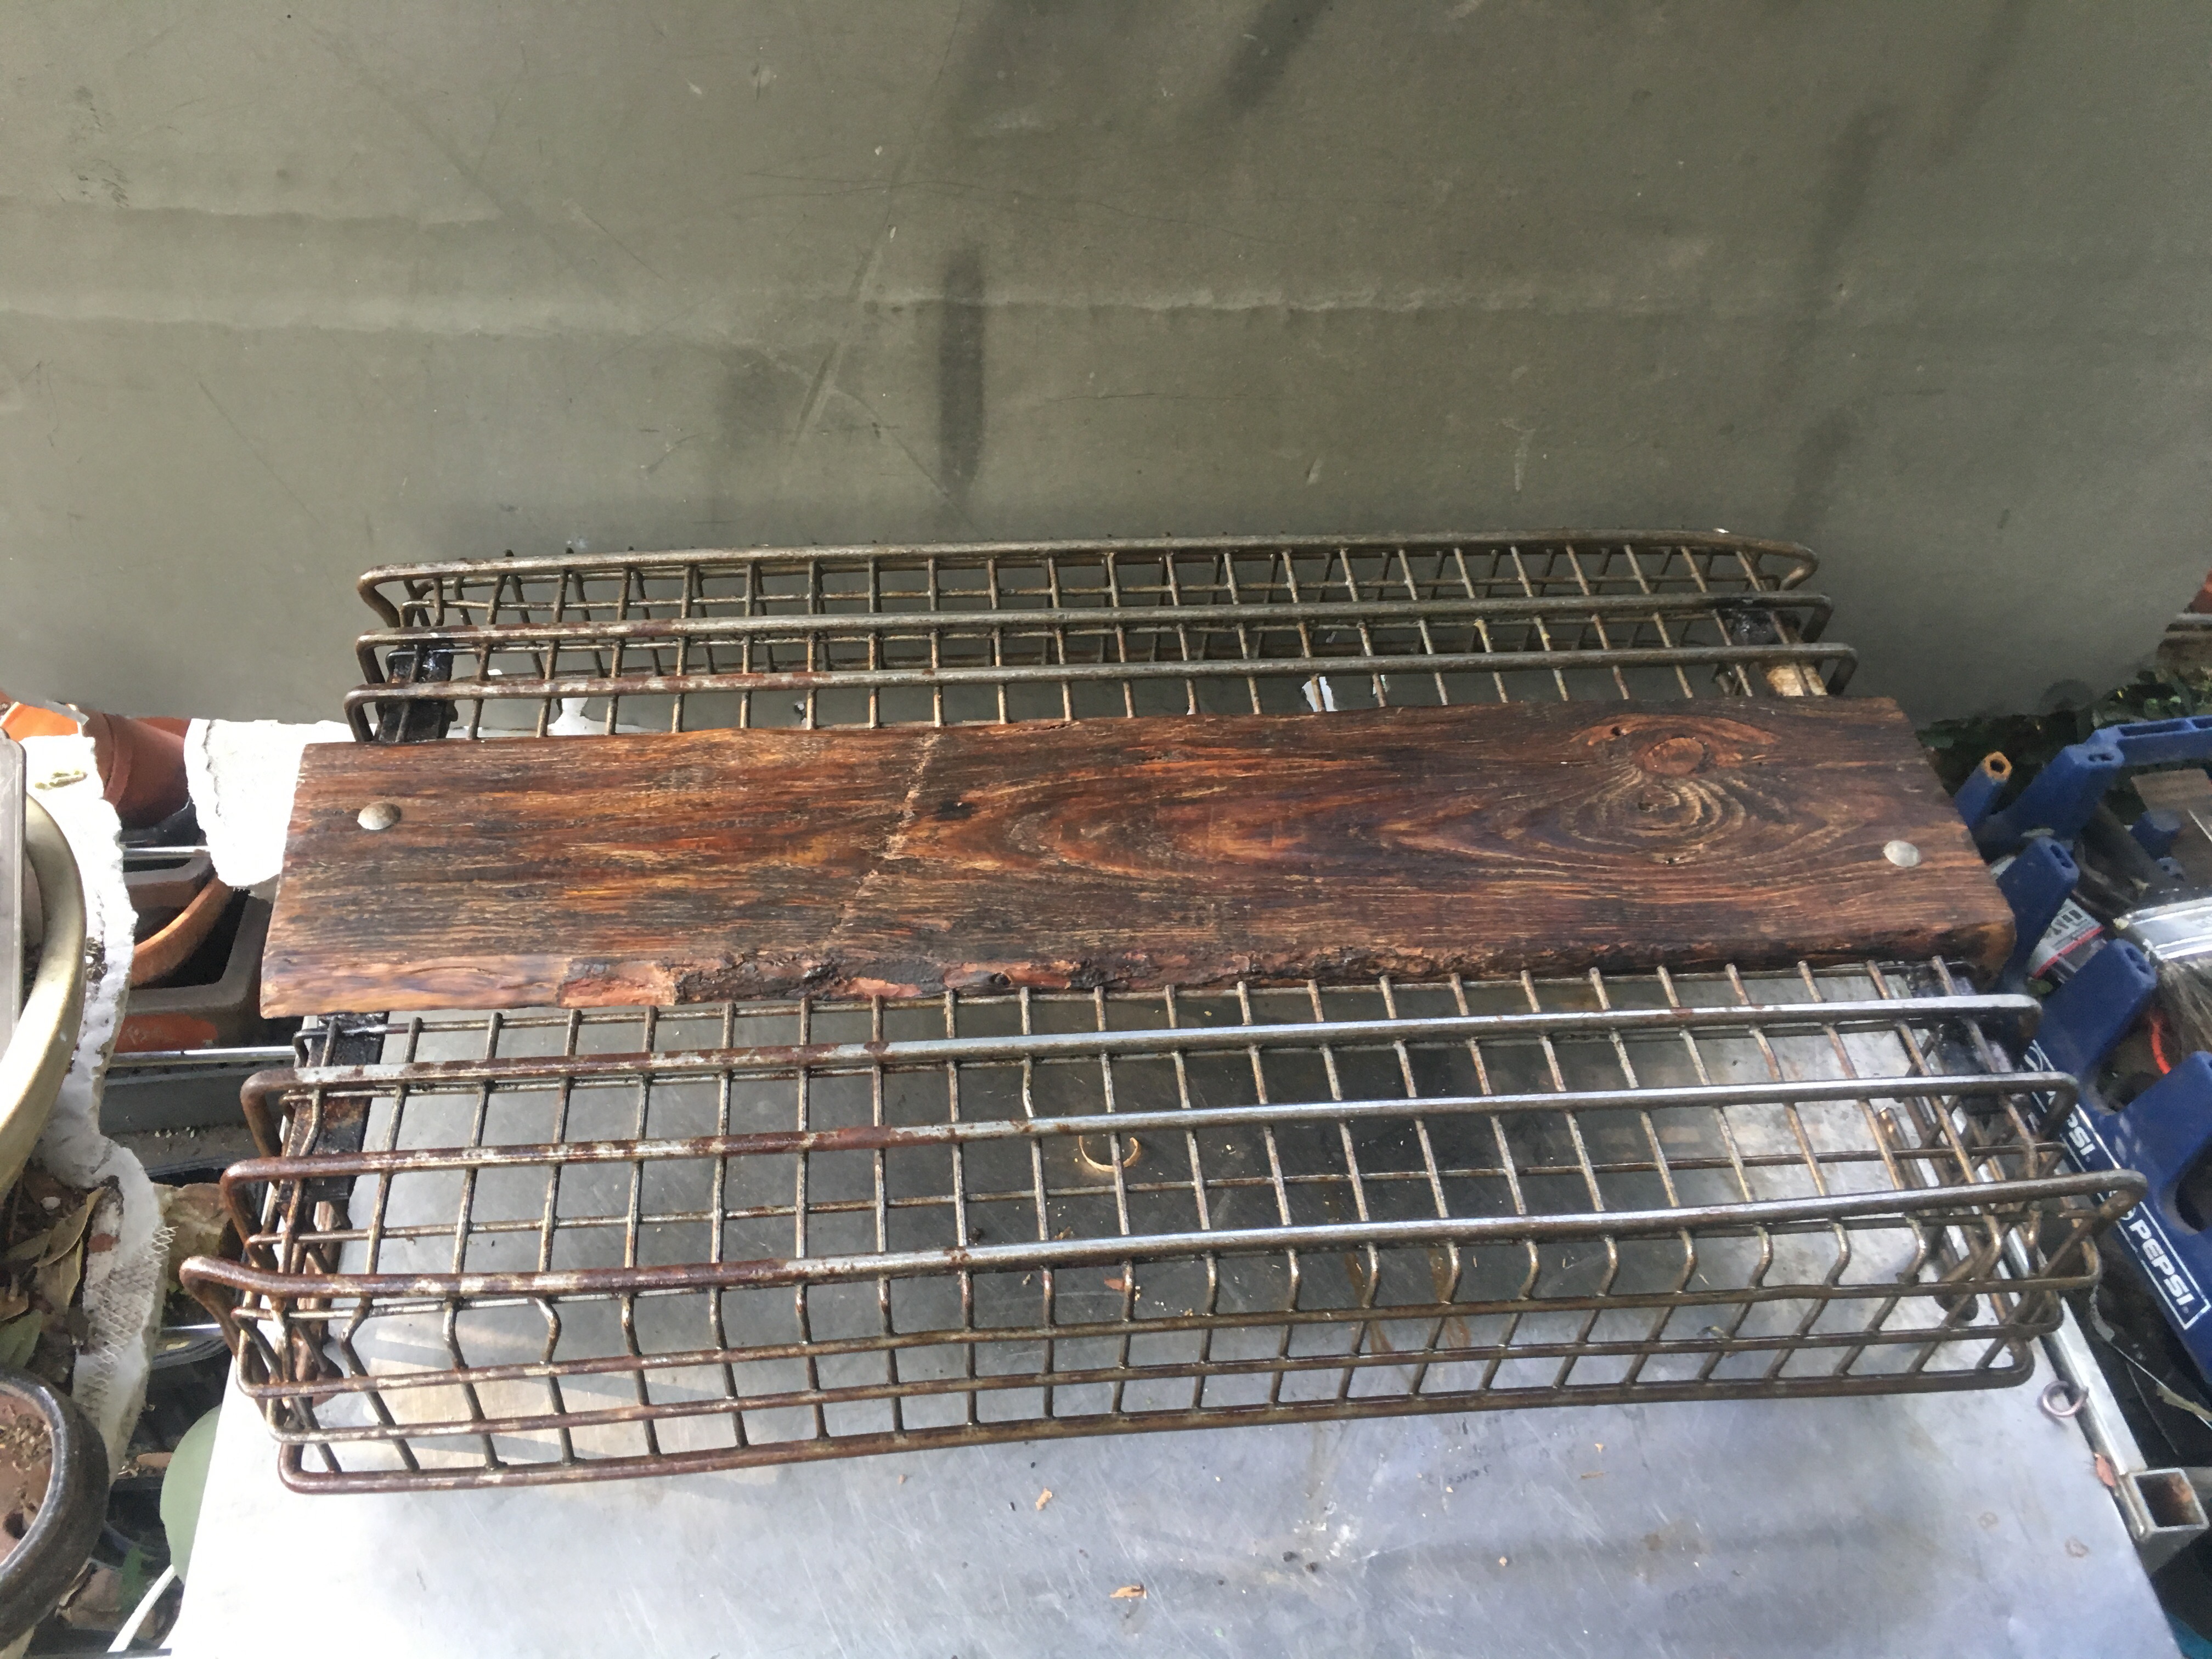 It’s working for me.
I know it’s not many people’s cup of tea. They want that traditional, regular, boring stand. And that’s fine. 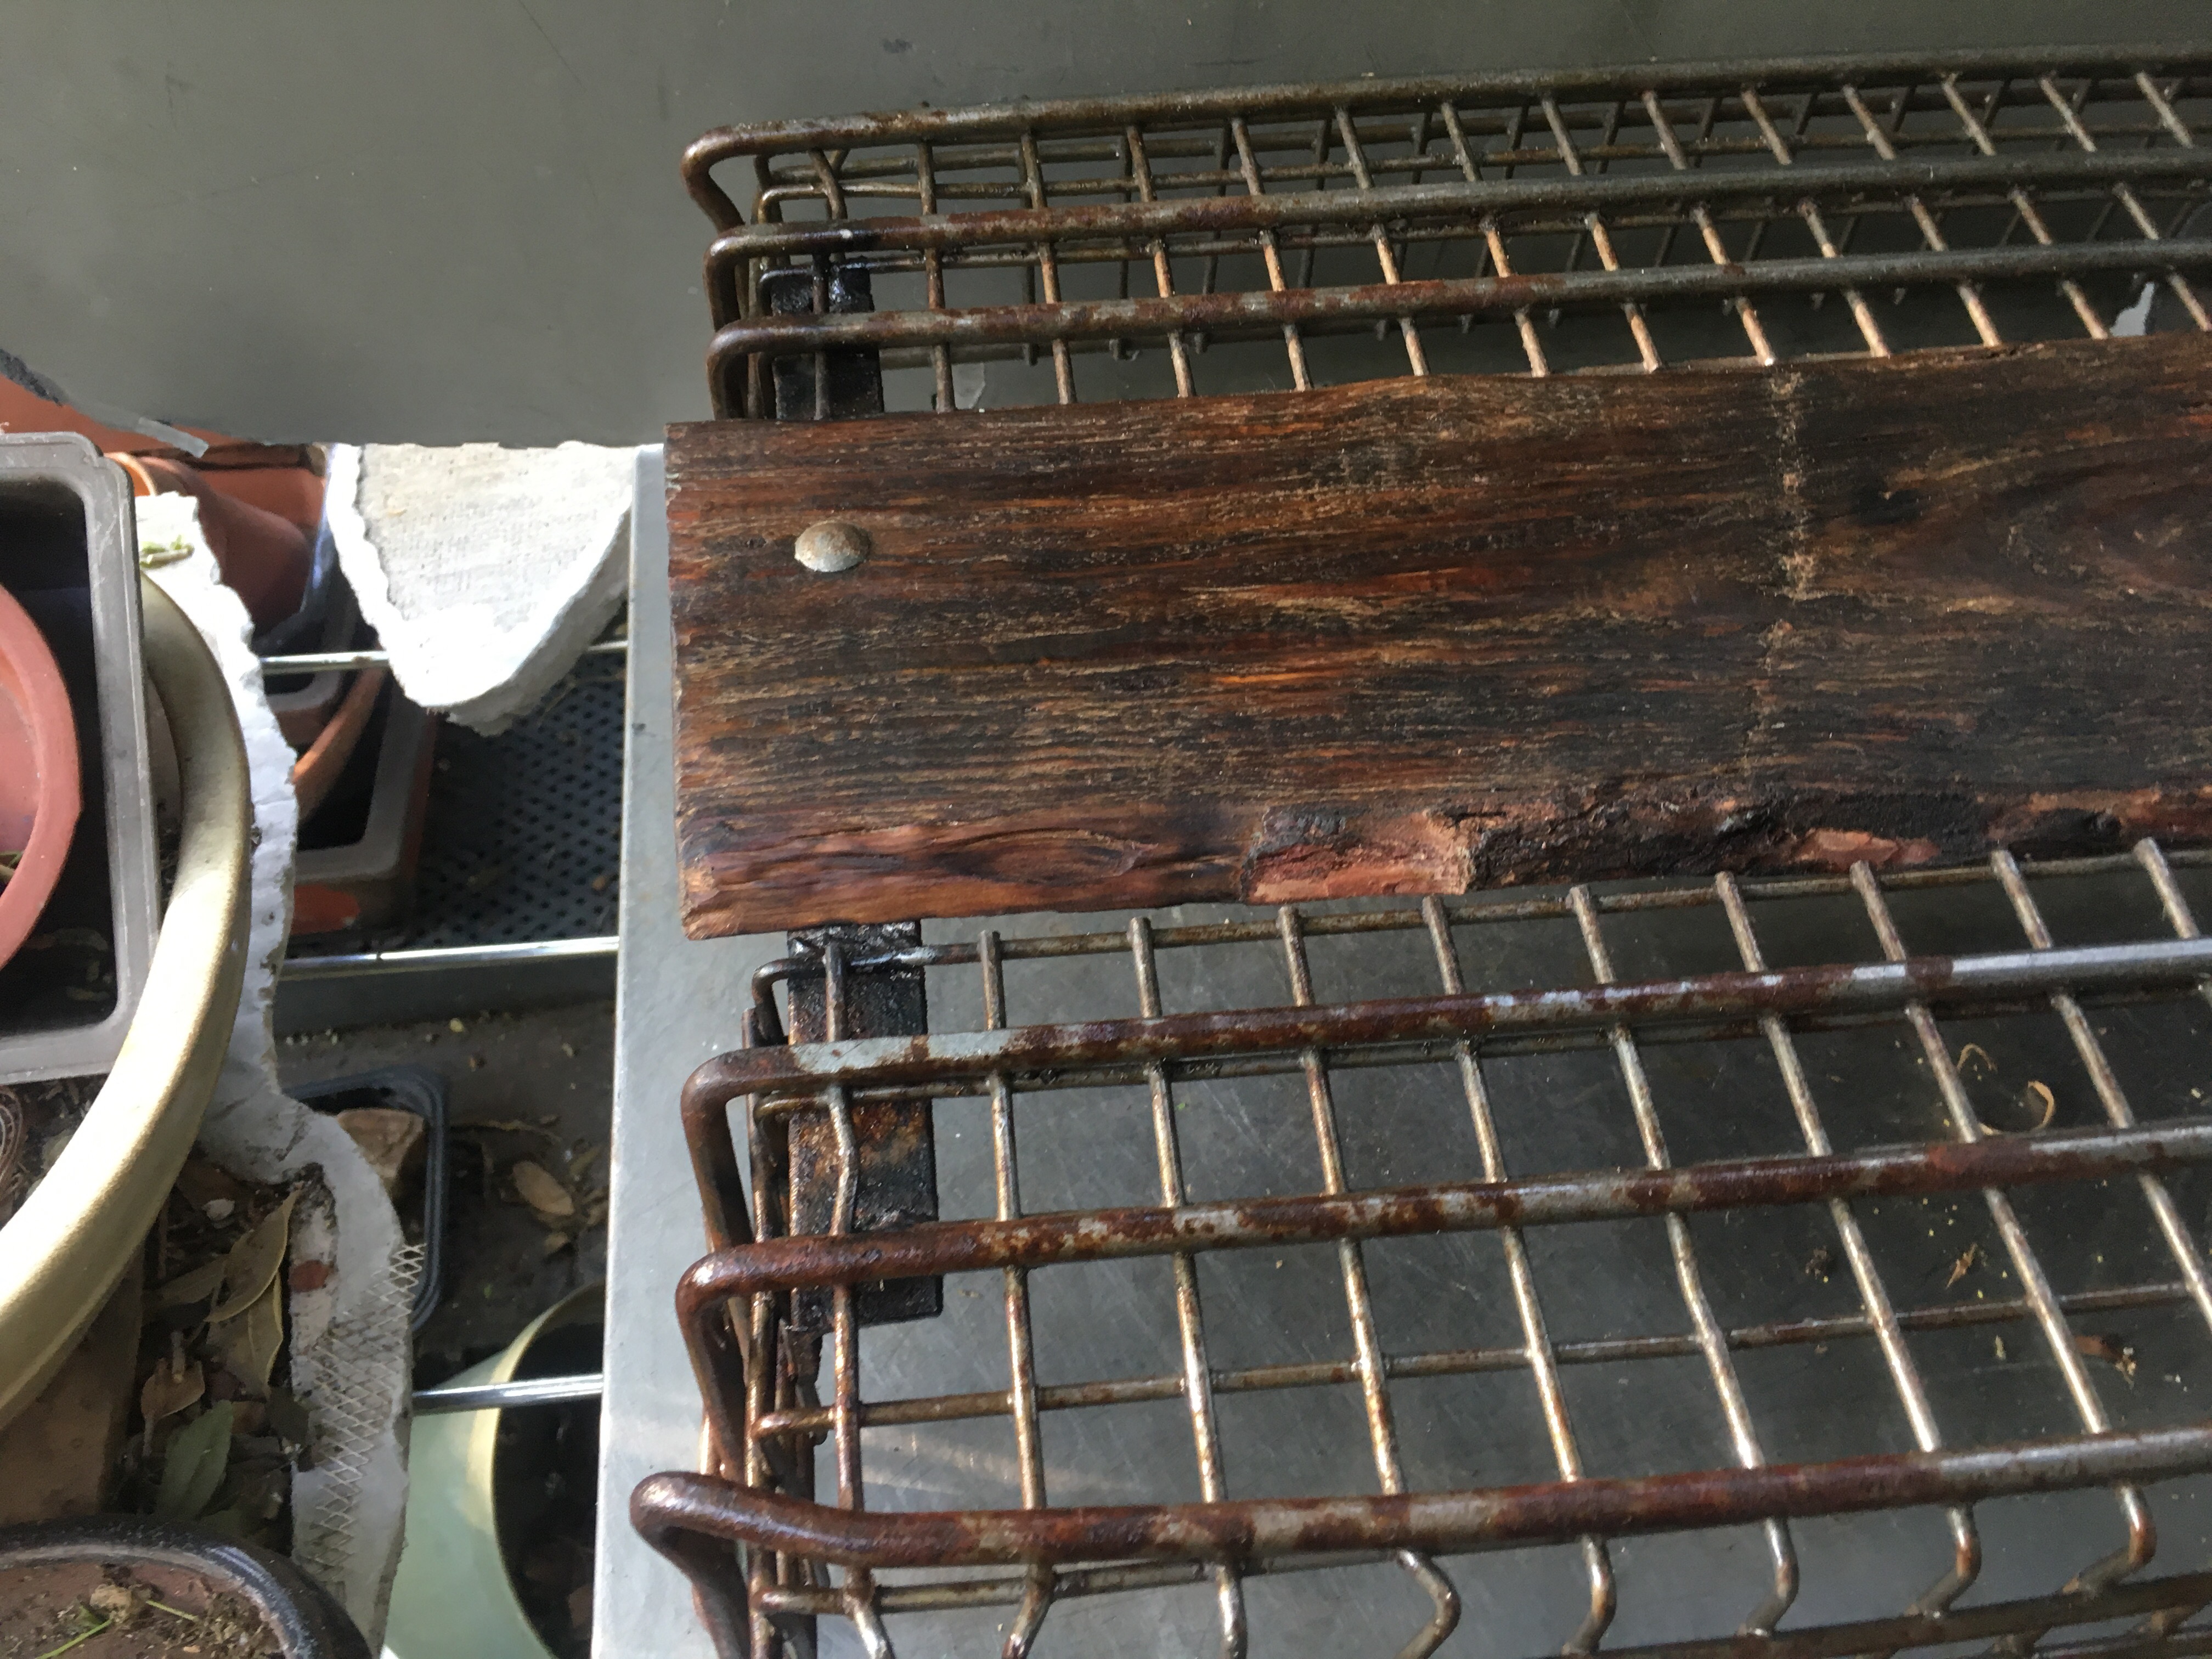 I can make those. Anyone can really, that’s all just equipment, wood. Some technique. Easy.
 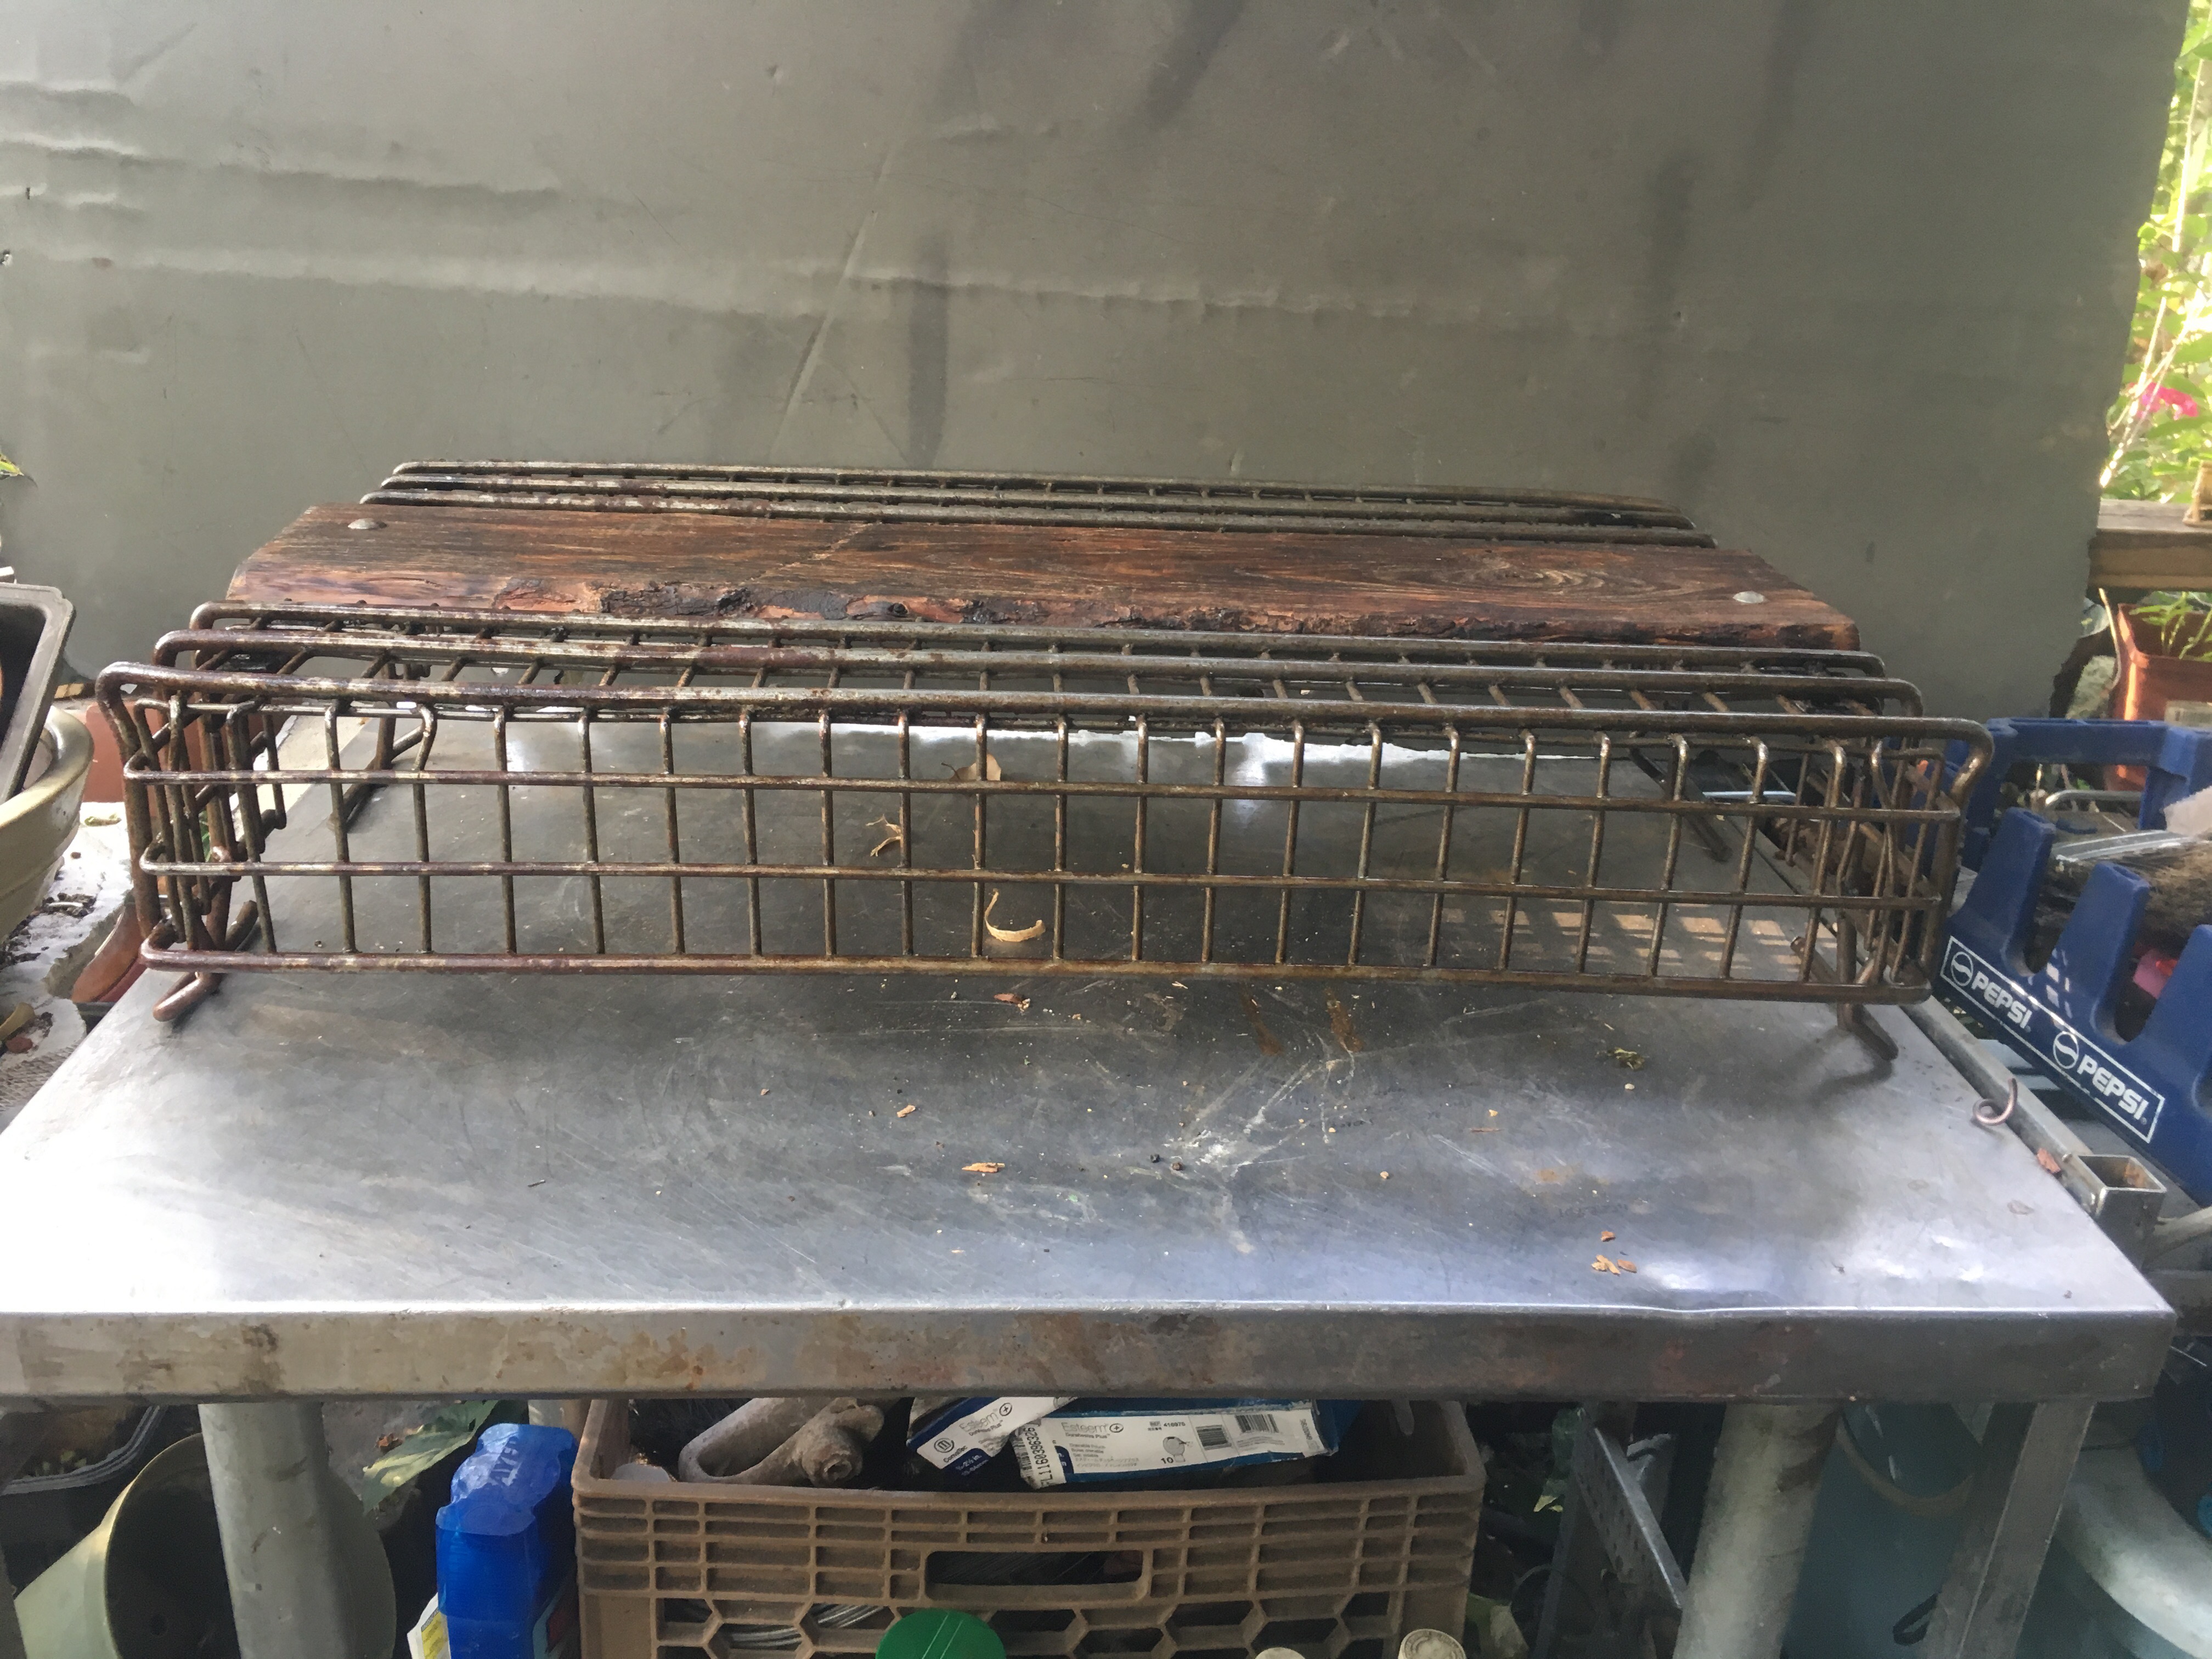 Or buy one made already. That’s even easier. Just need cash.
From where I stand, I want something interesting, something unique. 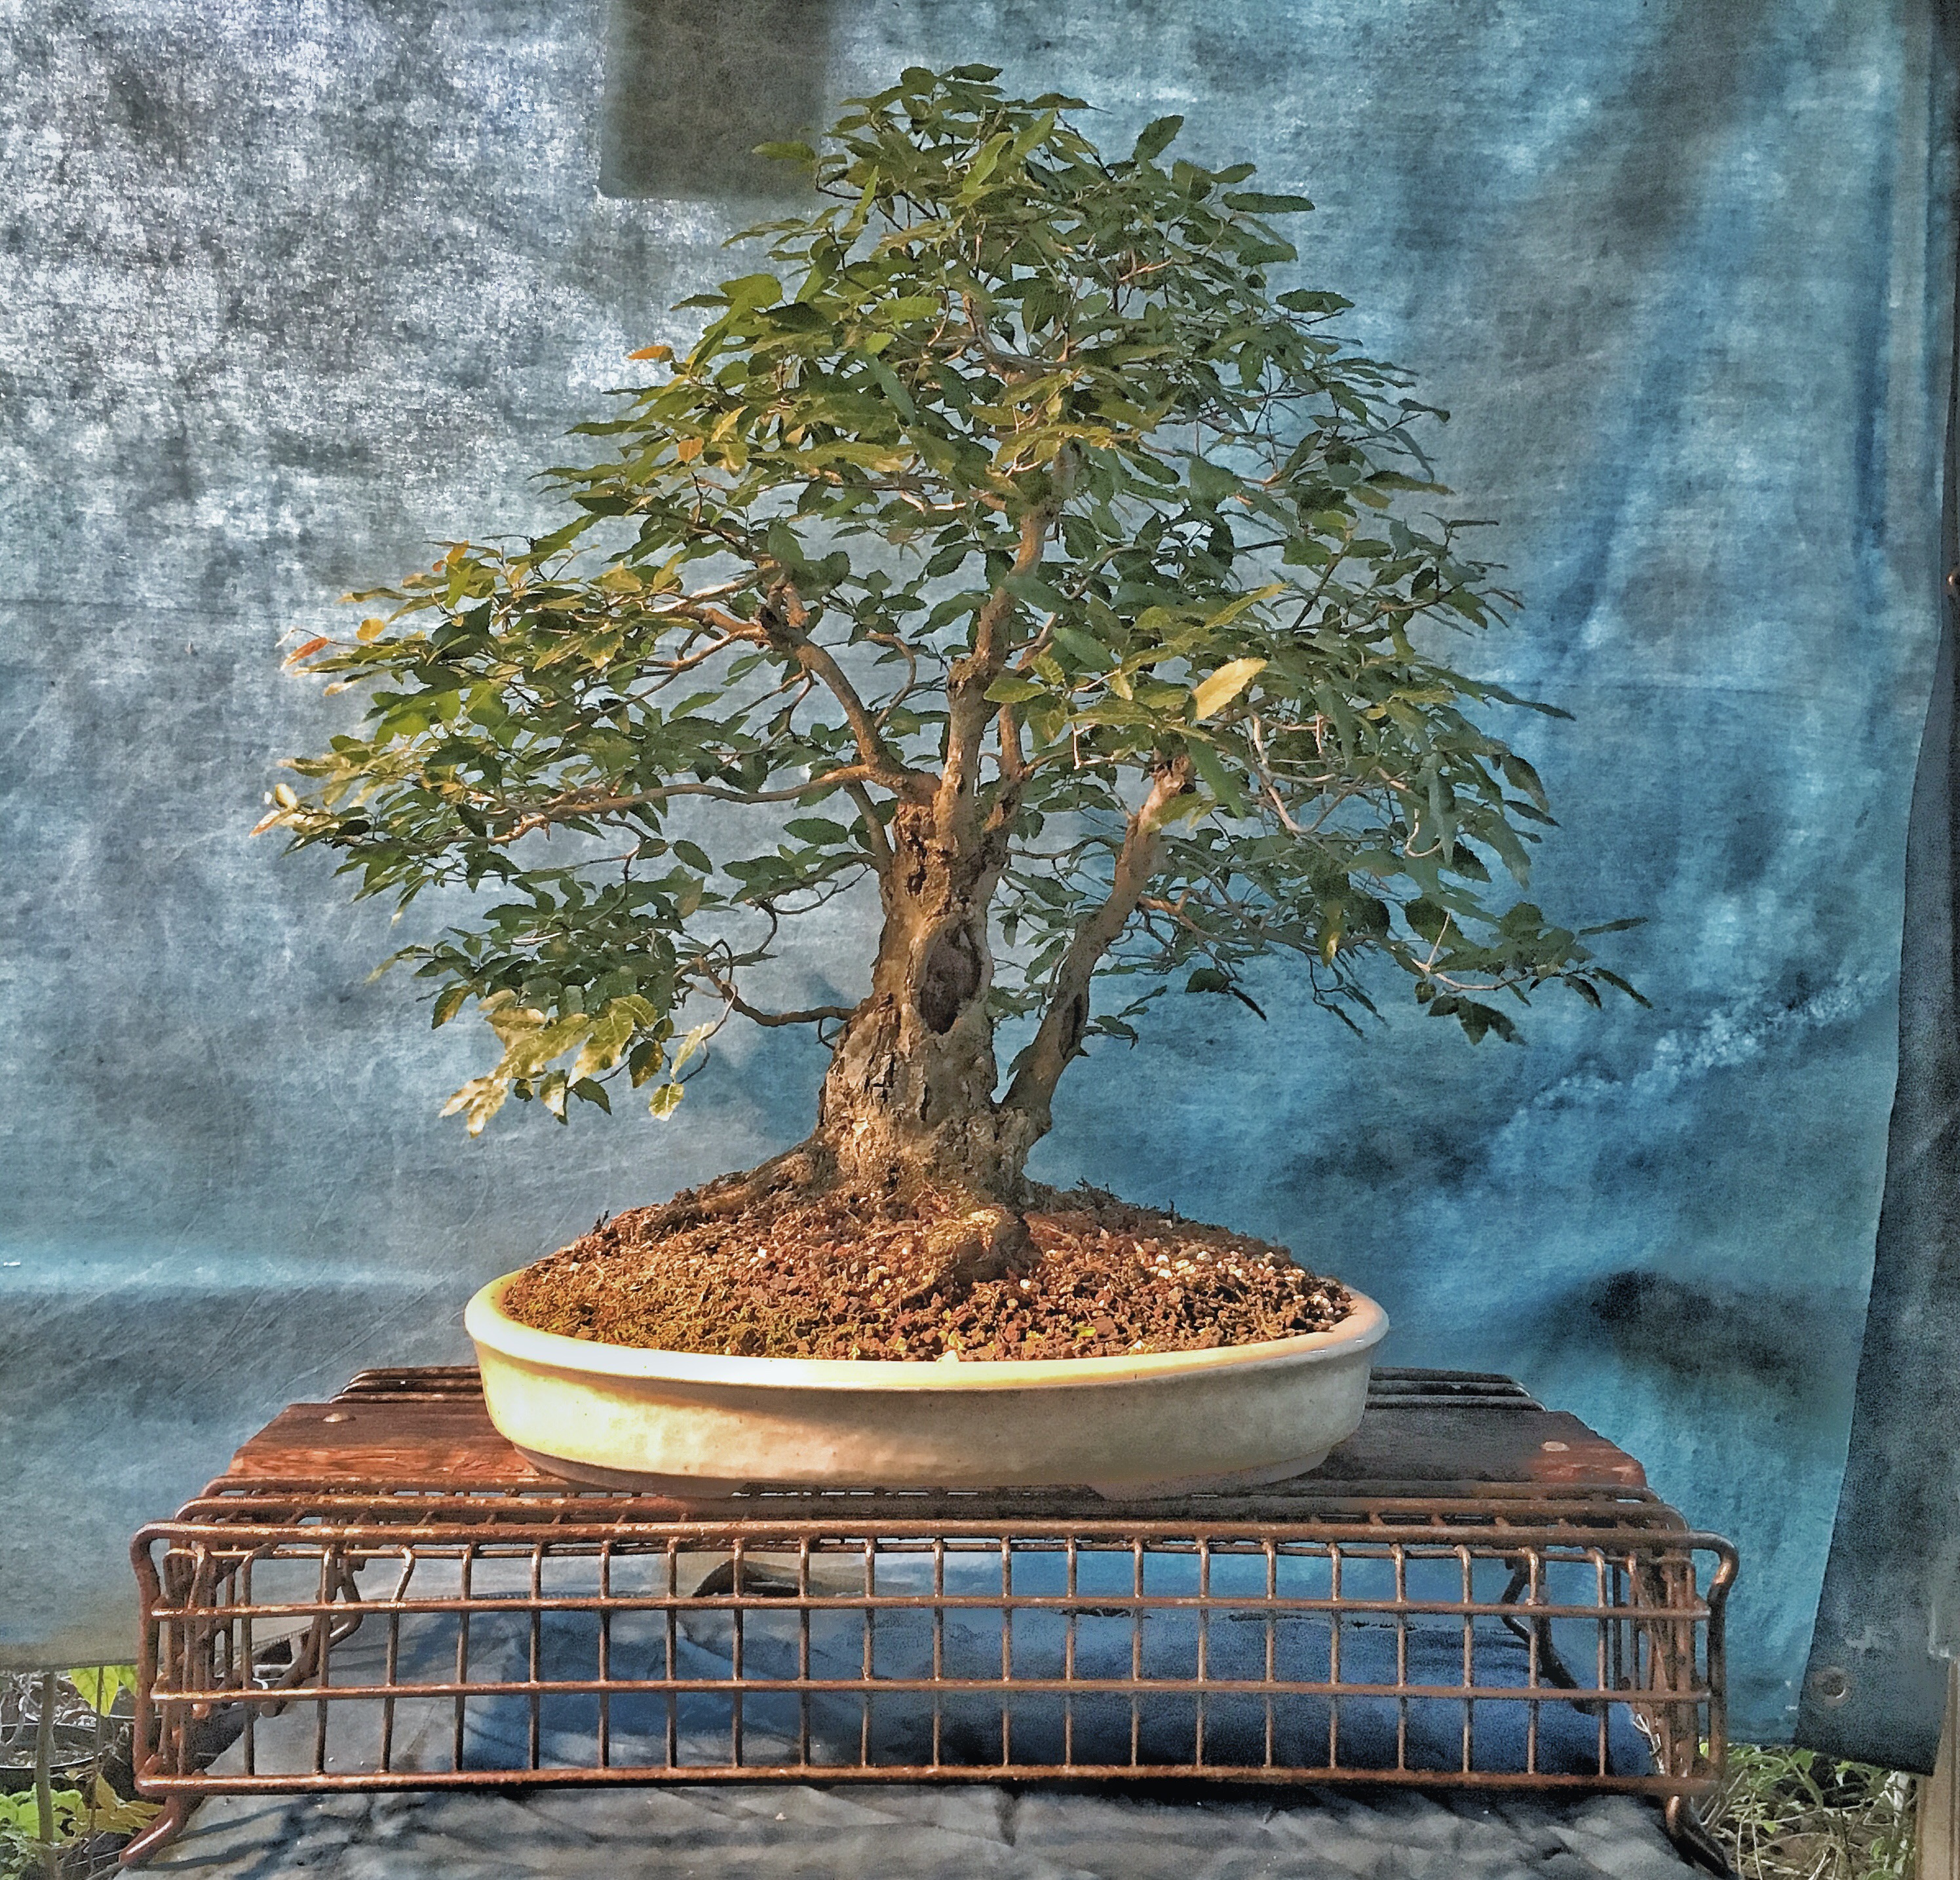 Something that screams, “Hey, Adam made this!”
I think I accomplished that.
Now, just wait ’til you see the companion plant………

I am a big fan of do it yourself projects … but all of this for one tree display??? Wow…..
LikeLike
Reblogged this on Wolf's Birding and Bonsai Blog.
LikeLike