I’ve made it my mission this year to get some of my bigger trees into training pots. I have way too many project trees and not enough time. And I haven’t shown most of them, like the hornbeam and hackberry from early spring, but, as an example, you saw the casuarina from the last post.
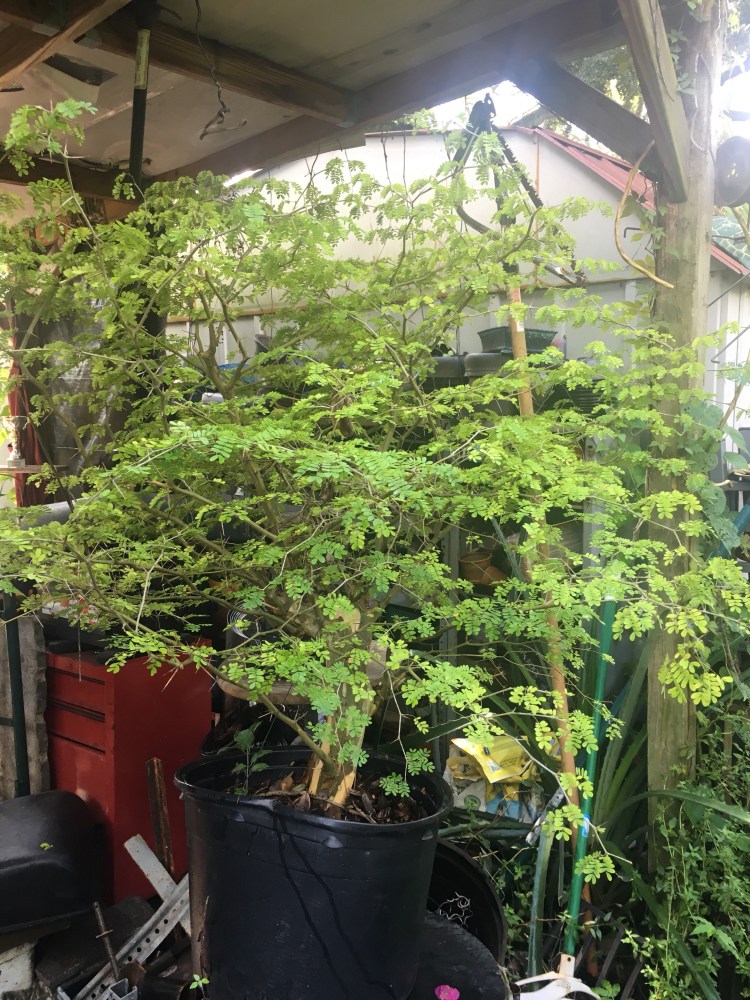
This tree is a big air layer off of a tree that used to reside in a friend’s yard, from the east coast of Florida. I acquired it from a guy in Tampa, who drove over and and dug the whole tree up (and I mean a tree) for a couple of hundred dollars and a shotgun.
Considering this was a branch off of that tree, you can imagine how big it was to dig up.
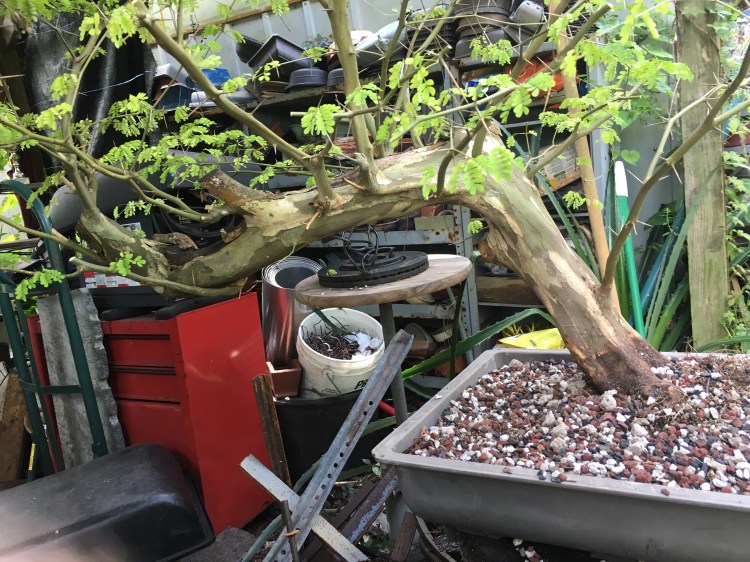
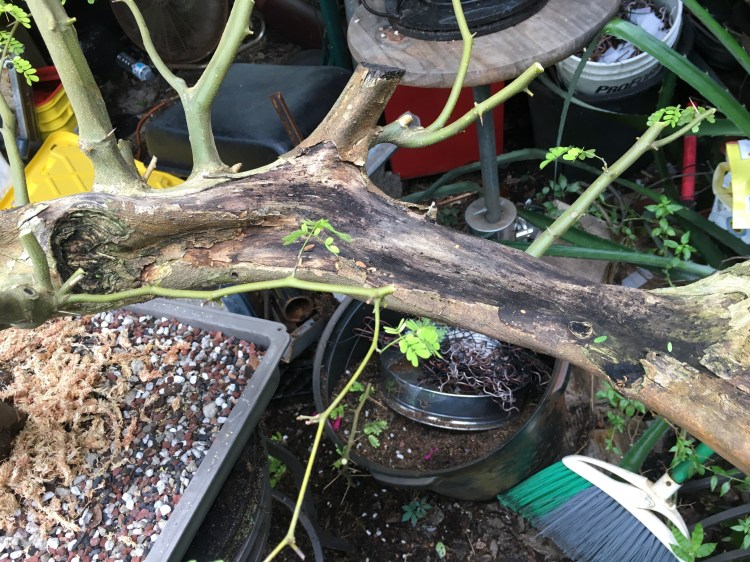
 It really has interesting movement, probably stemming (heh) from it being an air layer of a branch.
And it’s pretty big, comparatively speaking, to most BRT’s in bonsai, as you can see by the six pack below.

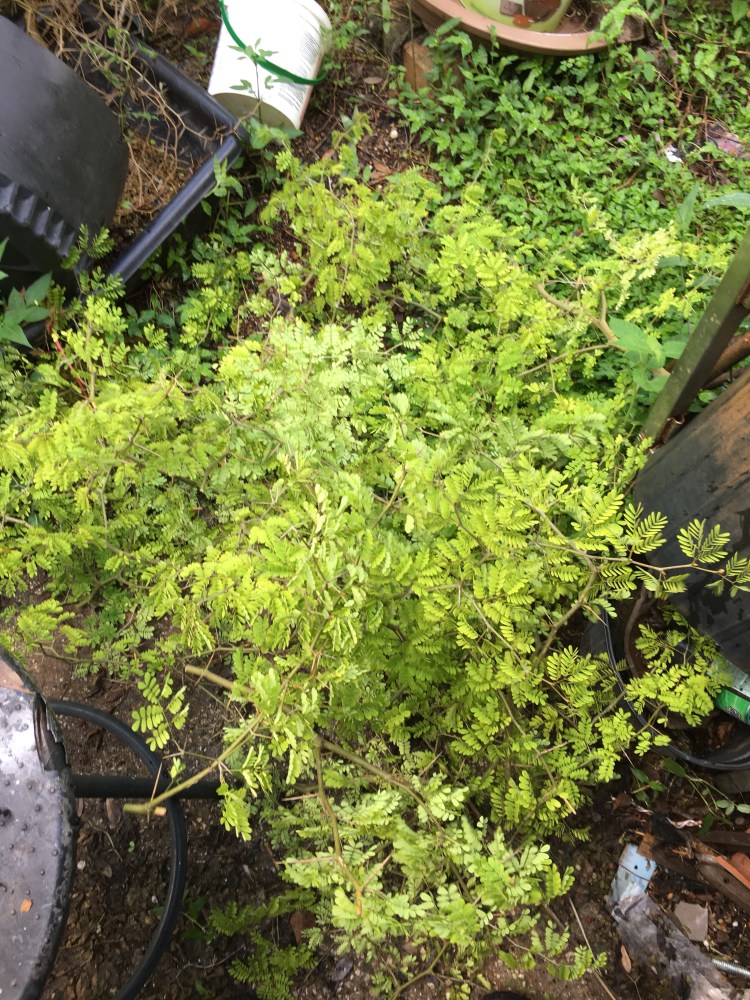
One thing I’m worried about on this tree is the color of the leaves.
 They’re just a little yellow. And, with most things horticulture, the reason can be many different things which can be contradictory.
As an example on this tree: it can be staying too wet, or it can be staying too dry. It can be lack of fertilizer or fertilizer burn.
I’ll give you my guess a bit later, and (since I’ve already done the work a few days ago) I know the answer.
The size and growth of the raintree means I get to use my handy dandy secateurs.
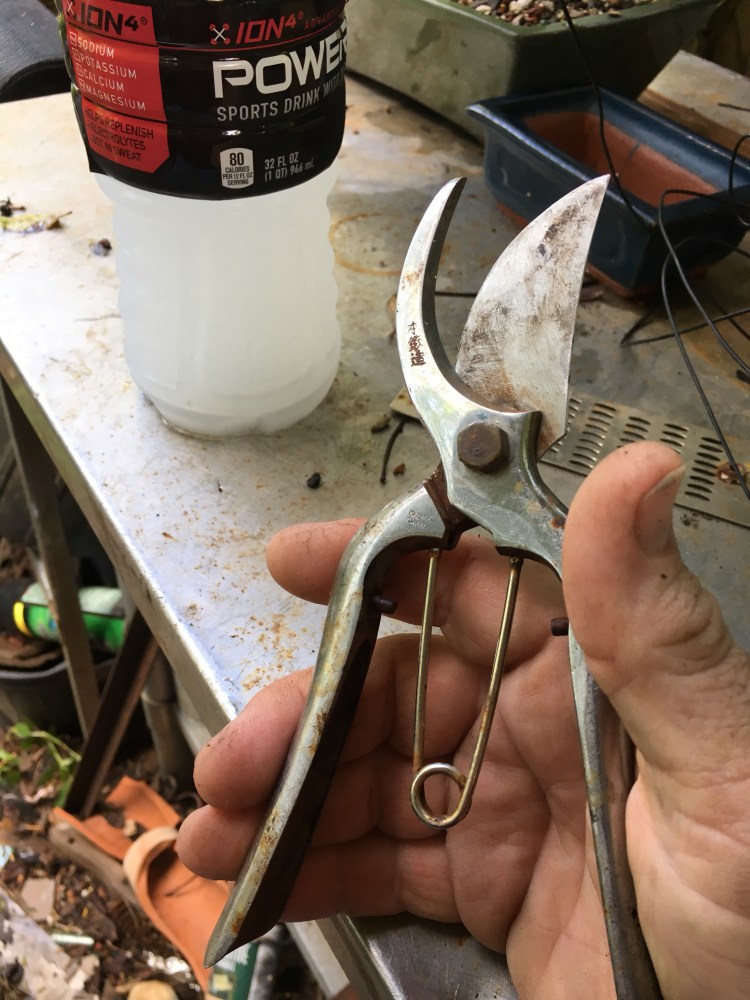 They’re even Japanese!
My first guess is that the tree will end up at this angle. 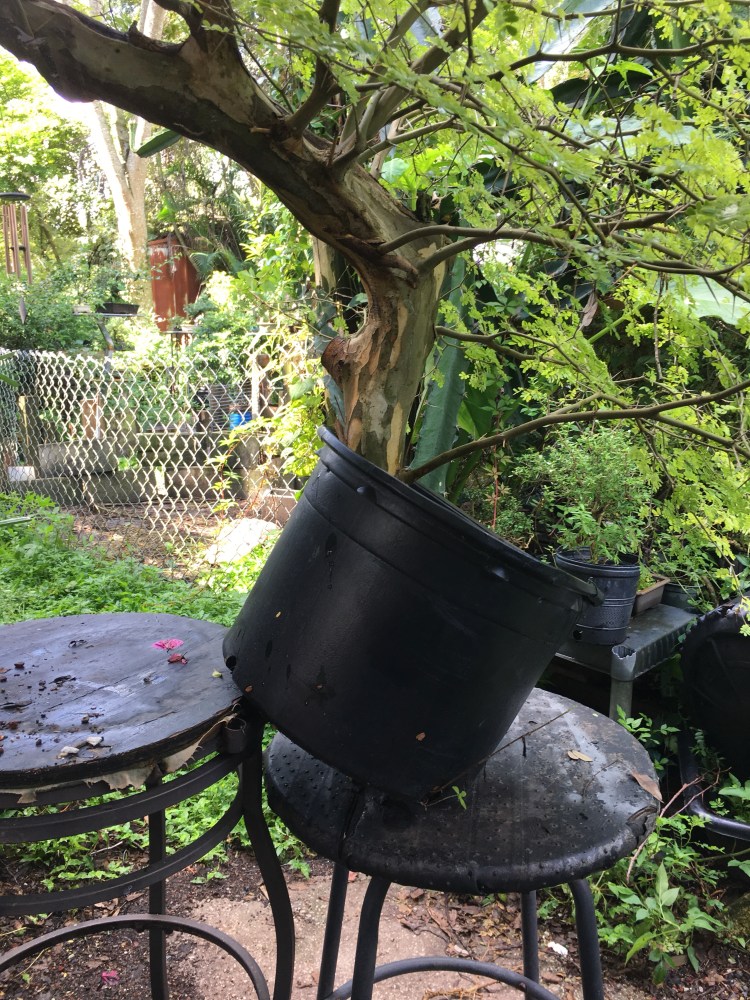
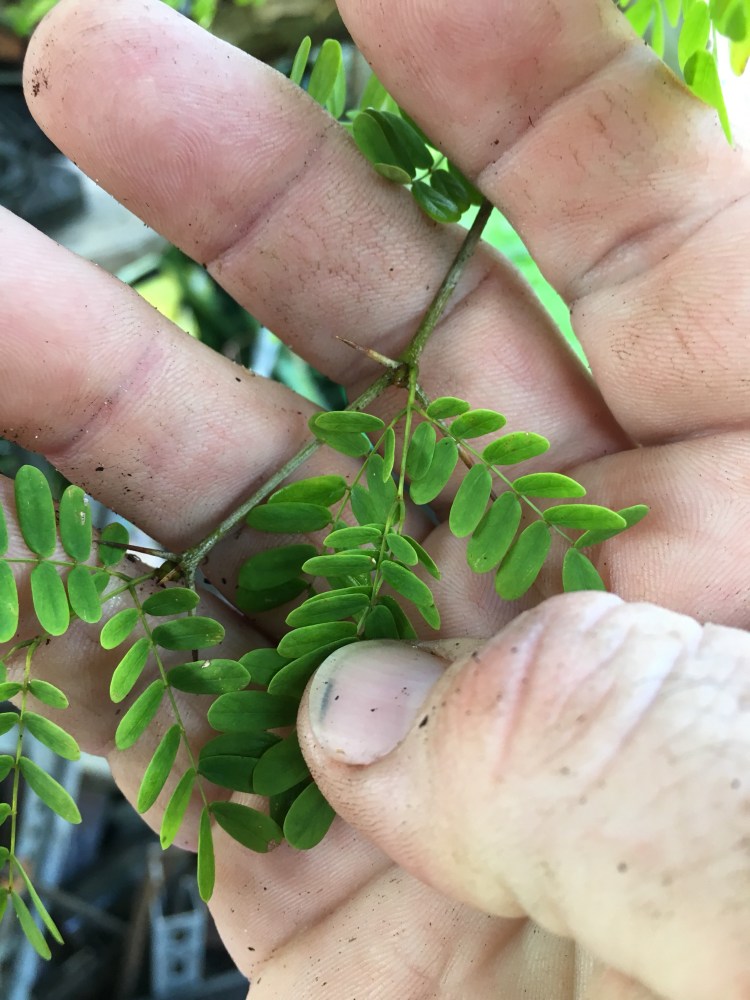
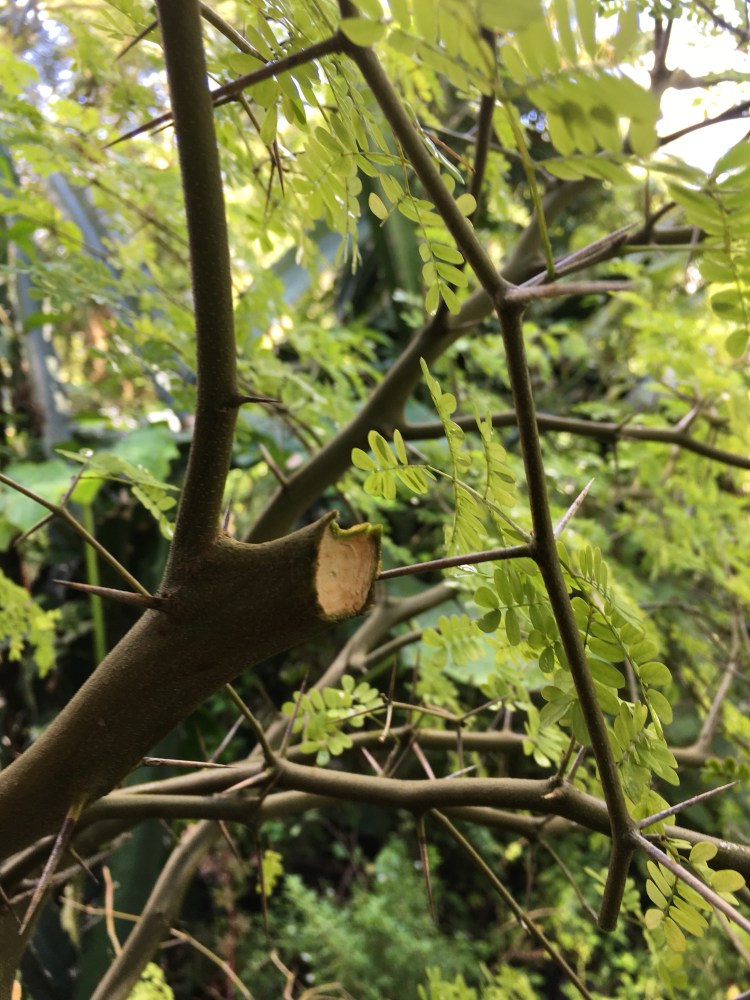
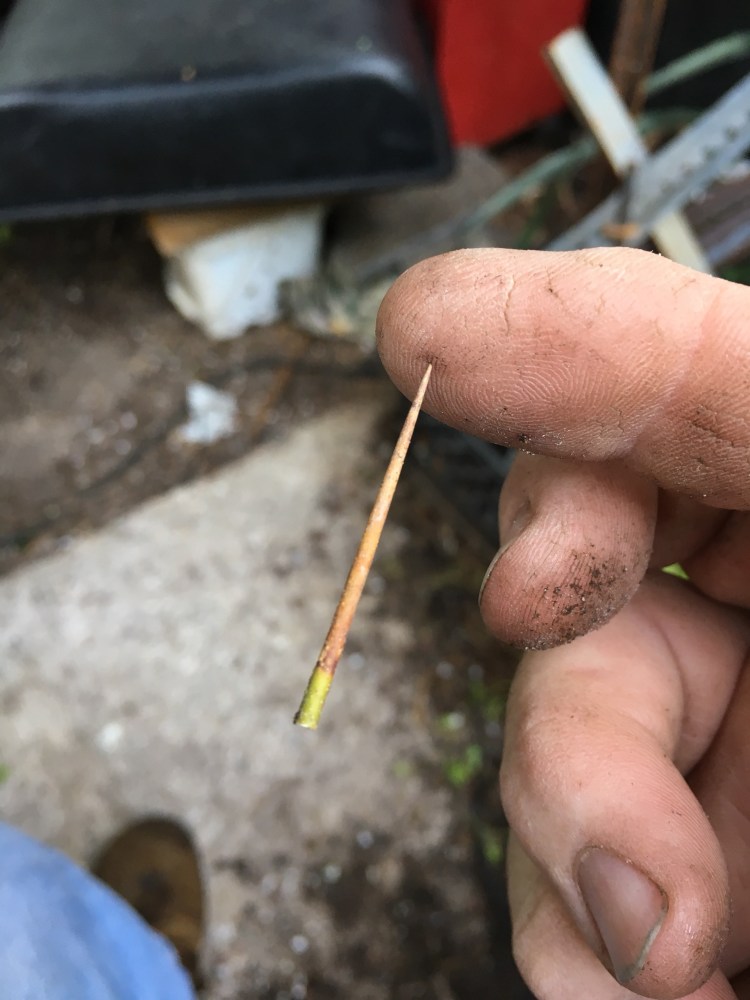
Let’s dive in (metaphorically, some of those thorns are bigger than my pinky finger).
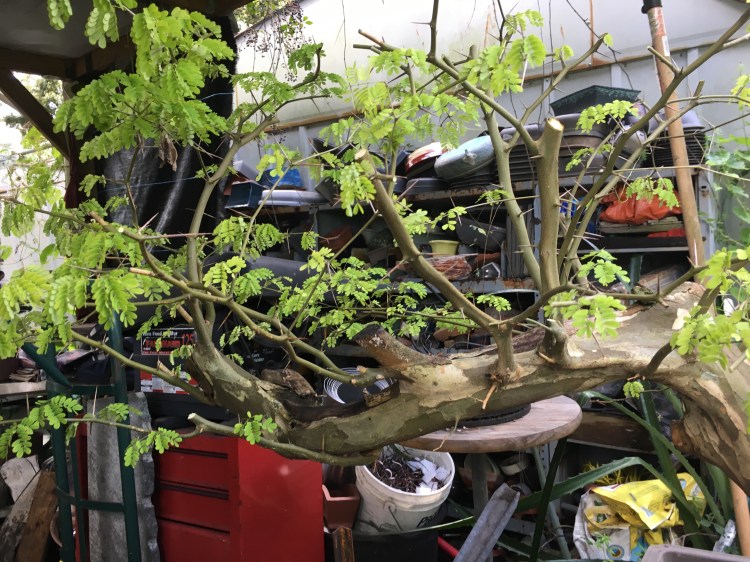
 Chop chop!
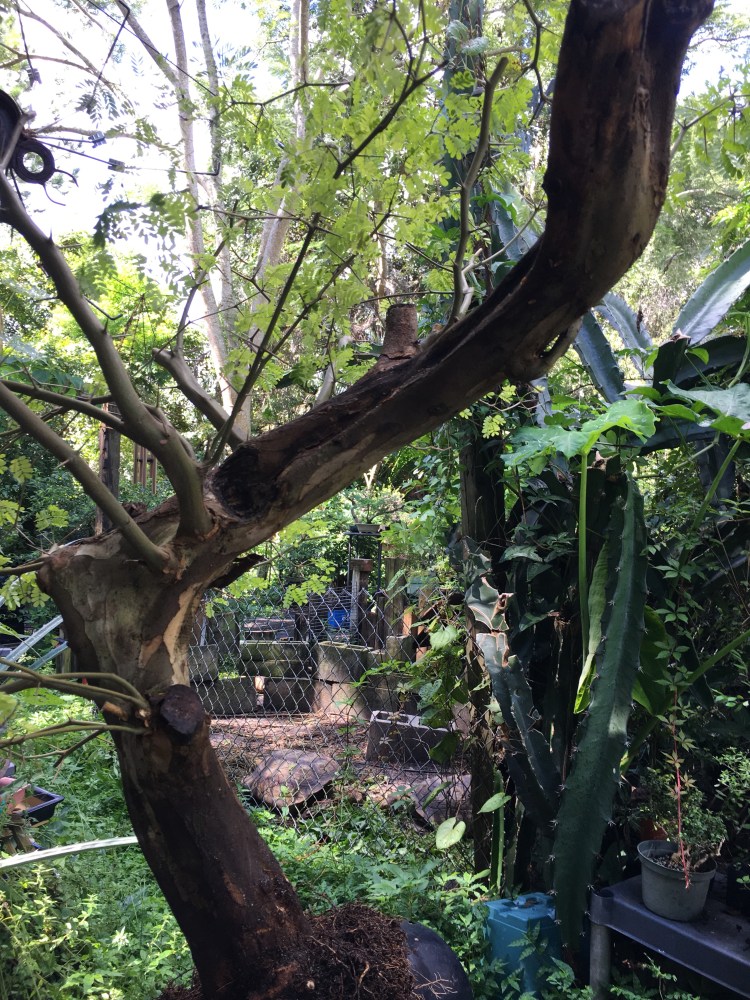
I might consider this the front . The opportunity for deadwood carving is better from this side. 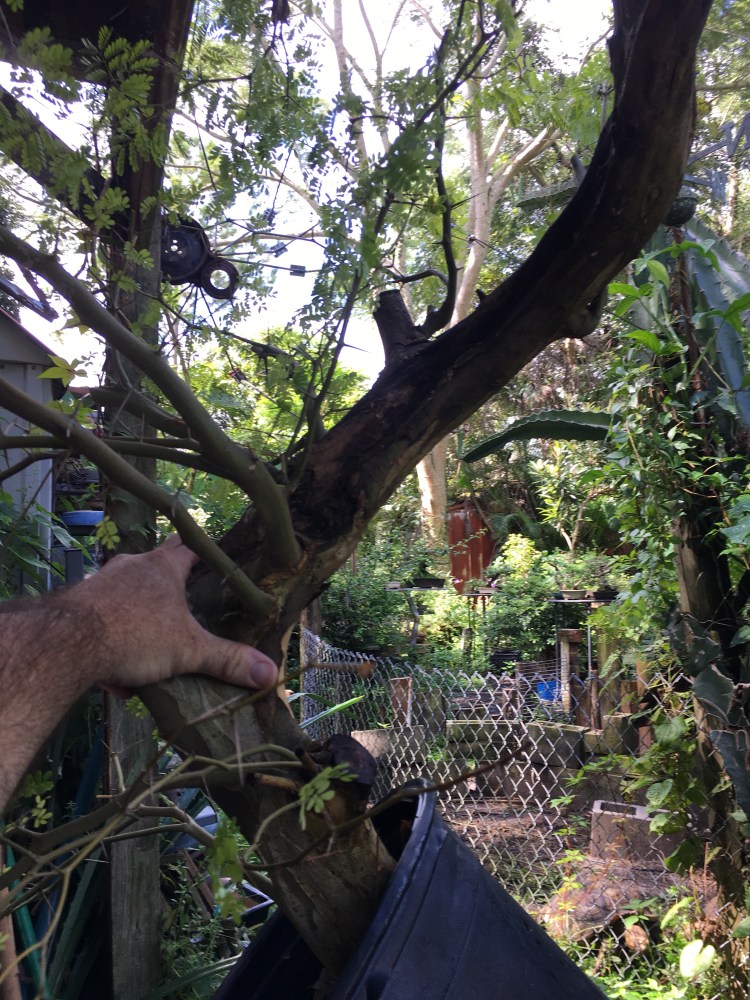 But the branching is not very good, I’d have to lose those big limbs near my hand.
Whichever way I figure it out, the trunk will be cool. 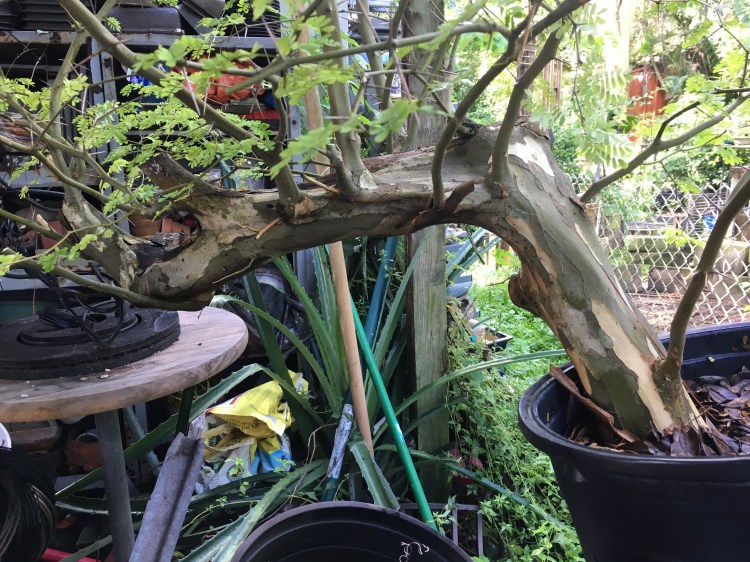
This is bonsai from a development point, you grow and grow and grow, then you chop off what you don’t need. It’s like a big block of marble that will be carved into a dancing female figure, you end up chiseling off at least half of that rock.
 Those chopped off branches might seem like a lot, and it is a lot, probably 85% of the canopy, but I’ll be taking it up to about 90-95%. (That’s one reason tropical bonsai can be called superior to practicing bonsai on temperate trees: this won’t kill my BRT. It’ll make it grow more and gain more strength).
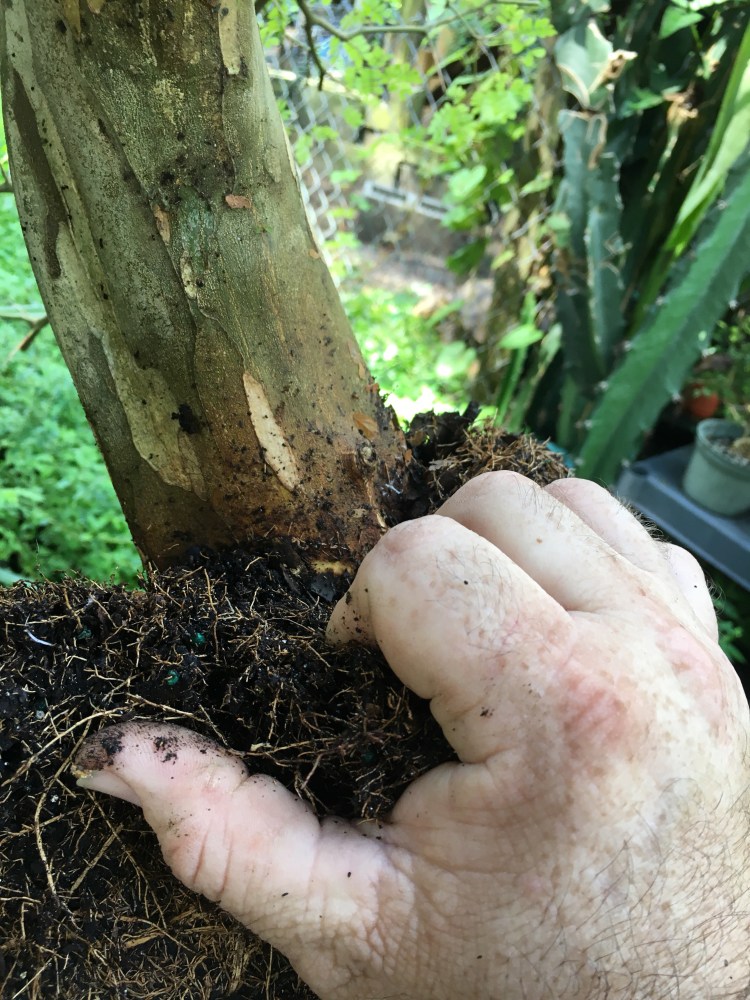
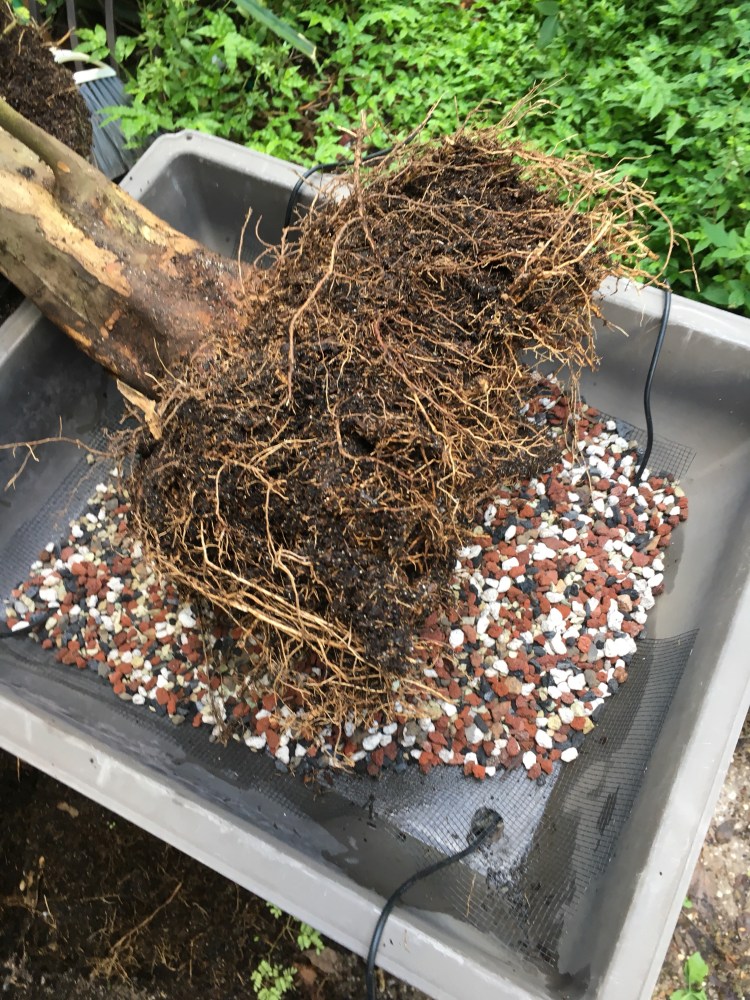
Now for a look at the root flare. 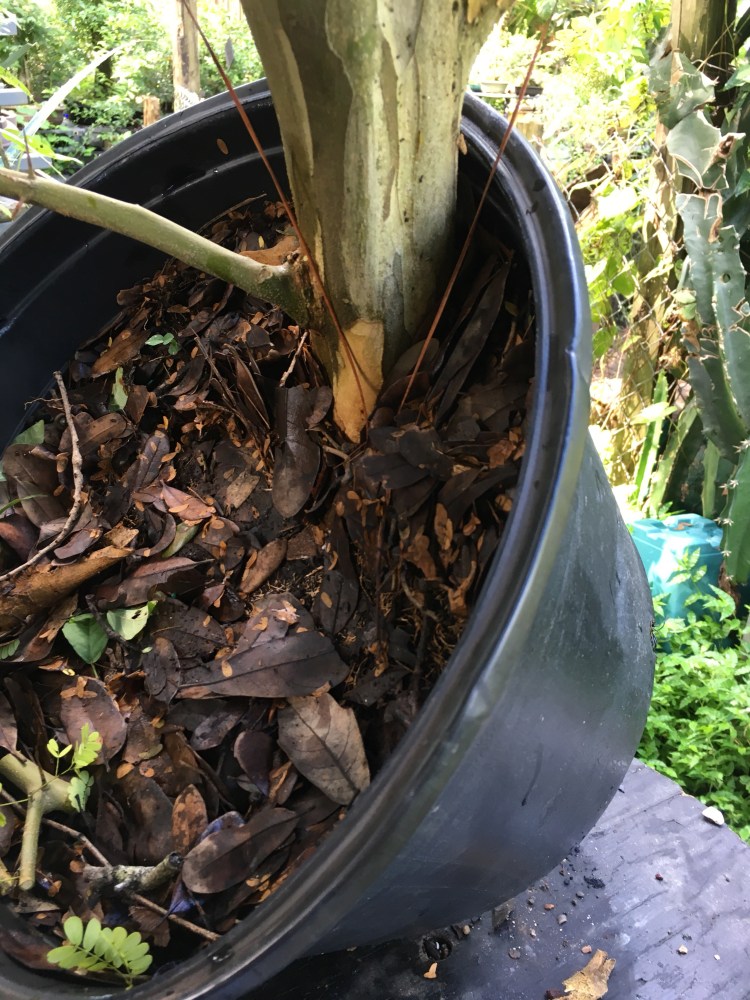 It is that which will ultimately tell me where the front of the tree will be.
First, the investigation as to why the leaves are so yellow. You may remember my previous posts about the symbiotic relegation ship that BRT’s have with a nitrogen fixing bacteria and the modules that result from this partnership (I’ve written much on them, here’s an interesting post to explore).
I’ve also written about the scourge of root knot nematodes on BRT’s (don’t let them sit on the ground, ever. Here’s a post on them. To answer the question you’ll have after reading it, the crab had little effect).
Back to today’s tree, my first inclination was nematodes. The symptoms above the dirt for nematodes is a yellowing of the leaves, almost constant senescence, and poor growth. But, surprisingly, there’s no evidence of nematodes bow the dirt.  My second, off the wall guess was a lack of those nitrogen fixing nodules. And there aren’t any. I guess being an airlayer, the bacteria never had a chance to populate the soil in the pot. Or, the original potting, after the layers removal, had too much synthetic fertilizer and killed all the bacteria. In my garden, my raintrees are almost always green (I use mostly organic ferts, and I infect my raintrees with soil I know has the bacteria in it) so the color on this one was an anomaly. I guess I solved the case.
It wasn’t getting nitrogen from bacteria and I wasn’t fertilizing it.
Now I get my hands dirty!
 Let’s see what kind of roots we have.
Not much on this side…
Which precludes me using this as the front.
Looks like it’ll be somewhere here….

Yup. That’s a good root. 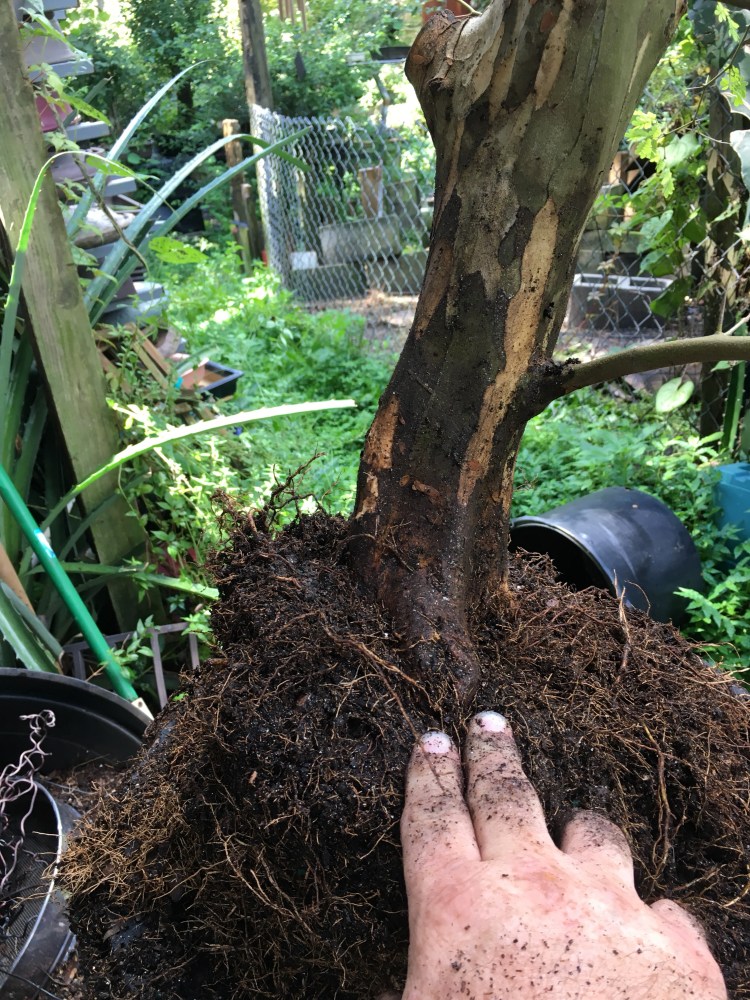
Do you see how the tree flows down into the soil? That’s what you want, a nice transition with the roots looking stable, gripping the earth.

Here’s the training pot. It’s not a fancy mica one like in the last post, but it’ll do. 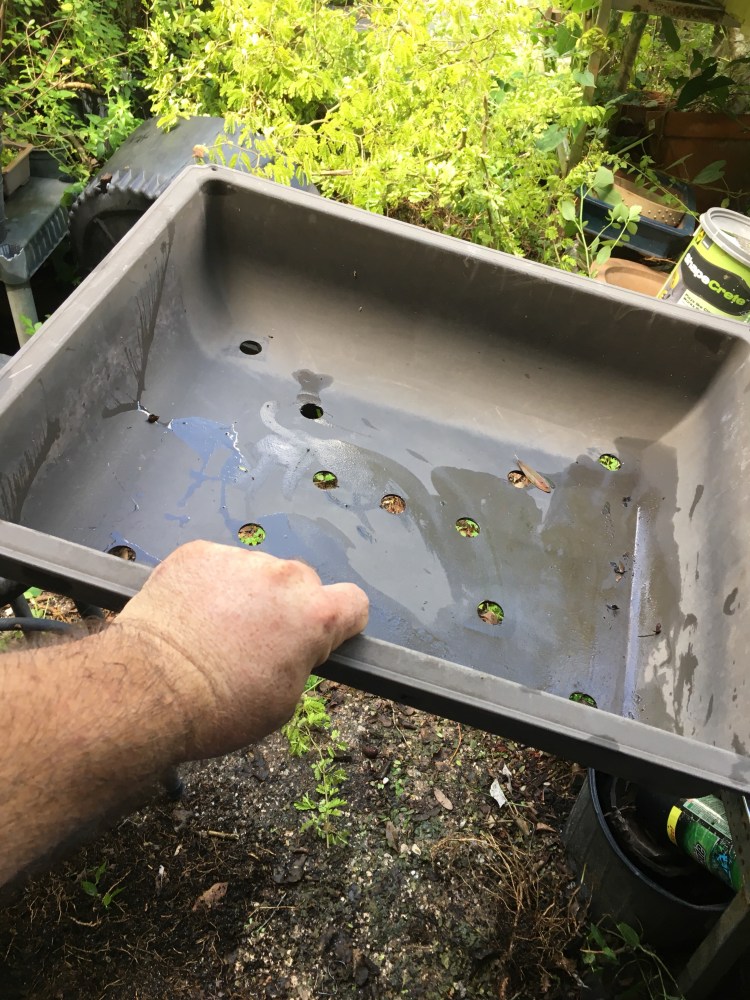 Now, as much as you might think so, or have heard from some “experts” we don’t need to bare root on the first potting. I’ve seen many trees killed doing that. This was an airlayer, so there aren’t huge tap roots to remove, and the soil it was originally potted in isn’t that bad.
 It’s not bonsai soil but it’ll be fine for now. When I repot into a ceramic pot next year, I’ll work on getting rid of the rest of that potting soil. Don’t you worry, I know what I’m doing. Mostly.
Now, I happen to have, in a pot, some soil from a raintree that had thosenitrogen fixing nodules in it. And that’s what’s in my dirty hand now. 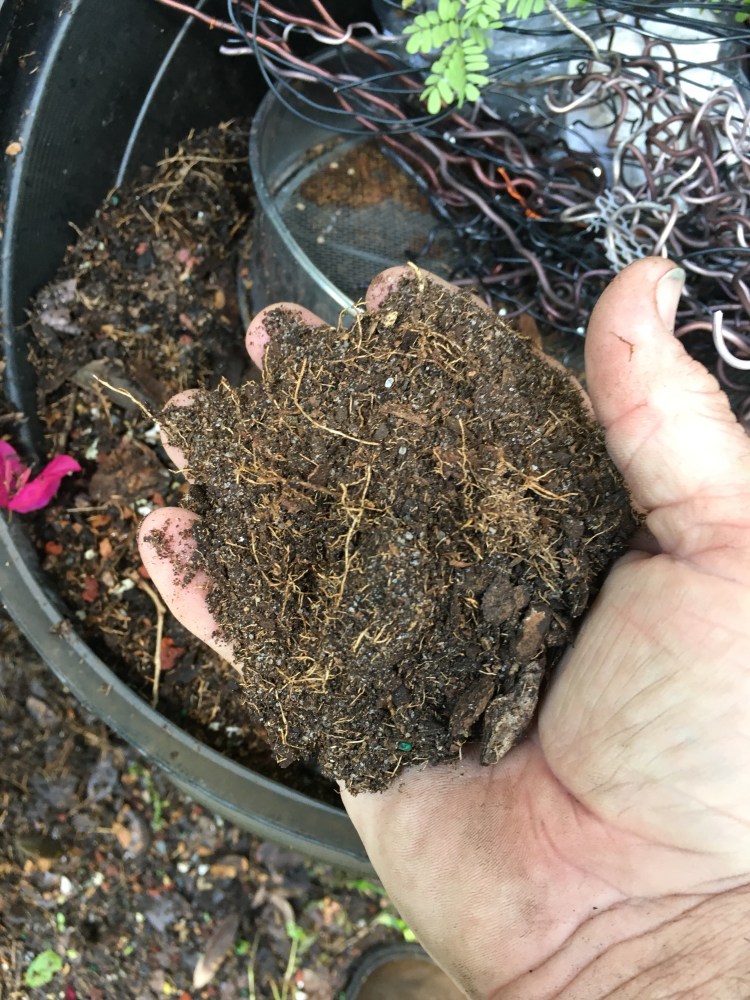 And a few handfuls is all I need.
The fertilizer I’m using is from the Ft. Wayne Bonsai club. I purchased it while I was on tour a few months ago and I think it’ll be perfect here.  Looks like a brownie to me, but they call them
 cakes, (edit: they call them “Blocks”)
I just break it up and mix it in (I don’t care for using fertilizer baskets or tea bags for my fertilizer applications. The soil microbes need that organic material in the soil to be the most efficient they can be. It makes little sense to me to set the fertilizer way up on the soil surface where a microscopic organism, which might travel a half inch in its lifespan, to find and release the water insoluble nutrients locked up in the fertilizer cakes)

There we go. 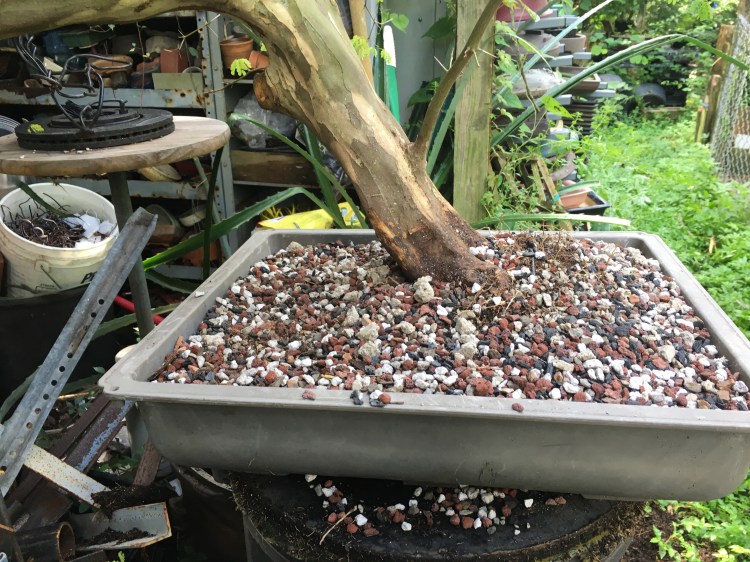
I fooled you all, as I guess it seems that the trees want the tree to be a semi cascade. Which will be interesting to style, since I’ve never attempted one yet (I’ve done a cascade before, but those are easy).
Let’s see what else I don’t need and can chop off.
That was easy (I know it’s not really, but you have to know how the tree, any tree, responds to pruning to do chopping like this. I know from experience, and I can’t teach that, you have to get your own hands dirty and bloody before you can have the confidence to do these chops. Start off with small trees, sticks in pots even, and beat the hell out of them. Then get better trees). 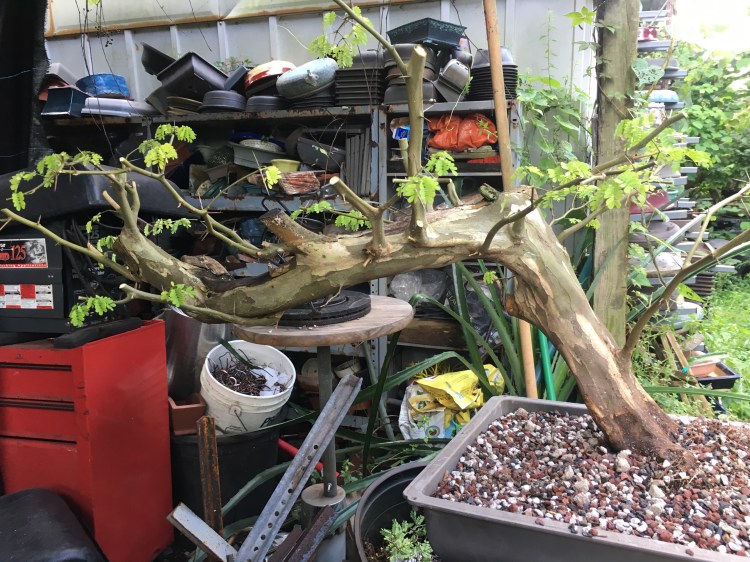
One cool thing about this plastic pot is these little grommeted holes where guy wires can be attached. 
And, the tip of the day, after cutting almost all the branches off, it’s easier to de-thorn and defoliate the remaining ones.
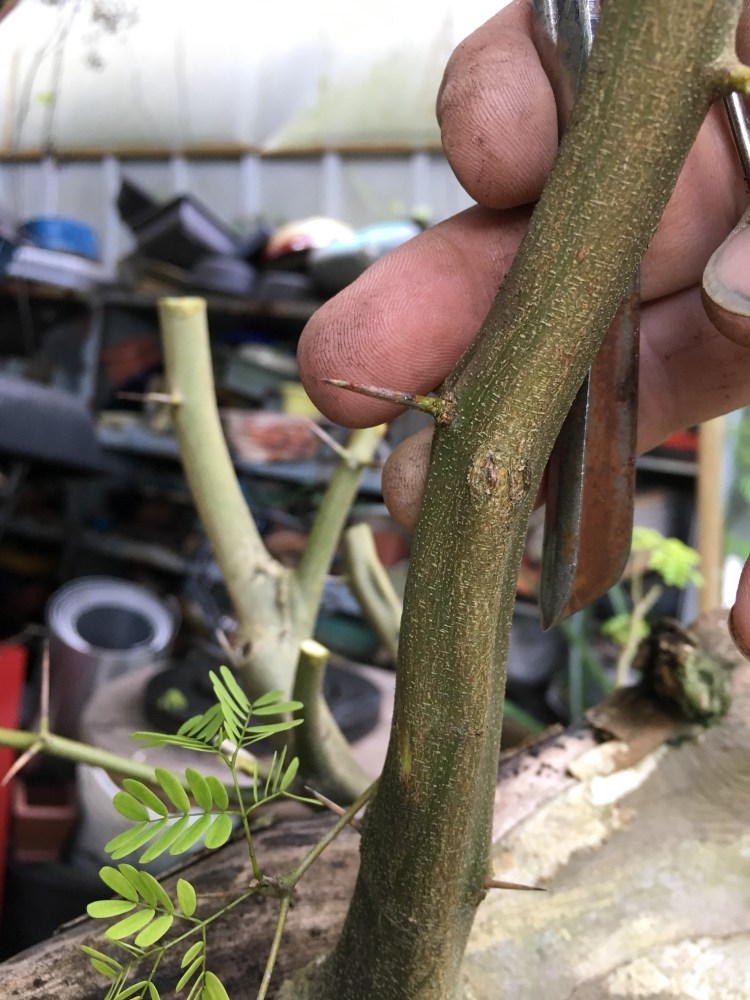
Ouch.
I mentioned carving.
Below, you can see the “top” of the tree, where it has the famous BRT dieback from heavy pruning.
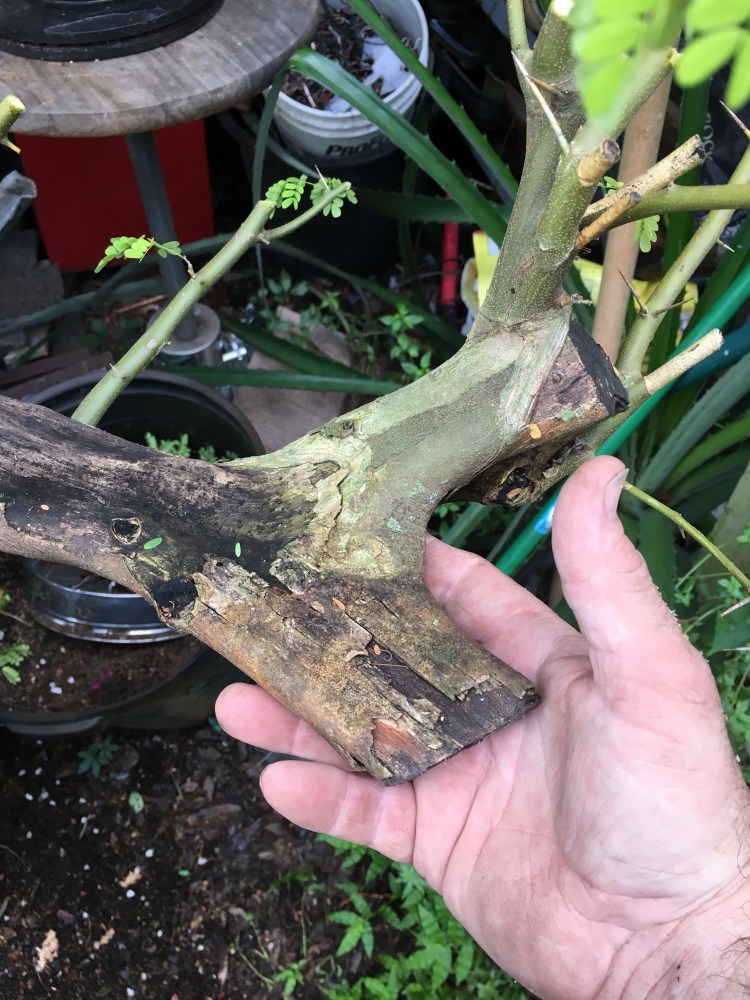
When you cut off a branch, you should leave a nub to help mitigate the dieback. Sometimes it doesn’t work and the dieback goes into the trunk.
Like so….
 But that’s not a bad thing in this case. The whole tree lacks taper, and I’ll be able to remove some of the heaviness and make it taper, when I do carve. Call me the lemonade man.
And, as I’ve been doing lately with my BRT’s, a layer of sphagnum moss on the soil surface, to promote root growth. 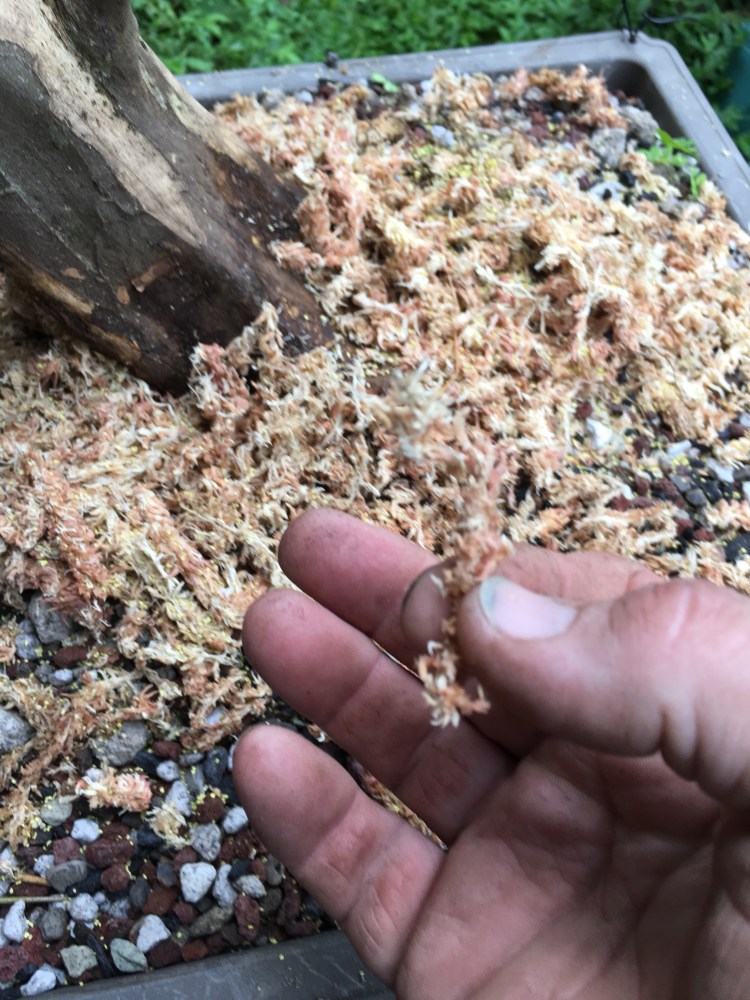
And is I have another big tree in a training pot.
I’m excited to begin work on it. You see on the right is where I guy wired one branch down. But I’ll let it grow out for a bit. Then the real wiring will begin.  Like I tell my students all the time, “Let it grow”.
Stay tuned!

You called our homemade fertilizer blocks ‘brownies’ , we call them blocks not cakes. They just look sorta like brownies.
LikeLike
Reblogged this on Wolf's Birding and Bonsai Blog.
LikeLike
Hi Adam,
Do nematodes appear if the BRT is planted in the ground or only while potted and placed on the ground? Seems it may happen either way.
I have one that I want to thicken the trunk, so I intended to “field plant” it for awhile, I’ve only seen nematodes mentioned with potted plants, any info will be greatly appreciated.
LikeLike
They are more likely in trees in the ground actually.
To treat the spot you want to plant in: till the soil, add good organic material that’s been composted (soil microbes attack the nematodes and nematodes prefer rocky soils). You can also get a compost made out of crab shells.
If you can afford it, get a nemacide.
And then use solarization, where you take a black fabric or plastic and heat up the soil in the sun, which cooks the nematode.
A raised bed with good clean soil is good as well.
Hope this helps
LikeLike
Yup, it sure helps ….. I have a raised bed that needs a little rejuvenating and then it will be perfect for this.
Thankyou
LikeLike
The next shirt quote, “Start off with small trees…and then beat the hell out of them.”
LikeLike
Azos beneficial microbes Vs.
Say Milorganite ? Is one more beneficial than the other? If i use the microbes to build a good base,can i fertilize as well or should fertilizer wait until later?
I appreciate all the info you share!
LikeLike
When you build a healthy microbial base in the soil, the fertilization should be feeding the microbes as well as the tree. Sometimes the synthetic fertilizers at high rates will kill the microbes. That’s why a fertilizer like Milorganite is beneficial for soil microbes, it has both water soluble and insoluble nitrogen, which the second helps feed the microbes.
But you can do both at the same time.
LikeLike