European olive, Olea europæa, (meaning, literally, European olive. It’s not often that a binomial name means what it says.) 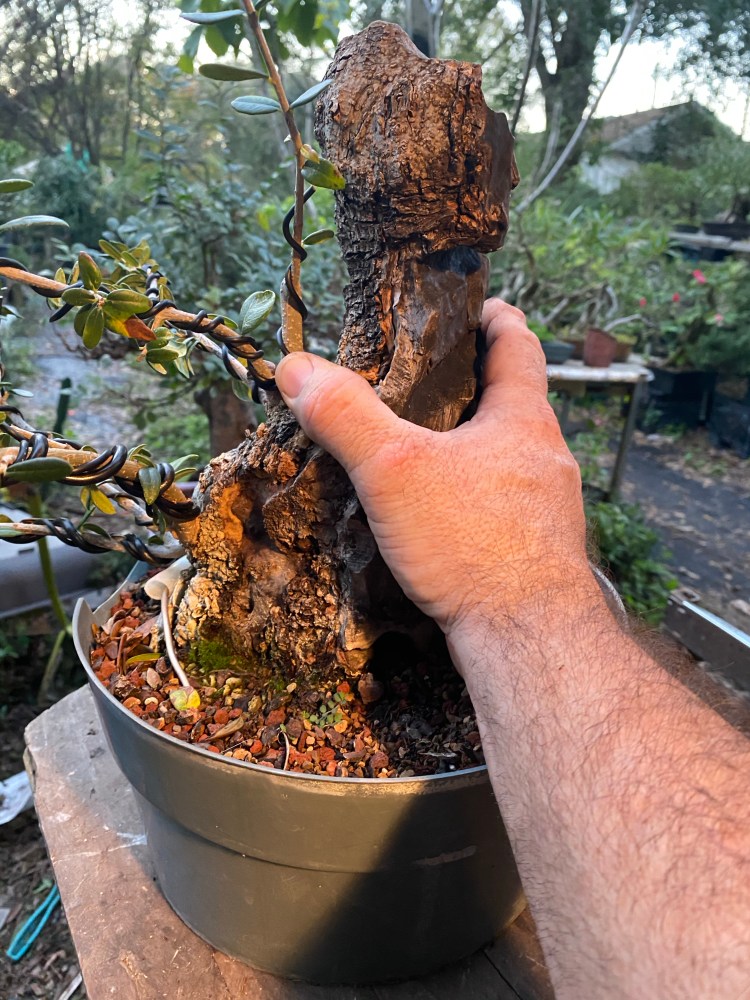
I’m not sure of the cultivar or subspecies, my guess might be silvestris, but it’s a small leafed variety. Sorry to digress (you know that’s why you read my blog though) but I once witnessed a Facebook debate with a person calling a variety by the generic name “European olive” and another calling him everything but a spawn of satan because of it. I’m pretty sure the tree on debate was also a sylvestris olive.
It was a farce of snobbishness, exclusion and pure ignorance.
It was terrific to watch too.
This dude, who had “studied” with some big name masters, didn’t understand how the scientific community just doesn’t care what we Bonsai people care to call a tree. The name Olea europæa is the “type” species for the genus Olea. Meaning that’s where you start. There’s are subspecies, like the sylvestris, which is called Olea europæa subsp. europæa var. sylvestris. It’s a wild growing variety with smaller fruit. The dude just couldn’t get past what his teachers told him and refused to acknowledge that the variety or subspecies he was taught was also considered a European olive, as though calling it that diminished the relevance or accuracy of his masters teaching. We need to get away from following masters, or leaders, and start the search for truth and understanding, using those wiser than us as guides, but seek our own paths to Art and Truth. There are principles and facts, but often those who have a vested interest in them make you pay by the hour…,,I charge $60 an hour myself……..)
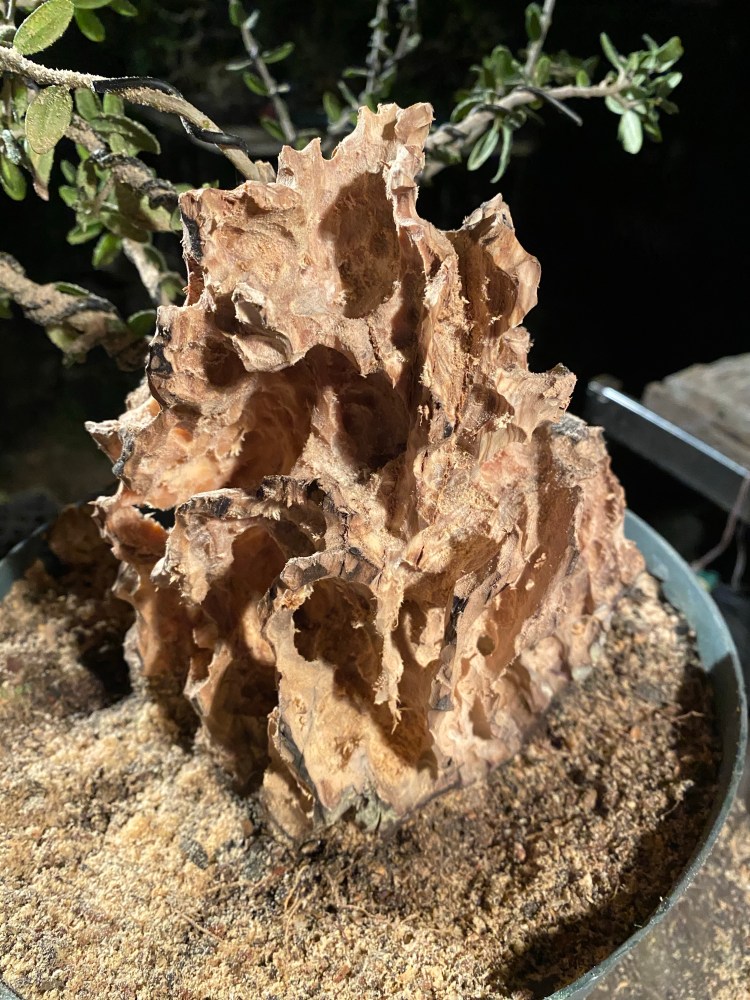
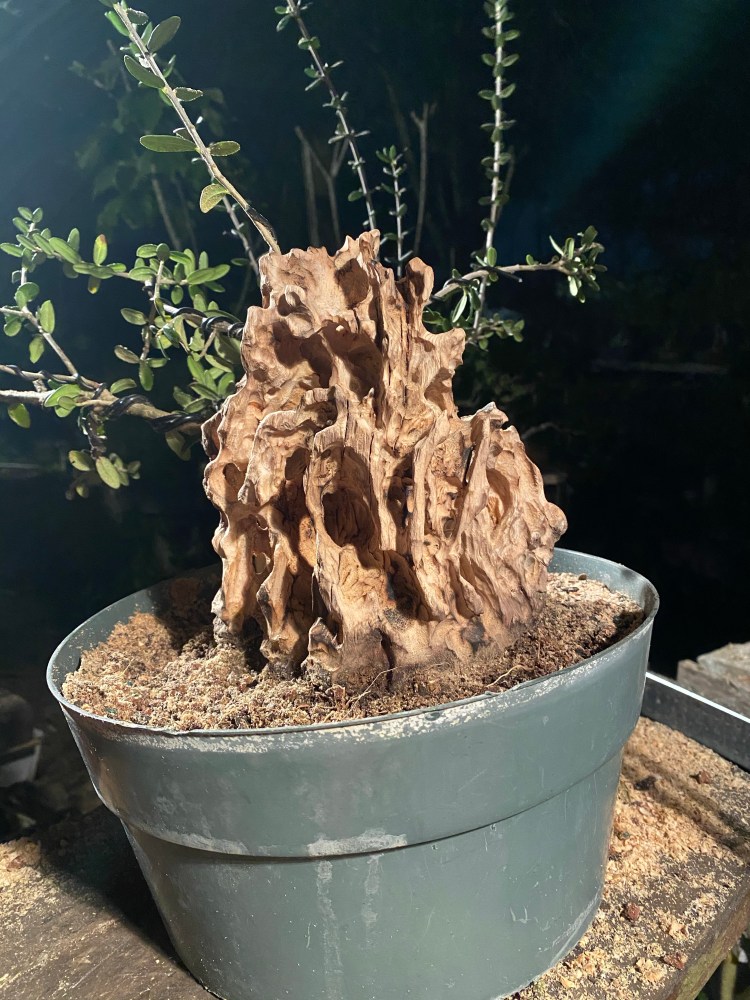
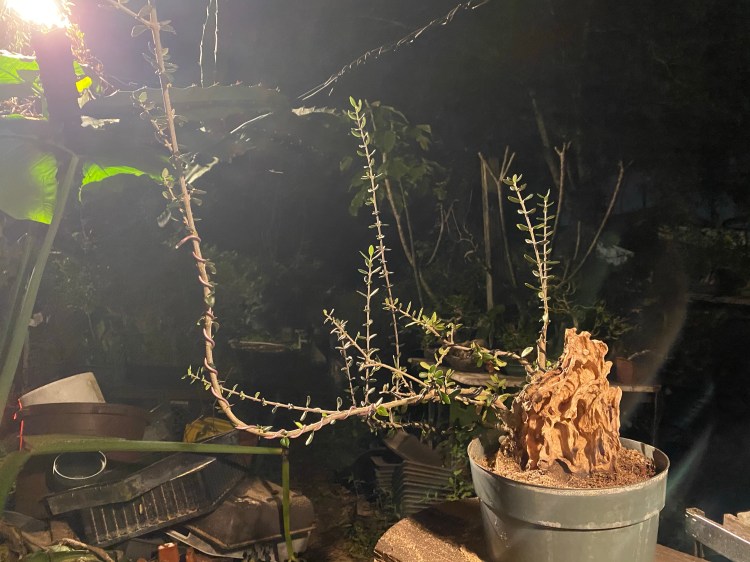
Anywho, this tree looks to me as though it was the remnant of a very large tree, perhaps one that was mostly dead, and it was collected from an old grove in California, by a method I shall dub “the pie slice method”.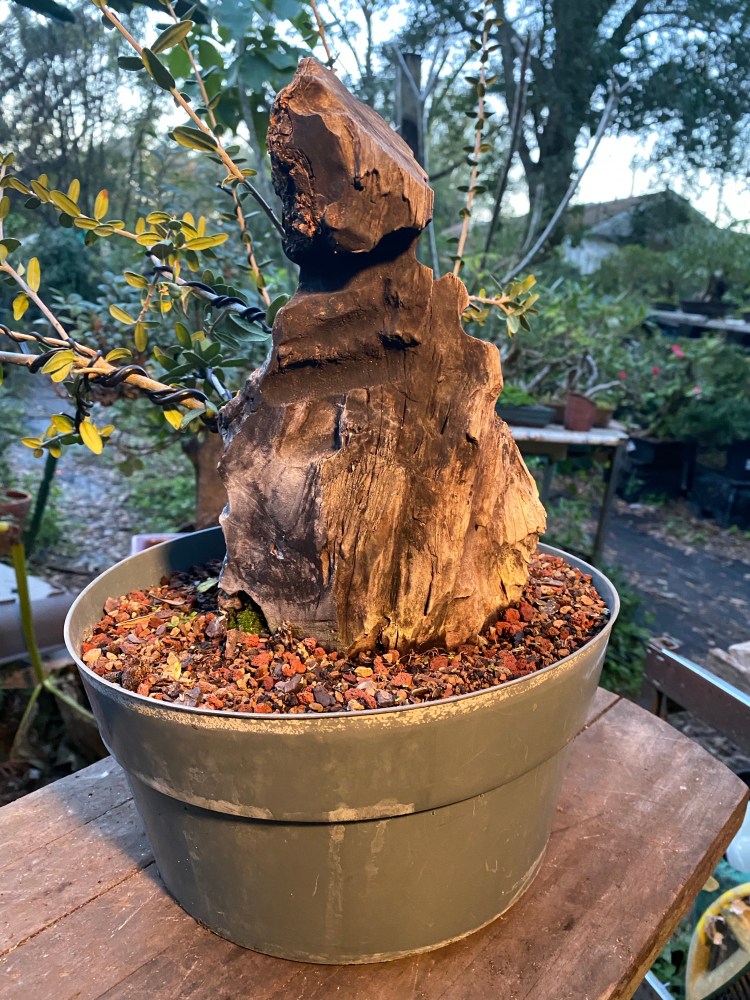
Meaning this is just one piece of the outside of a much larger tree. Let me draw a diagram for you….
Looking down, we see that the roots are alive. Being that an olive is incredibly tenacious, we can remove just one section and cultivate it to create a very interesting bonsai. 
Like so. I’m sure all of the tree was harvested this way. 
And we have a good subject to work on now. Pretty cool, right? 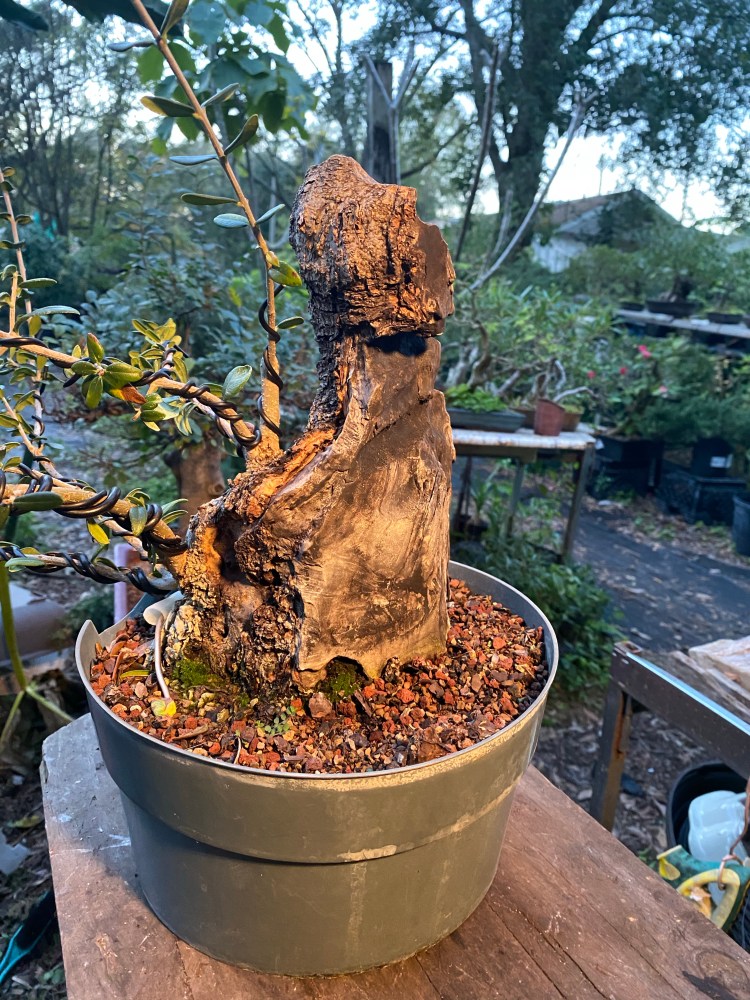
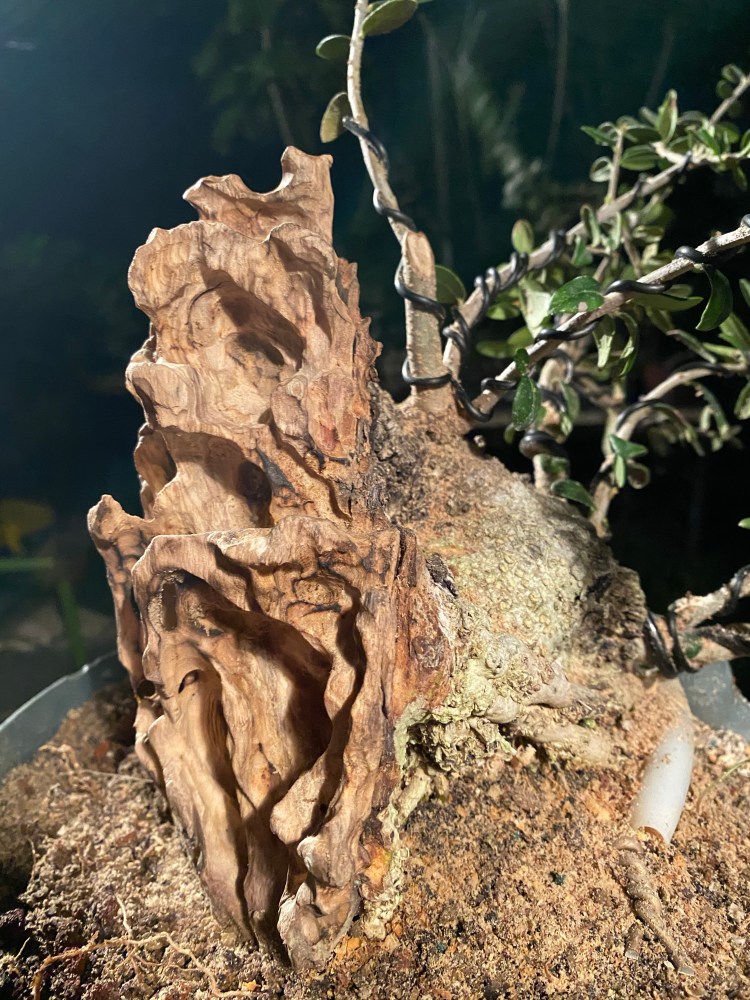
I’ve been showing you some before shots. This is the front, I’m suspecting. 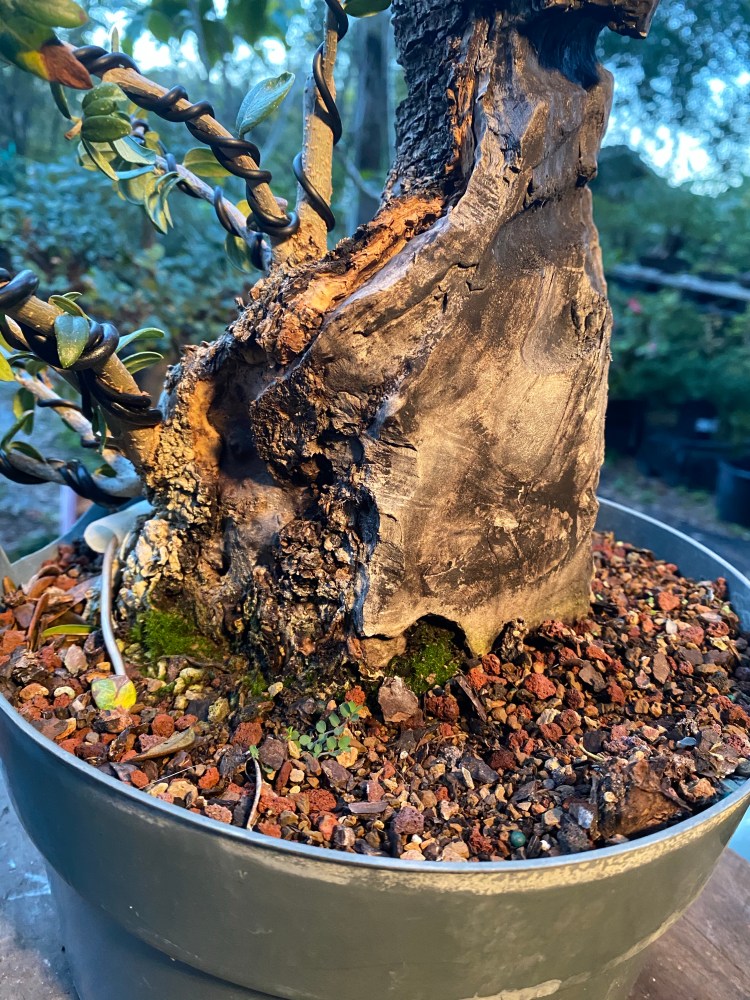 The front should have a bit of the living bark attached to the wood. This shows that it’s not a tanuki or Phoenix graft. That’s important to some people.
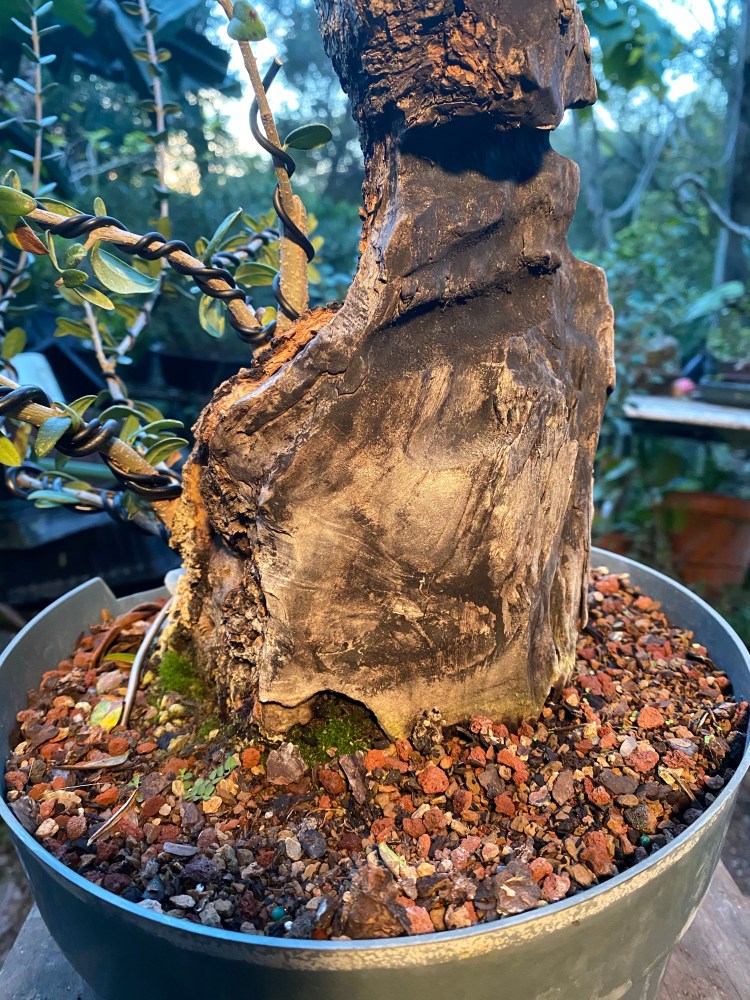
This pic shows where the collector used a drill to cut holes in the dead trunk so it’s easier to cut out. A drill cuts better than a saw sometimes. 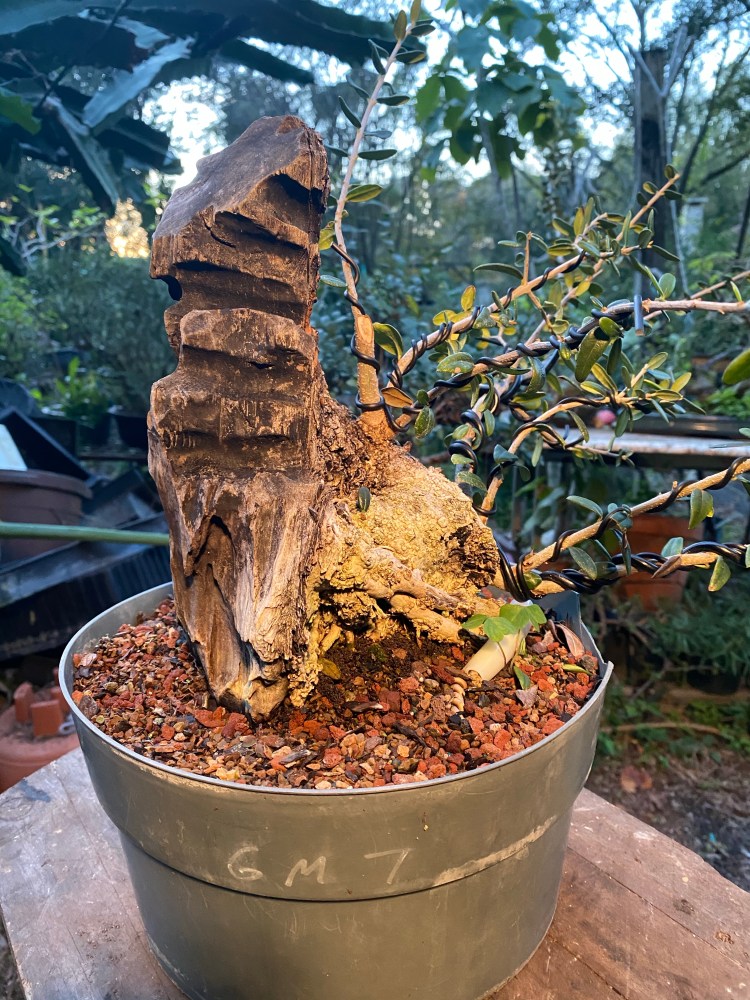
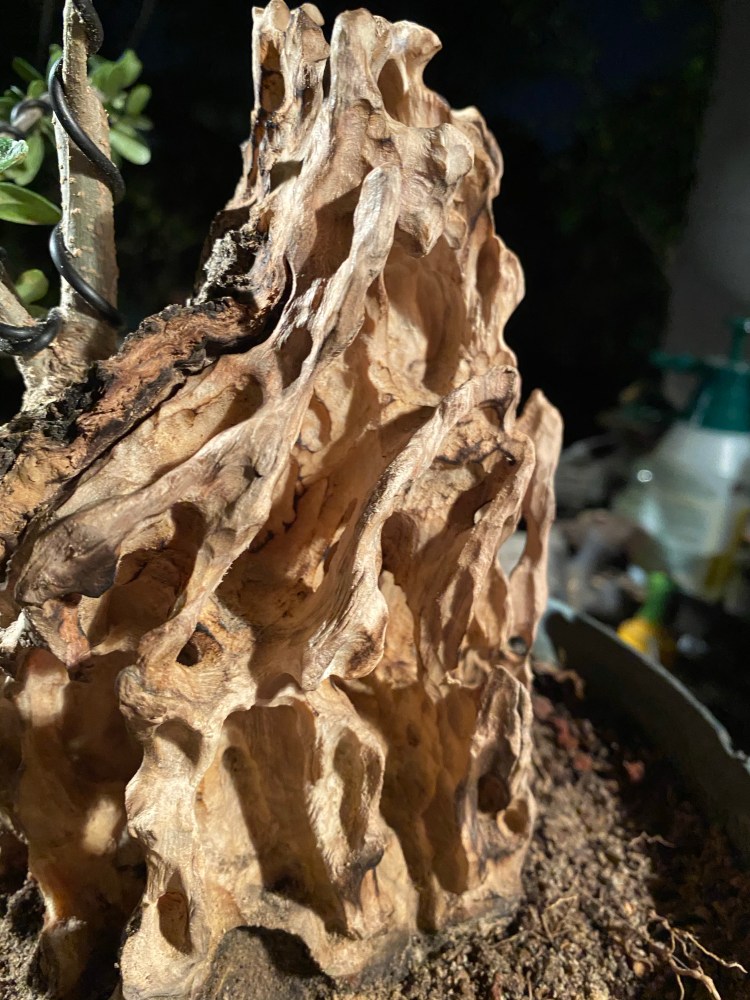
Lots of wood to work with. I like it. 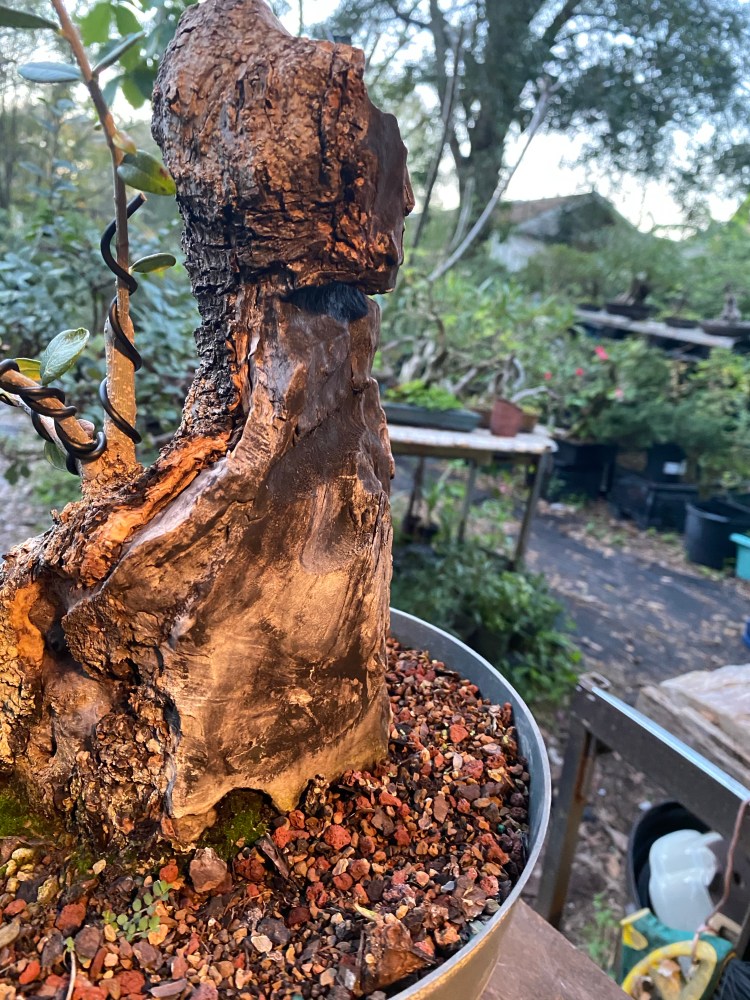
This is a client’s tree I’m working, on commission. She wired the tree and it was my job to carve and then place the branches. Or versa vice. I had to get the branches out of the way anyway, and they tend to grow straight up as though they are in praise of the olive gods.  More on that later.
I finally had to get a new die grinder. The old one didn’t die (hyuk hyuk) but the collet on my old one wore out, and the bits were spinning inside the tool.  That wouldn’t be good for me to be giving a demo at a club and my samurai bit fly off into the audience. I can imagine the headline now:
“Bonsai artists cuts off the wrong limb, lawsuit to follow”
Using the Samurai bit, this is the first pass:
My carving strategy is to use the biggest tools first, then go smaller. And my technique is to carve shapes first as well.
Just like movement in branches and trunks, I put movement into the wood. The details will follow, but the holes, the hollows, the edges, and the perimeters matter more than lines. 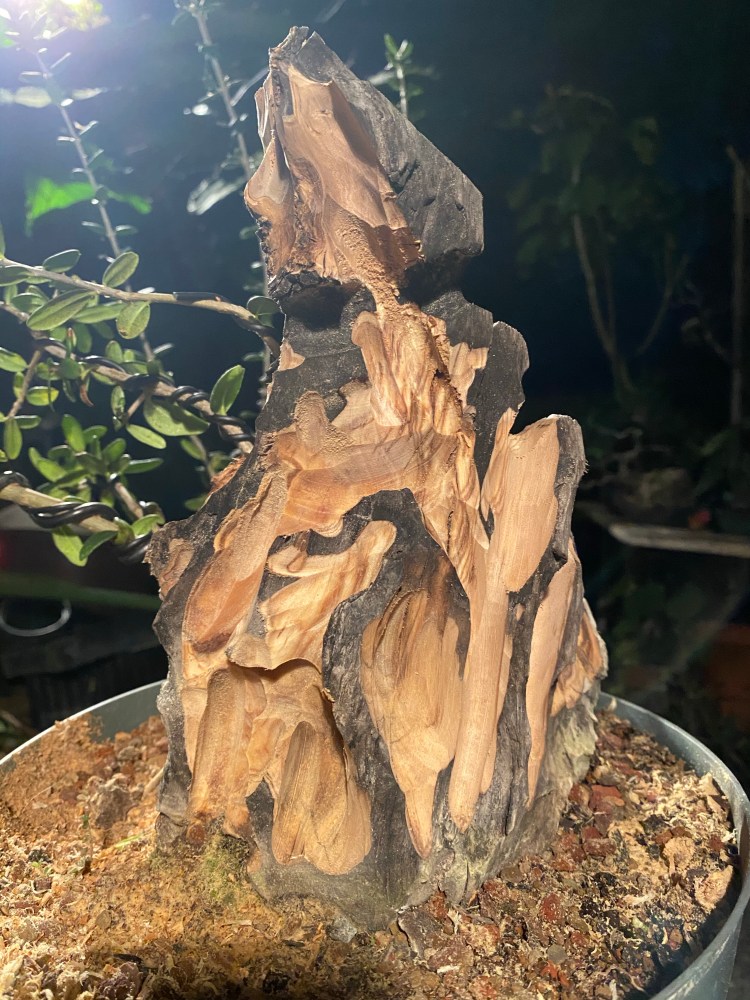
The next bit (and a smaller die grinder) is one of the Kaizen series bits. I’m not quite sure which one but if you know, let us know. 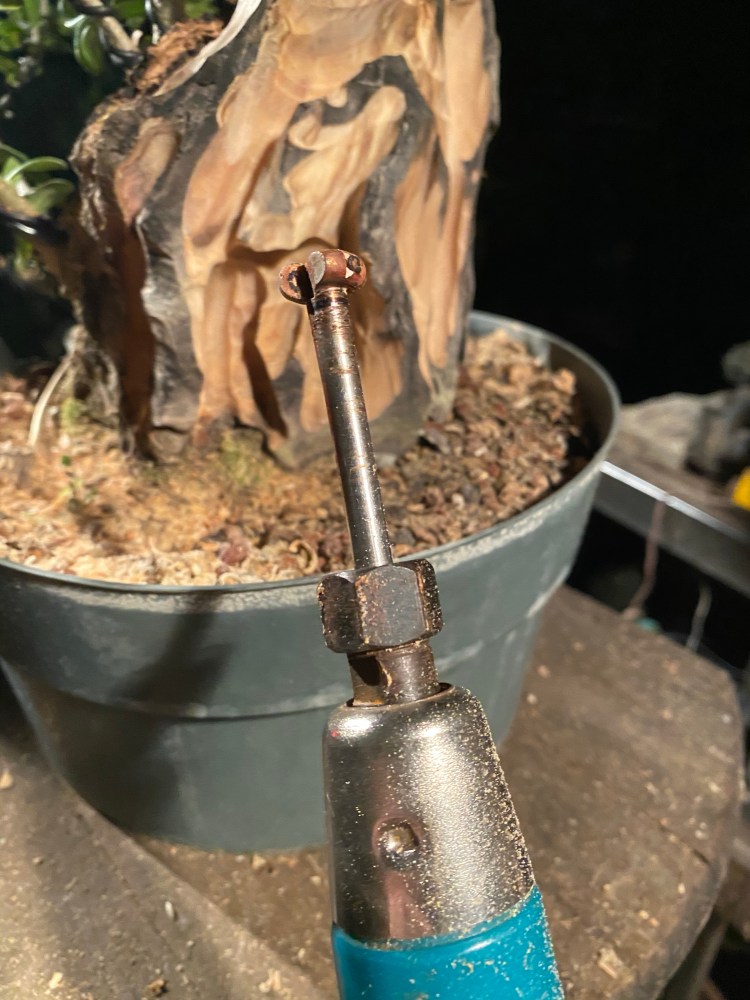
First, though, the client wants the tree shorter. I’d like to see it taller but it’s her tree. 
Reciprocating saw with a new blade. 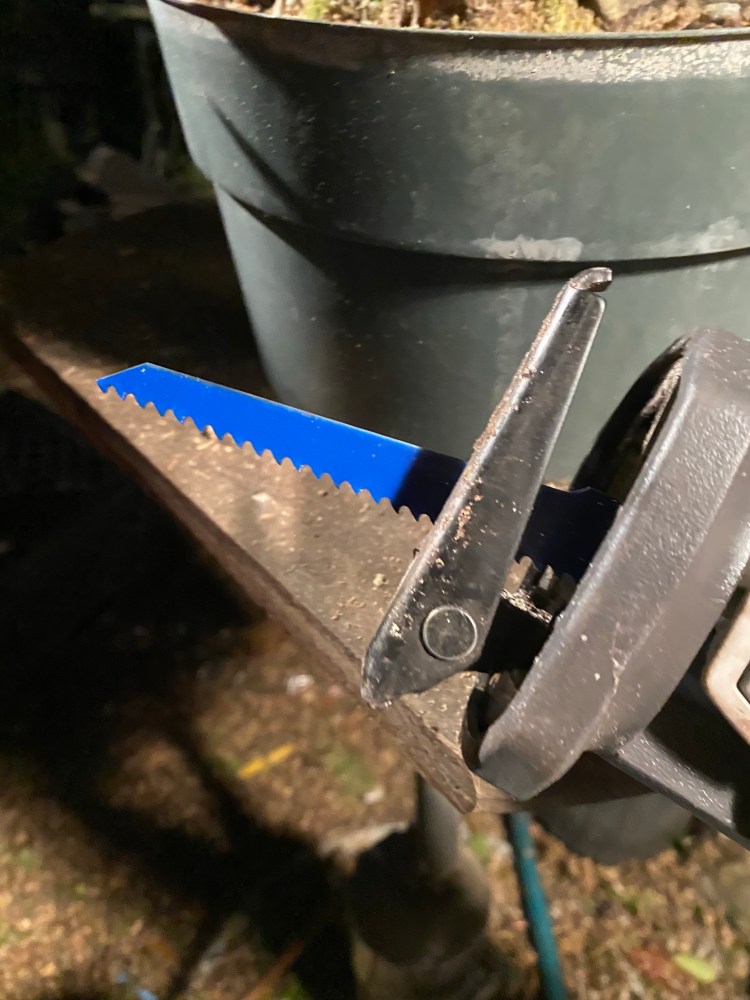
And my saw is fancy, it has LED lights to show us the way. 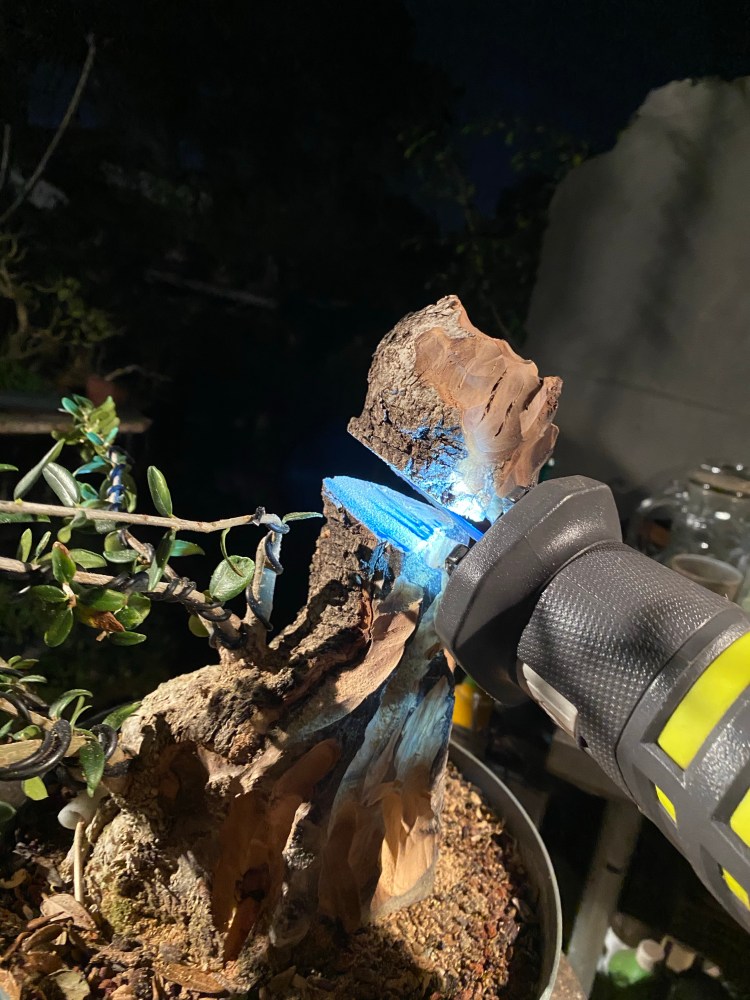
There we go. 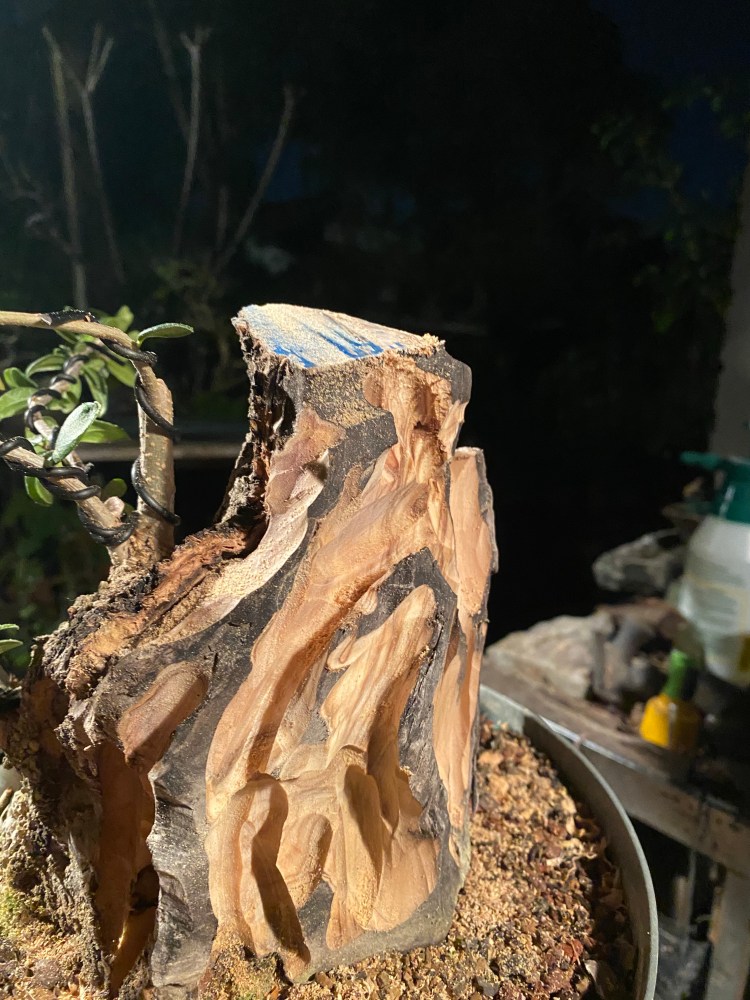
That doesn’t look too bad. I can work with that. 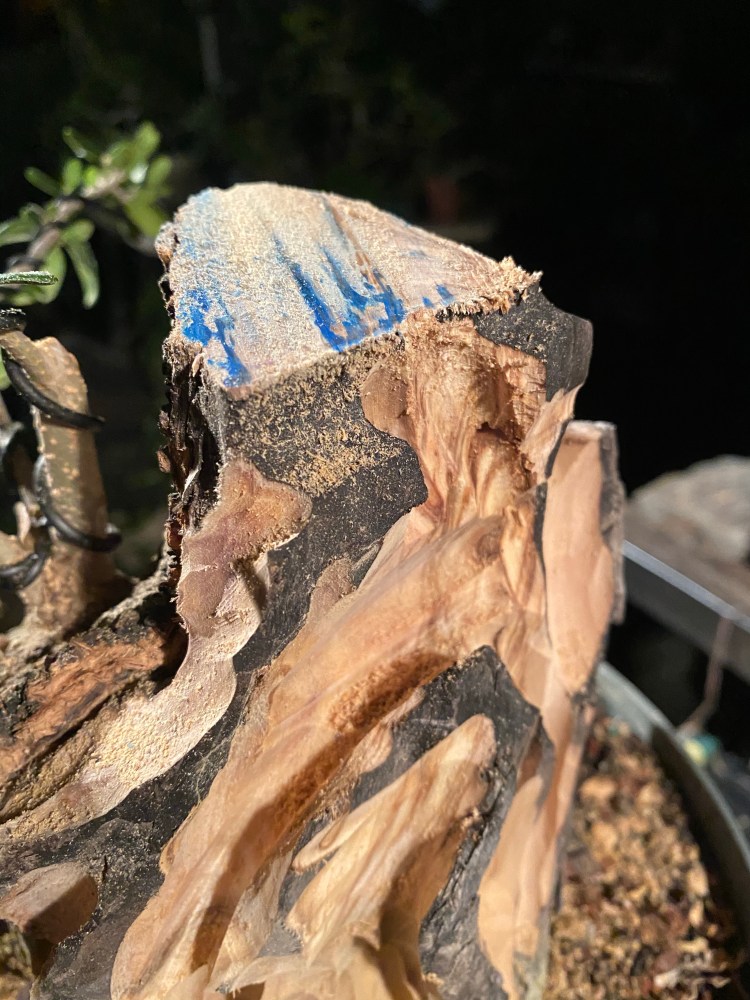
The bit. 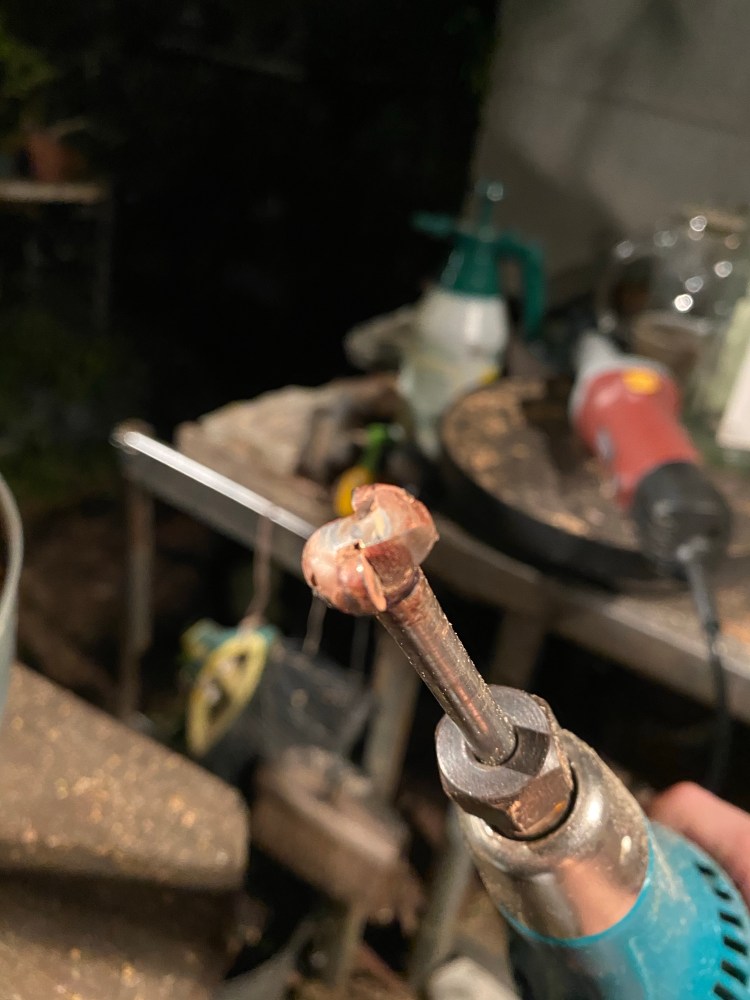
The aftermath. I think a video works better to show the detail.
Some might stop here but no., we need more depth.  I need to get me tool deeper….
If you go in close to that hollow, it’s deep, but it’s flat inside. 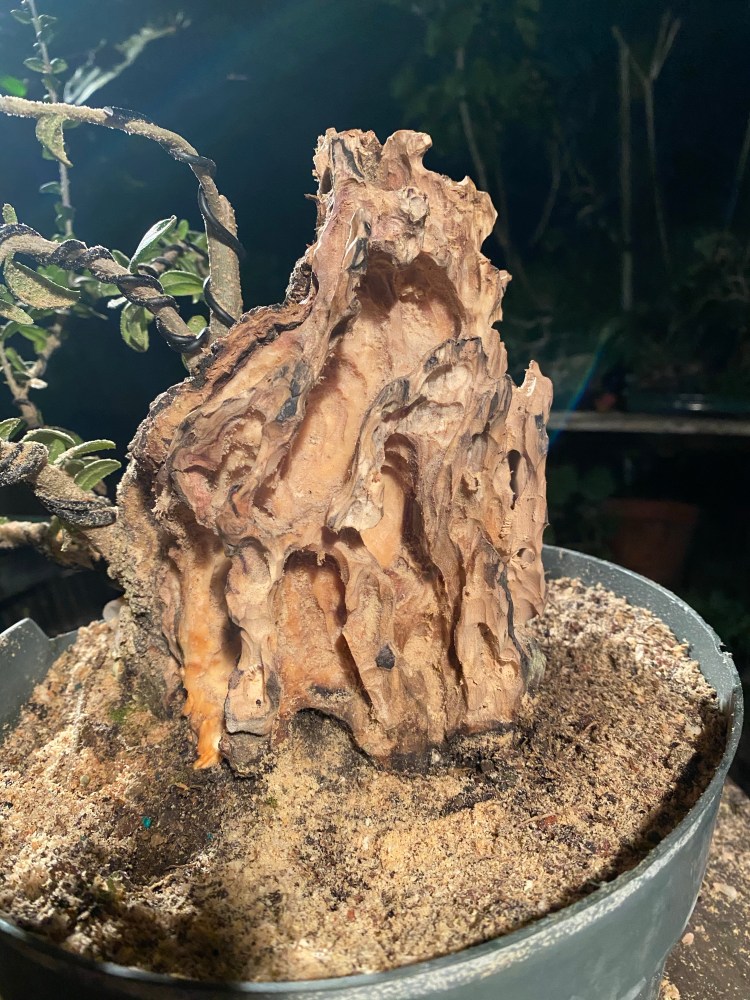
We need more layers of detail.
And using this carbide burr, which is a Dremel brand bit…..
And my flex shaft carver..
We can get to this level of detail.
Again, a short video clip. I’m not sure why it’s sideways in the thumbnail, it’s right side up when you play it.
Now for The Fire. 
Let me talk about The Fire just a bit. There are many theories as to why The Fire is used (and it should always be called The Fire, just so you know) , but the only reason I use it is to remove tool marks and make it easier to age the carving..,,,wait, what? Age the carving?
A fresh carving can only look old by a few processes.
One is time. Time makes angels of us all and gives us wings where we had shoulders, smooth as raven’s claws……..sorry, I was channeling my inner Jim Morrison……
But time will make the carving look, well, old. Duh!
Some carvers will use a line making bit to describe the grain of the wood, which is what happens naturally, as the soft parts of the rings erode, leaving the hard grain.
Me, I burn the wood. The Fire burns the soft part first….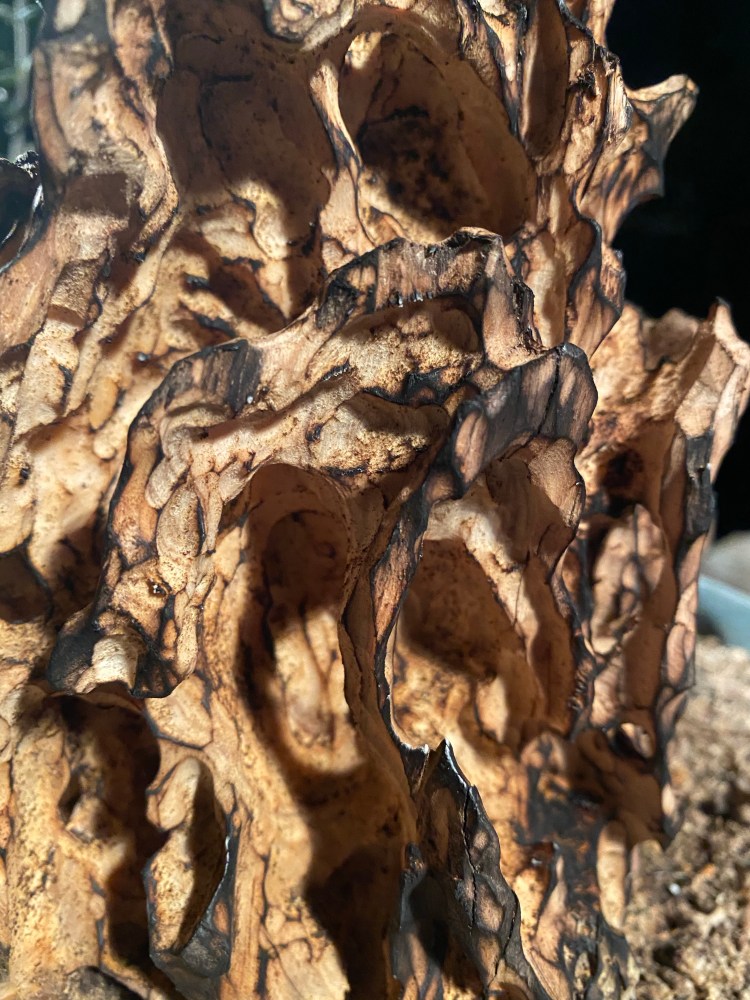
Then I use this bit on my flex shaft tool…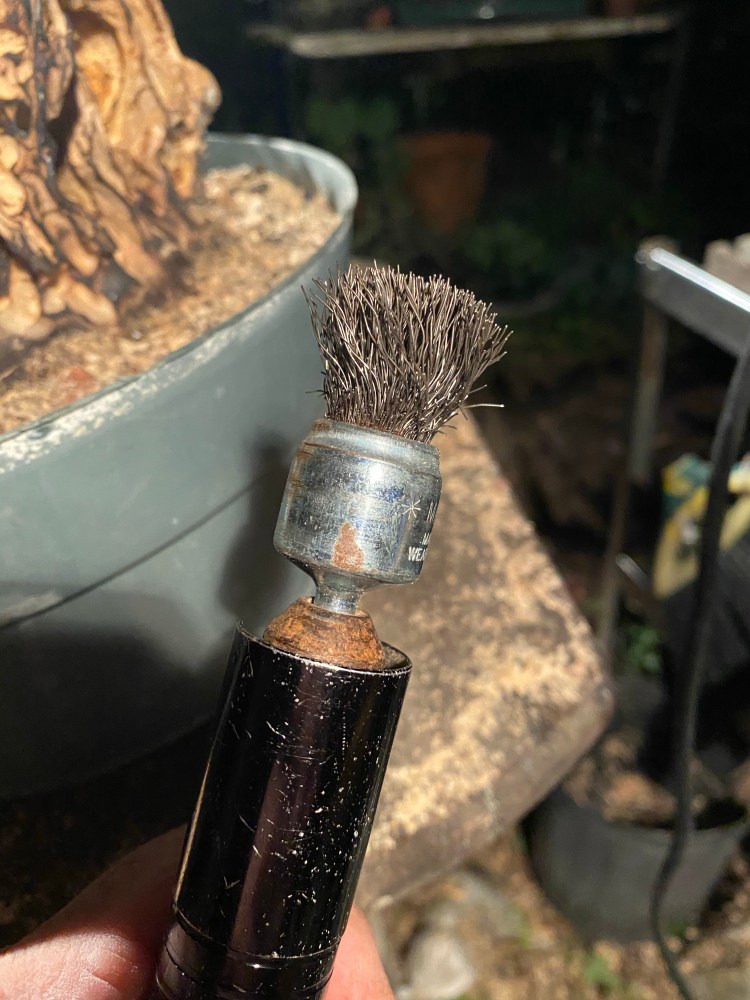
And it makes those lines for me. 
It tends to be a bit more random and natural, to my eye (notice I said “my eye”? Each artist has their own way of making art. The techniques vary, but we can get to the same destination by traveling but using a different road. No one way is better than another). 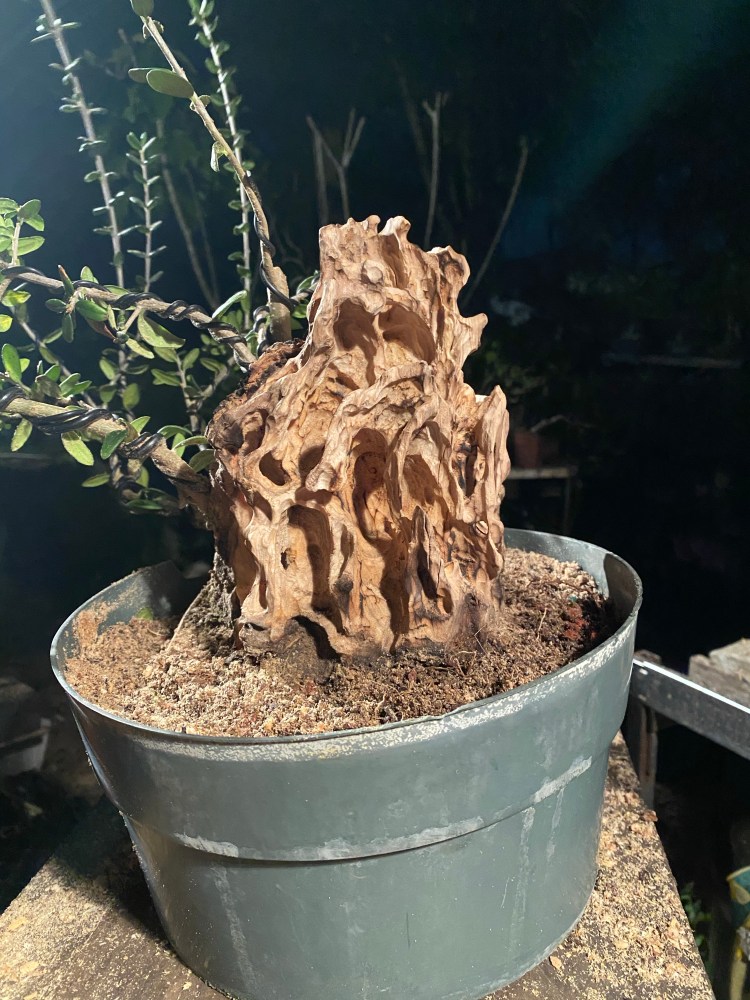
Quarter turn….
Quarter turn….
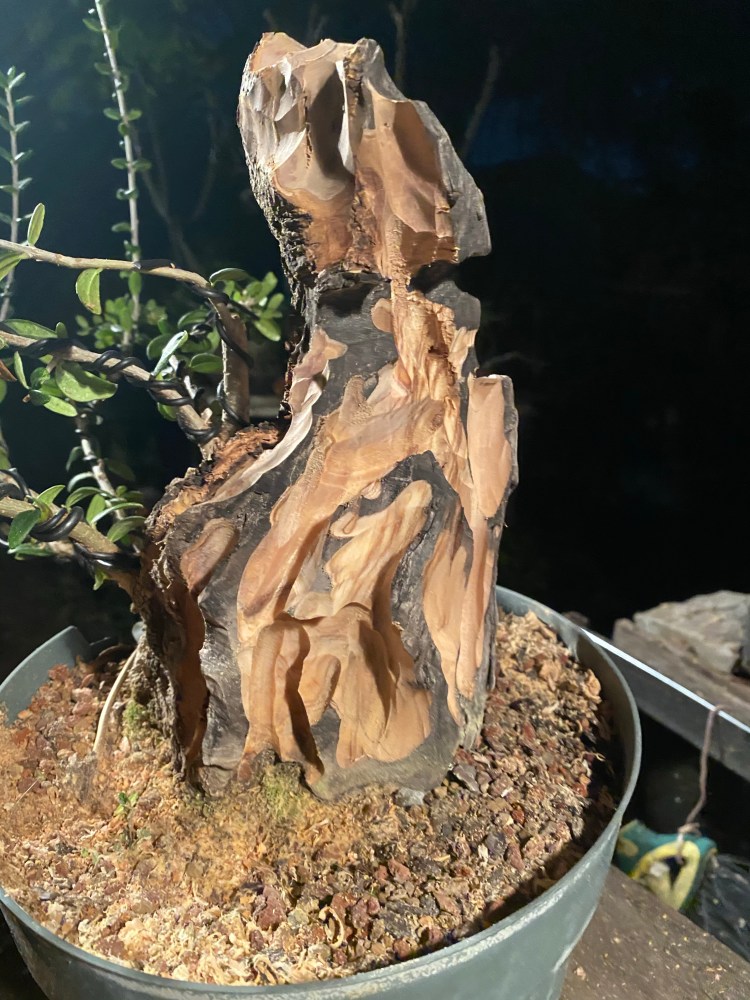
Top detail
There’s the front. 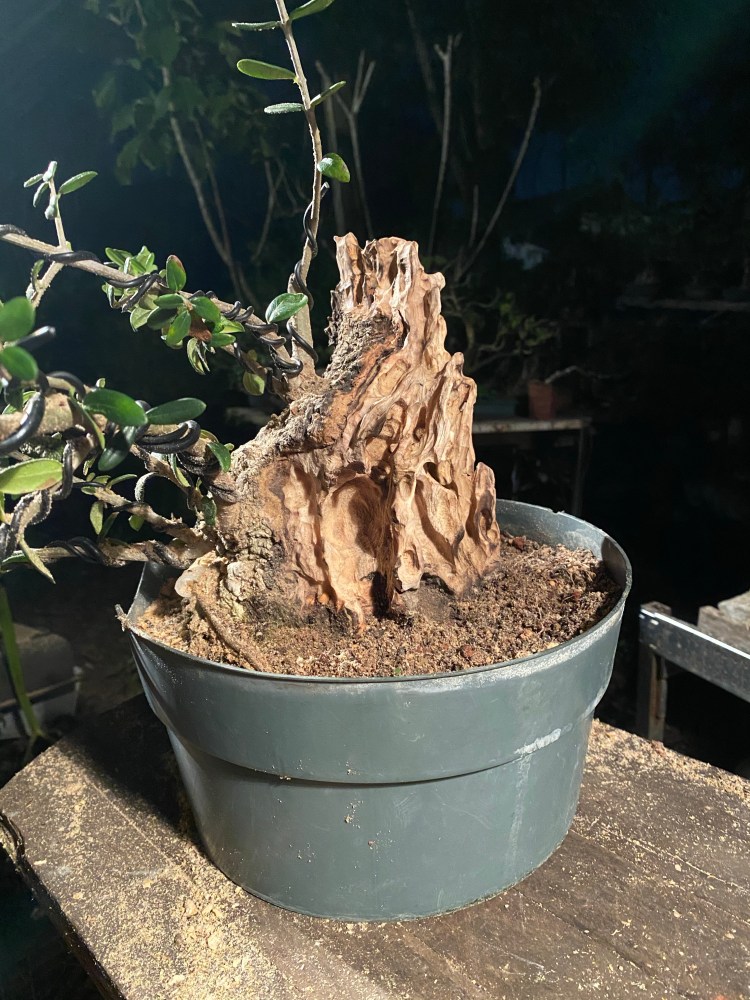
And the video. Look close, The Fire caused some drying and cracking (checking in wood carving parlance) on some of the ridges. That’s part of the aging process I talked about.
And I bent the tips up, to help accelerate the growth by concentrating the growth hormone auxin in the apical growth tips.
The theory (not the hypothesis, as many people believe the word “theory”means) is that auxin is distributed by gravity sensing cells called statocytes. They are denser than regular cells and settle with gravity, and that’s how they sense the pull of gravity (that is a very simplified explanation). 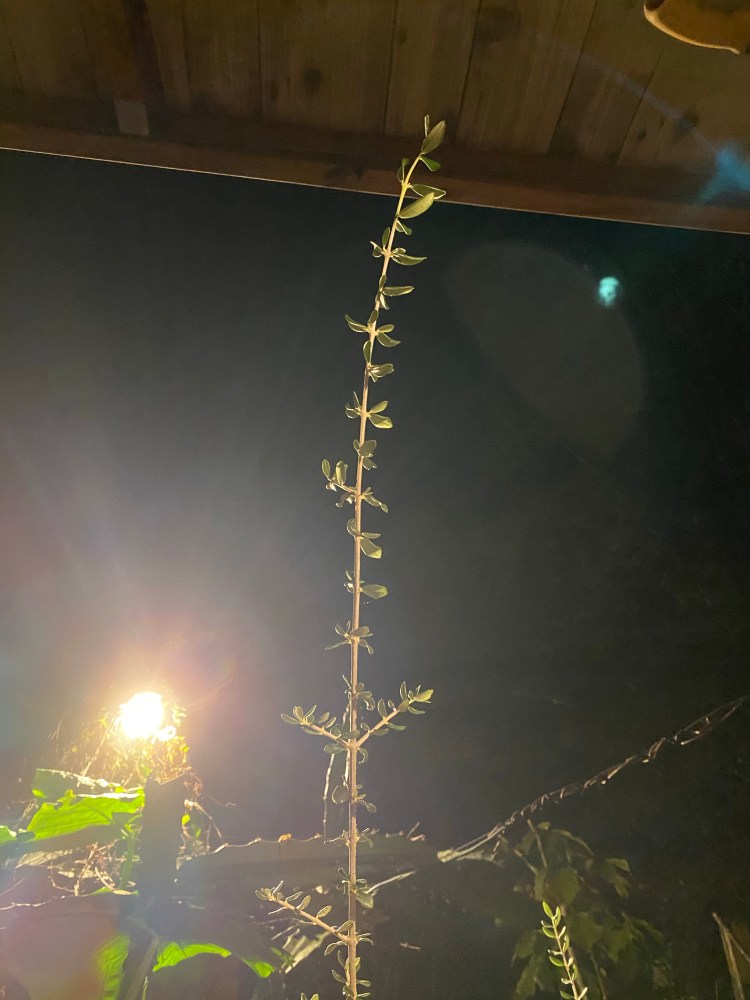 If you keep the branch tips pointing down, the plant has to redistribute both the auxin and the starch, using energy, to start growing up again. So by wiring the branches up, we save energy, and the plant grows faster…and thickens faster. All of us want faster thickening….
Again, that’s very simplified.
And way too complicated for me to explain after a beer. 
Lime sulphur is also a part of that aging process, but I’m not sure how my client wants to finish the tree, so I’ll leave that to her.
For me, it’s time to blow my nose.

Reblogged this on Wolf's Birding and Bonsai Blog.
LikeLike
Adam, long time fan first time posting.
I recently purchased a specimen from the same vendor. He has lots of interesting material at reasonable prices. It’s amazing to see what could be accomplished by the hands of a professional artist and carver; it is certainly an inspiration. I’m wondering about the viability of a thread graft to the bare side possibly to create more radial branching or perhaps an apex. Would it be possible and more importantly could it be applied in a way that would leave it looking natural?
Anyway, thank you for the wealth of information and entertainment that you provide. Your posts are always a treat.
LikeLike
Thank you sir, thanks for reading.
They do graft on olive trees but in the regular horticultural world it’s done with bud grafts, mostly. Which means that they literally just remove a bud from one tree and slip it into the bark of another.
I don’t know of the viability of thread grafts but my feeling is they would work.
LikeLike
Interesting bit about the statocytes. lead me into spending more time than i should reading words I don’t really understand. I am still under the impression however, that while it will try to grow back upward, and I like the theory more that the areas that grow the most do so because they are receiving the most light, which drives transpiration which results in more water which just happens to contain cytokinins from the roots, which in combination with the auxin that is present in the tips, causes more growth. I think another major thing that contributes to thickening is scar tissue, and one of the reasons it’s good to have these long whips sticking up is they get wagged around in the wind a lot and that causes micro tears in the tissue, which is then healed and causes thickening at that point… it’s like a plant doing bicep curls. At least that is my theory anyways.
LikeLike
This blog post was an excellent work in-and-of-itself. I bet I could do the “pie slice method” with Lilac trees which grow really well here in N.Michigan. Thanks for sharing your knowledge and talents.
LikeLike