This post will get to the root of many people’s fears when performing the initial potting of a deciduous tree.
The tree I am using is a winged elm (ulmas alata).
An aside about the species; an american native not often used in bonsai (some people are put off by the wings on the branches) it actually has better twigginess than the American elm (ulmus Americana), which is more common. The Chinese elm (ulmus parviflora) is probably most used elm in bonsai.To compare the two, the winged elm has a more rough, old-looking bark; comparable twigginess and similar leaf shape and size as the Chinese elm.

This is the branch structure and leaf of the winged elm.
When we begin work on deciduous trees, as with all trees, the most important detail one must consider is “Am I doing this in the right season?”
For a deciduous tree,it is best to work on the roots when the tree is in it’s winter dormancy.
Personally ,I prefer to do it just as the new buds begin to swell. Then I don’t have to wait too long before I know if I’ve killed it or not( of course that means you have to know what an un-swelled bud looks like) But, I know people who perform root work on the coldest day of the year. Should you do it then the root zone must not get below 32 degrees Fahrenheit/ 0 Celsius. When you work on the roots it tends to stimulate them to grow. And new roots will freeze and die.
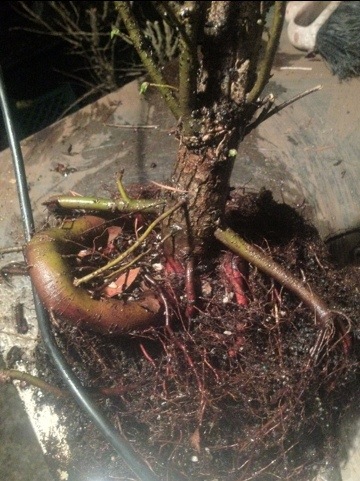
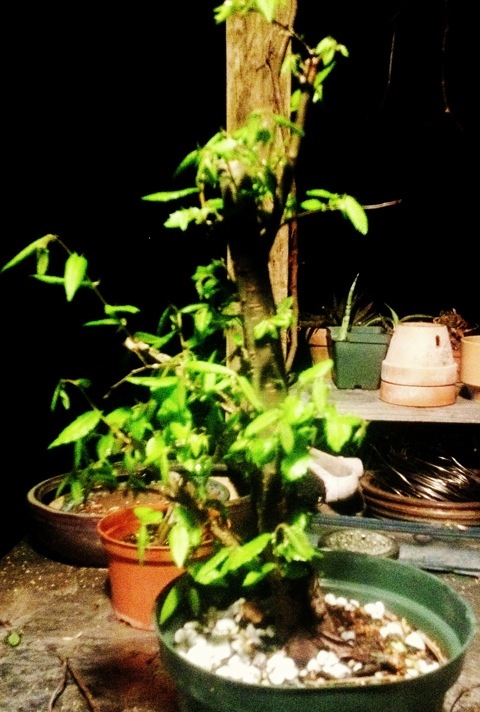
Here is our subject for today:
Pretty sexy huh? Almost like bonsai porn.
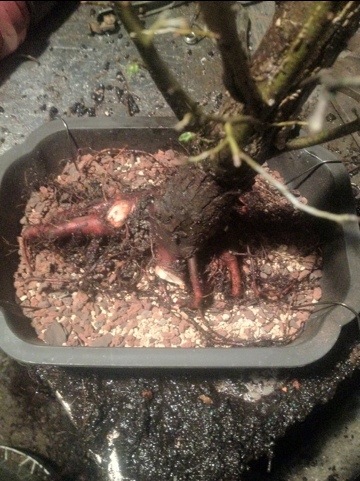
The tree was found in a native plant nursery and is typical of any nursery grown, containerized elm.
The roots are tangled and winding. And usually one root is the main root and larger than the others. This would most probably be the tap root on a tree that had been germinated in the wild.
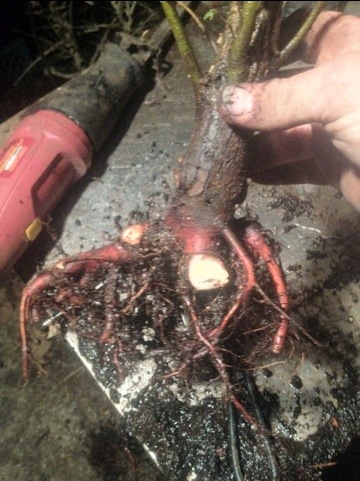
These are the cuts:
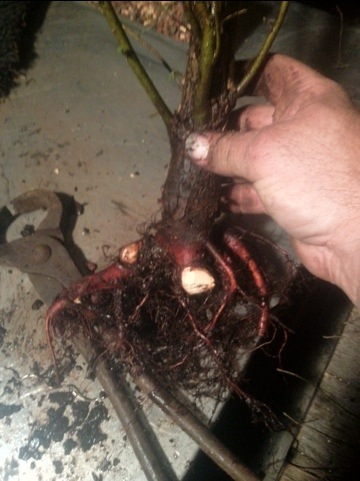
And a different view:
I cut off the big encircling root, the two top straight roots and various other roots as well. All this will not kill the tree.
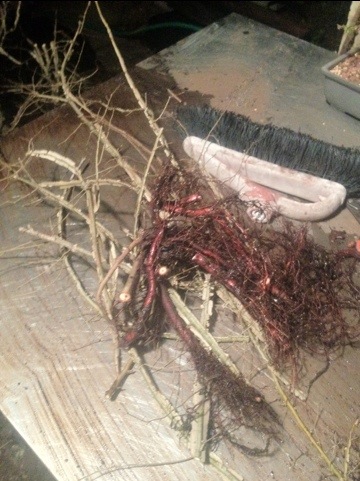
Save all of the roots you cut off; they make awesome little root cuttings.
This is the eventual root spread in a year or two:
But I will cover the roots like so:
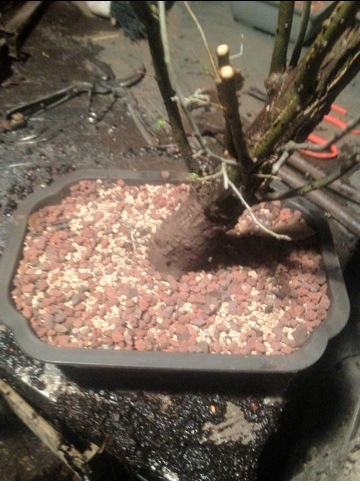
So that the cuts I made will stay moist. I fully expect many roots to issue from the cuts; when the next repotting happens it will just be a matter of choosing the ones I want.
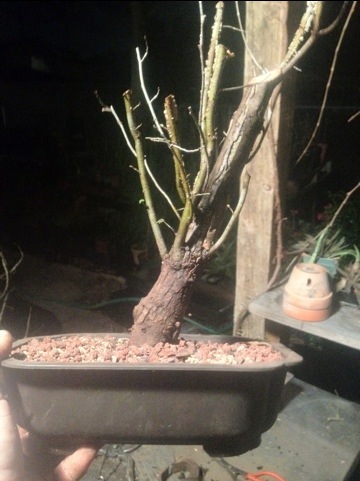
Here is the un-styled tree:
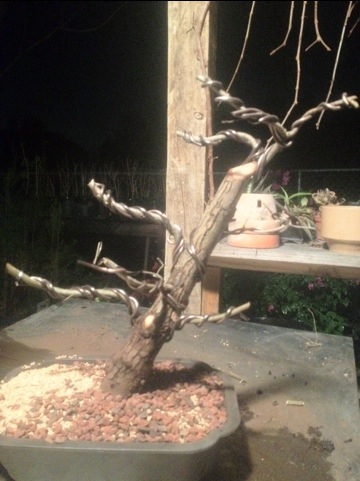
With most of the trees I am processing this year I am leaving it at that.But I did a rough branch placement on this one:
<a
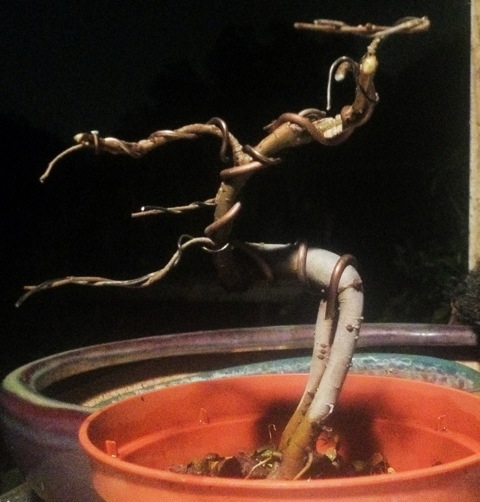
This is a winged elm I treated just as roughly but about two weeks earlier:
It’s doing so well and the color is so bright it’s overexposing the image.
The purpose of those big roots in nature is to anchor the tree to the ground. Since we tie our trees into the pot (you DO, don’t you?!) they are not needed. The important roots are the fine feeder roots. Here:
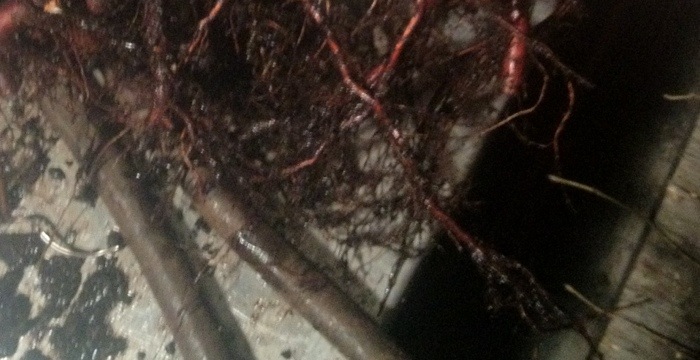
The more of these you keep the better.
I will post updates of the trees later in the year.
Here is a root cutting from last year:
Cute, ain’t it?

Nice explanation. I’m gonna figure it out someday. I do like my winged elm forest…..
LikeLike