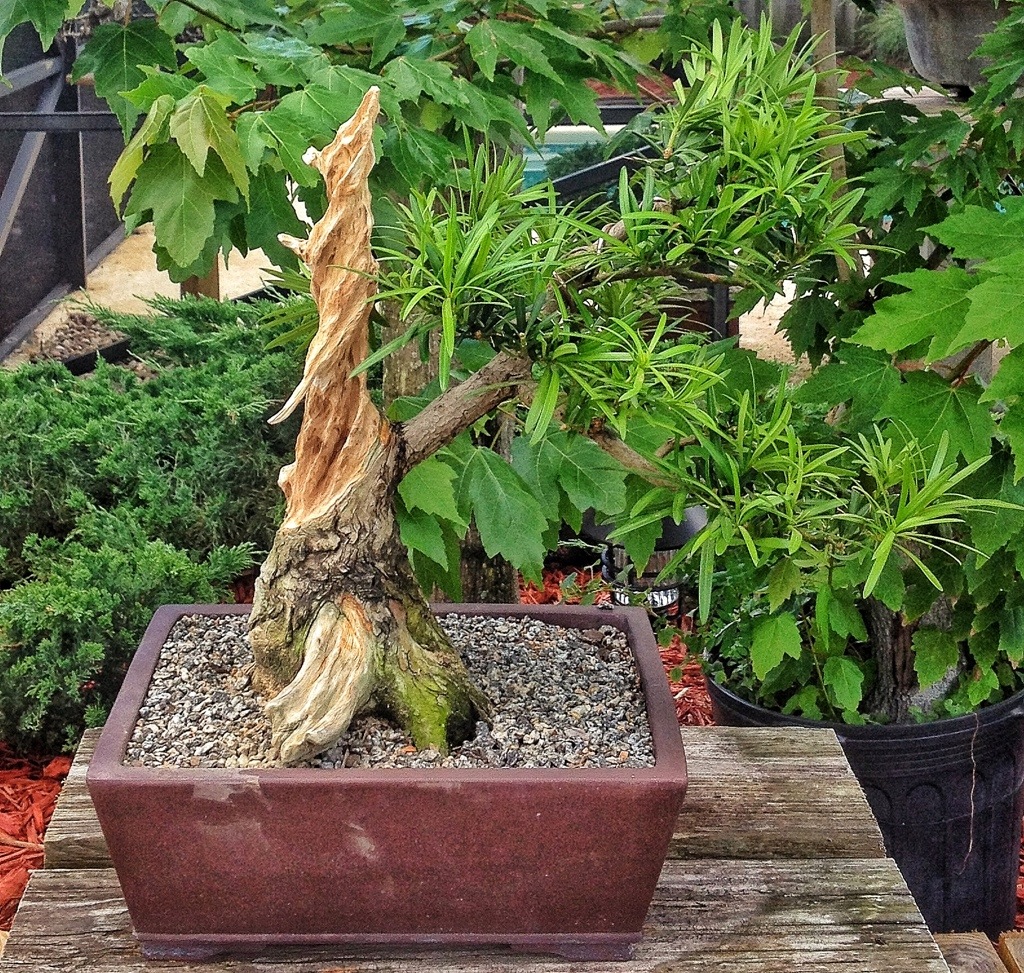
This is the second tree I carved at my friend Bobby’s house, it’s a buttonwood.
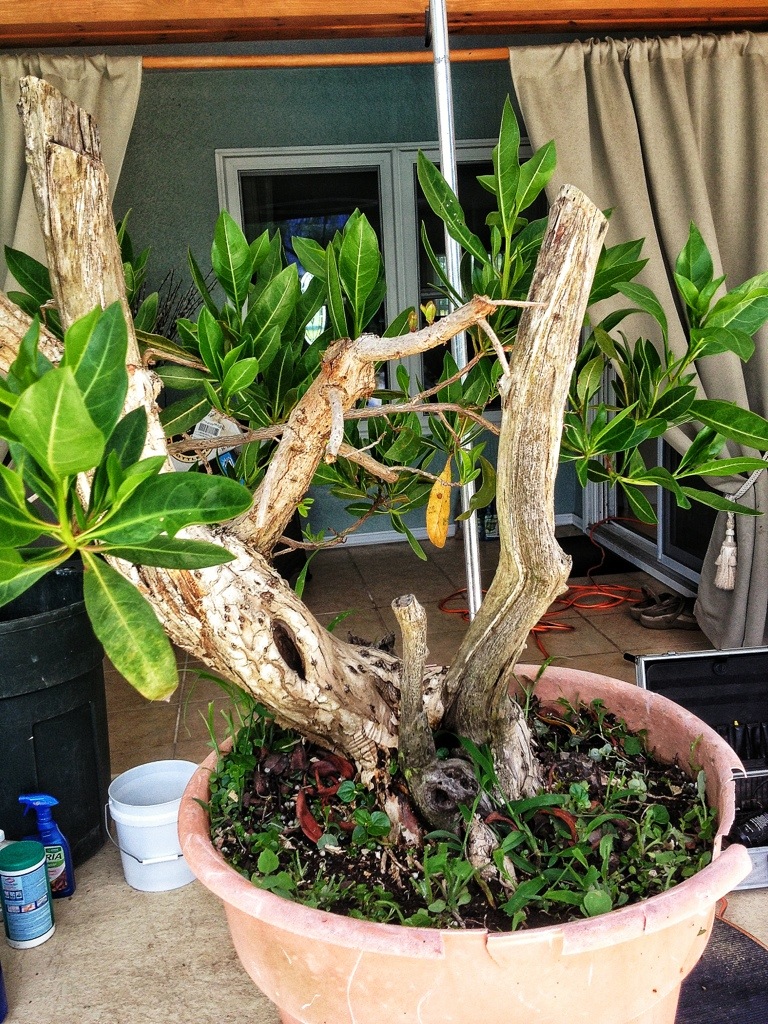
When one thinks of buttonwood one thinks deadwood.
Most buttonwood bonsai we see have been collected from the wild, more specifically, in the Florida Keys. Unfortunately, those trees are a limited resource. Development of the Florida shore is the main culprit.
What is the solution?
Buttonwood can be grown quickly. Why not do what the Taiwanese are doing with Shimpaku juniper and create an aged looking tree without having to harvest them from the wild?
There are too many oldsters who say it can’t be done.
I’m not old. Here we go.
This tree was collected from the wild (boy, is my face red)

but not from The Keys. It was from the middle of the East Coast.
The range of the buttonwood goes from The Keys up to Cape Canaveral on the east and to about Tampa on the west.
The further north from the Keys you go the better and healthier the buttonwood grows. They will get as thick as oak trees (though not as tall) in an ideal environment. They really struggle in The Keys.
This tree has dieback areas but needs just a little tweaking to improve it.
It looks like it could have been nursery grown though. That’s what is important.
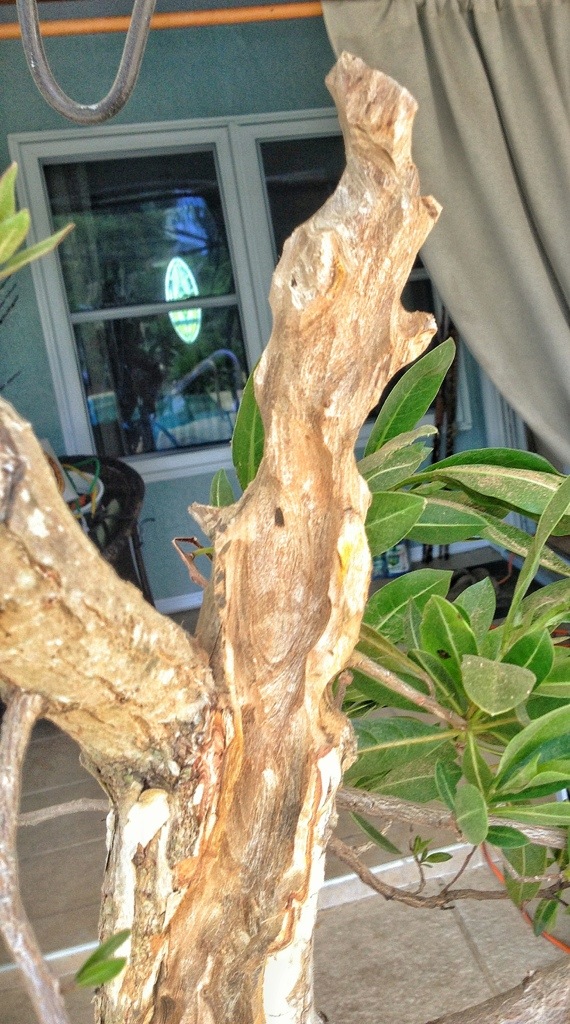
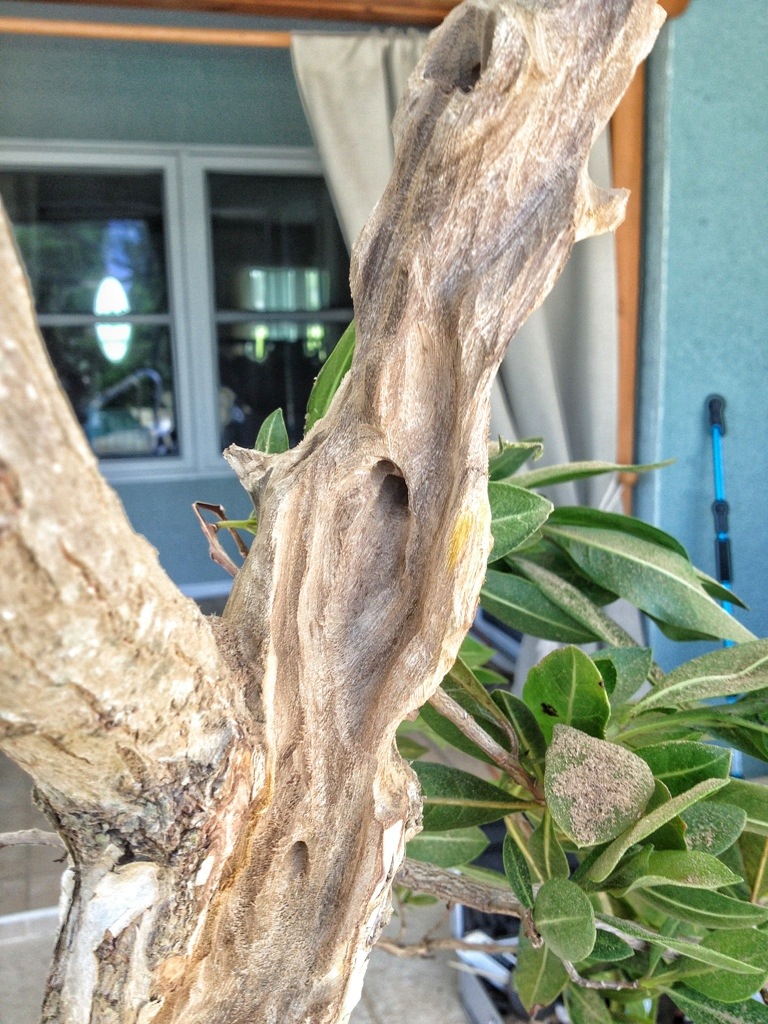
This is the right side trunk
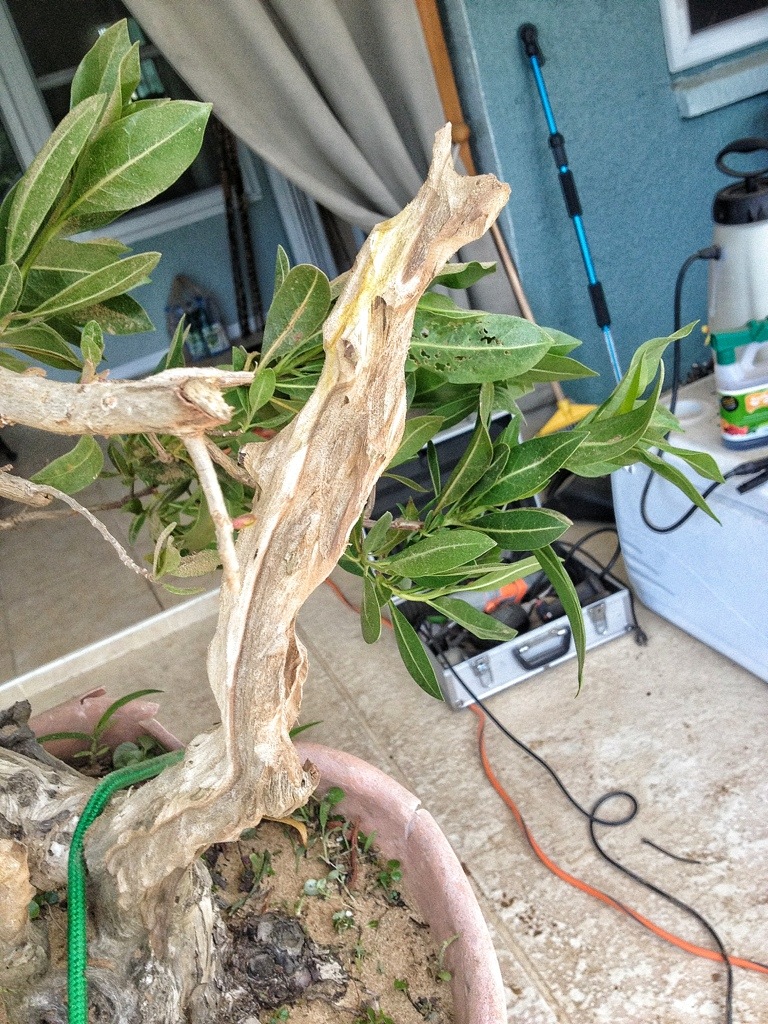
And this is the left side trunk
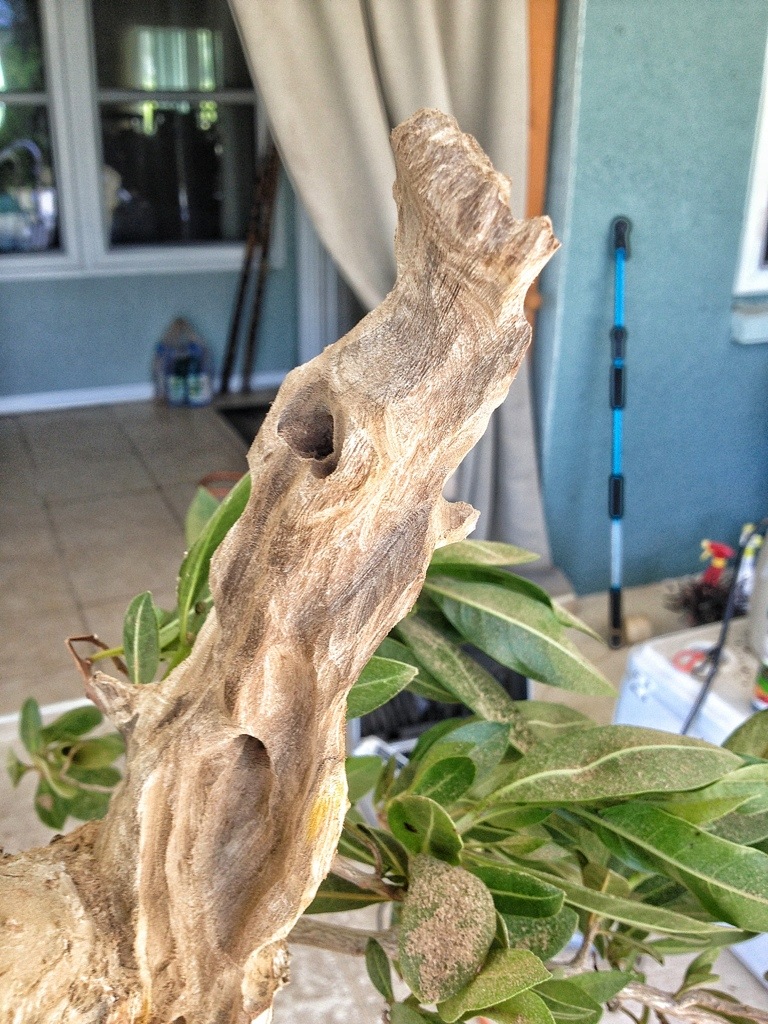
The only natural dead wood is in the back. This will be the inspiration for the “look” of the carving
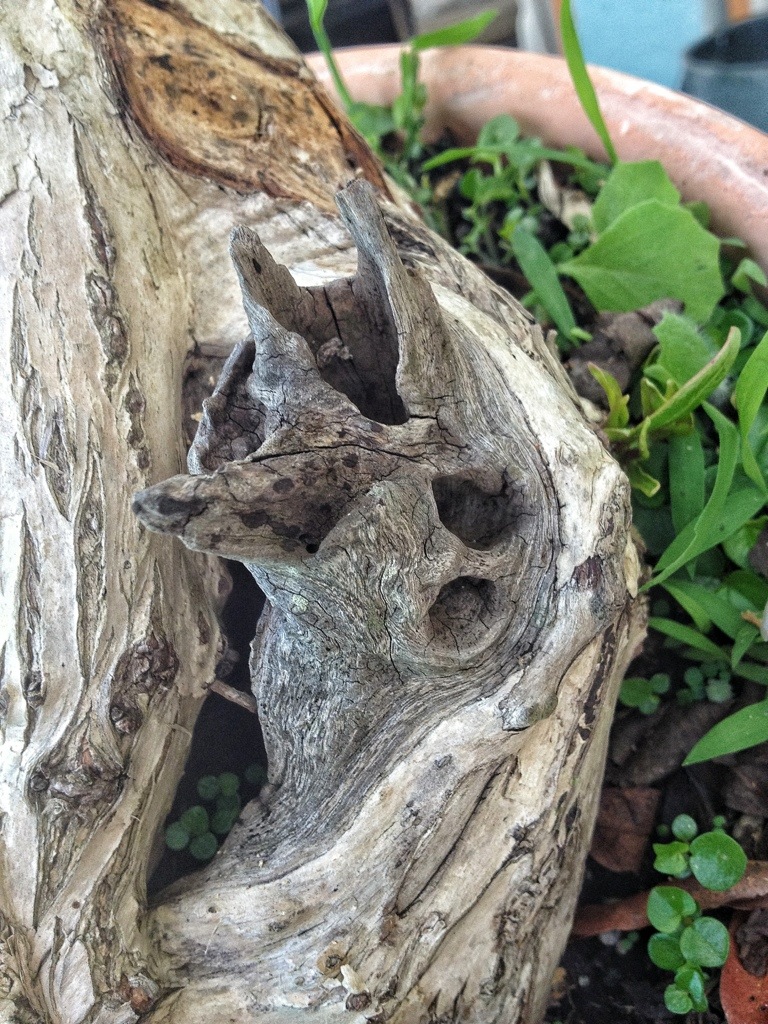
It has points and hollows.
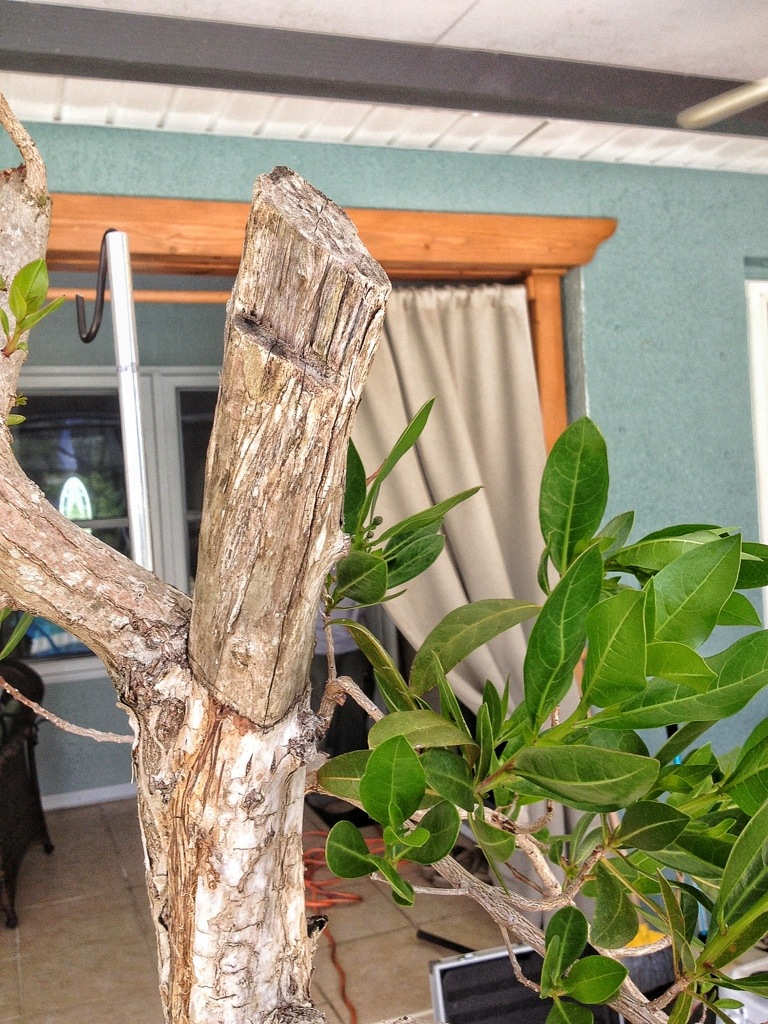
This piece is in question

It may not stay.
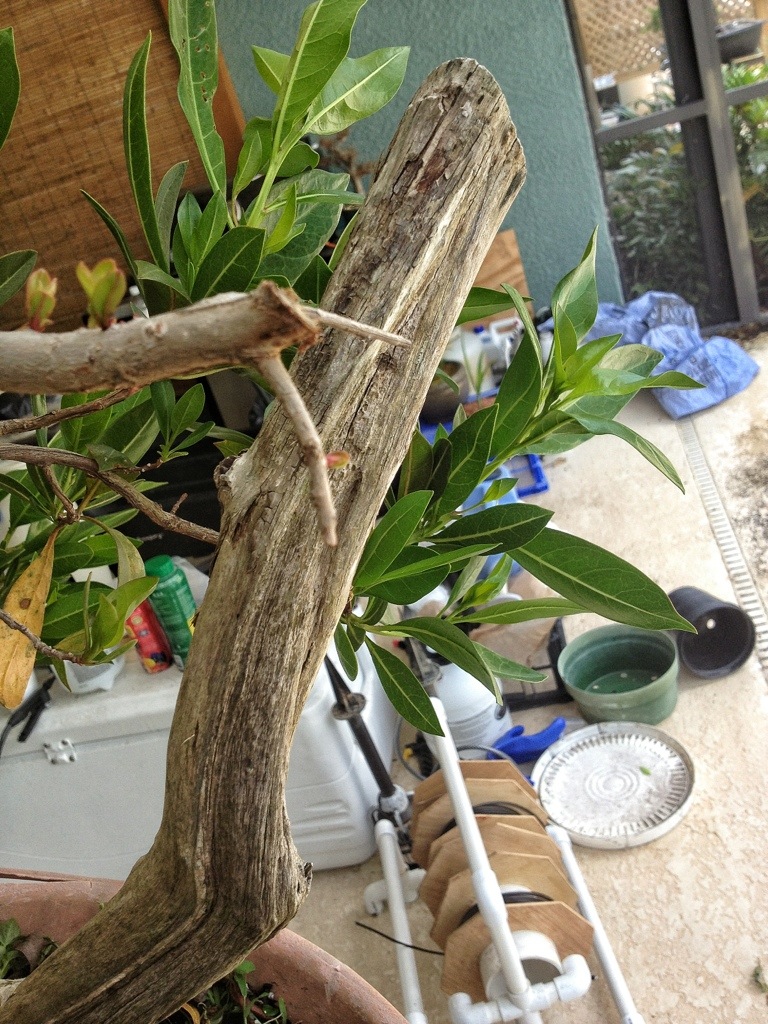
So the idea is to give some movement and interest to this deadwood (right)

It has a curve but can it have more?
I could easily carve a spiral into it like the last tree had done to it (the podocarpus)
But I don’t think that fits the character of this tree.
And so I begin

I’ve shown the technique before on how to create a movement in a straight branch so I won’t repeat myself. I’ll tell the story mostly with pics.
Left side beginning

First pass
Right side second pass
And that little, middle dealio
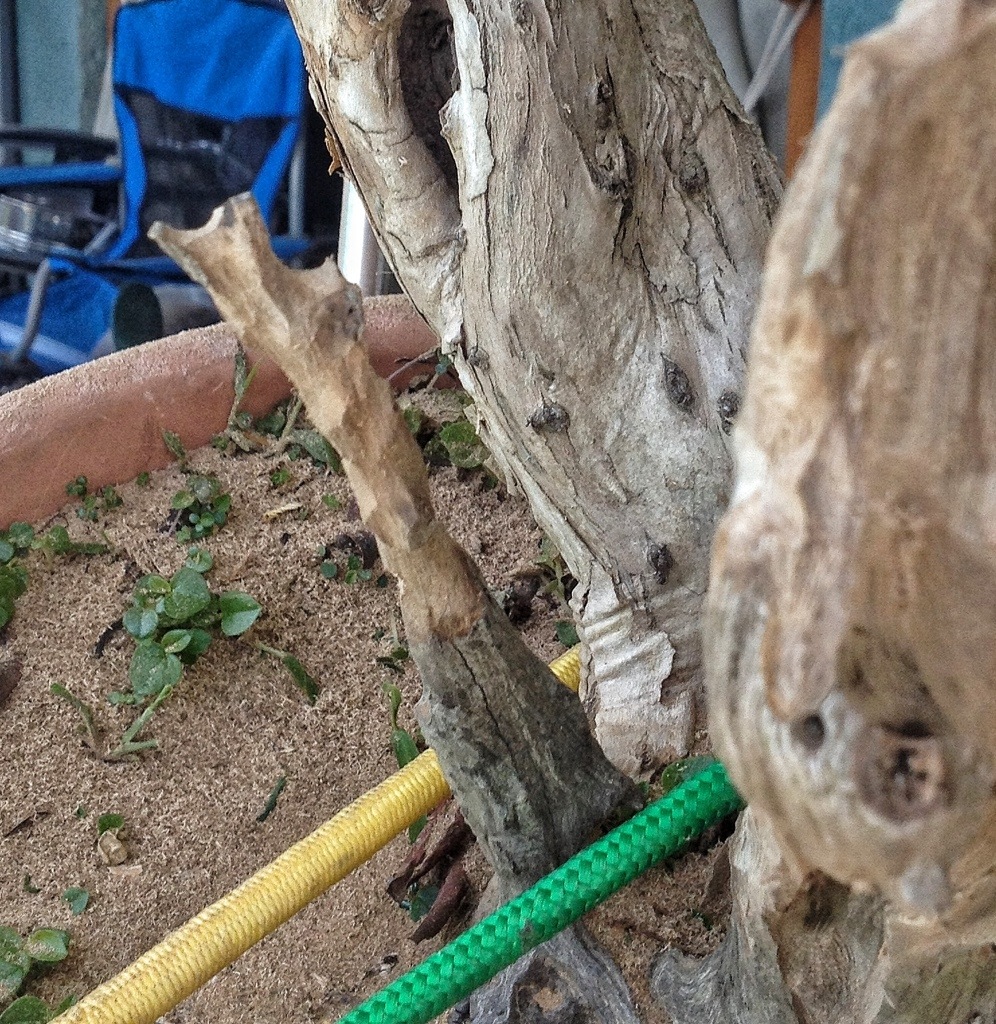
We are still not convinced about it.
We shall see.
At this point it looks ok.

But I’m going pull out all the stops. Here comes the drill

Lets see what I can do with this baby

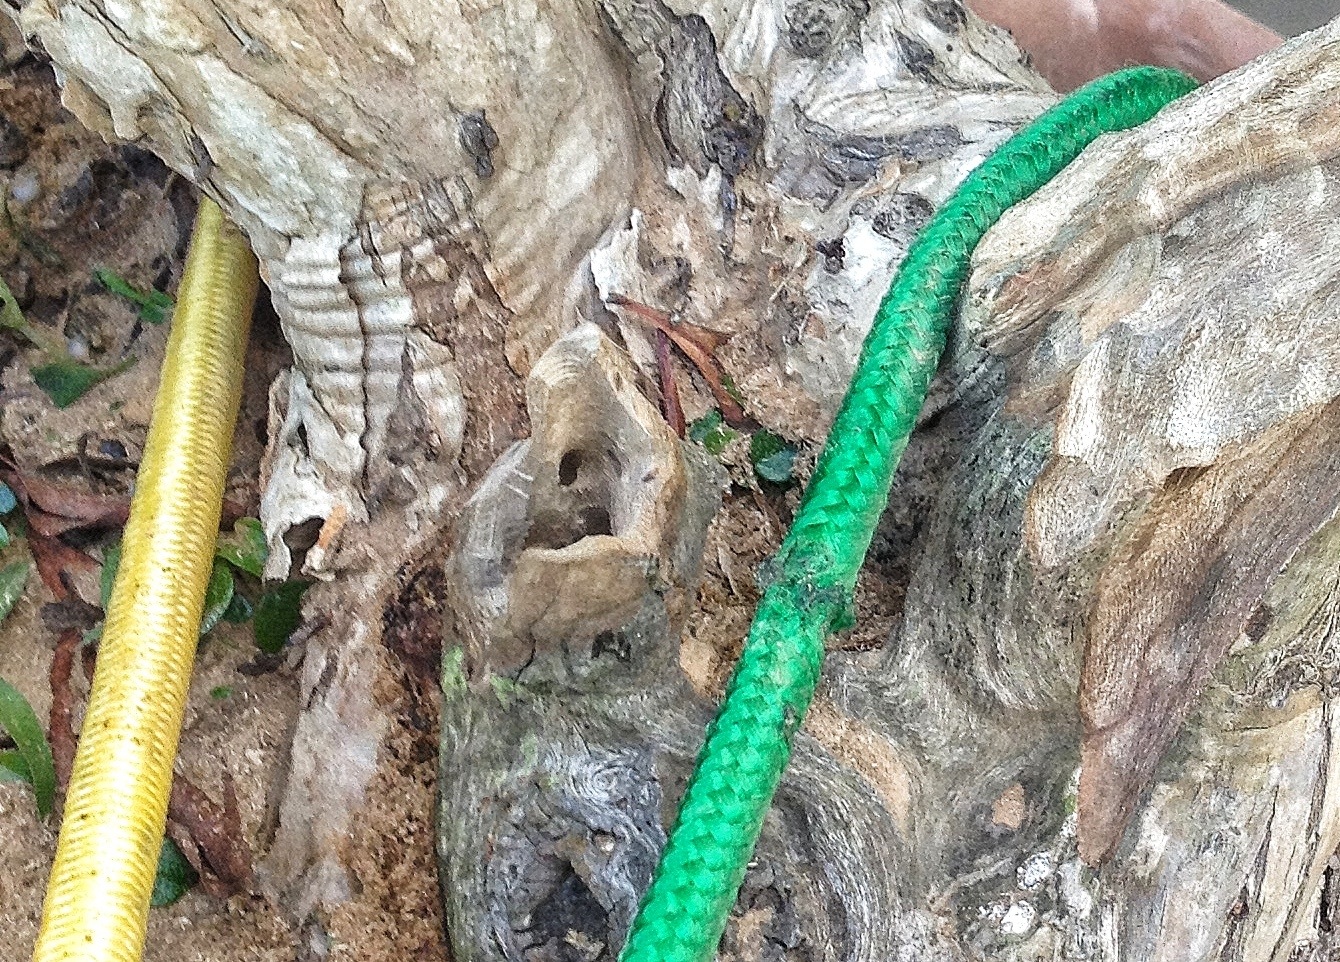
A drill bit makes a conspicuously round hole. Make sure you elongate them and generally make them irregular (the technical term is ream)


And you don’t need too many holes. Or you need a lot.
One of the two.
And of course I used a wire brush to finish it off and give the grain a little help being noticed.
And here it is:

Oh..! What did we do with that skinny appendage?
We decided to neuter it
And some detail shots for those clamoring for them

A shot with my hand in it. Because it needs to be there. Otherwise the post is just not up to standards

The before!

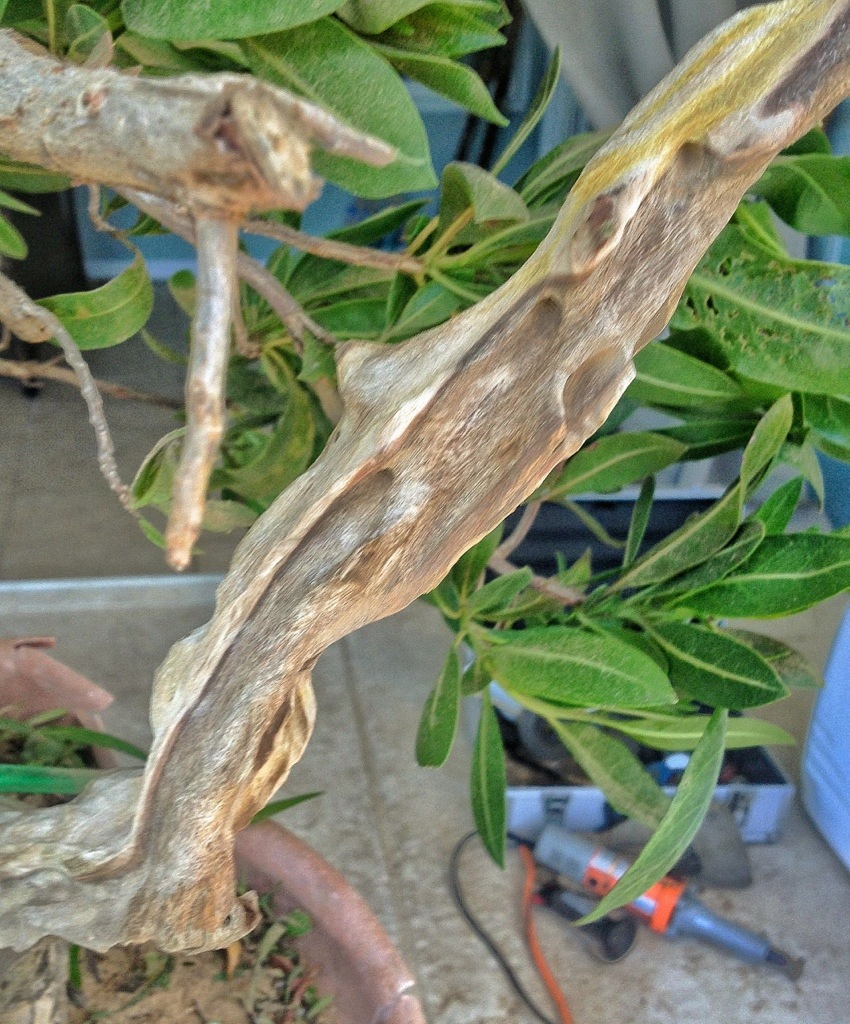
And the after!

It just needs some wire and growth.
Thank you Bobby, my friend, for letting me carve some of your trees.
And to answer the question (from Nick, Dave, Guaracha, Jerry and everyone else)
Lime sulfur can be applied now to this tree.

nice job
LikeLike
Thanks Rick
LikeLike
It doesn’t look carved, and that’s the point, eh? LIke it a lot!!
LikeLike
I love the carving. I wish I could grow buttonwood up here. I’ve thought about buying a little one as an experiment to see how they overwinter indoors under lights. I have yet to hear about anyone doing it.
LikeLike
There’s a man in Cincy named Doug Hawley that has buttonwoods and he overwinters them
LikeLike