When it comes to displaying my trees in my garden I prefer something, shall we say, different, than what most people use.
The general rule is that the display table shouldn’t be so extravagant that it draws attention from the tree.
As wacky as my tables might be, people always look at the tree first.
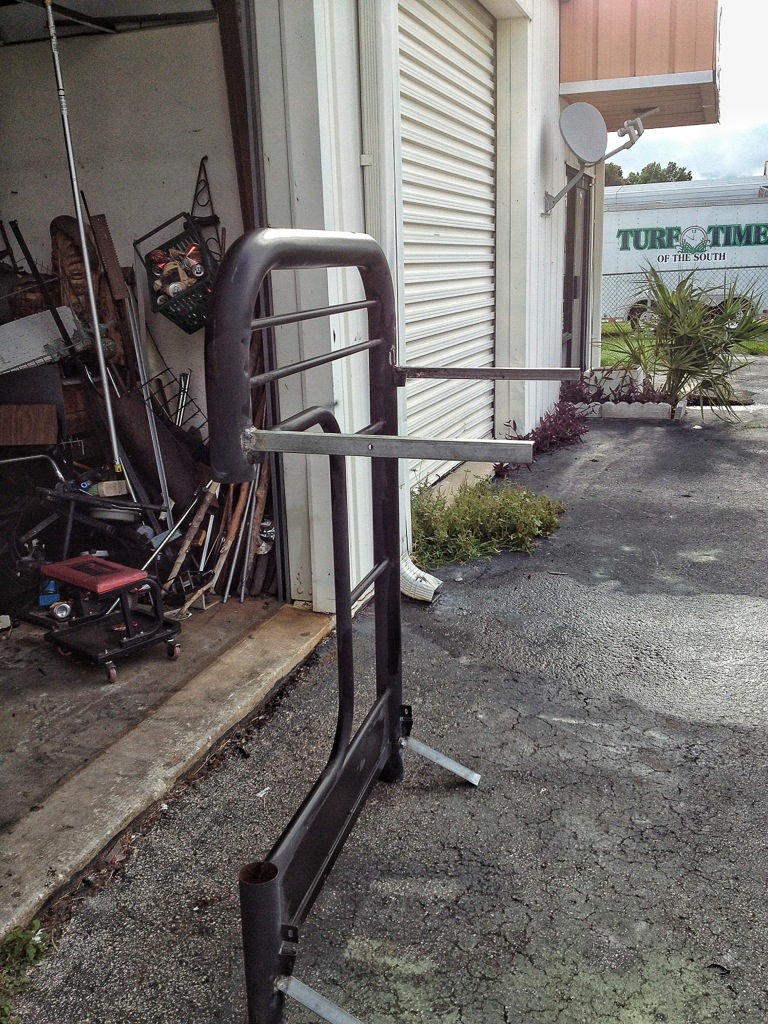
Starting with this found piece-
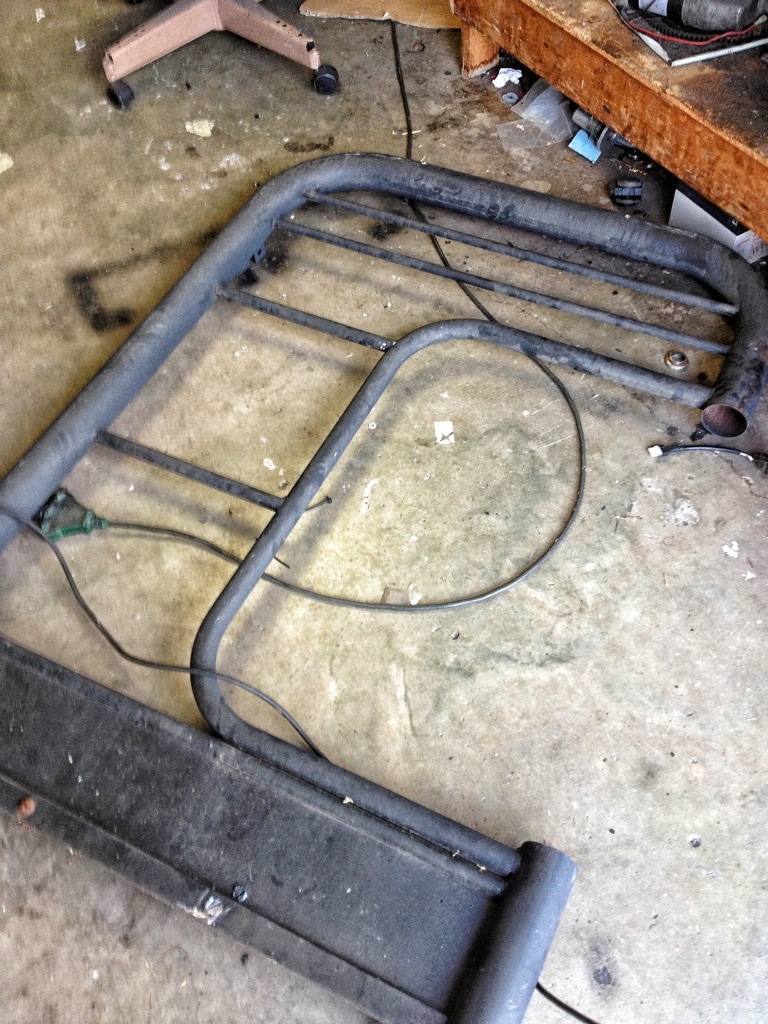
which is one side of a kid’s bunk bed, I’m going to make a bench.
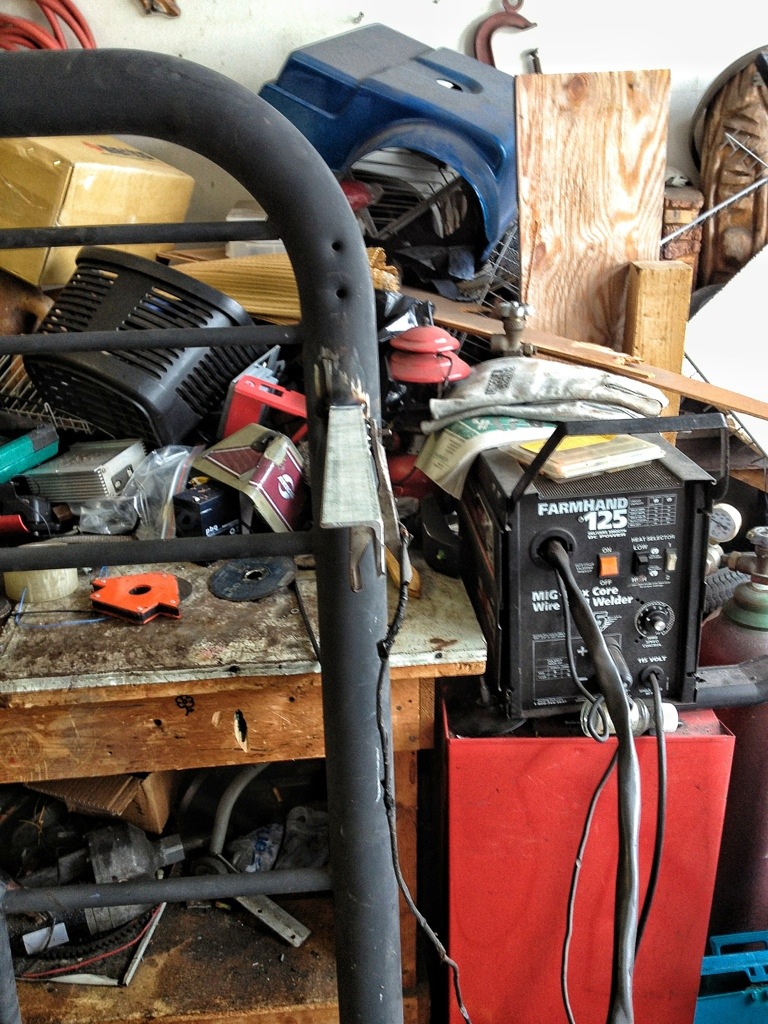
Tools:
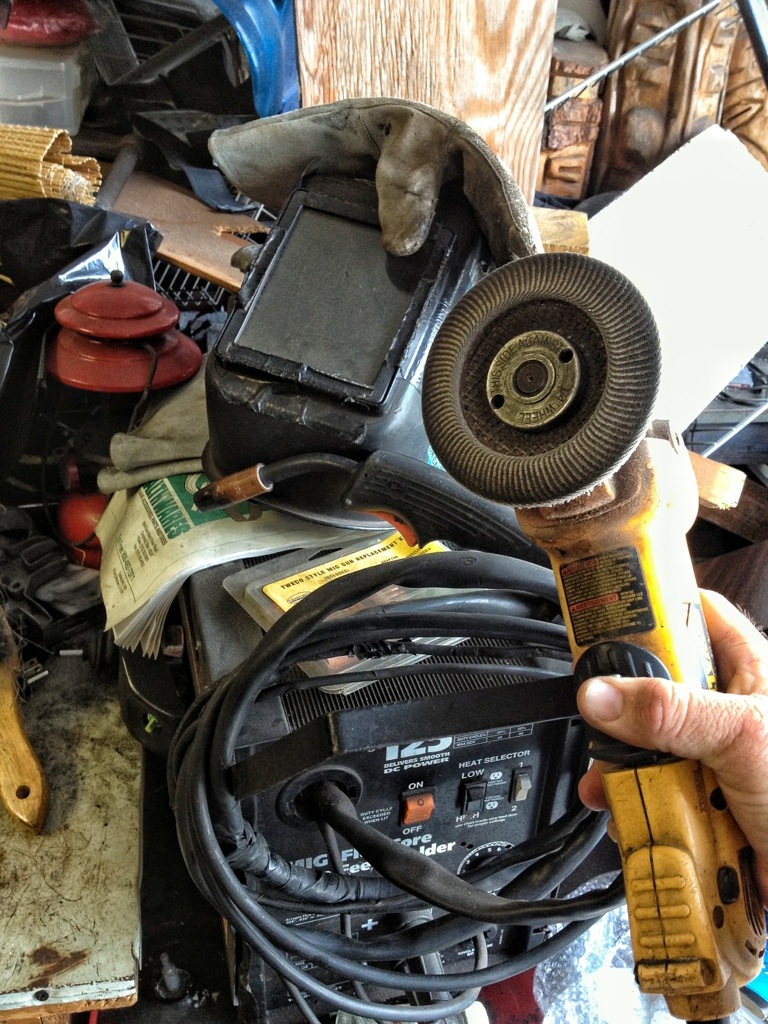
Angle grinder, welder, gloves, welding helmet.
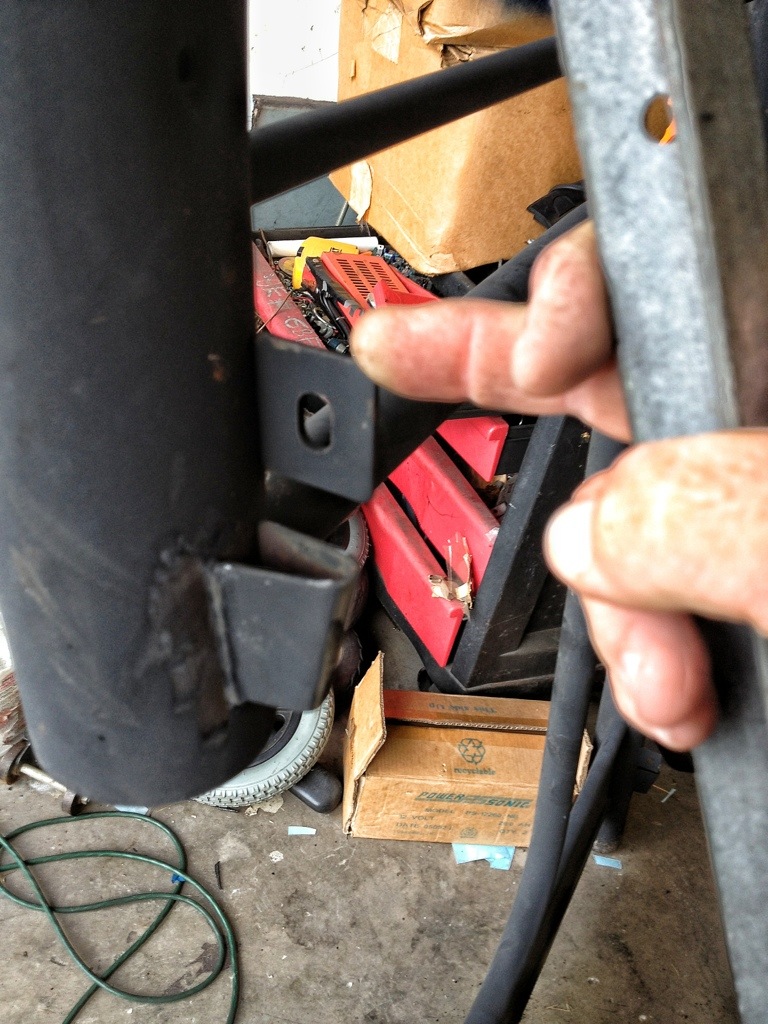
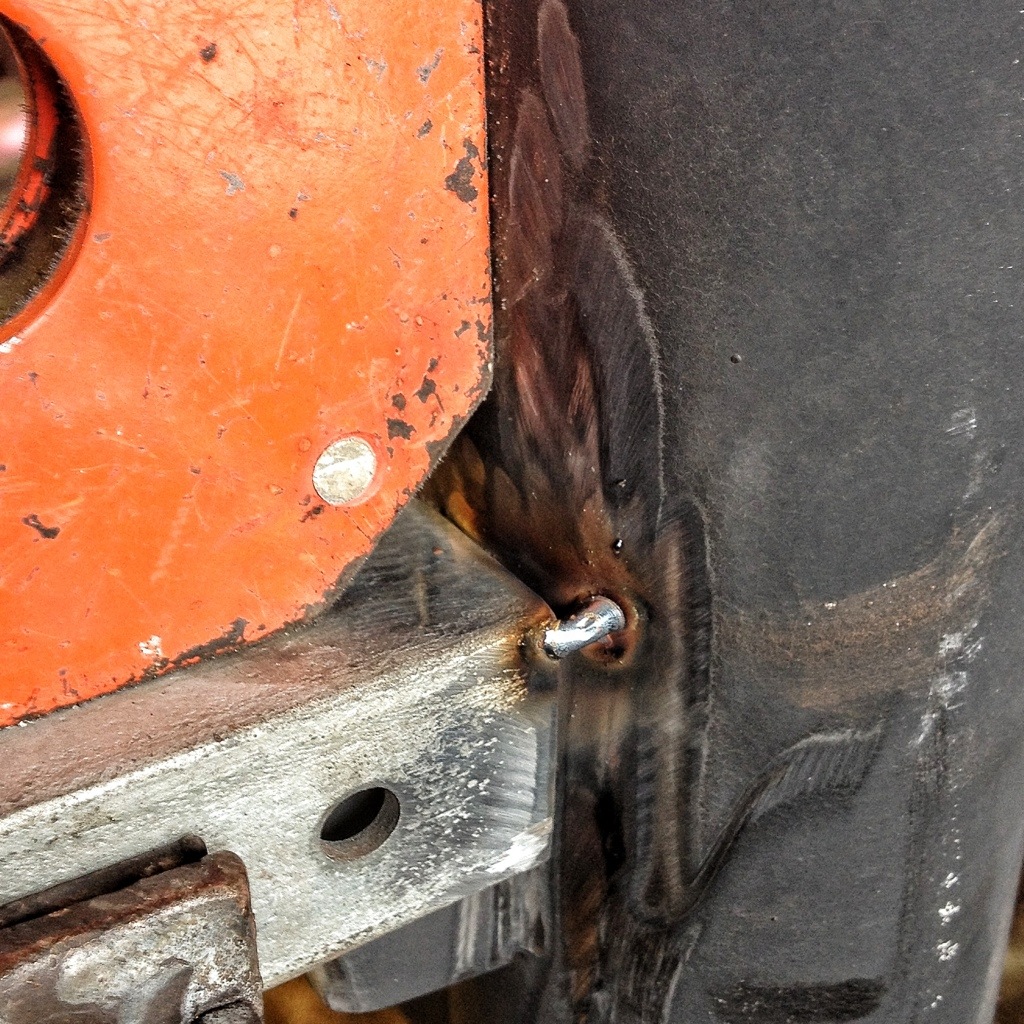
I going to remove this mechanism,

which is not very pretty, but the bolts holding it

are rusted solid.
Grind the head off


And get the BFH out (big effing hammer)

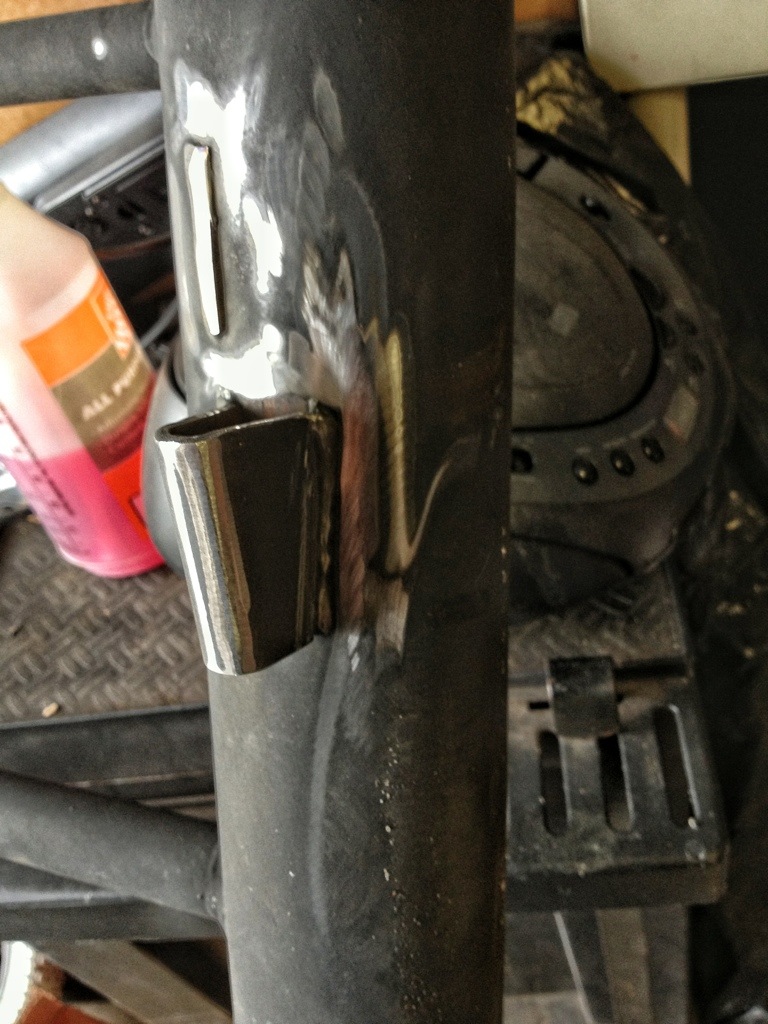
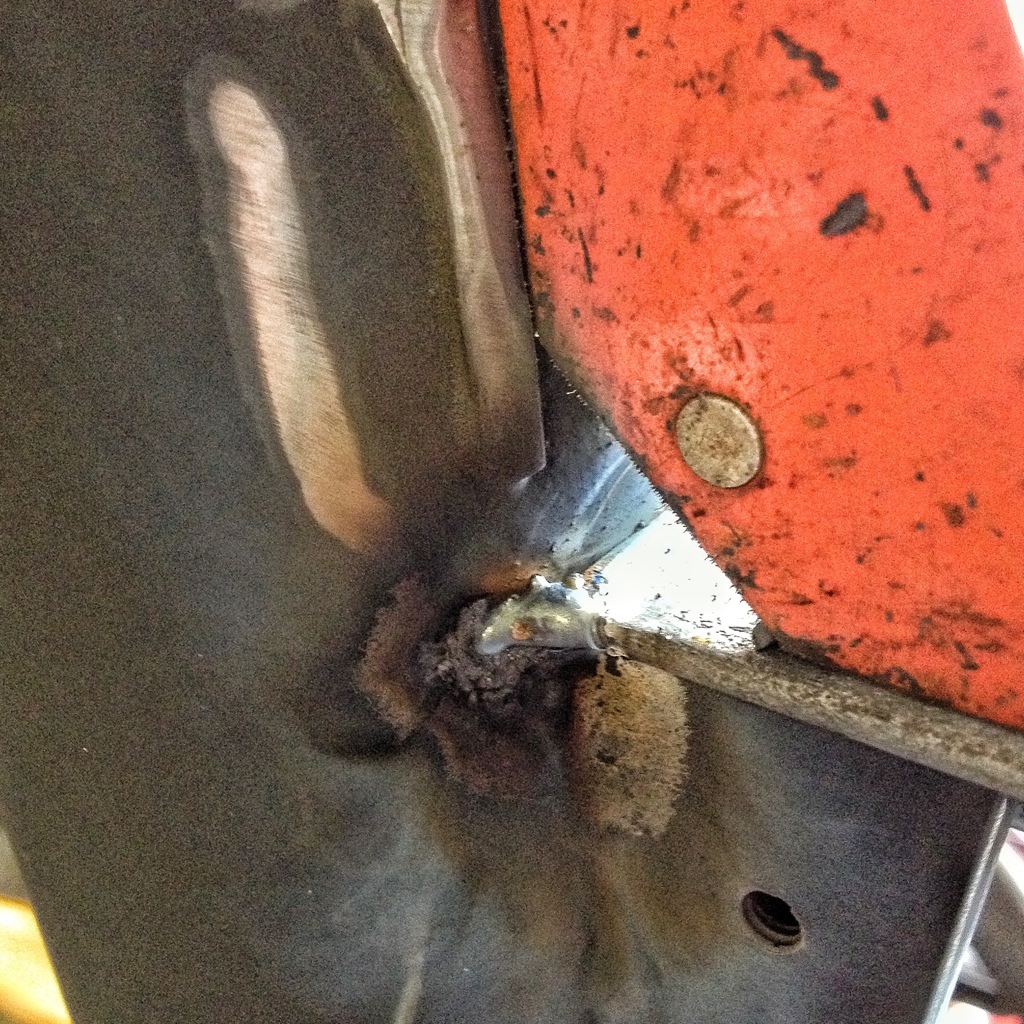
Now the shelf supports

Gotta get rid of that square tab
And grind off the paint. You need clean metal or its tough for the arc to complete the circuit.
I like to use metal because you don’t need the bracing wood requires to give the piece rigidity. The shelf supports are 1-1/4 inch angle iron and the thickness of the steel is 1/8 inch. The bed frame is not as thick walled steel as the angle but, being tubular,has stiffness. The trick will be not burning through it. Welding thick to thin is a bit tough.
Using my trusty magnetic right angle

A couple of tack welds to hold it
Make sure it’s straight and square
And weld it up
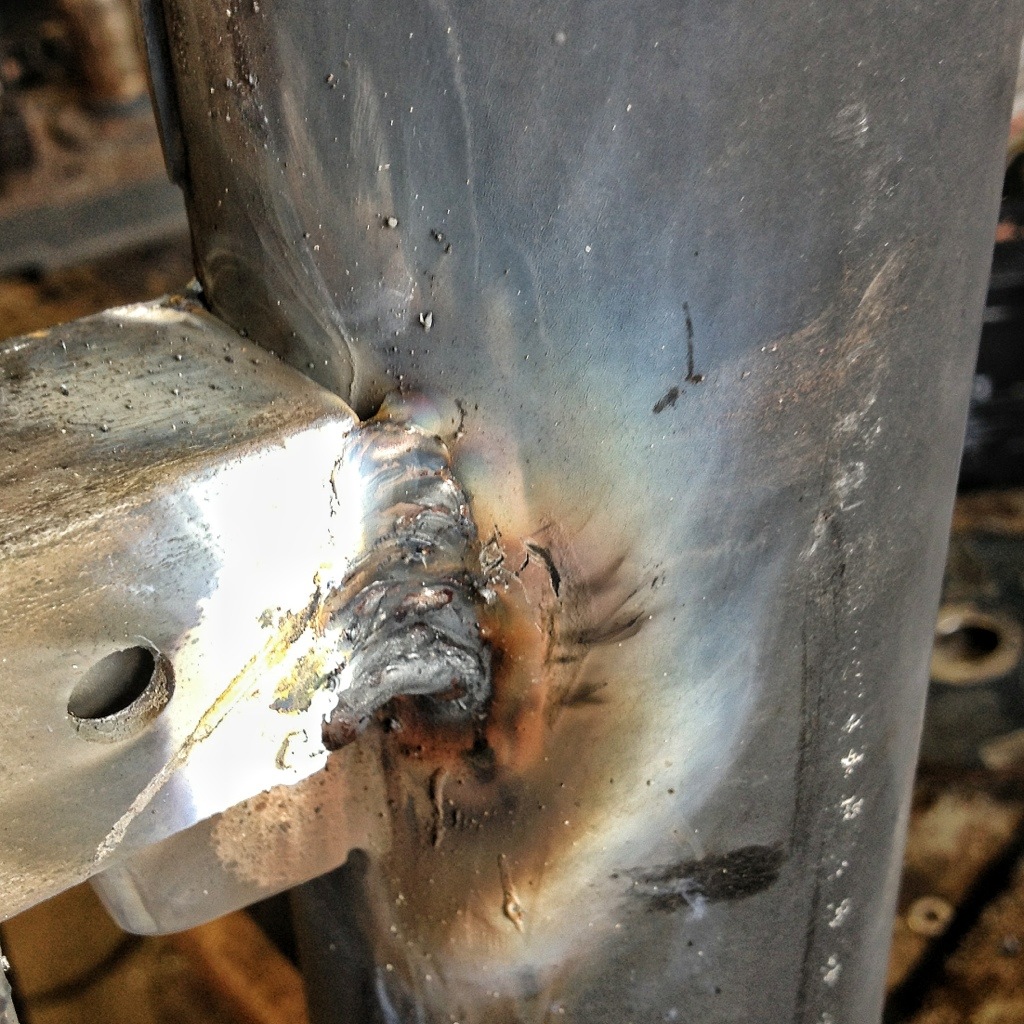
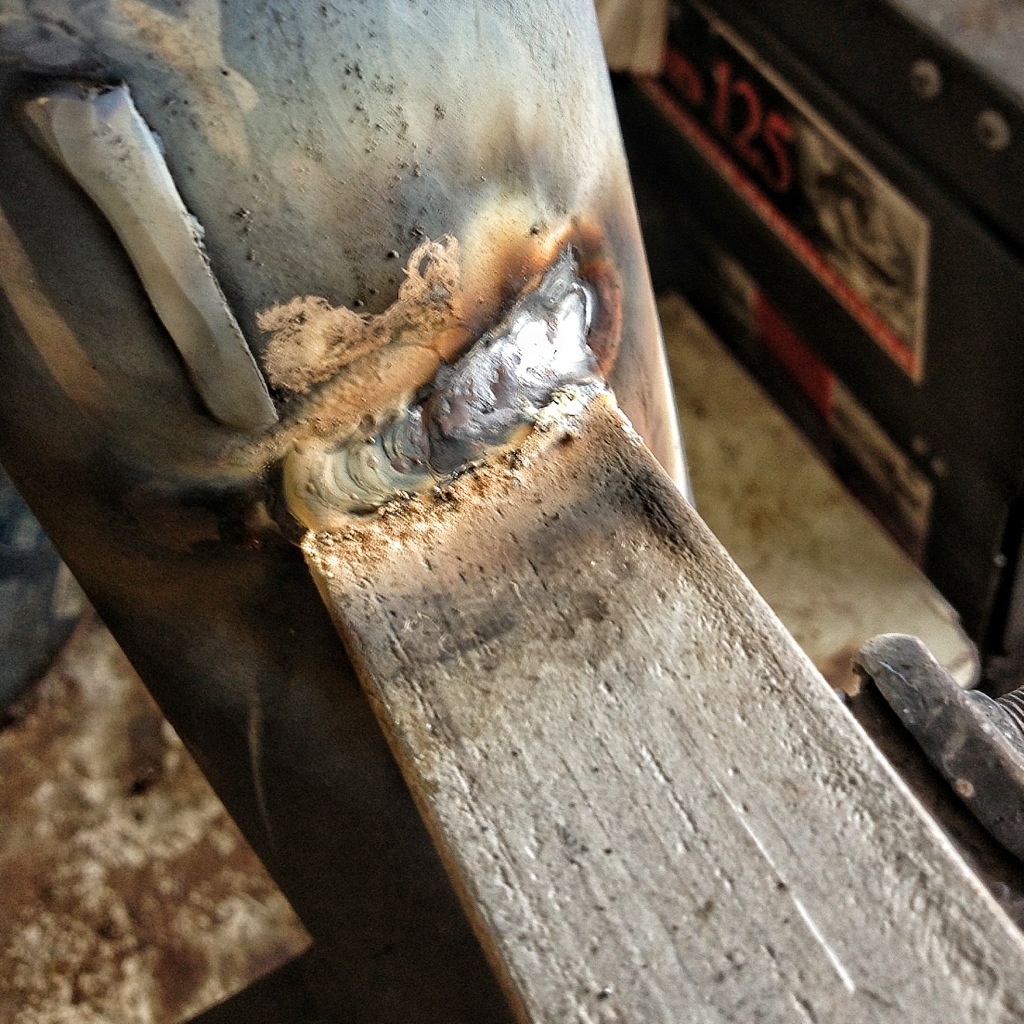
Brush off the slag with a wire brush (Wire brush? Because it works)

Ain’t that a purty weld?
Other side

The angle iron is galvanized (Don’t weld on galvanized steel unless you are wearing breathing protection) and it’s tough to see but the welding/ heating process on the galvanization makes a snowy, cottony white substance. Don’t breath it. Not good.
Now some legs

And it’s off to paint
What next?
I like to juxtapose different materials and styles.
Granite with iron rebar.
Plastic with marble.
Chrome with rust.
Contemporary with rustic.
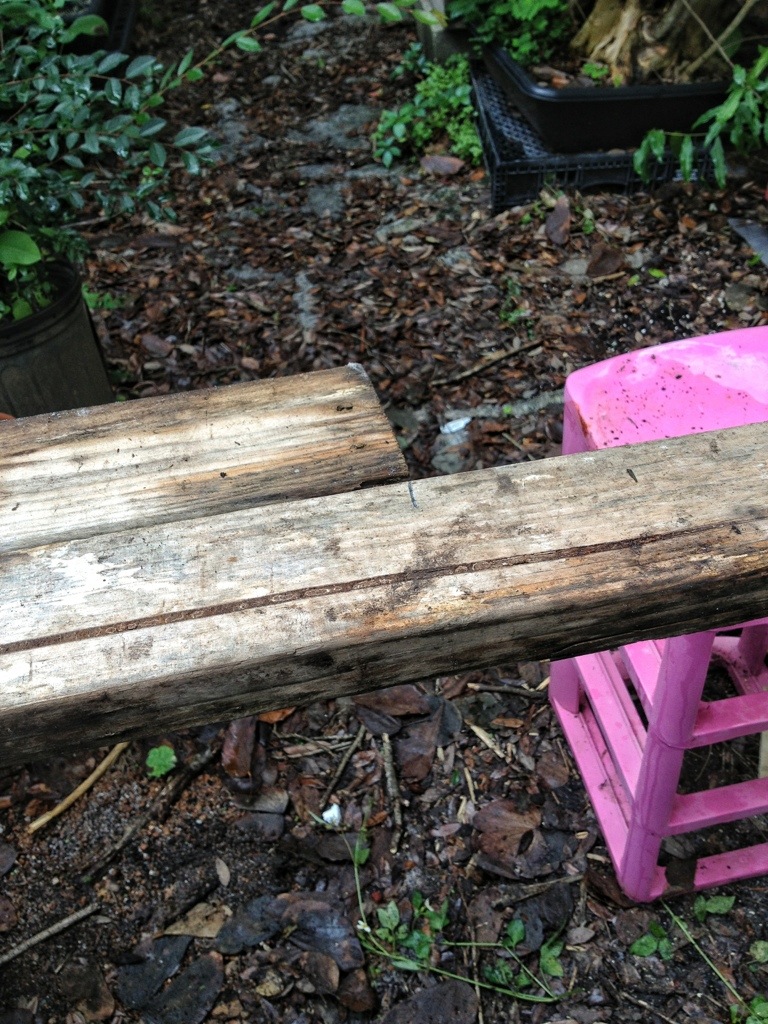
This will be a contemporary steel shape with rustic, rough cut wood.
It might work.
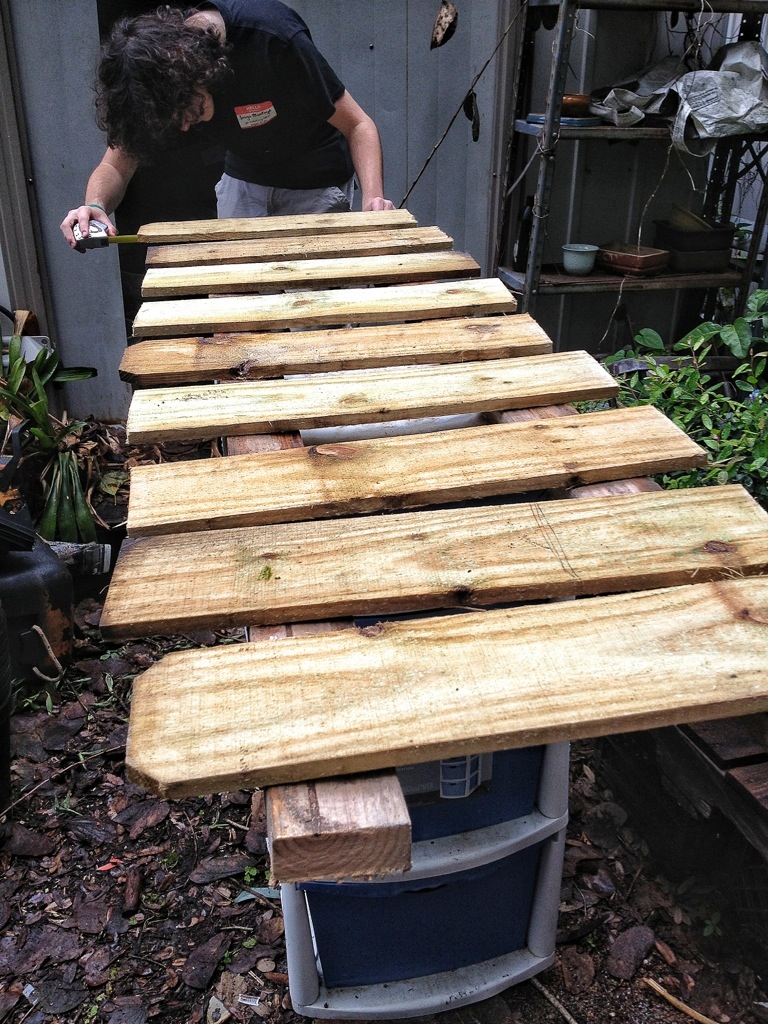
I’m back at the house and my son Andrew is helping.
Measure

Cut

Measure, cut
The frame is back from paint (I just spray painted it actually. I can’t afford sending something out. It sounds cool though. They say it all the time on American Chopper.)
Line the boards up. No measuring, we do the spacing by eye.
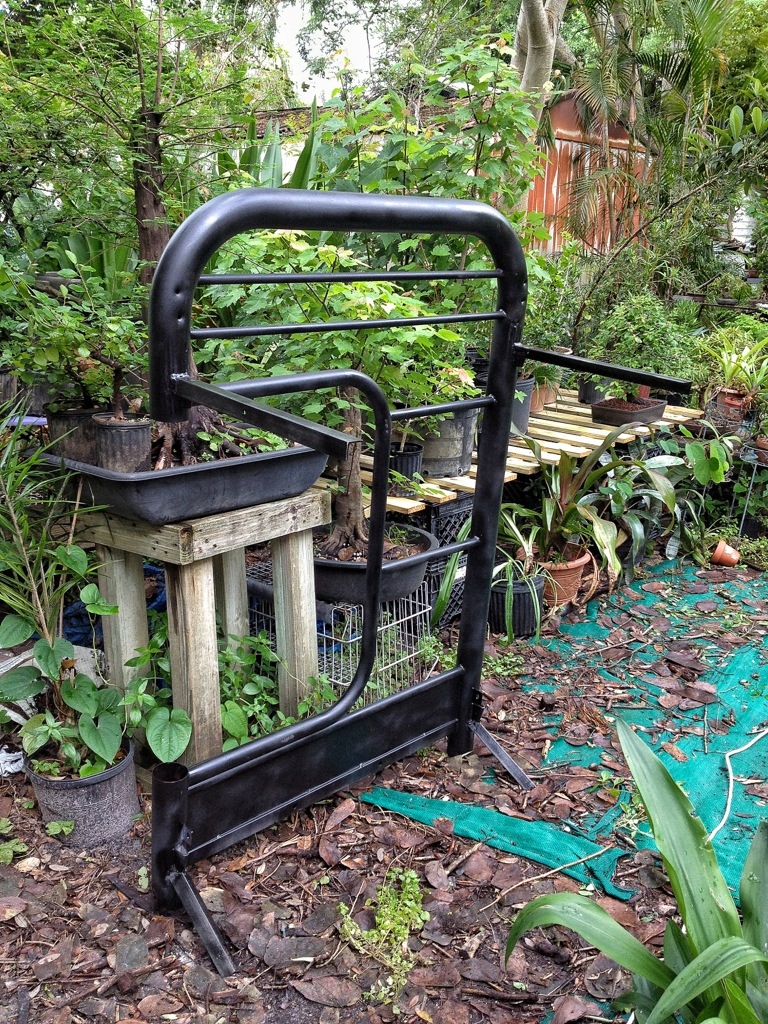
Attach the shelf to the frame

The material cost on this only consisted of the flat boards (3 at $1 apiece) the spray paint (99 cents) the consumables from the welding and the screws.
Really inexpensive. I love being able to repurpose things and make something from nothing.
Here’s a stand I made last year
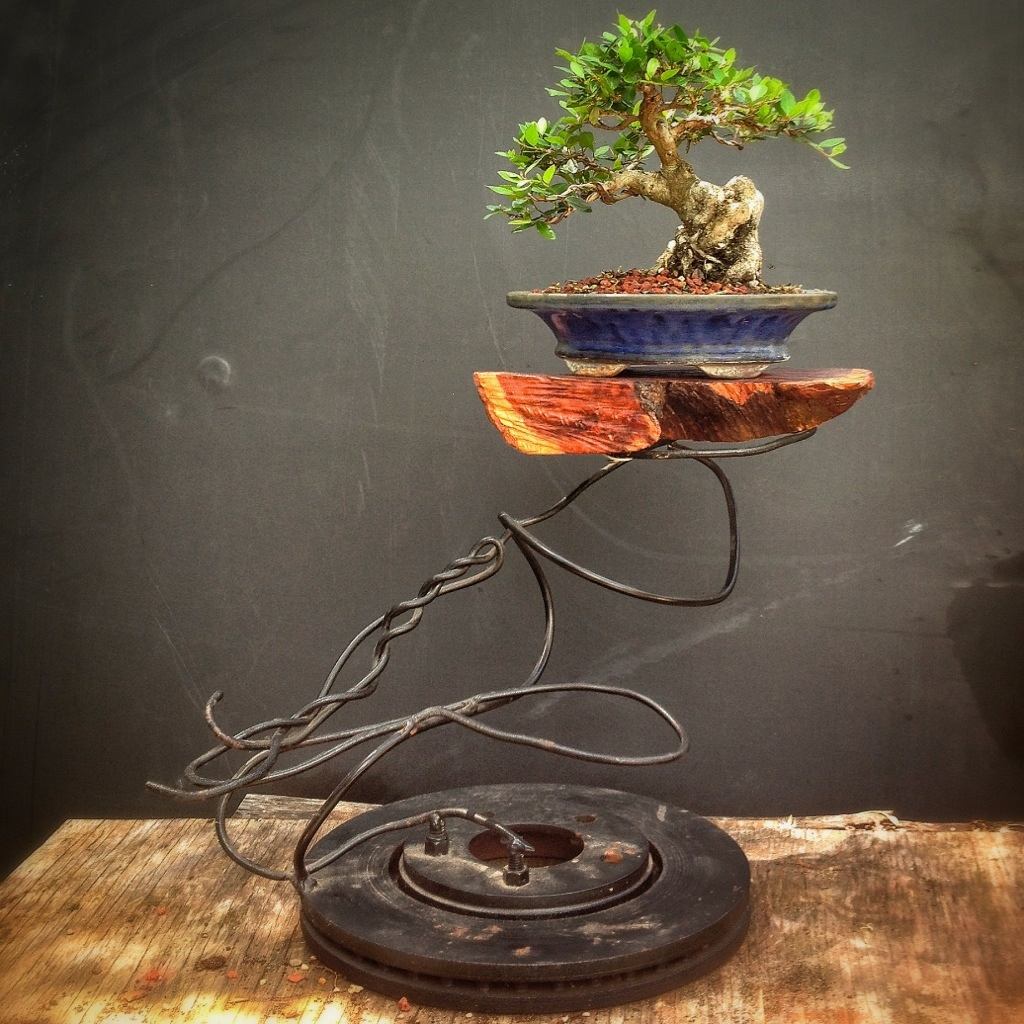


The base is a rotor off of a car, the twisted wire was found scrap, the base is a chunk of red cedar I had from a wood carving.
A bit unusual (I don’t think the tree matches the stand. Maybe a left handed cascade might work better) but (most importantly) I like it.
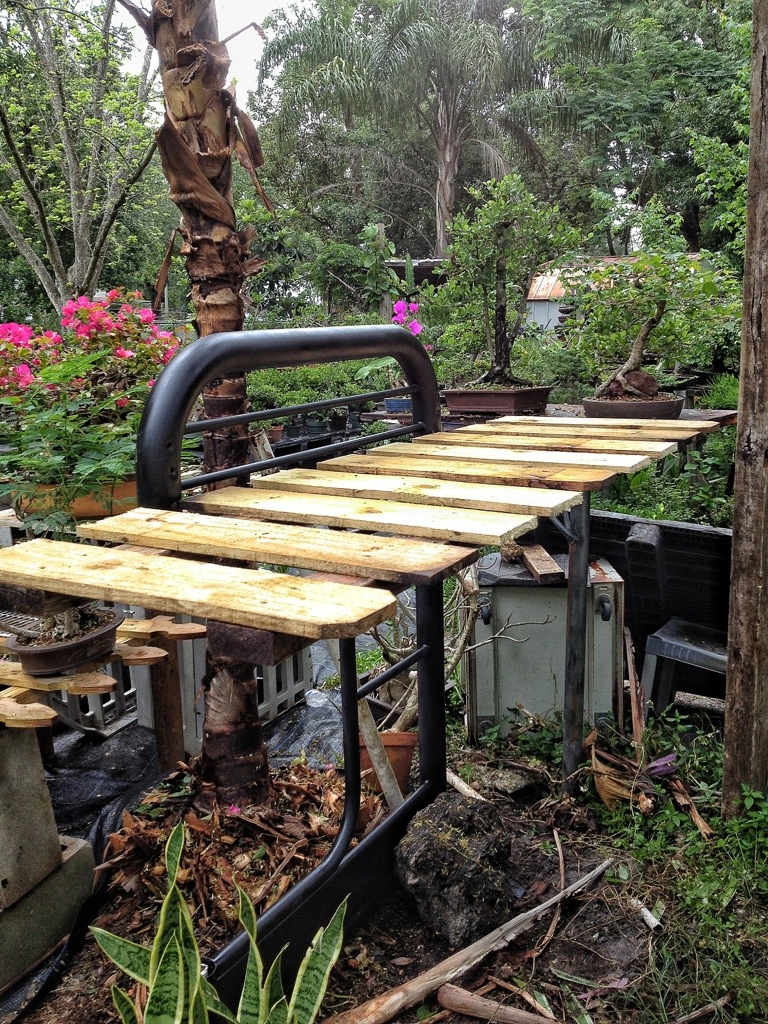
Here’s new the stand in place

An armadillo sneaks into the story


Looks good with a tree on it.
I just need to put mulch or rock on the ground and it will look even cooler. Or not.

love the new display table adam. Your giving me more great inspiration. Thanks
LikeLike
Thanks
LikeLike
Great bench!!!
I think of these projects all the time but never follow through.
LikeLike
Thanks
LikeLike
Cool bench although nothing to do with my comment .I made it to Eric wigerts place as per your recommendation and it blew my mind. His collection as well as the variety he has for sale. I bought a nice little nerifolia that I’m super stoked about although I have no idea what to do with it. I wish I was closer to Orlando I would come to one of your workshops
LikeLike